Let's Build A Mandolin (Page 19)
1 2 3 4 5 6 7 8 8a 9 10 11 11a 11b 12 12a 13 14 15 16 17 18 19 20
Last Modified - April 2012 (©Alan Dunwell 2012)
In Page 18 we got all the finish on and have let it cure out a bit to harden up. Now it is safe to start assembling the instrument and all the hardware. I use a plumbers ream to taper the top edge of the tuner holes till the ferrule just starts to slip in. Then I press them in using a piece of brass rod that I turned down to match the center hole. The outside diameter is just a bit less than the hole in the wood so it can also be used for pressing the ferrule out if needs be. Press them just enough to seat but not dimple the finish. NOTE: If you are doing a tapered headstock, watch it here. The hole is perpendicular to the back of the headstock so the ferrule will be coming in at what looks like an angle on the front side. Press just enough to start to dimple the finish and that will still leave one side a bit high anyway. Just leave it that way, better than compressing the finish/wood to make it seat all the way. Others may have different thoughts on this but that is the way I think is best. YMMV!
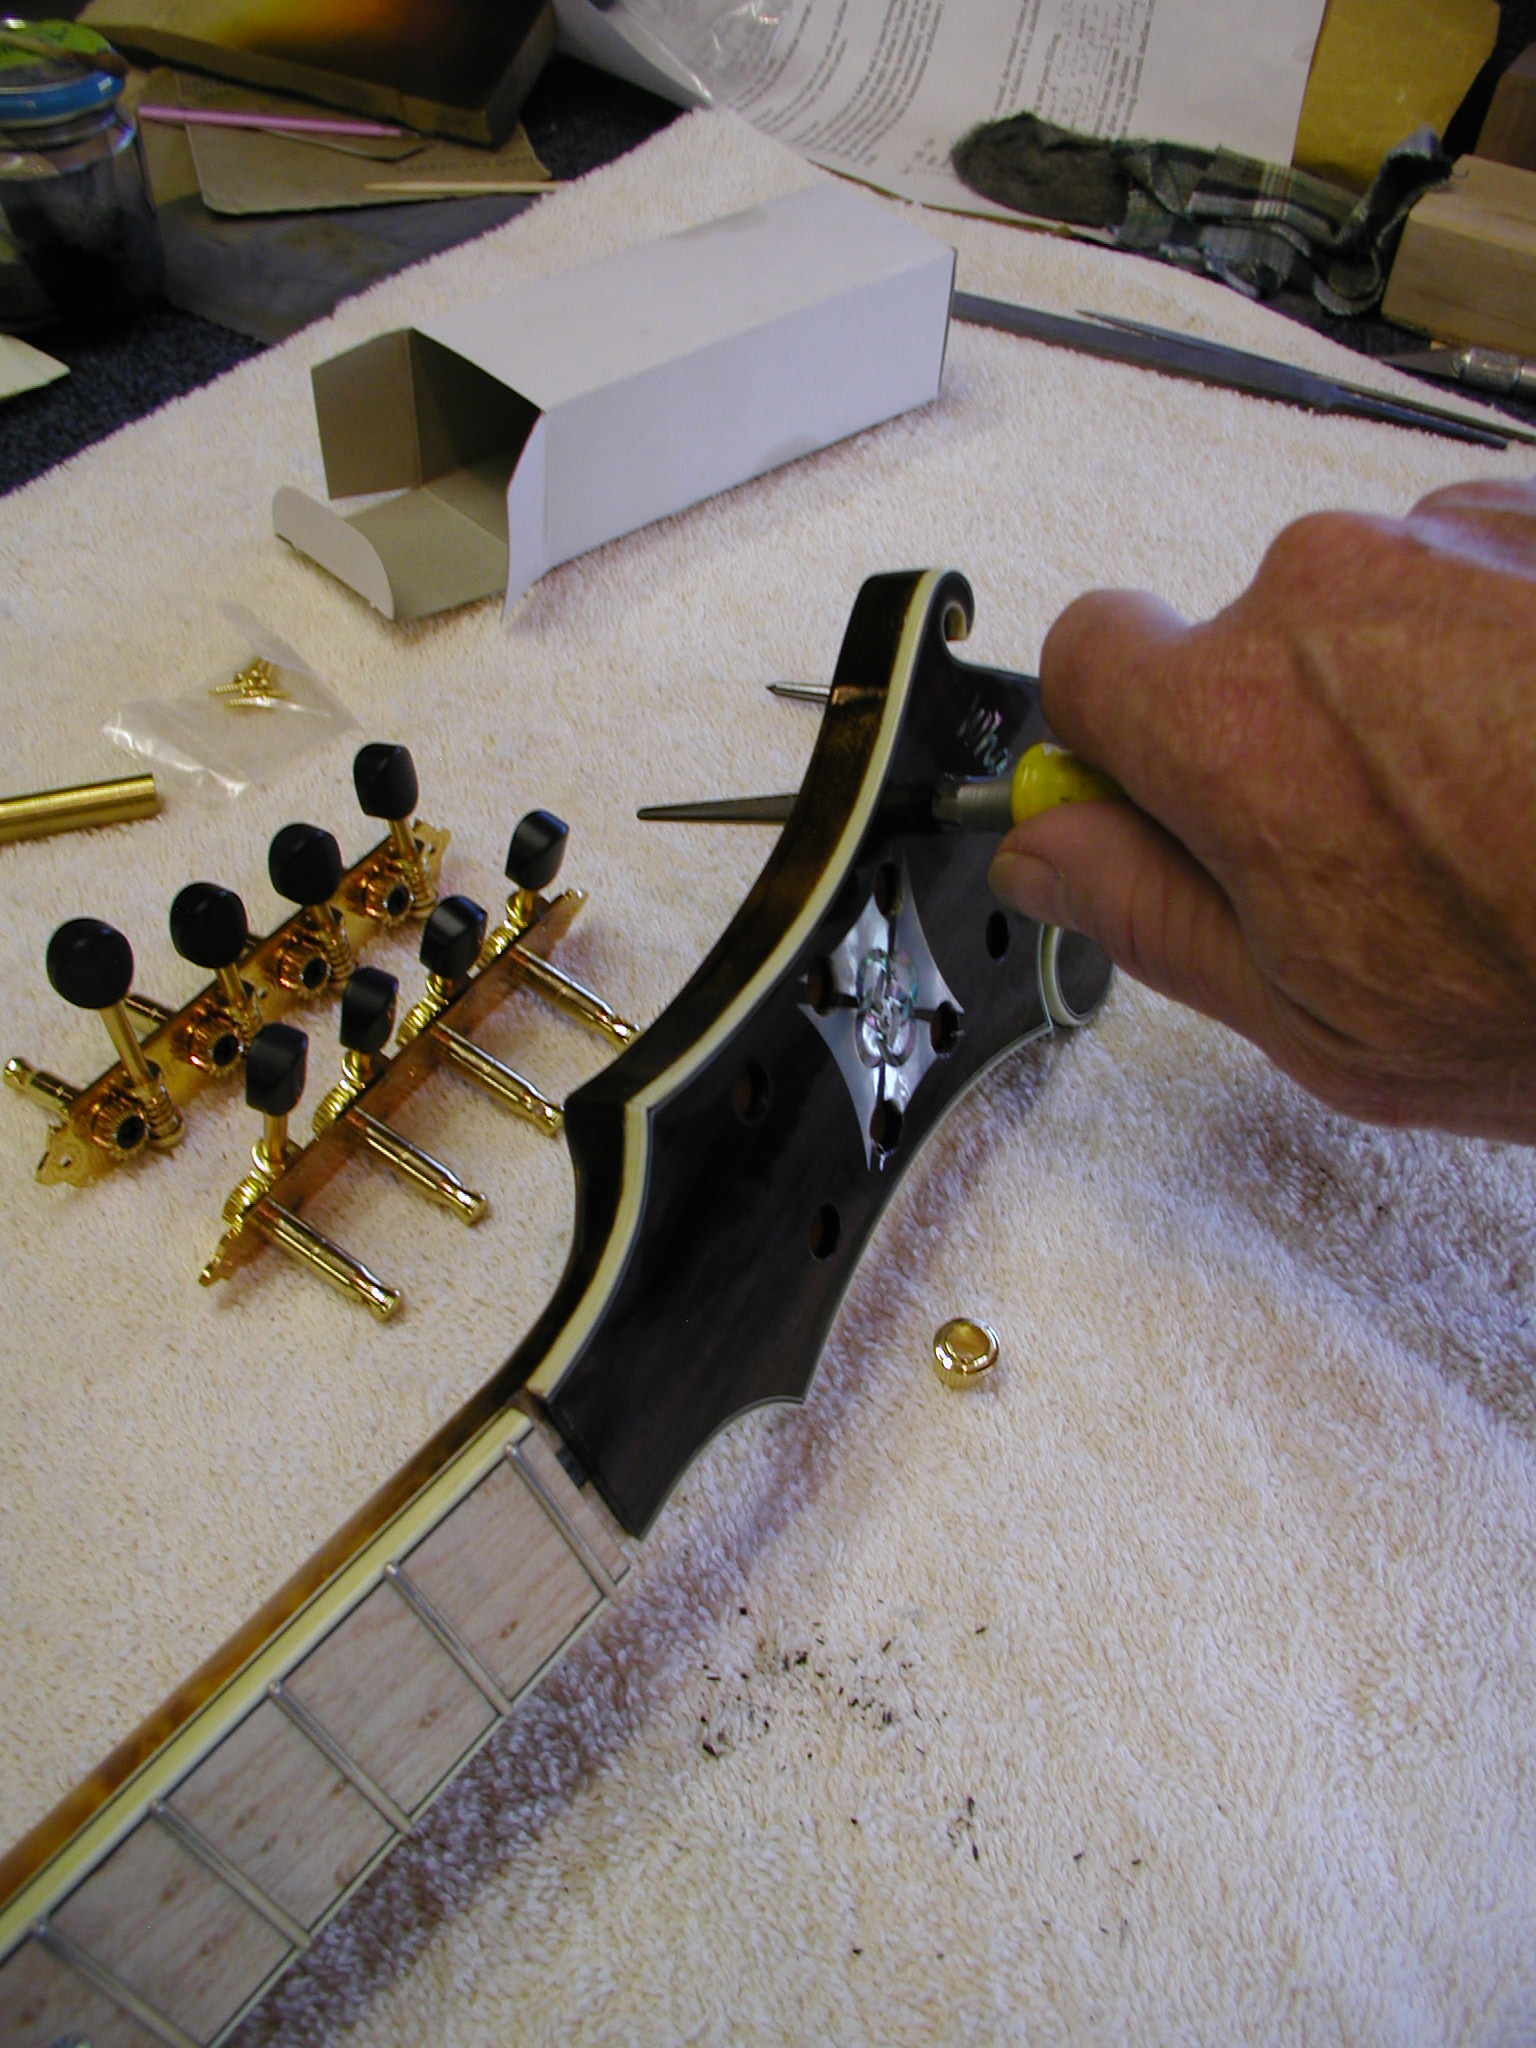


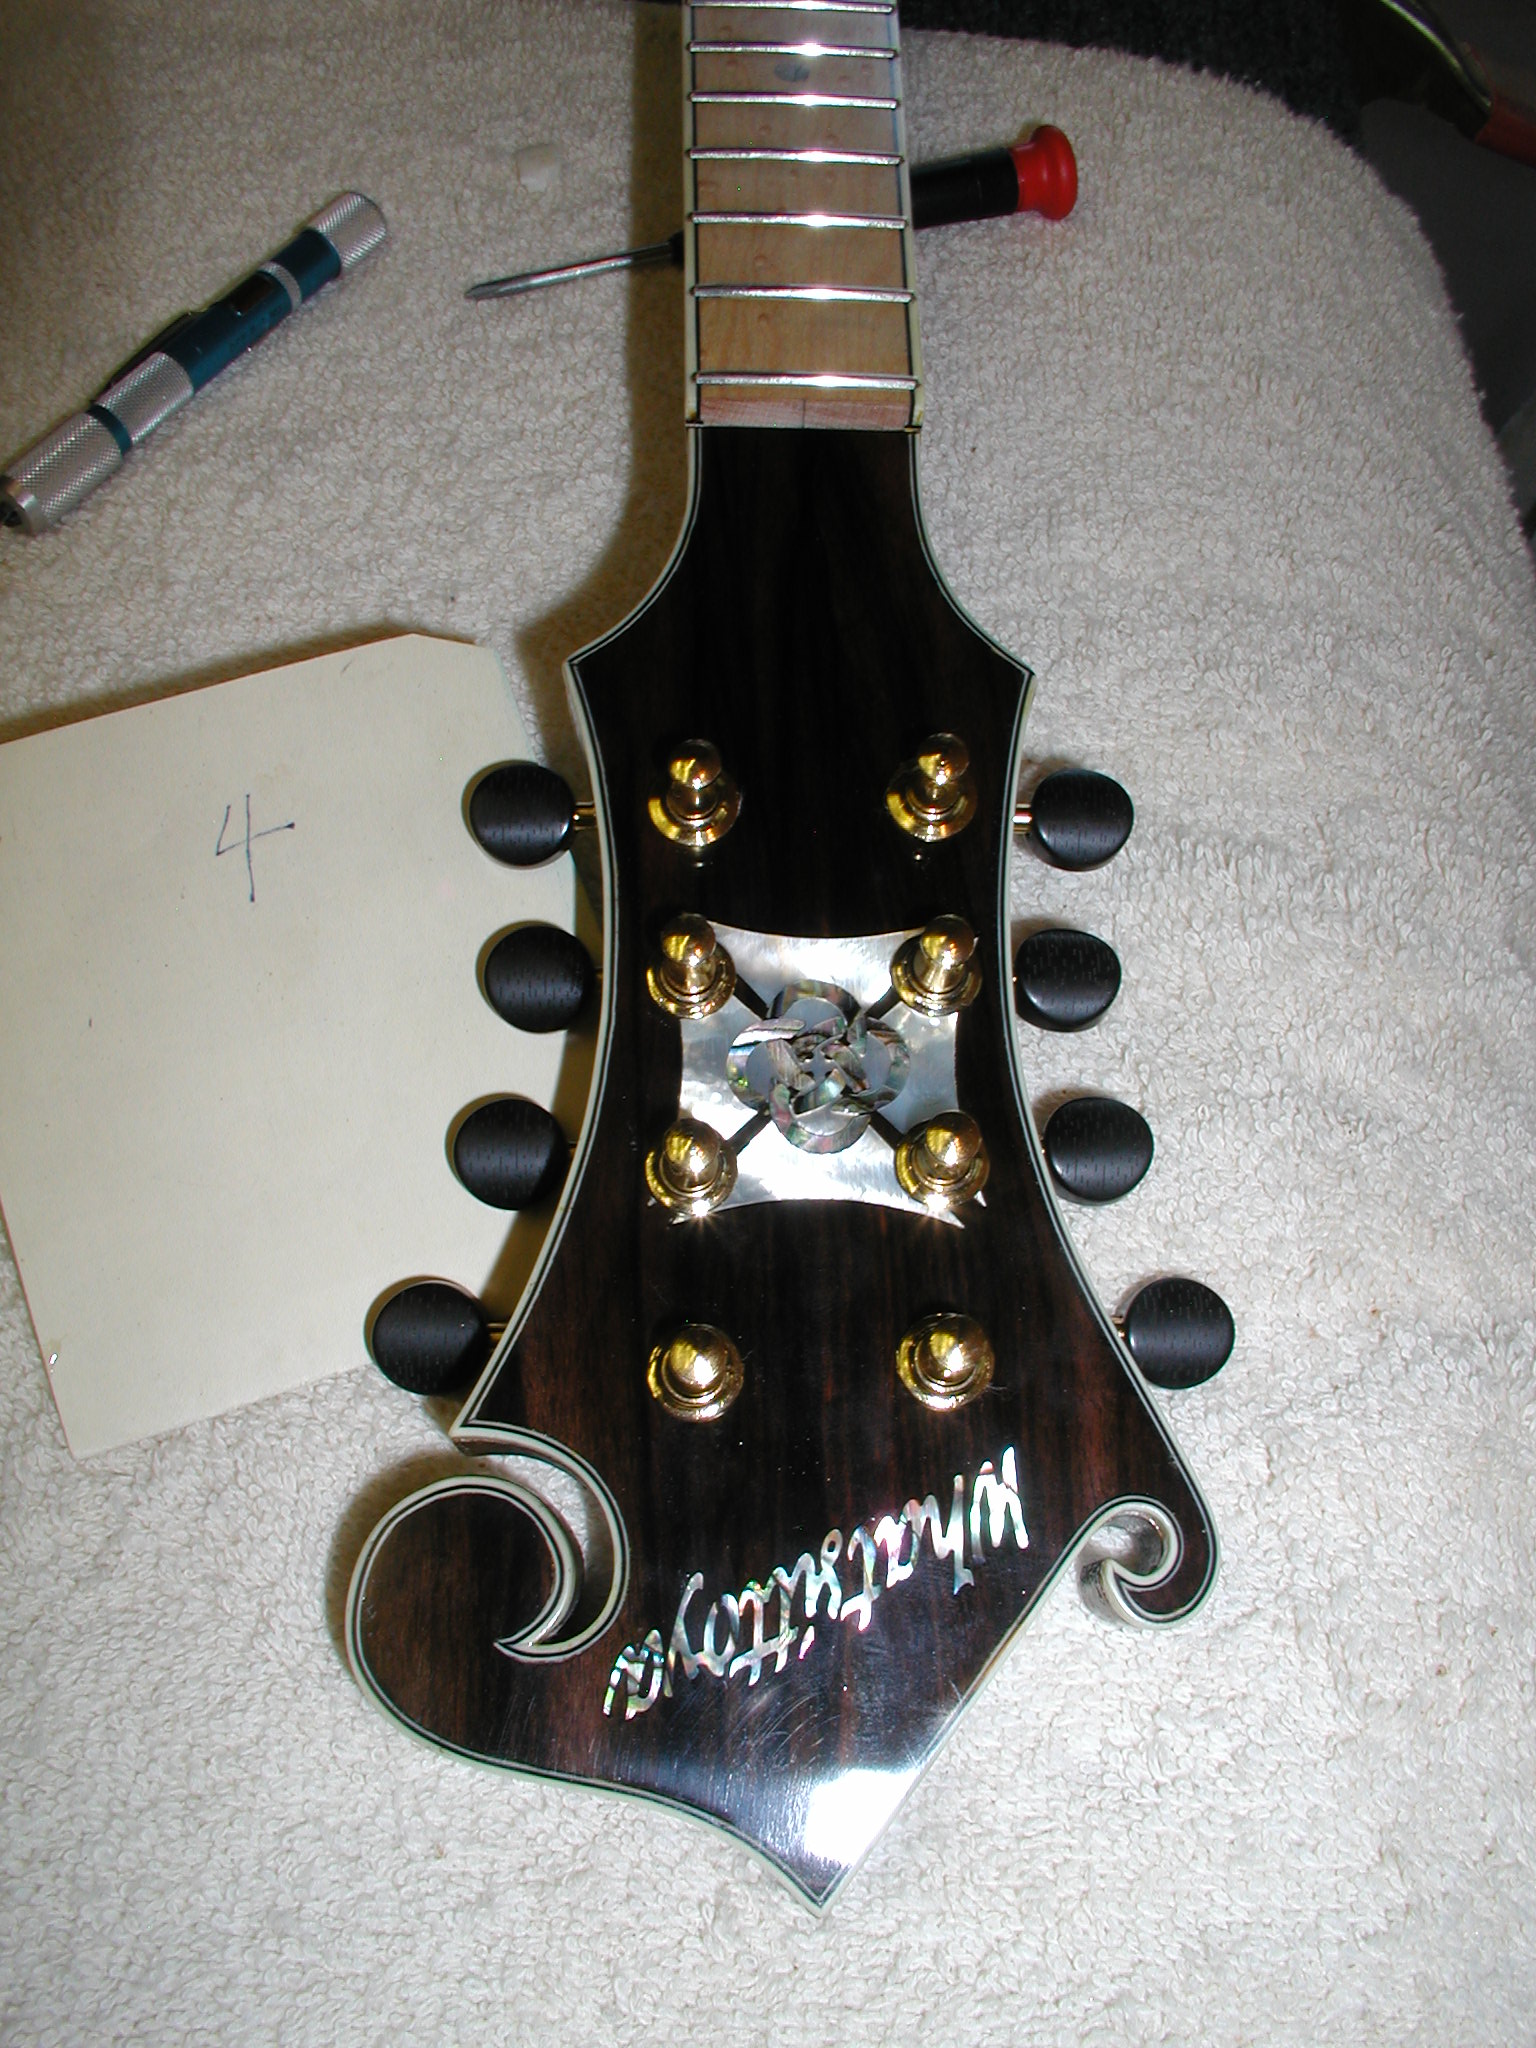
Try the tuners and see if they slip in without any resistance. They should if you got the holes right, but sometimes a ferrule will go in crooked a bit and needs to be tweaked. Again, the brass rod tool is good for this. Once they are all smooth, mark the screw hole locations and drill the holes. I use a little pin vise for this and a tape flag on the bit so I don't go too deep. Then I puff some powdered graphite into the ferrule, a little bit of hard soap on the screw threads or in the holes, slip in the tuners and screw them down just snug. No need to torque them, that will distort the plate, just snug. I like to pay attention and line up all of the screw slots in the same direction, an old machinist trick to make it look spiffy. A nice little touch, it is fun to see if anyone notices.


You need to do some cleanup on the neck after removing the fretboard/nut masking. There is always a bit of a sharp lip of finish where it was taped that needs to be removed and smoothed over. I also apply finish/sealer to the fretboard. With ebony I use a mix of Neatsfoot oil and turpentine. This penetrates and then the turpentine flashes off leaving the Neatsfoot oil to harden up. Just buff it good with a dry rag. With this maple fretboard I used a bit of Wipe-On-Poly type finish. Just enough to where it starts to get a matte finish but not enough that it will mar later on like it will if it is a gloss finish.

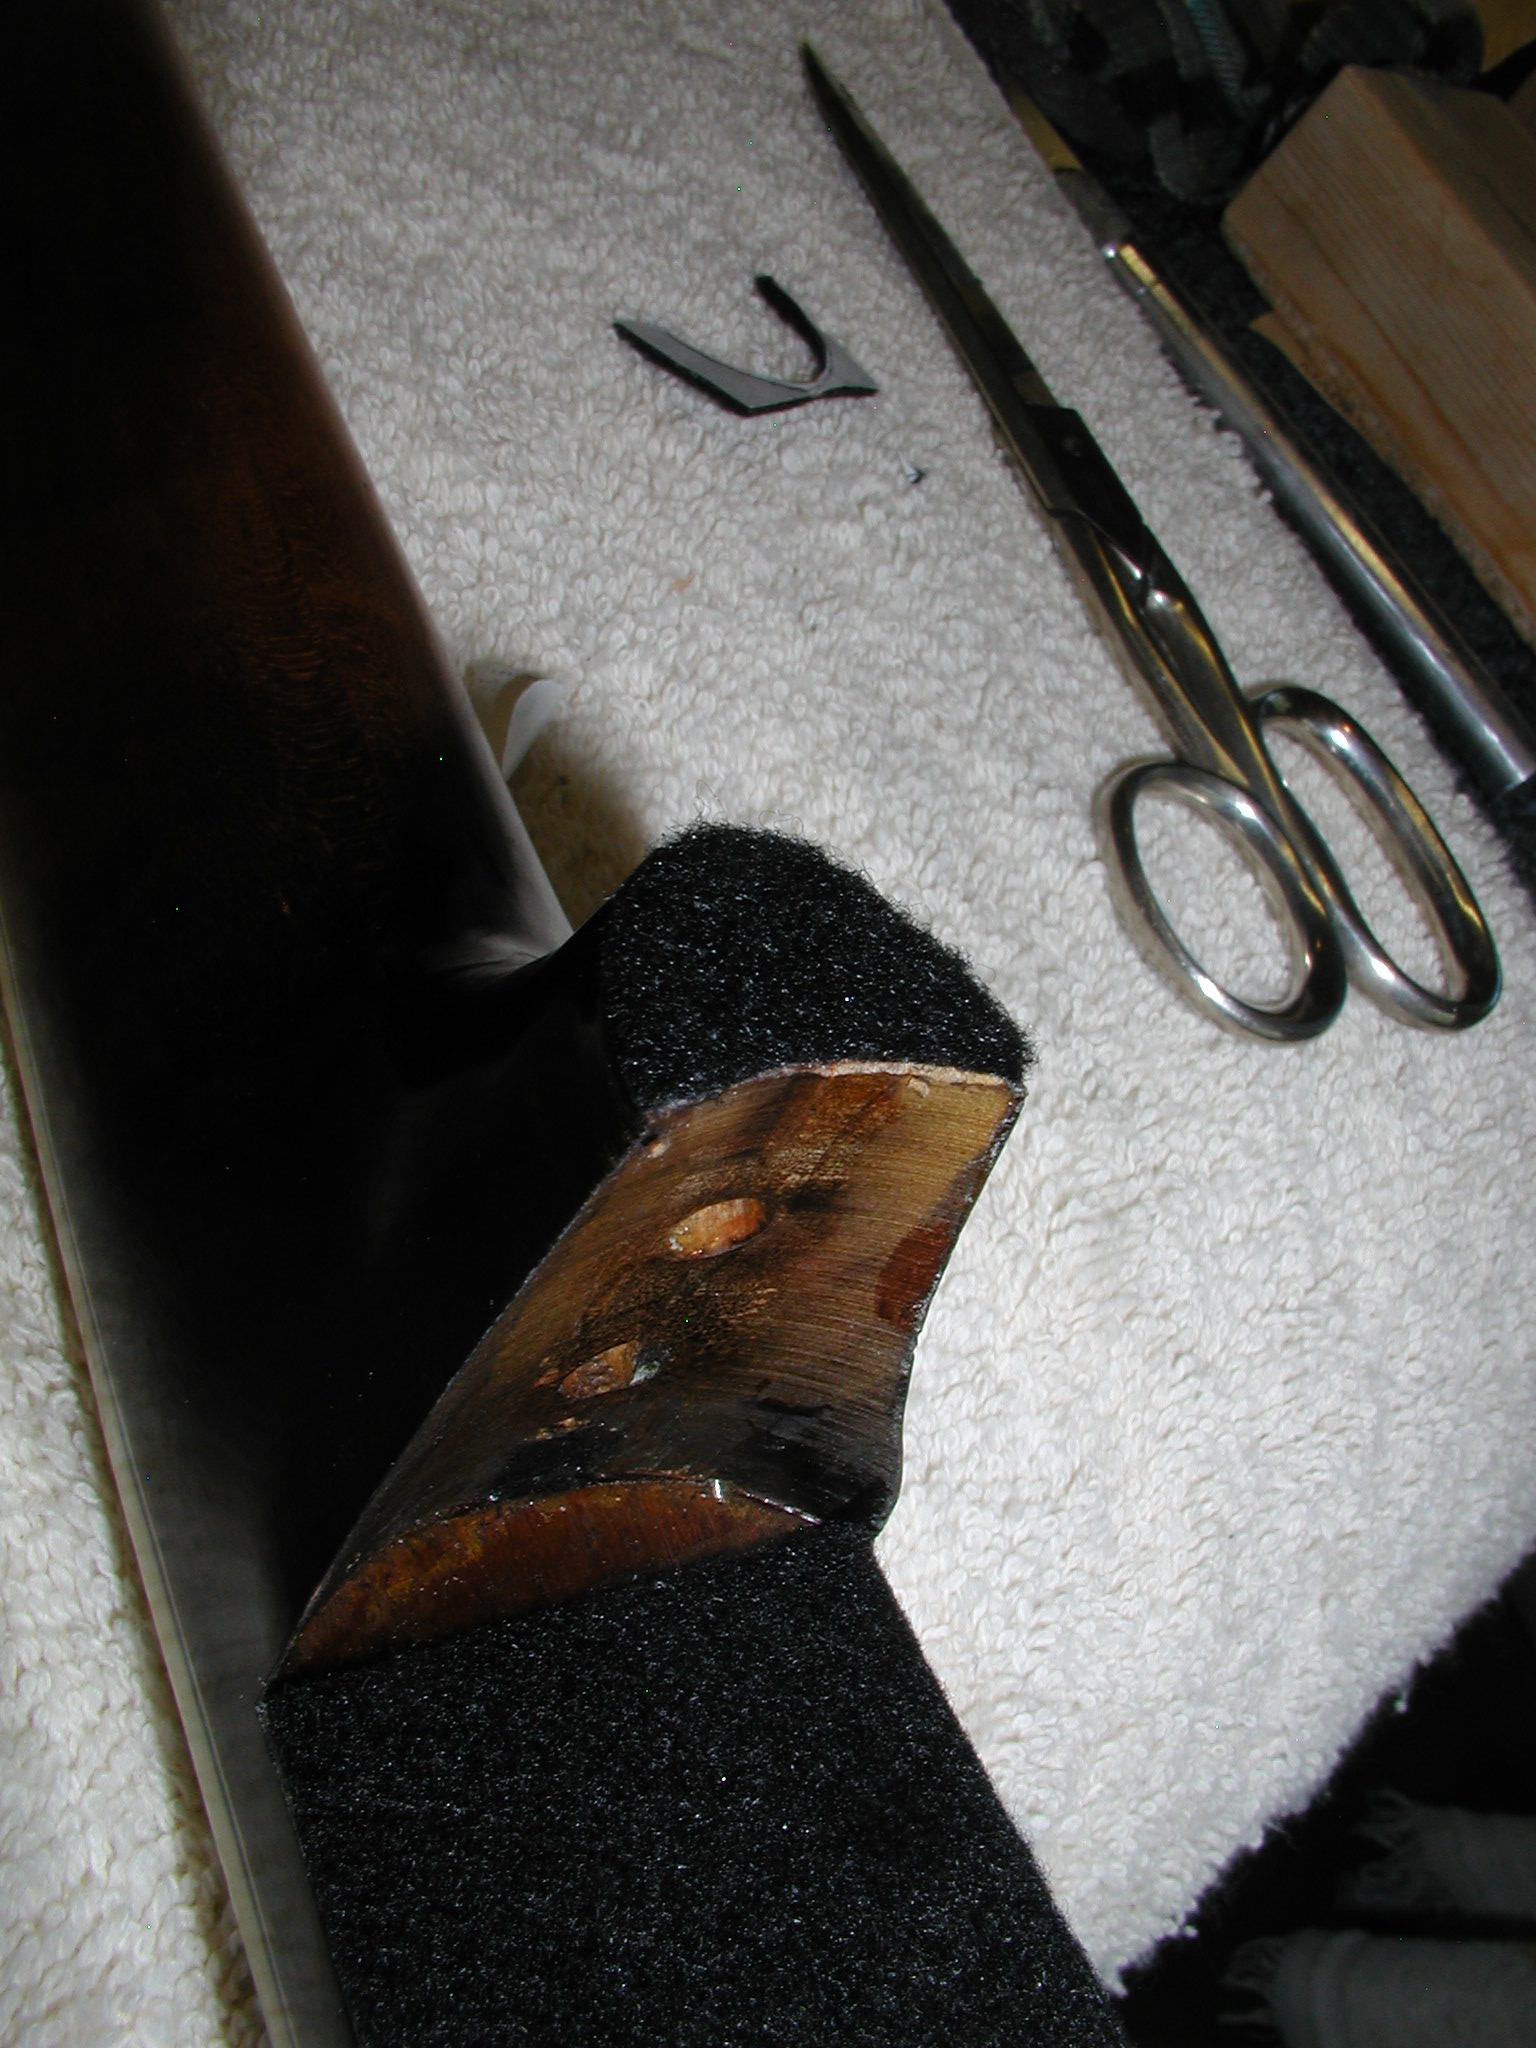
Since I am doing a bolt on neck, there is always the chance that there might be a buzz or rattle where the neck extension rest on the top/headblock area or at the heel and button interface. So I use some stick-on felt in those areas. It looks pretty fuzzy in the photos but is actually quite thin. Once in place and the neck on, you really have to look to see it at all. Those areas have black finish so it blends in quite well. I cut it close with the scissors but do the final trim with an Xacto or razor blade.


Here I mount the neck. I've got a little LED light on a flex stem that I slip in the F-hole and peek in the other when finding the neck bolts with the long wrench. The allen in the long wrench has a ball-end, so it slips into the bolts pretty easily. I just snug it a bit while holding it down against the top. Then I use a long straight edge to get it all trued up to the center seam in the top. I just key off the neck dots for this stage. Then press it down tight to the top and snug up some more. Double check it by laying the straight edge along the sides of the neck and measuring to the center seam. It should be the same number on both sides. If so, then I use a Sloan type clamp with leather padded jaws and snug the neck down tight to the top/button and bring the bolts up tight. Don't over do it here, just snug up and then a little bit more. With all the friction of the curved surfaces against the finish on the body, this is actually a very tight joint.


Here I'm combining mounting the tailpiece with fitting the Vintage Jack. This one is getting a built in Pickup-The-World pickup in the bridge so the Vintage jack mates to that later on. I ream to fit the jack but leave it proud for now. Then center and fit the tailpiece. I like to use a square centered on the endpin hole to center the bottom screw hole for the tailpiece. This helps get it on all true to the jack. Finally, ream the last little bit to get the jack to just snug up to the tailpiece.


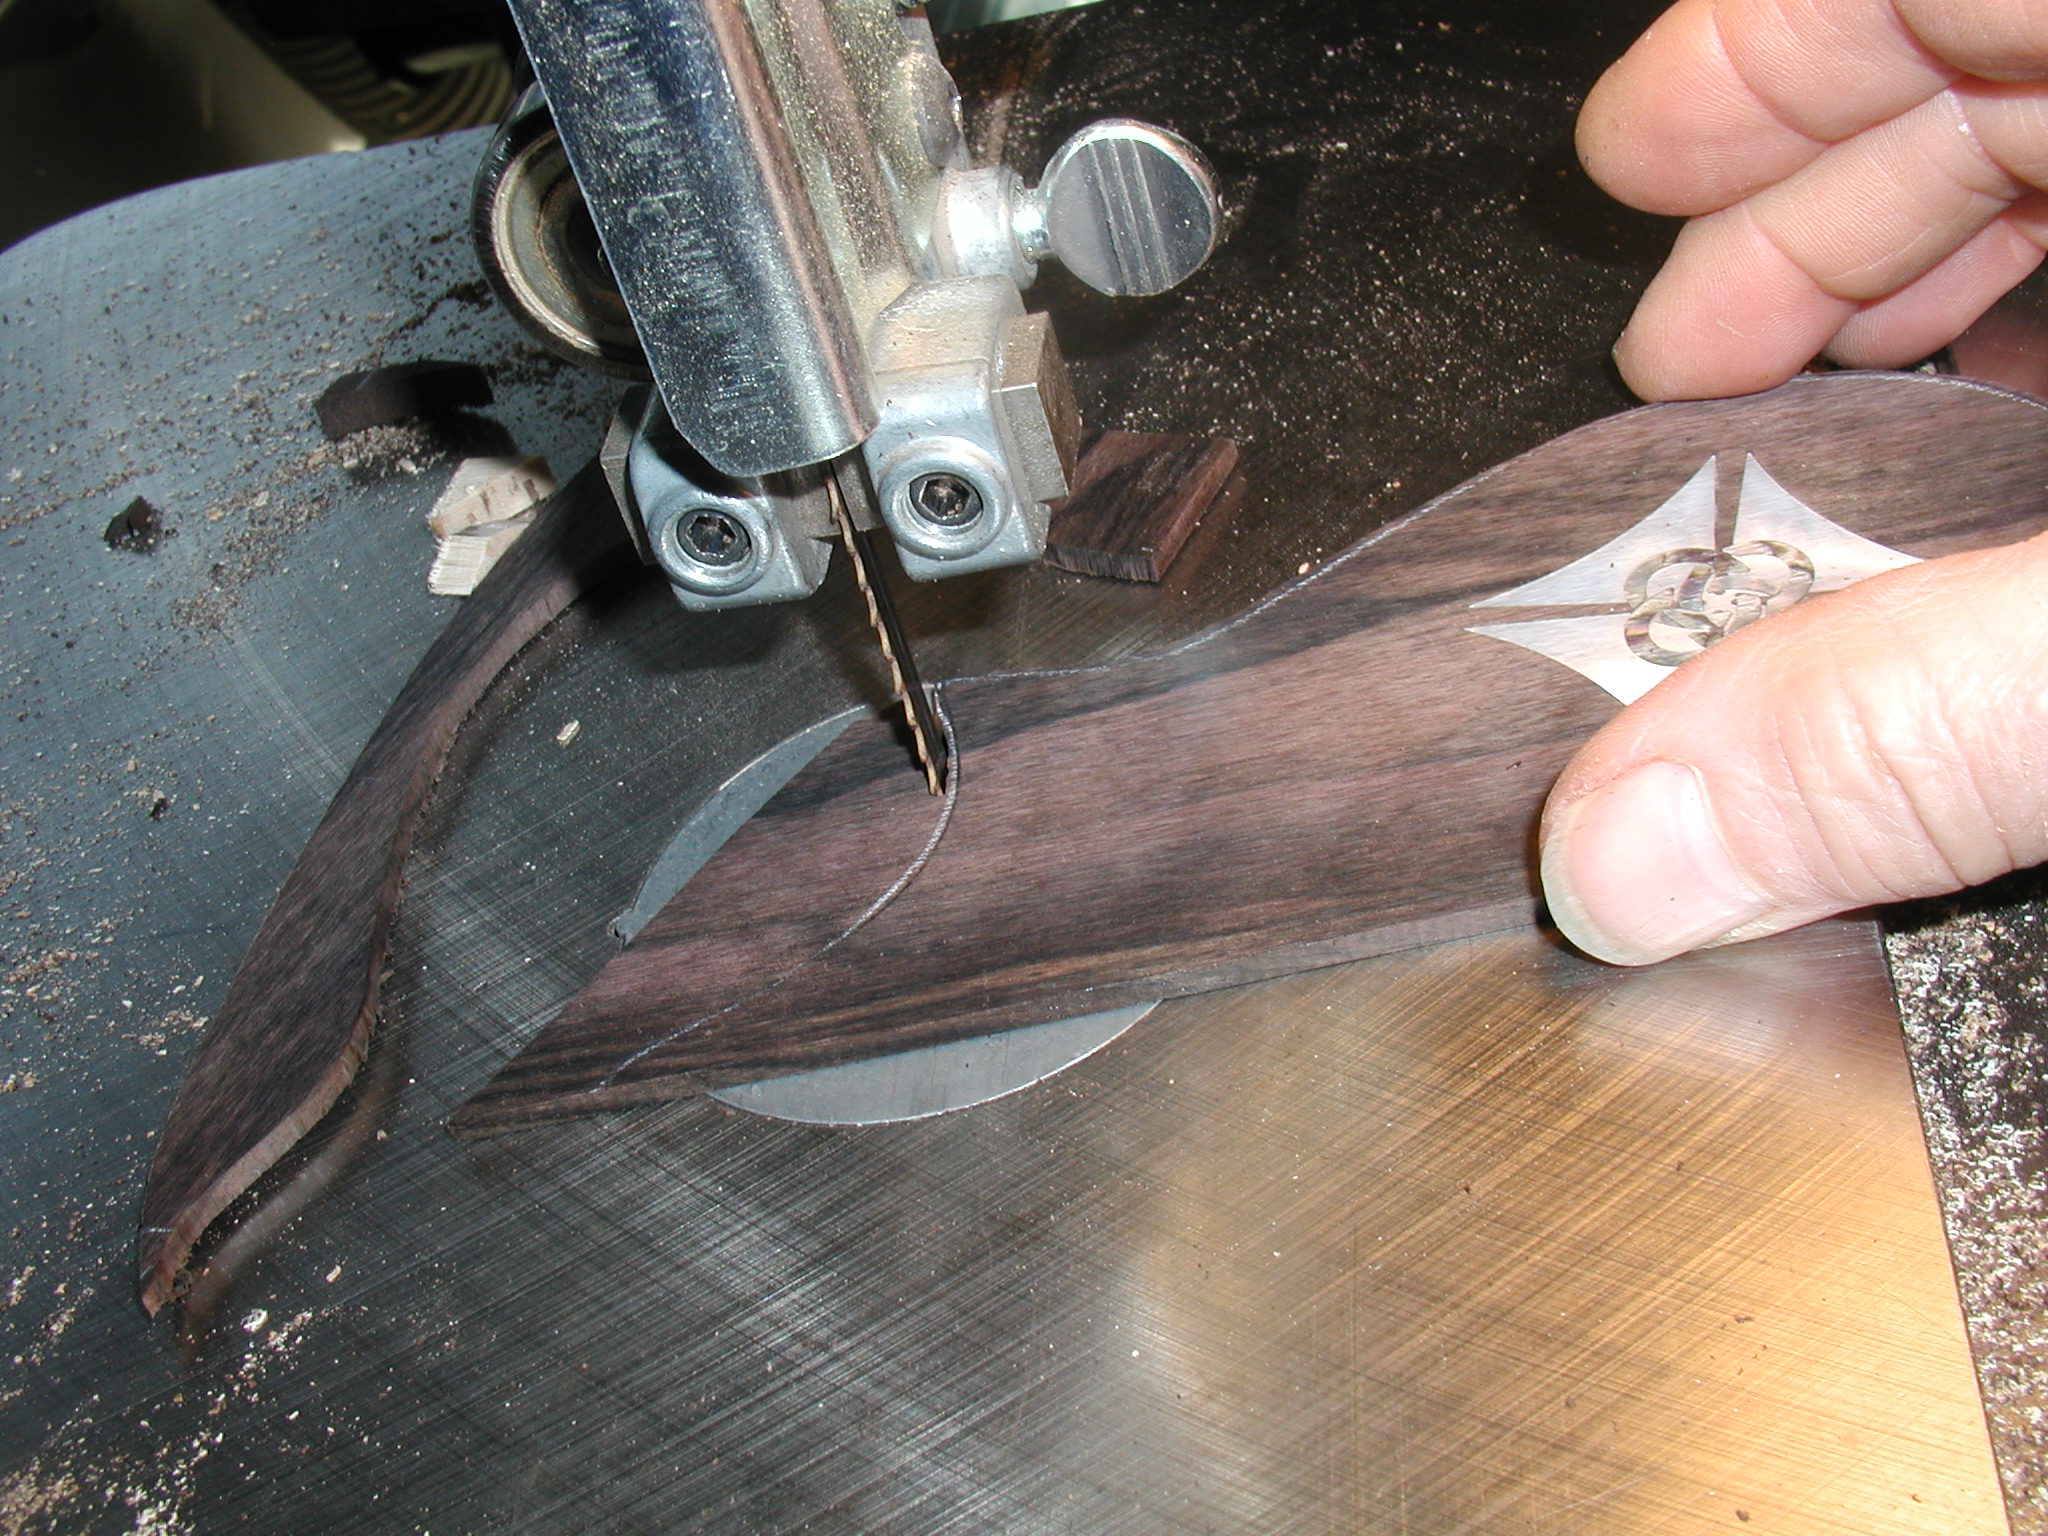
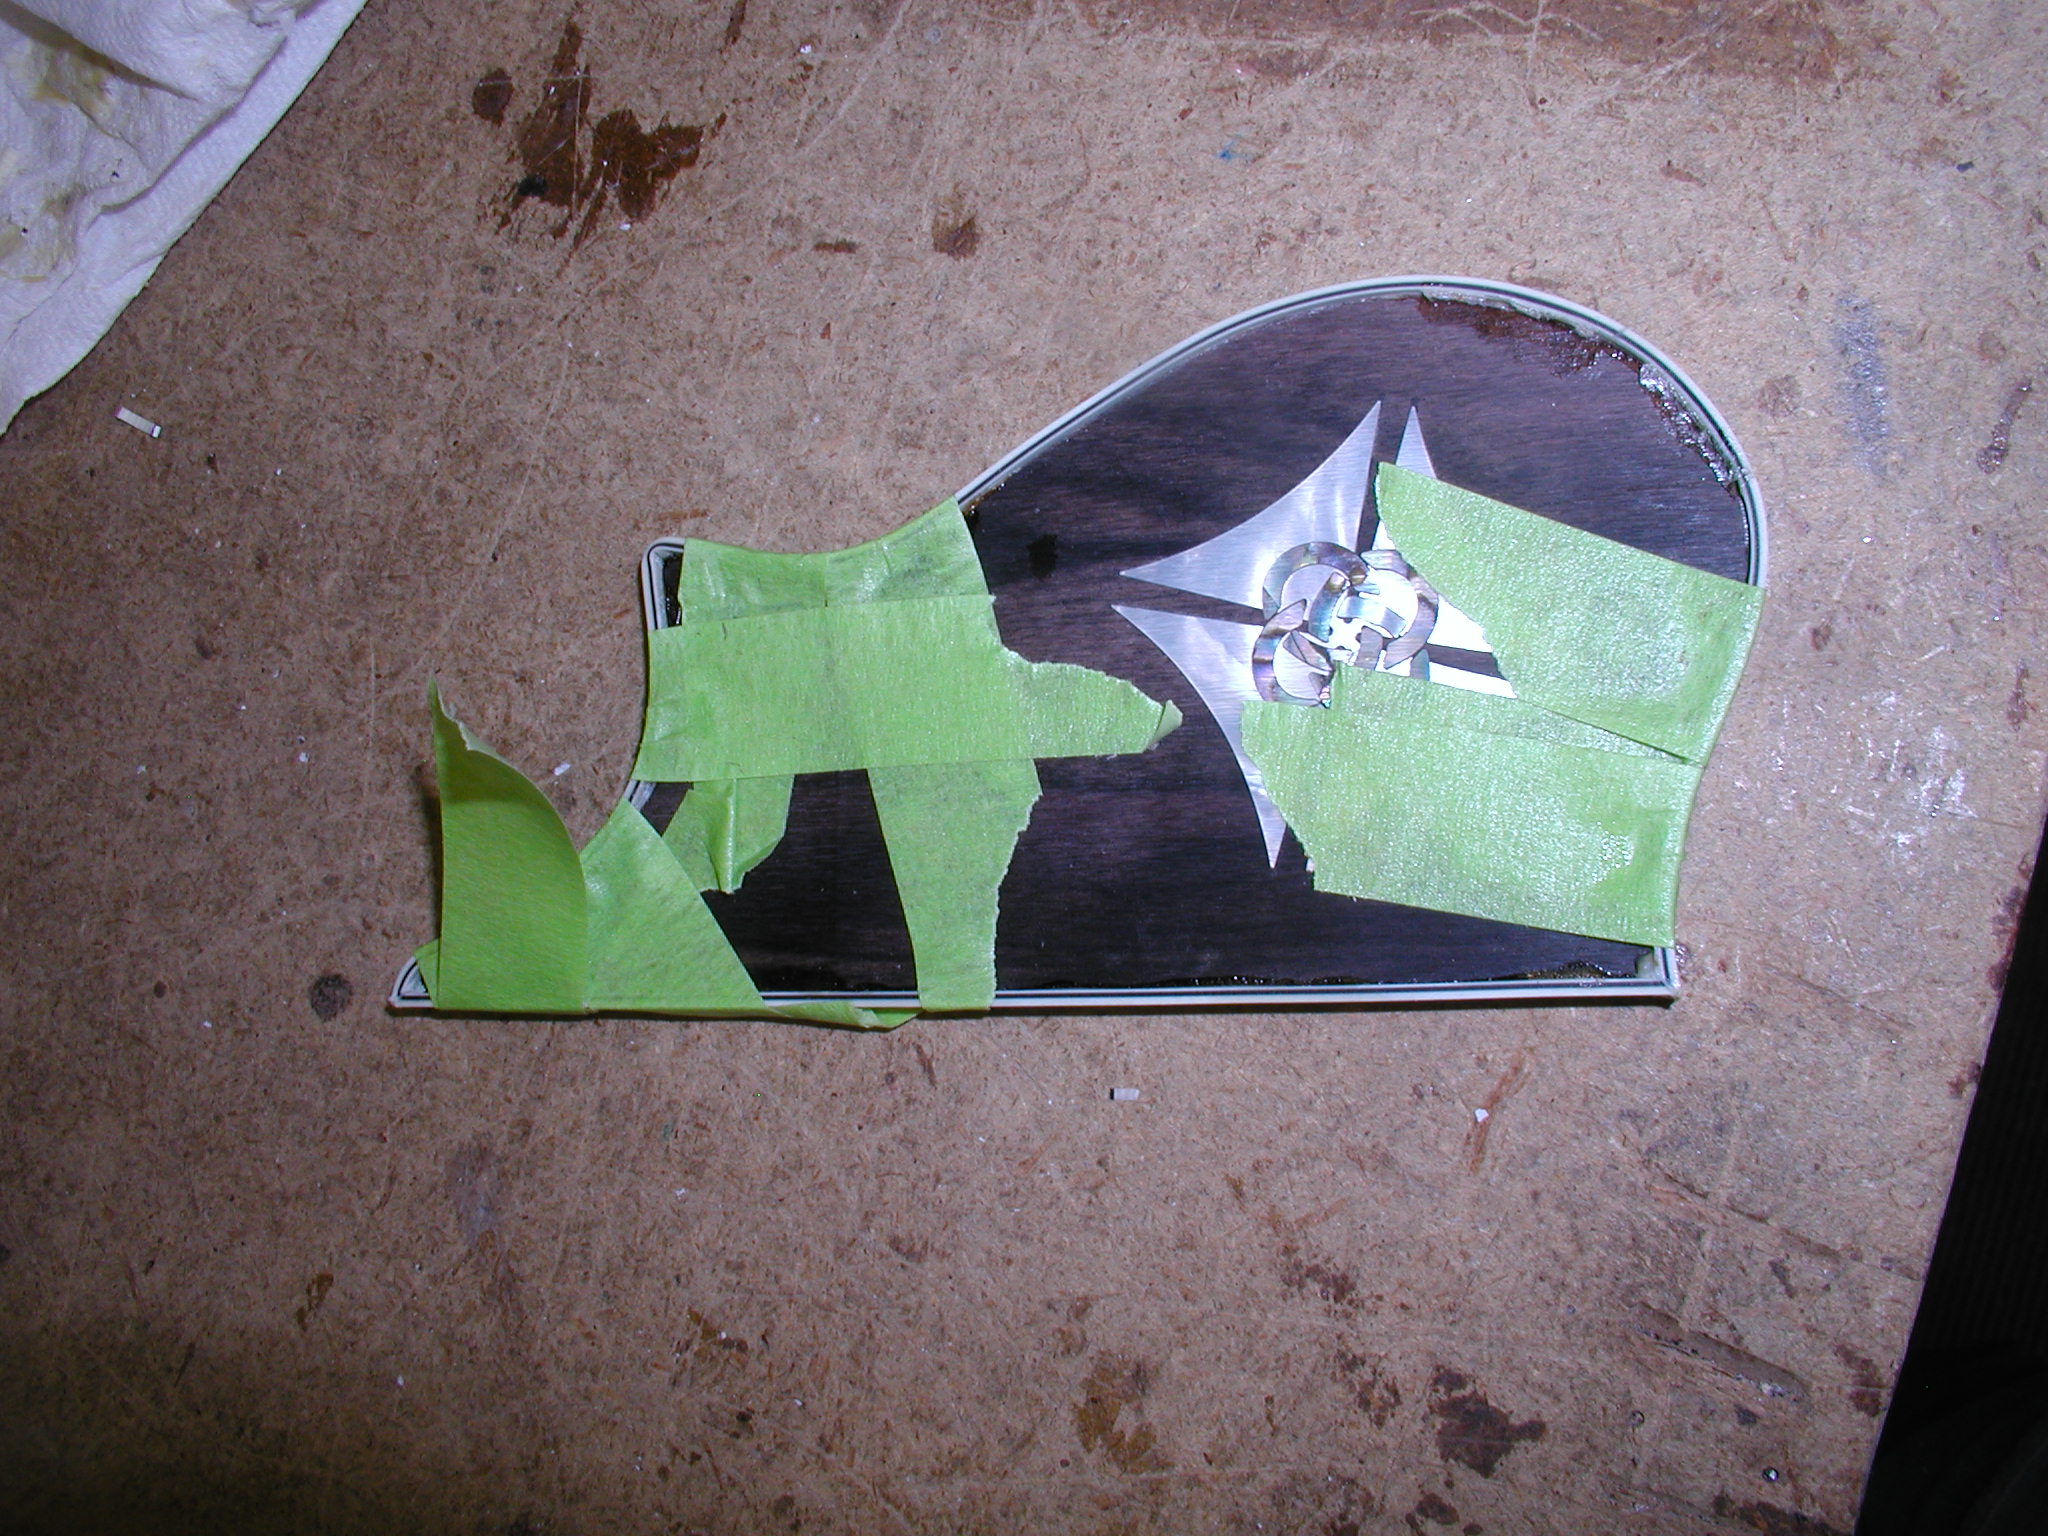
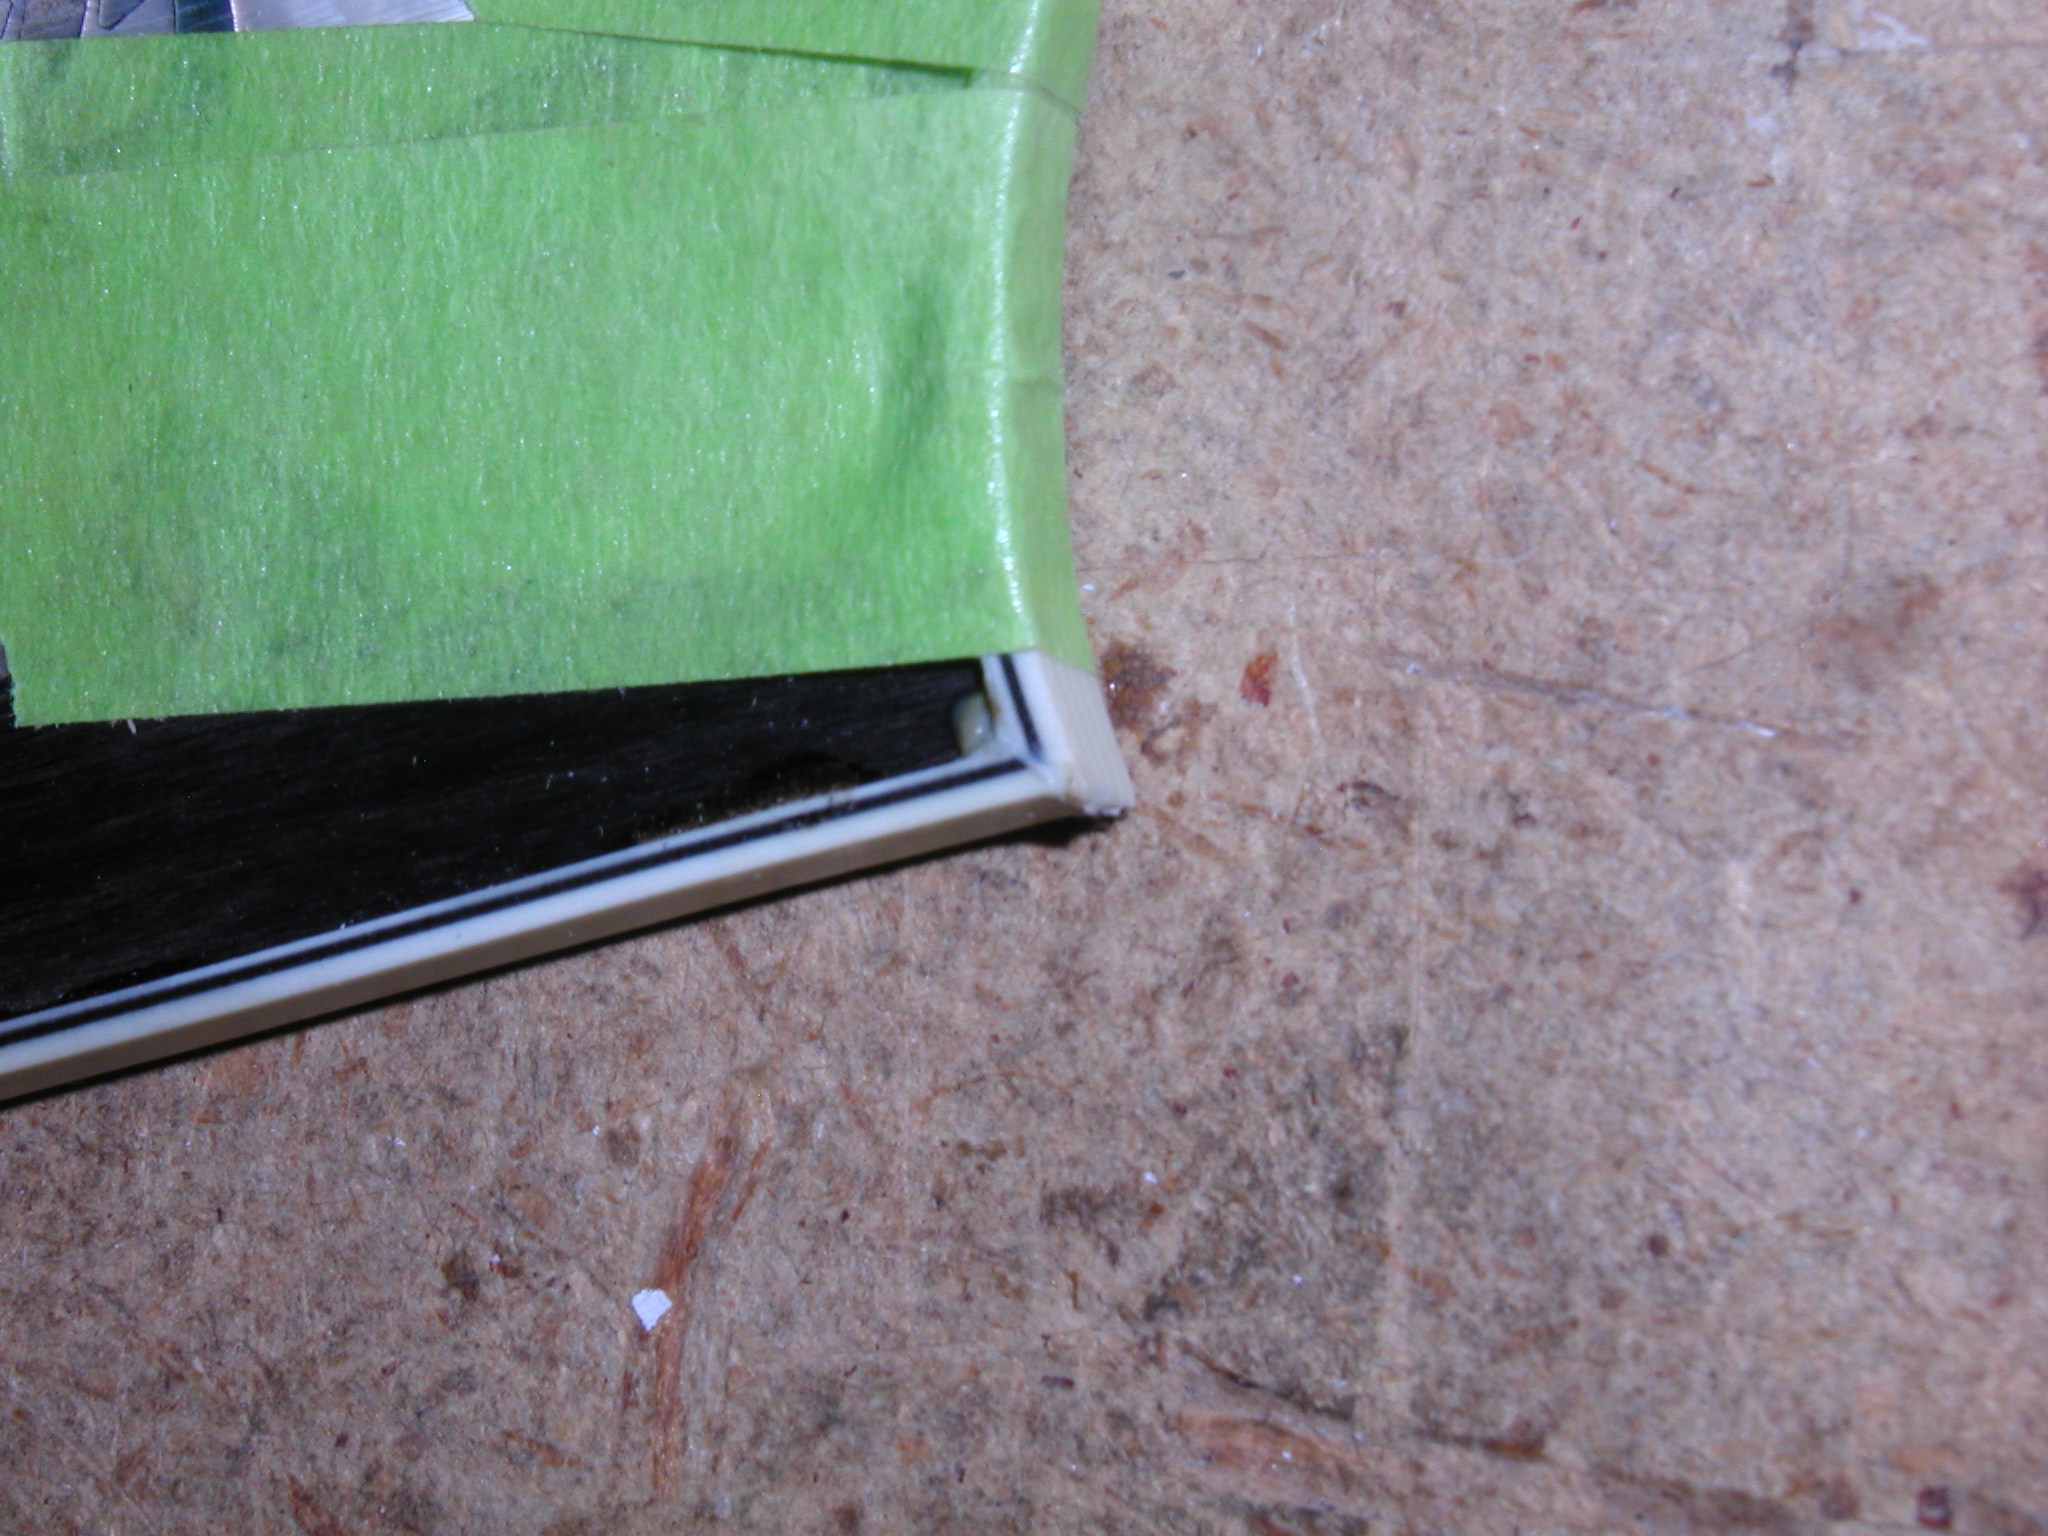
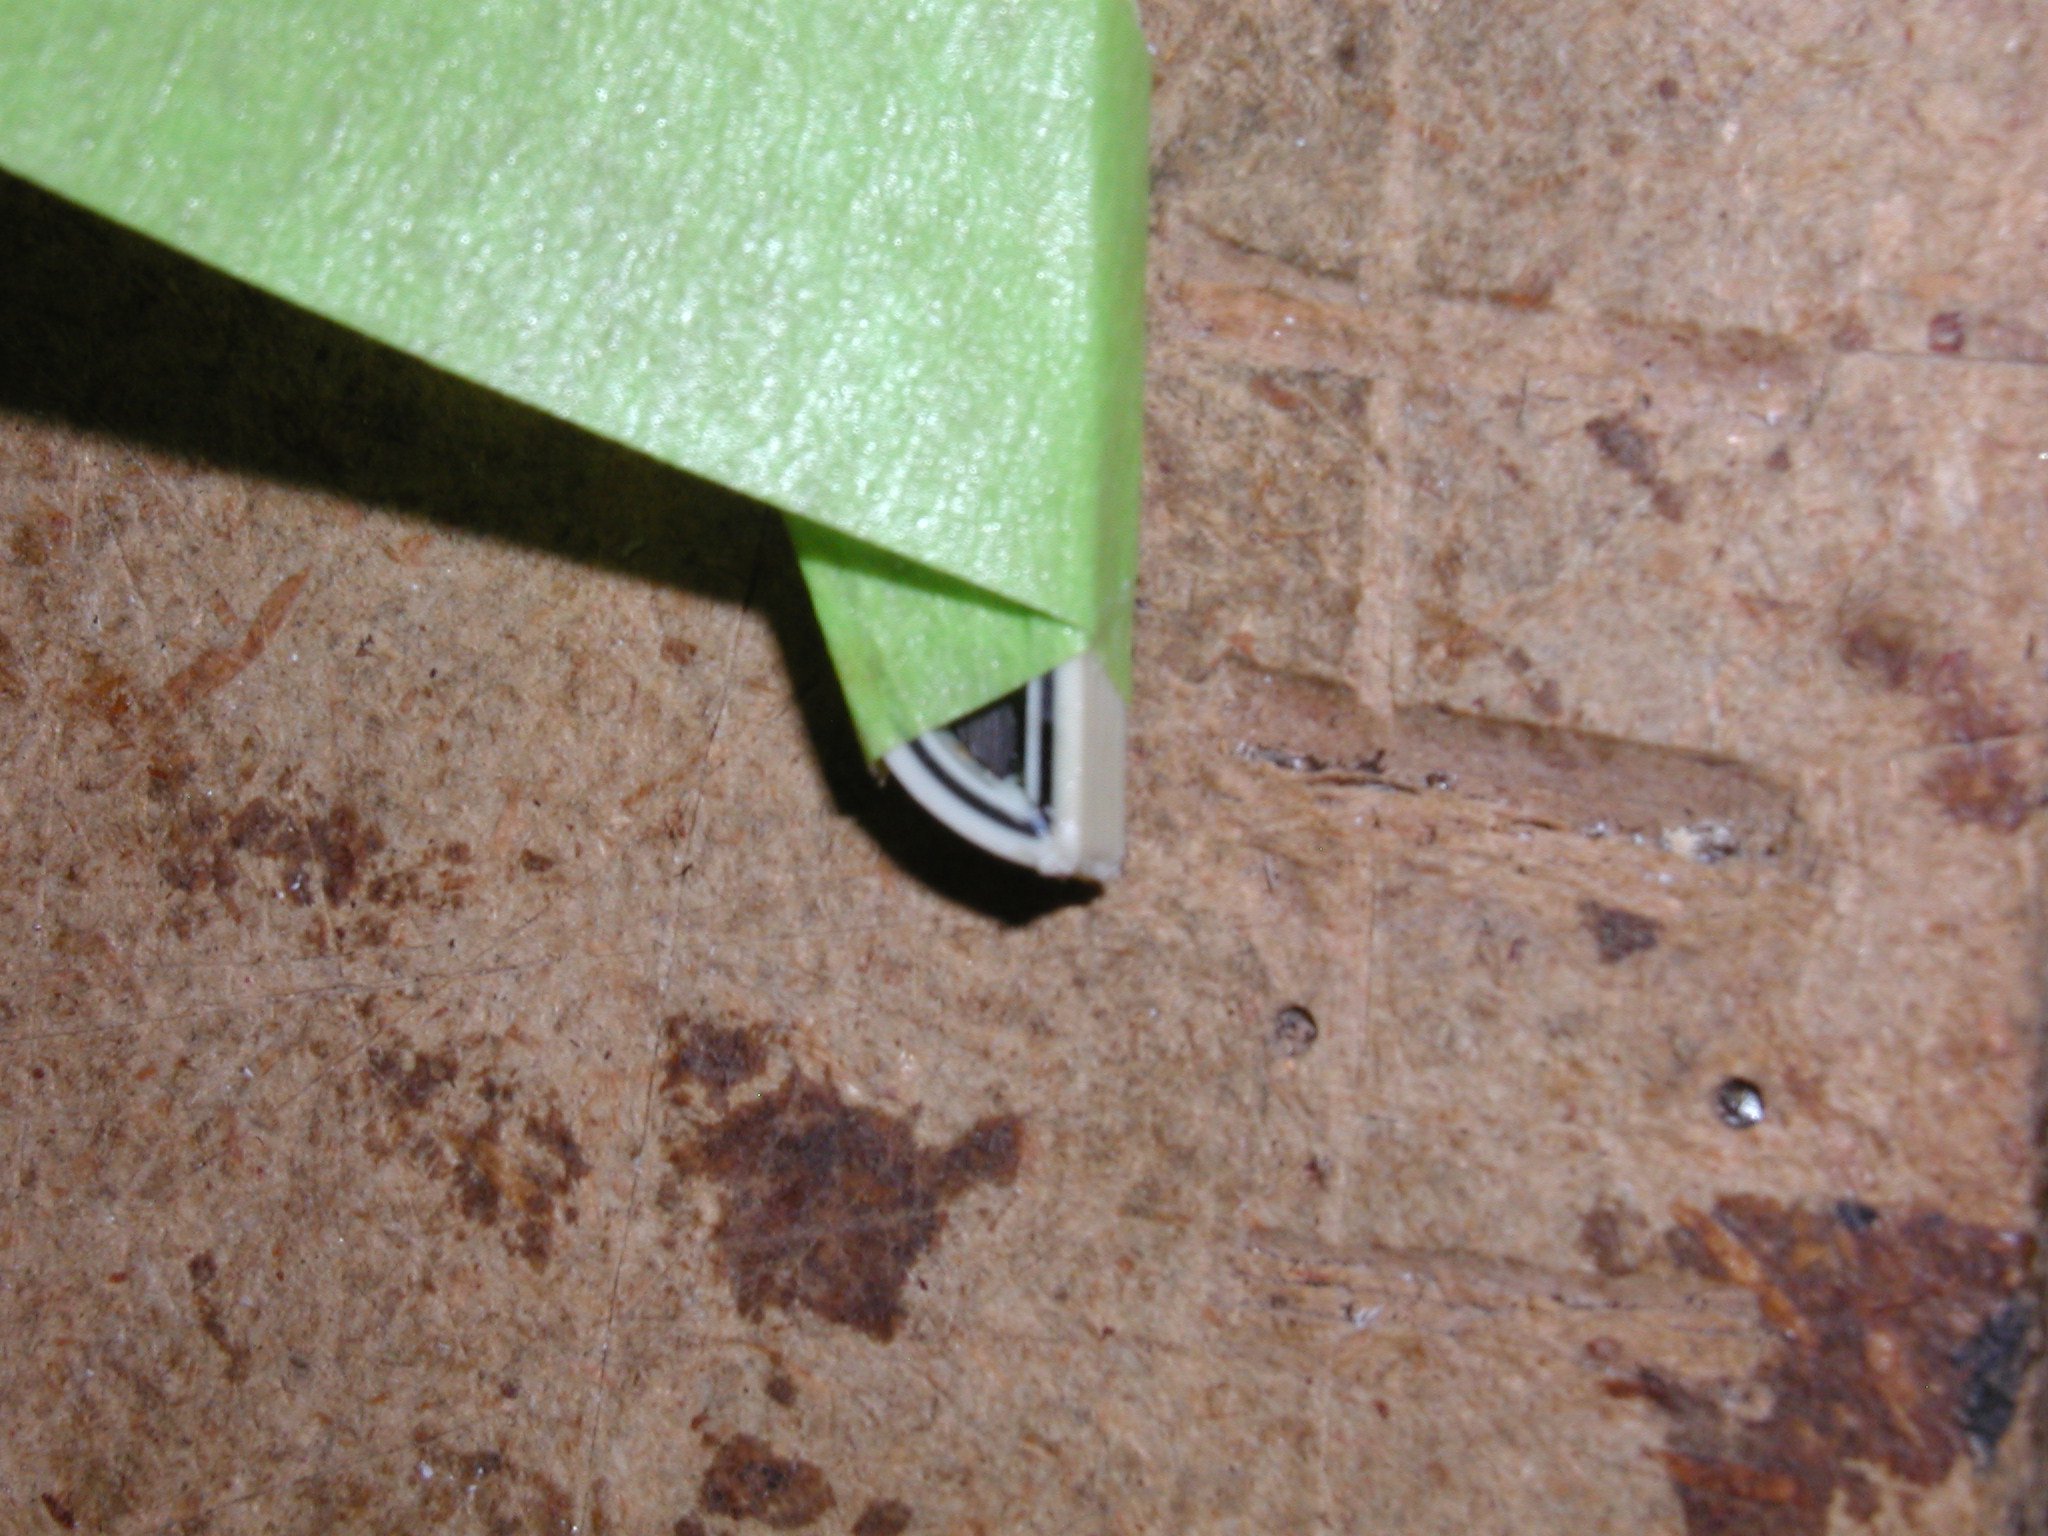
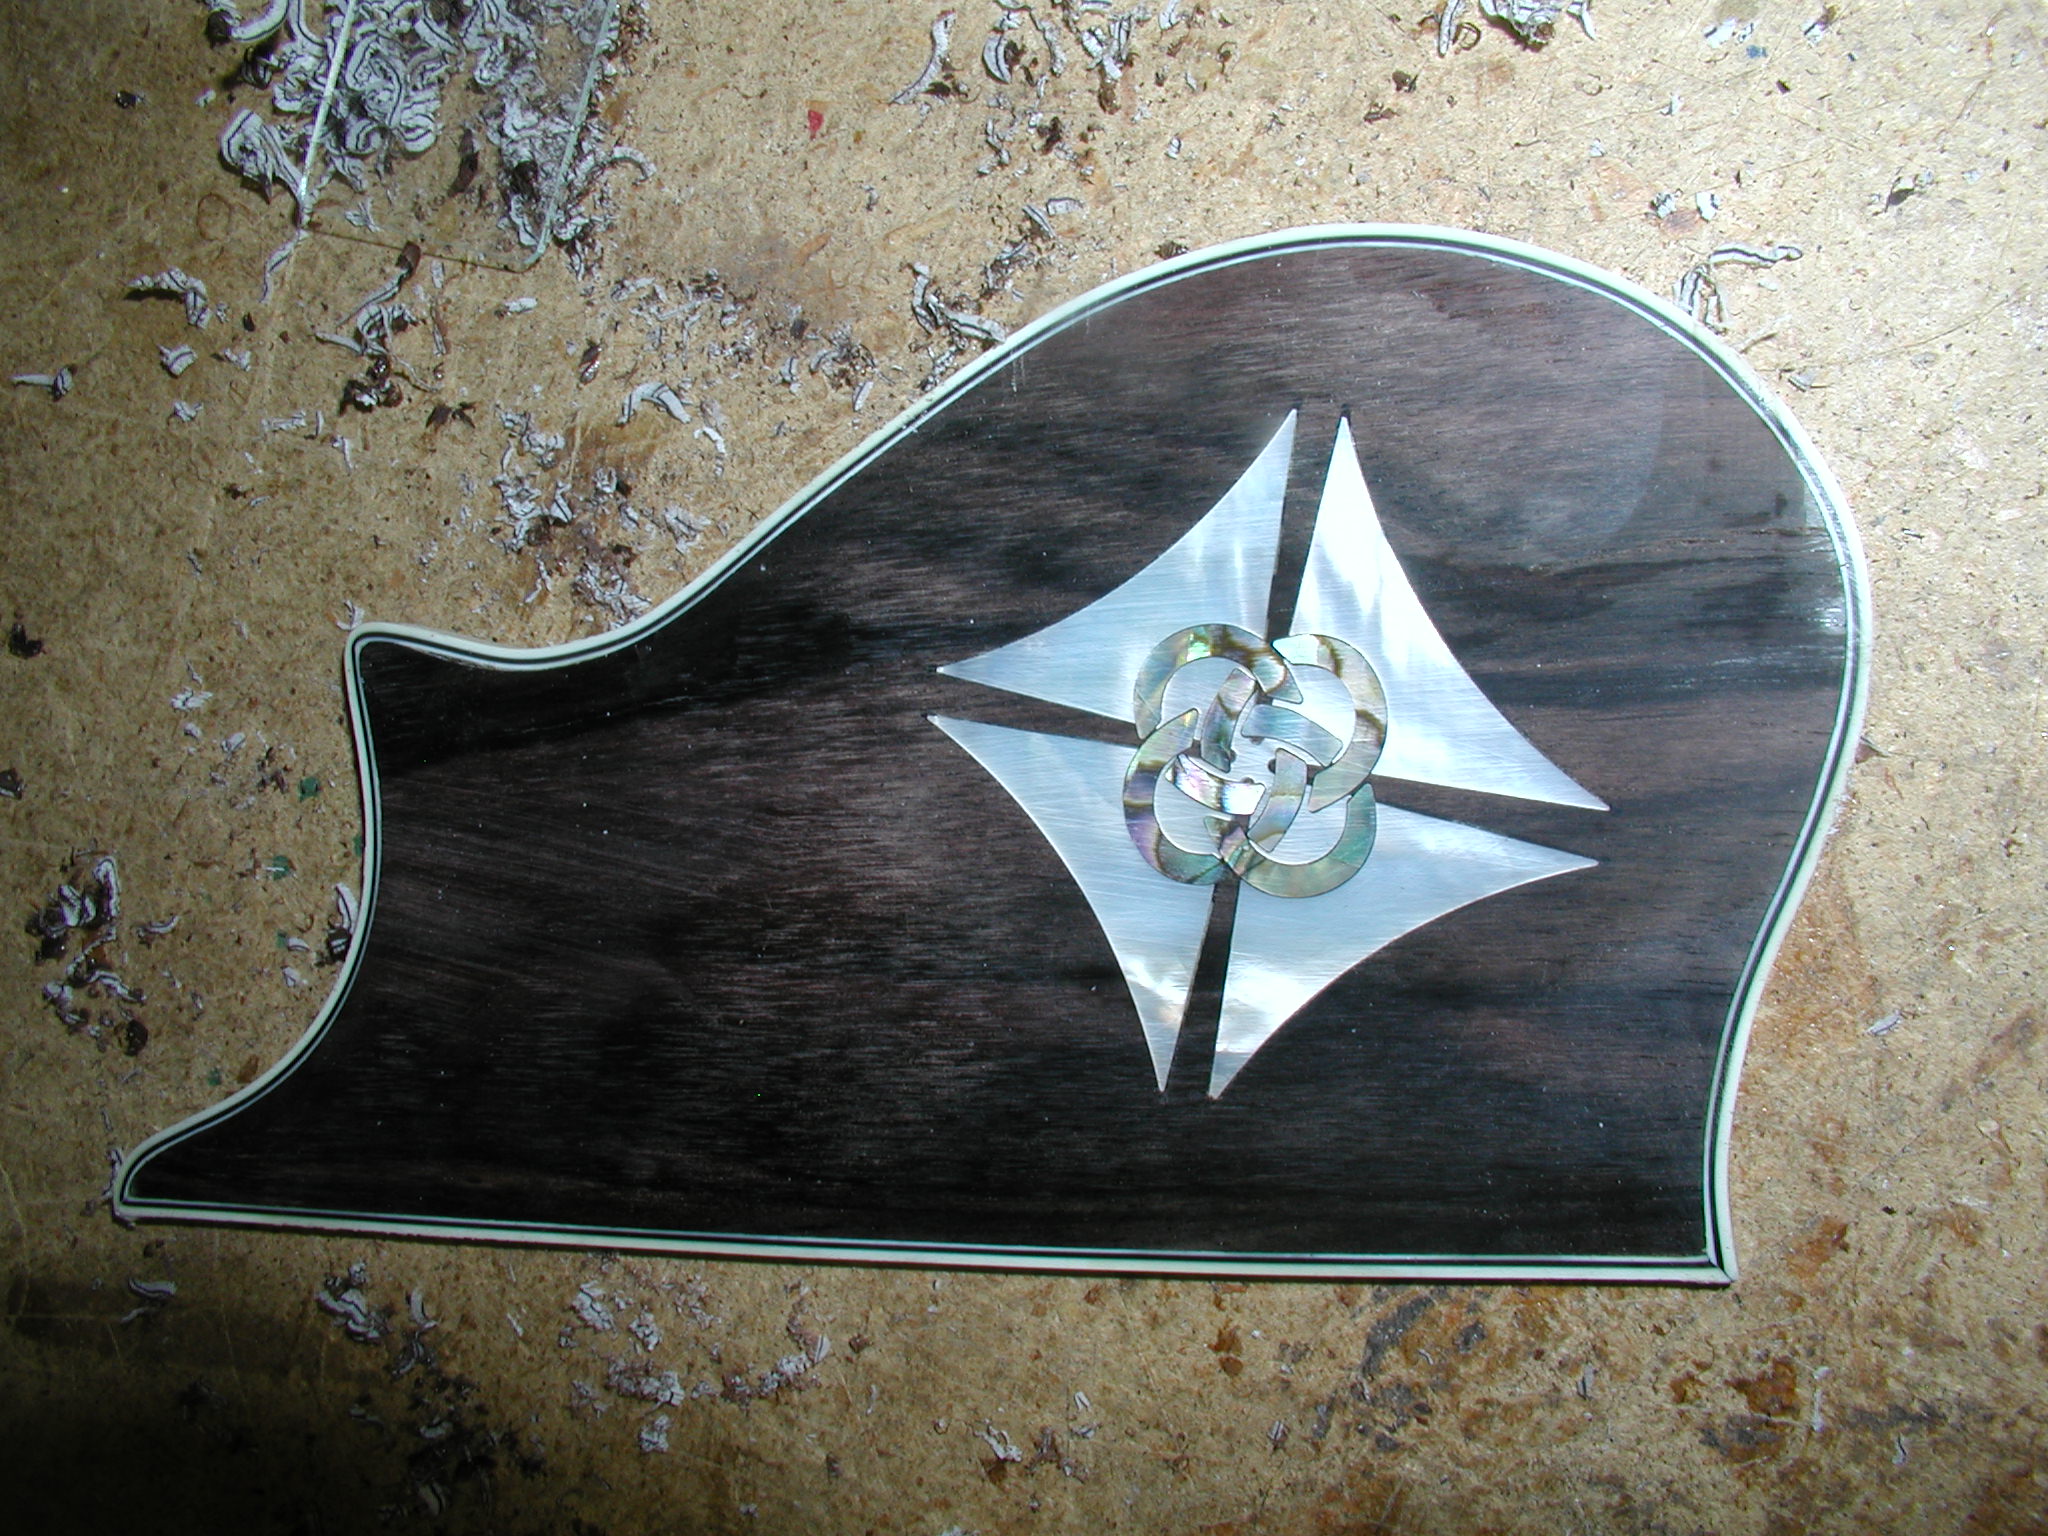
This one gets a pickguard. I'm showing all the pickguard steps here all together. In reality I was working on this as I went along, using it to fill in little bits of slack time. It is of the same wood as the headstock face and I inlayed the same design here that the owner wanted in the headstock but set off at a bit of an angle. Since the design is rather square-ish this blends it a bit better to the curvature of the body and pickguard edge. I use a template to mark it, cut it out leaving the line on the bandsaw. Then use the spindle sander to bring it up to the line. I bend my binding and glue it in place but don't fit the miter corners yet. This has so many curves I like to hold it in place with tape, but then use heavy twine to actually "bind" it down snug. The close ups and blueprints of the Loars show these corners as butt type joints, but I like to miter them in. I cut the start angle on the long straight piece and then slowly trim the curved pieces till they just go in with compression. Then butter them with binding goo and Duco and tape in tight. Finally level it all with a scraper.


Now I need to make a mount system for this pickguard. Again, these photos were taken over time, so some of the shots already have the bridge and strings in place. I've just combined them here to keep the story all together. We didn't want to drill any holes in the body, into the neck was OK, but we wanted some mount to the body that was secure but would not leave any holes. I purchased a cheap chin guard to get the screw attachment hardware. This is strictly not necessary, if you look around on the net you can find the hardware by itself in various lengths, such as HERE.
The attachment to the neck is just a block of ebony drilled and recesses to take some brass wood screws. A bit of fiddling around to get it located and holes drilled in the neck. I also sanded the screws smooth and coated them with some wipe-on polly so that they would stay bright. Same treatment to other brass parts of the assembly.
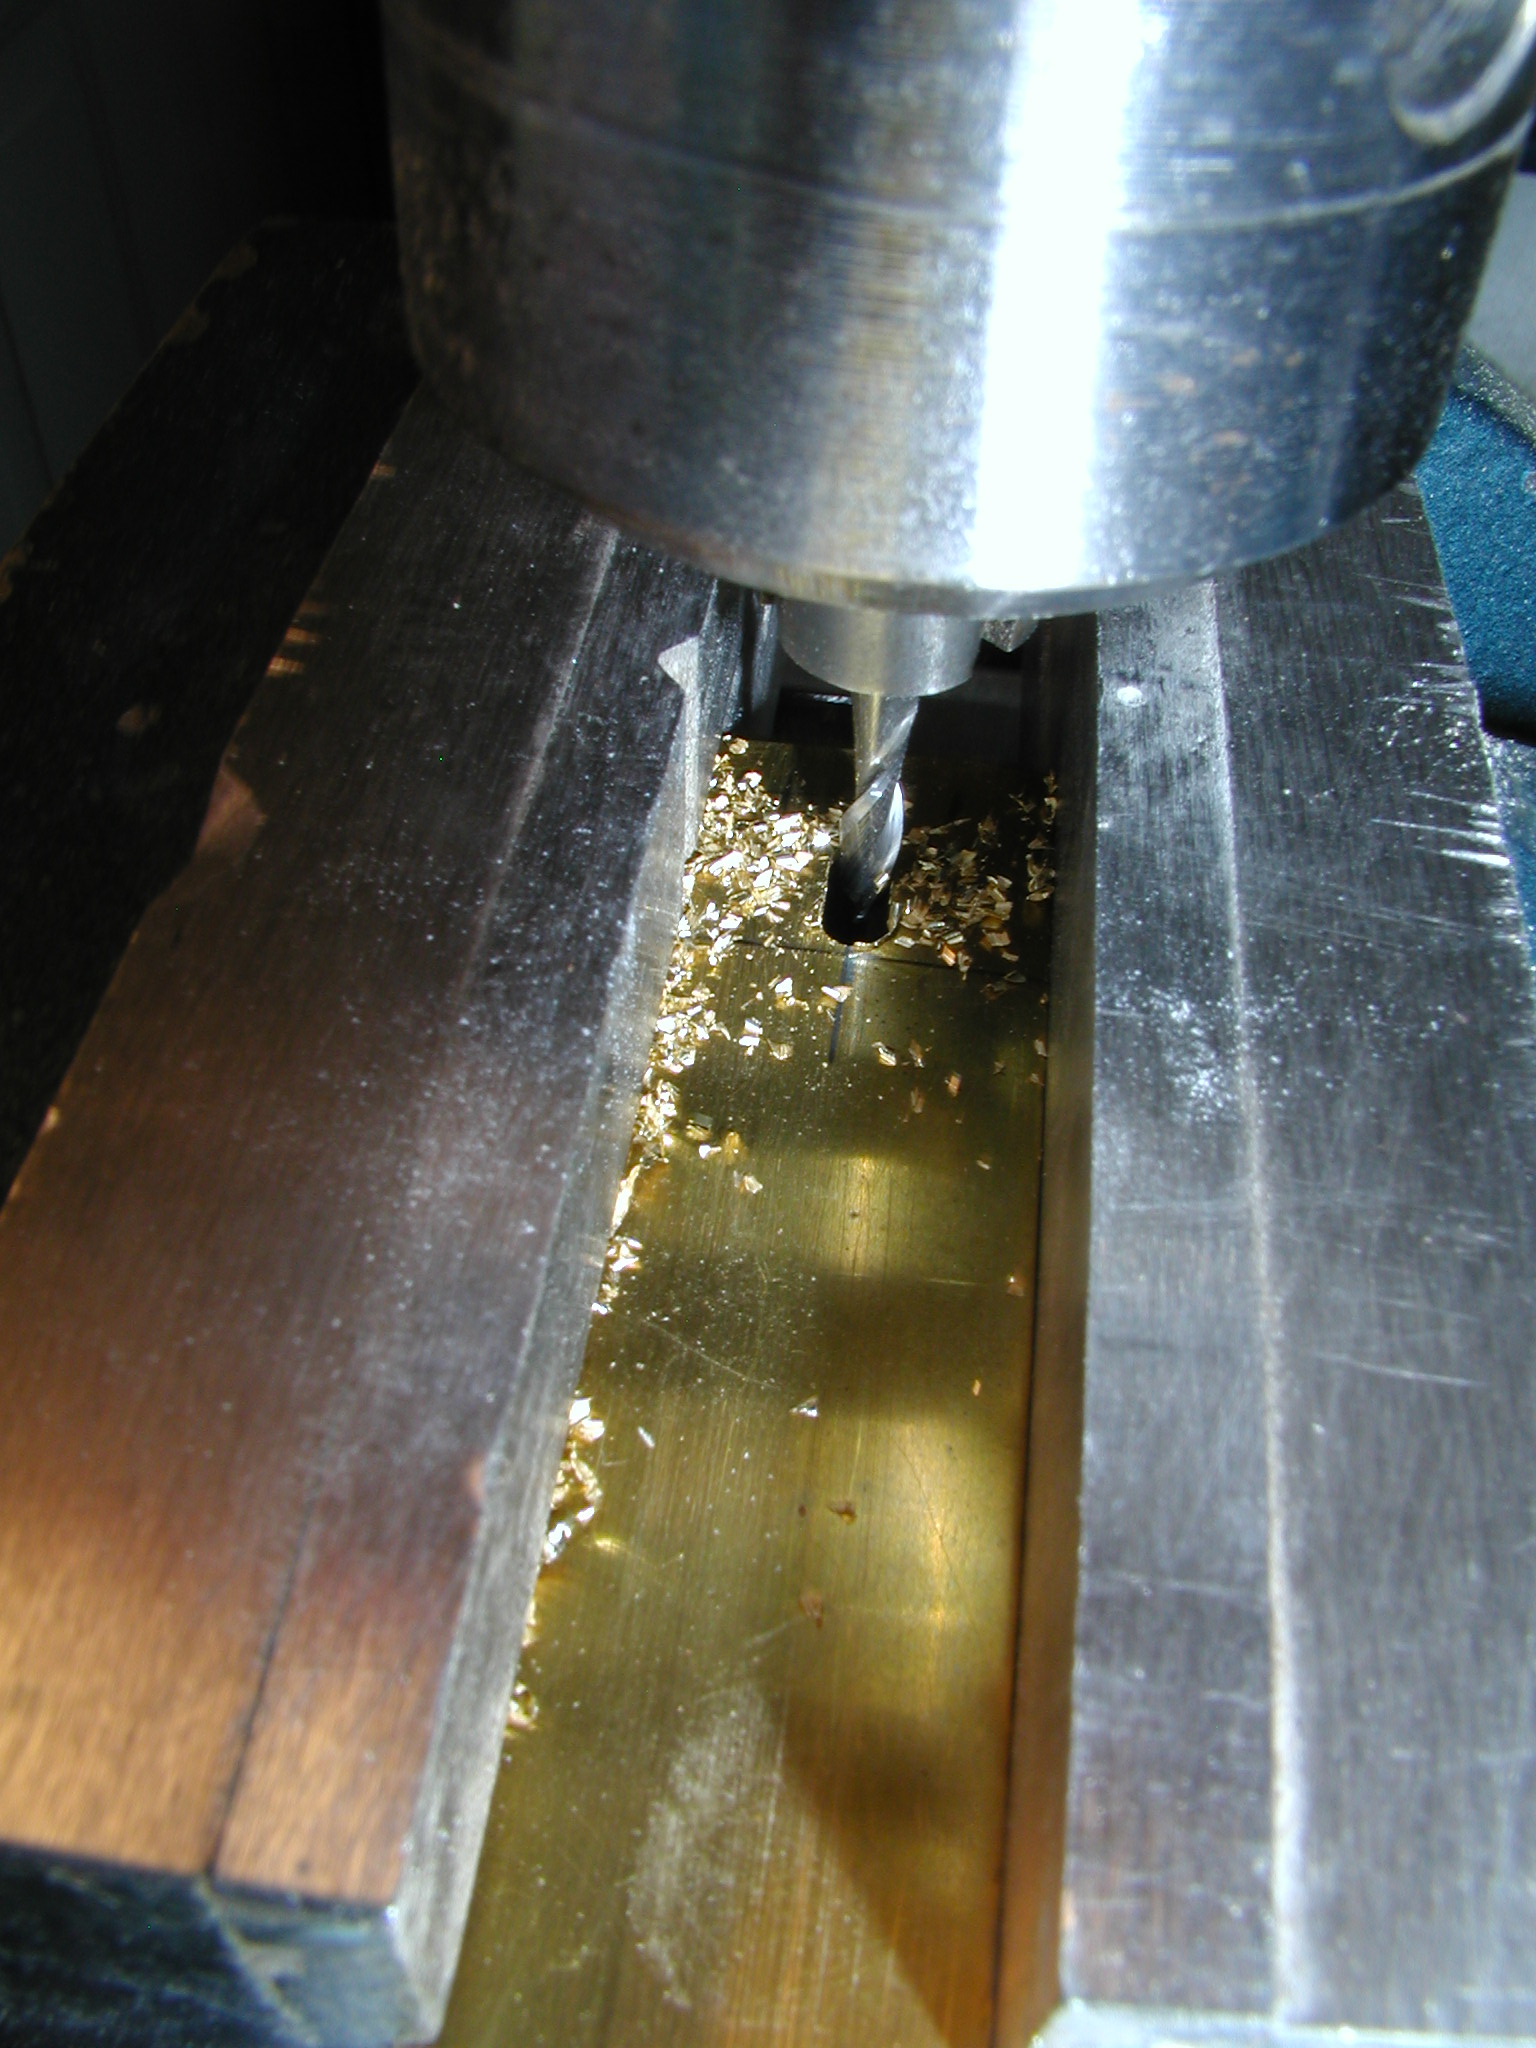
For the body mount I first tried to mount it gripping the block area of the point. This left a kind of ugly bit of the hardware showing on the bottom side. I could have bent the hardware but was worried about it flaking off the chrome. So I changed design and made it grip just a bit further down the side. If you look closely you can see that the bottom of the block is curved and is actually gripping in the area where the top is glued to the linings, not down in the recurve itself so it should not damp the sound much at all. The block is just a bit of ebony fretboard off cut that I threaded to take the curved bits. I then milled a slot in a piece of brass stock and made a slotted tab out of it that is attached to the back side of this block on the body.


Then I made another block of ebony to attach to the pickguard bottom that is also threaded and takes a brass screw. I aligned the block with the screw and the slotted brass bit and mark the location of the block on the bottom of the pickguard with tape. Then I glued it in place on the bottom of the guard. The body block gets some sheet cork which is glued with contact cement. I also added some strips of contact-stick felt to the adjuster rods to make it stand off from the side and not mar the finish.


The clamp goes on loose, then the guard gets screwed in place loose slotting the screw in the upper block into the slot of the brass clamp. I level and true the guard and tighten the neck screws aligning the slots. Then position the body clamp and snug it in place. Last of all tighten the screw in the slotted clamp. It is very secure and has no rattles or vibration at all. I think if I did another like this I might use one separate screw assembly and just a single small block on the top. That means I'd have to cut off part of the bottom and smooth it up to make a cork padded tab on the bottom. I think this should work and would be smaller and neater.


1 2 3 4 5 6 7 8 8a 9 10 11 11a 11b 12 12a 13 14 15 16 17 18 19 20