Let's Build A Mandolin (Page 8)
1 2 3 4 5 6 7 8 8a 9 10 11 11a 11b 12 12a 13 14 15 16 17 18 19 20
Last Modified - Oct 2011(©Alan Dunwell 2011)
In Page 7 we got the top binding all shaped, fitted, and glued in place. While that is curing out let's have another go at the neck.
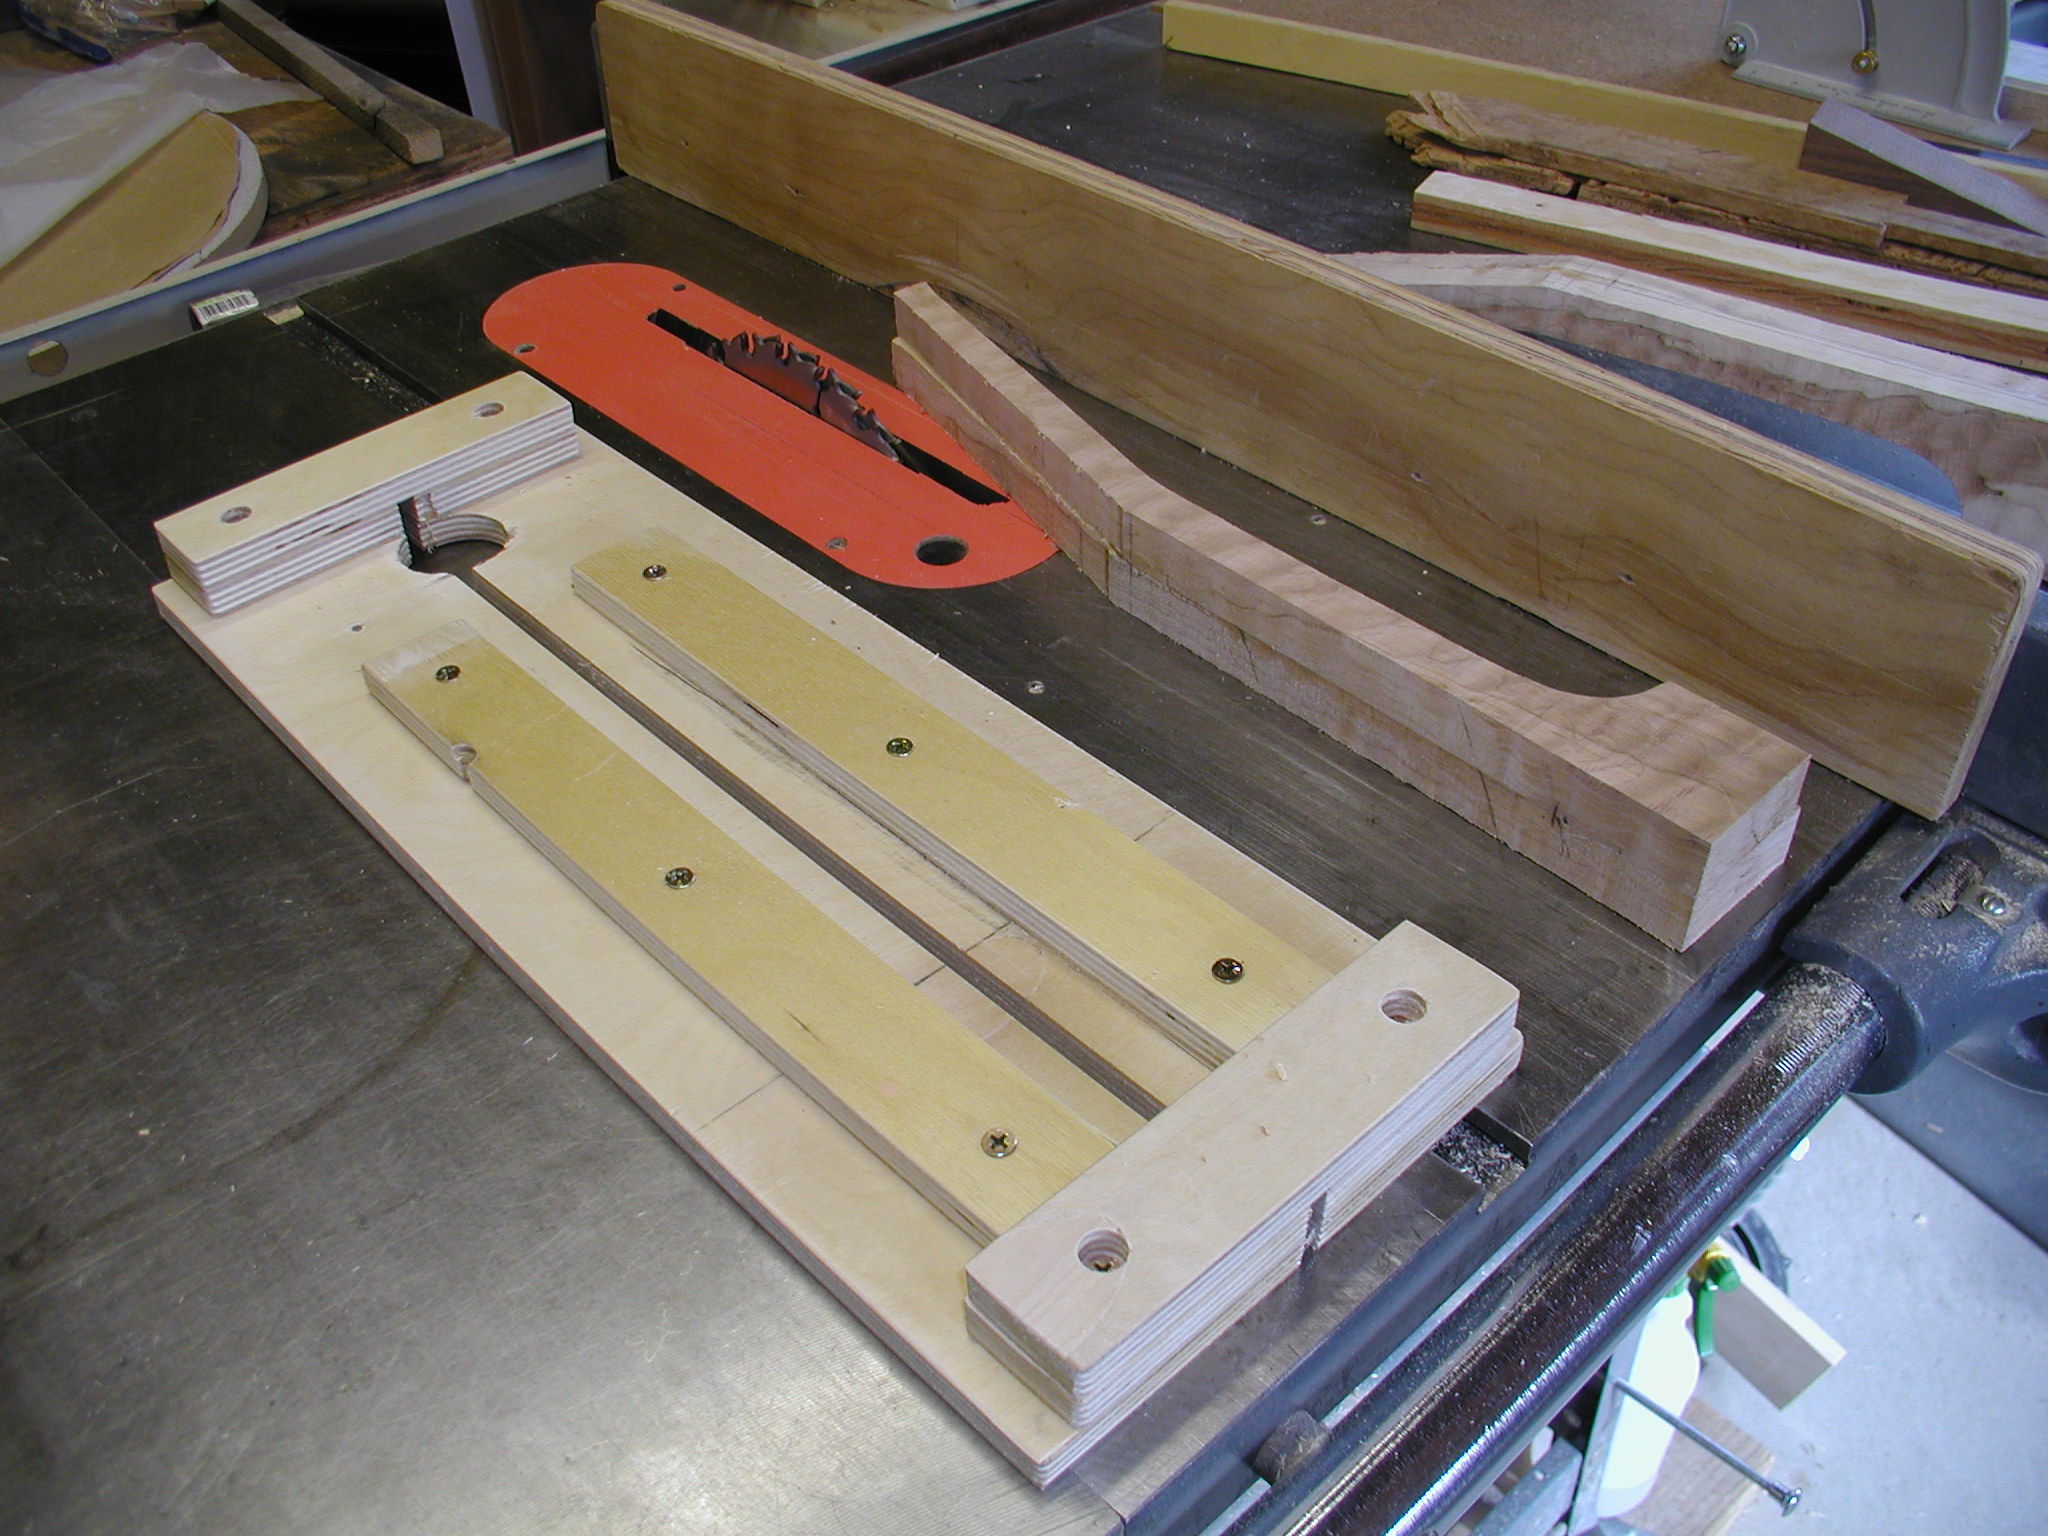
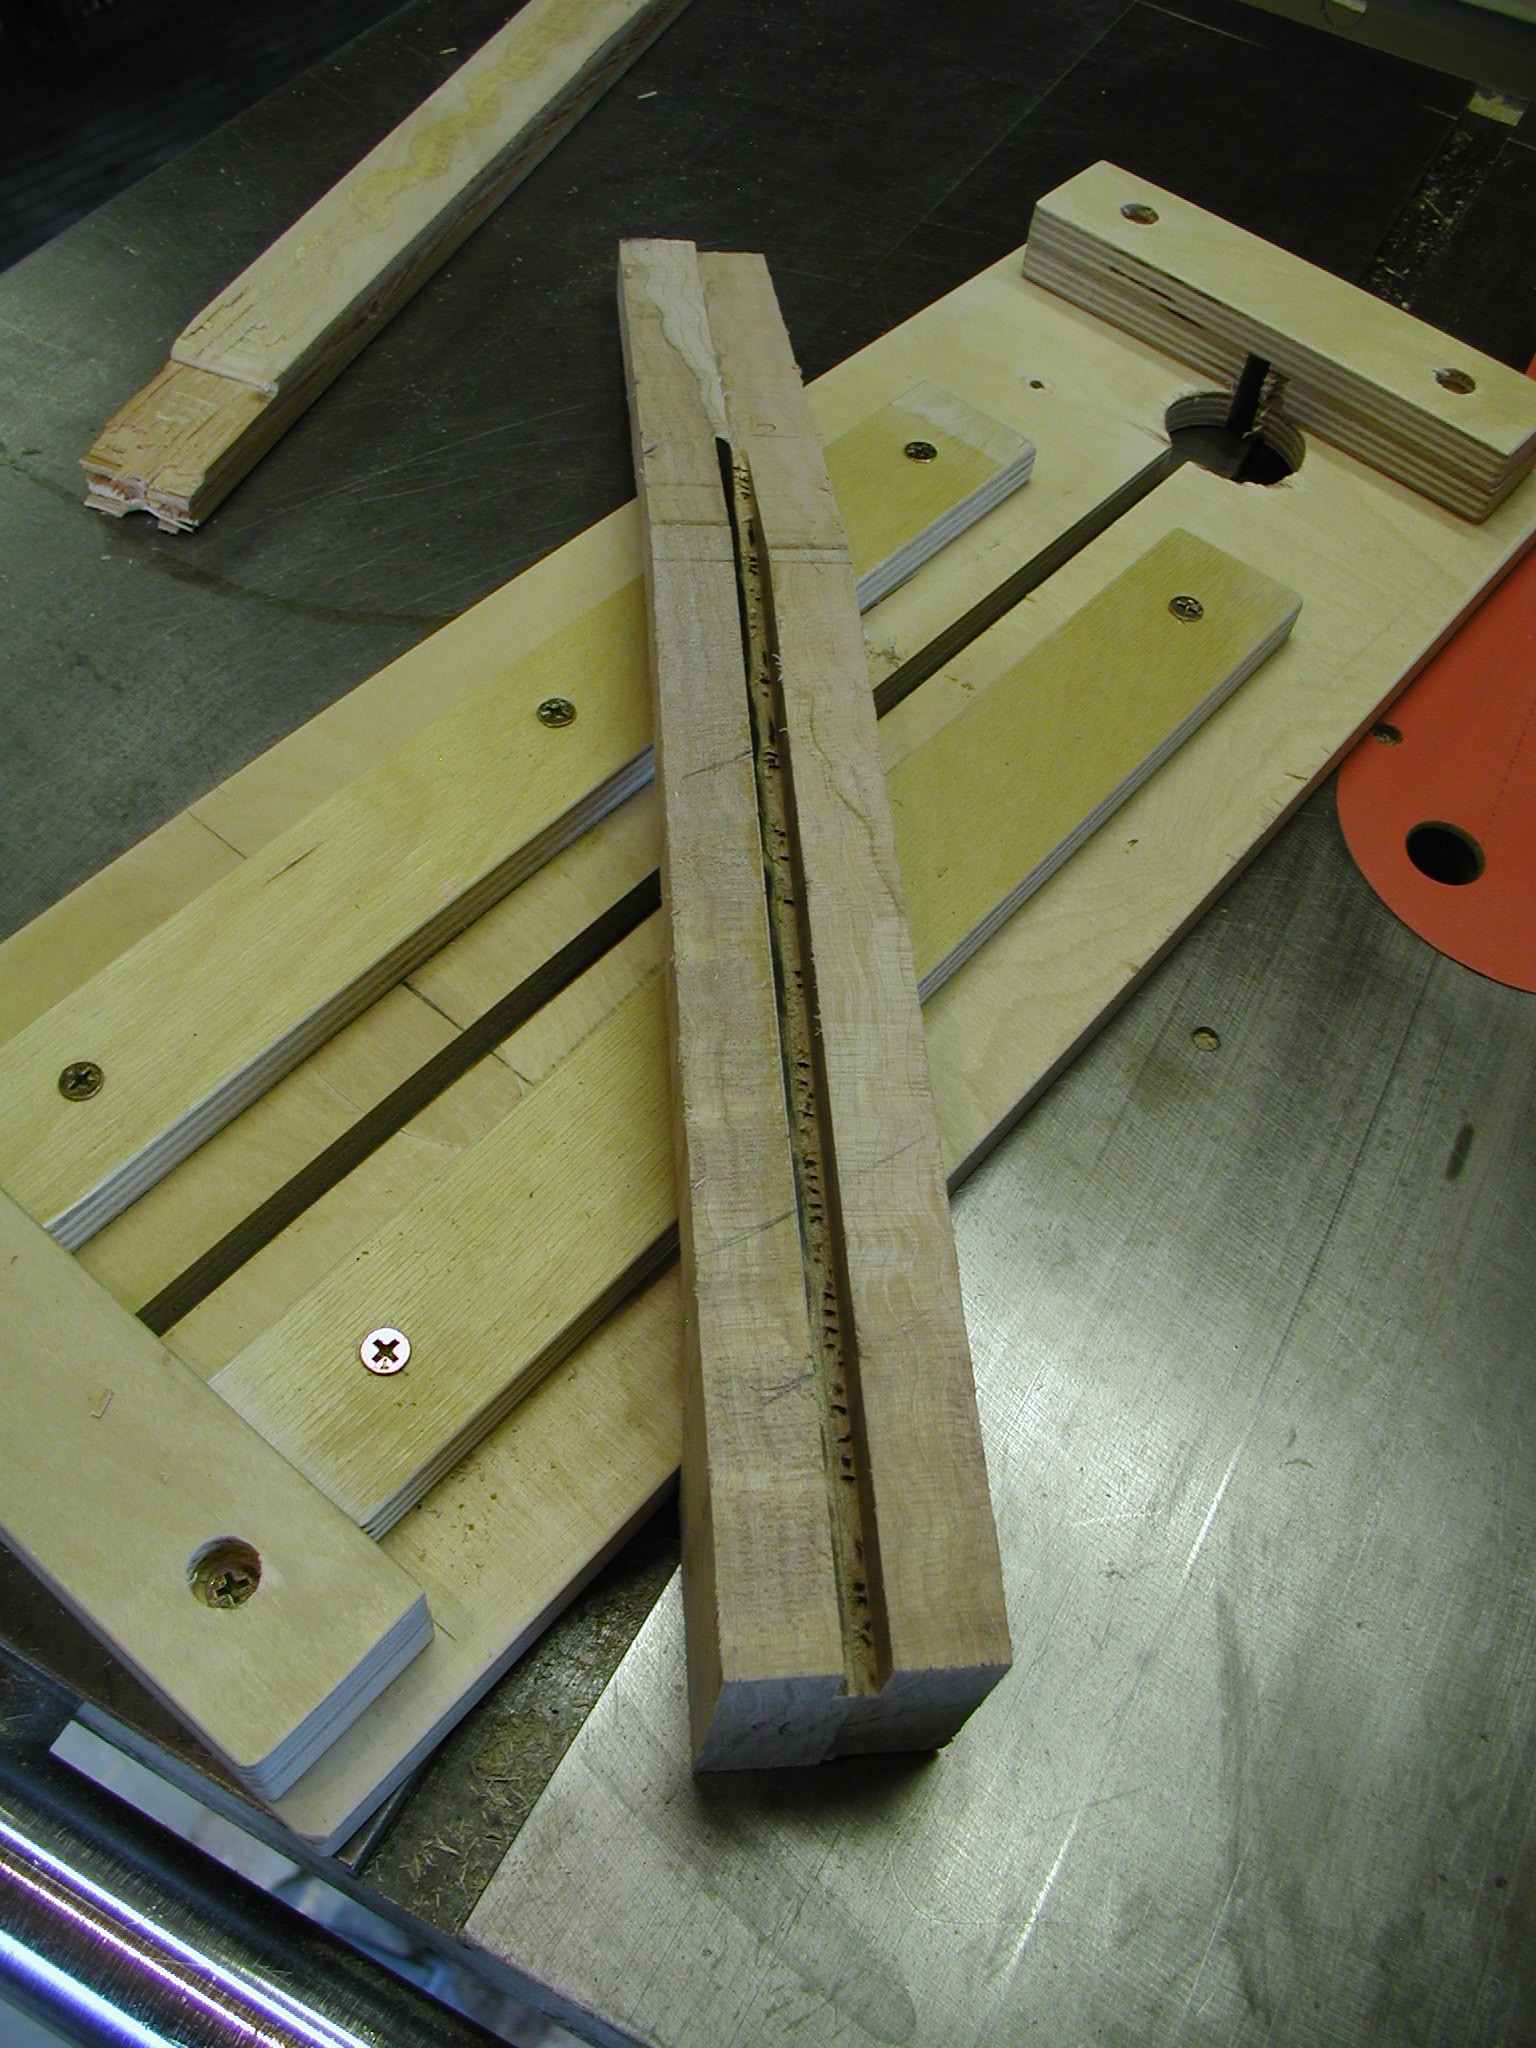
Remember how we trimmed the neck to width on the bandsaw? Here is the reason why. I am now fitting the neck into a sled jig for the table saw. The sled fits over a dado set that is just the right thickness for a graphite bar or a truss rod. So I fit the sled over the raised blade, bring over the side guide and lock it. That forces the cut to be right up the middle of the neck. The neck fits snug into the sled so I don't need any clamps or anything. I do a test cut on scrap to get the depth of cut right and then make a pass with the neck in place. In the last photo you can see the pair of graphite bars that I will use for the neck reinforcement. This one is getting bars rather than an adjustable truss rod, I'm finding that this is a good way to go since the graphite is so strong the neck never needs to be adjusted.

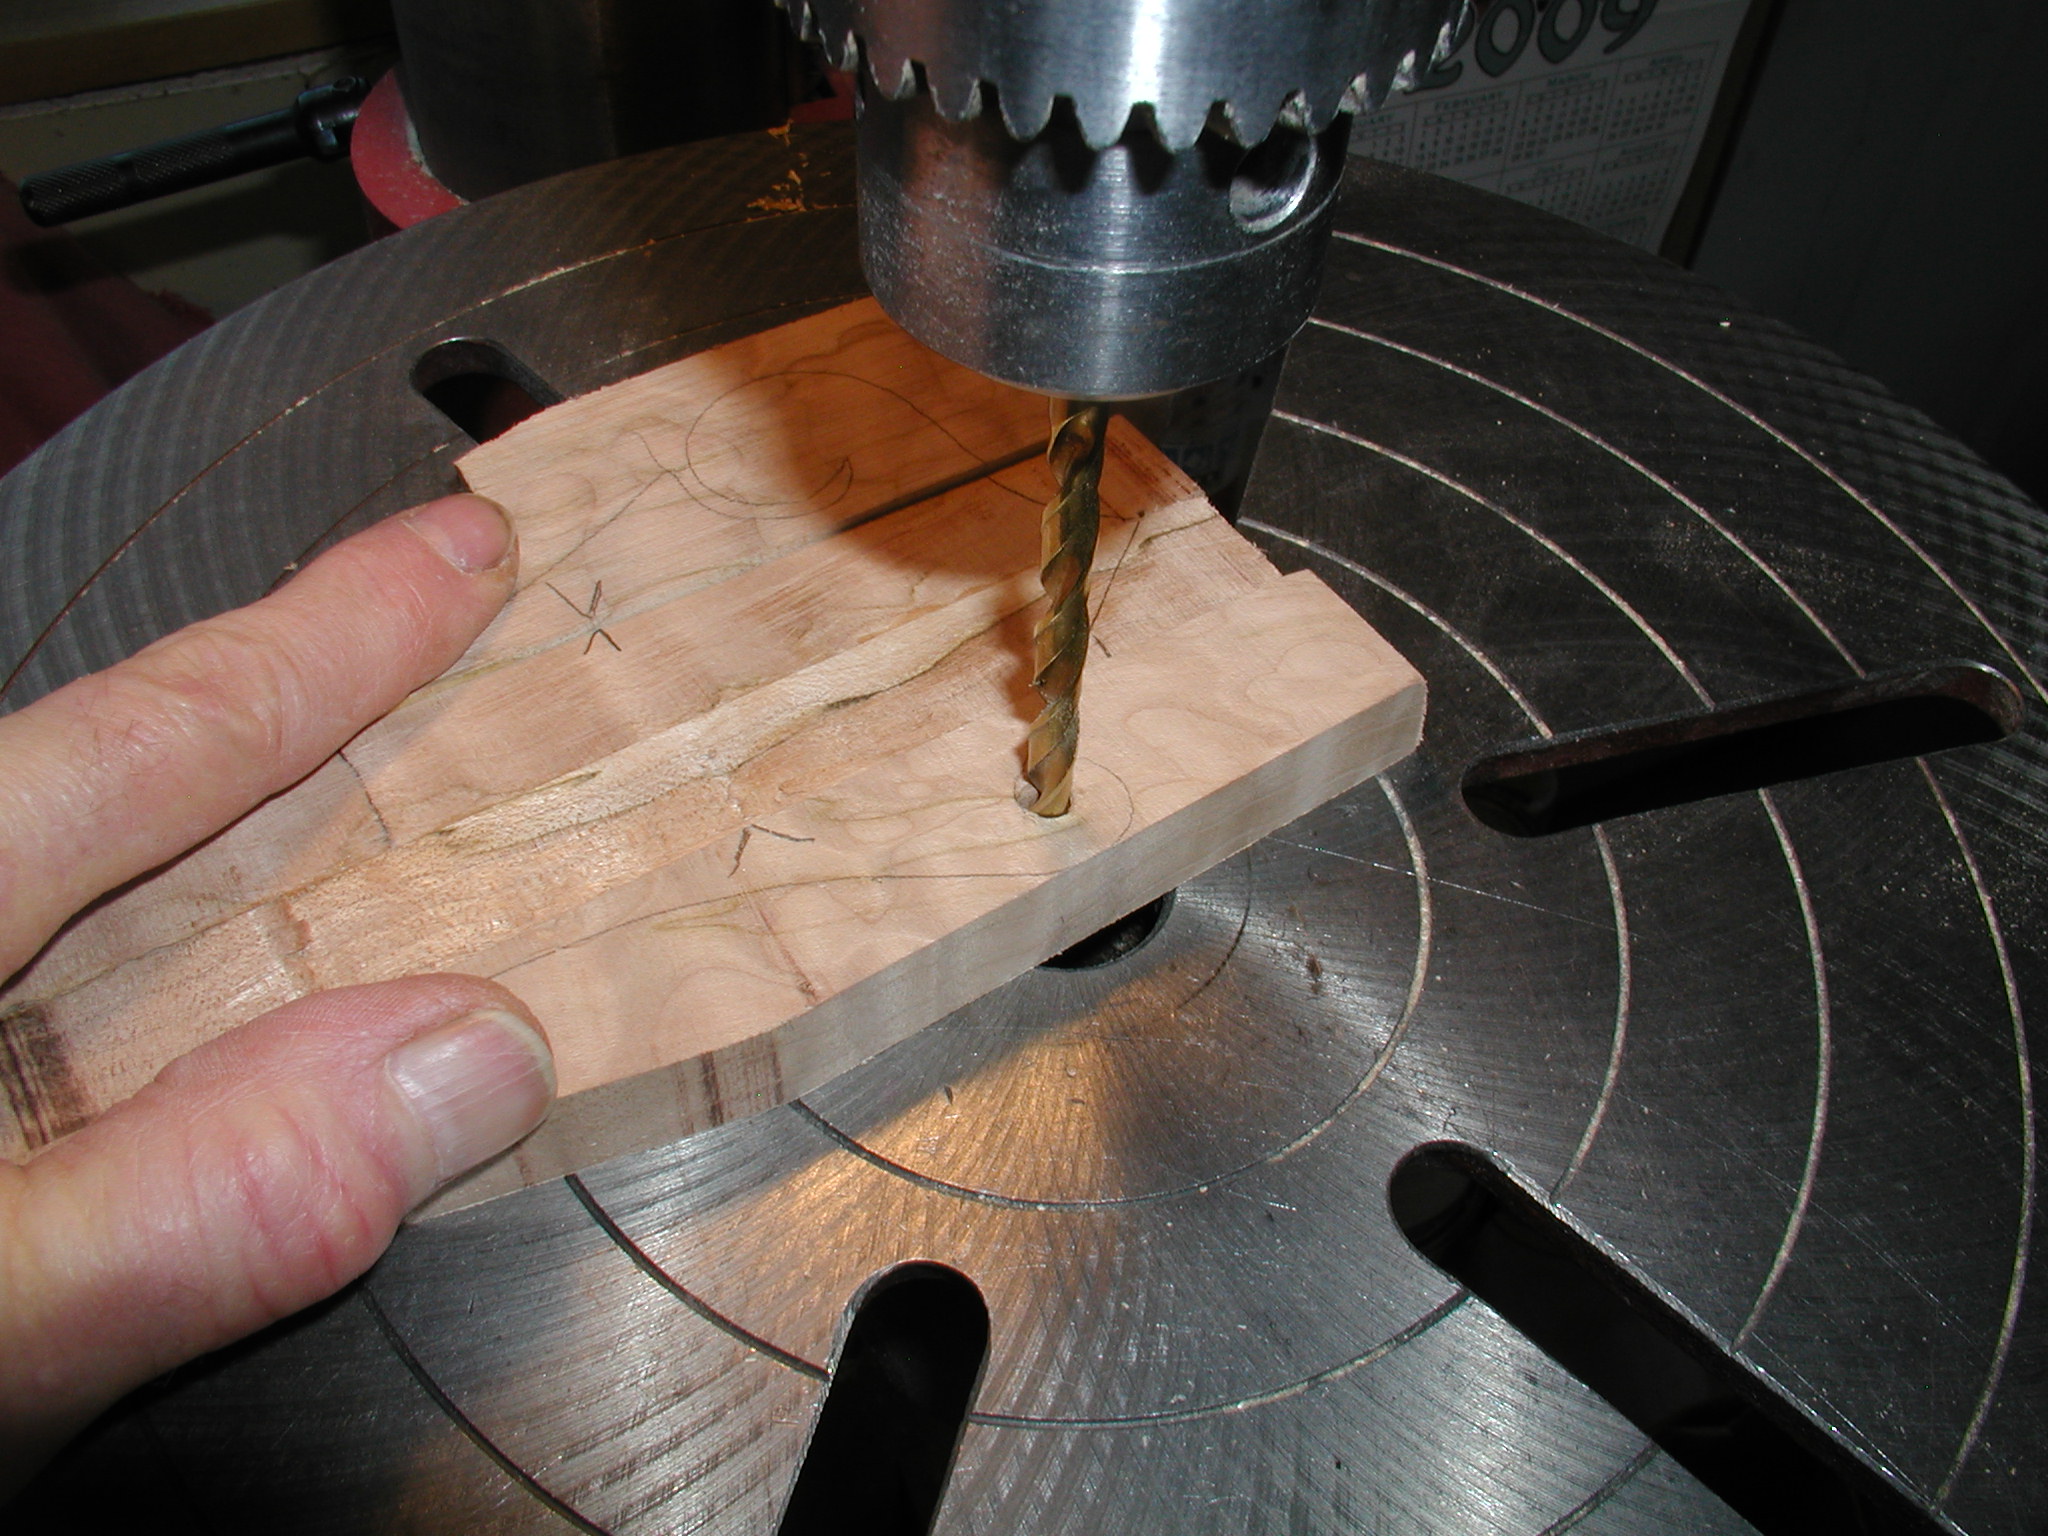
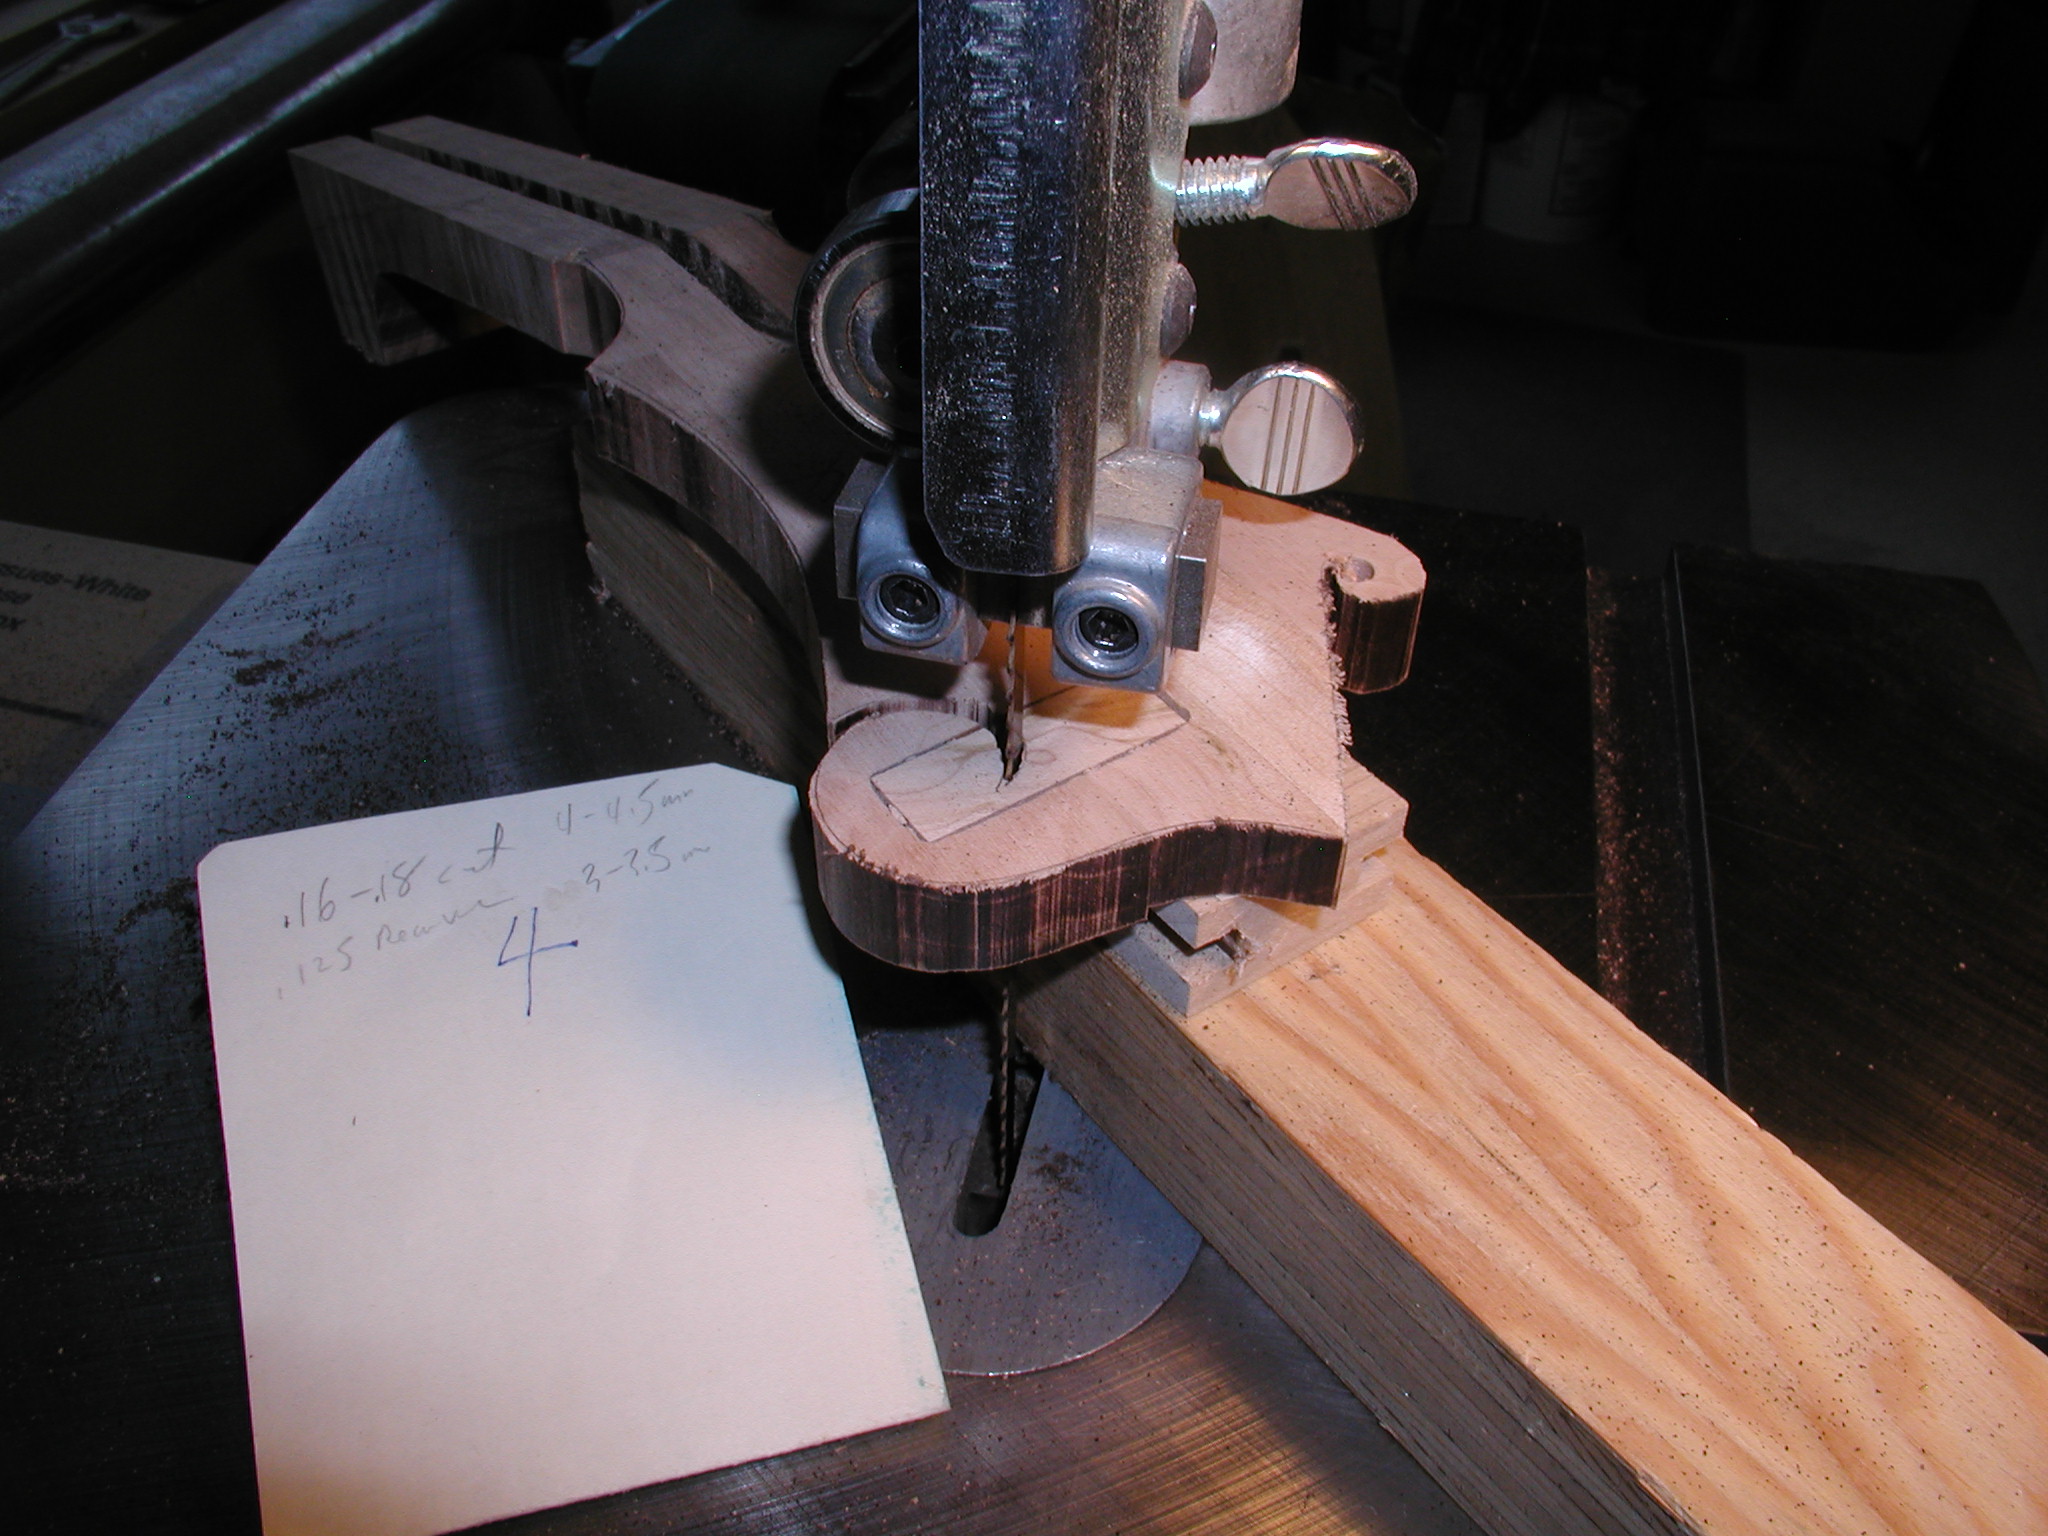
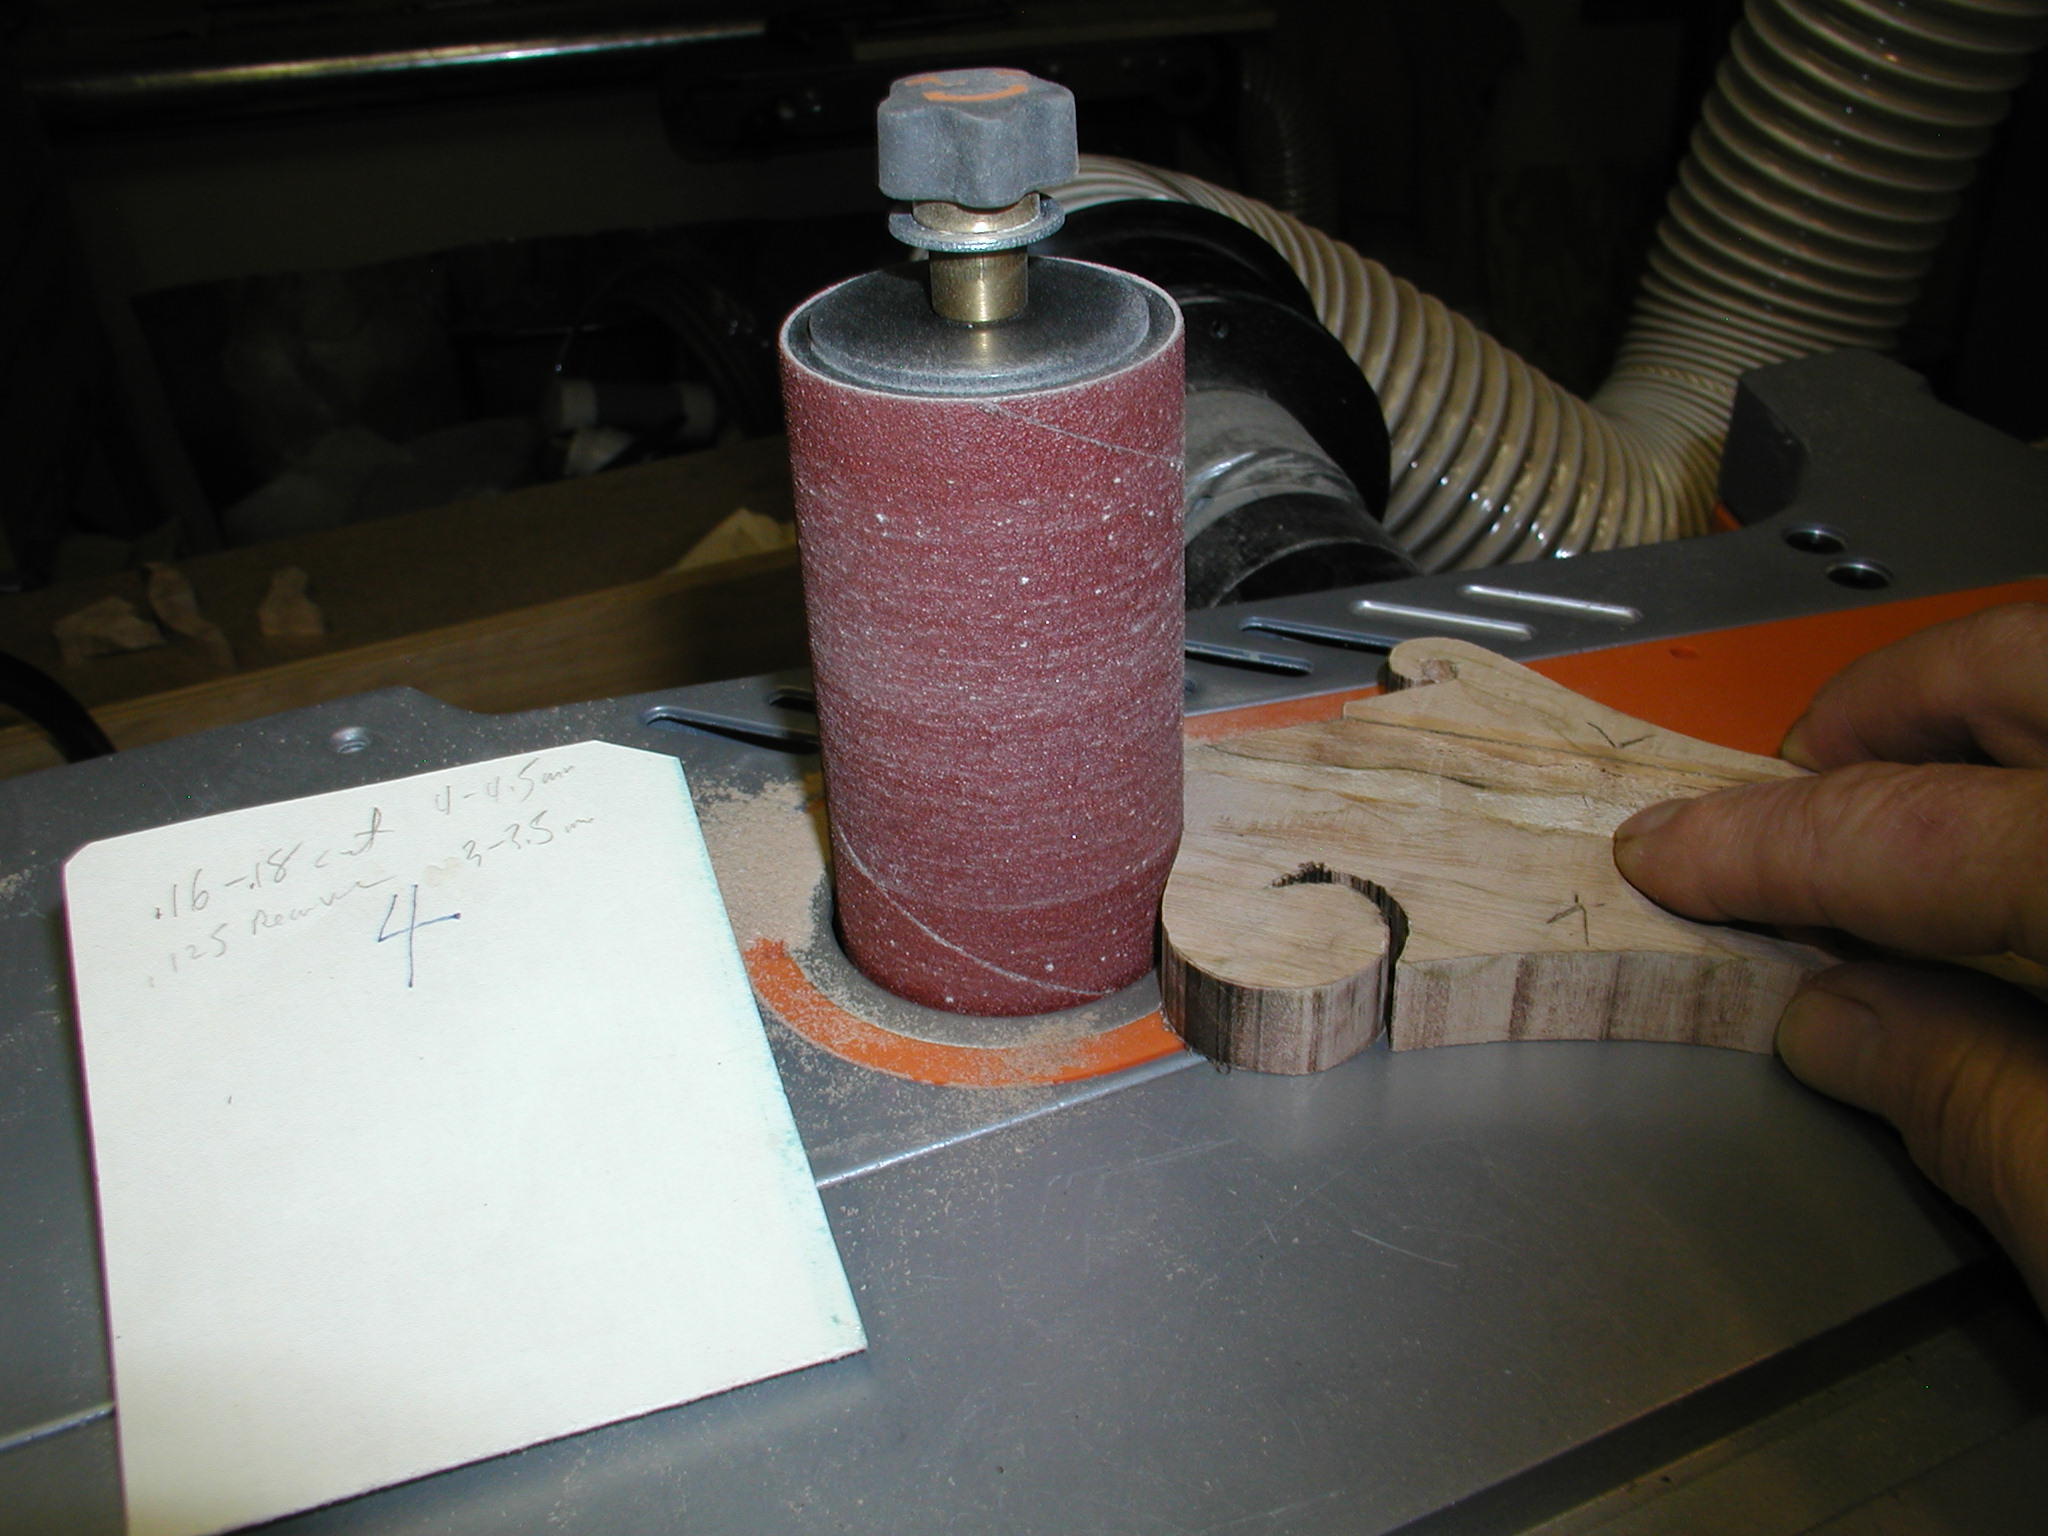
Now that the neck is slotted we can glue on the headstock ears. Then rout a slot and epoxy in a cross-grain splint where the scroll slot will be to help reinforce that. There is open dissent on both sides of the argument about whether or not to put in a reinforcement and what type. I just do a simple rectangle of cross grain wood. Since this one does not have a taper or angle and is just square cut per the owners request, I use my template to lay out the headstock on the back side. Then I drill out the hole for the small curlicue and cut just outside the line on the bandsaw. Note that I am doing the cut of the scroll slot from the face side just to make sure it is true to the front side look. Then I smooth to the line with the oscillating spindle sander. Man I'm glad I finally bought one of those. If you are interested in seeing how this step is done for an angle cut headstock look here.


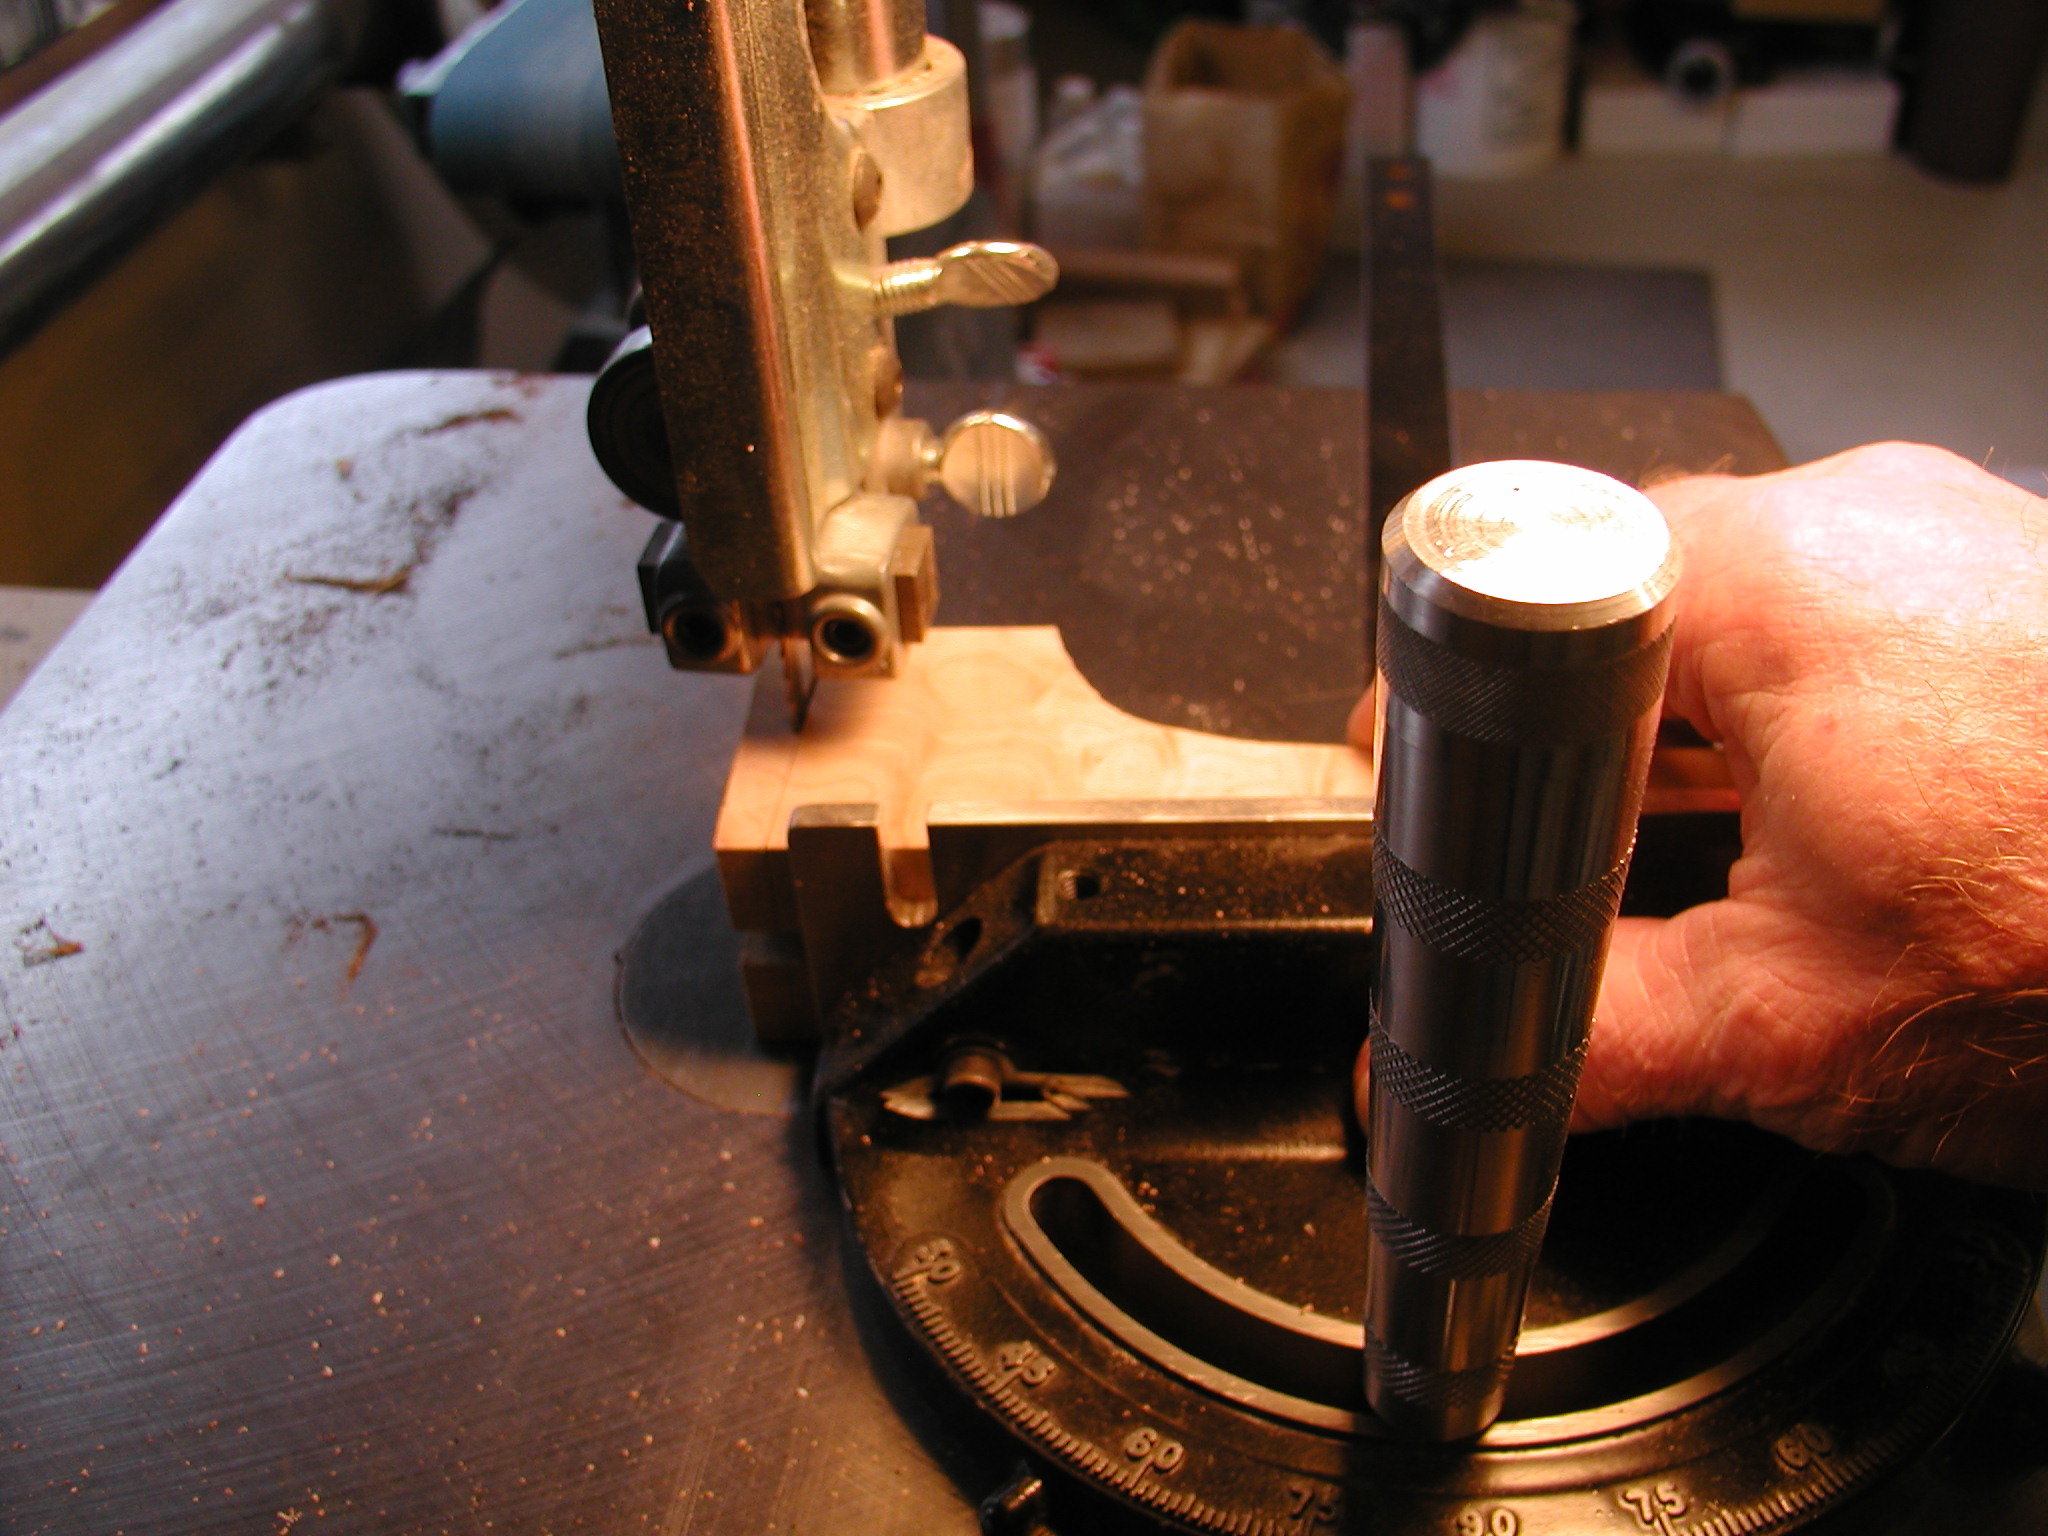
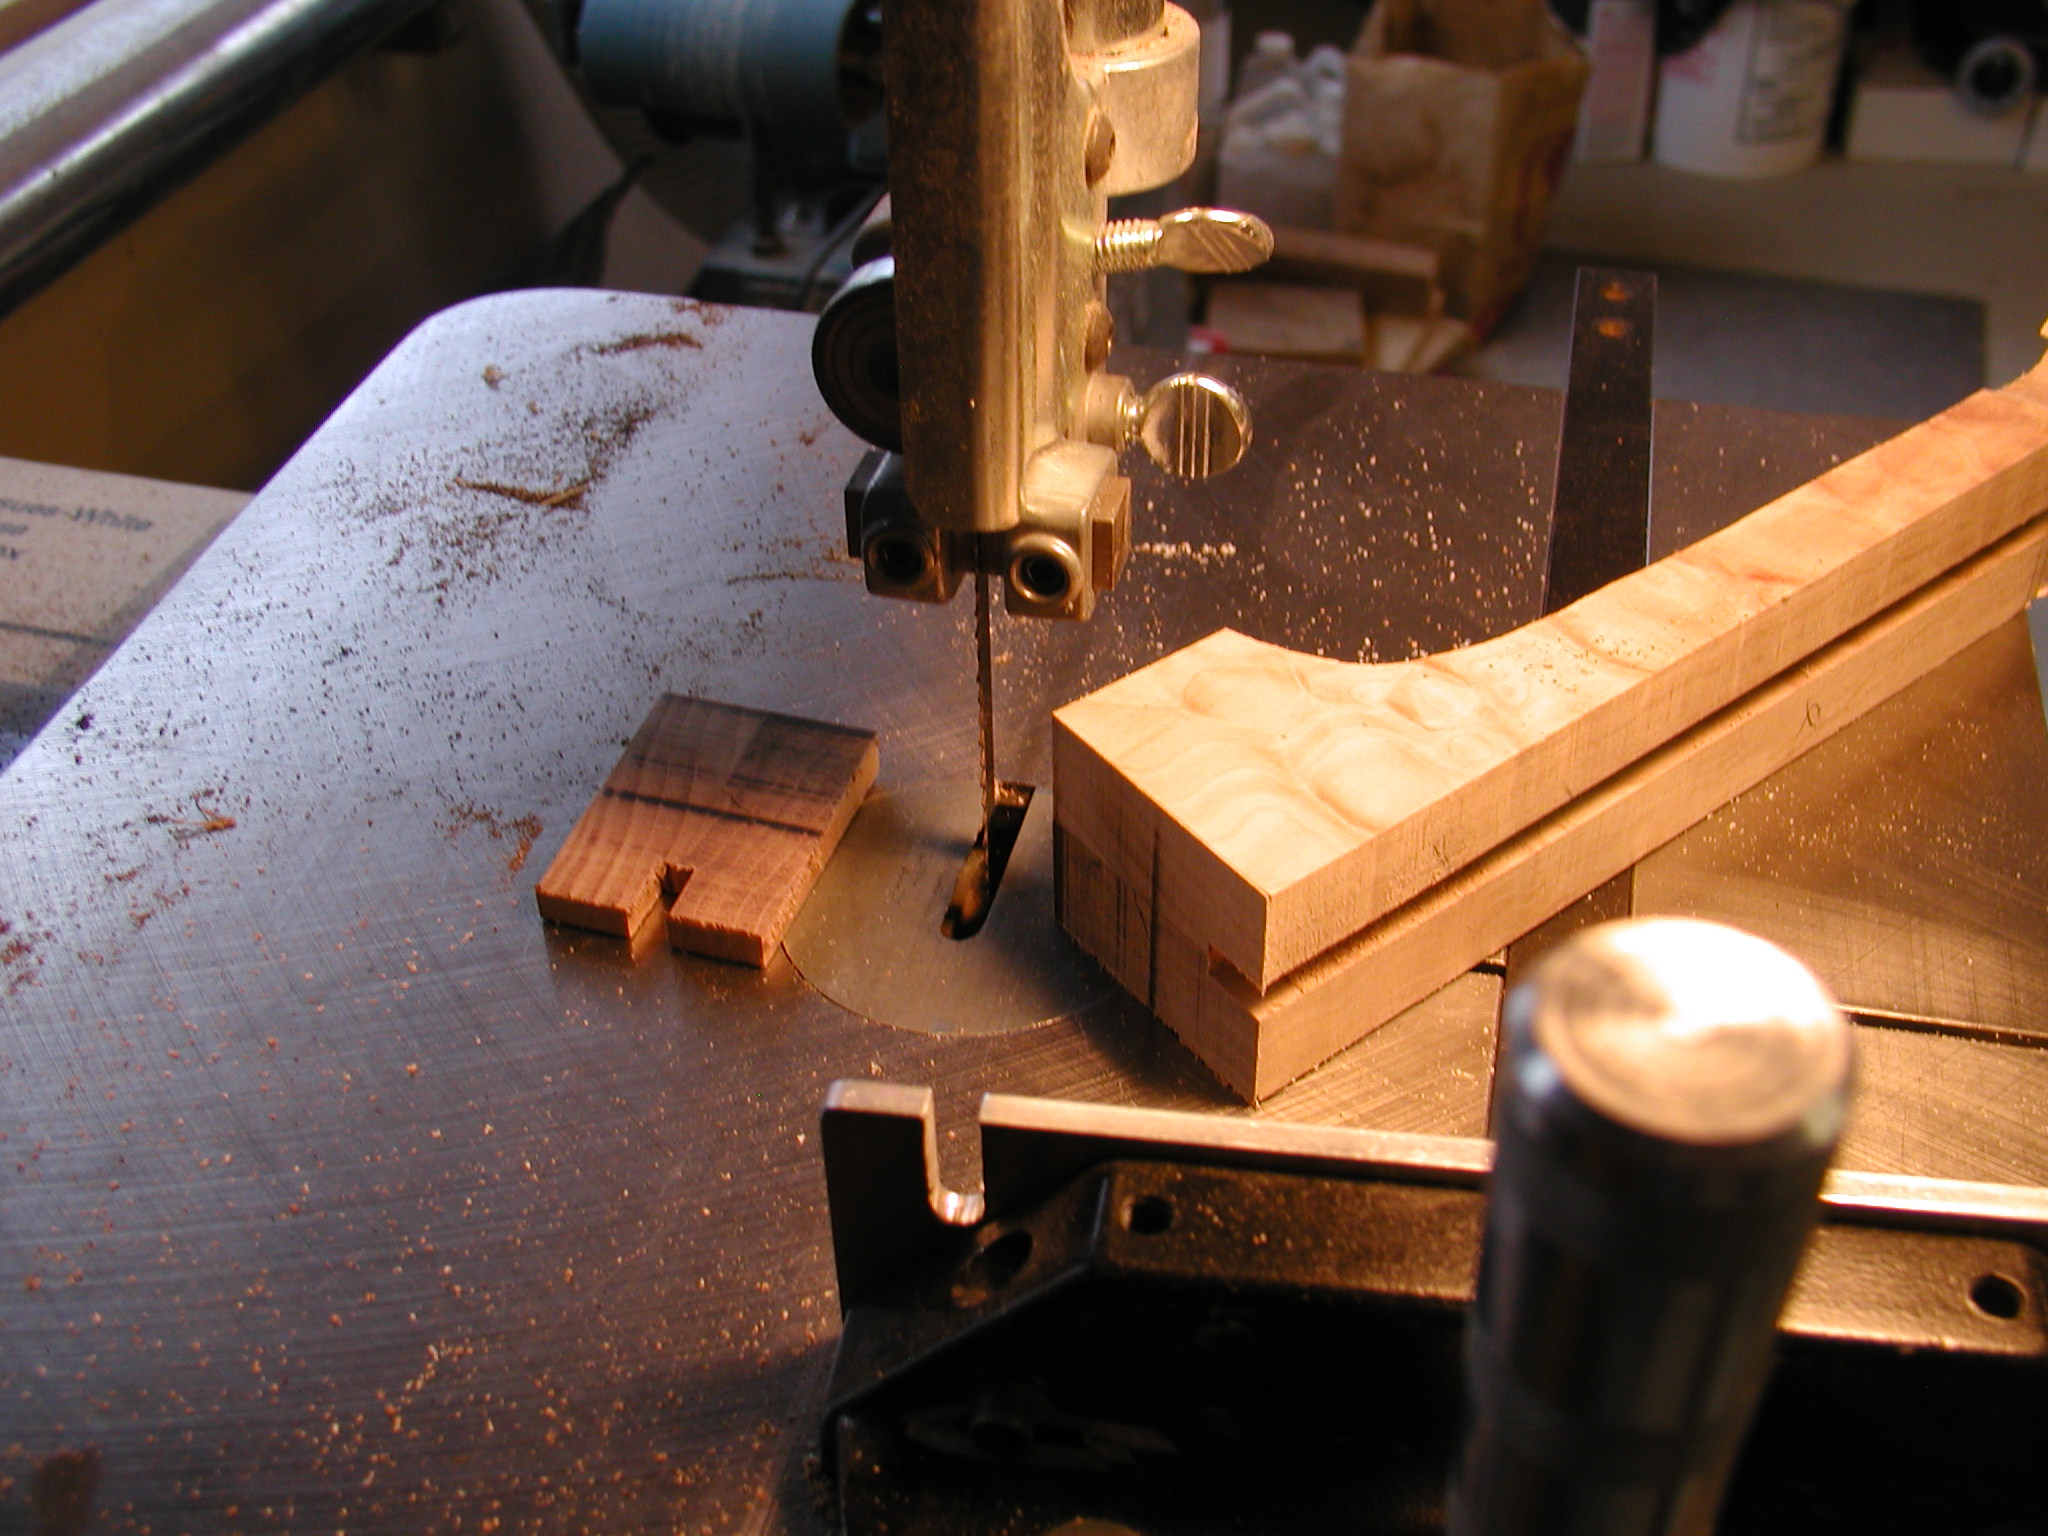
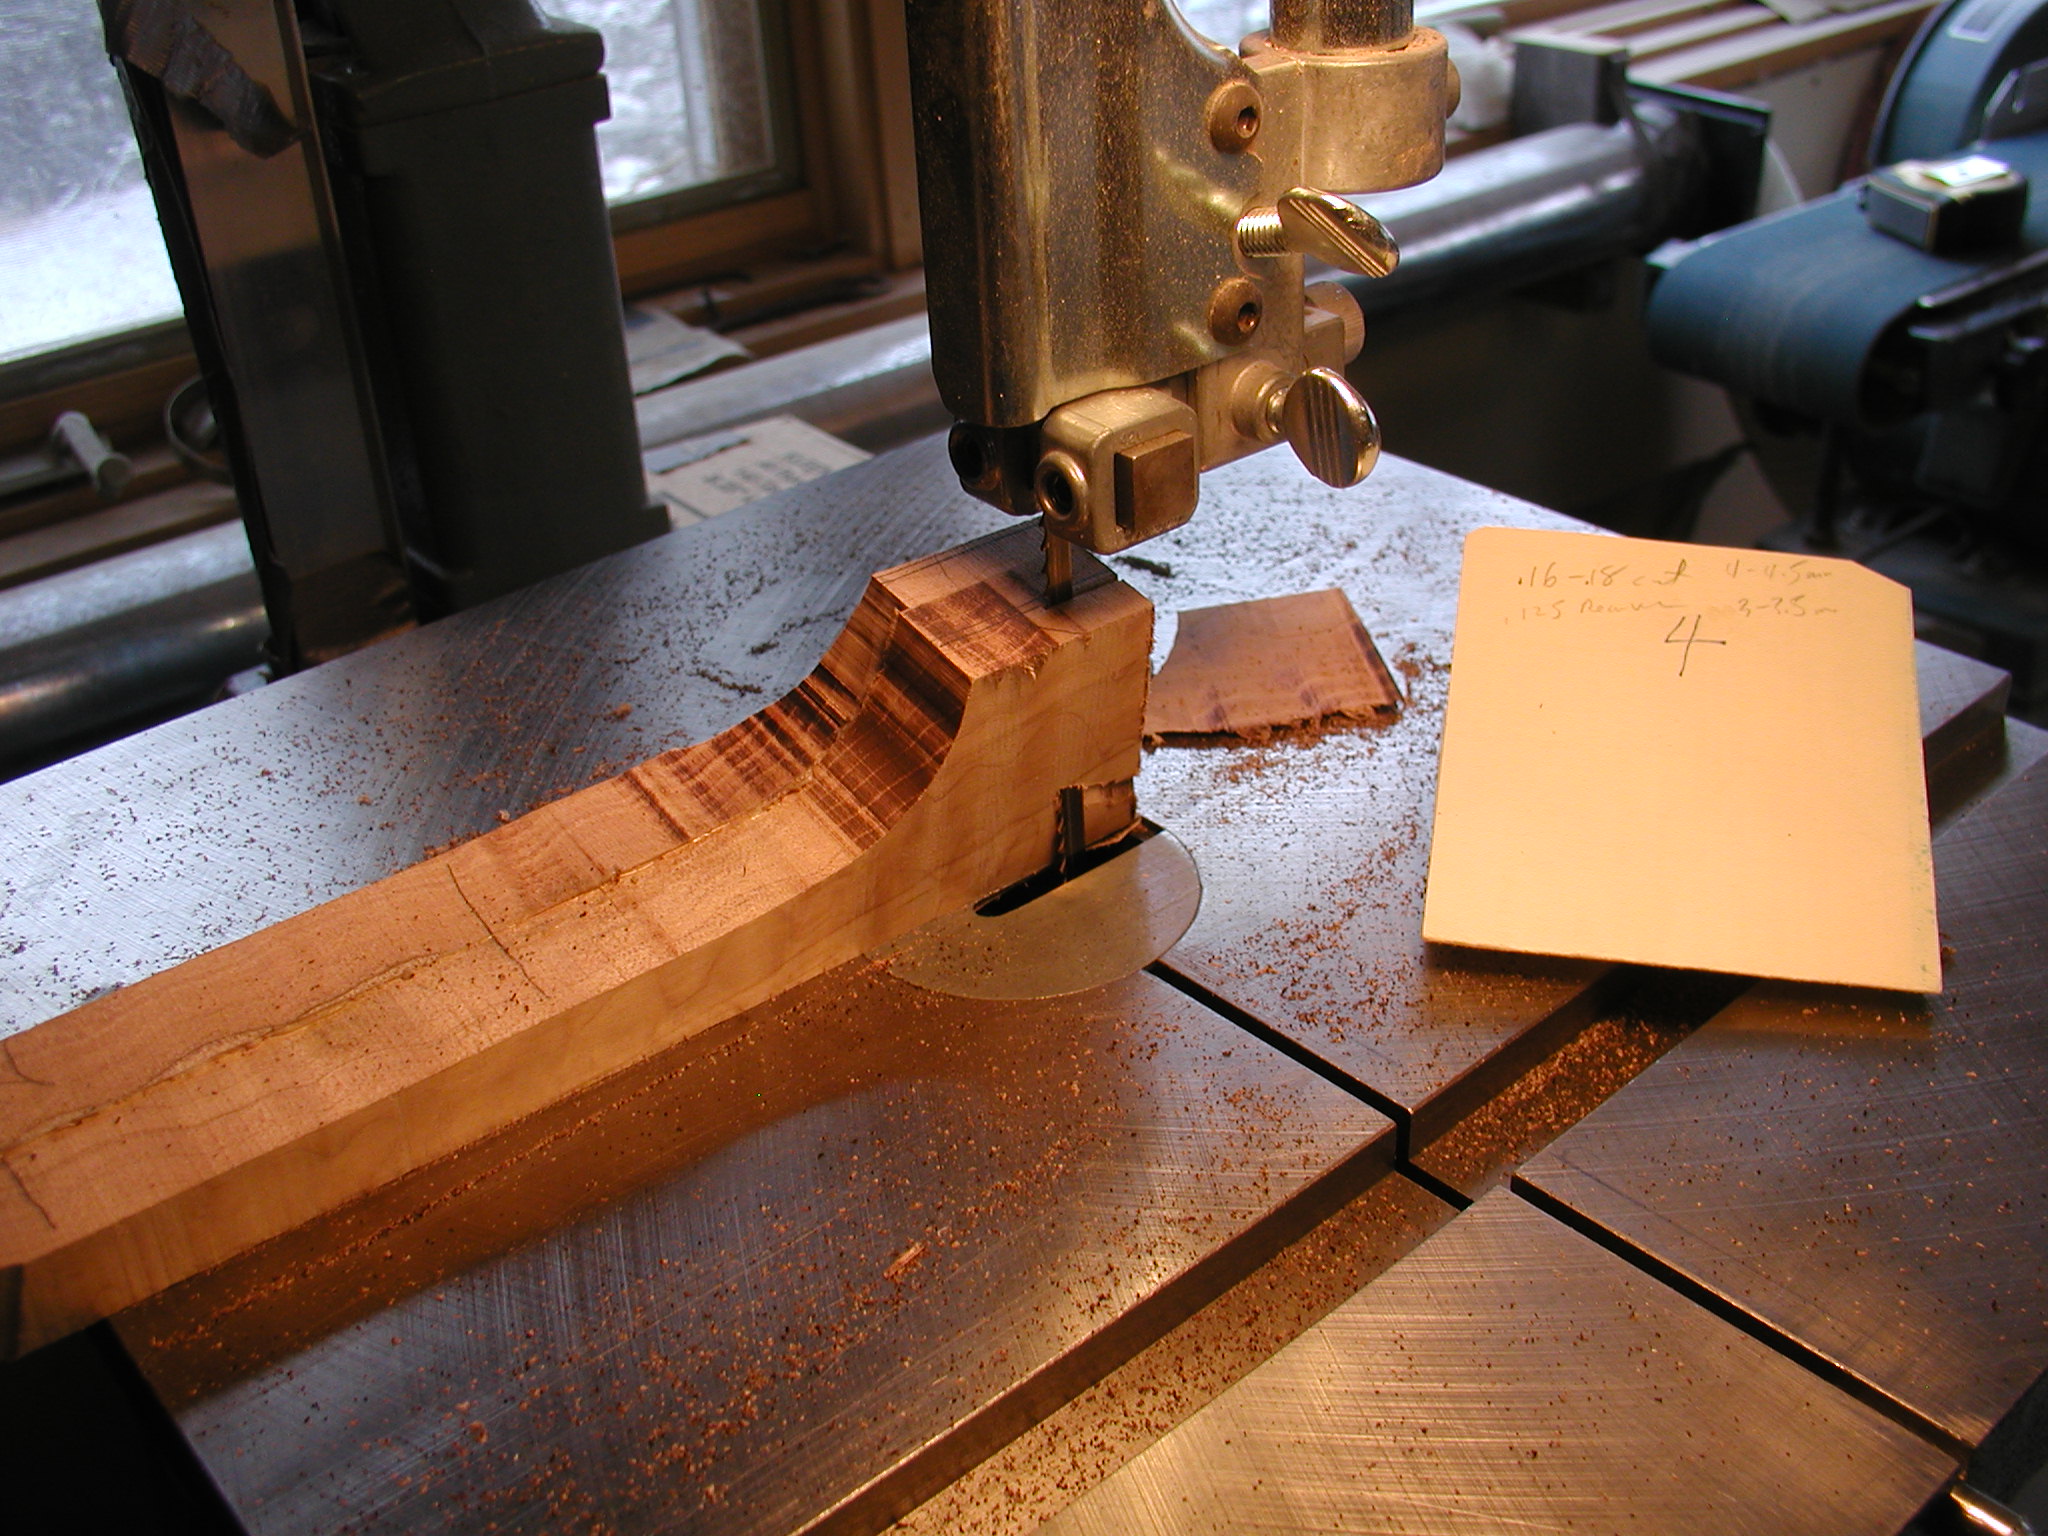
I then use the miter gauge to trim off the butt end of the neck to the proper angle for the neck-to-body joint. I test this up against the body to be sure. Using my big resaw blade I cut the headstock to thickness. Be careful not to go too far with this cut so you leave room to fair the back of the headstock to the back of the neck, just short of the bottom points is enough. Here it is just a straight cut but if you wanted it to also be angled like the Loars then you would use a shim on the headstock face surface to get an angle to the cut. Last of all I rough mark the heel width and rough off the angle of the heel cheeks by eye.

1 2 3 4 5 6 7 8 8a 9 10 11 11a 11b 12 12a 13 14 15 16 17 18 19 20