Let's Build A Mandolin (Page 5)
1 2 3 4 5 6 7 8 8a 9 10 11 11a 11b 12 12a 13 14 15 16 17 18 19 20
Last Modified - November 2011(©Alan Dunwell 2011)
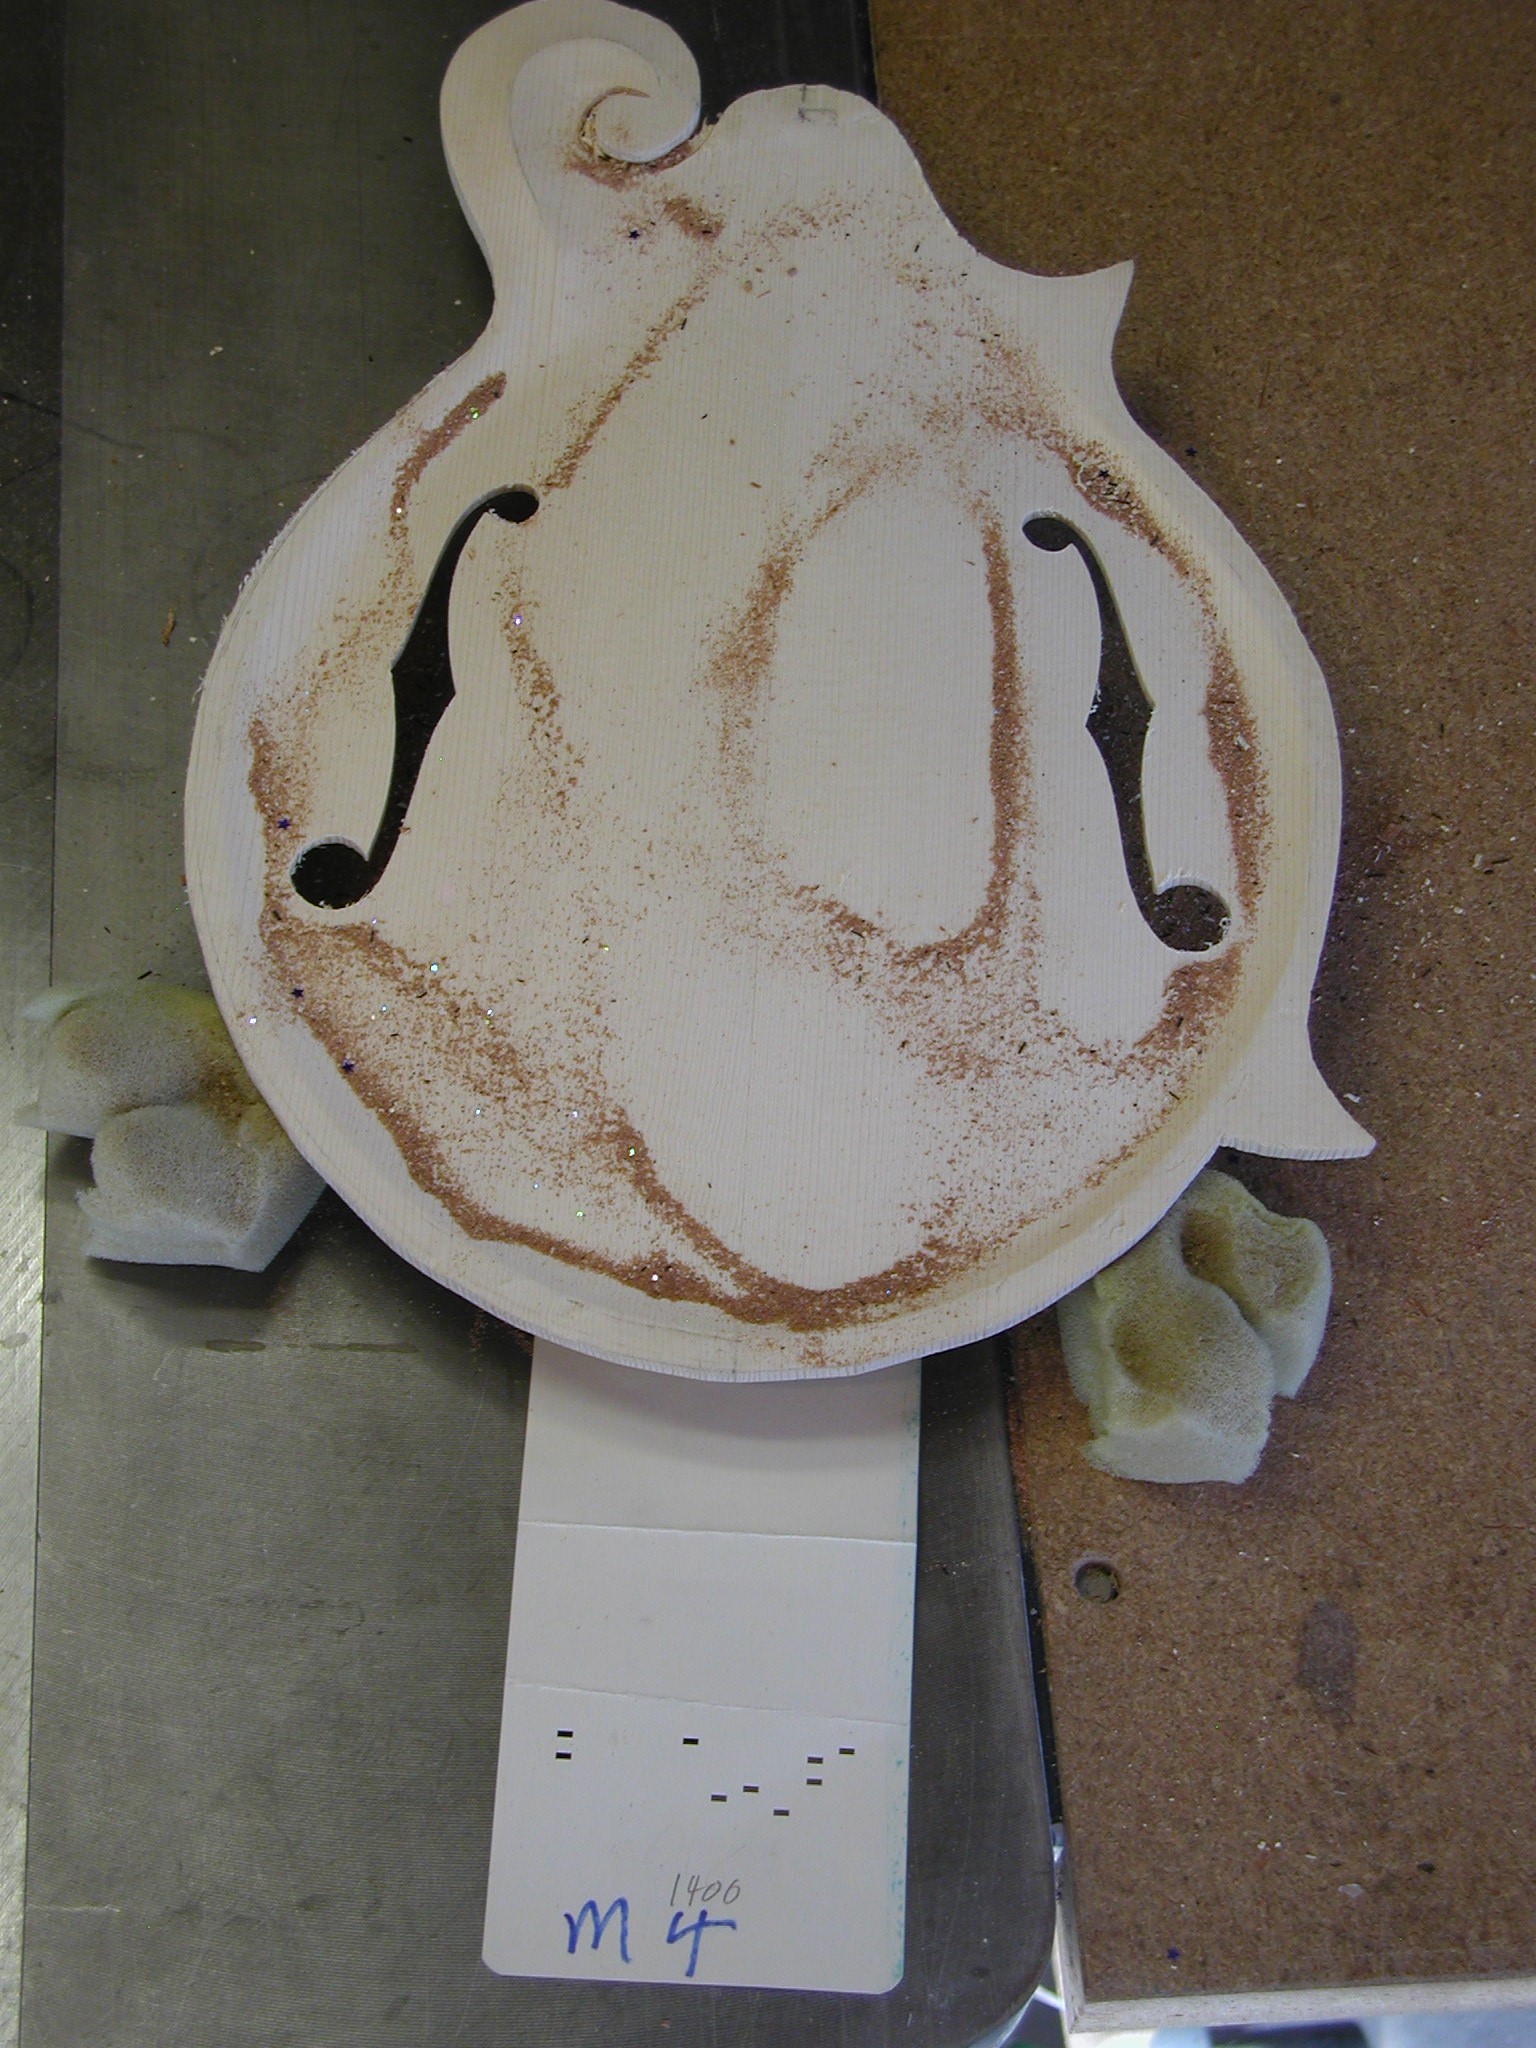
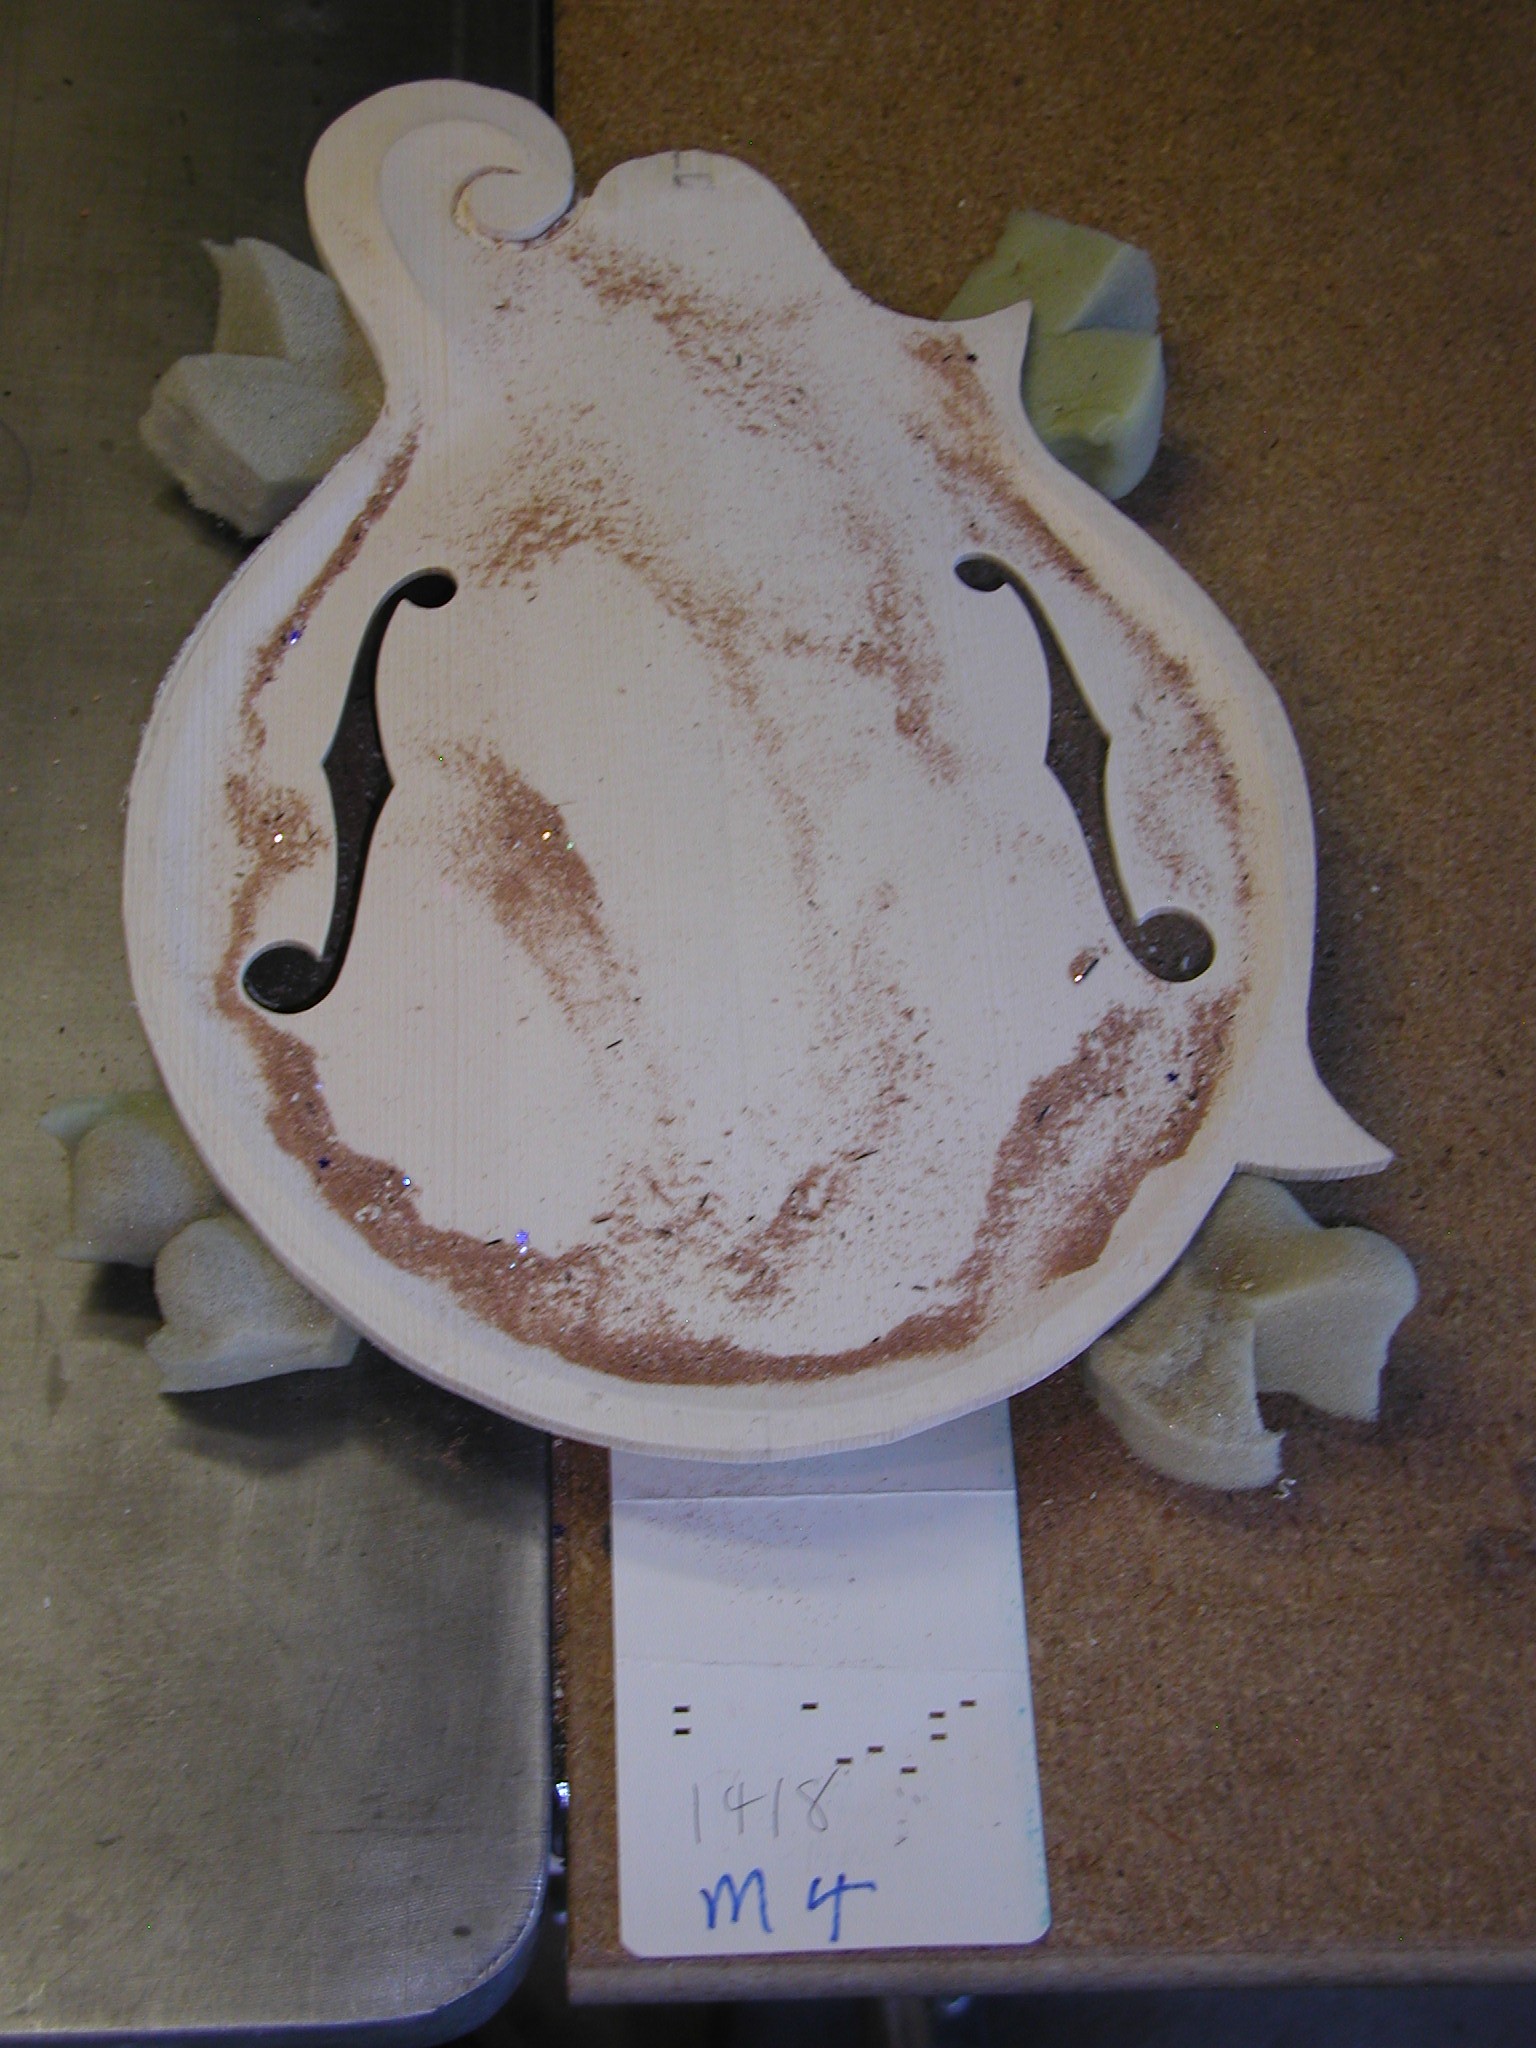
In Page 4 we finished out the carving of the top except to finalize the scroll, but have not braced it yet. At this point I run and record the Chladni modes on the un-braced top. Here are a few samples.

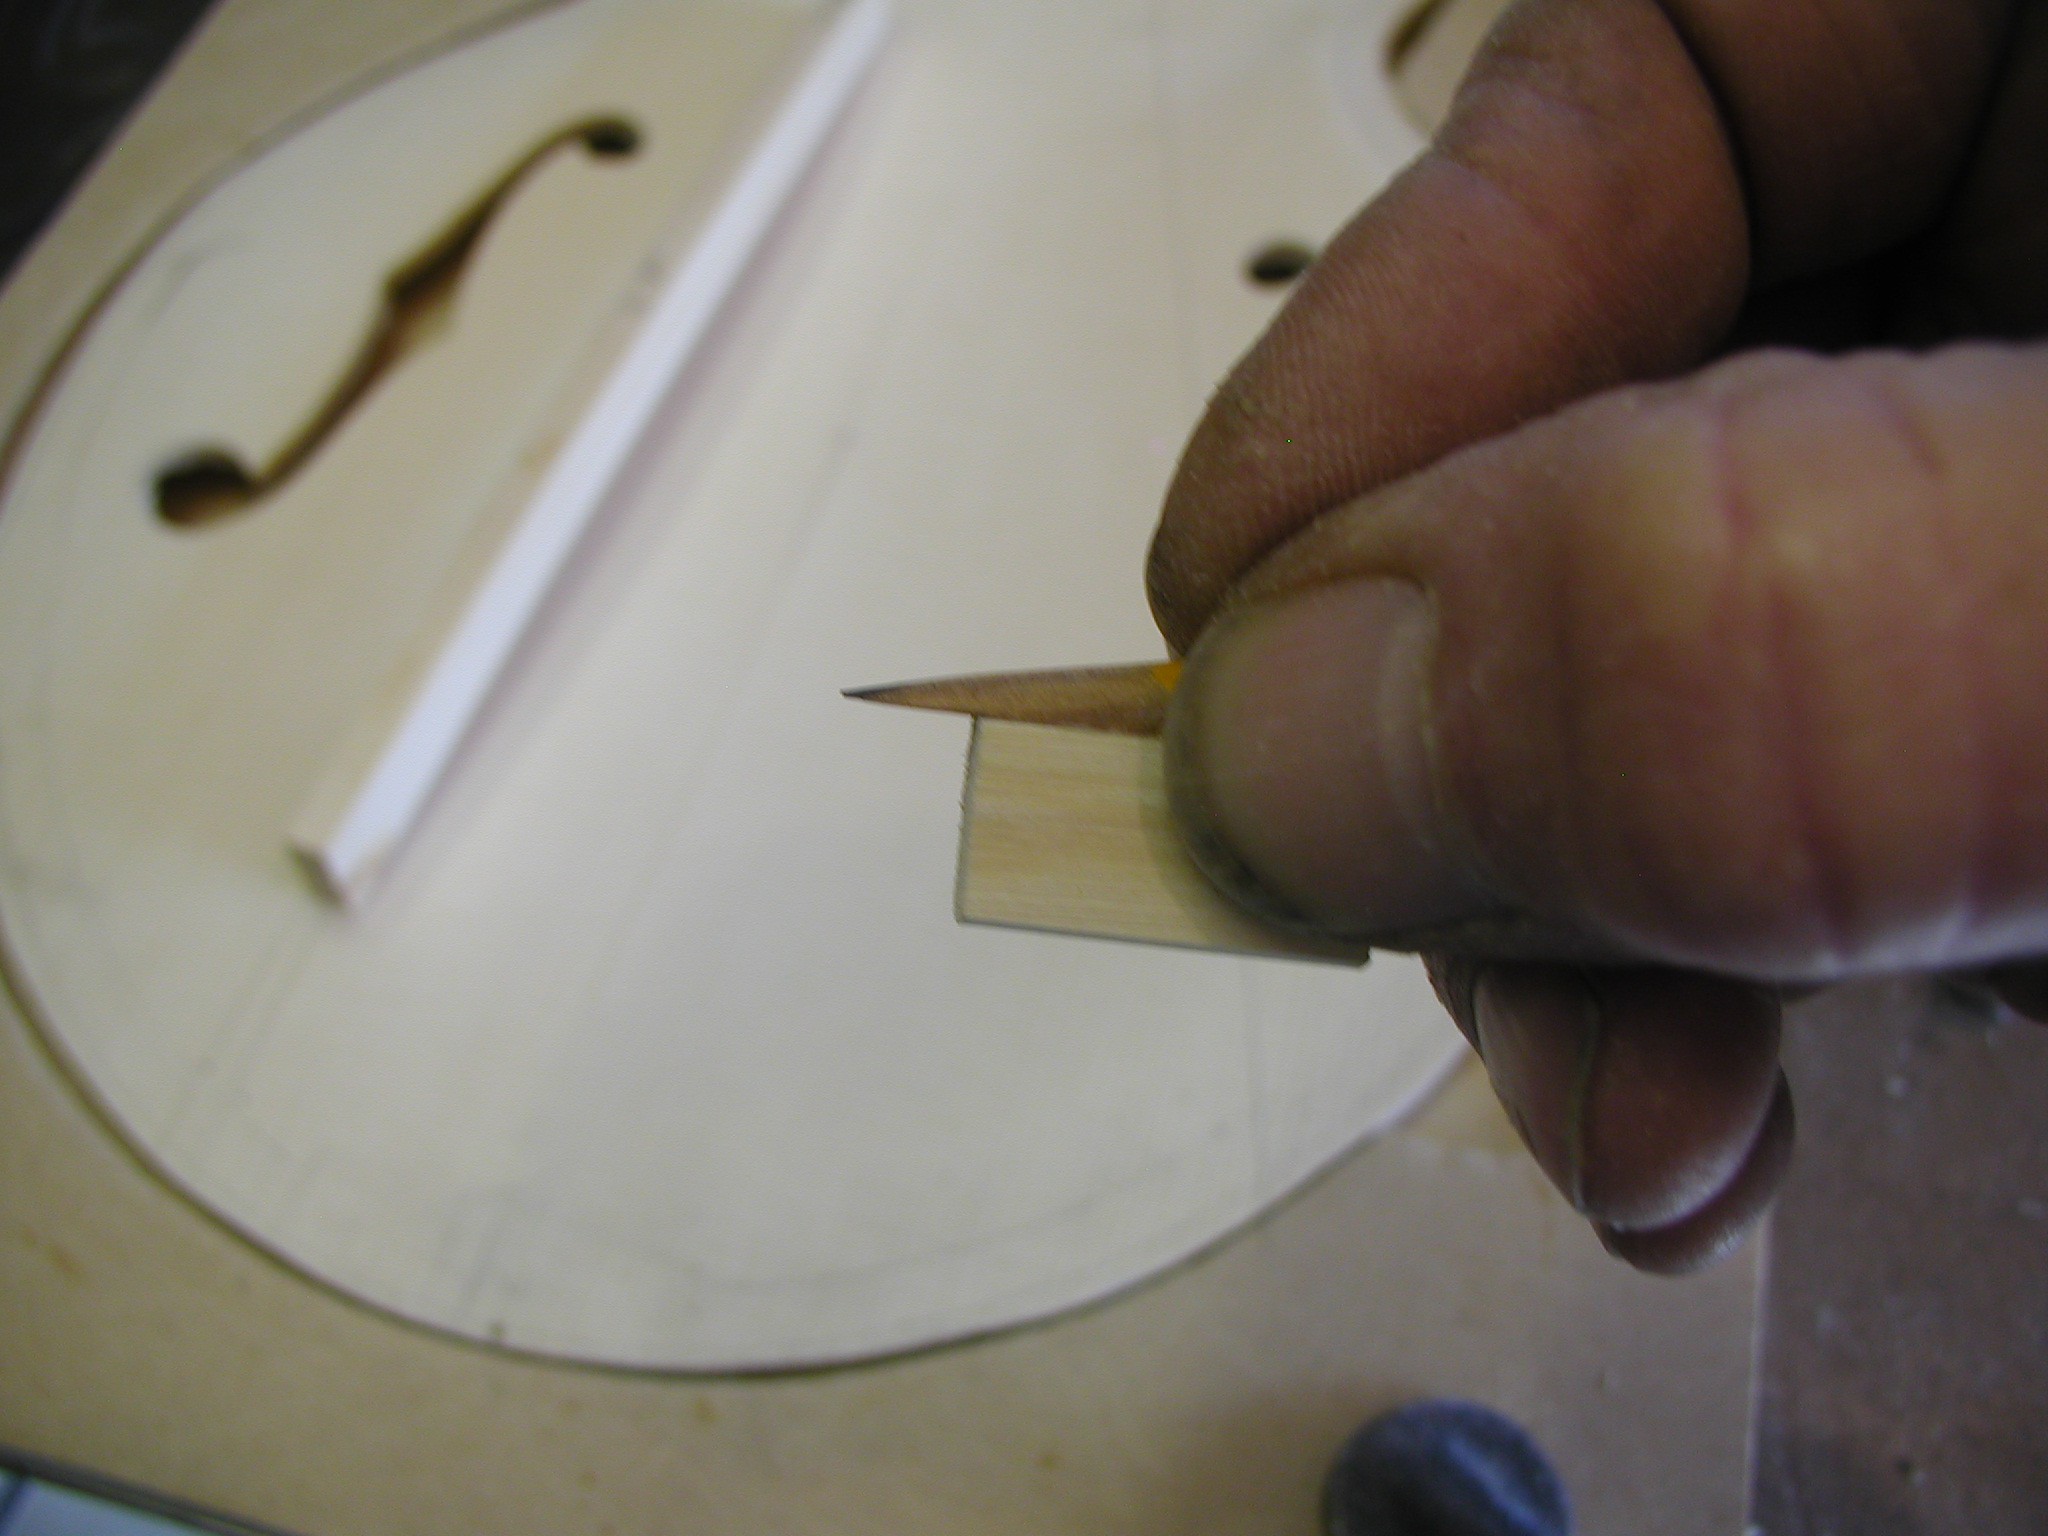
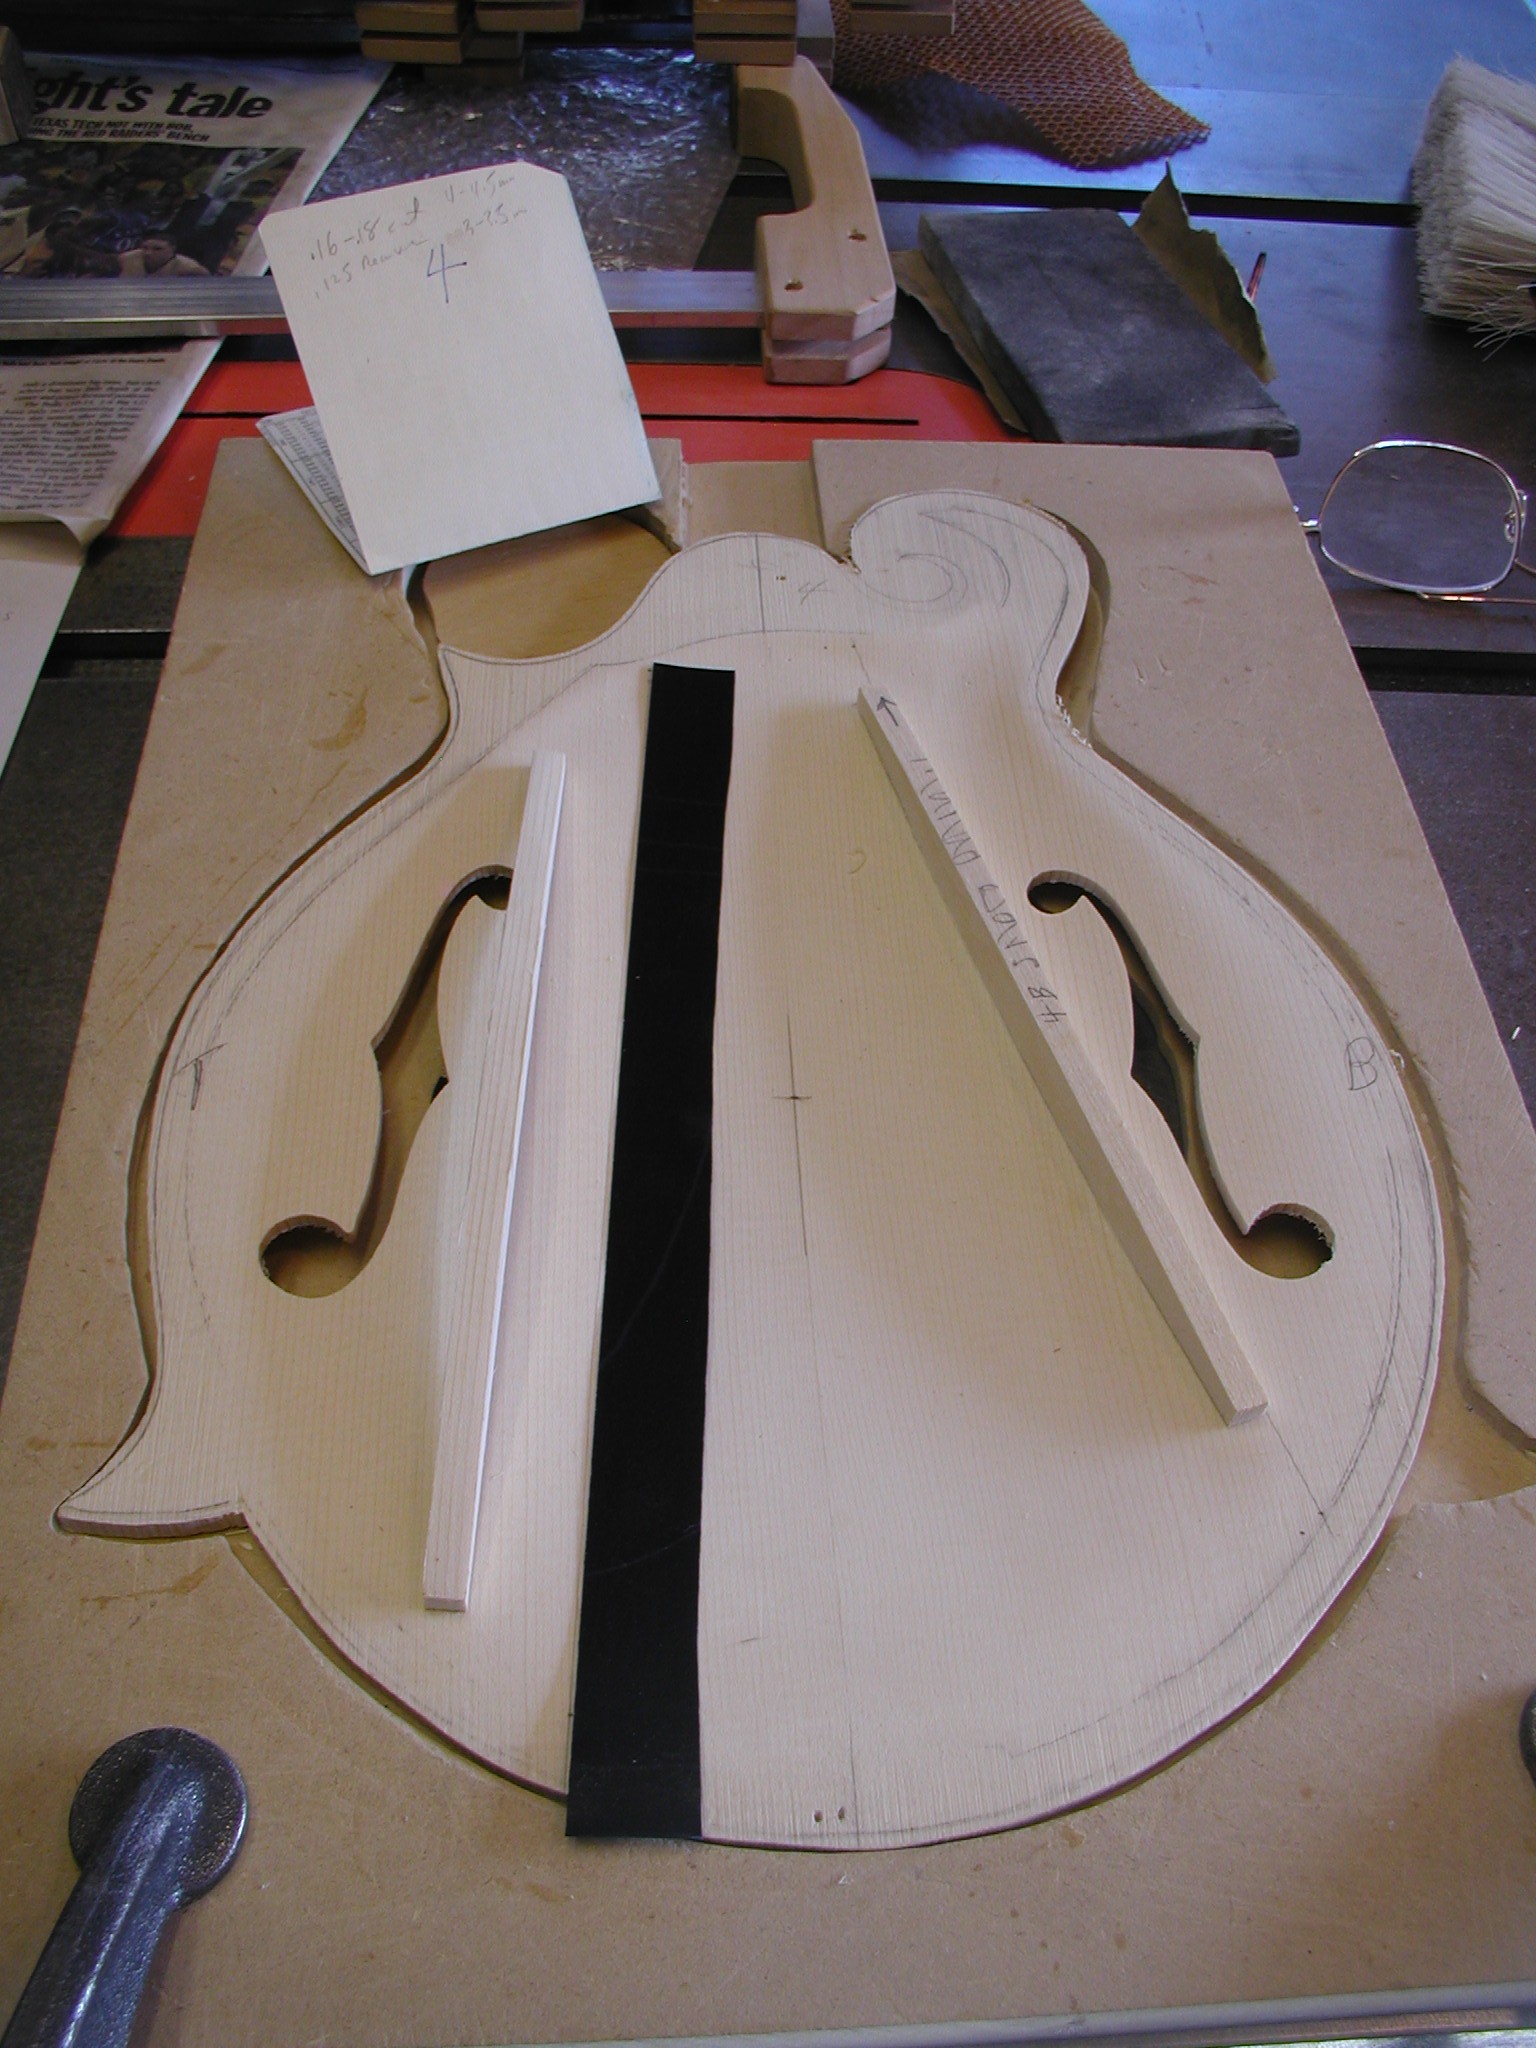
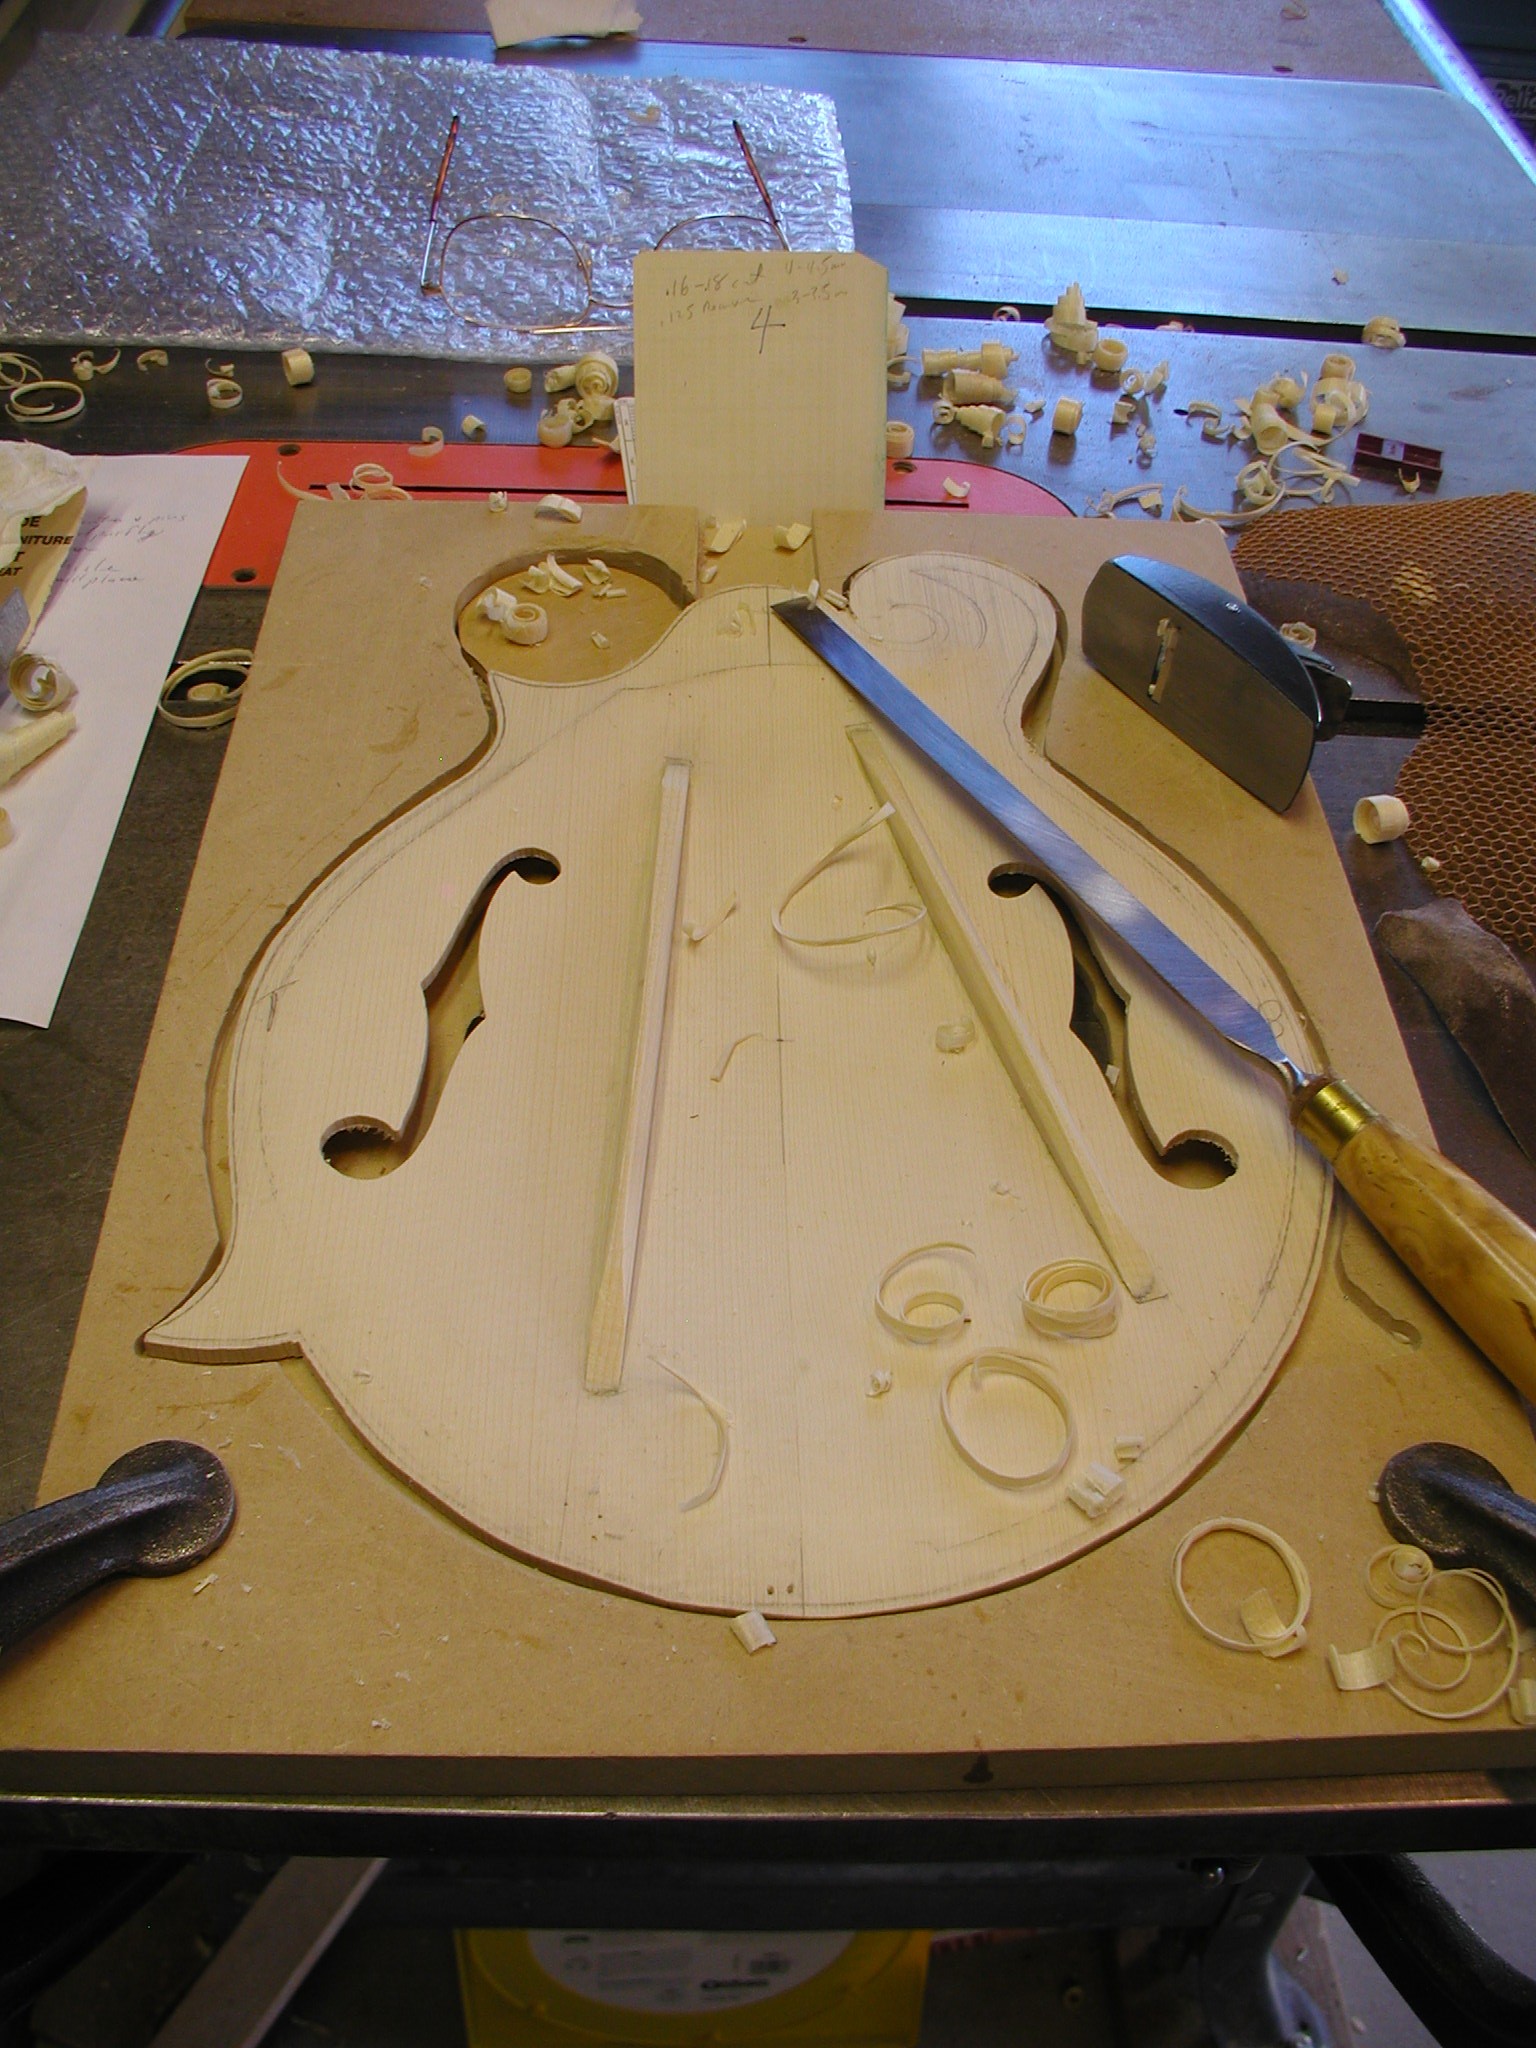
Next we fit the tonebars. The tonebars are not really structural, although they do add some support, but are intended just to control the sound of the top. The little block of wood is just an old tonebar cutoff that I rounded on the bottom side. I double stick tape a 1/2-pencil to the top. I then run the little tool along the top and strike a line with the pencil onto the bar. Note the arrows and writing on the top of the tonebars so I don't get them mixed up for direction or location. Then I whack off the bottom on the belt sander just to eyeball specs, adding in the side to side curvature. A little back and forth between the top and sander gets it close.
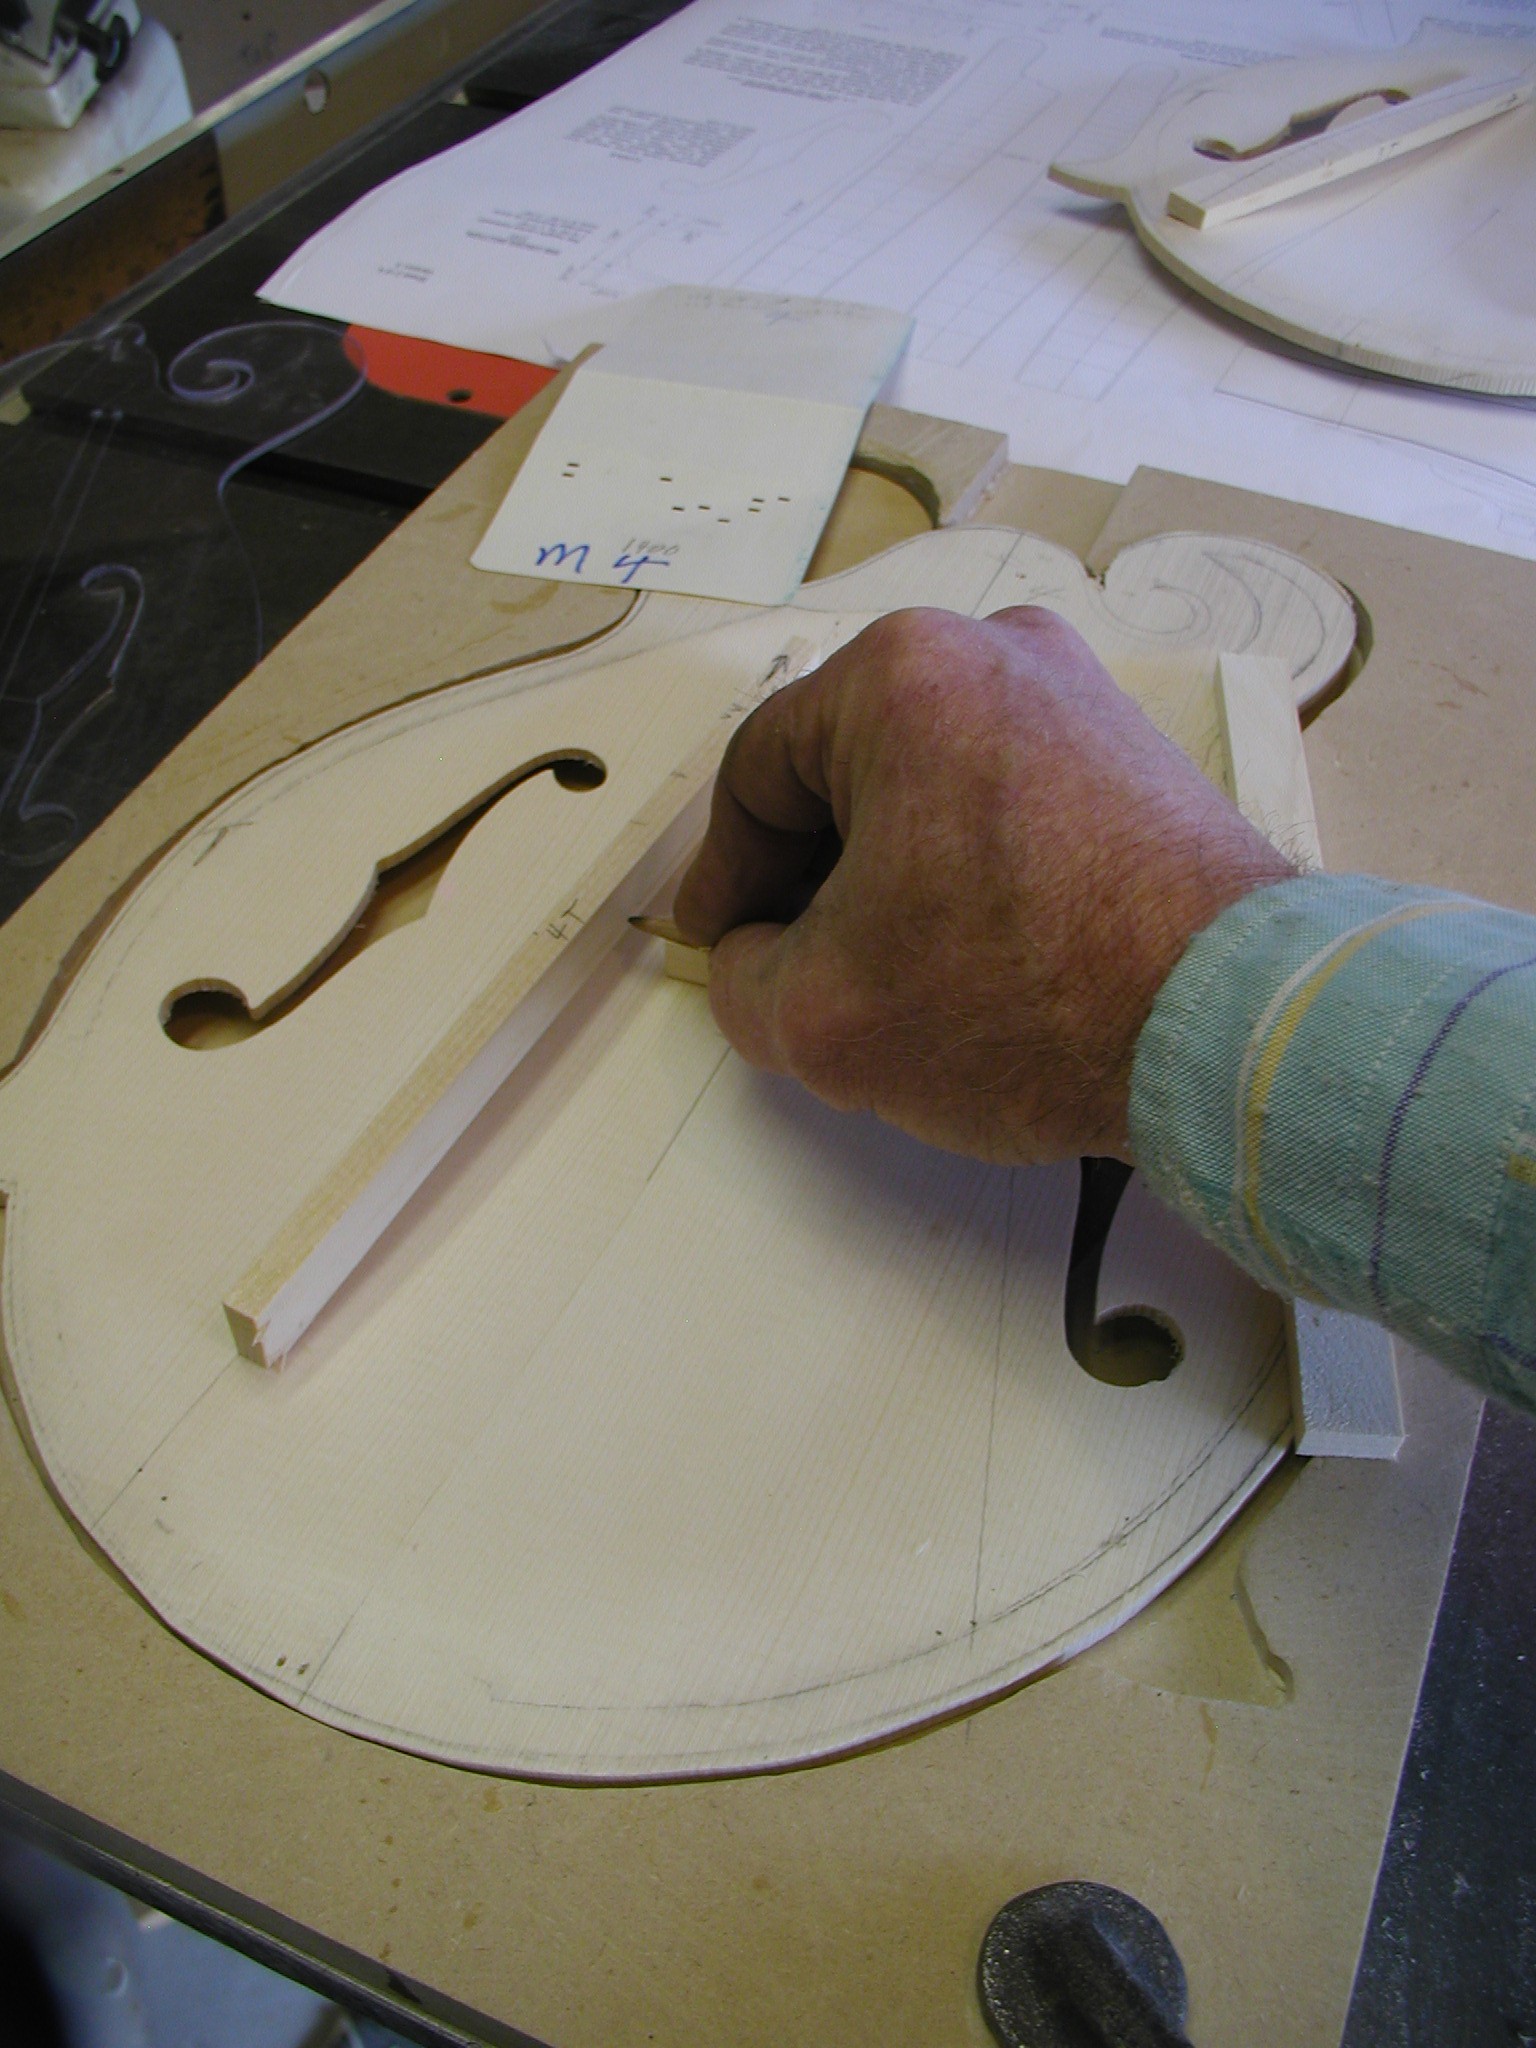
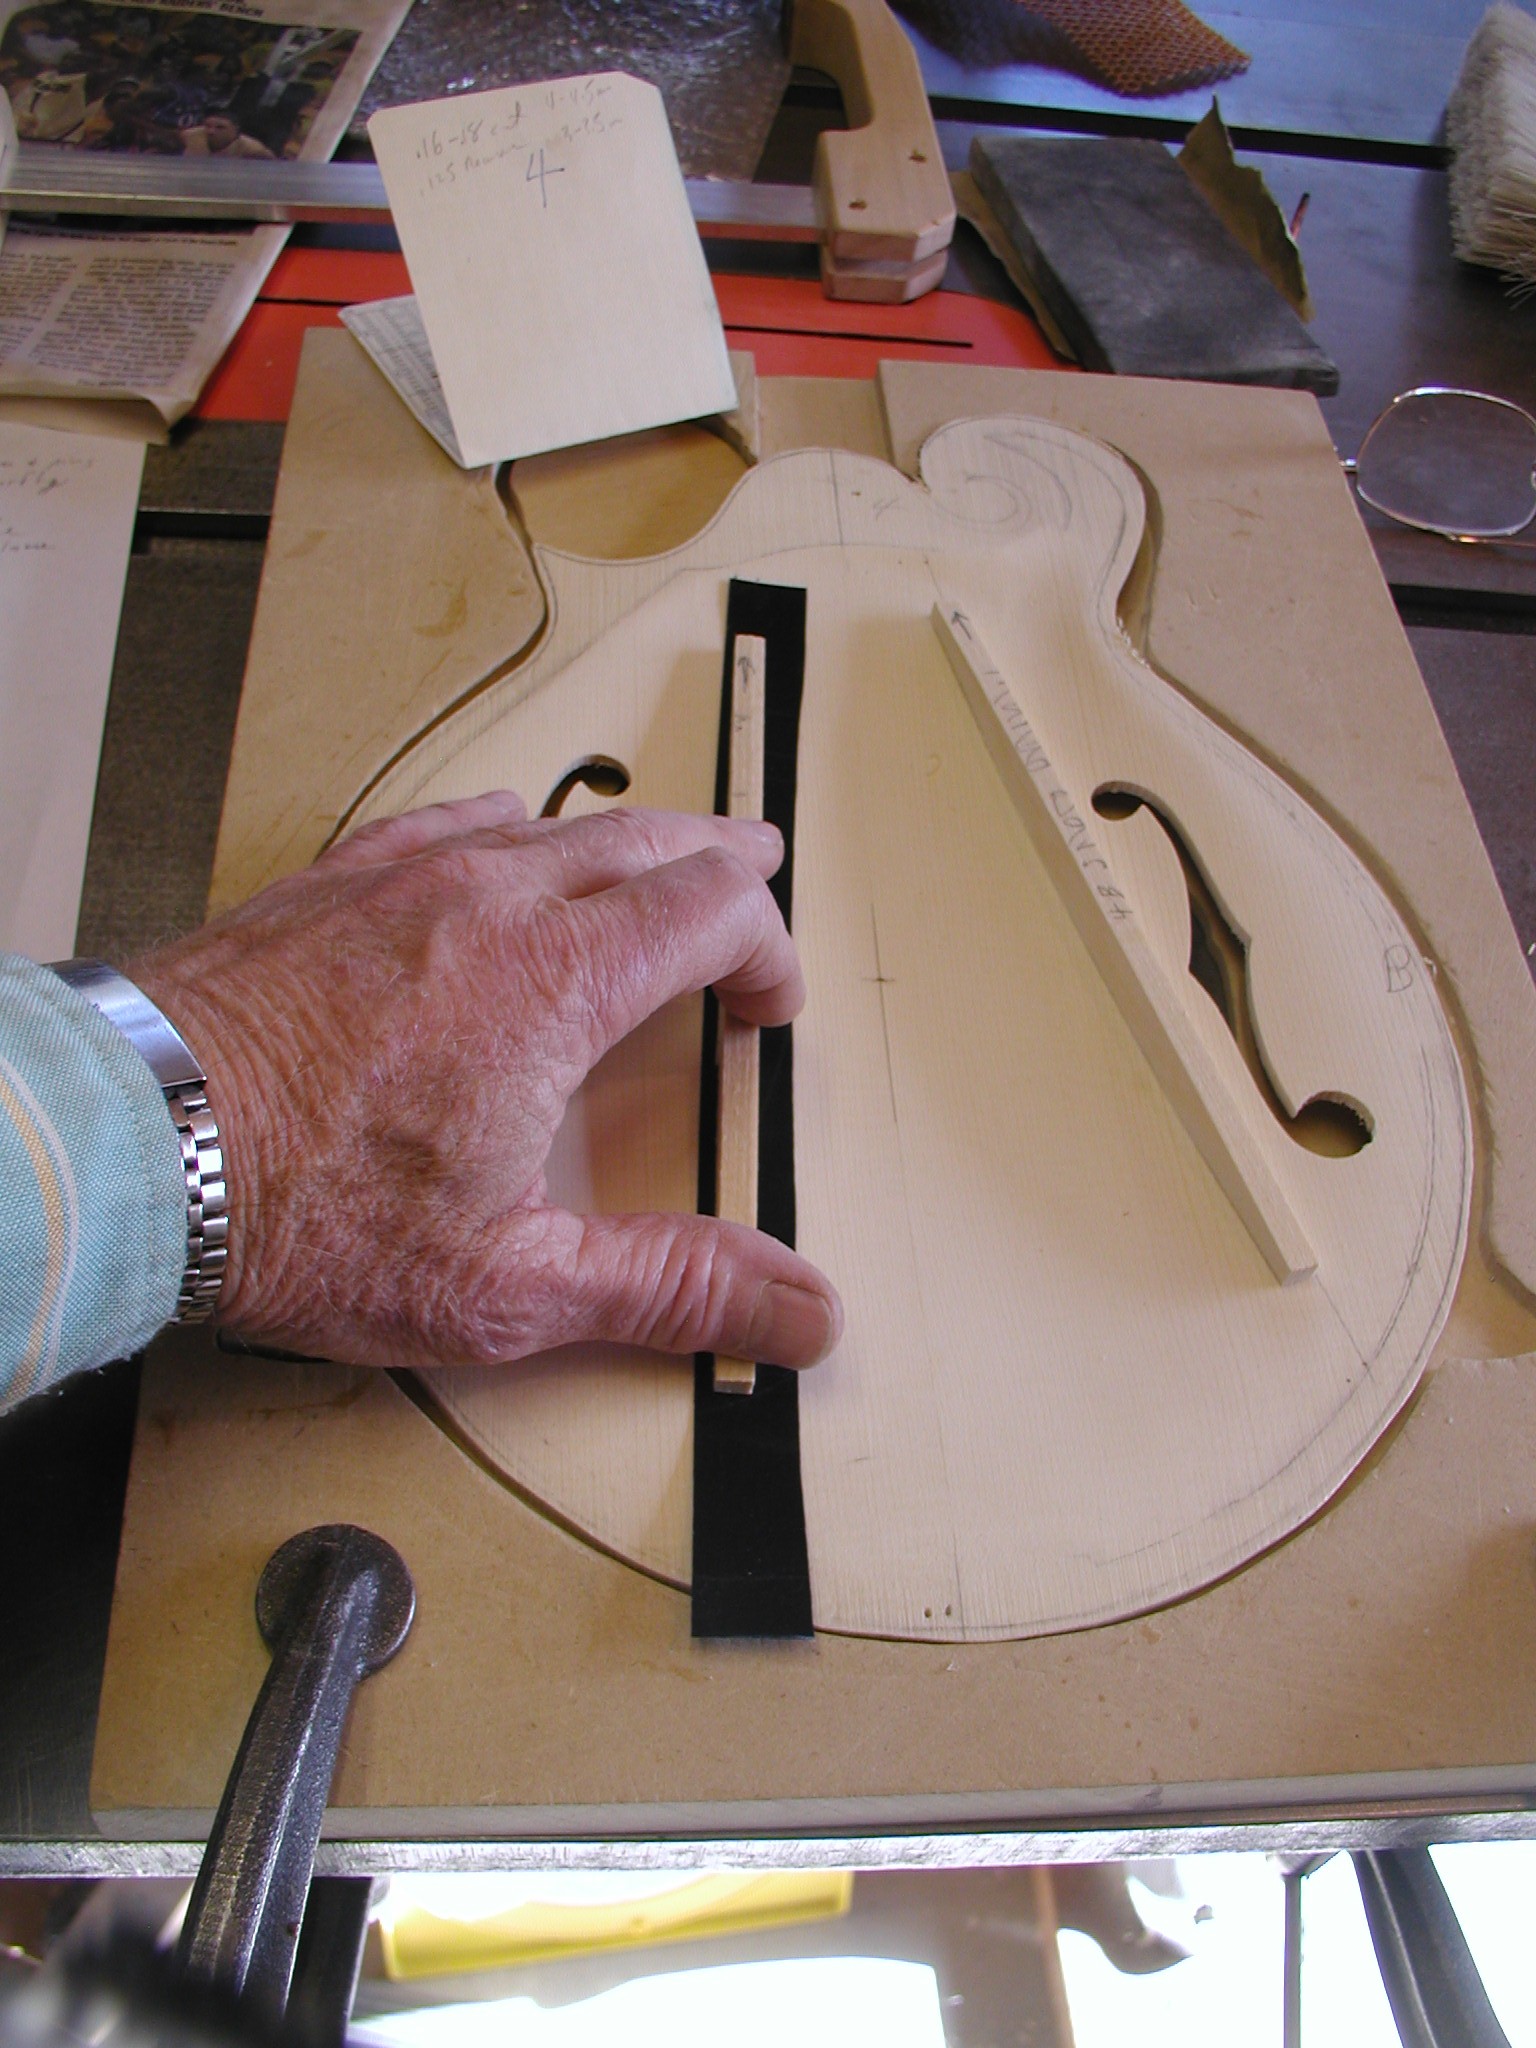
The actual close fitting can be done in various ways using chalk or carbon paper, etc. Since I still have some sheets of real carbon paper, not the "dustless" plastic carbon stuff available now, I use that. It is getting hard to find real carbon paper now. I lay down a strip of paper, hold the bar in place and wiggle the bar. Some draw the paper out from under but I find that method always tends to mark the ends and the paper likes to tear. I don't do that until I get to the very last fitting. Here you can see on the first pass it is just marking at the ends and one place on the bottom
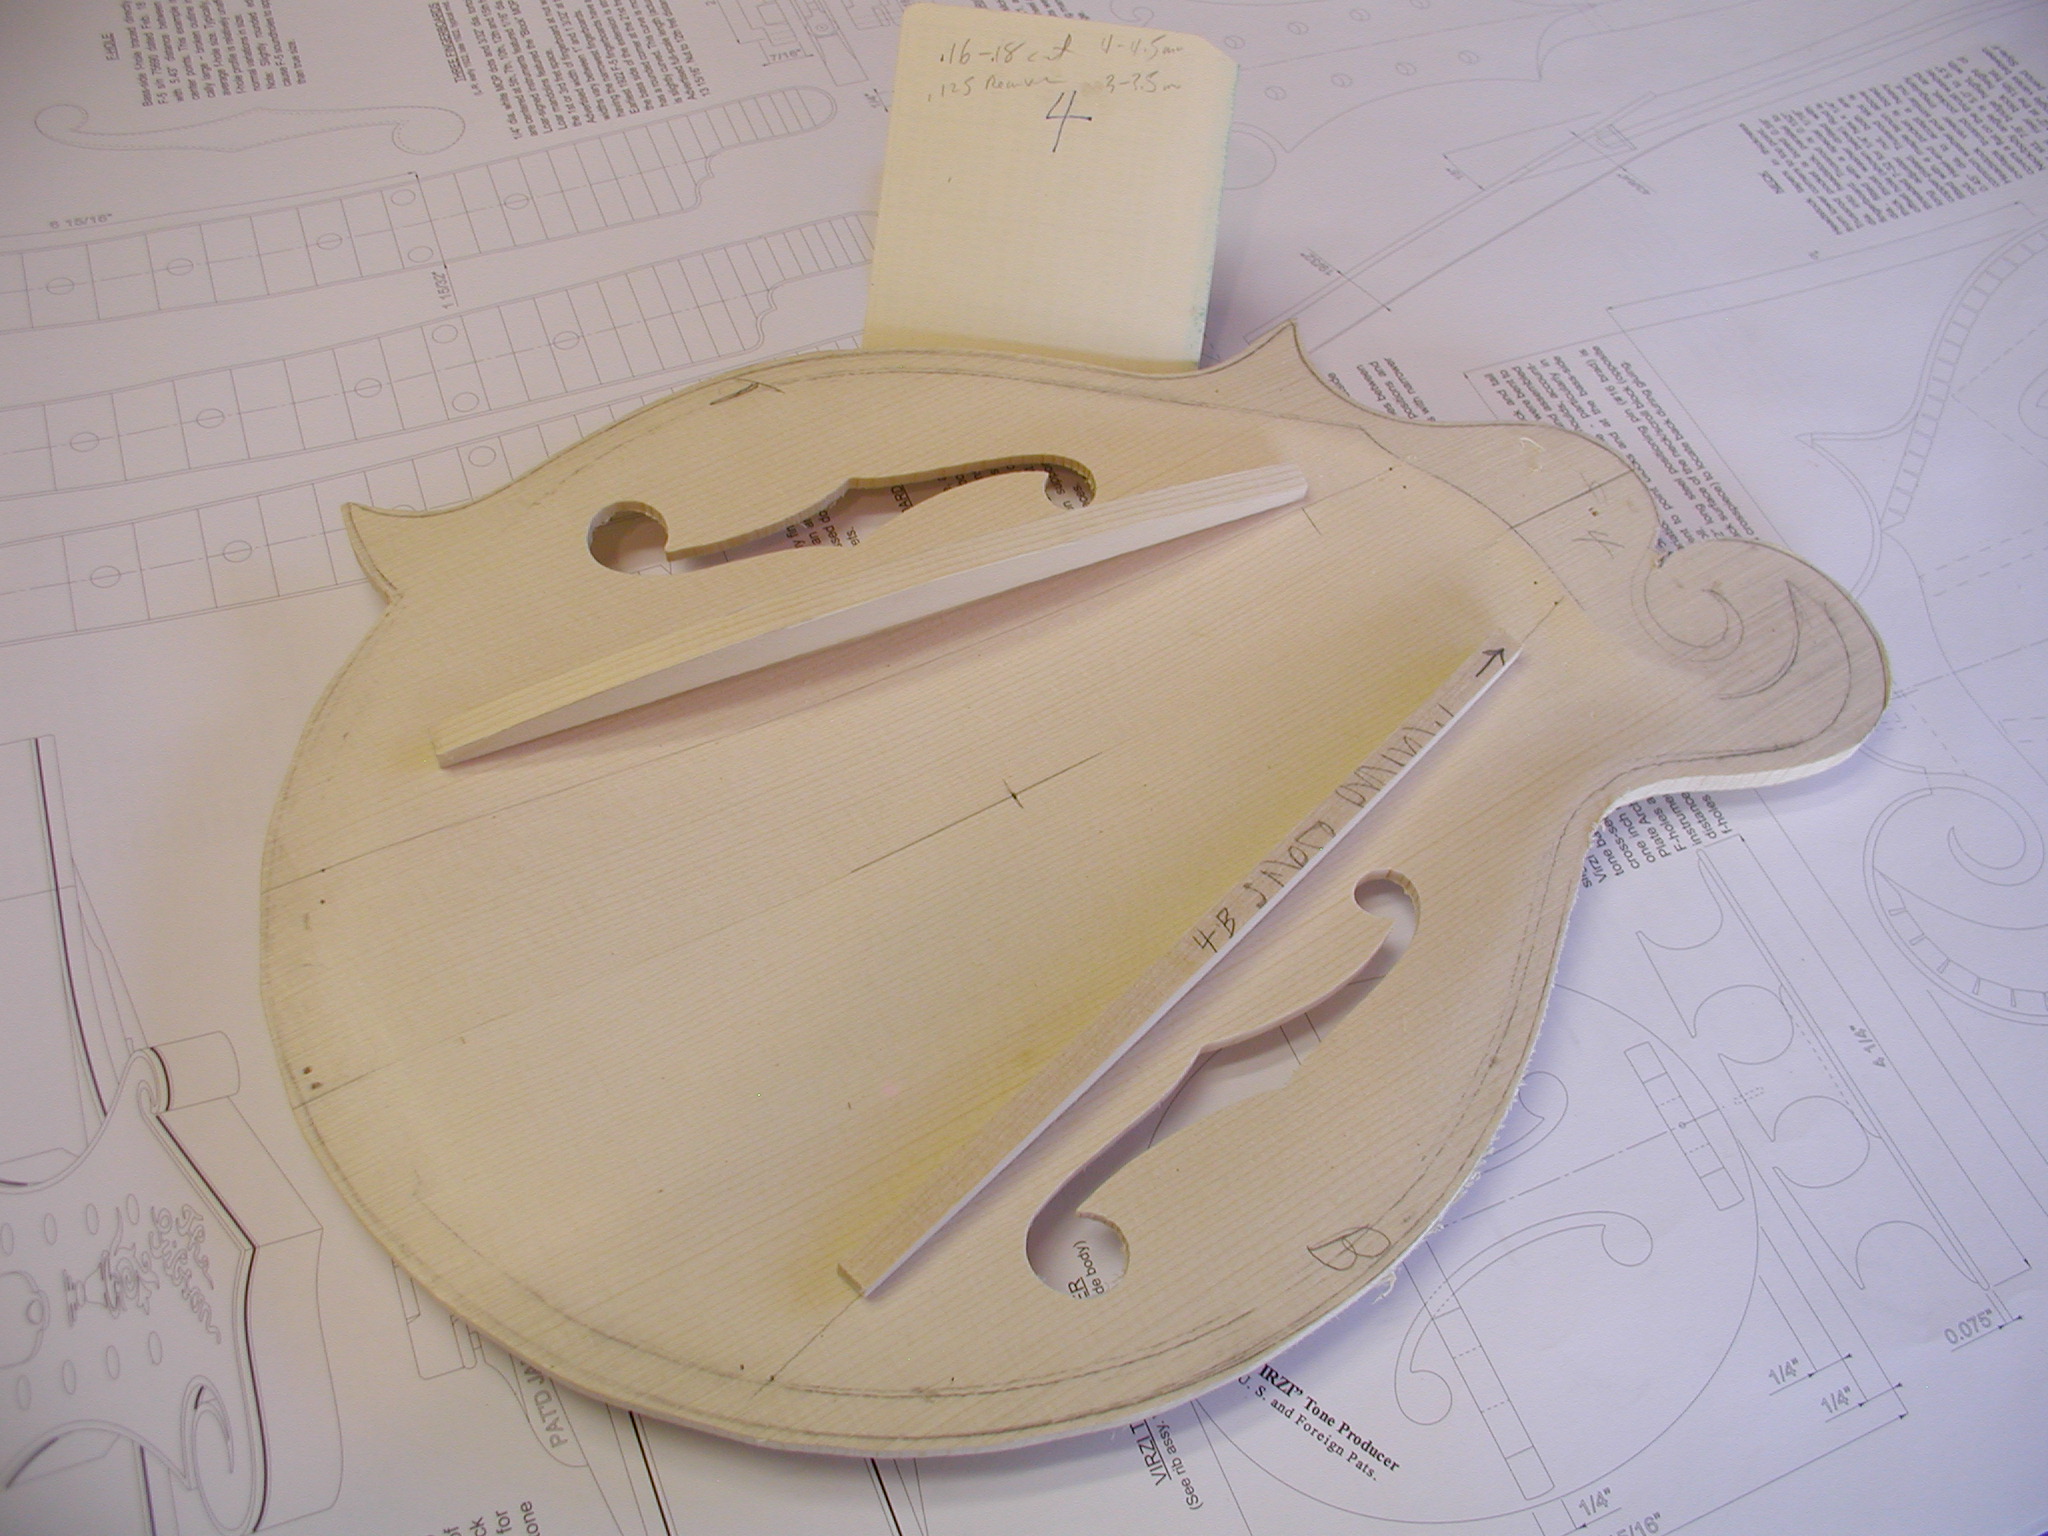
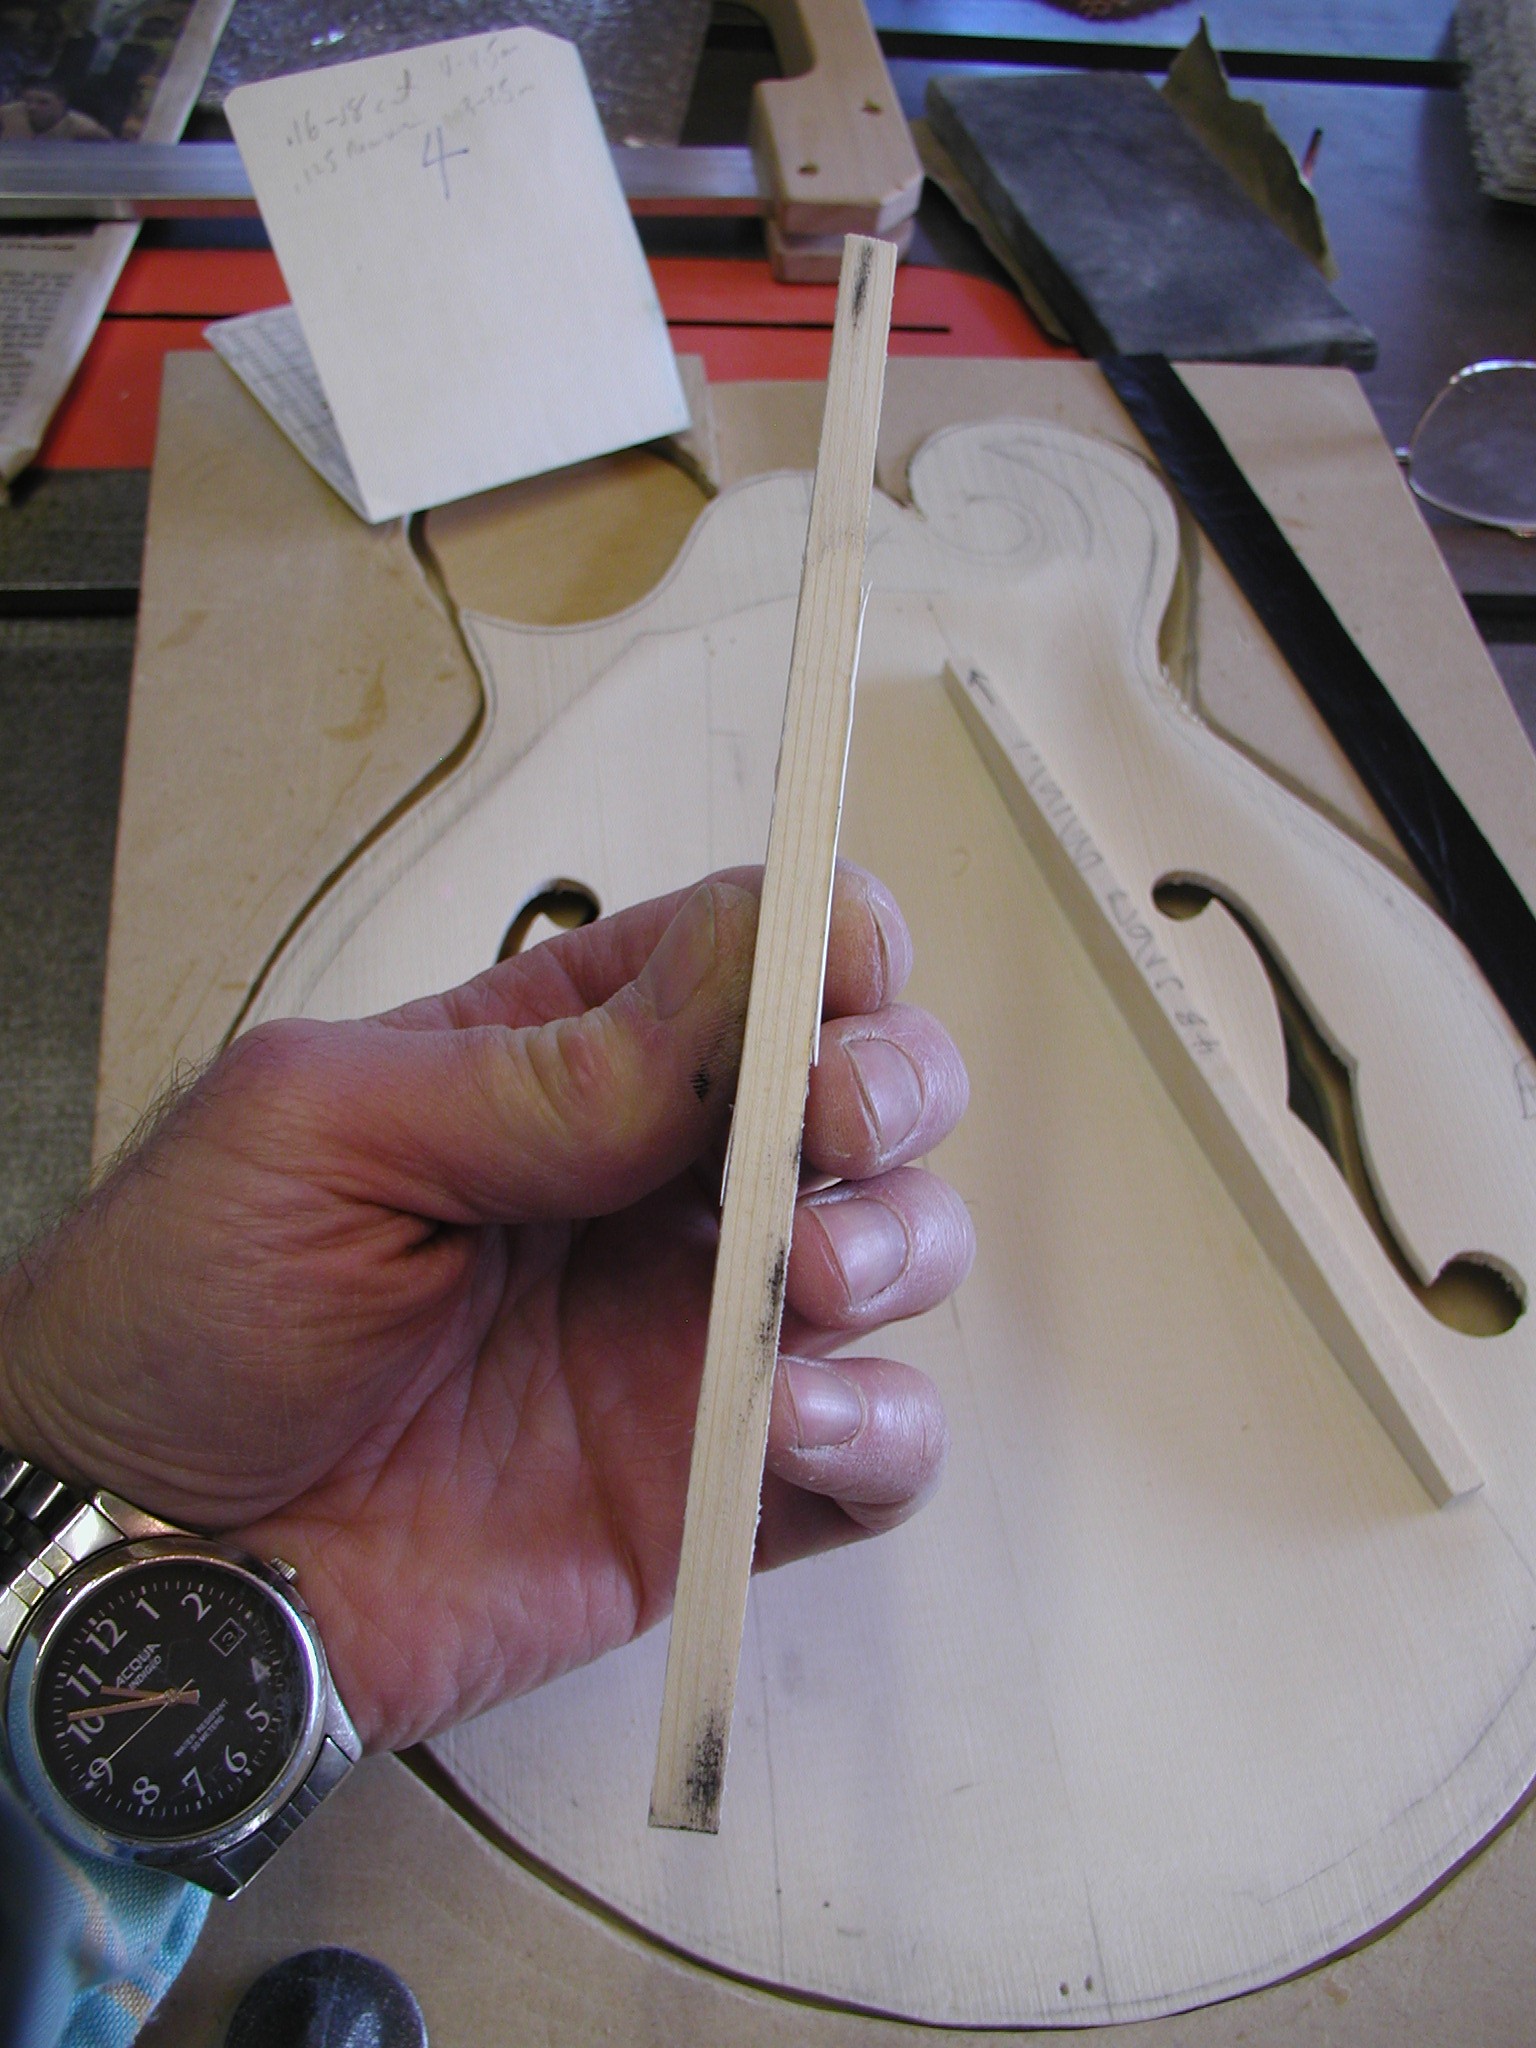
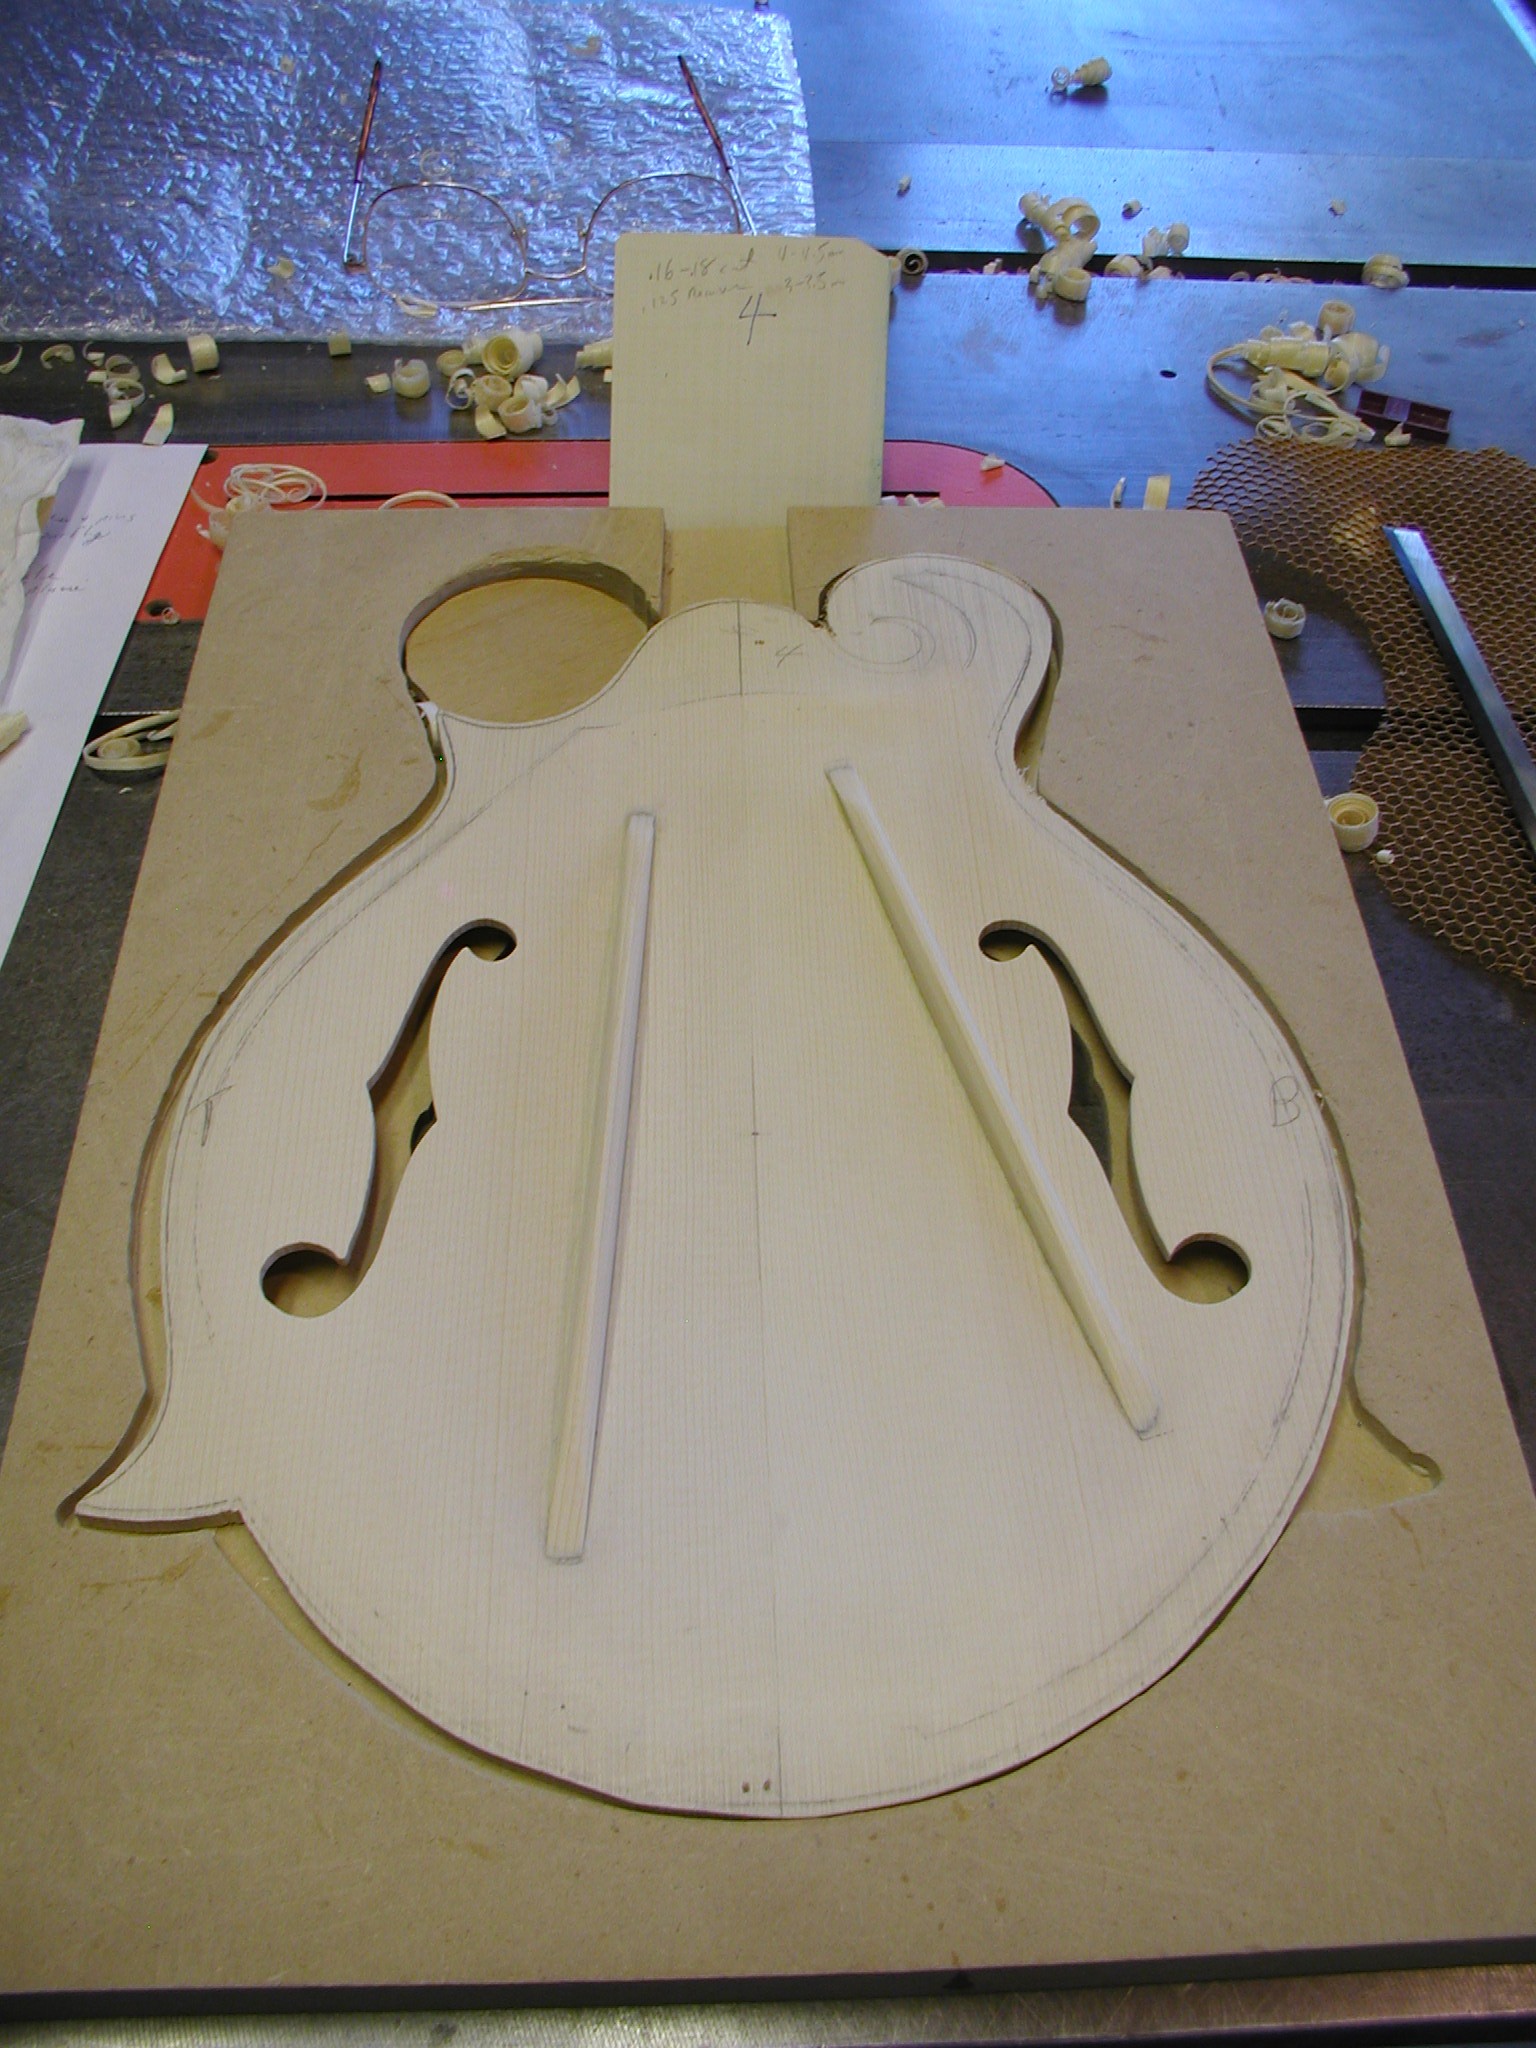
A few back and forth between marking and sanding gets it really close. The final bit I use a glass microscope slide as a scraper to get the final fit true and clean. Note the location marks on the top ready for glue up. They are marked on the inside of the bars so they won't show through the F-holes. They always get some glue on them and won't erase later.

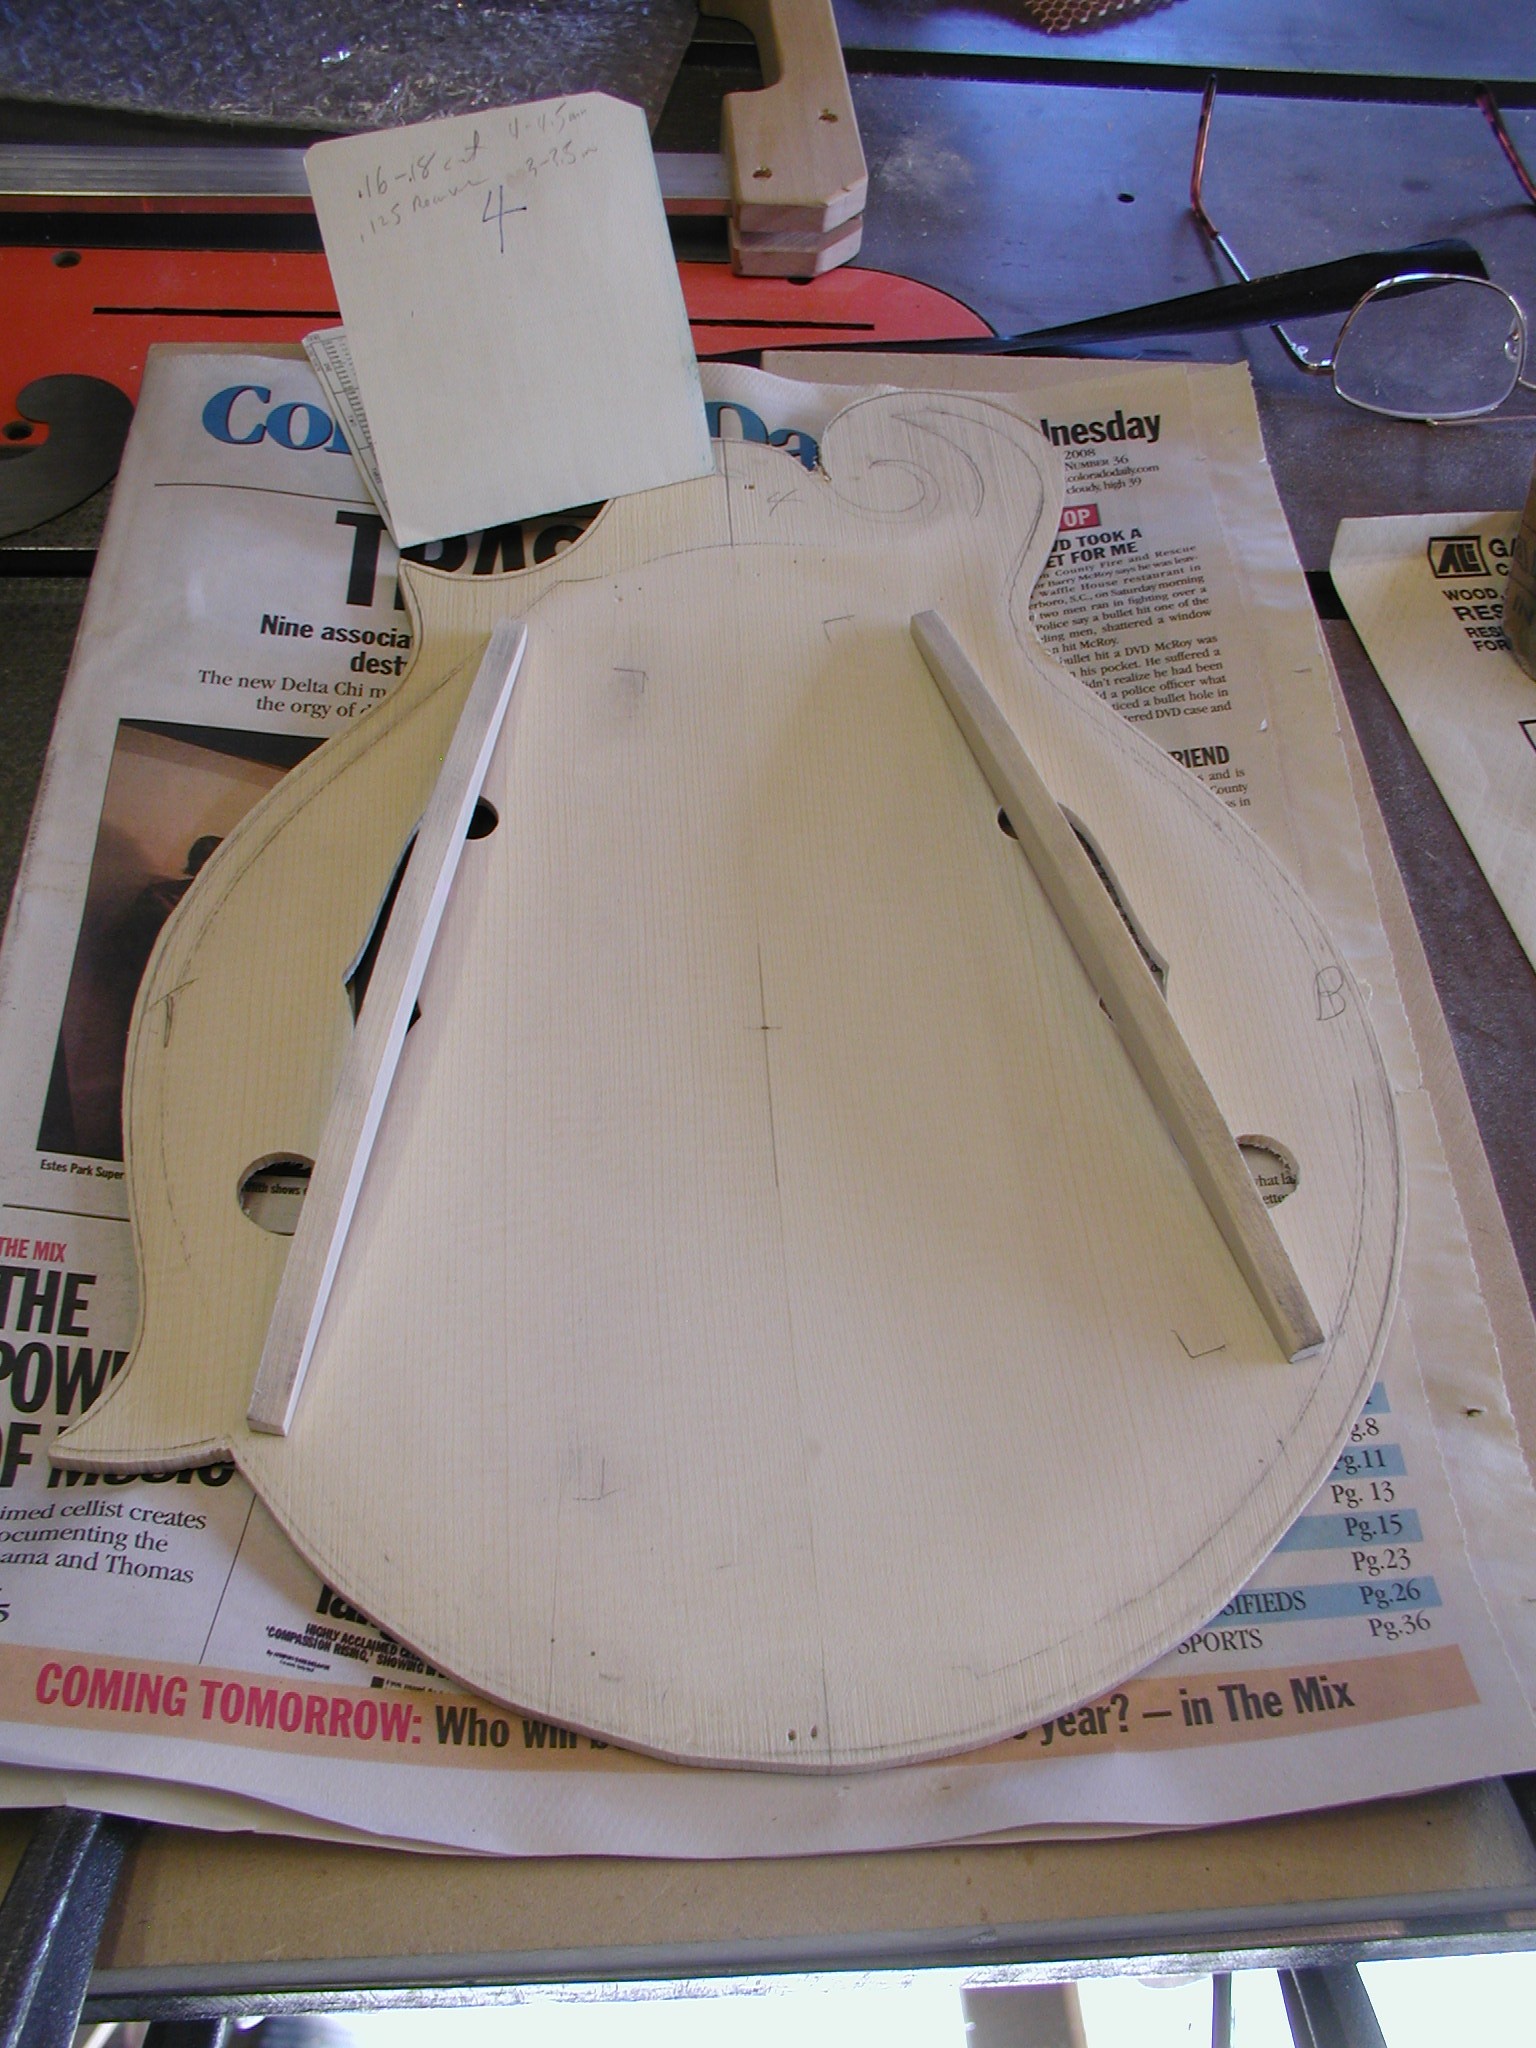
Then glue it up, and carve. I first rough them down with planes and finish with pattern makers chisel and smaller finger planes. I try to get them to tap a half tone apart, not necessarily to a certain pitch since I will be doing some final thicknessing on the outside when I do deflection testing.


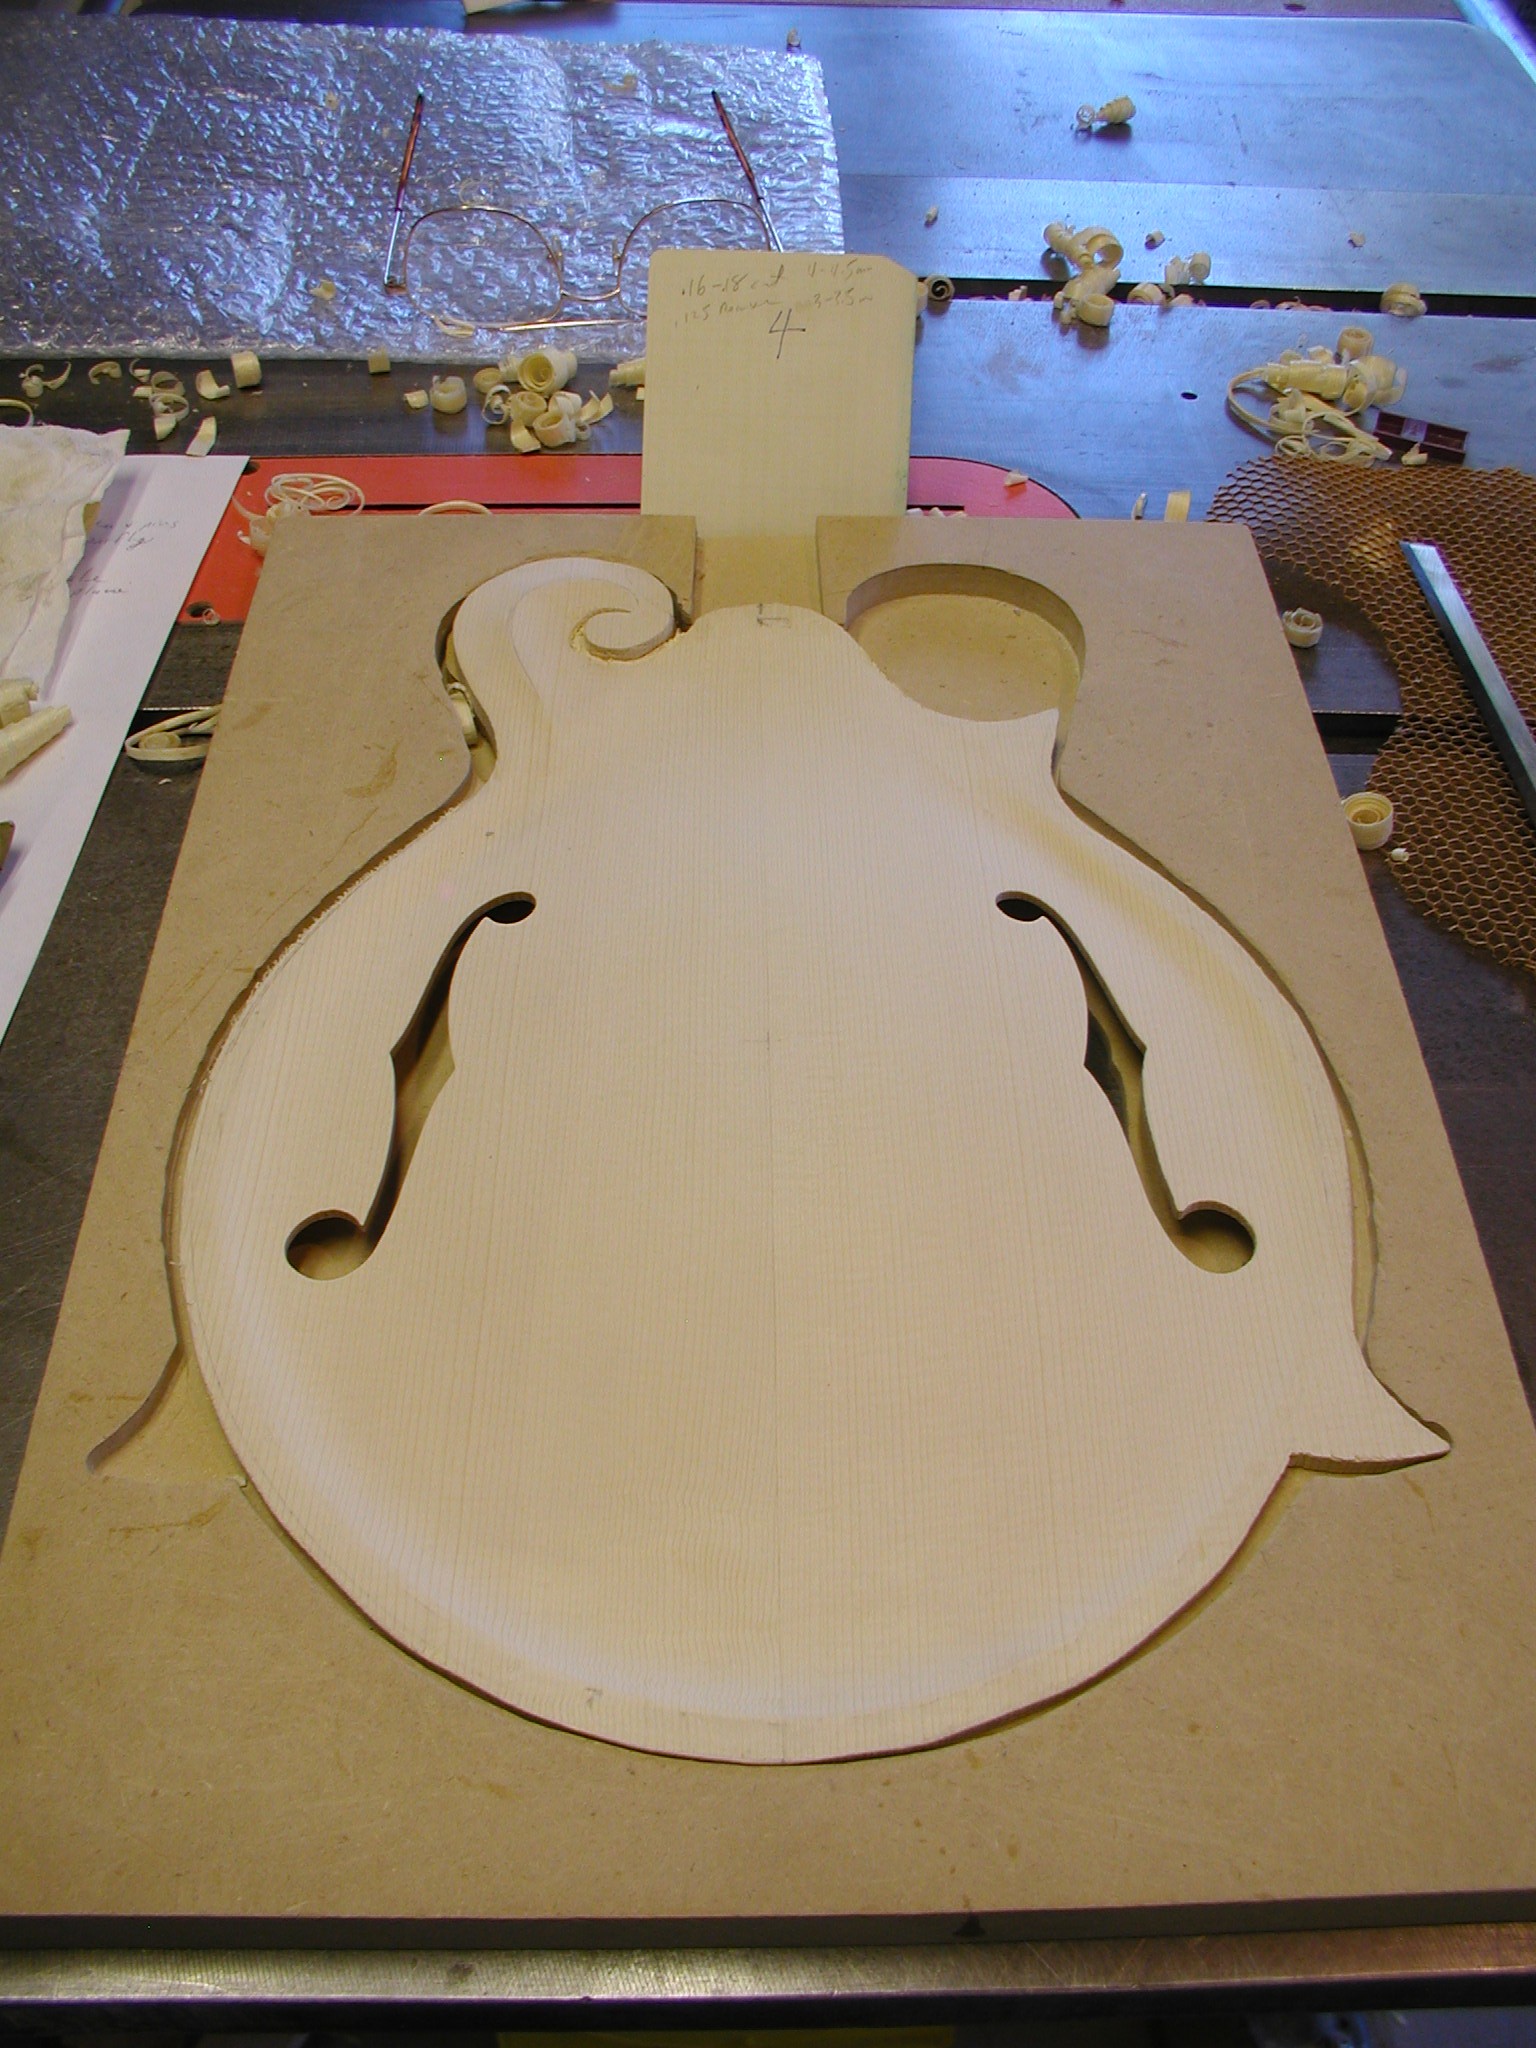
And here is the completed top. Note that there will still be some final fit and carving in the scroll area that we are leaving for now.
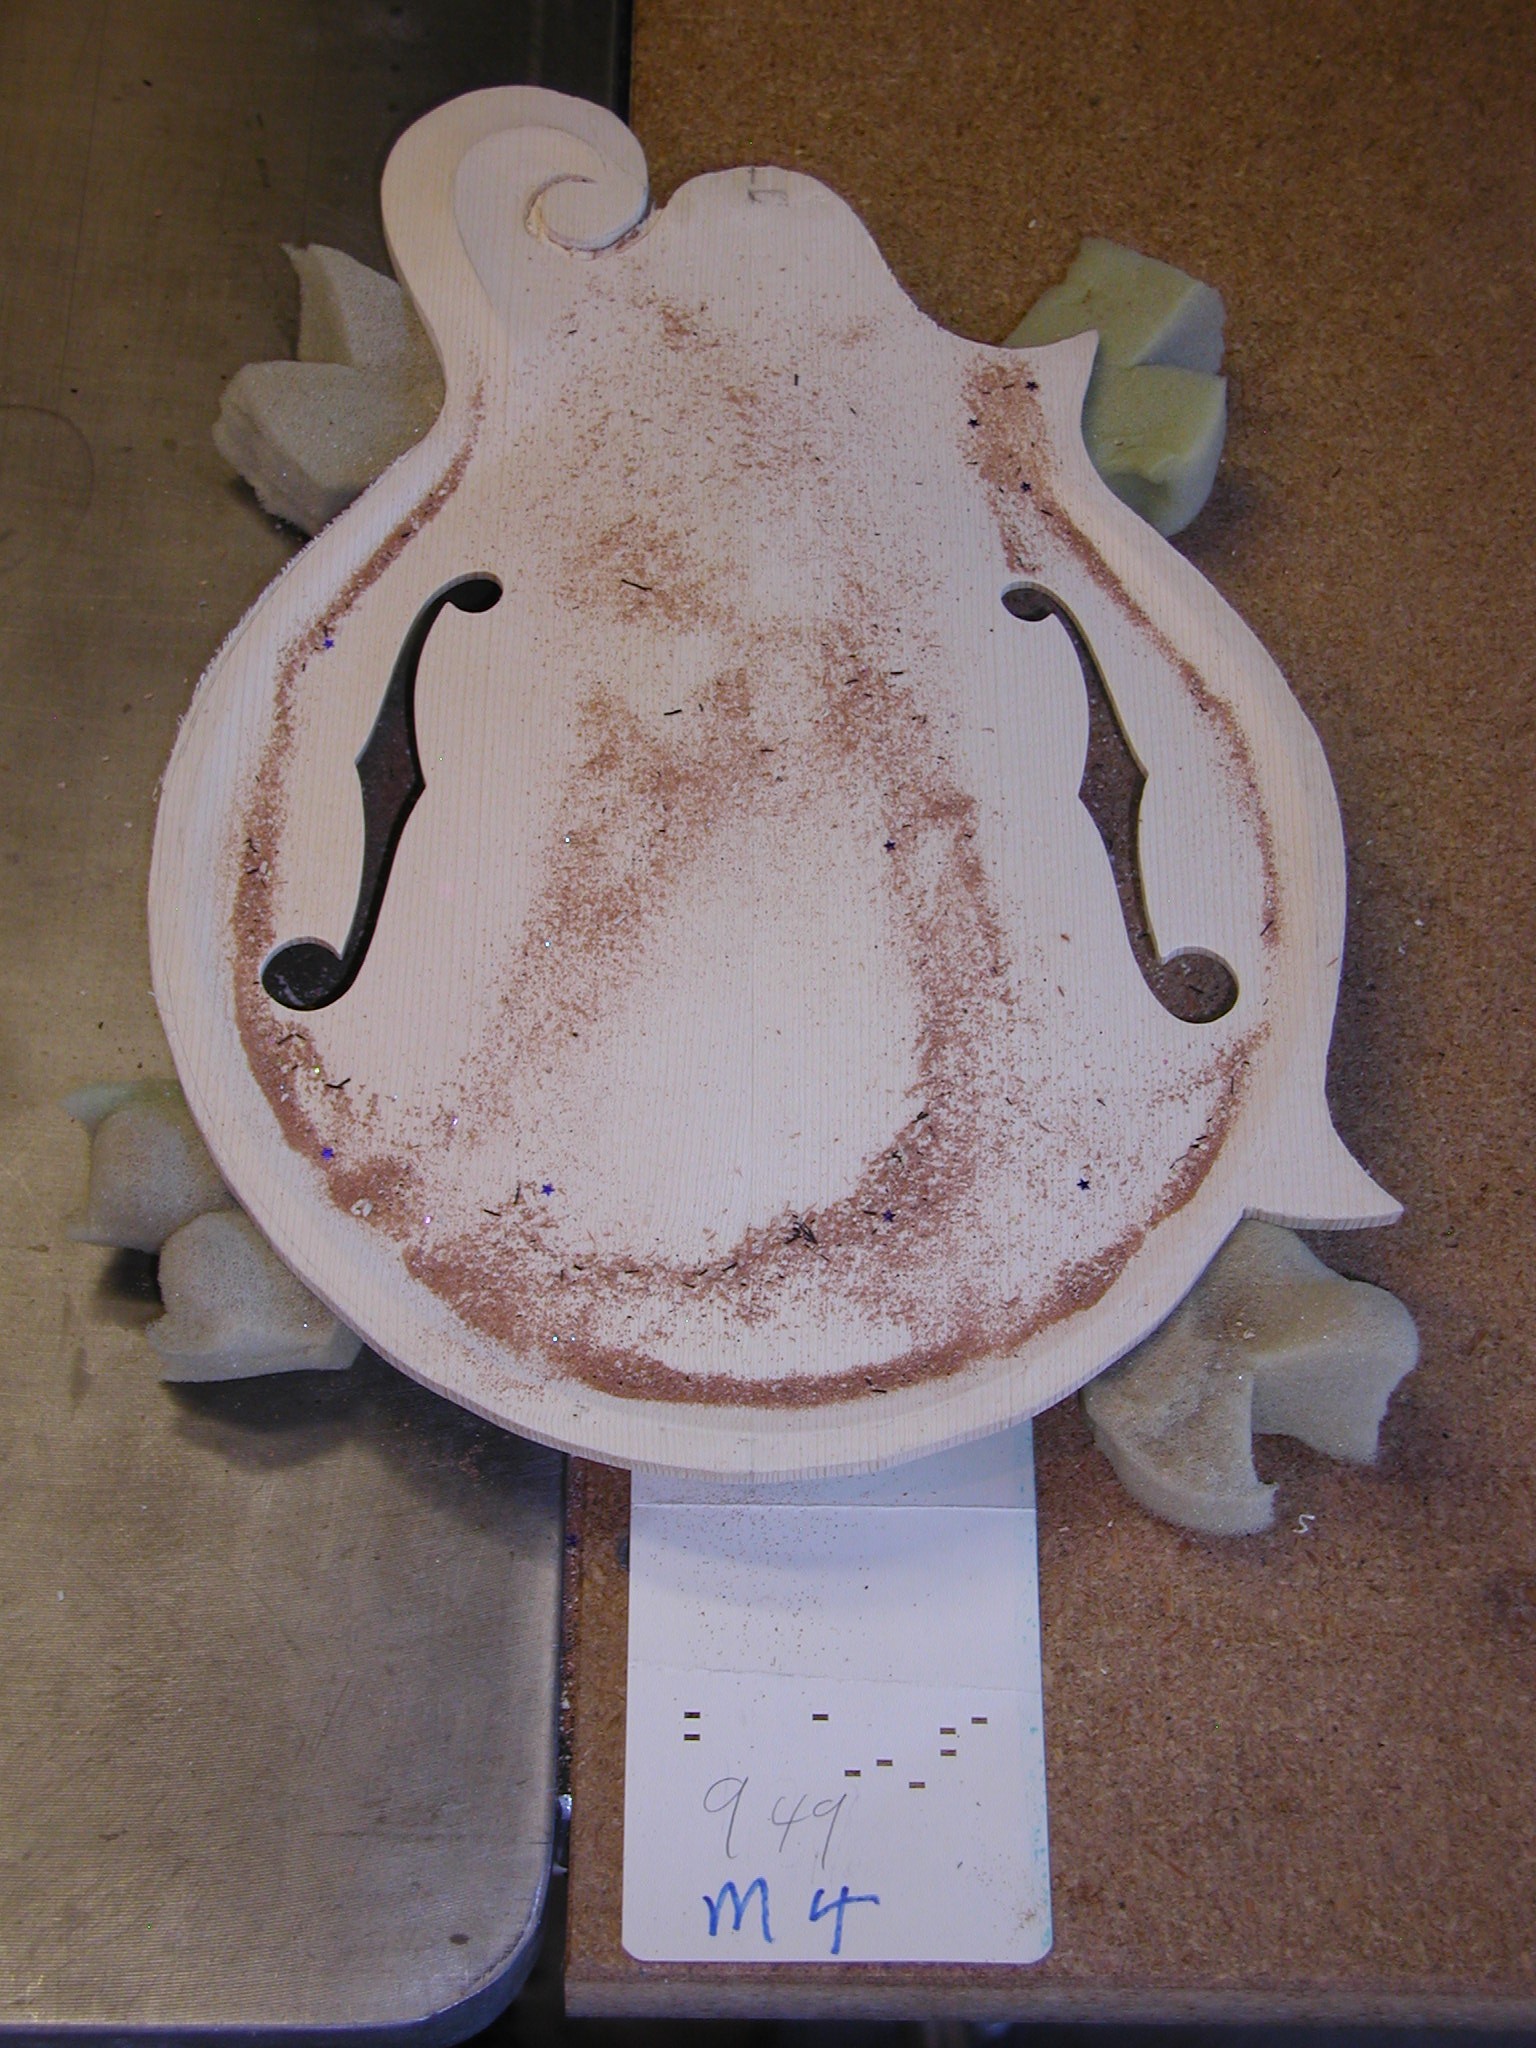
Last of all I run Cladni modes on the completed top and record my data, again a few random samples. Not the cleanest modes that I'd like, but in the right frequency zone that I want. This top looks to still be a bit too stiff at this point. I won't modify it here yet but wait till I have it mounted to the ribs and run deflection tests.
1 2 3 4 5 6 7 8 8a 9 10 11 11a 11b 12 12a 13 14 15 16 17 18 19 20