Let's Build A Mandolin (Page 11)
1 2 3 4 5 6 7 8 8a 9 10 11 11a 11b 12 12a 13 14 15 16 17 18 19 20
Last Modified - January 2012 (©Alan Dunwell 2012)
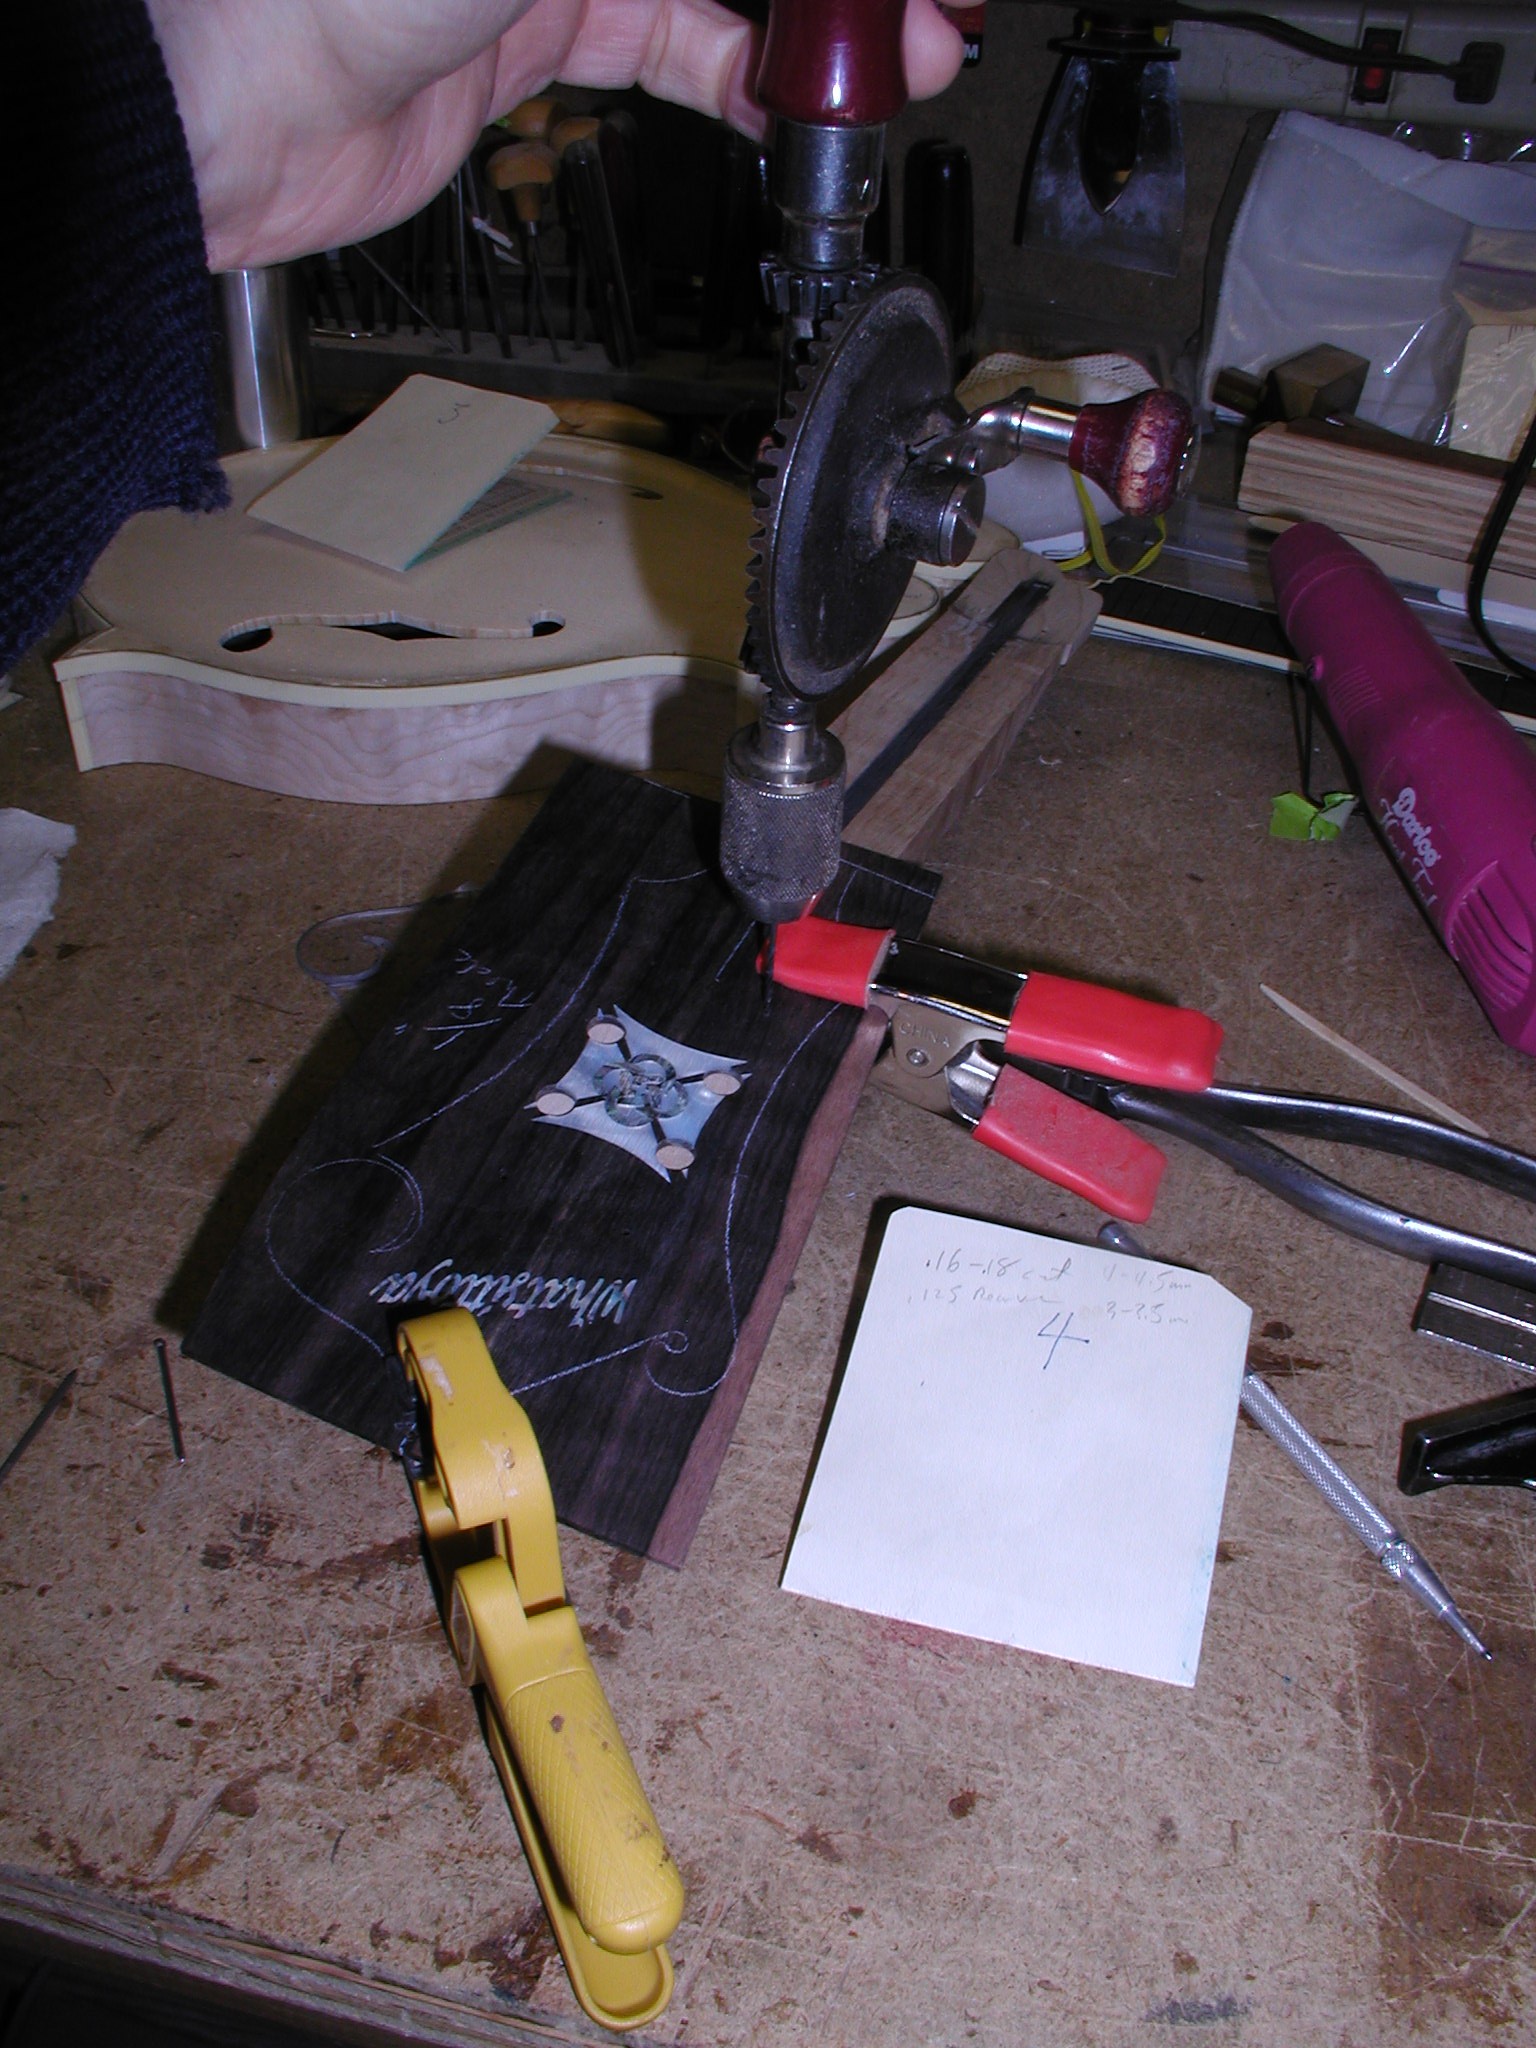
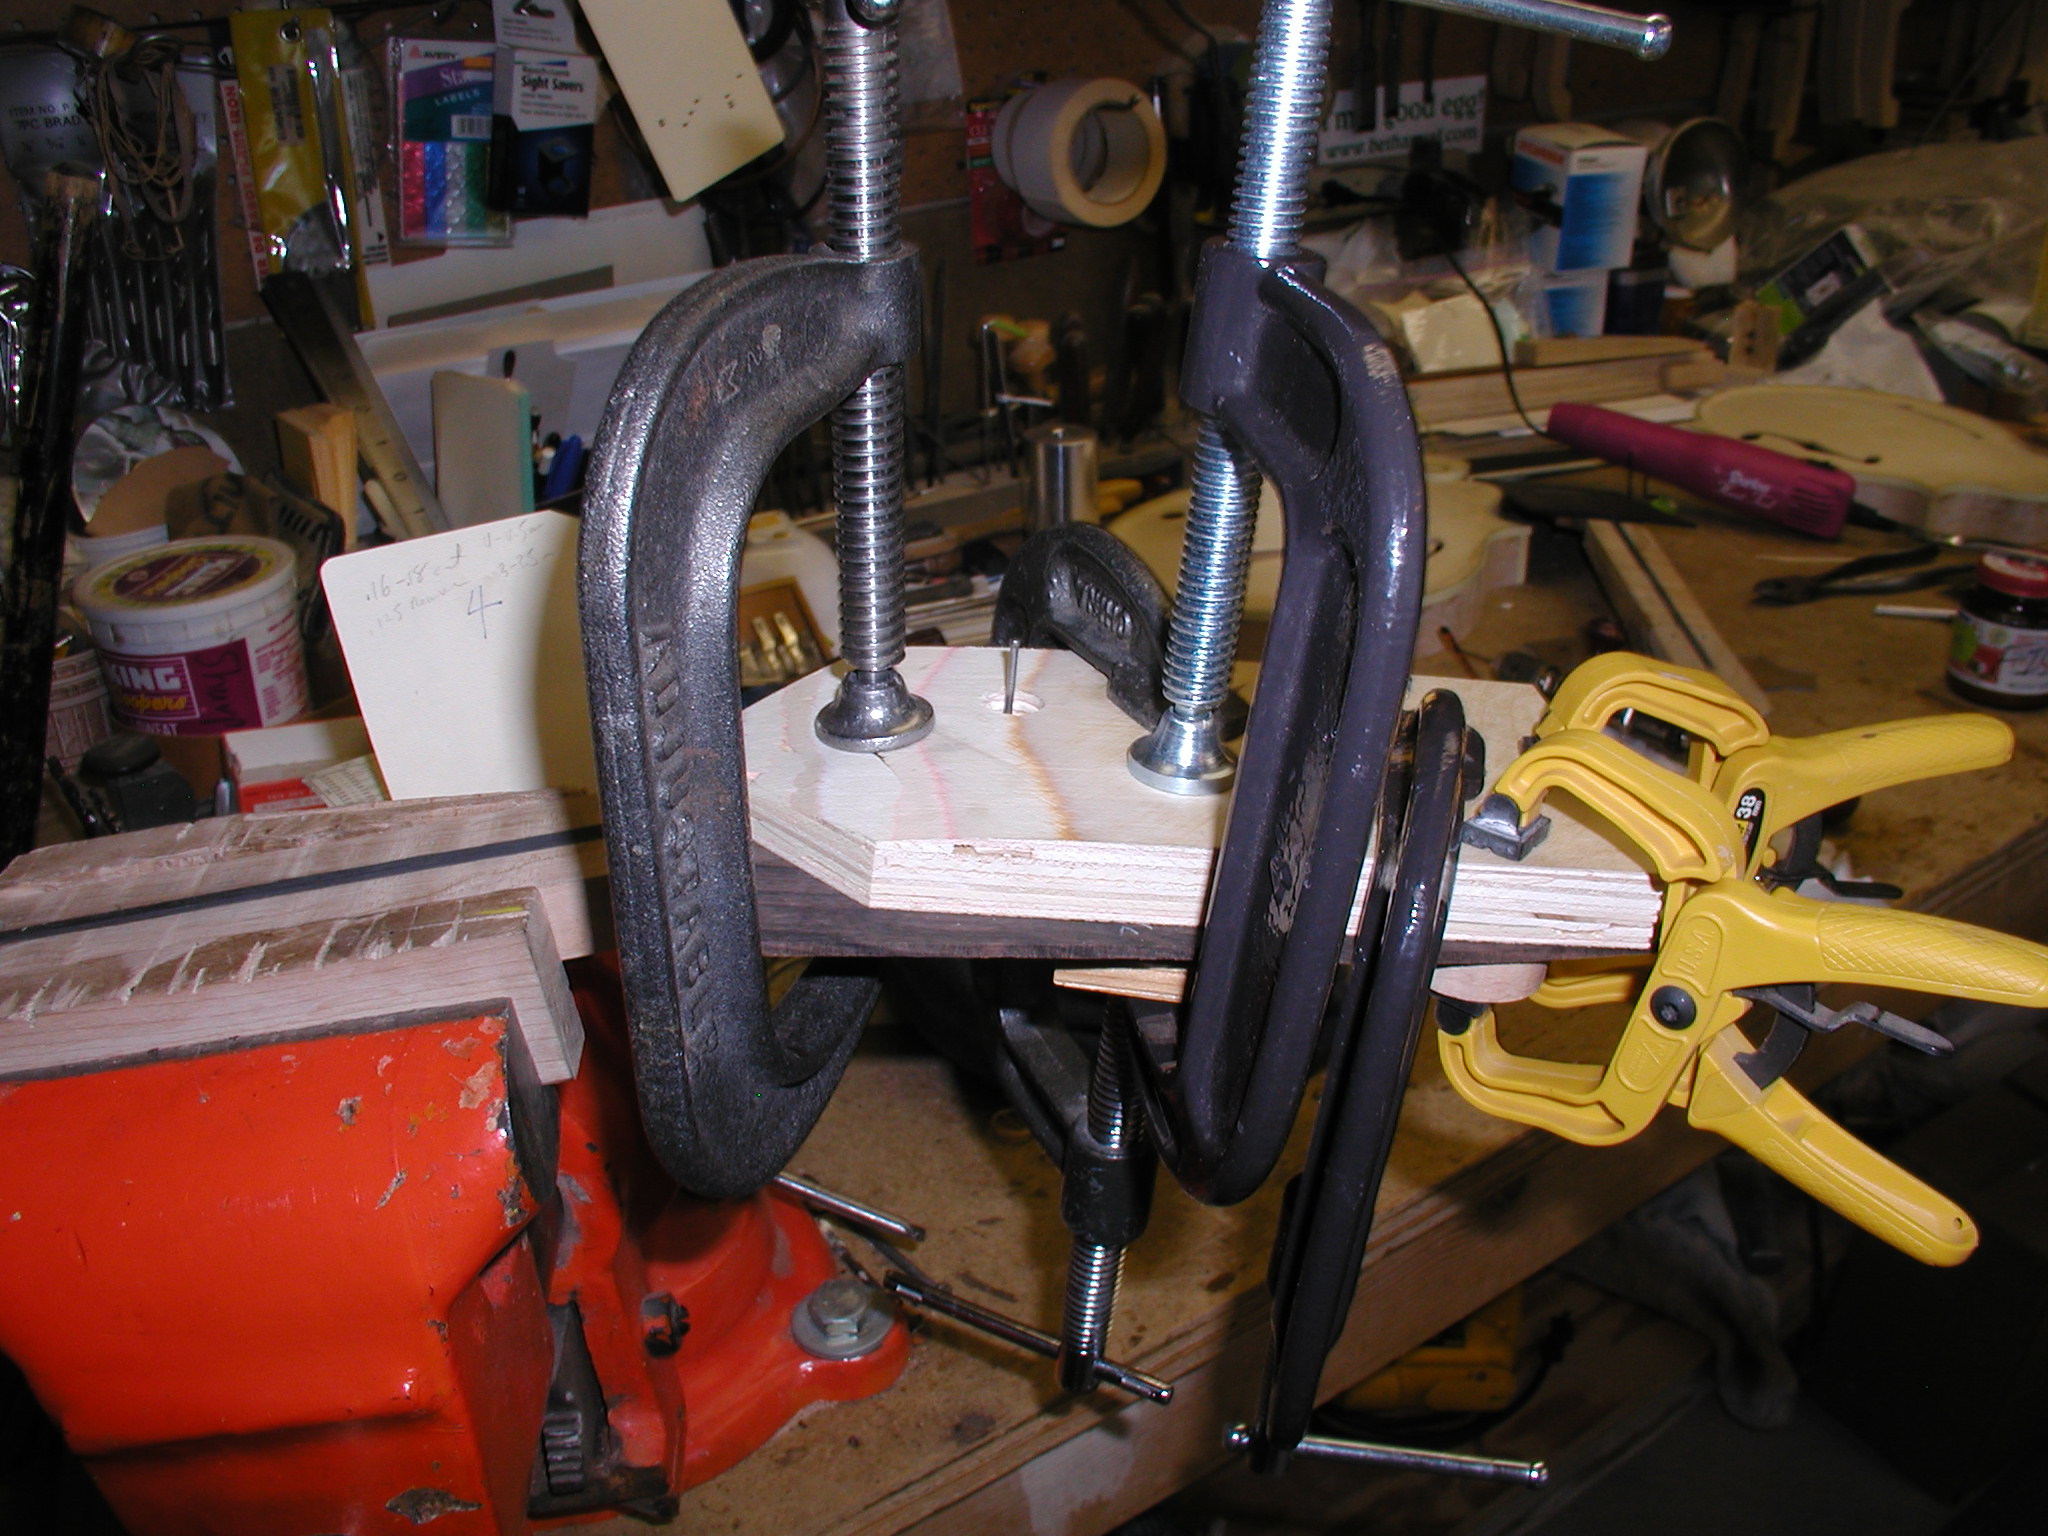
In Page 10 we finished up prepping the neck with the extension attached and the graphite bars all glued in place. Now we will finish it out by adding the faceplate and fretboard. This is where you would do any headstock inlay too, but these days I have my SmartMouth logo pre-inlaid by Todd Reith at Custom Luthier. In this case also the faceplate inlay was done by Todd from a design worked up by the owner and my self to his custom design. Later you will see this design on the pickguard too. First I center the faceplate to the headstock and clamp it in place. Then I drill some pin holes in waste areas that will later be cut off. I use small finishing nails for this. Using a clamping caul I glue it in place. Once the glue has tack set I pull the nail pins. Trim close on the bandsaw and final sand to the headstock profile. This build did not include a back plate as is commonly done in F-style mandolins. If you are interested in that process Click Here.


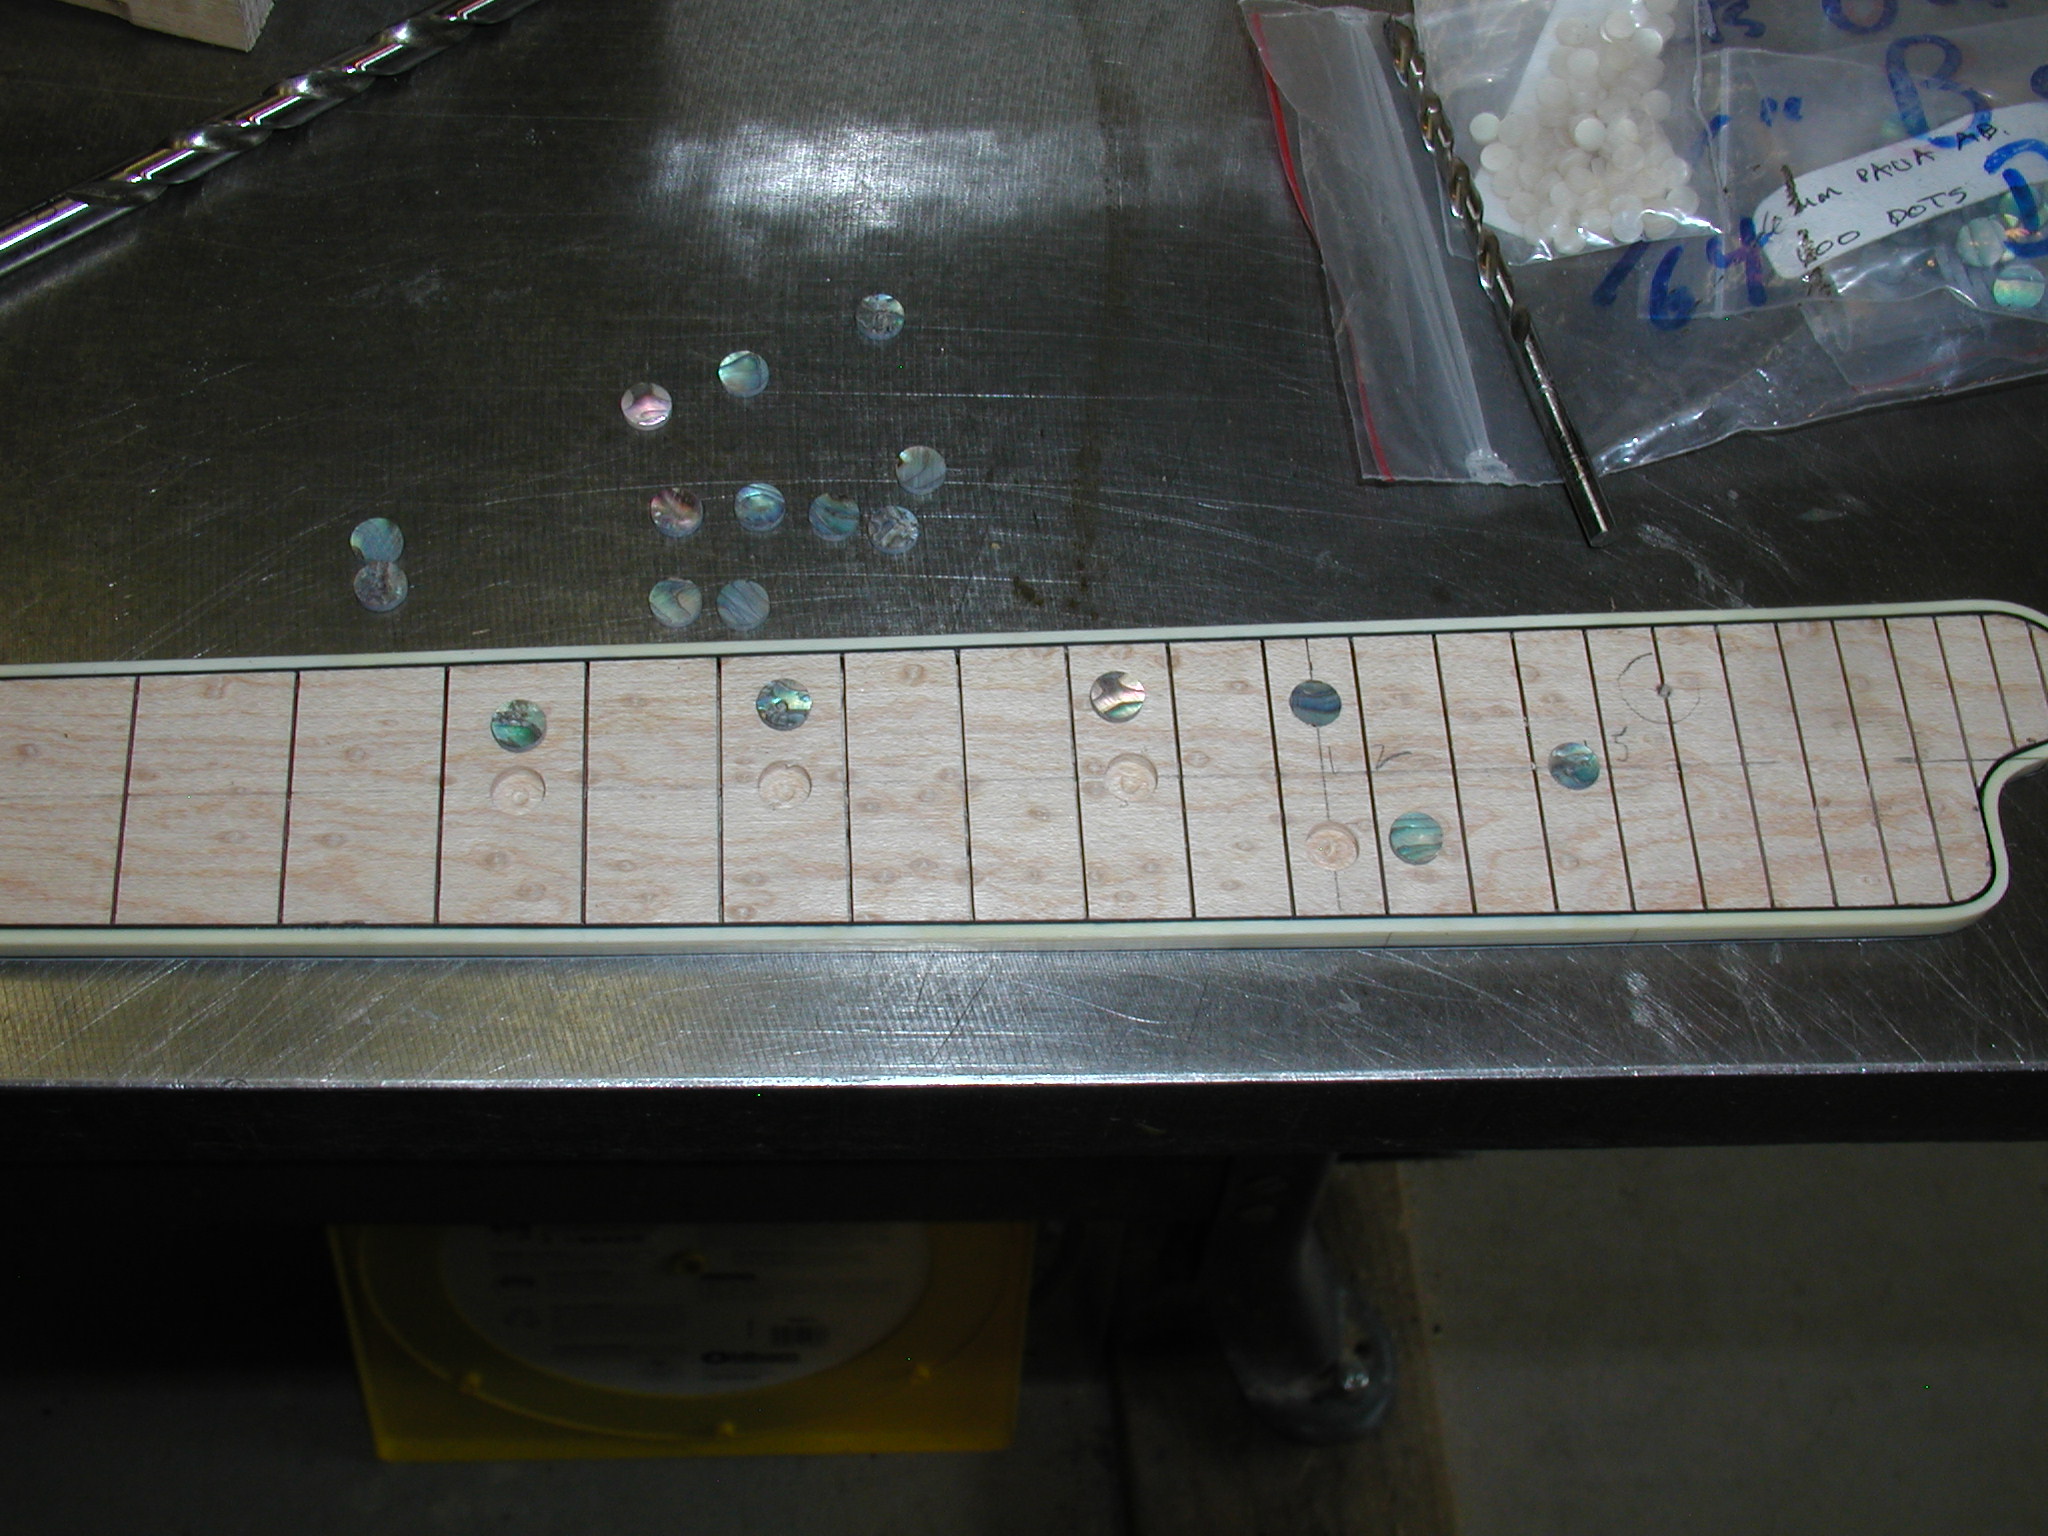
The fretboard inlay comes now. Here I am just doing simple dots but if any fancy inlay was to be done it would happen now. Here I mark out the centered locations of the dots and use a brad point bit to drill the holes. This makes a nice clean edge to the holes without chips. I depth-stop the drilling so the holes are just a shade too shallow for the dots. I hand press the dots in place and wick in some CA glue (Super Glue). Pay attention to any grain in the shell pattern and try to align all the dots to match the grain. Also pay attention to how the shell flashes in the light and try to align them all so that the audience will see that flash when the instrument is held in the playing position. Use some 320/400 grit papers to level and smooth it all.


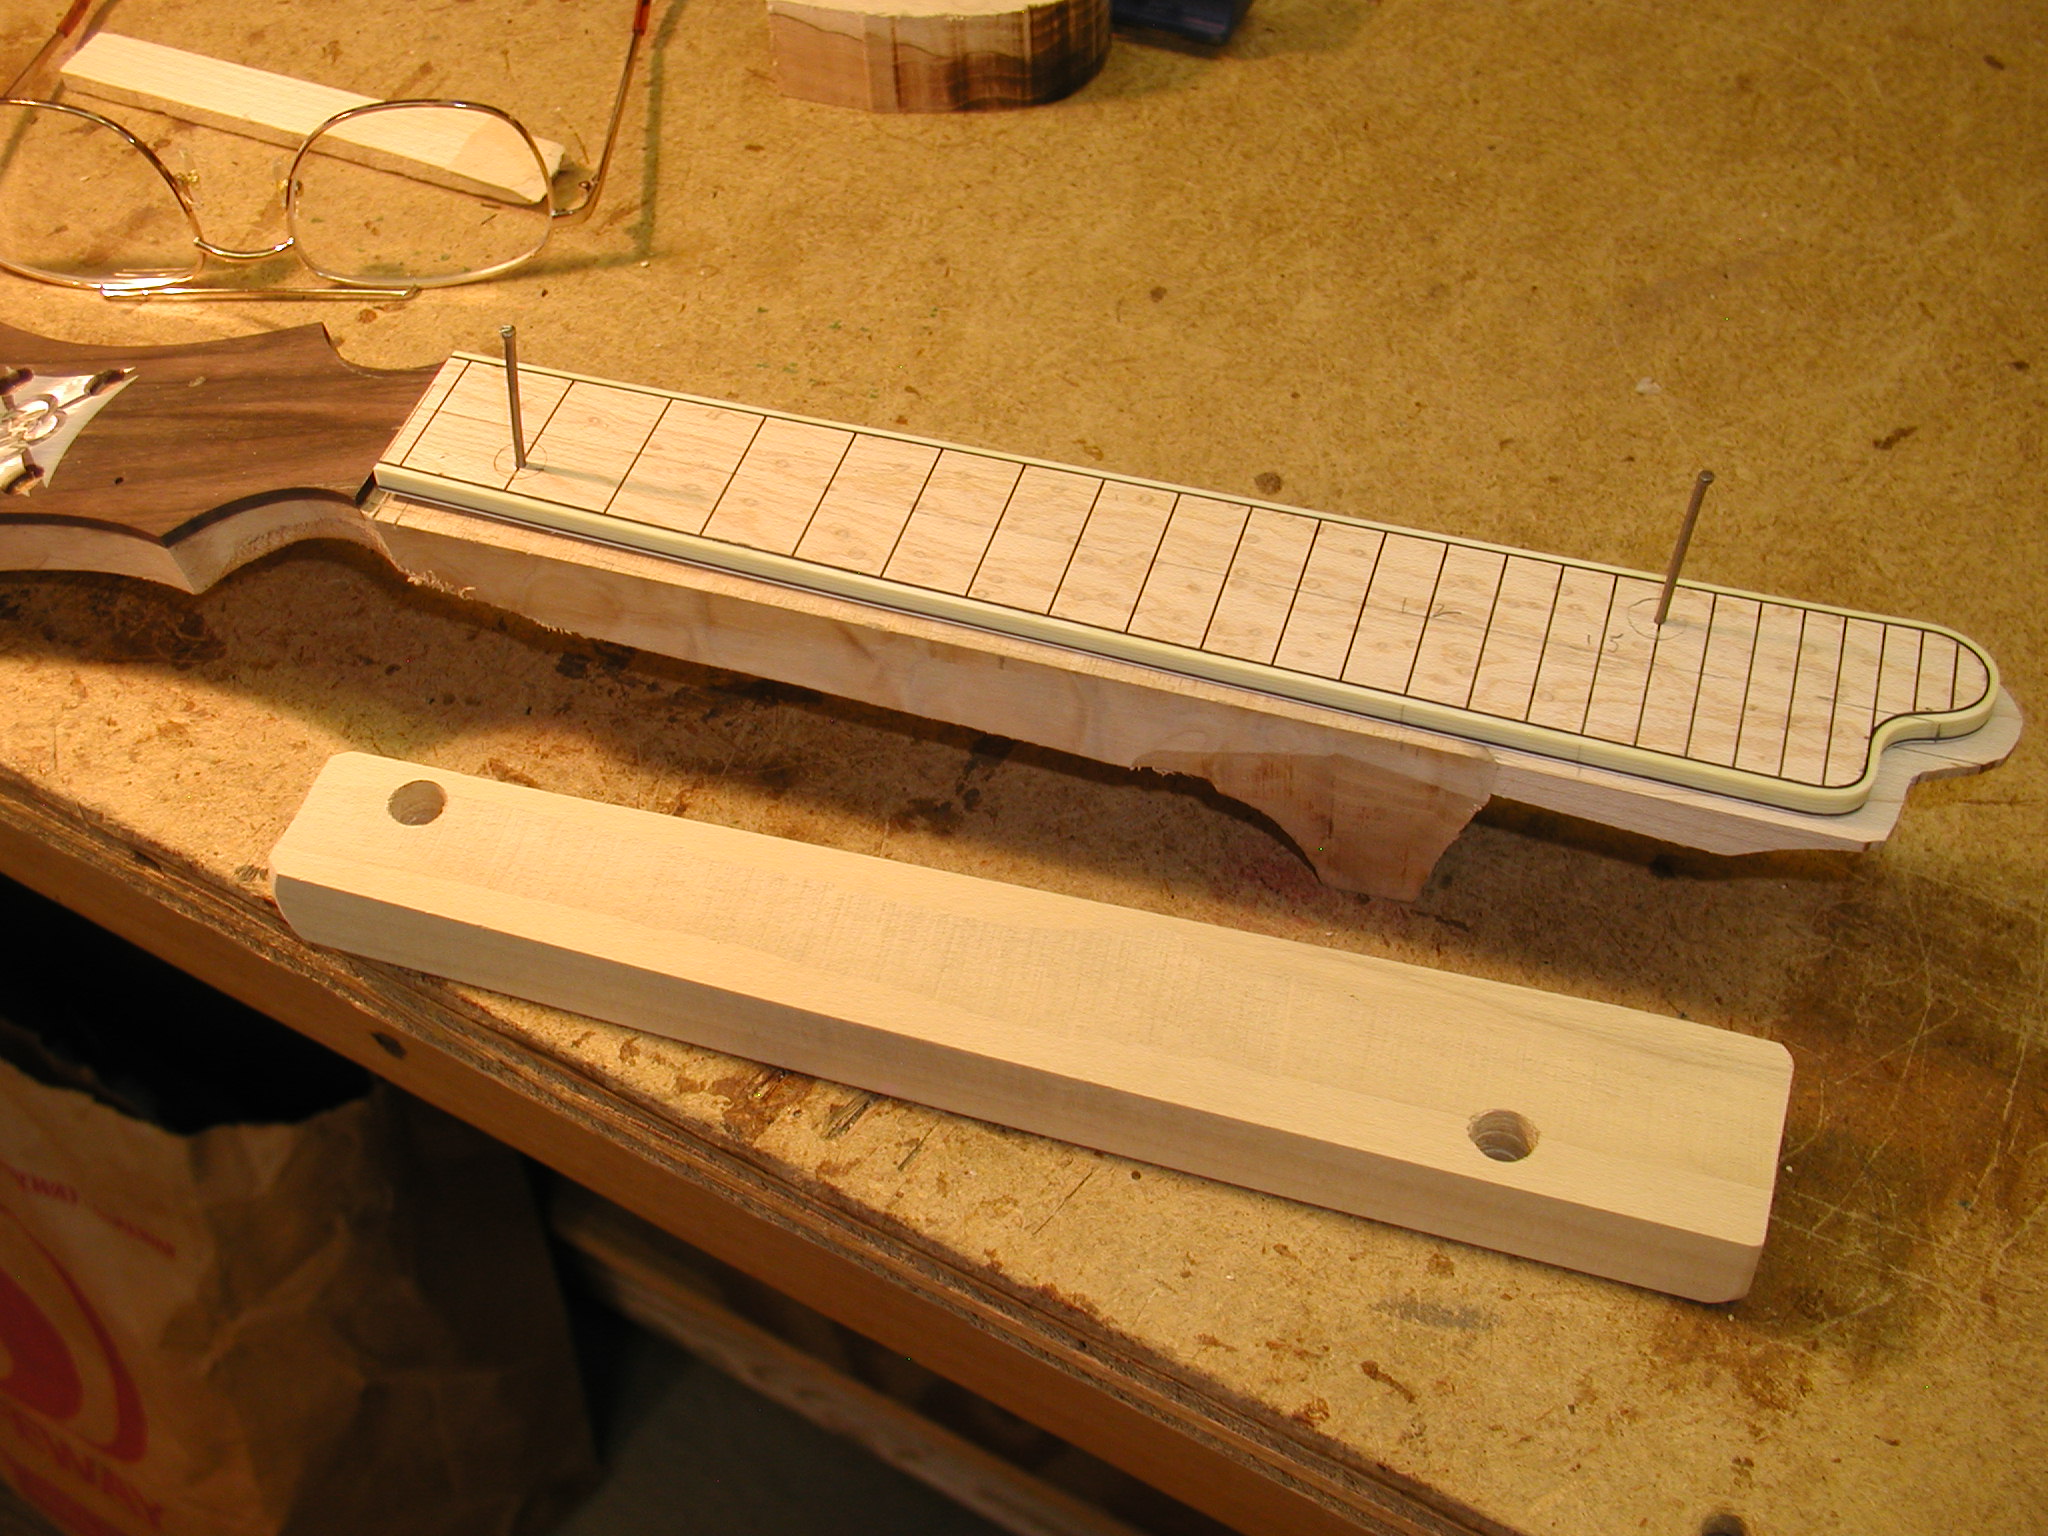
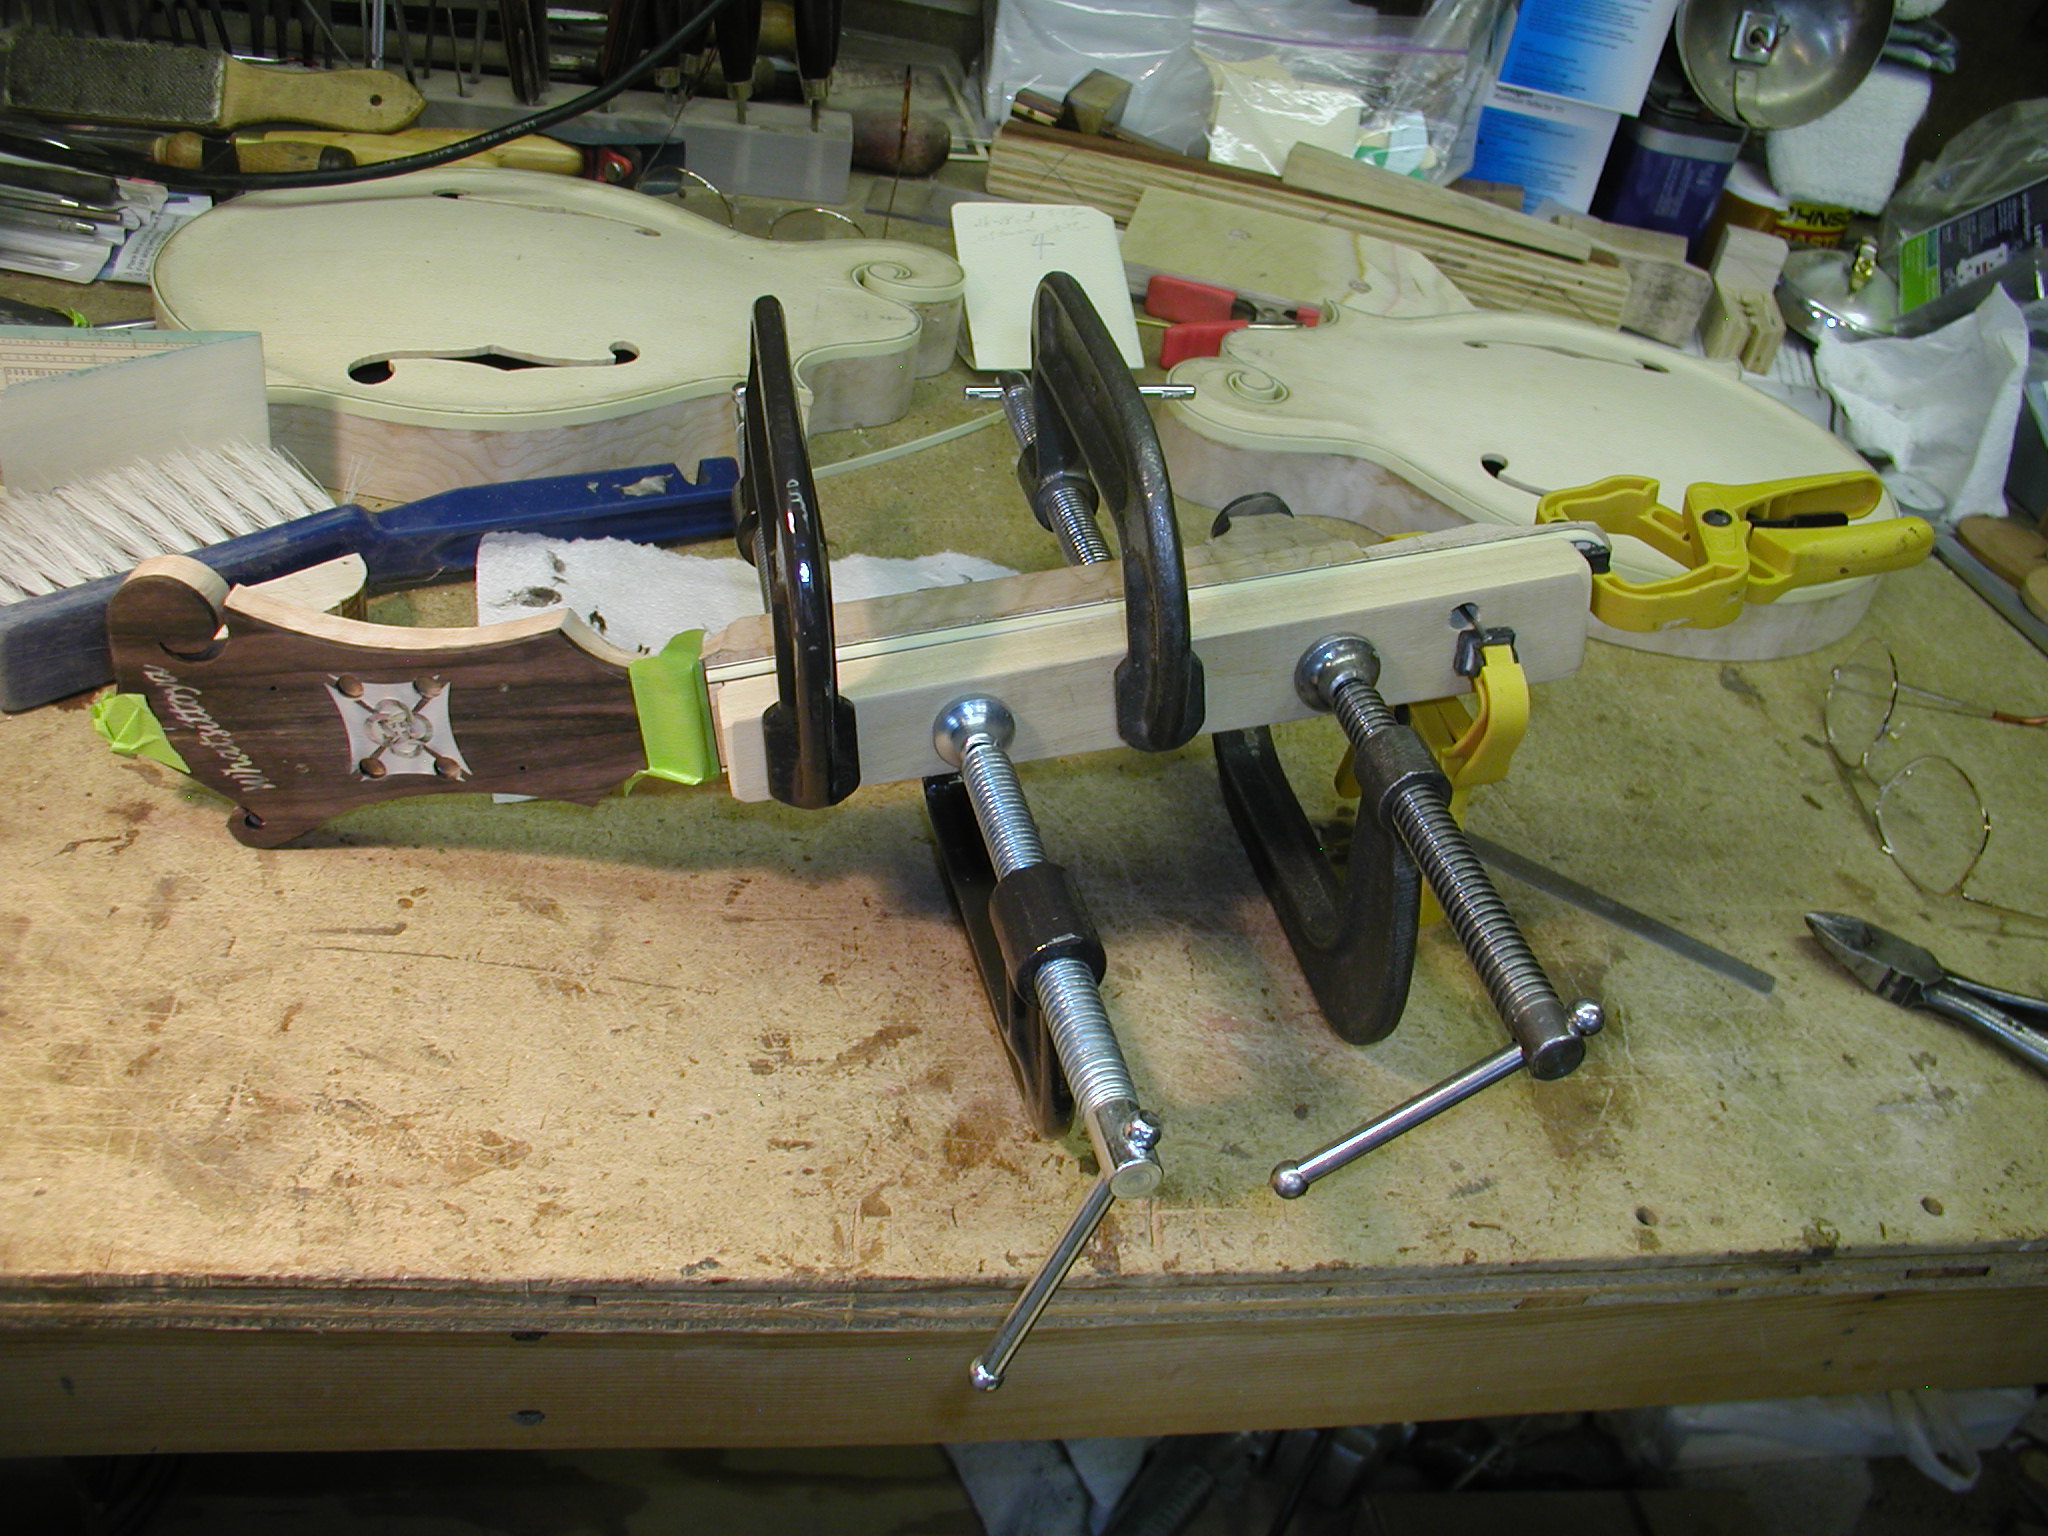
Gluing the fretboard follows the usual pattern. Align and clamp the fretboard in place and drill some pin holes through the fret slots in locations where they won't hit the graphite bar. Notice the green tape masking off where the nut will go, this will save you a bunch of time trying to clean up any squeeze out there. Put down the tape and then apply some Johnson's paste wax to it with a Q-tip. Keep the wax off the neck, just on the tape. Later the glue will pop right off. Apply the glue to the fretboard bottom, slip the pins through the fretboard and pin it to the neck. Add the clamping caul with holes for the pins and clamp in place. Start your clamping at the center and work out to the ends to get it to lay down nice and even. Pull the pins when the glue has tacked and clean up any squeeze out around the edges, this will make it easier to profile the neck later.


For folks that are interested in how to do a "scooped" fretboard extension look HERE.
1 2 3 4 5 6 7 8 8a 9 10 11 11a 11b 12 12a 13 14 15 16 17 18 19 20