Let's Build A Mandolin (Page 11a)
1 2 3 4 5 6 7 8 8a 9 10 11 11a 11b 12 12a 13 14 15 16 17 18 19 20
Last Modified - January 2012 (©Alan Dunwell 2012)
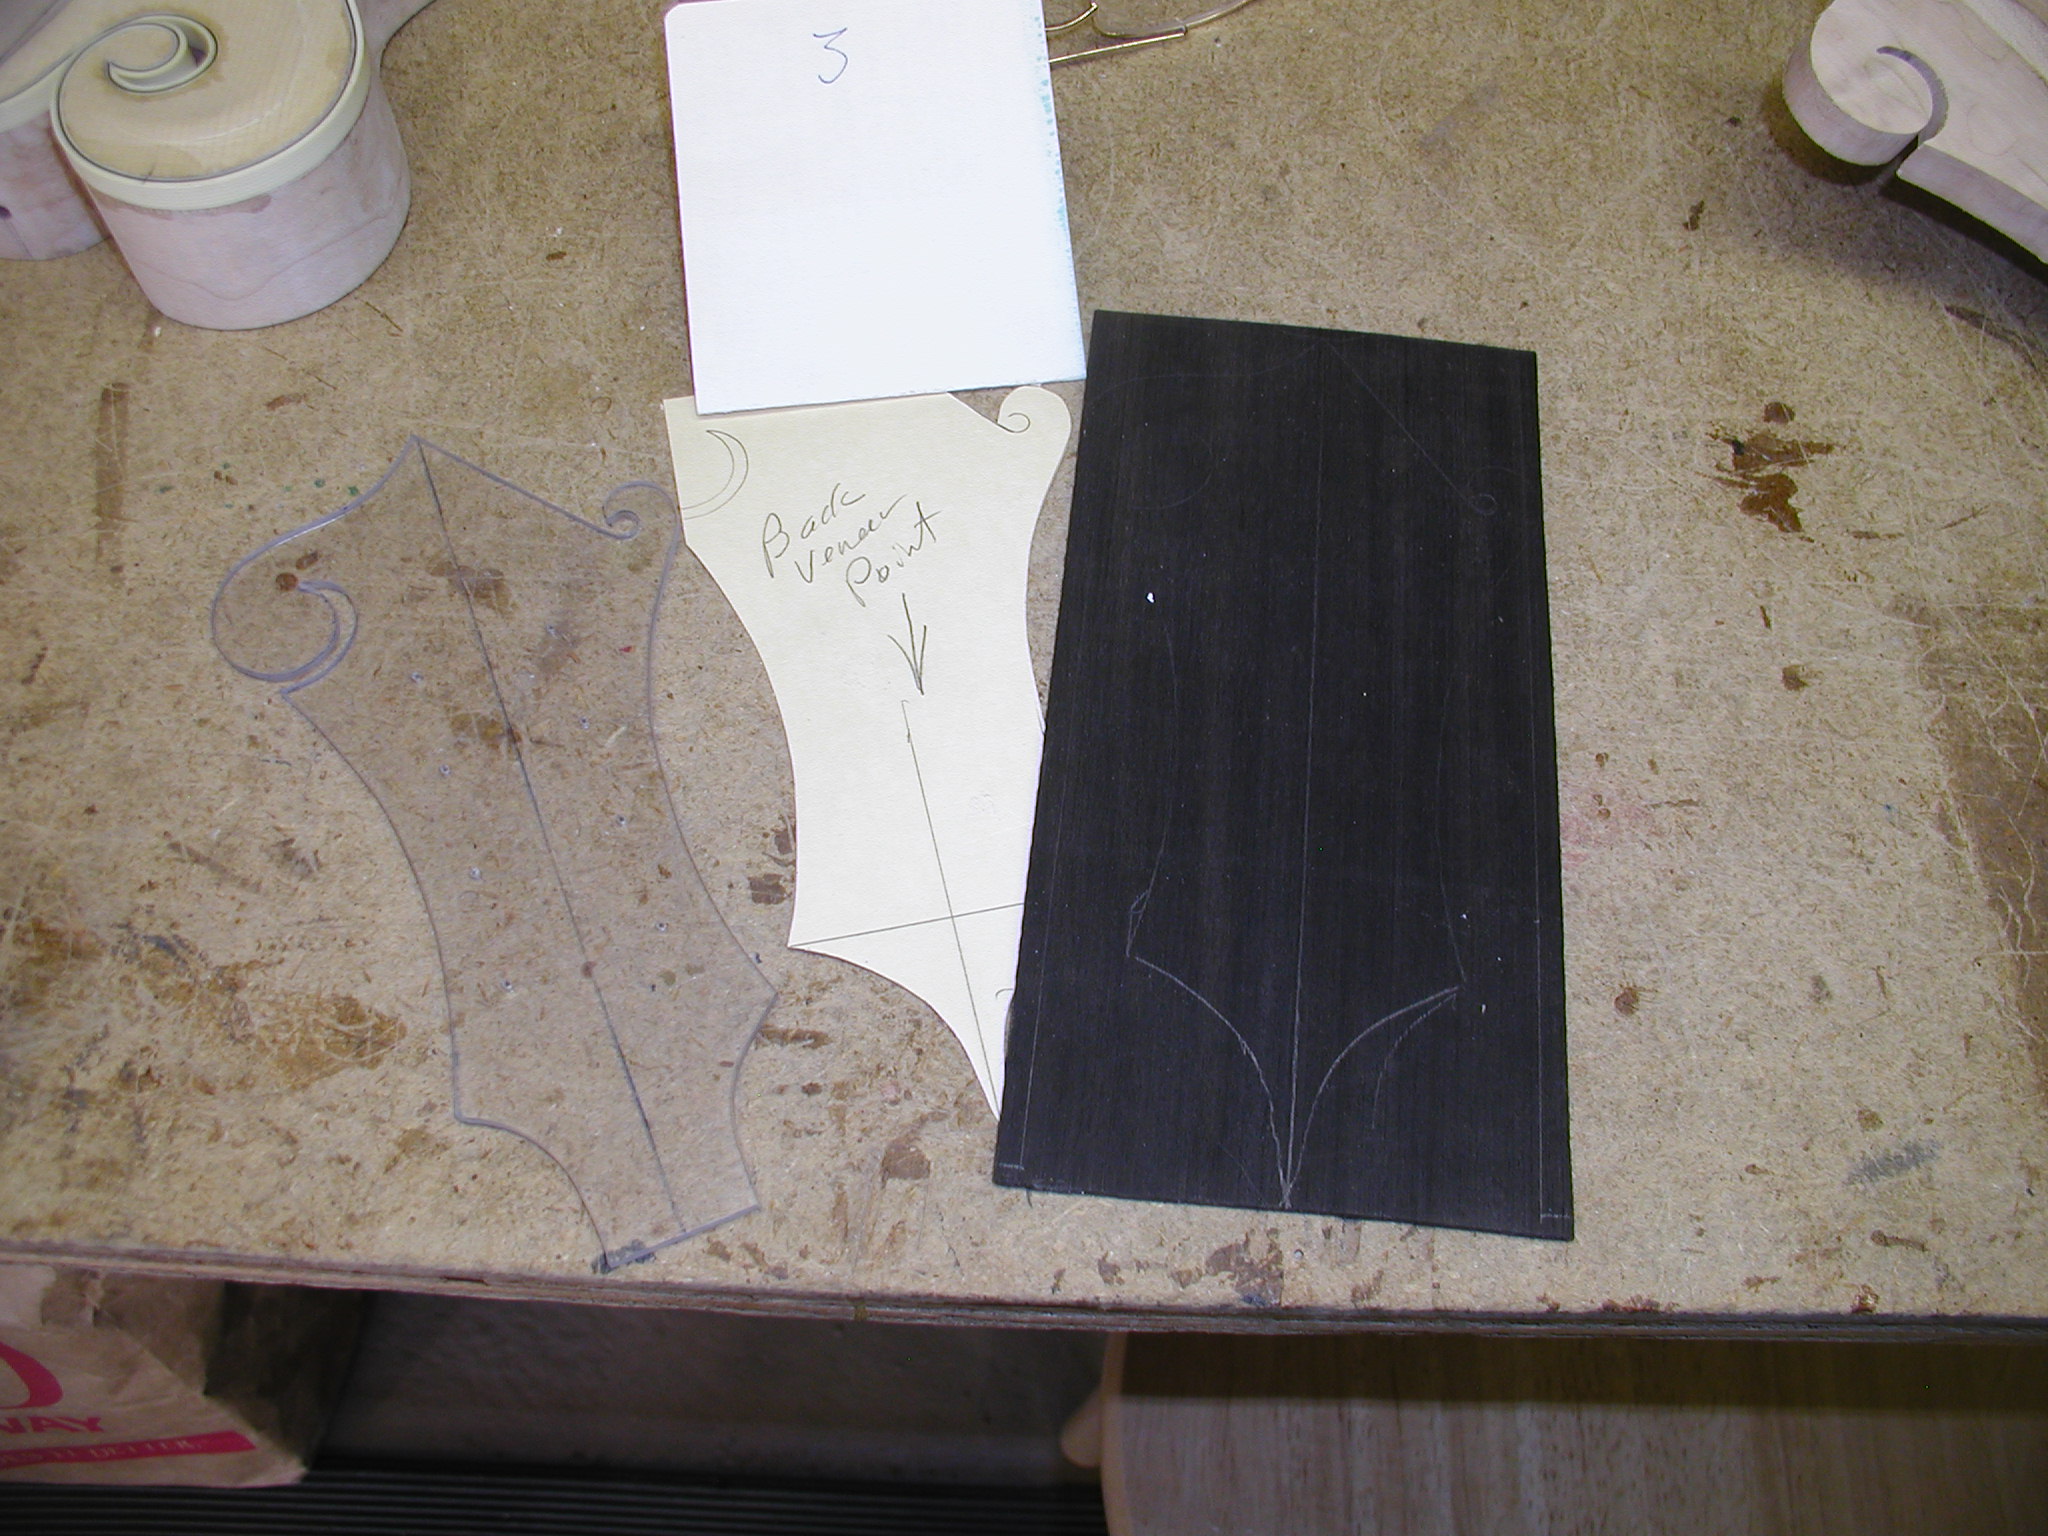
In Page 11 we were doing the faceplate but did not do back plate. This is quick look at the back plate process. This is a piece of African Blackwood. Remember when you make this additional piece that it is adding in thickness to the headstock, so you should have cut your headstock to thickness factoring that in.
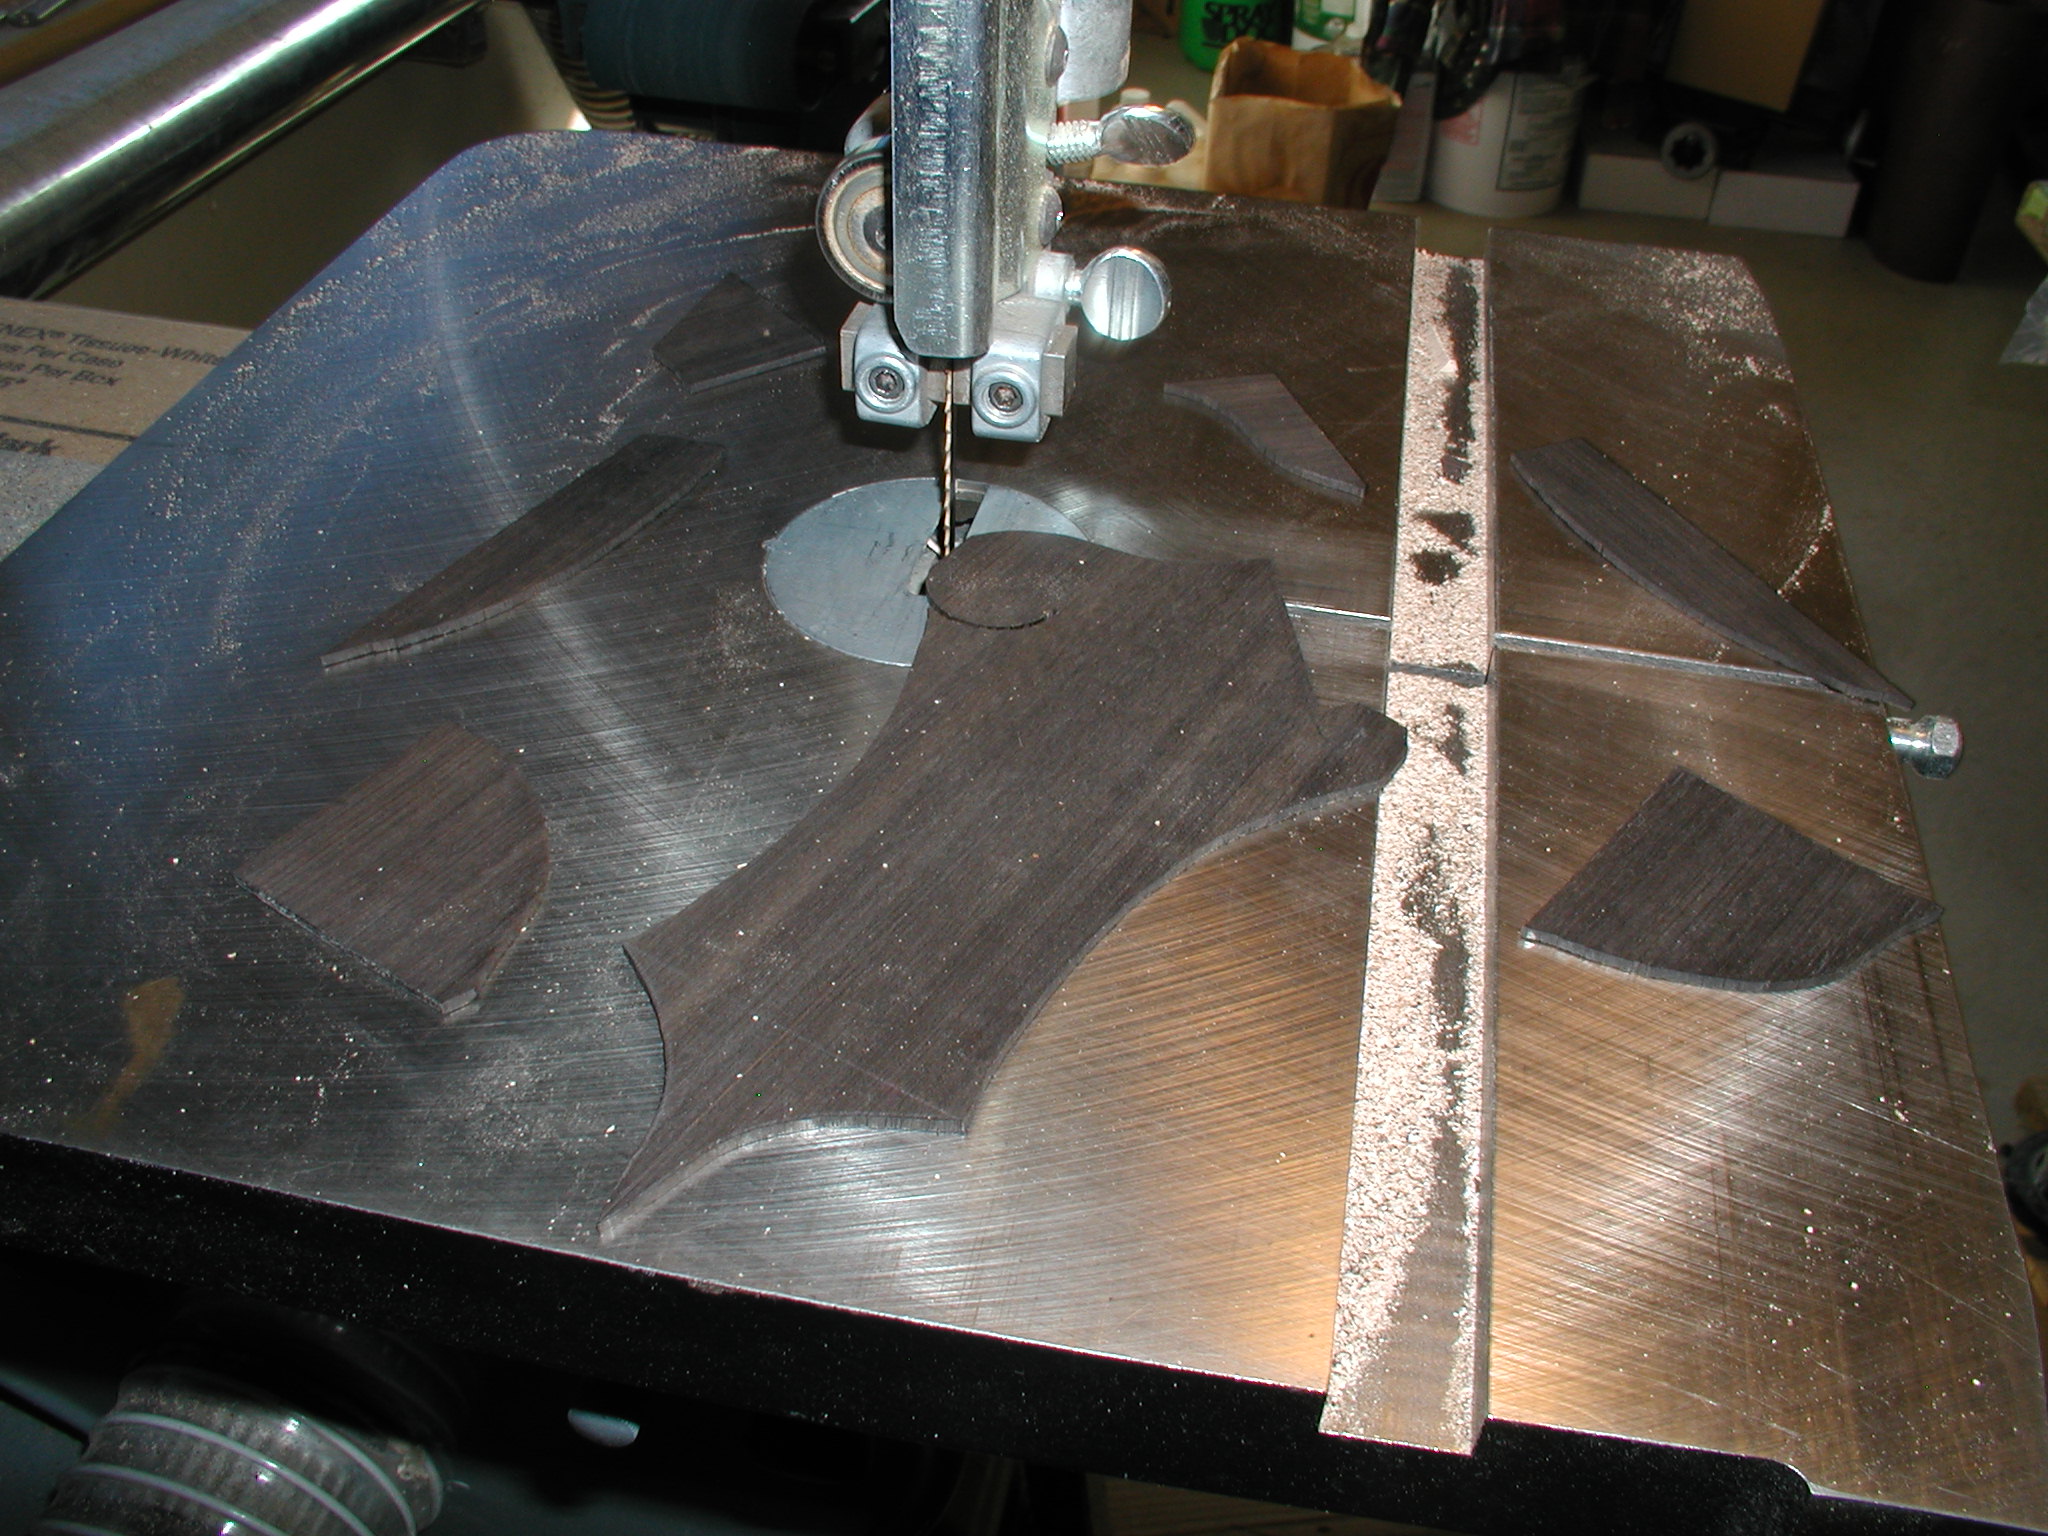
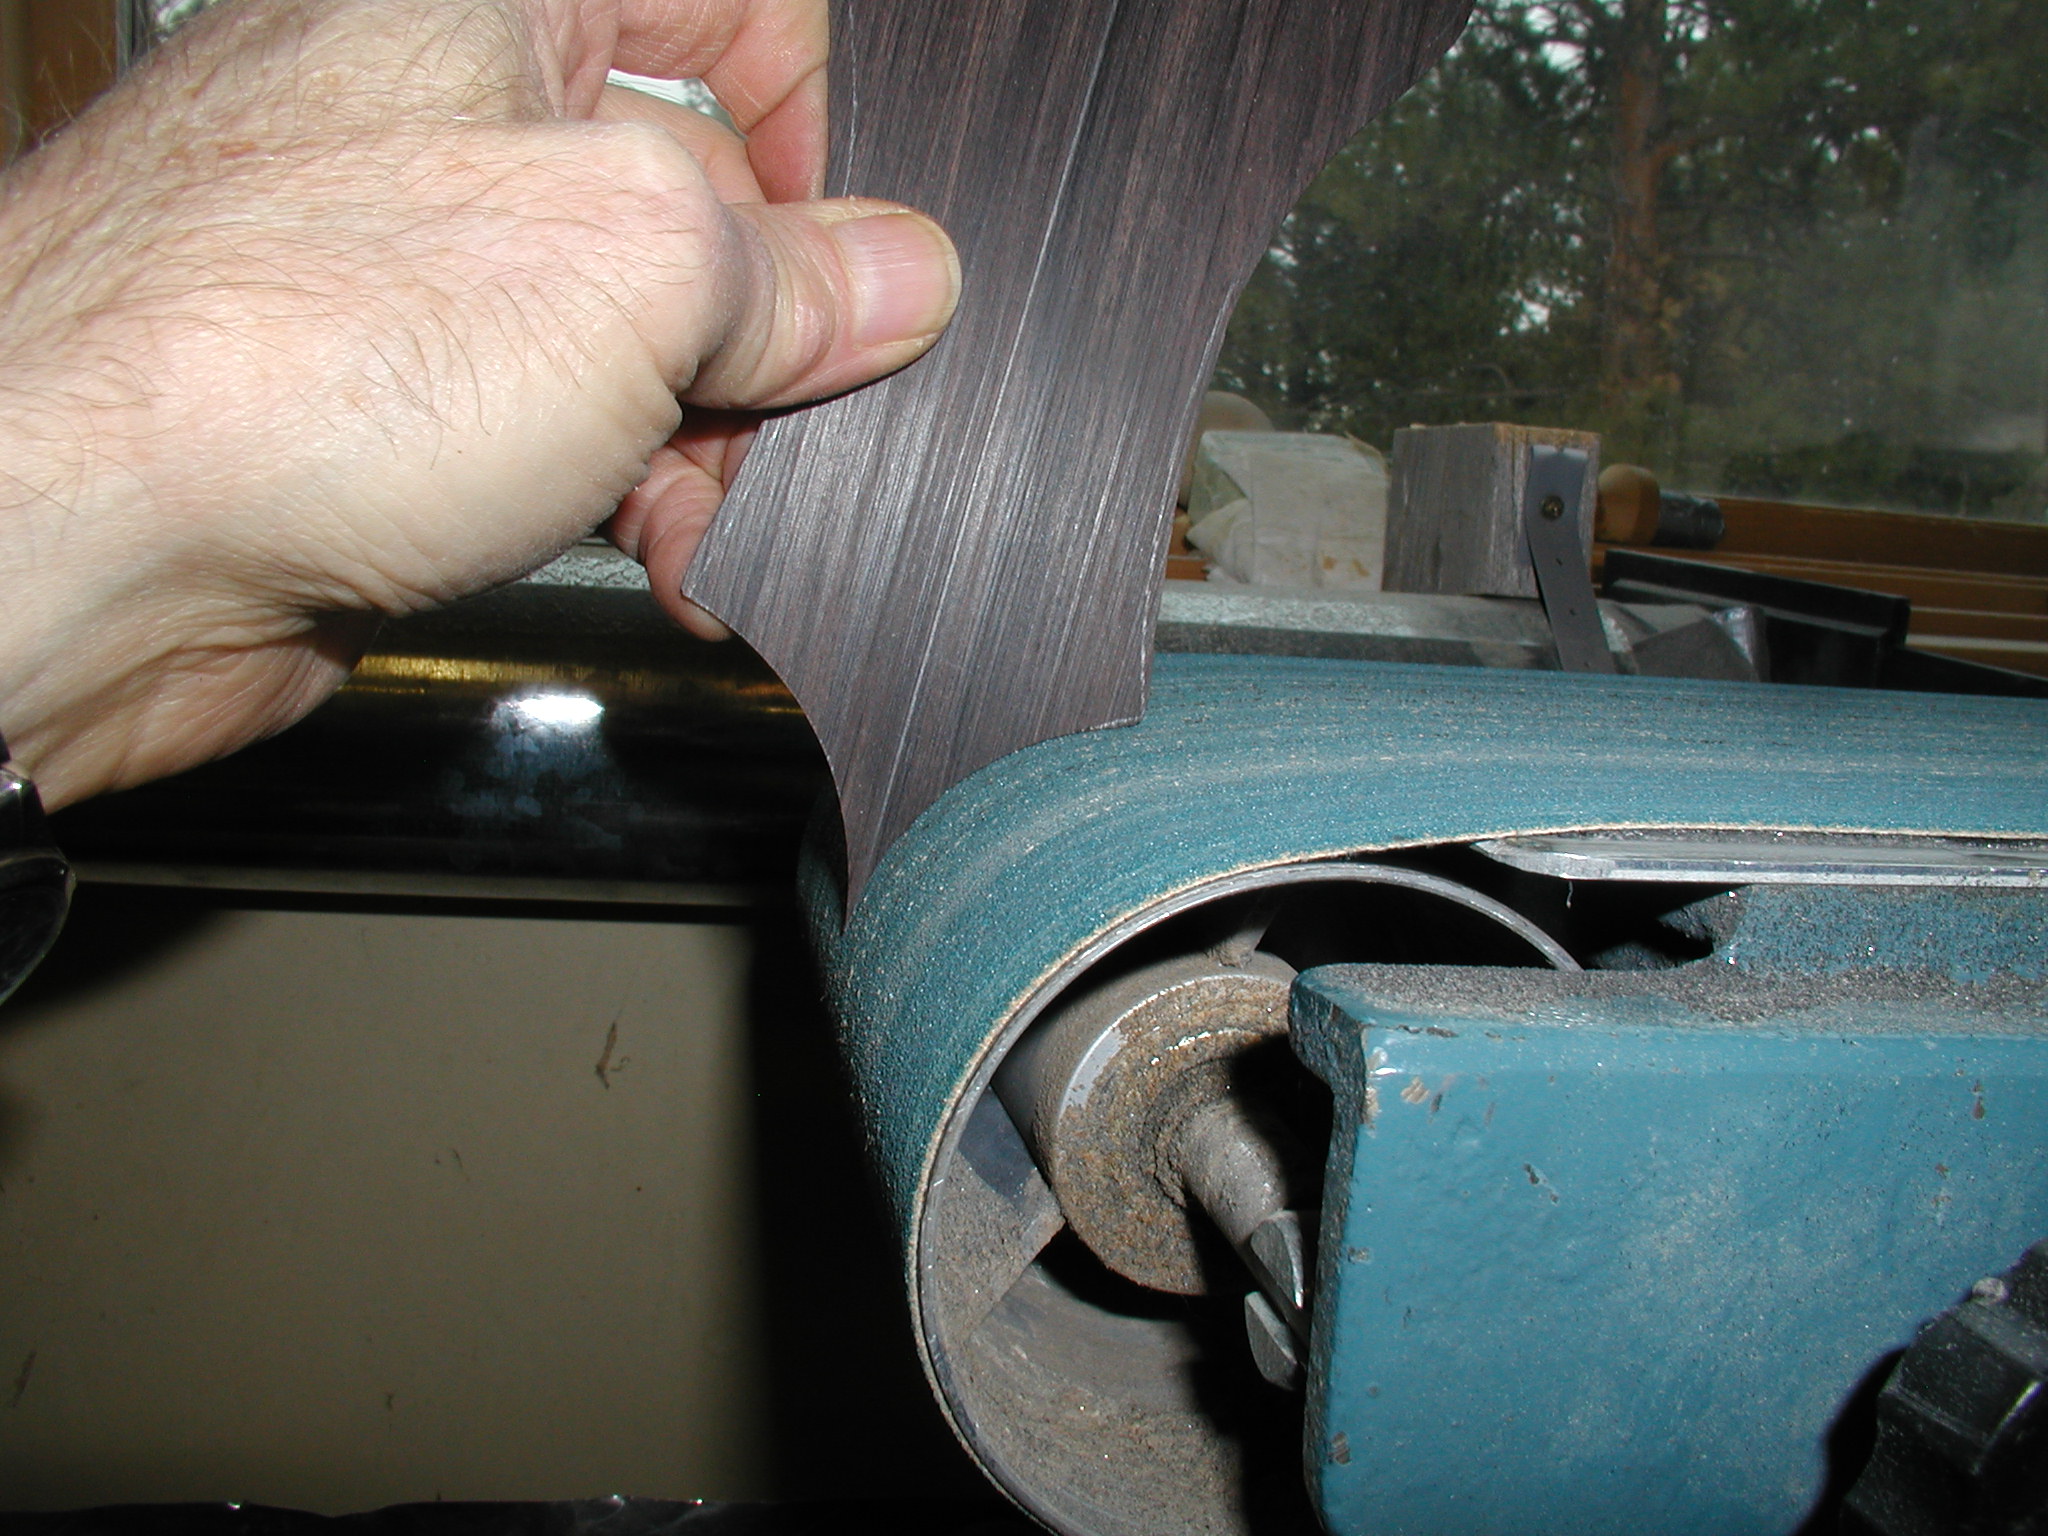
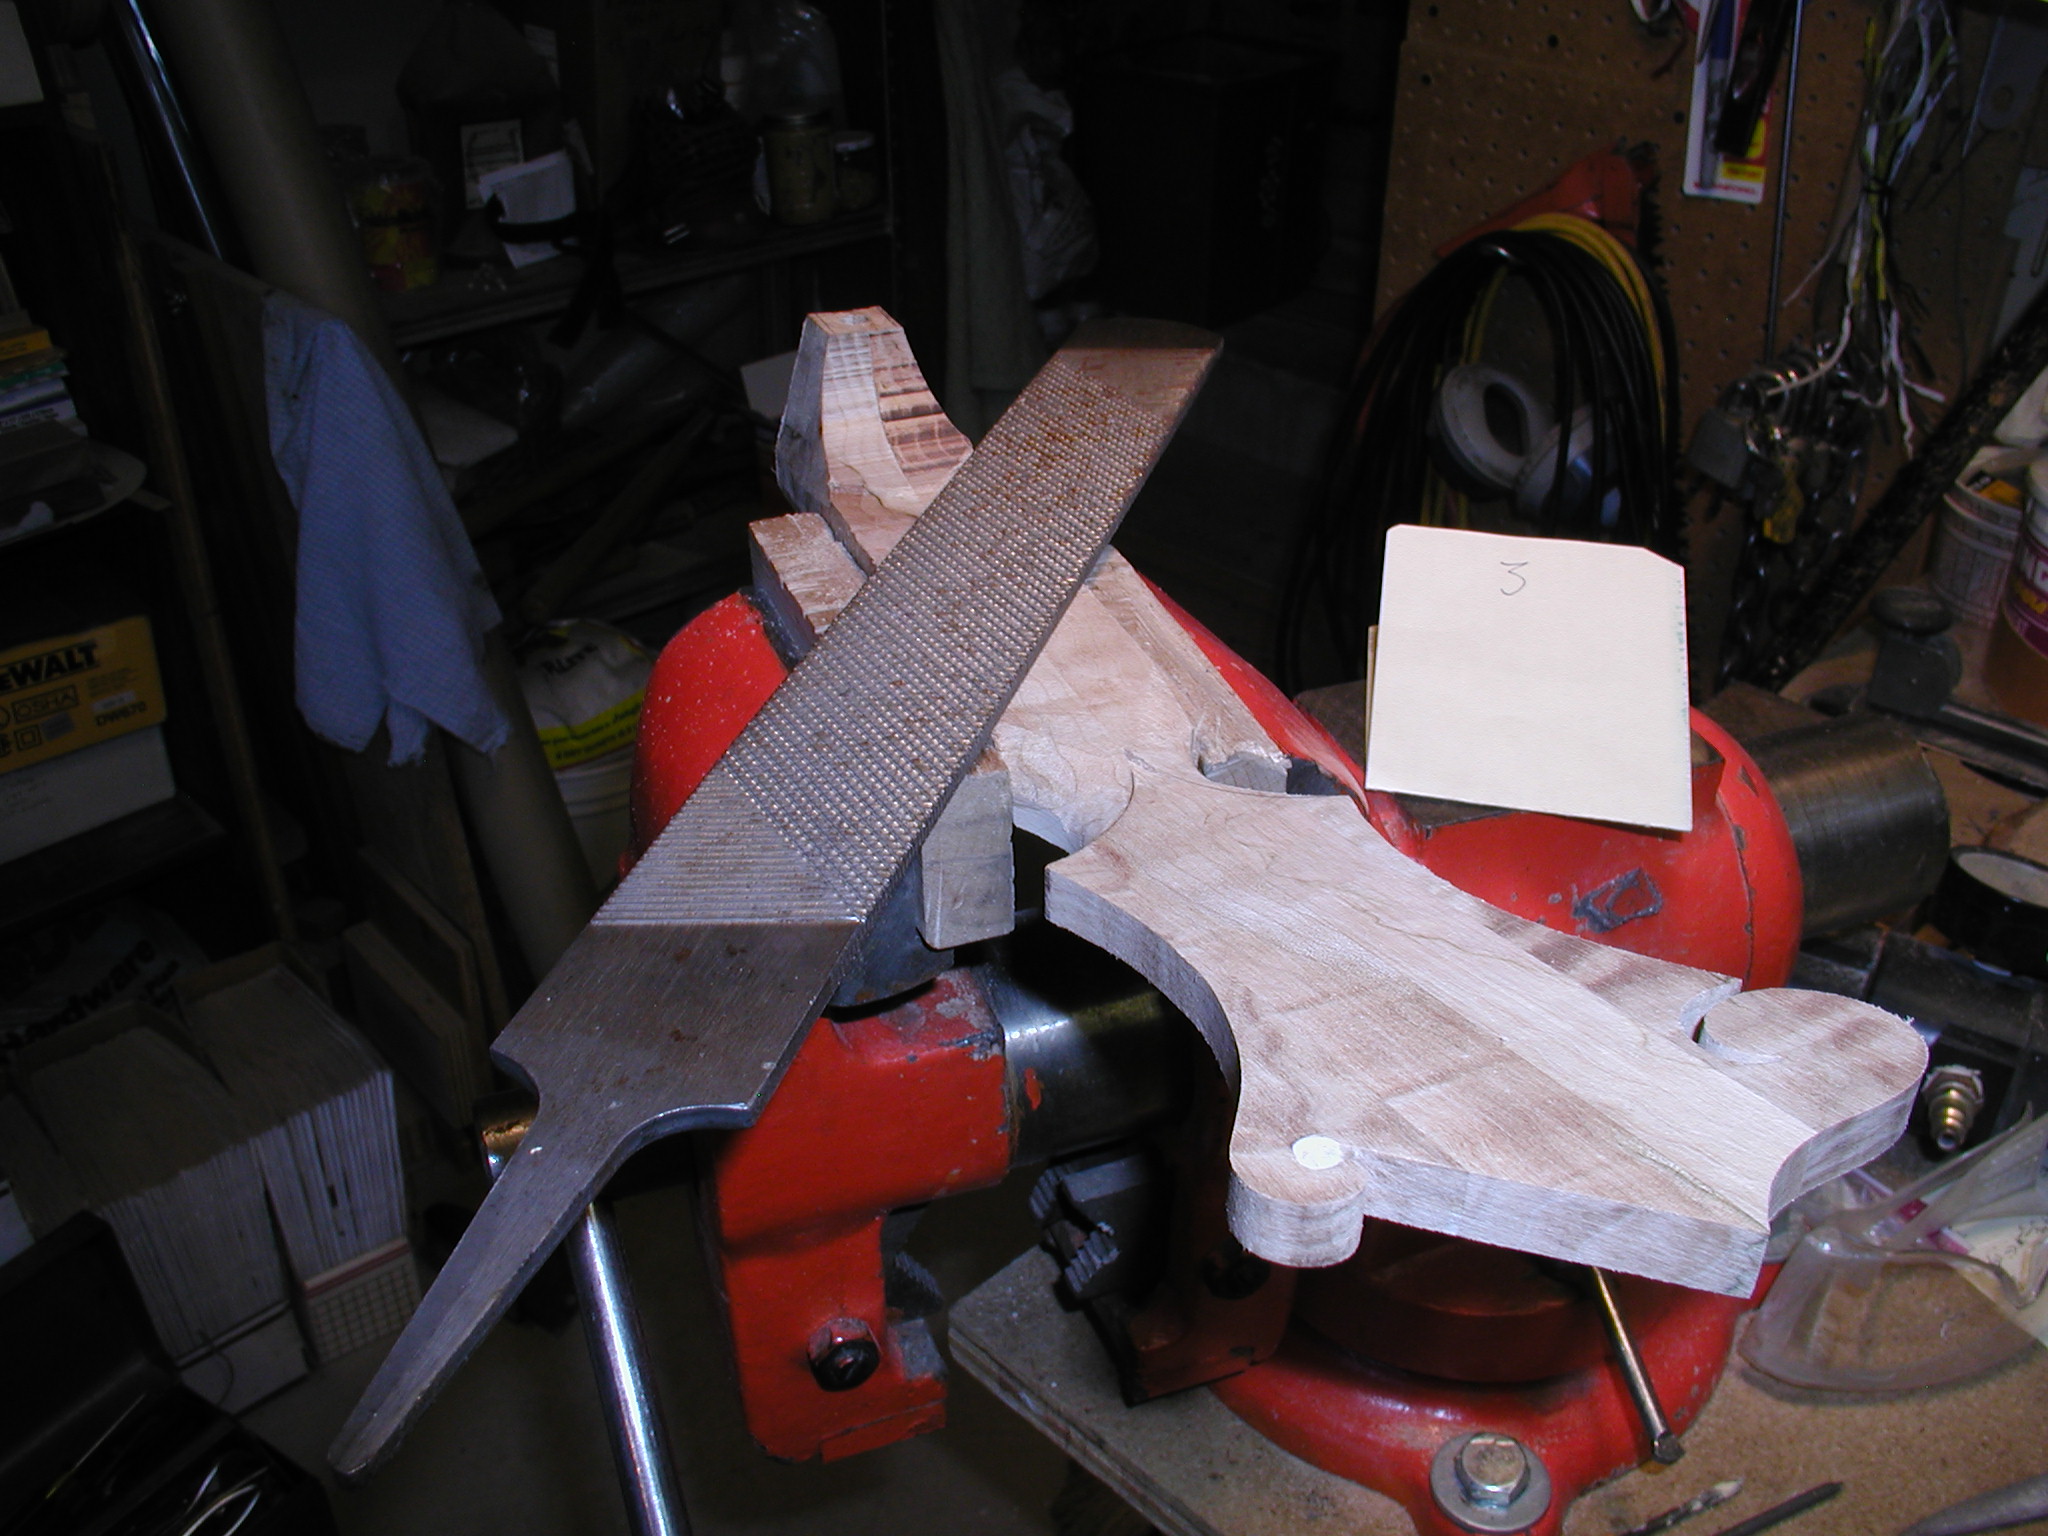
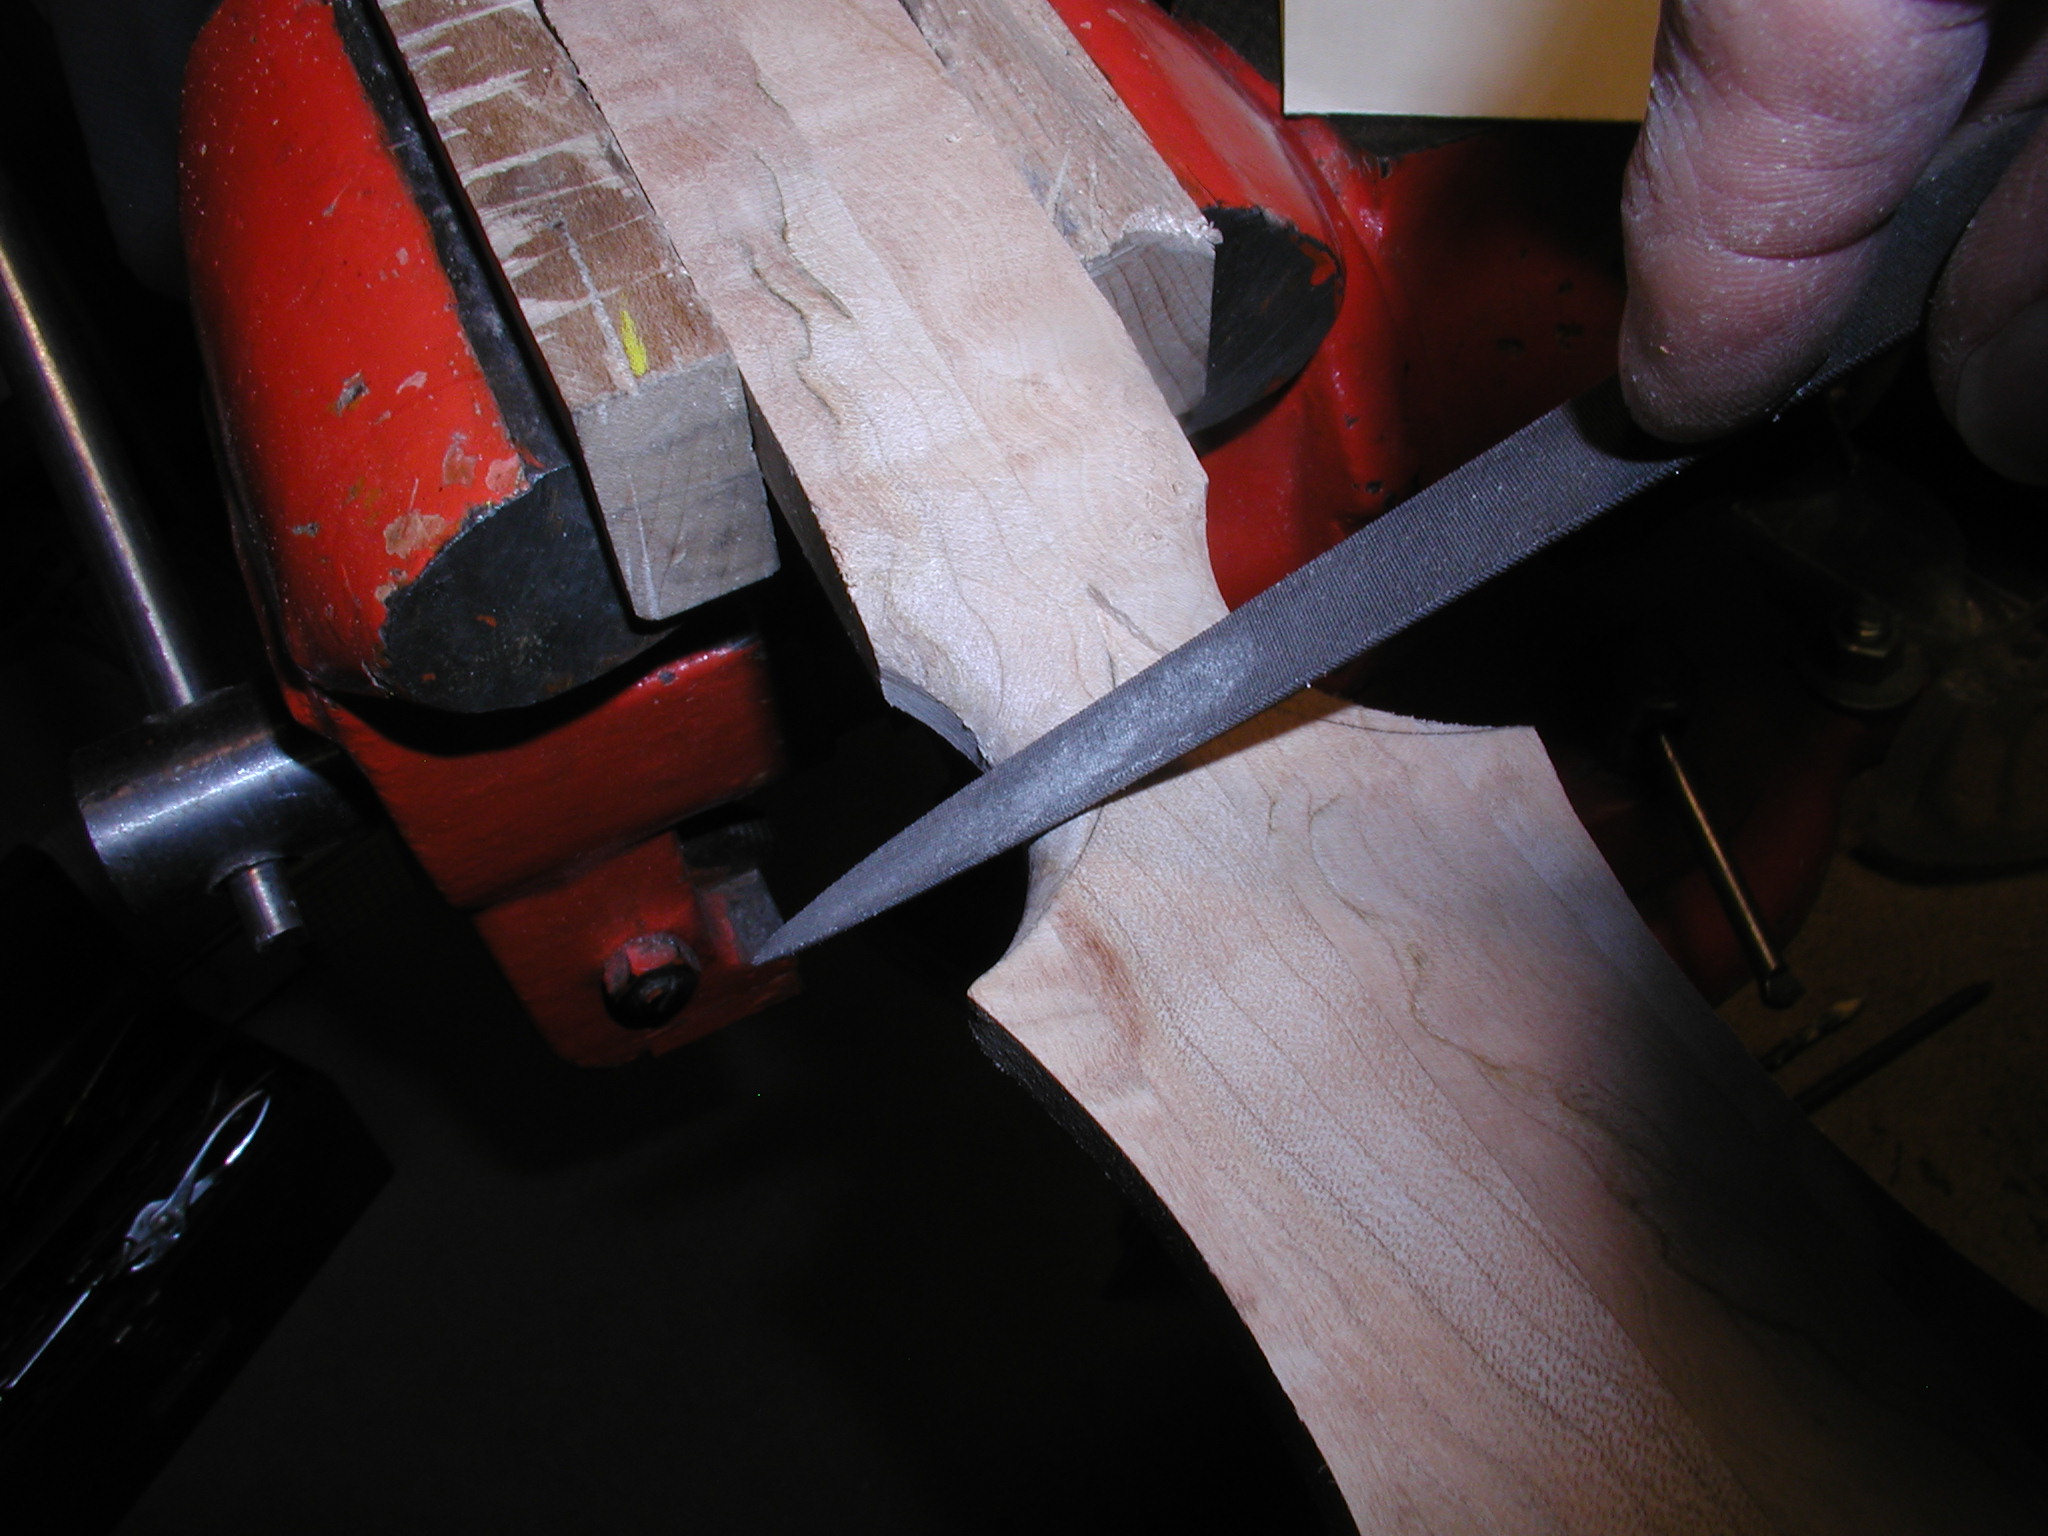
I use my general headstock template to lay out the main part, but use a second template to define the pointed tip from the lower points. I rough the shape on the bandsaw just to make it easier to work with. I made the curve of the part for the point on ~ 2" radius which matches my belt sander so I can clean up that part on the belt sander drum coming just up to the line. Get the point real clean and sharp. I clamp the overlay in place being real careful to center it and mark from the lower points to the tip point. This veneer is pretty thin, so I don't bother pre-bending it, it flexes enough to work without breaking or causing problems.

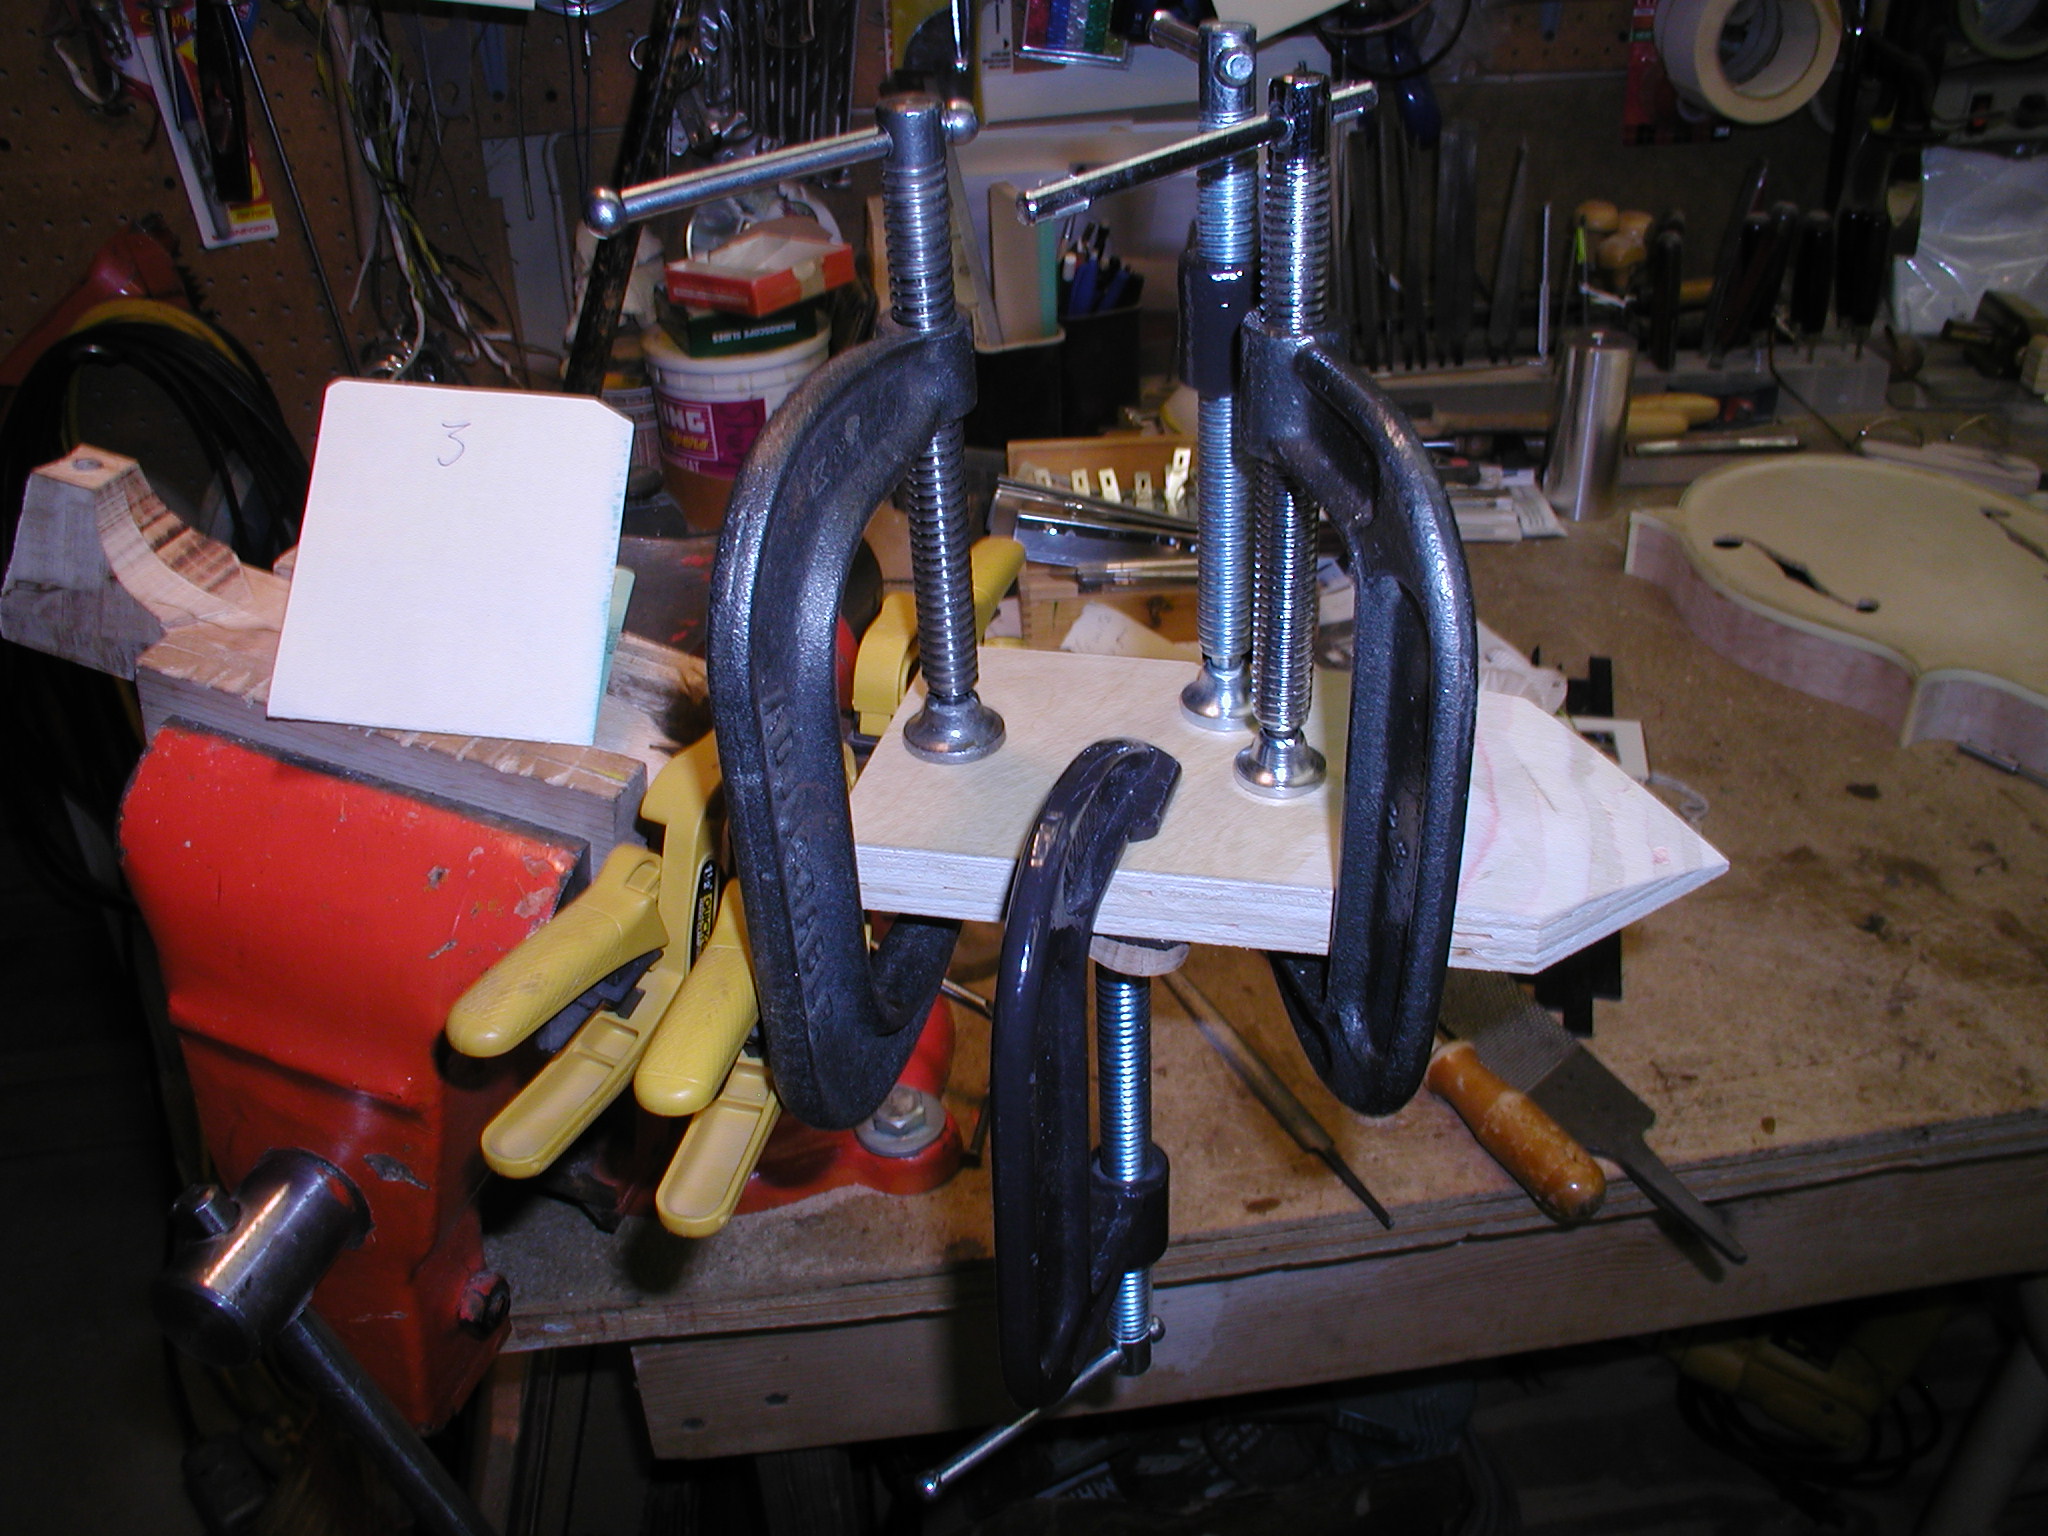
Stop and think for a minute here. If you just glue this down it will be real hard to later scrape the overlay down flush to the surface without going too much and losing that nice point. So instead we let that point part into the neck, just carve a little recess for it. This will let us scrape right to the neck surface without going through. Our neck shaft is just roughed out at this point, so it is necessary to thickness it down to the final level and I clean up the curve where it approaches the back overlay. Then I put glue into the tip pocket and on the headstock back and press the overlay tip tight into the pocket. Cover with waxed paper and clamp that point just a bit to hold it in place. The use a caul on the rest slowly clamp it down flexing the overlay and pushing it towards the point so that it doesn't pull the point out of the pocket. Snug up and make sure it is all located well and then clamp down tight.
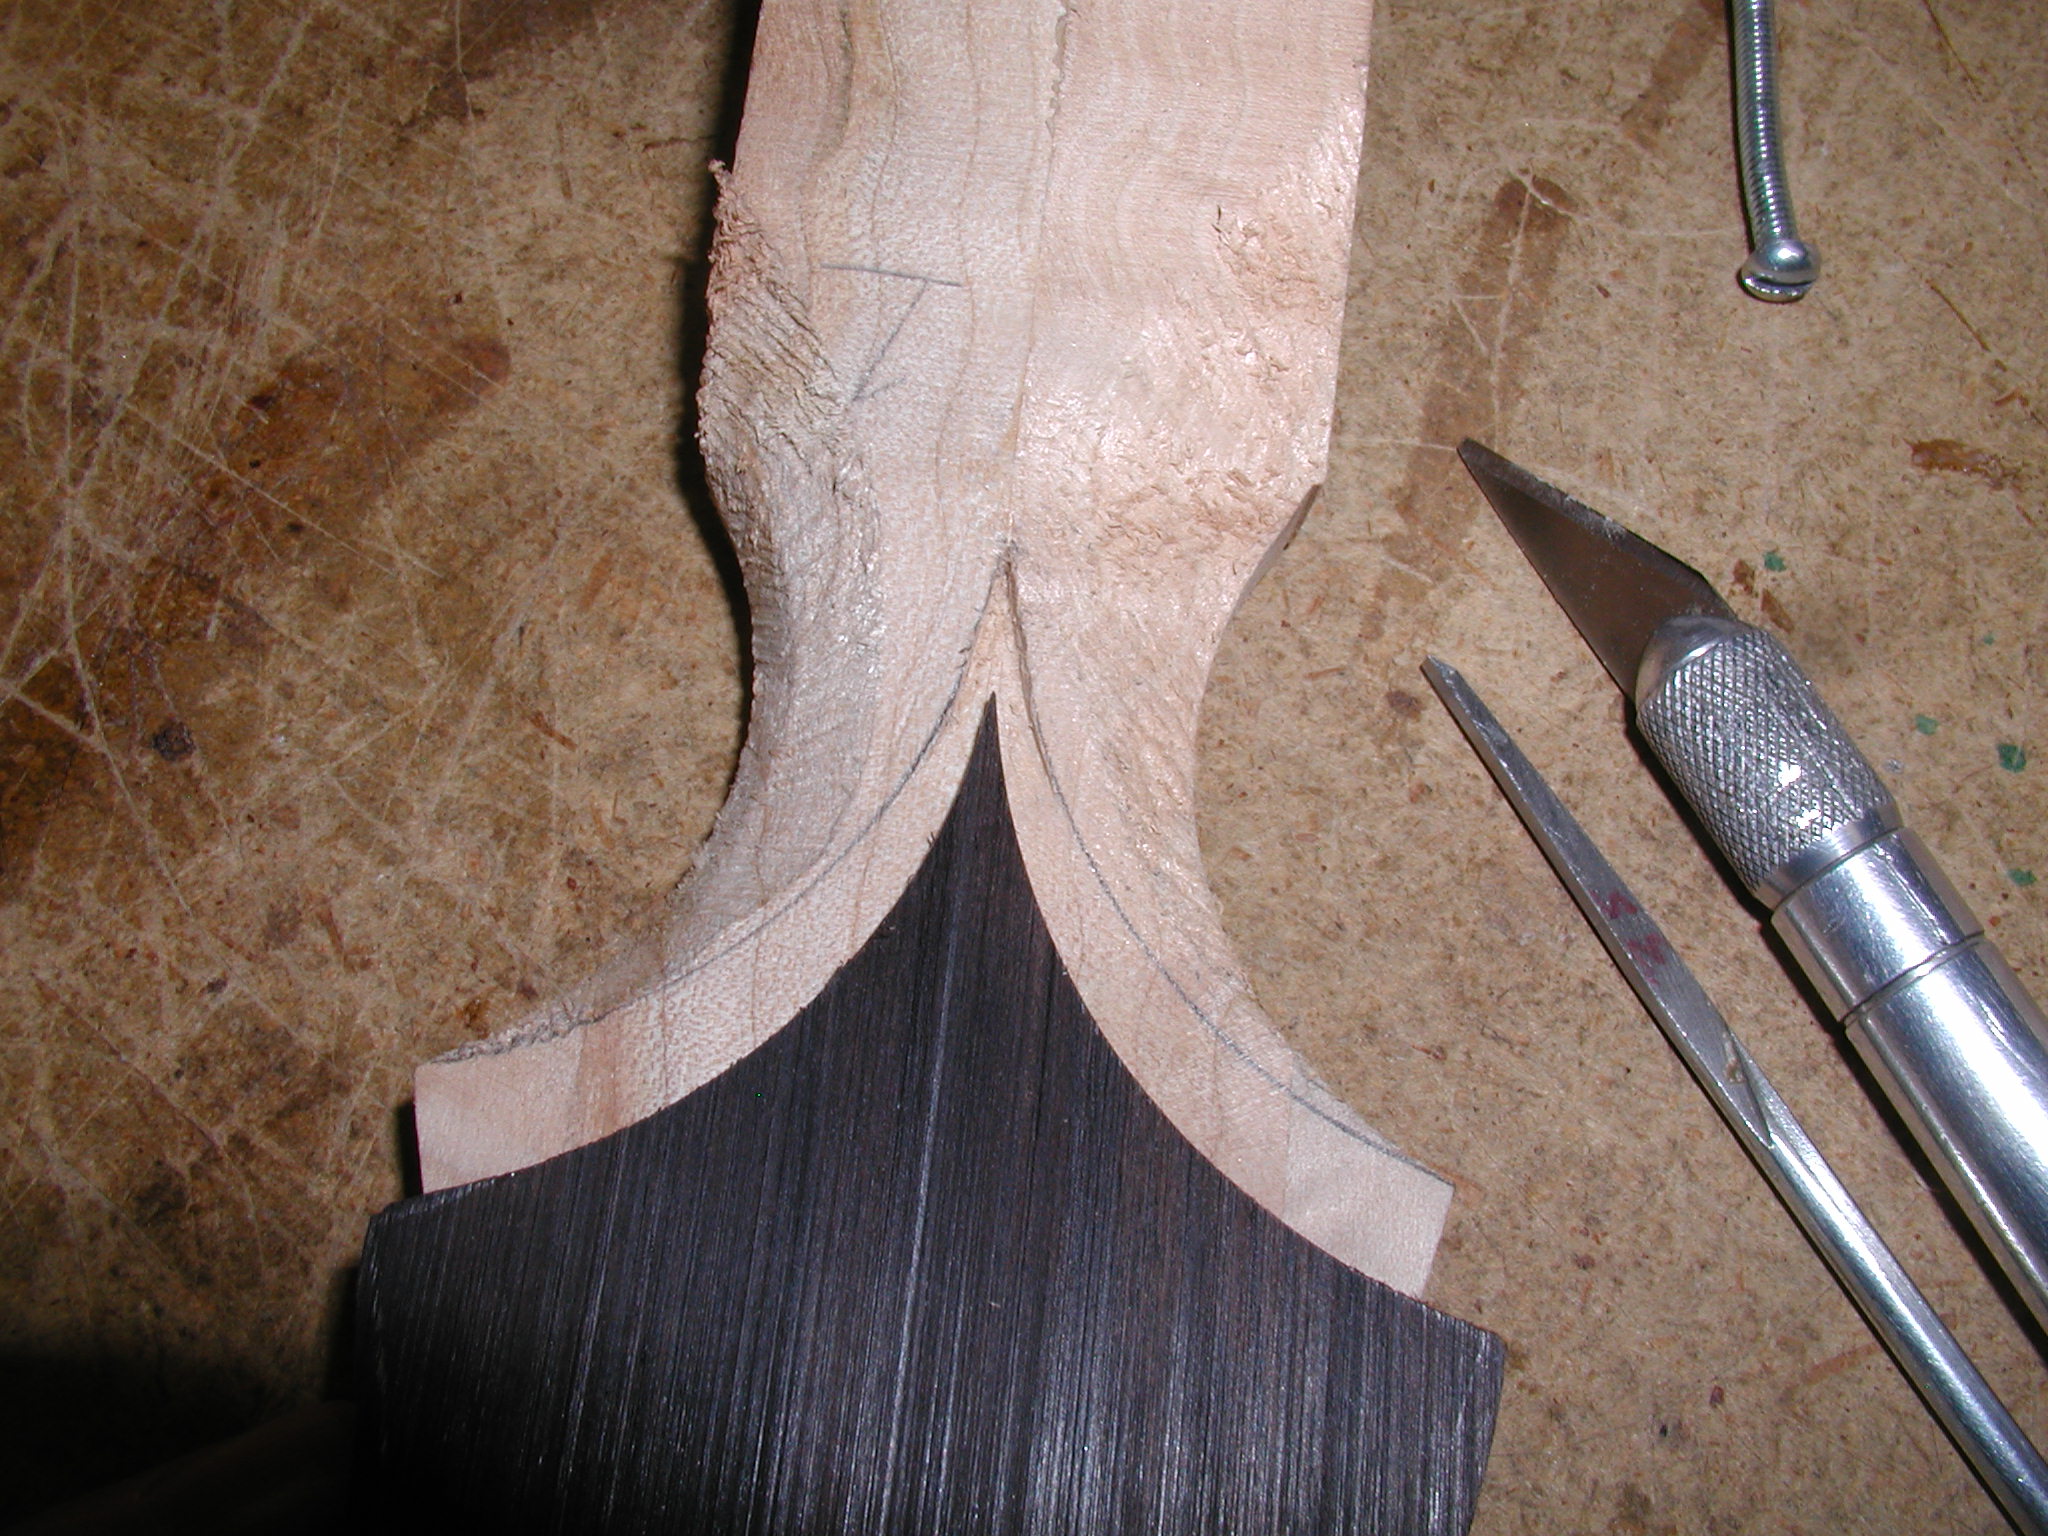
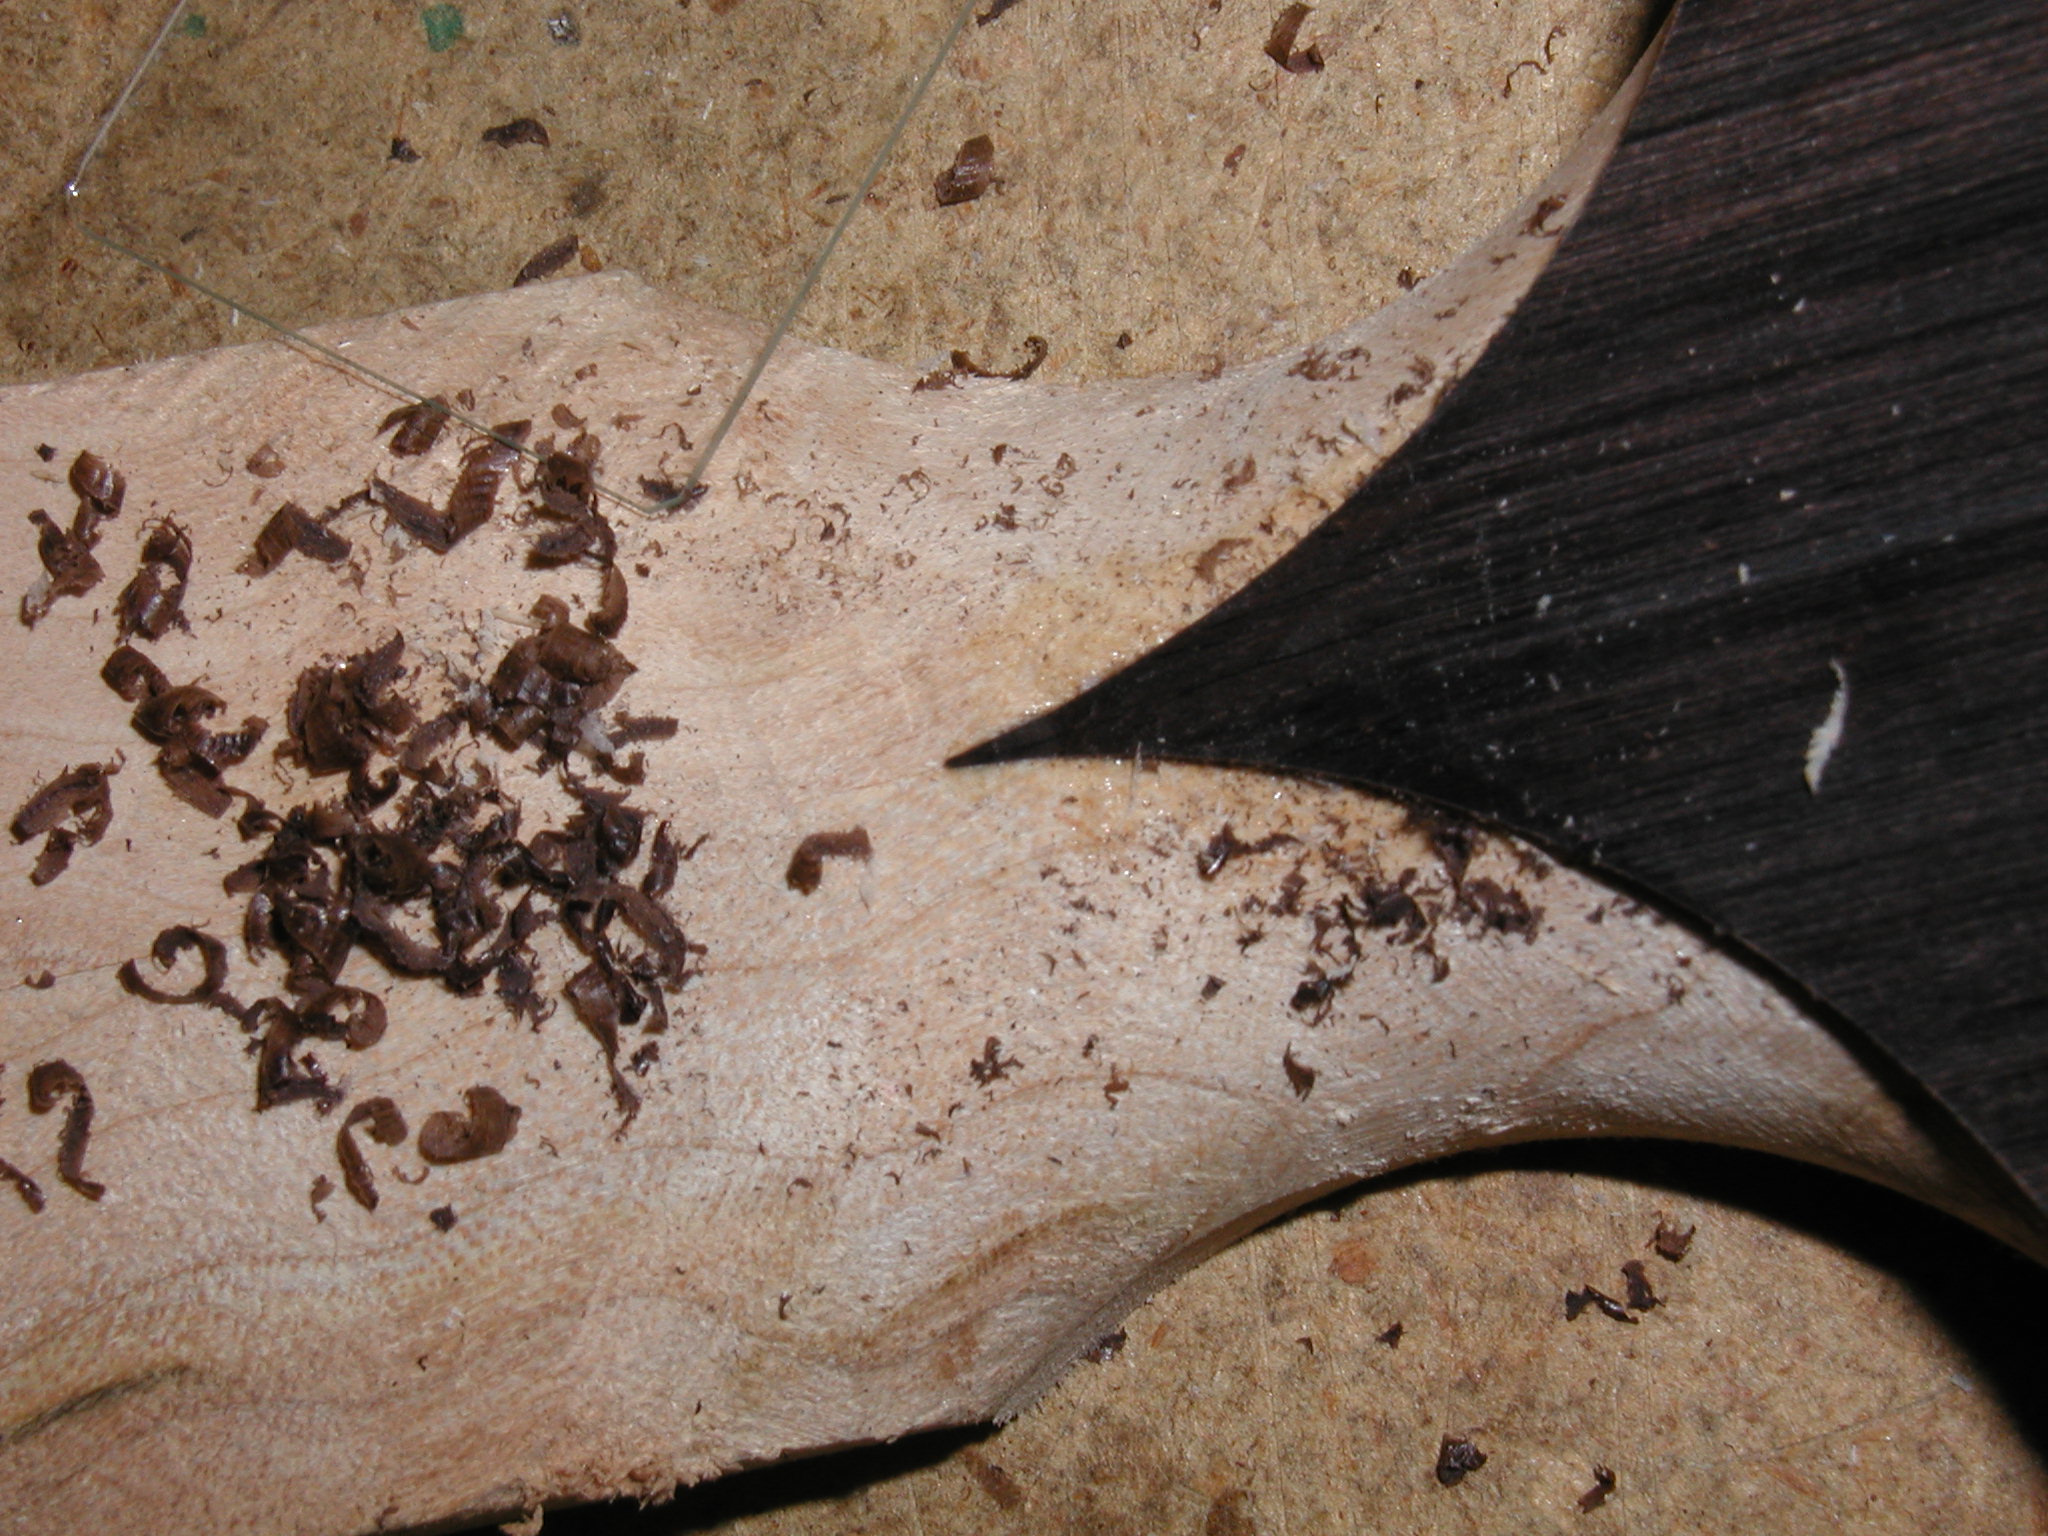
Once it is dry you can scrape the point and the sharp edges of the curve from the lower points to the tip. I use a microscope slide for this. You can see we have our nice sharp tip. The edges get trued up on the spindle sander just like with the faceplate. I use a jeweler's saw to cut the scroll slots and clean them up with small files.
1 2 3 4 5 6 7 8 8a 9 10 11 11a 11b 12 12a 13 14 15 16 17 18 19 20