Let's Build A Mandolin (Page 12)
1 2 3 4 5 6 7 8 8a 9 10 11 11a 11b 12 12a 13 14 15 16 17 18 19 20
Last Modified - January 2012 (©Alan Dunwell 2012)
In Page 12 we got the neck partly done with the headstock overlays and fretboard all in place. Now it is time to do the headstock binding and finish out the fretboard and headstock.
First I clean up the neck shaft and blend it to the line of the fretboard at the nut. I use an edge marking tool which has an Xacto knife blade as the line scribe and is notched just enough to mark for the headstock binding depth. I go around lightly to mark and then again deeply. The blade has a single angle grind so one side is flat and it makes a clean edge line mark. The scrolls and areas I can't reach with the tool I do freehand very carefully. I back fill the scribed lines with chalk-line chalk. I then use an air driven micro die-grinder with a spiral carbide milling bit to cut the slot. Since this headstock has no angle I can just cut straight down from the faceplate. I can route right to the line I marked and when the chalk line disappears I know it is enough. I follow this up with files and a small dog-leg chisel to make it all very clean. Test with a scrap of binding to make sure it seats all the way in. Chamfer off the inside bottom corner of the binding so it doesn't hang up there. If your binding sticks out sideways you will have to scrape it back and that will really show up with the variable thickness. Leave the binding a bit tall to the face, this will get scraped true.


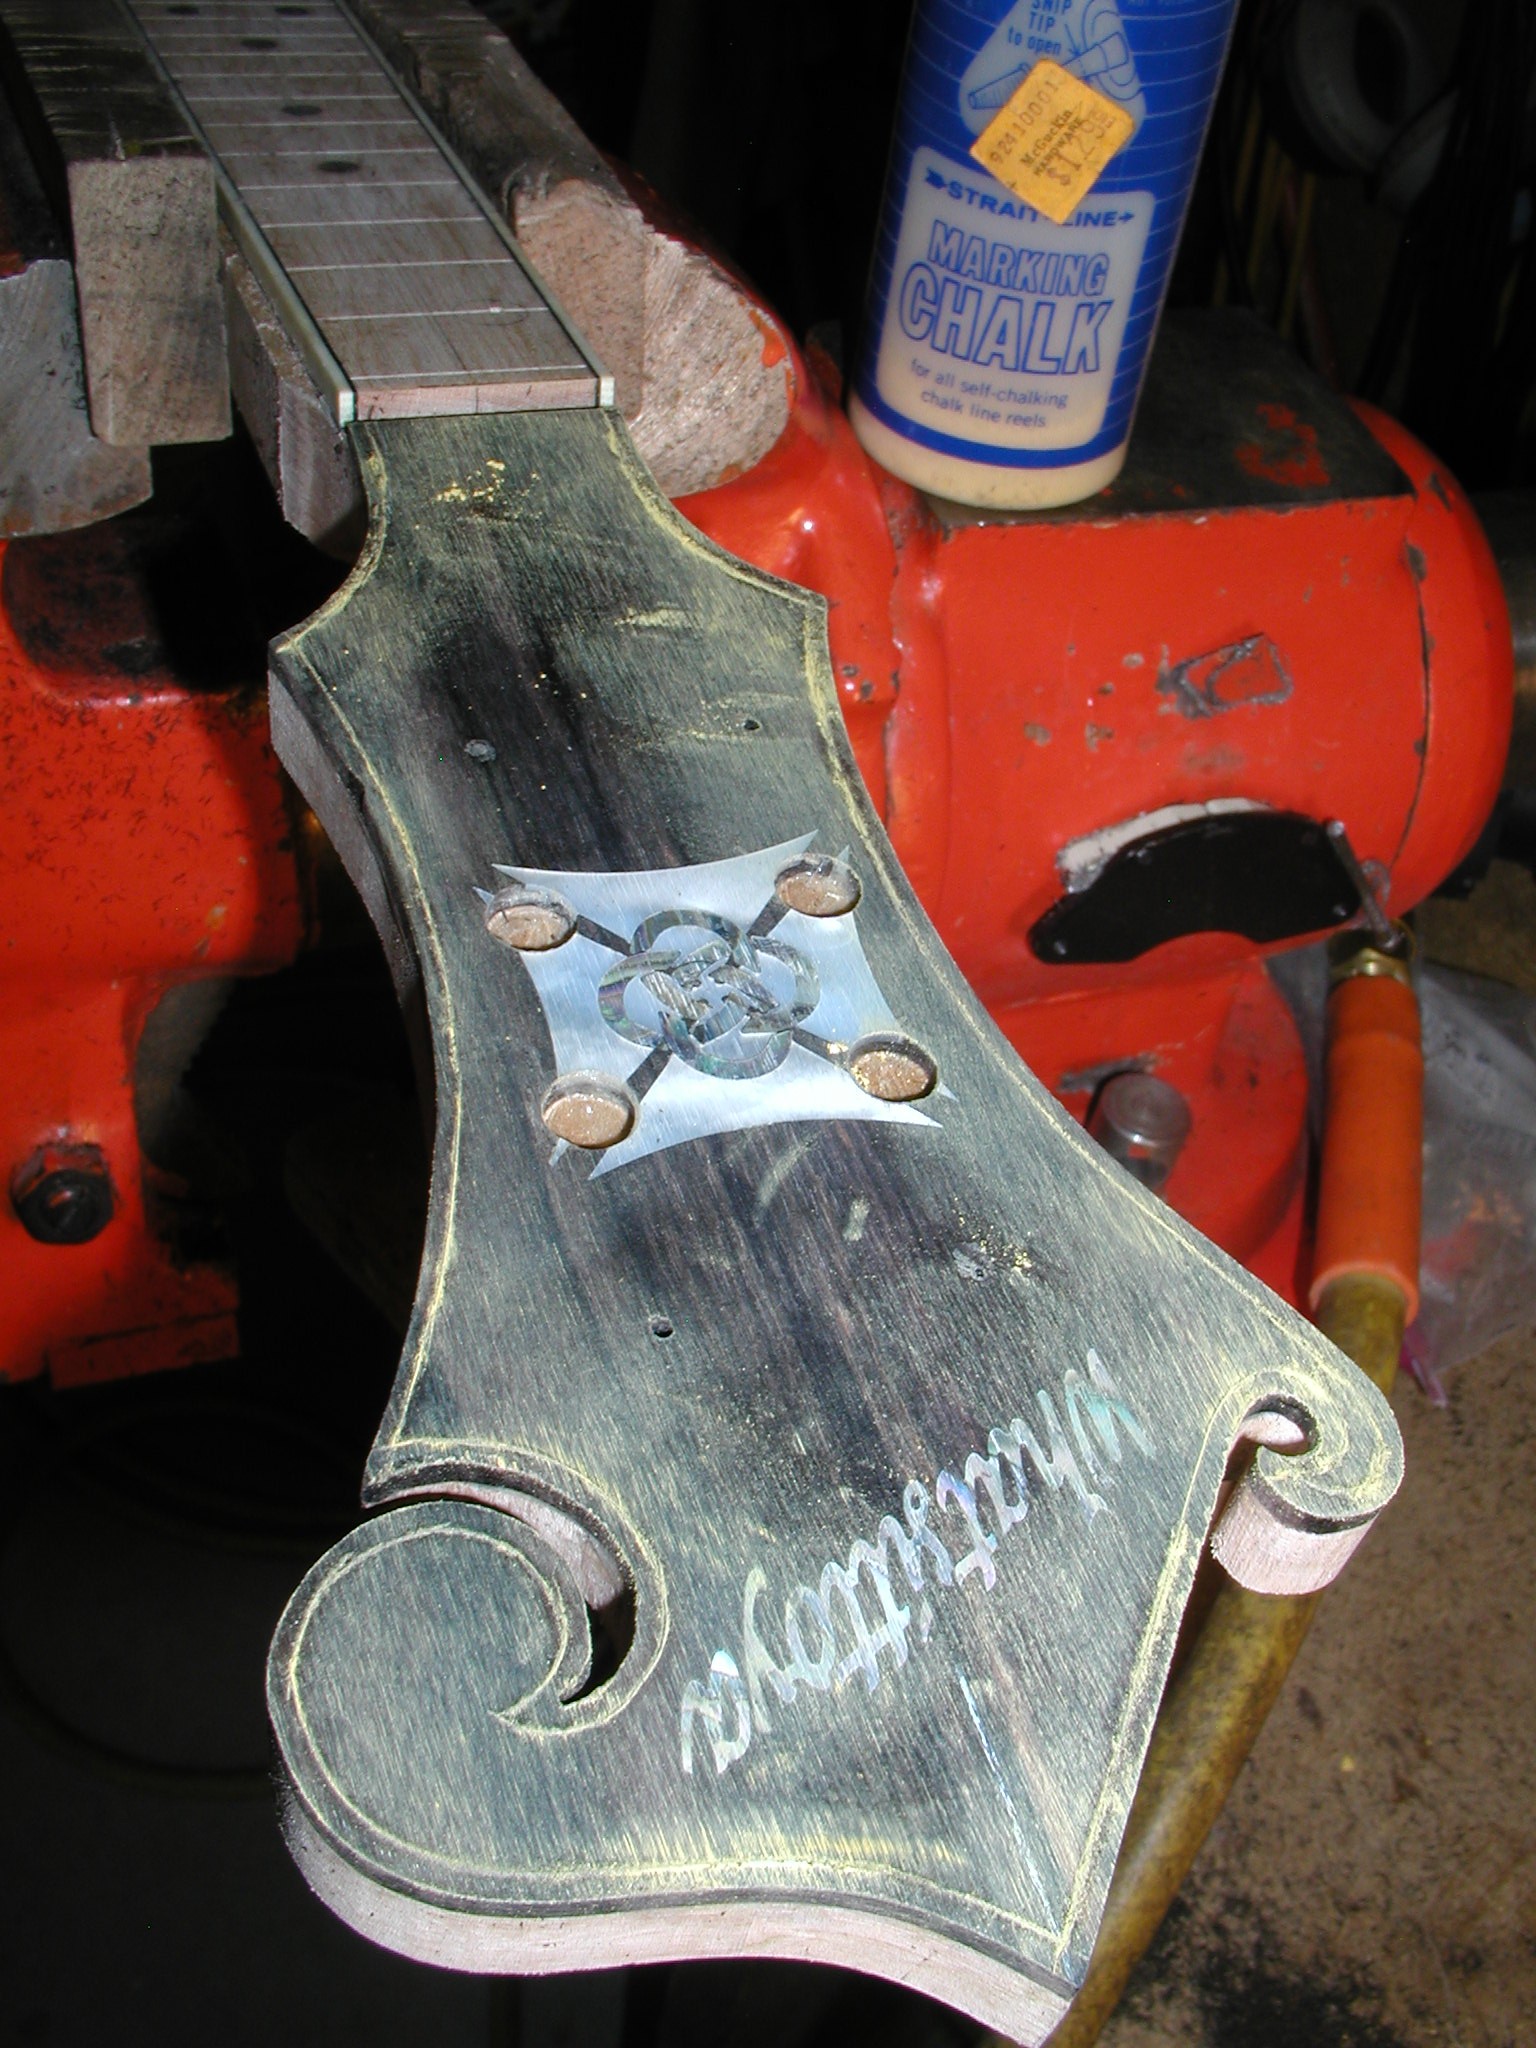


If you are interested in how the slot is cut with an angle cut headstock you can look HERE.
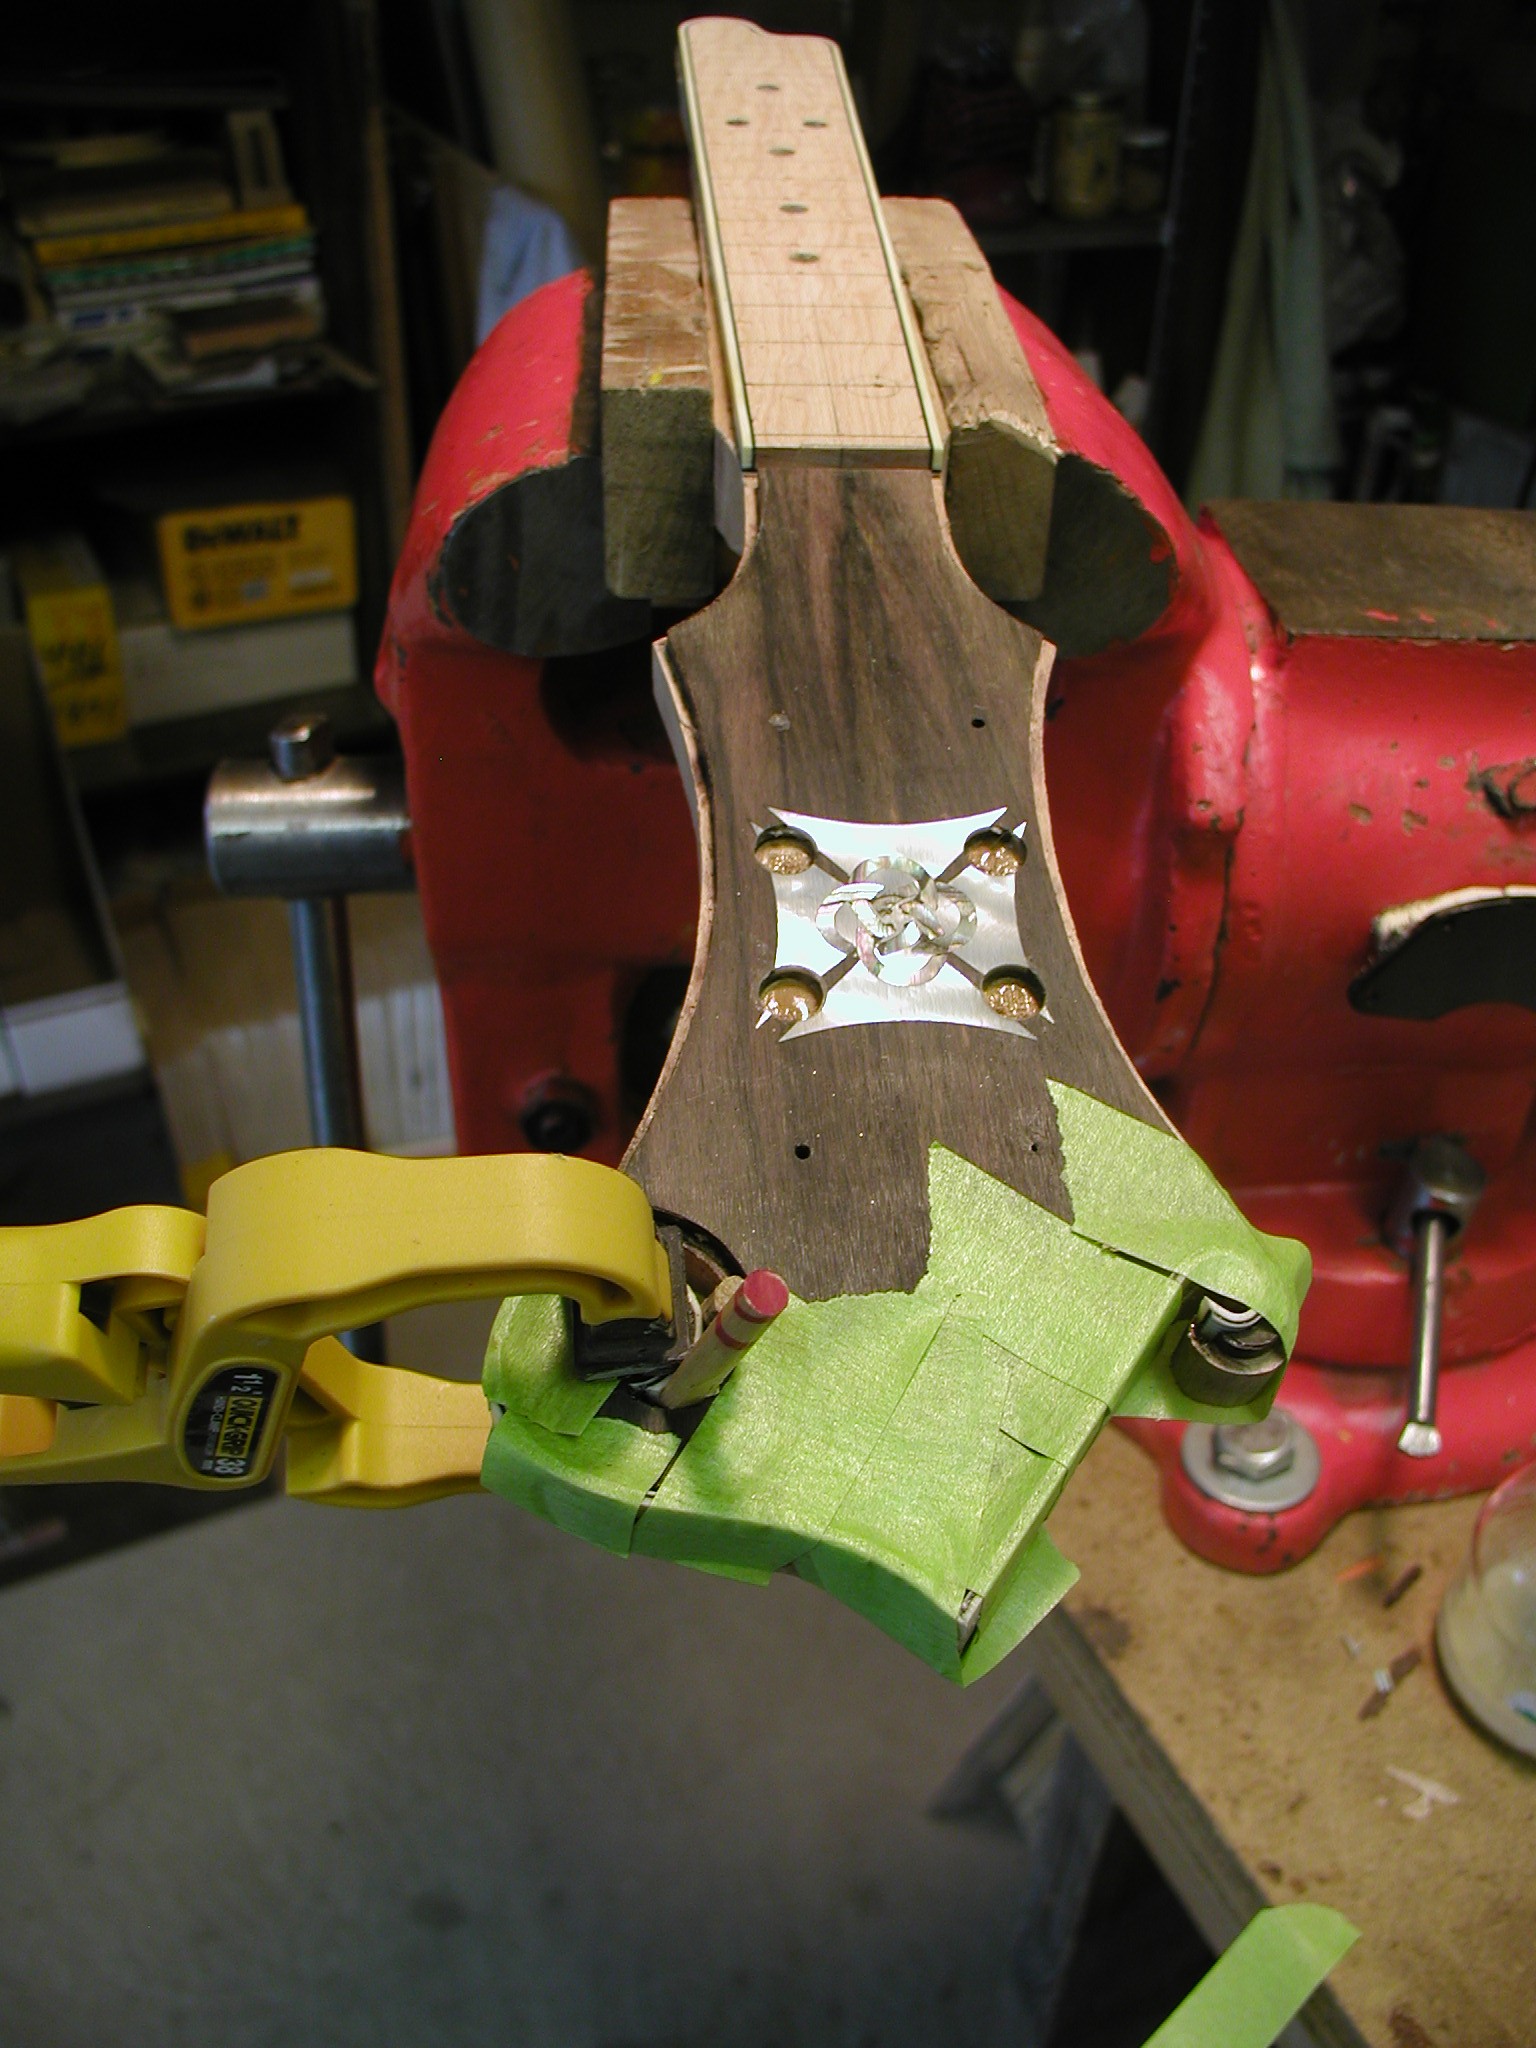
I bend the binding as usual with the hot sand. I then glue it in with Duco and hold with green tape. For some of the tight places I use the maple dowel wedges to force the binding into place. With the headstock with no angle this is pretty easy. There always seem to be a few spots that have gaps. I fill these with epoxy/ebony-dust mix. Finally, after waiting a few days for the glue to outgas, scrape the binding true.


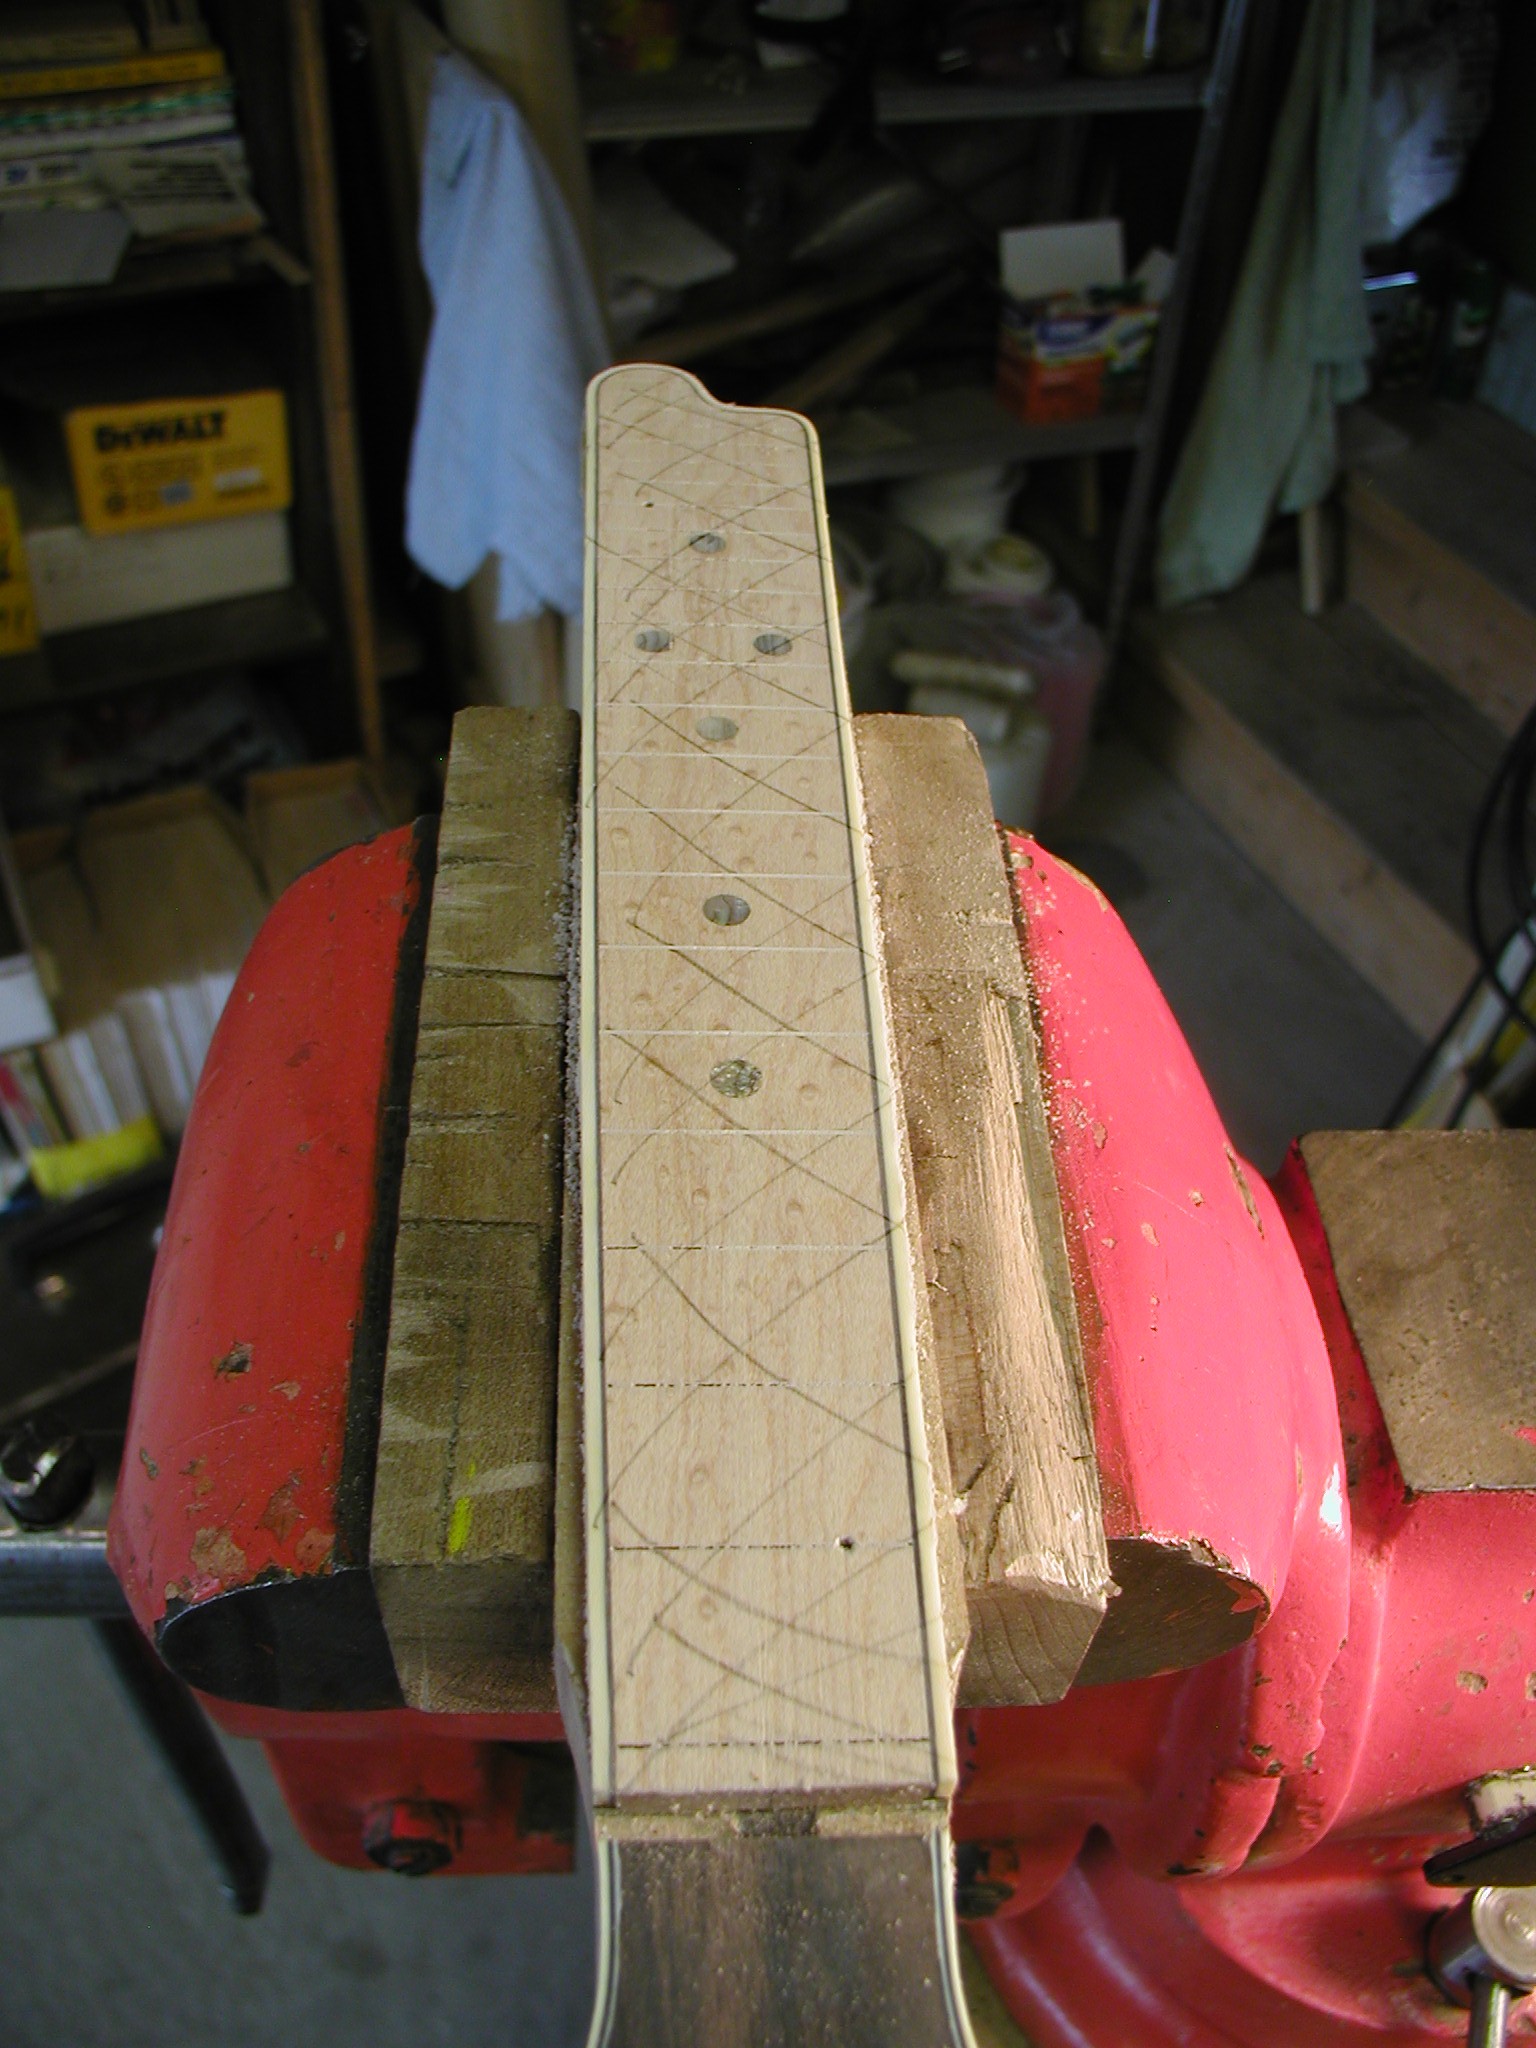
With the headstock all bound and the fretboard in place I can now shape the fretboard profile and get the frets in place. I like to cross hatch with a pencil and then sand the profile using a glass-bottom sanding plane with 80grit and/or a profiled radius block. I put on a 16" radius at the 12th fret but also sort of make it a compound radius going smaller towards the nut. These fretboards are so small compared to a guitar that I just do this part by eye using a straight edge with back light to make sure it is even and true along the string lines. Once the profile is clean I sand to finer grits till I reach 600 grit.


Time to make and install the frets. I use a simple home made tool to put a radius on the straight strips of fret wire. This is easy to make, just a nylon sliding door roller on a bolt that I chucked up in a drill and used a hacksaw to cut a slot in the center. This accepts the fret tang and keeps the wire straight going through. Then one fixed ball bearing and another adjustable. I just set it to make a radius that is tighter than 12" and use that for everything. I make all my frets with semi-hemispherical ends. You can see my tutorial on that HERE if you want. The StewMac type tang nipper leaves a little bit of tang on the bottom, so I just use another jig with a Dremel tool and a carbide bit to trim that flush. I press my frets in place and the ones out in the extension I like to de-barb a bit so that they are not doing any fret compression. All frets get a little bit of CA glue wicked in at the ends after all are in place. This doesn't affect any re-fret work and makes sure that you don't get a lifted fret end.


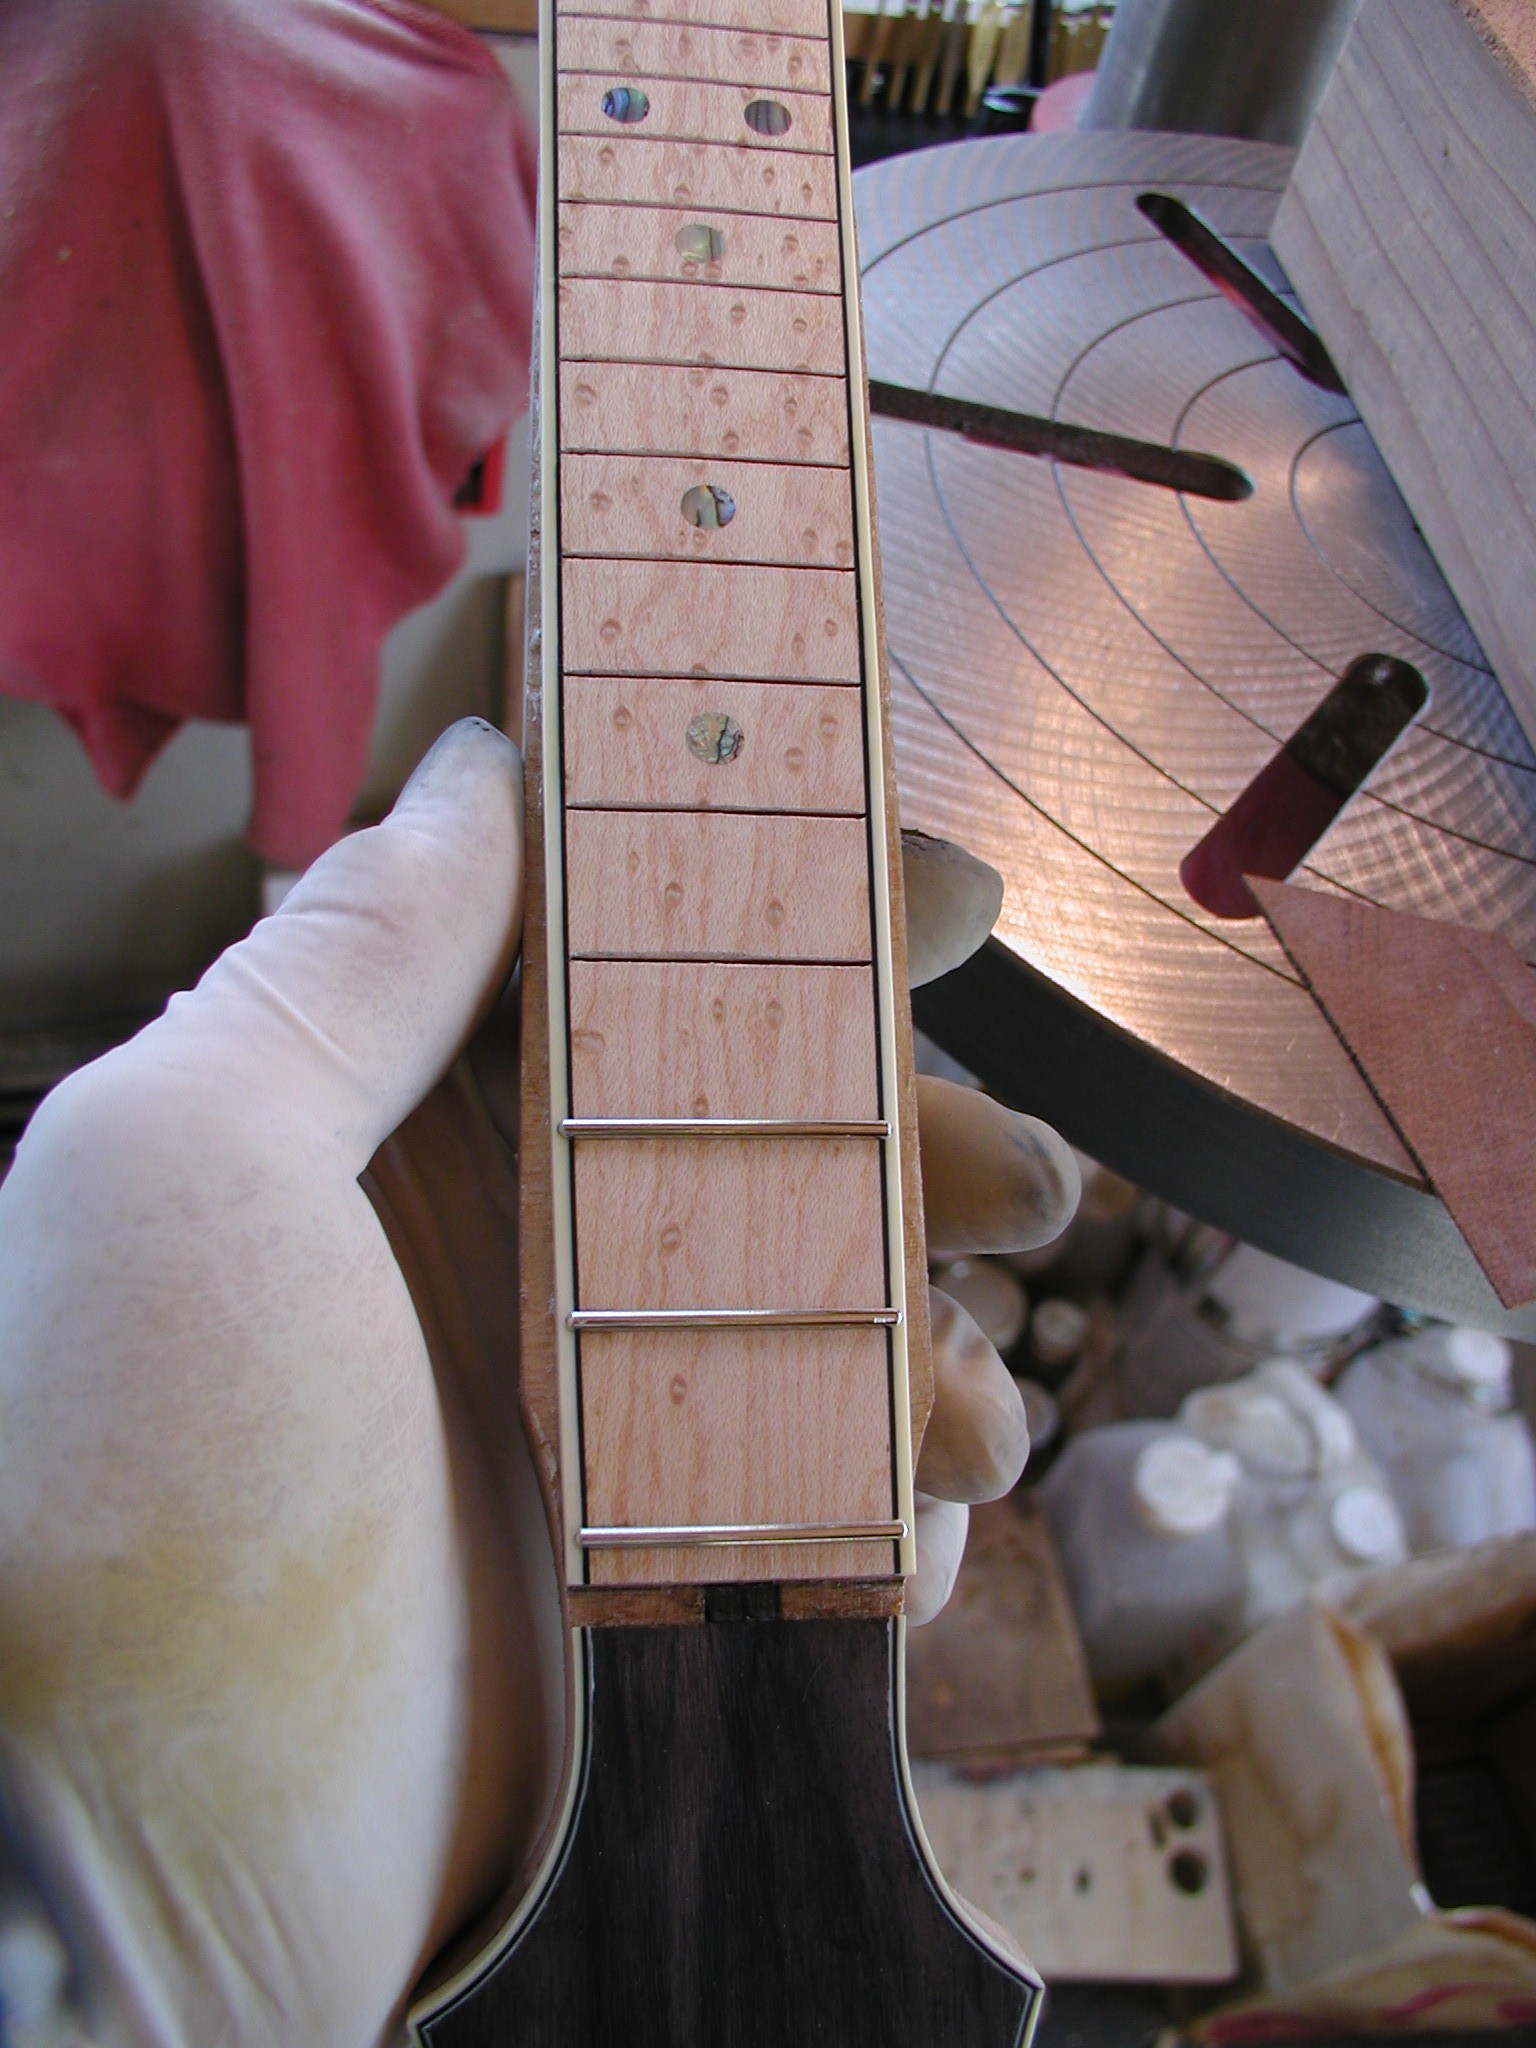
Last of all is to dress and polish the frets. I take a light pass with 600 grit on the glass-bottom plane to rough the frets a bit. Then highlight the tops with a colored Sharpie and repeat the leveling with the sanding plane. Go lightly till each fret just shows a clean un-marked top line. If your prep work on the fretboard was good you shouldn't need to do much here at all. I then use an eraser guard, available from office supply and artwork stores for almost free, to protect the fretboard while I finish the frets. I put a piece of tape on the bottom so it doesn't mar the board. I start with a StewMac diamond file and re-crown the frets and round the ends. I have a straight file, but if I was doing it again I'd get their curved one. It has more weight and comes in double grits. I follow this with a 600grit sanding stick and progress through 800, 1000, and 0000 steel wool. The final result looks very sharp!!


One last thing to do on the headstock, drill the holes for the turners. I use a home made jig that is an aluminum block with the holes drilled exactly vertical and in the proper location. You can make an inexpensive one out of hardwood and install drill bushings into it. This type of jig is really only needed if you are going to do multiple instruments. For a one-of just mark the locations by hand and center punch the centers and use a drill press. I use a brad-point type drill bit so that it cuts a very clean edge and drill from the top. Note the use of a backer board so that it doesn't splinter when it breaks out of the backside. Remember that I am making headstocks without any taper. If you use a tapered headstock then remember you need to drill from the backside. This will make sure that the posts go through the headstock perpendicular to the plane of the tuner plate and won't bind the posts. When pressing in the bushings for a tapered headstock be very careful since they will not seat all the way down, the face of the headstock being in a different plane than the back.


1 2 3 4 5 6 7 8 8a 9 10 11 11a 11b 12 12a 13 14 15 16 17 18 19 20