Let's Build A Mandolin (Page 3)
1 2 3 4 5 6 7 8 8a 9 10 11 11a 11b 12 12a 13 14 15 16 17 18 19 20
Last Modified - November 2011(©Alan Dunwell 2011)
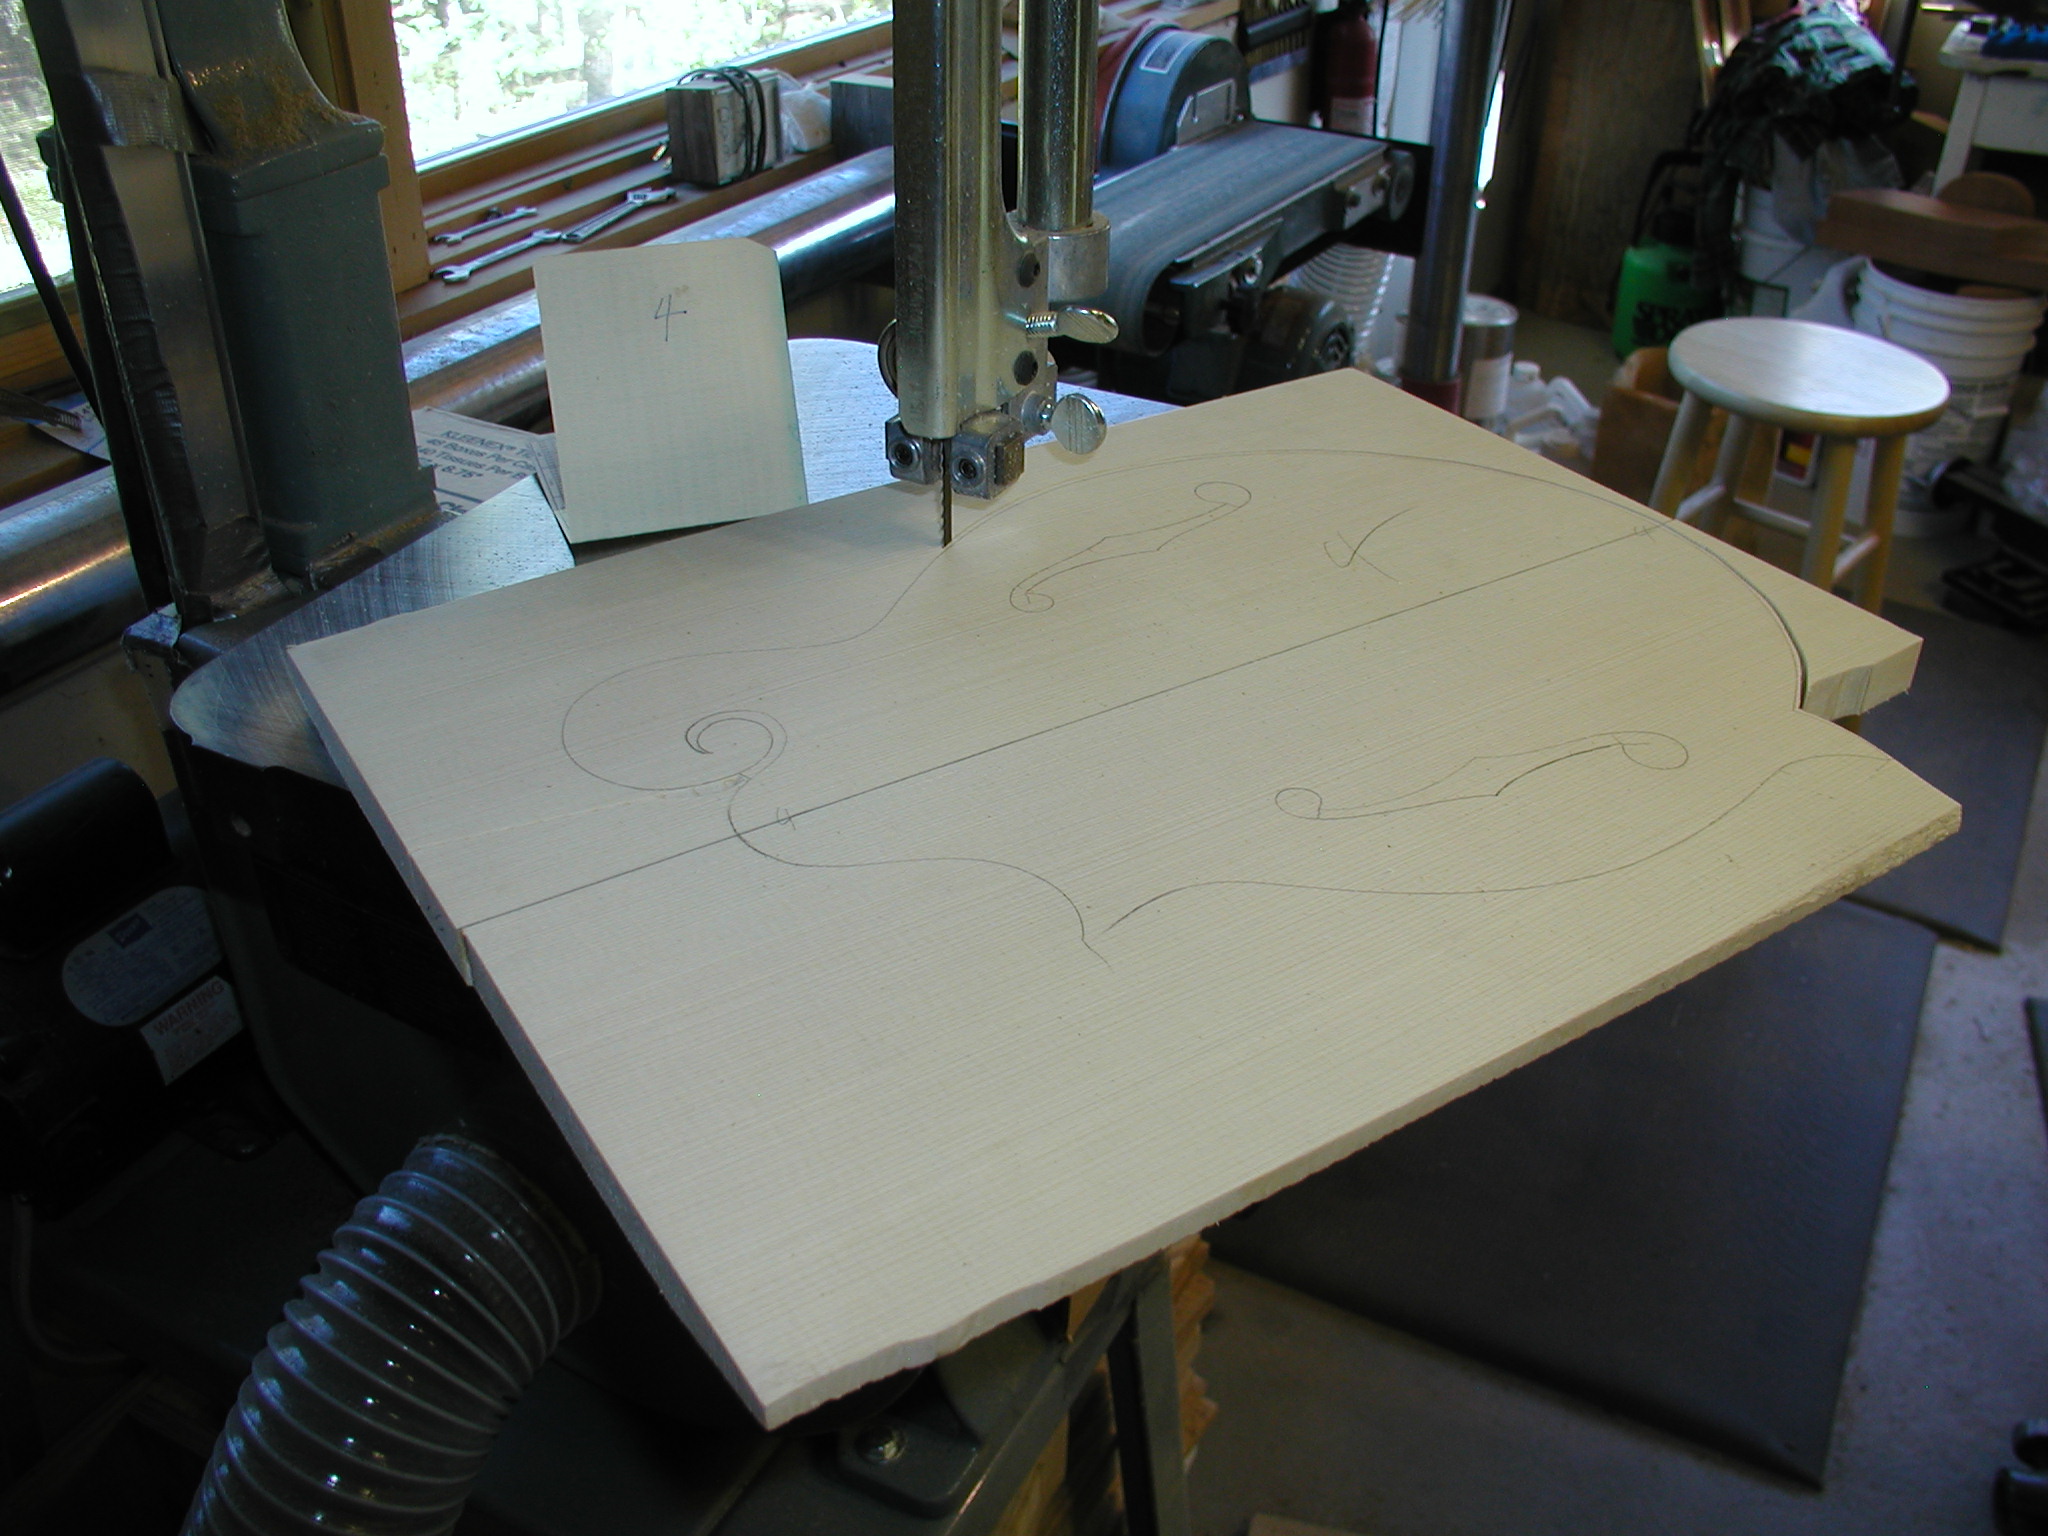
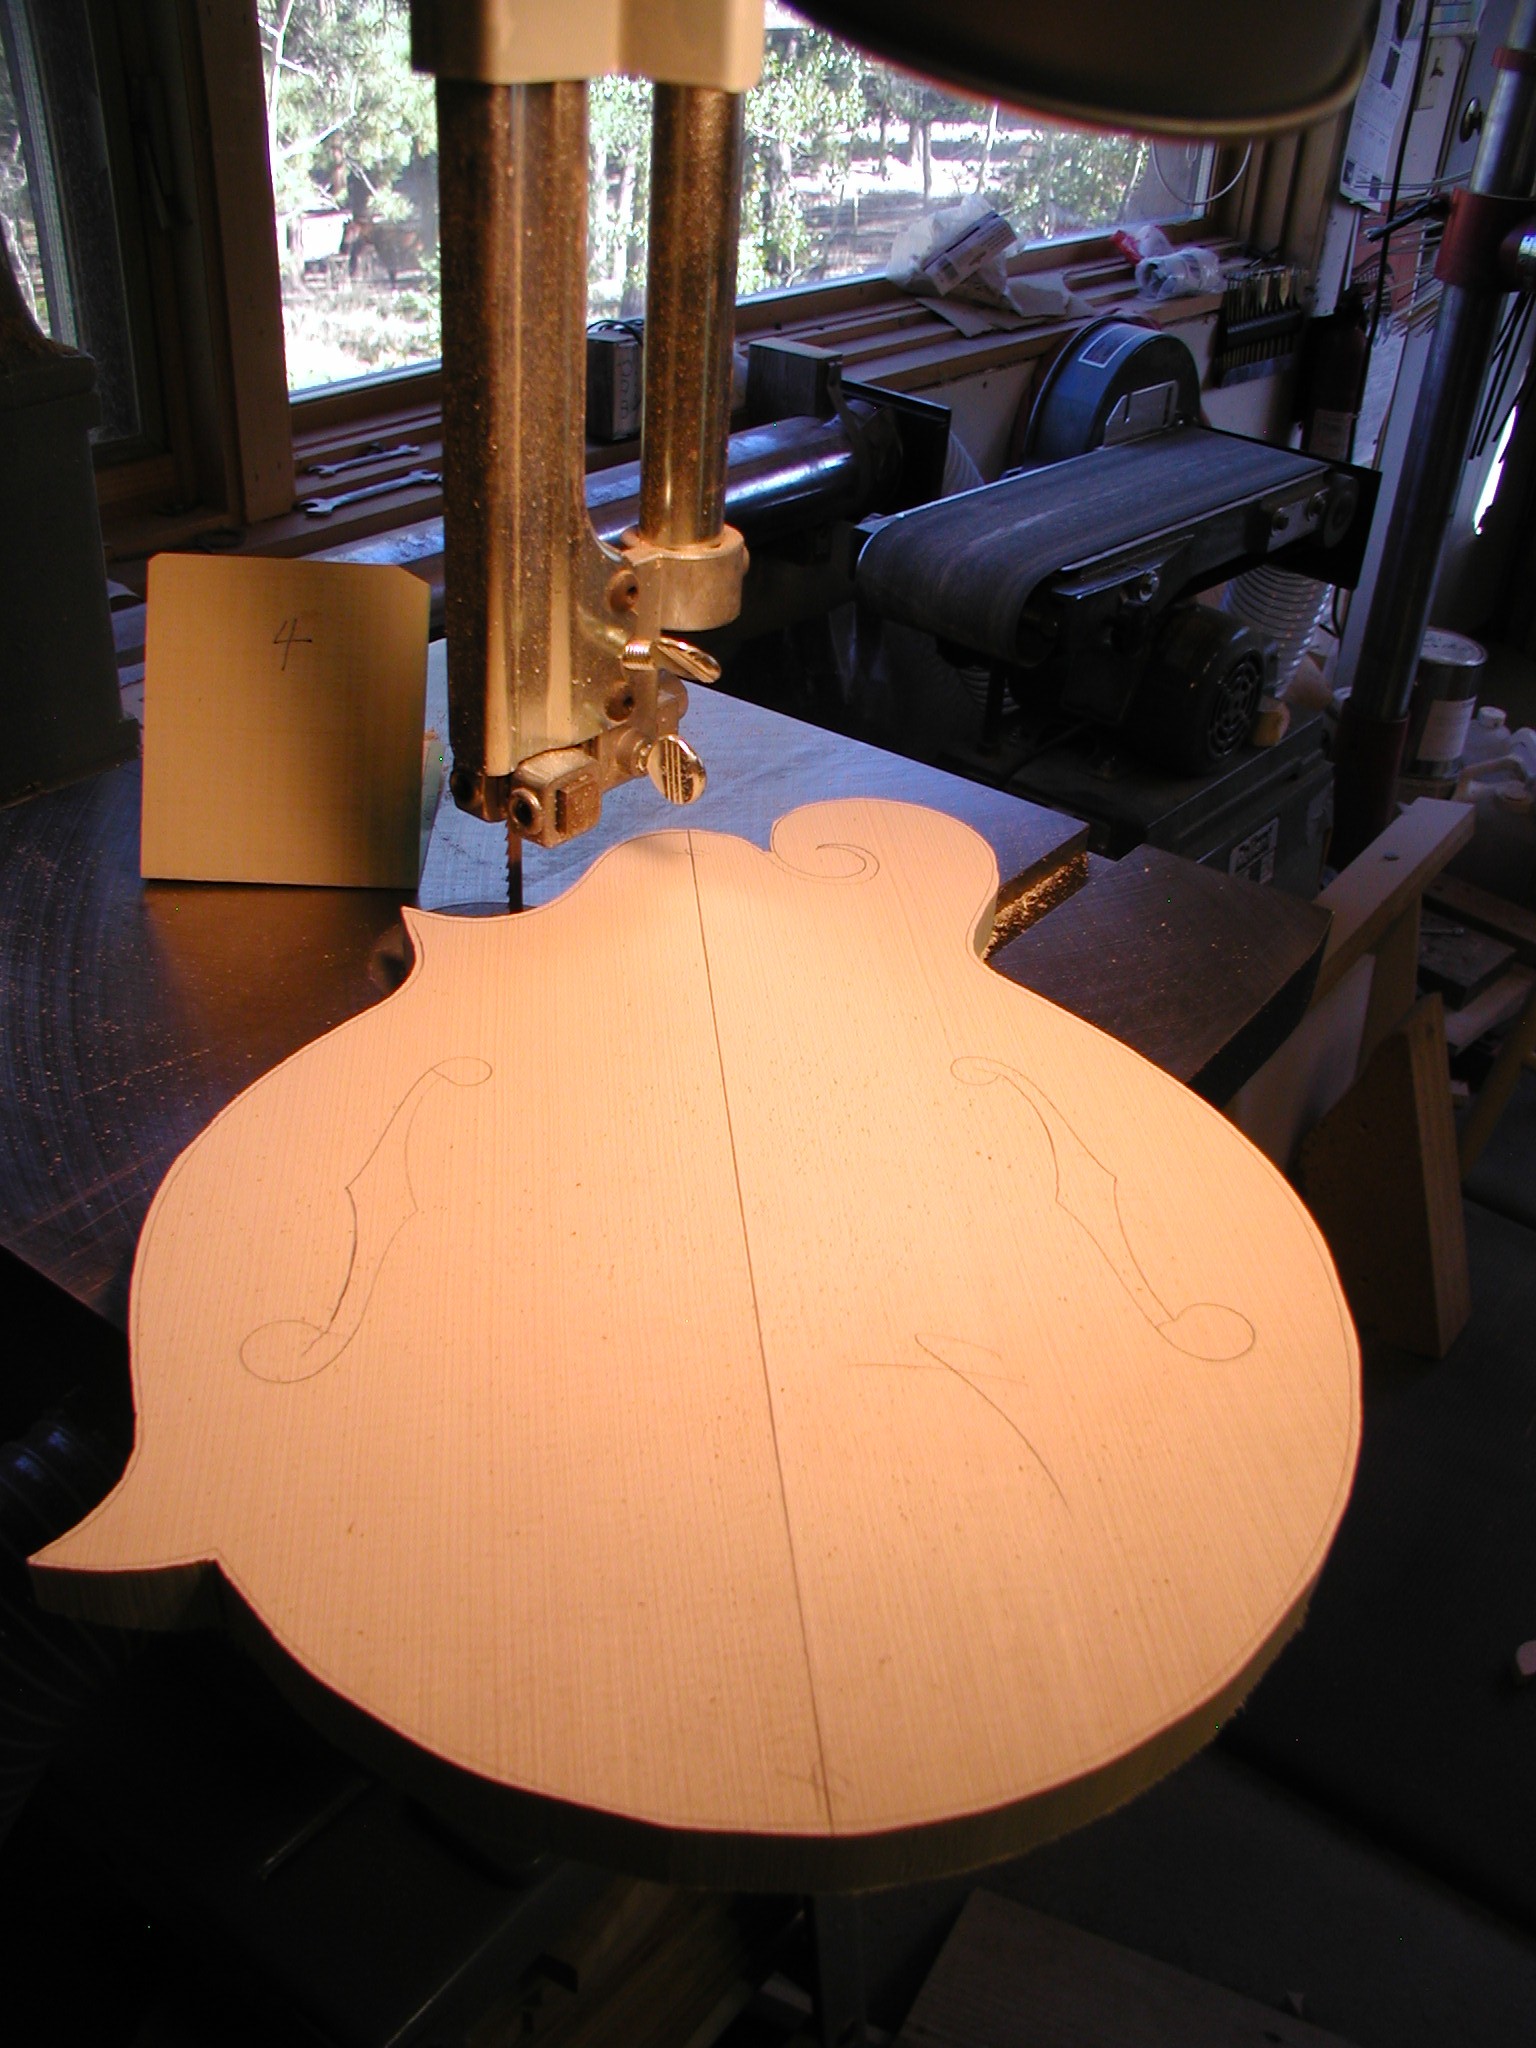
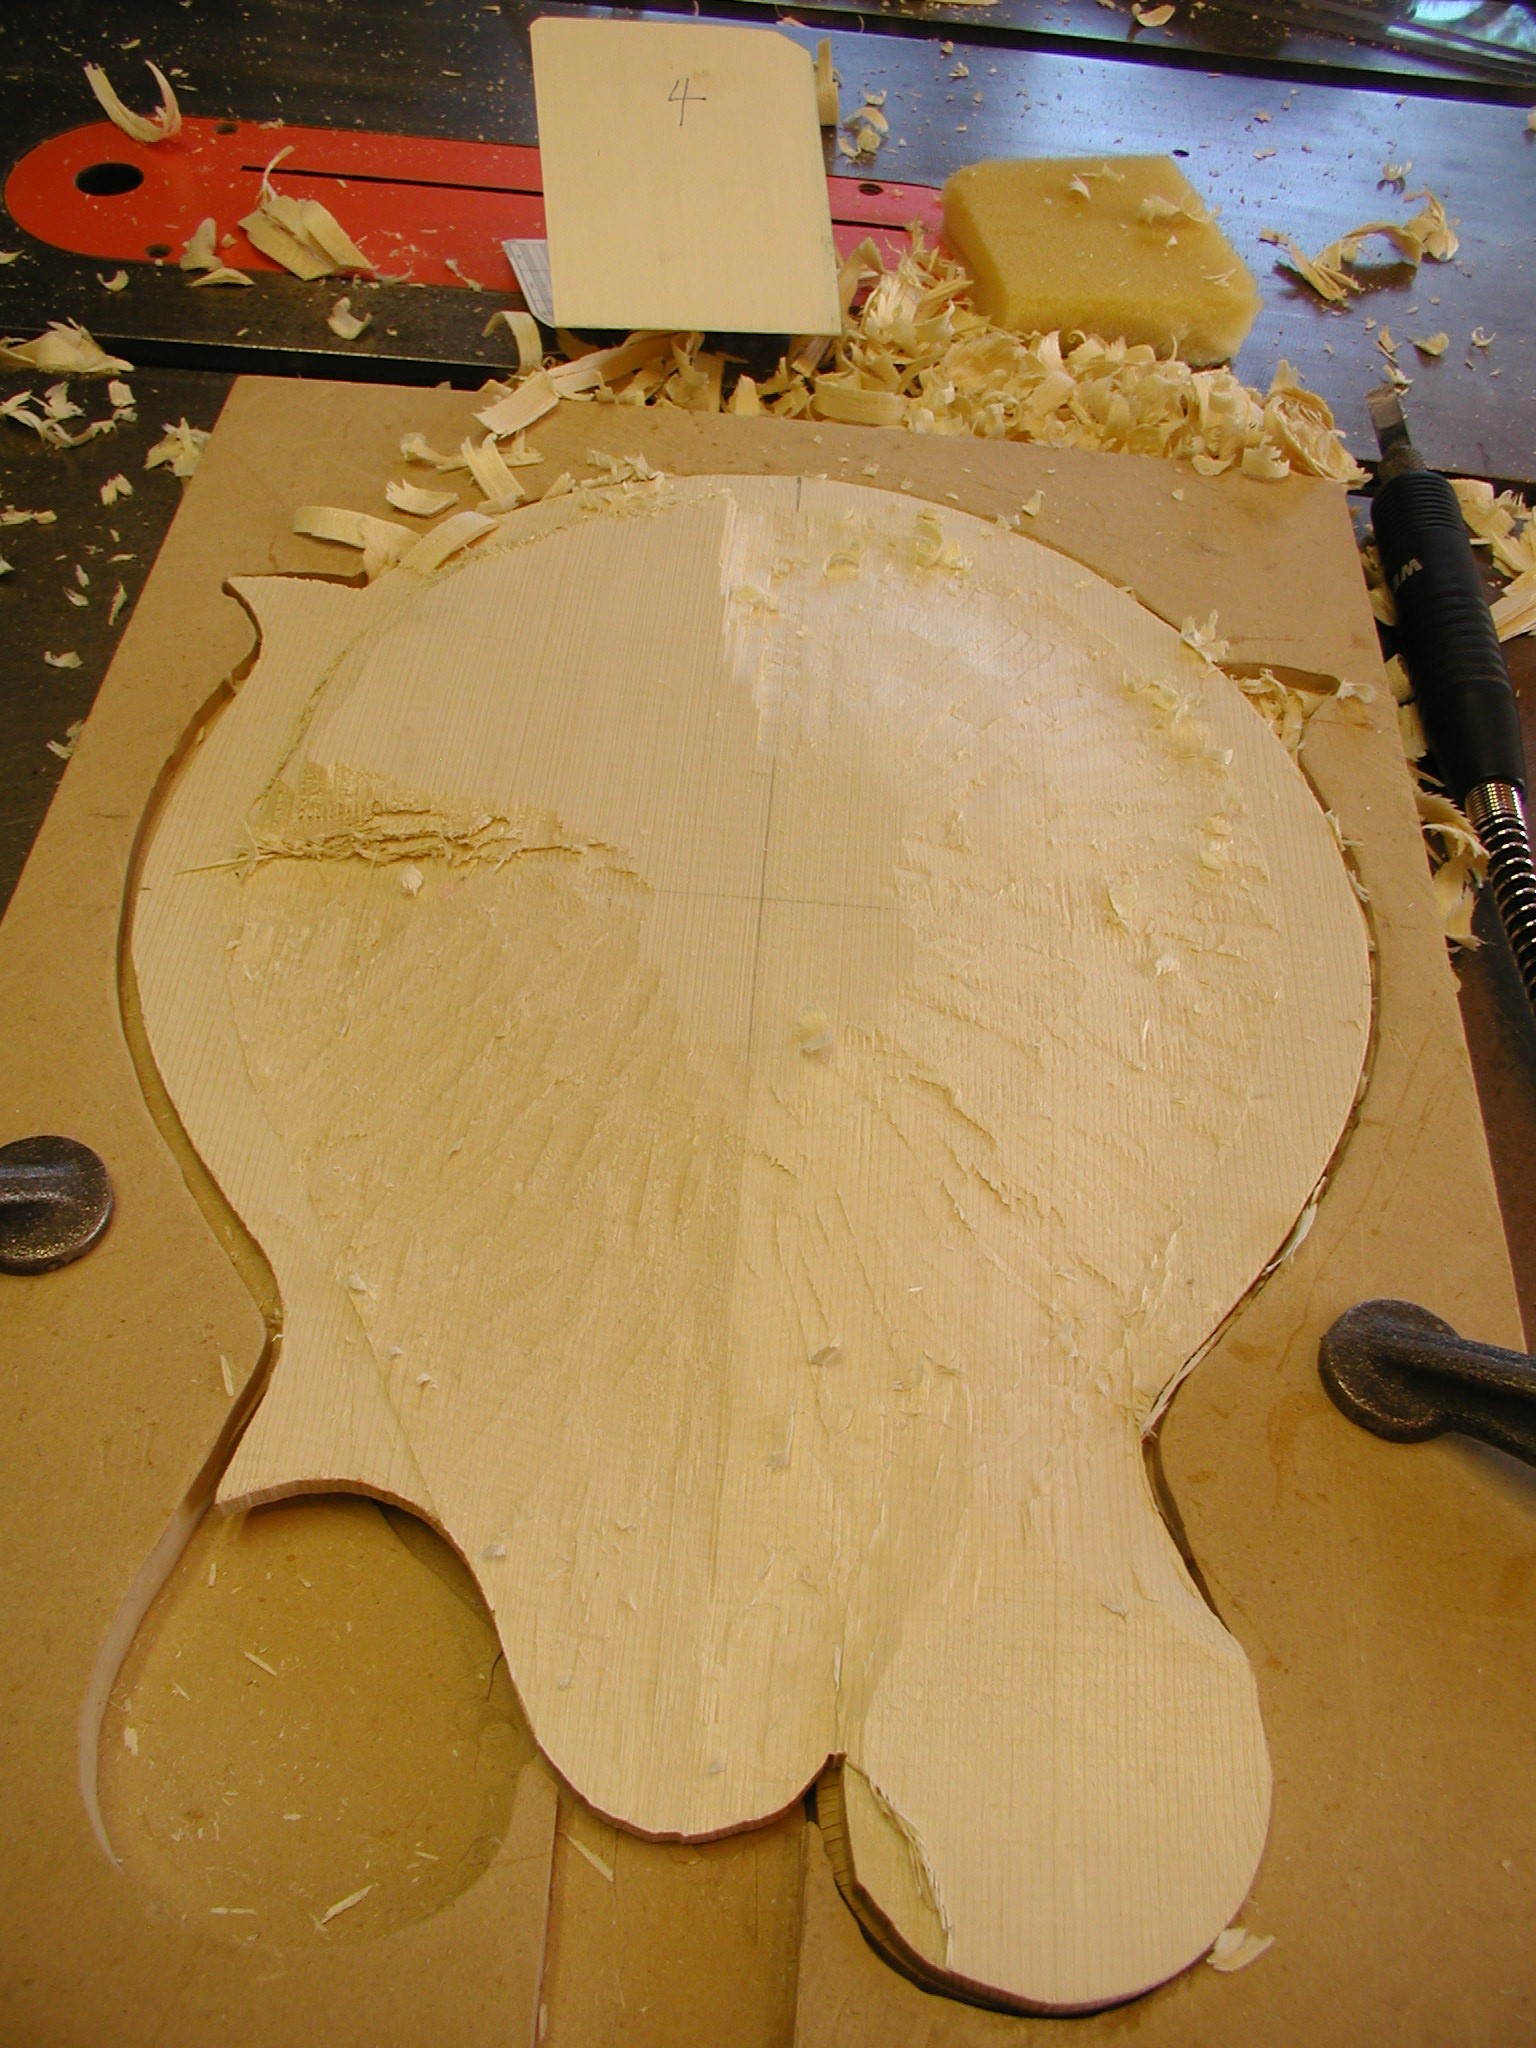
In Page 2 we pretty much completed the basic body with ribs, linings, and points. Next I make the top plate. We previously prepped the wedges so we need to start to remove everything that isn't a mandolin top. Here I've laid out the profile using my template and I cut it out on the bandsaw. I tend to cut right to the line but leave the line. I'm not cutting out the scroll slot yet.
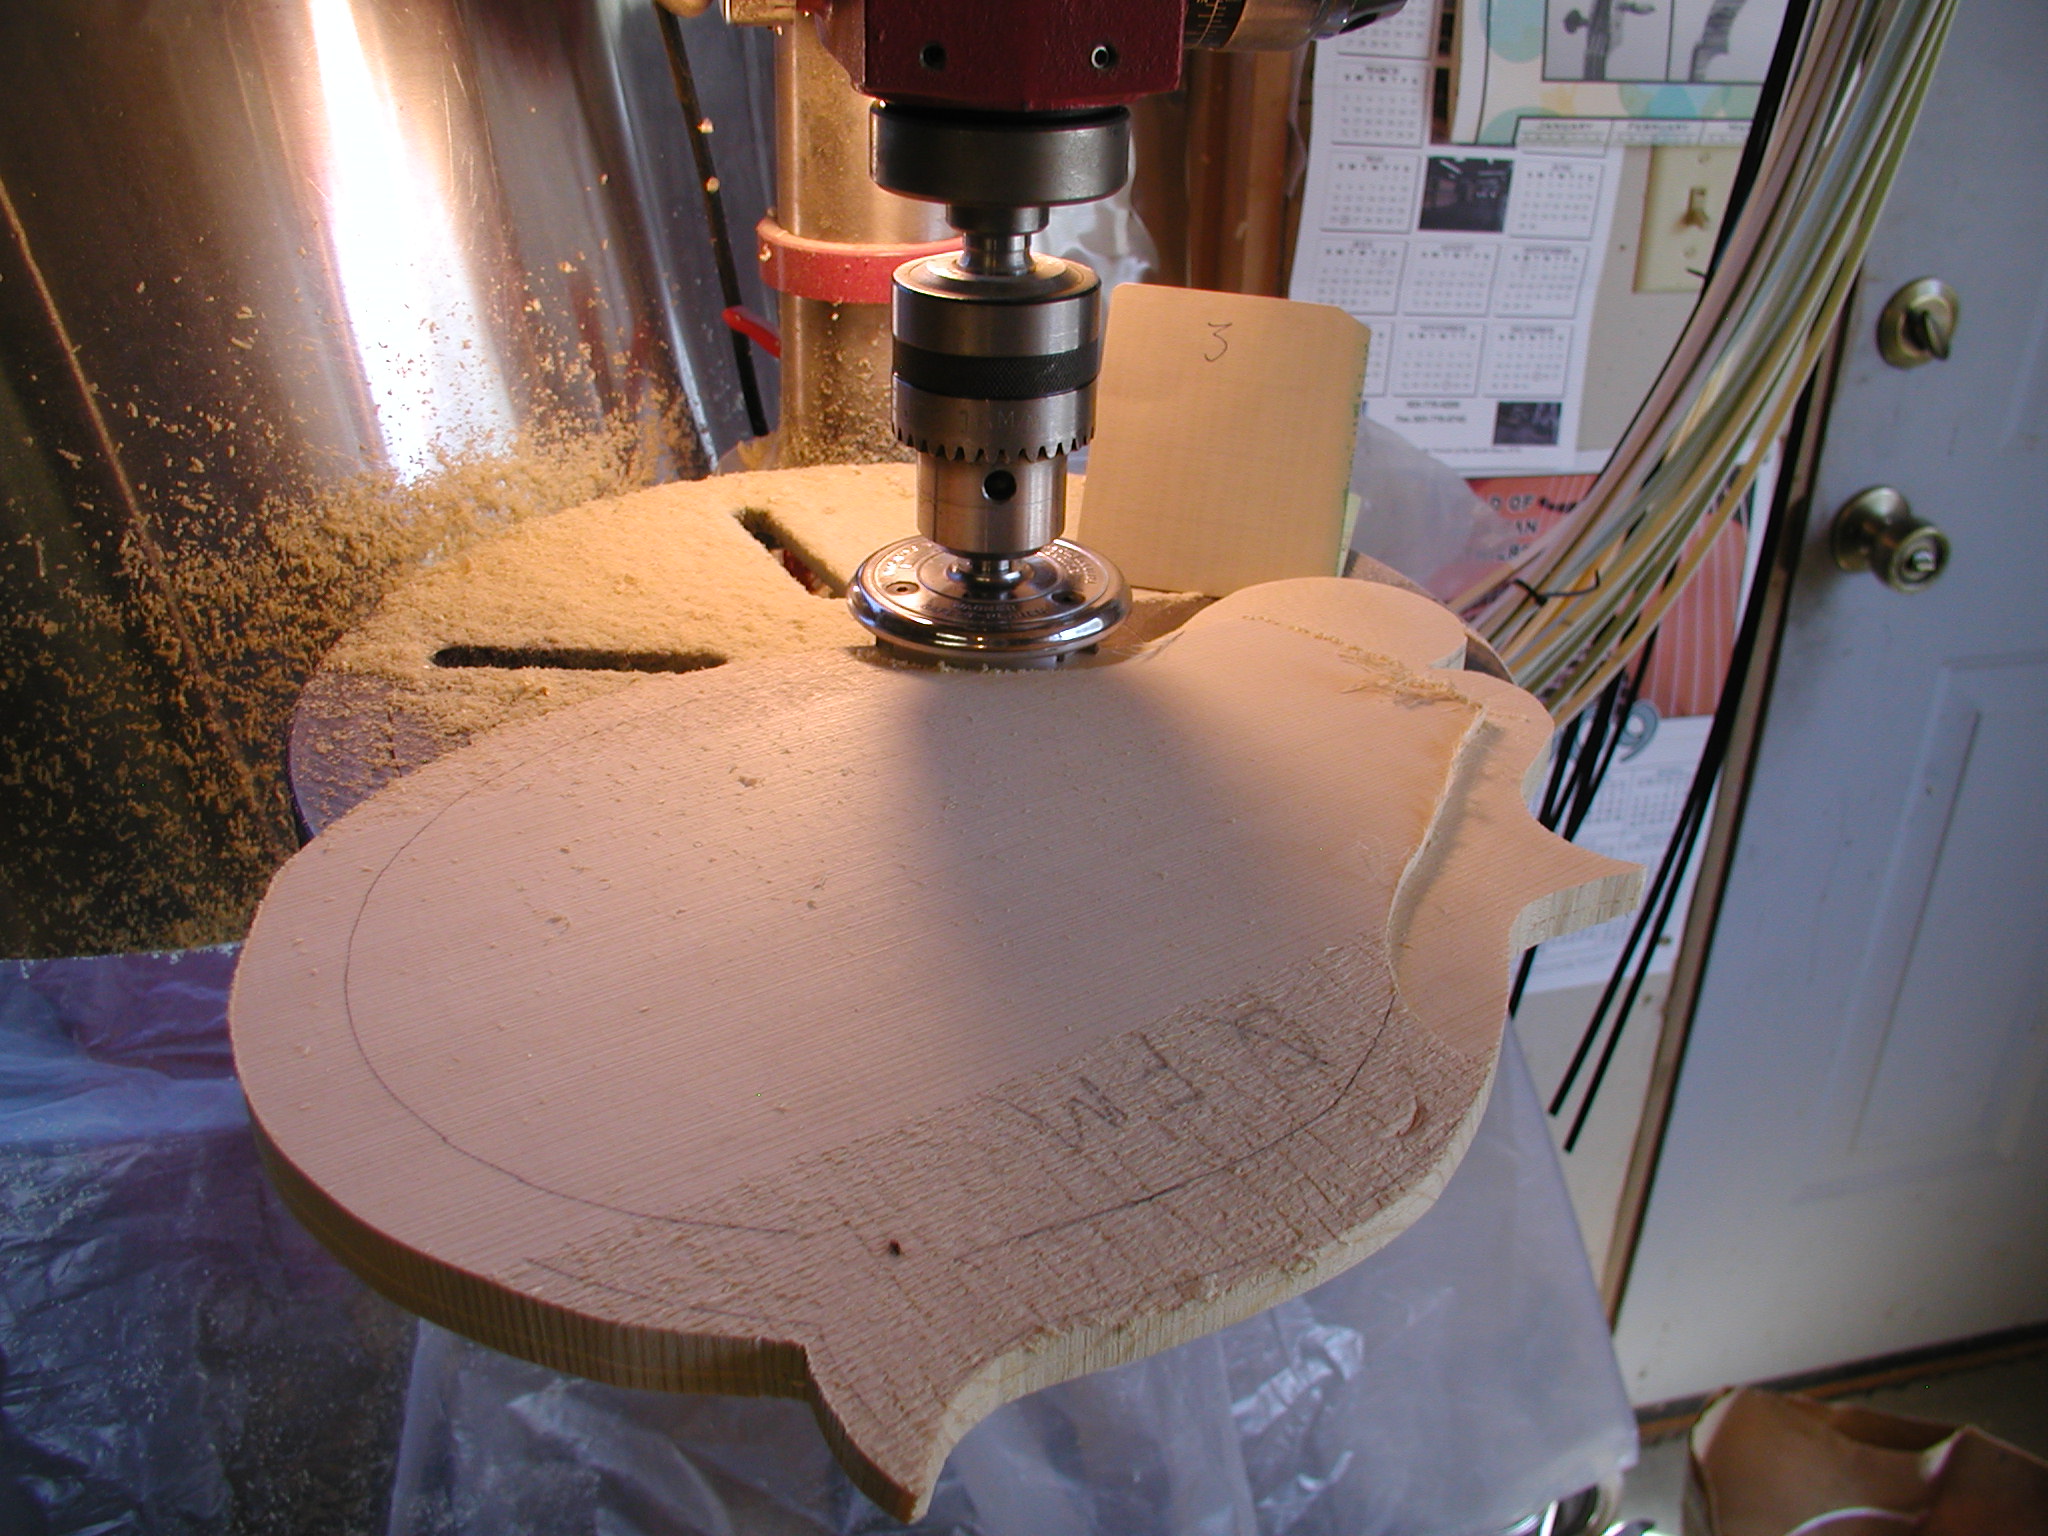
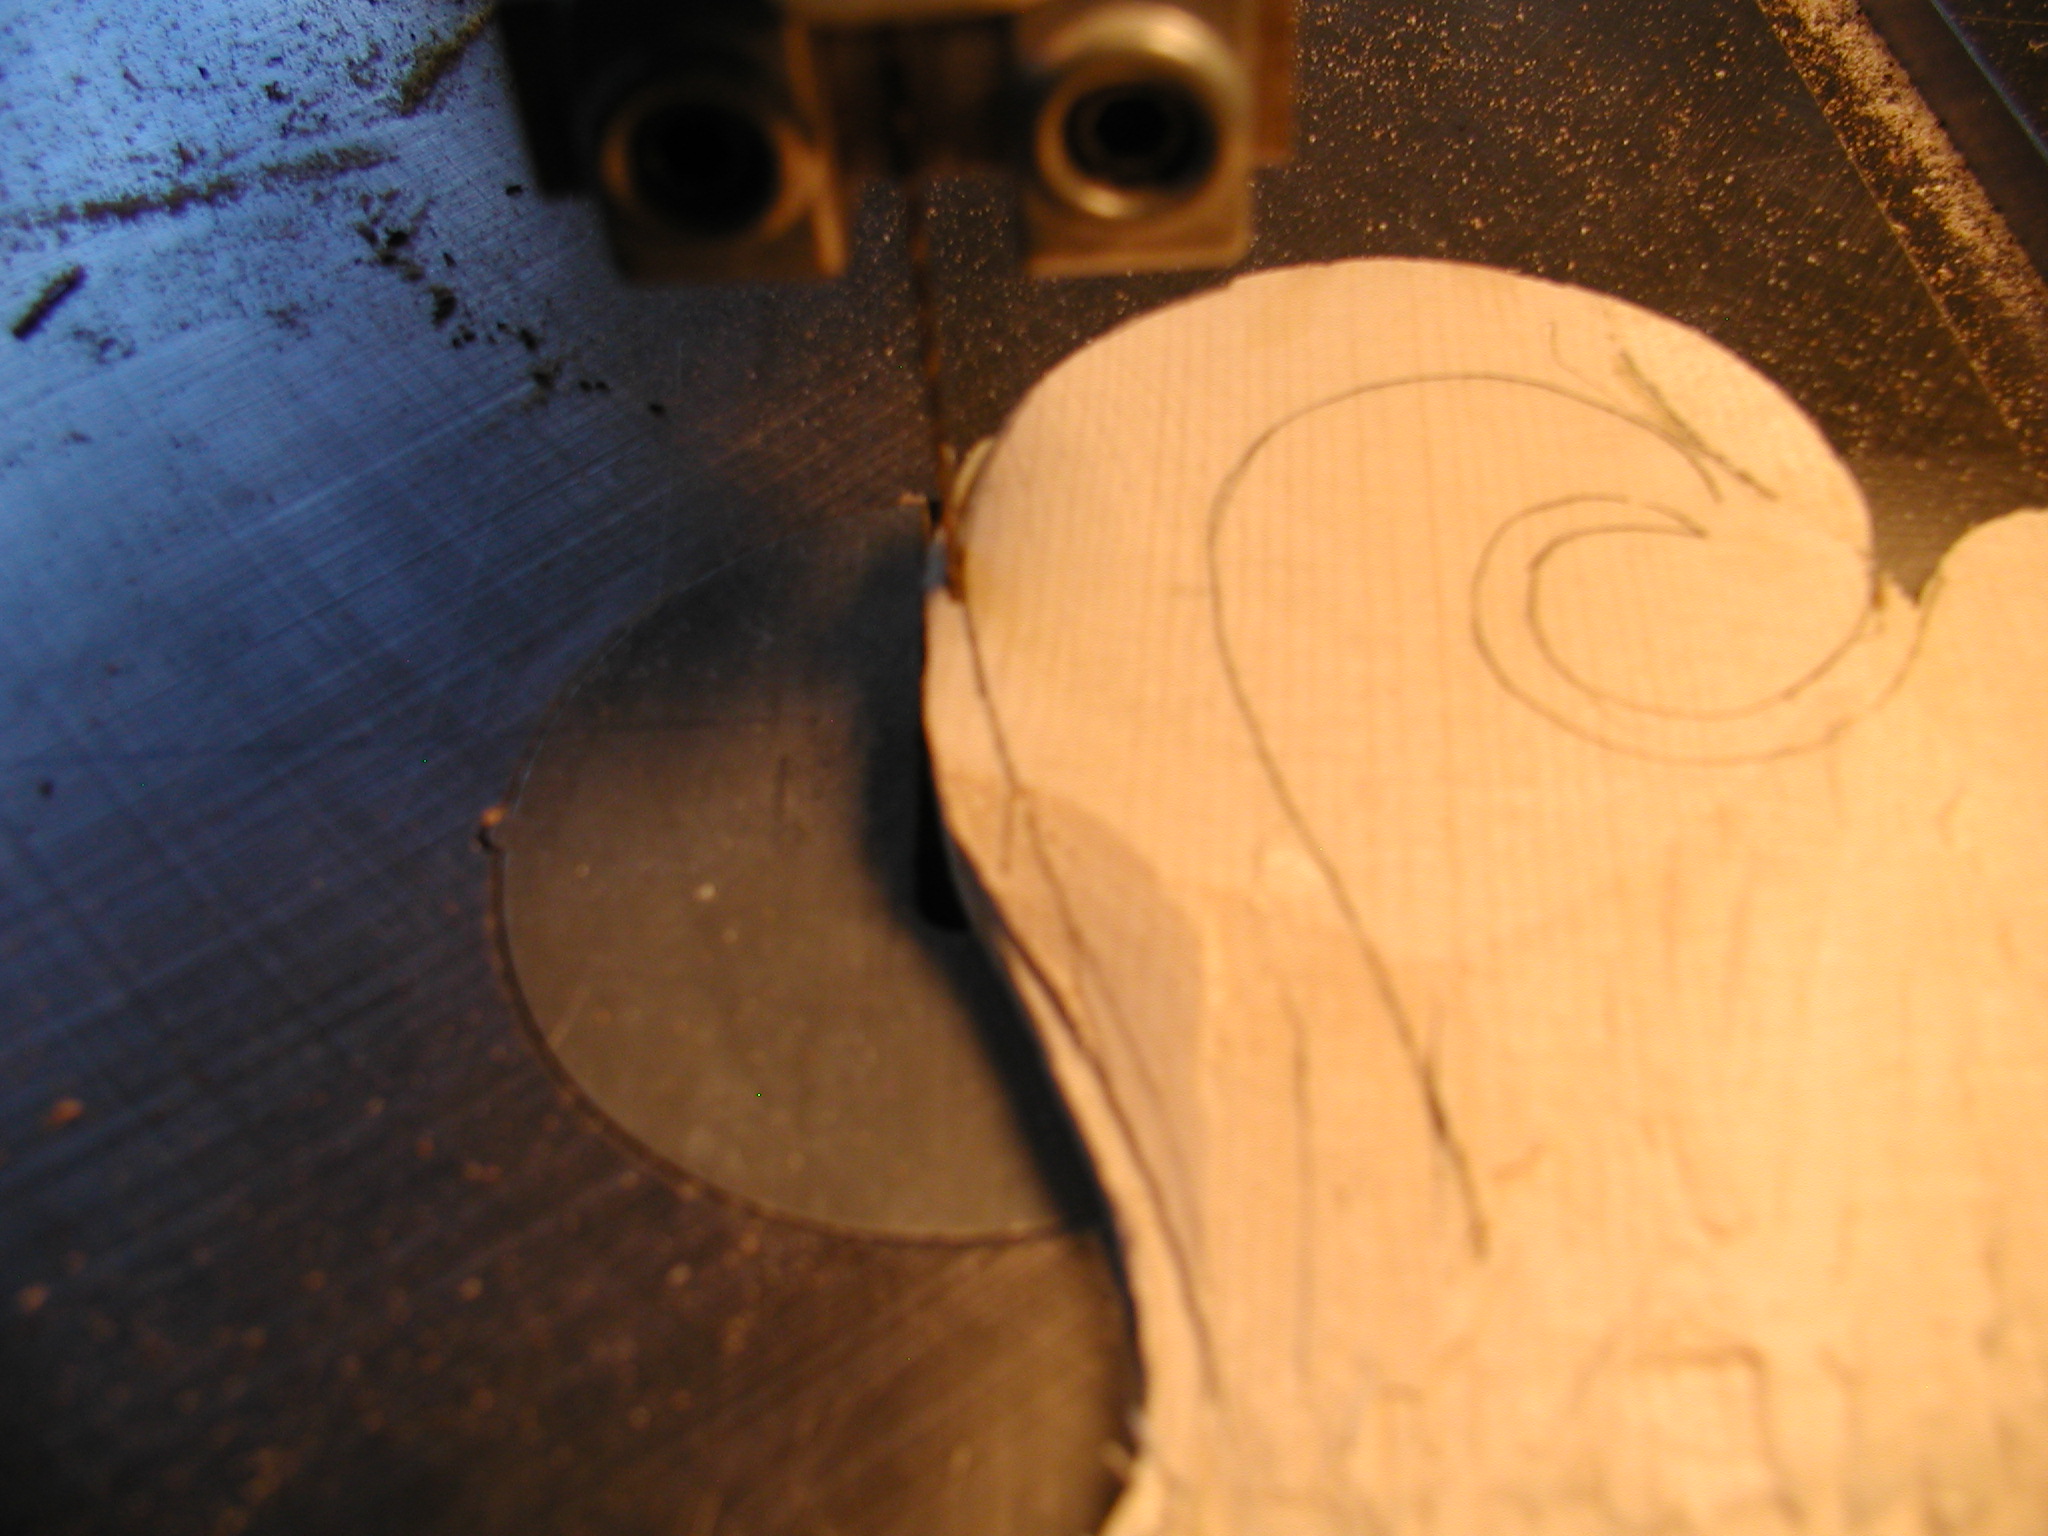
Once the perimeter is defined I can then mark in 7/8" and up from the back 3/16". This marks where wood needs to come off and set the height of the edge of the plate and reaching in a little past the recurve area. [NOTE: Any dimensions or measurements I mention in this Toot are for the design I use. You should always check these against your personal plans and adjust as needed.] No need to be delicate with this process, just get the wood off, but even and accurately. I use a Wagner Safe-T-Planer which is just a three-head fly cutter and feels anything but Safe when being used. Keep the little finger end bits out of the way of the action. Still, a very useful tool. Run it way up in RPMs and it cuts cleaner and without snagging particularly in figured woods. You need to take multiple cuts and I do the last cut as a finish cut just to avoid any tear-out. This throws a lot of chips so I hang up tarps or sheets to control the output, I haven't figured out a way to effectively use the vacuum system for this application. Note that one of the high-level passes is set to the height of the scroll. Below that level you need to stop near the waist on the top side and keep the whole scroll area high. Anyone see anything wrong here? You will as you get closer shots.
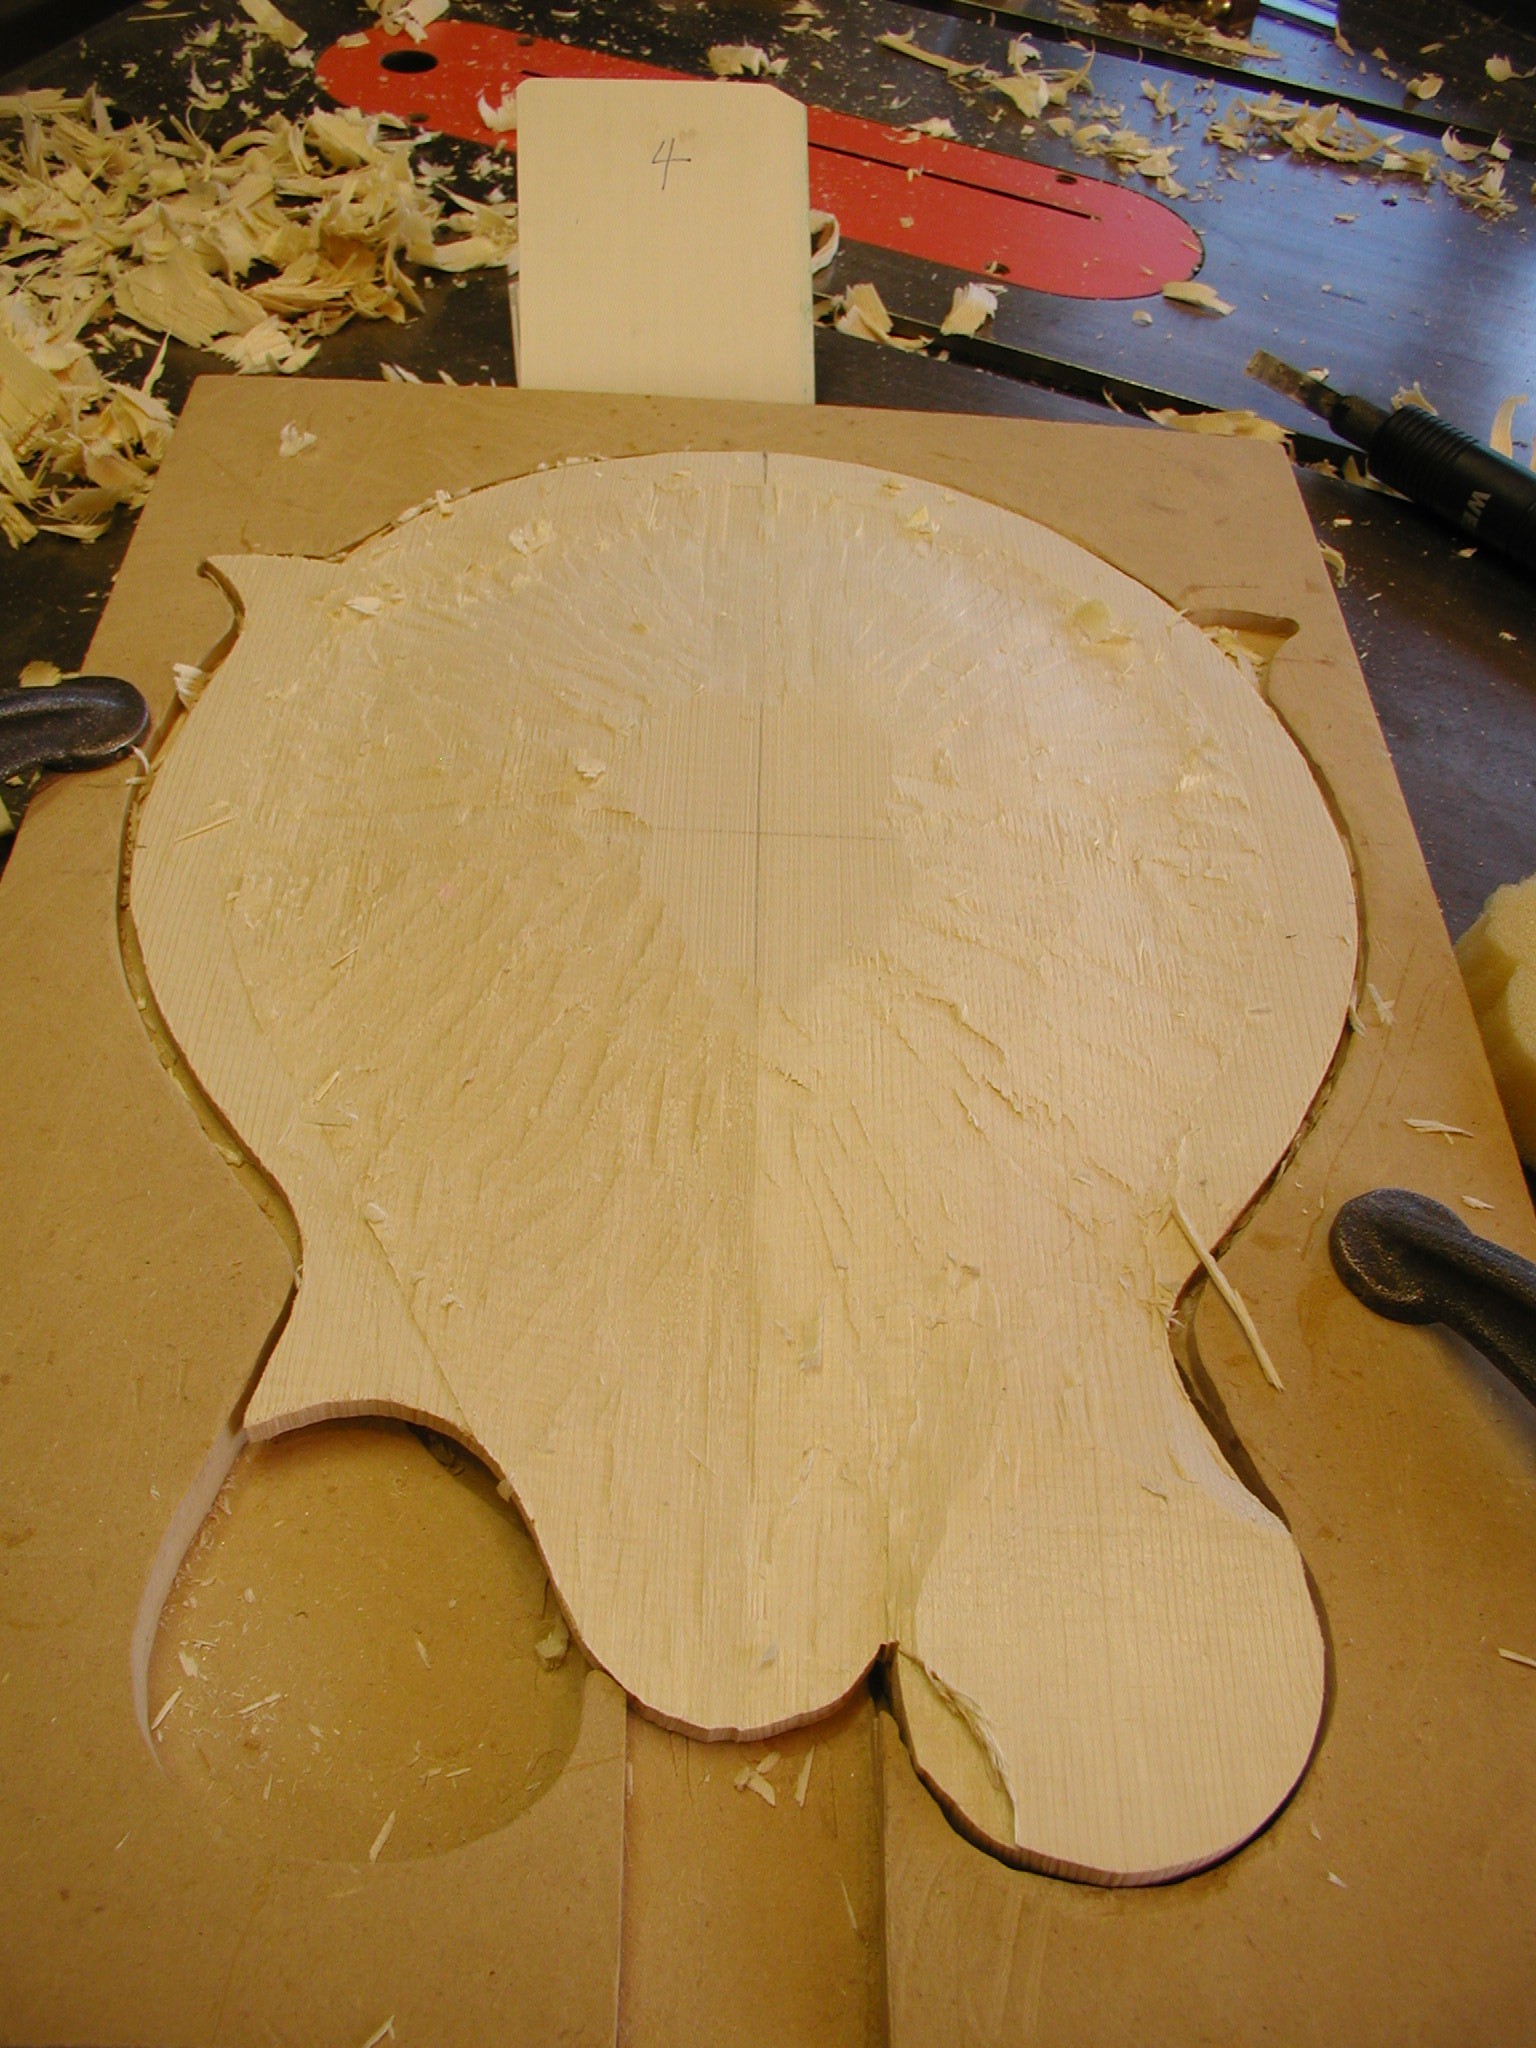
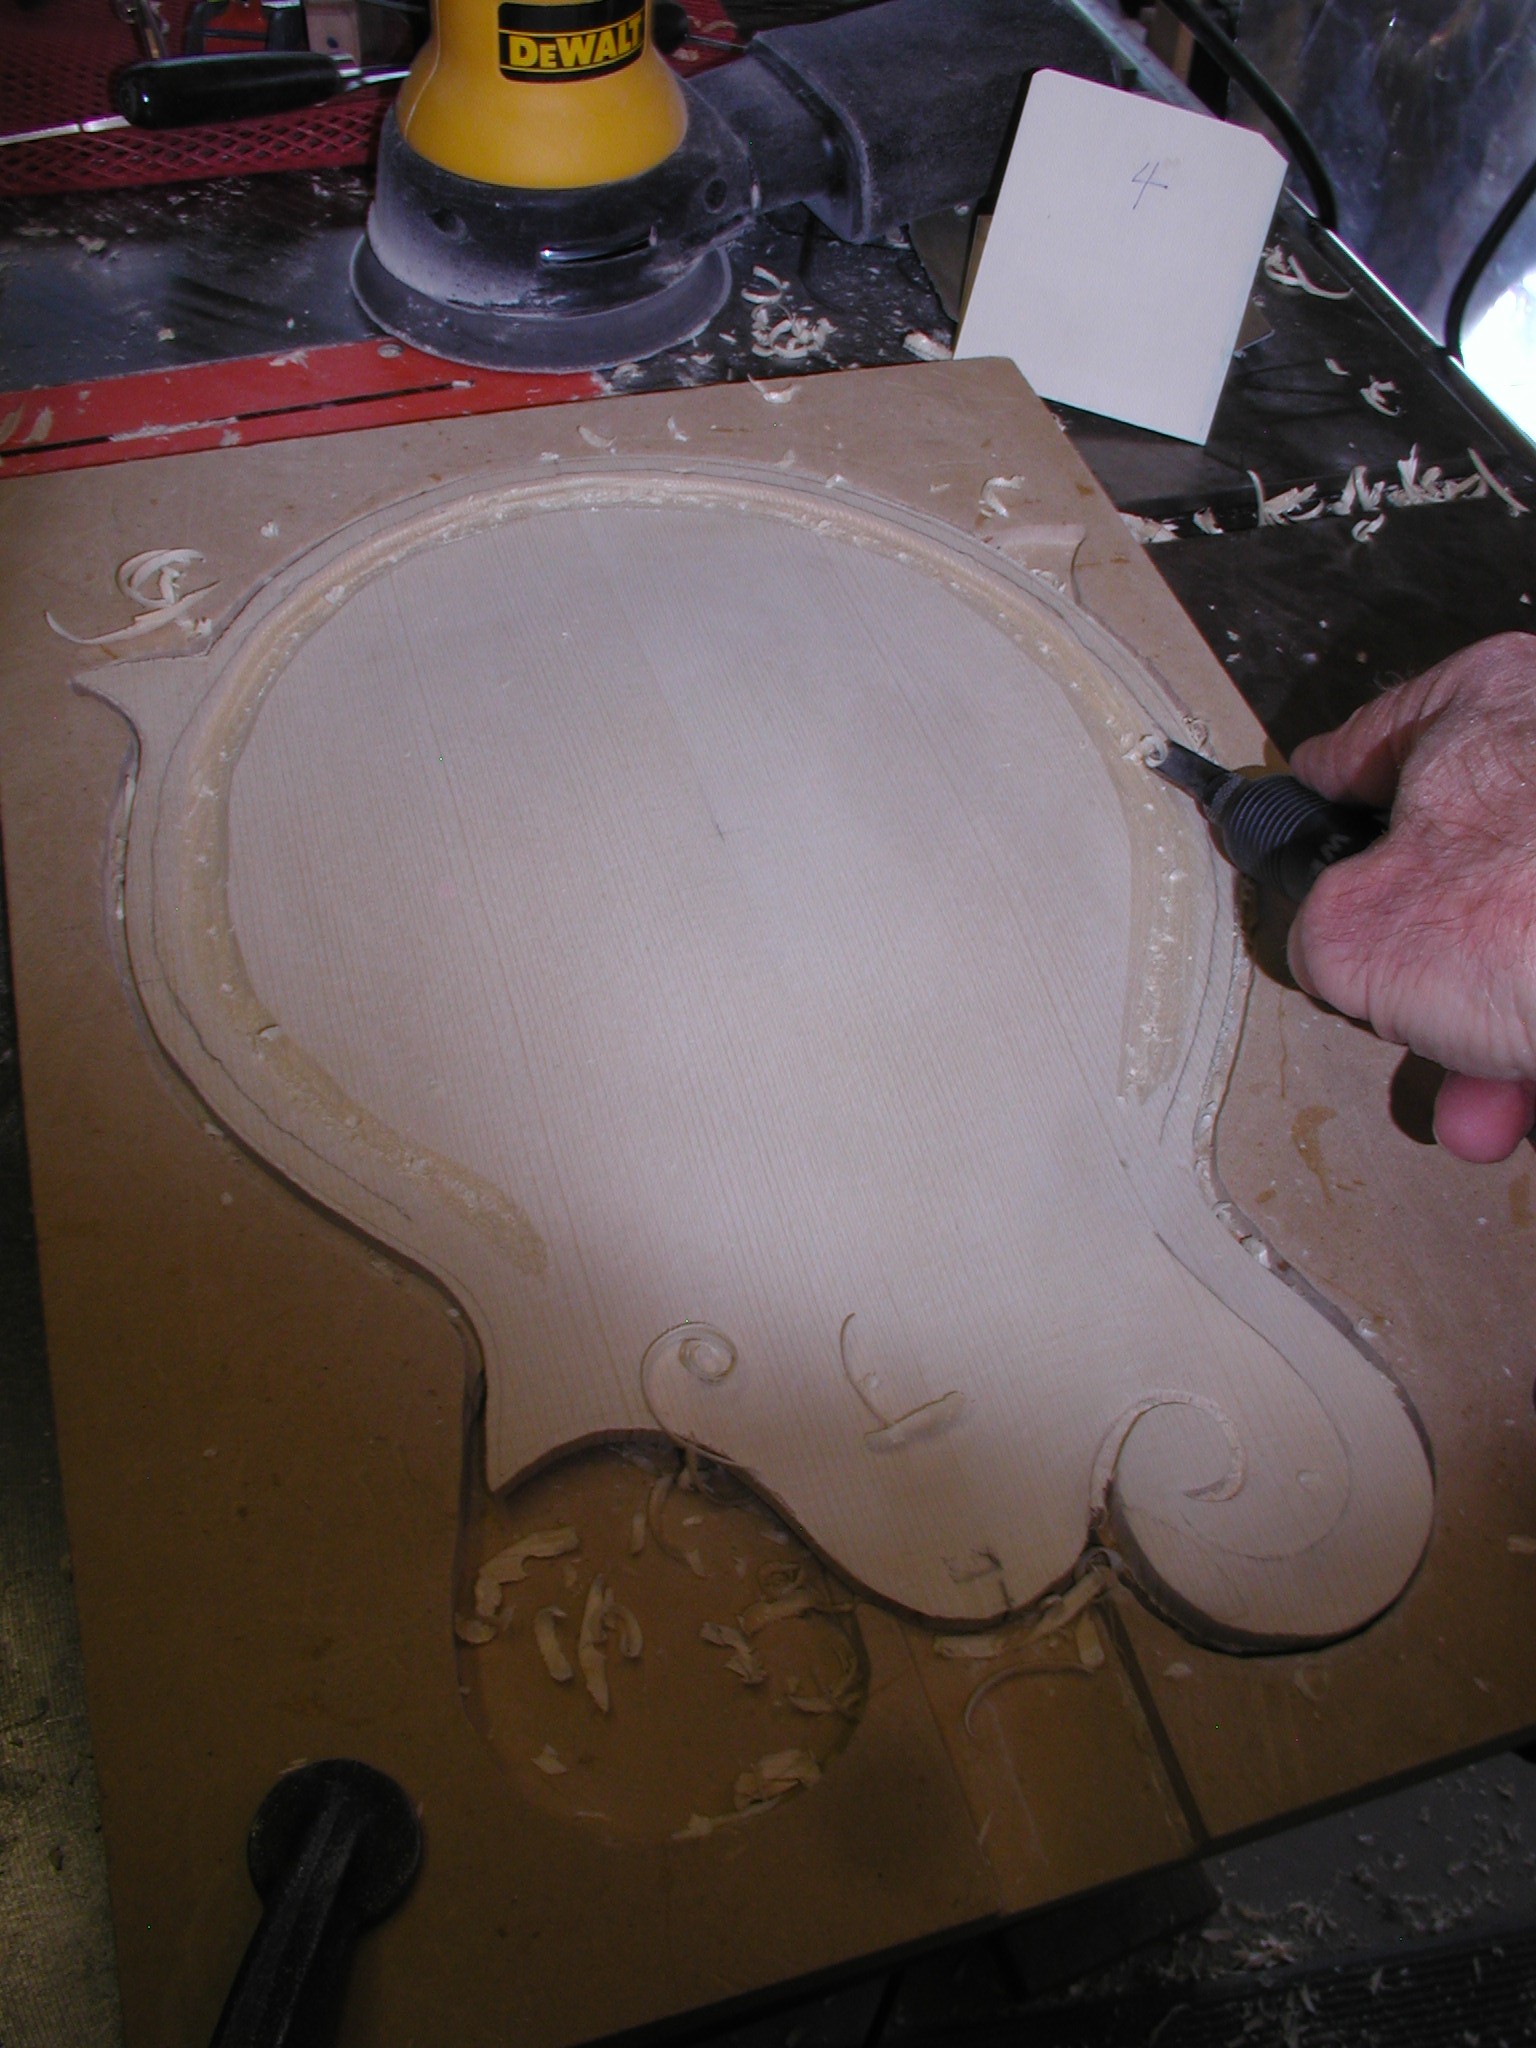
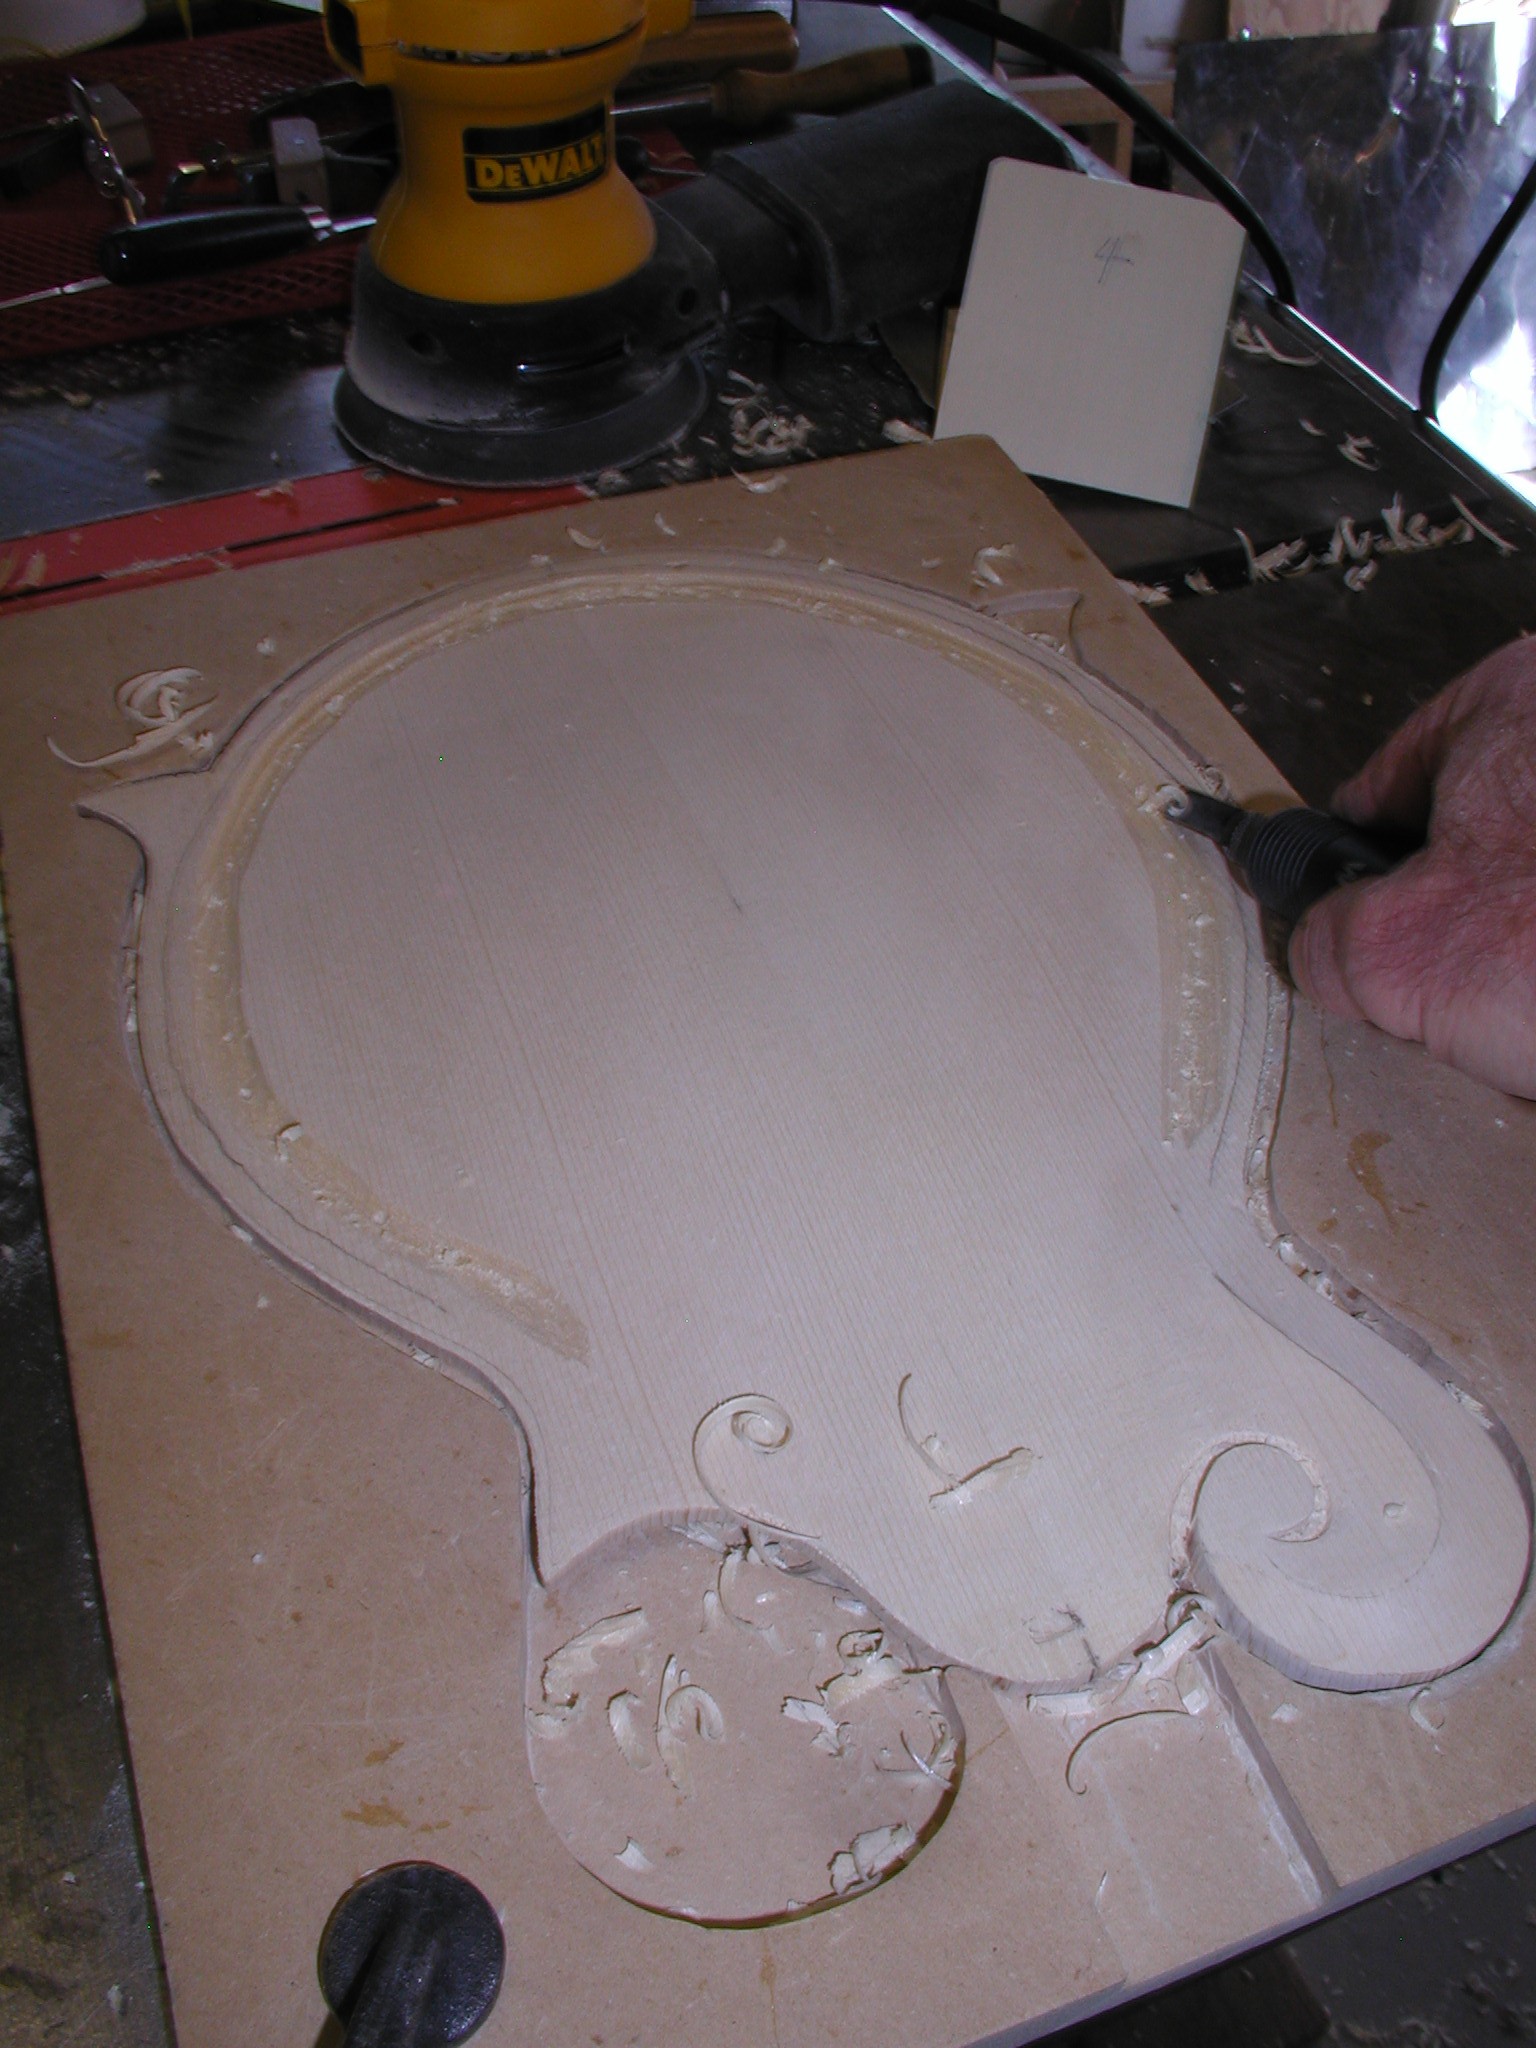
Now to the actual carving. I use a reciprocating carving tool on a cable drive to help. First I get the center line profiles close to right but still a bit tall. Note that these templates I use don't have the low part for the recurve, they go straight across. This allows me to get the curvature right and then do the recurve later. Once the center lines are right I use the carver, a low angle block plane, chisels, and finger planes to take it down rough to the proper shape evening it out between the center lines. Ahh, now you see the goof in the scroll area. The plane got away from me as I was leveling the area near the headblock and nicked the scroll. This area will be finished dead black anyway and is not an acoustically important spot, so I can just add a splint here later. Otherwise it would need to be tossed.
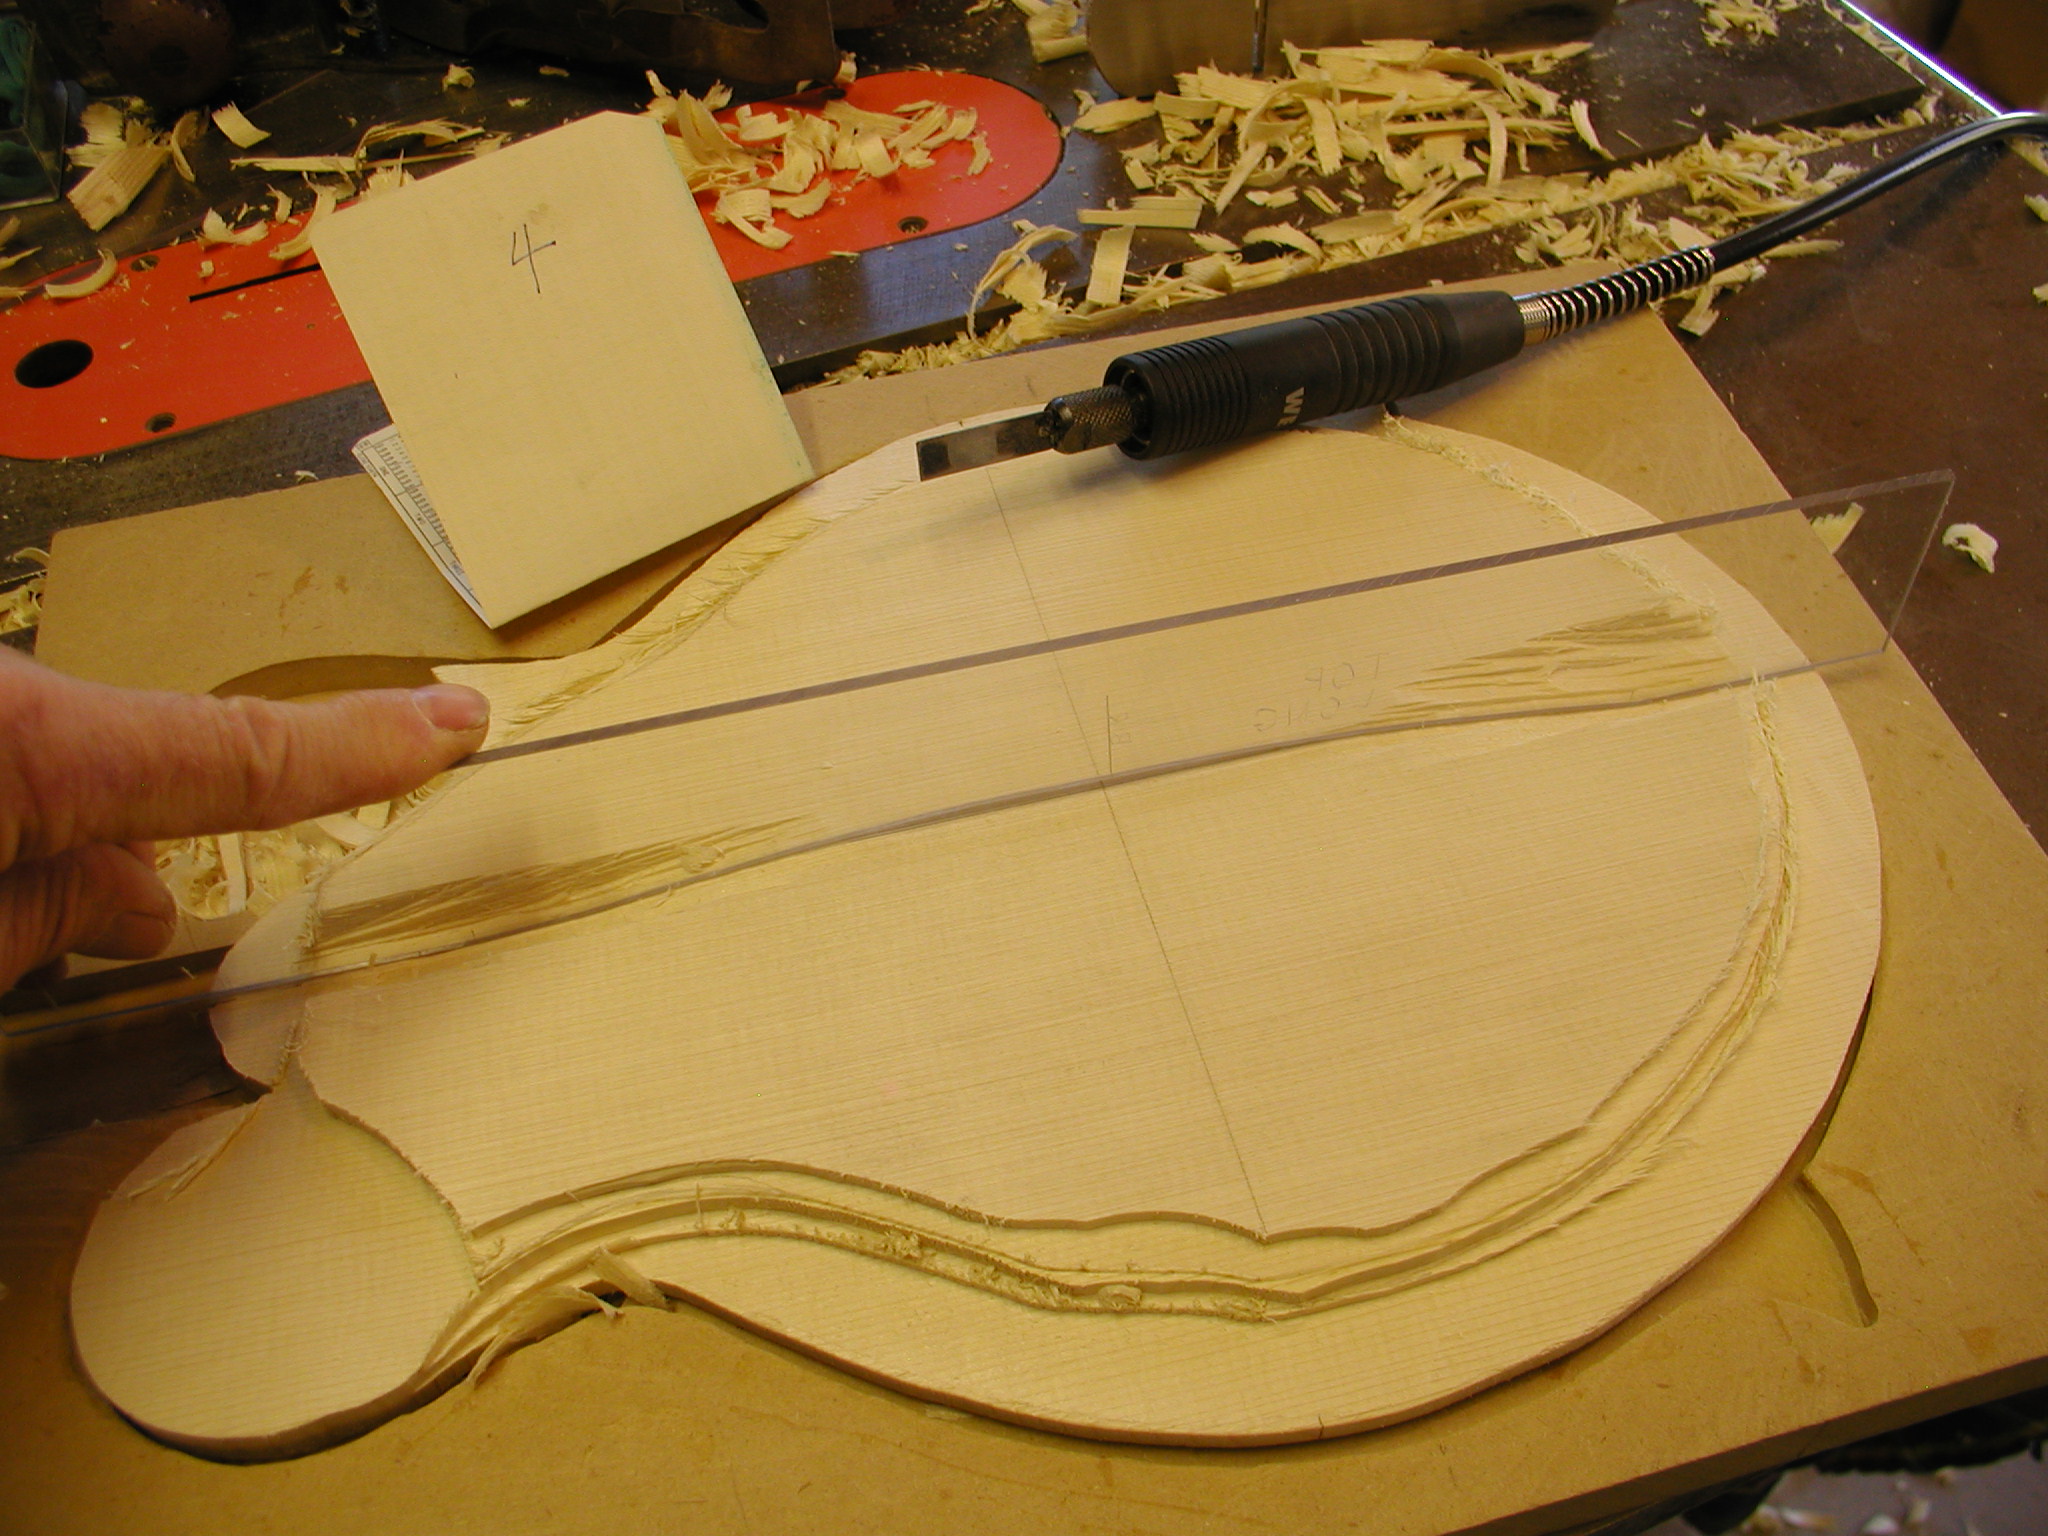
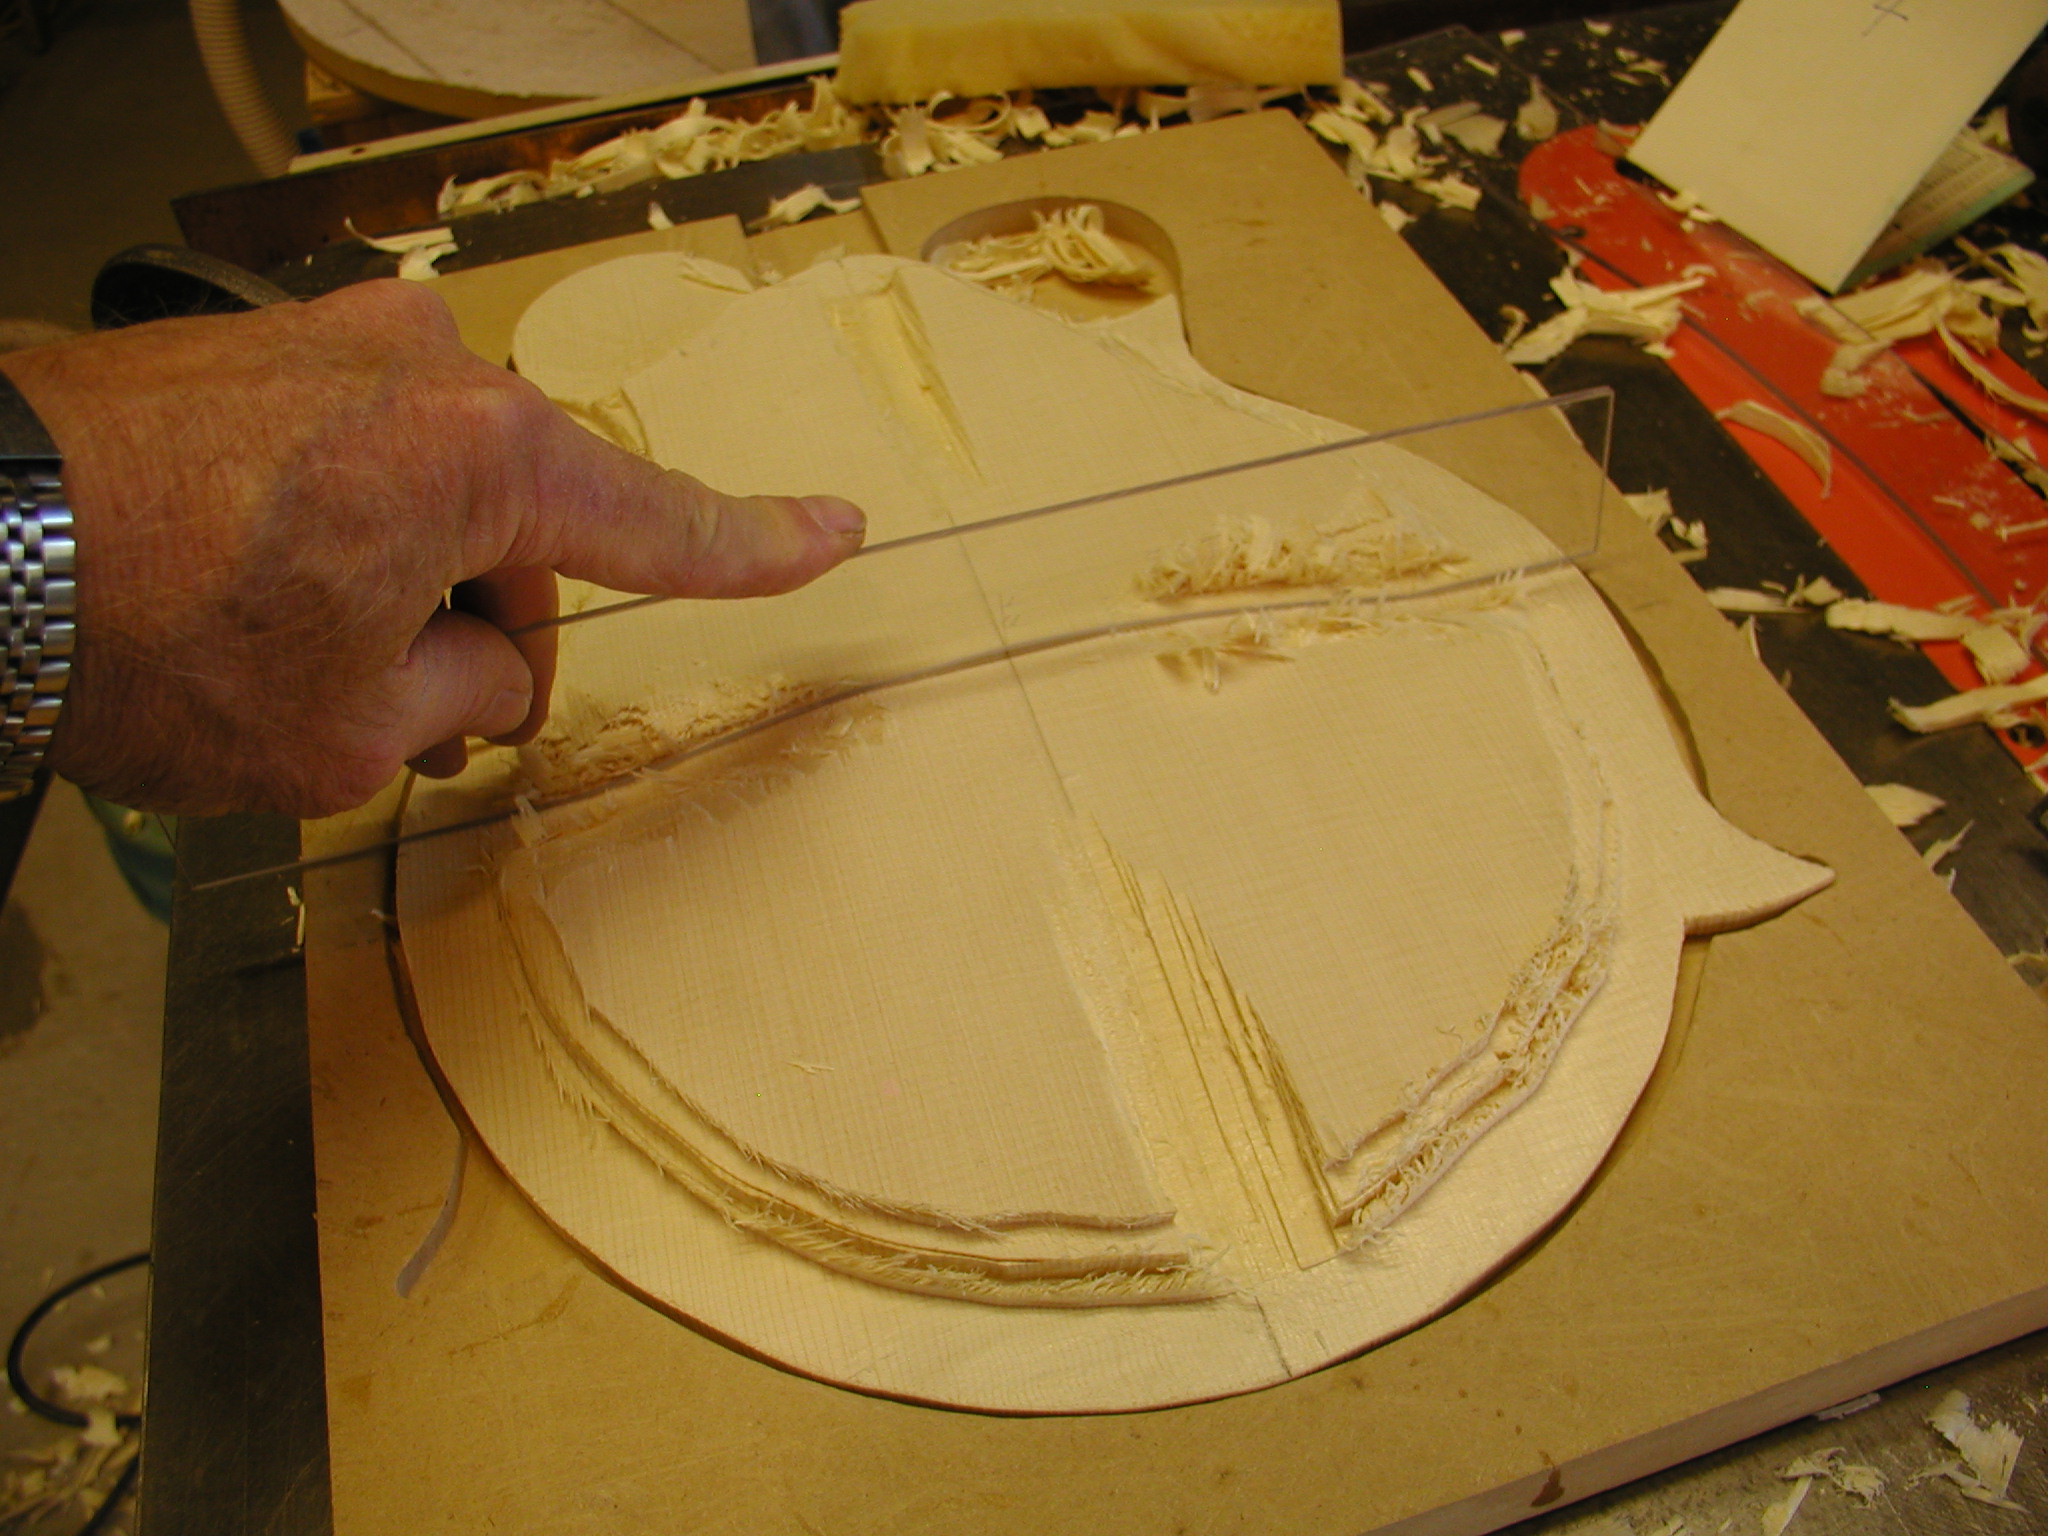
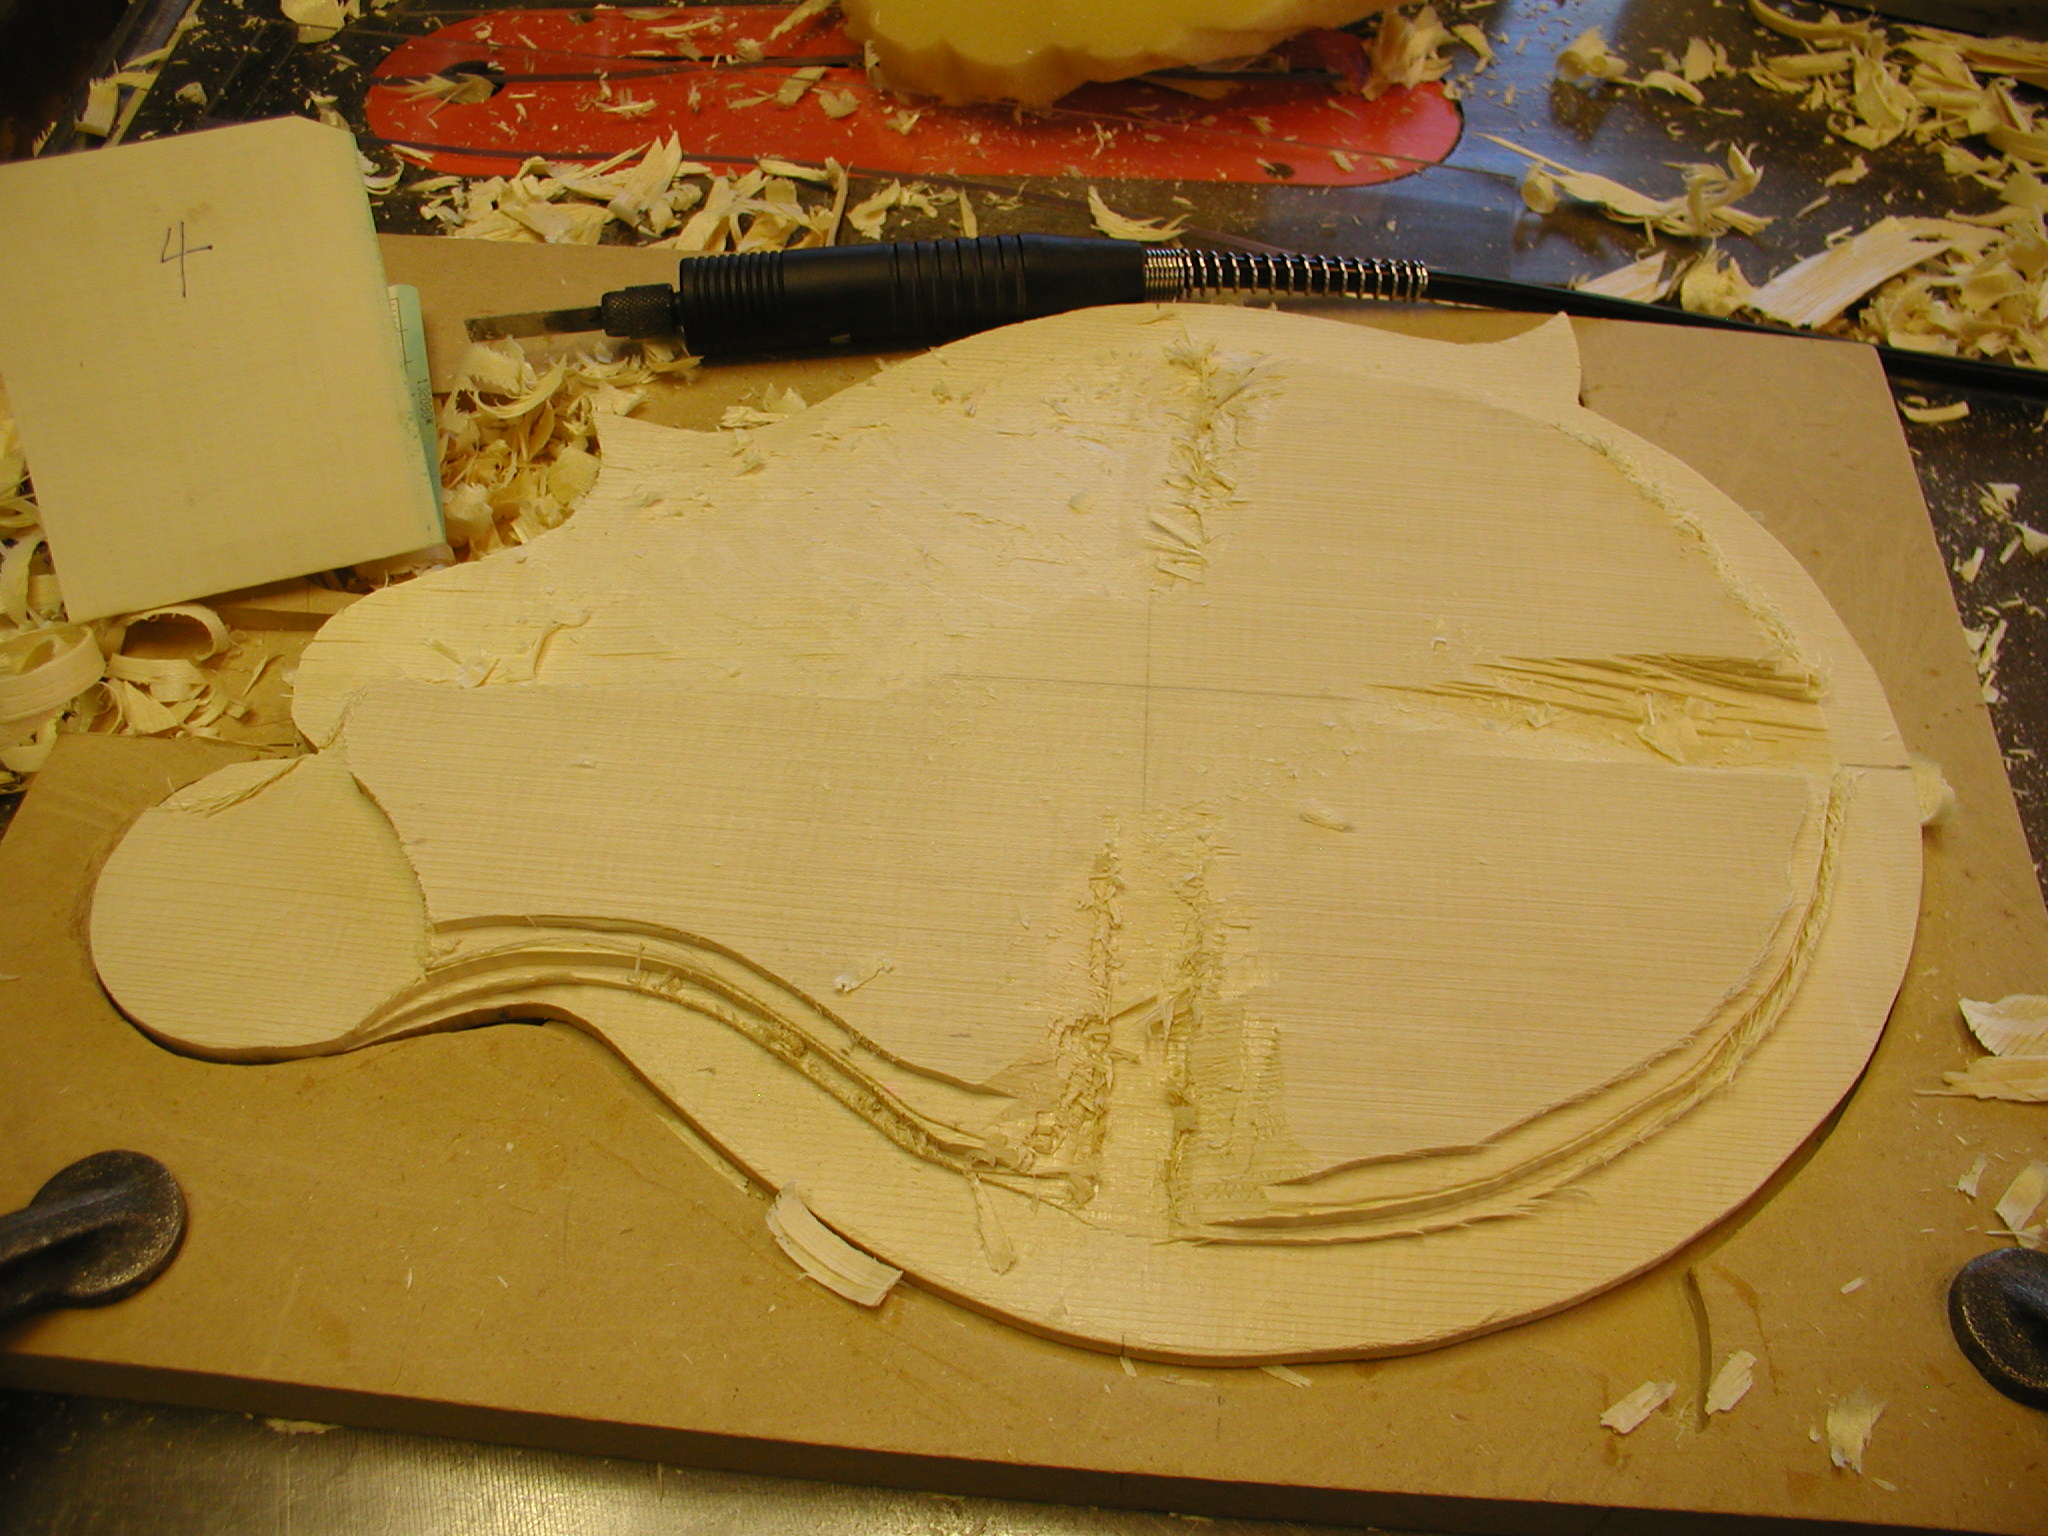
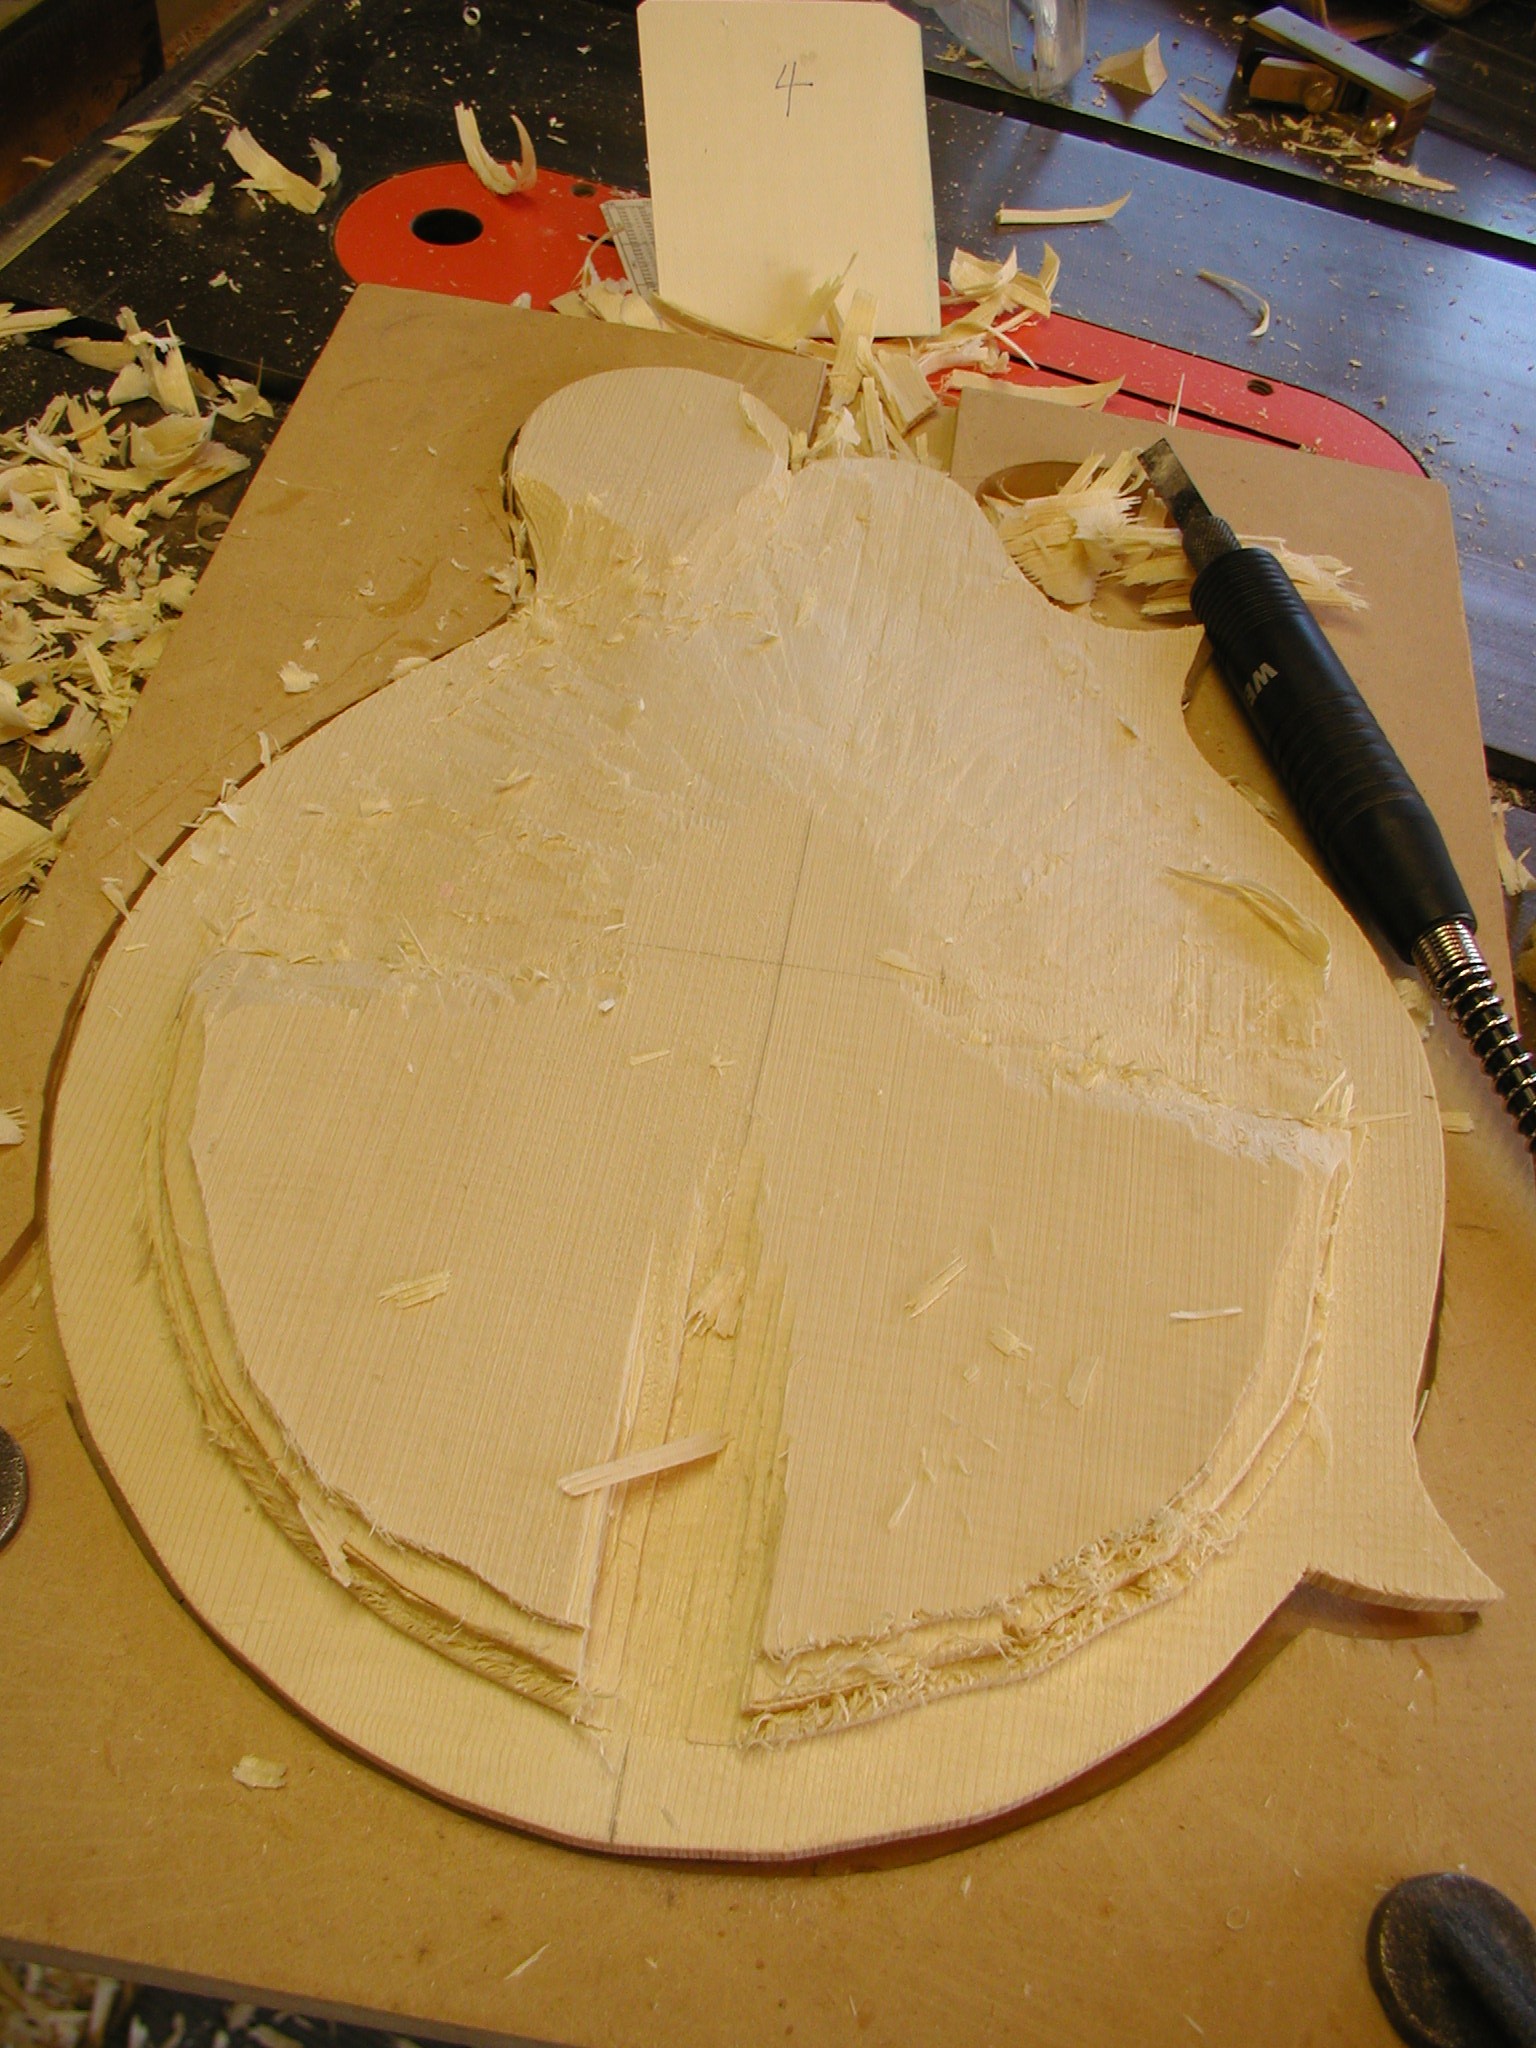
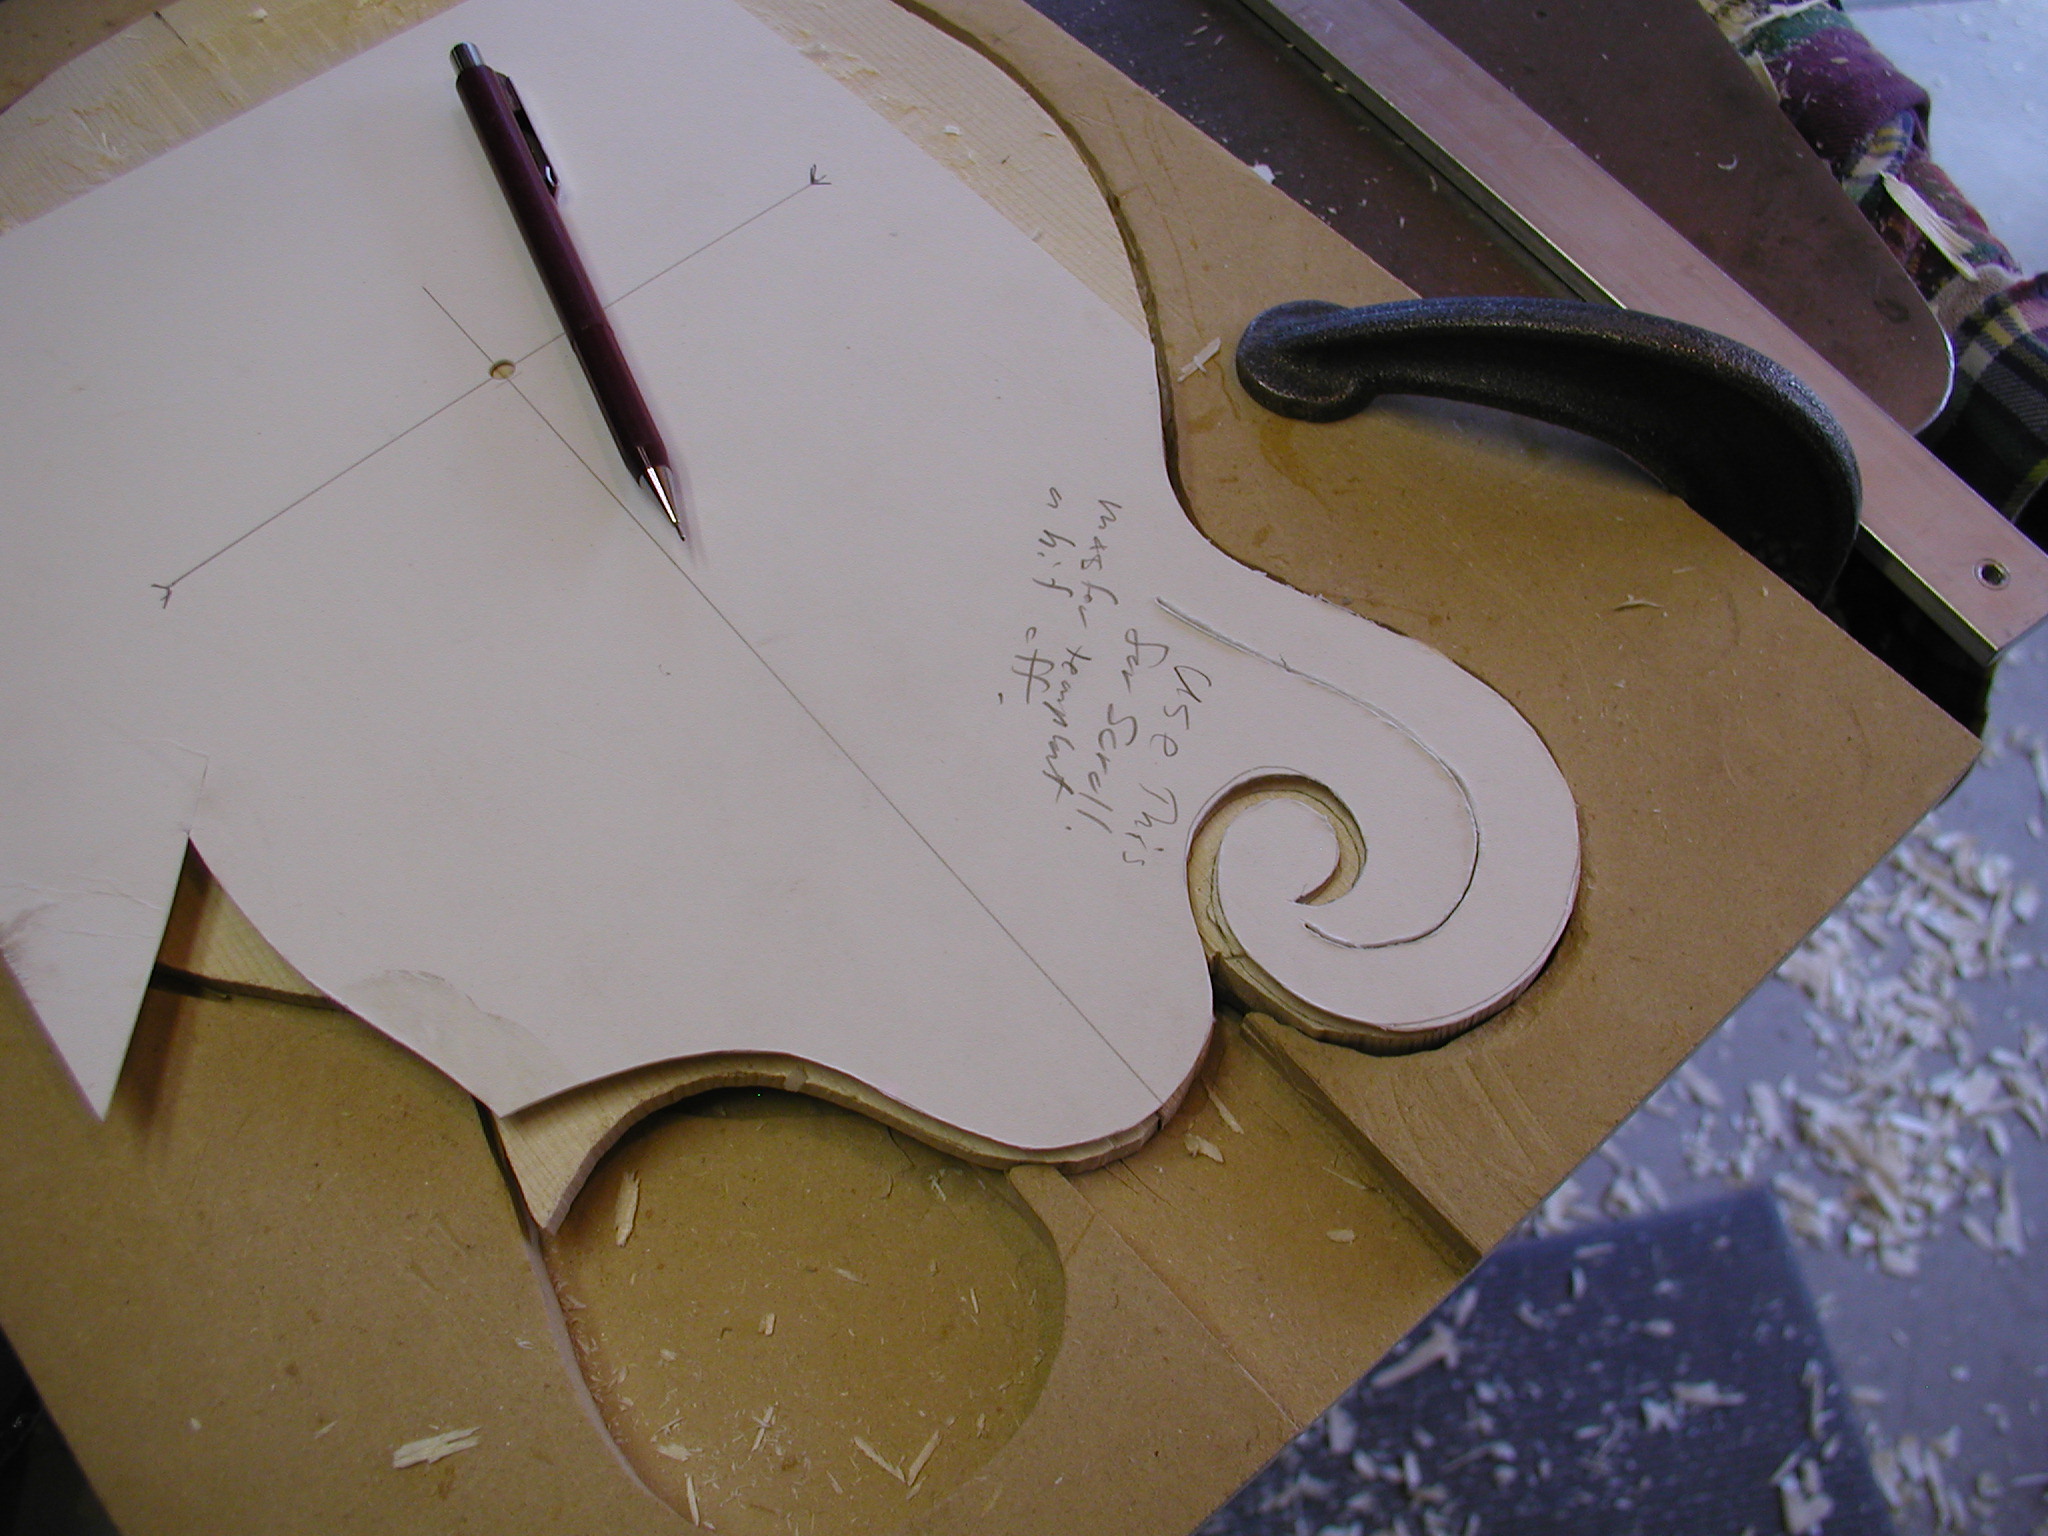
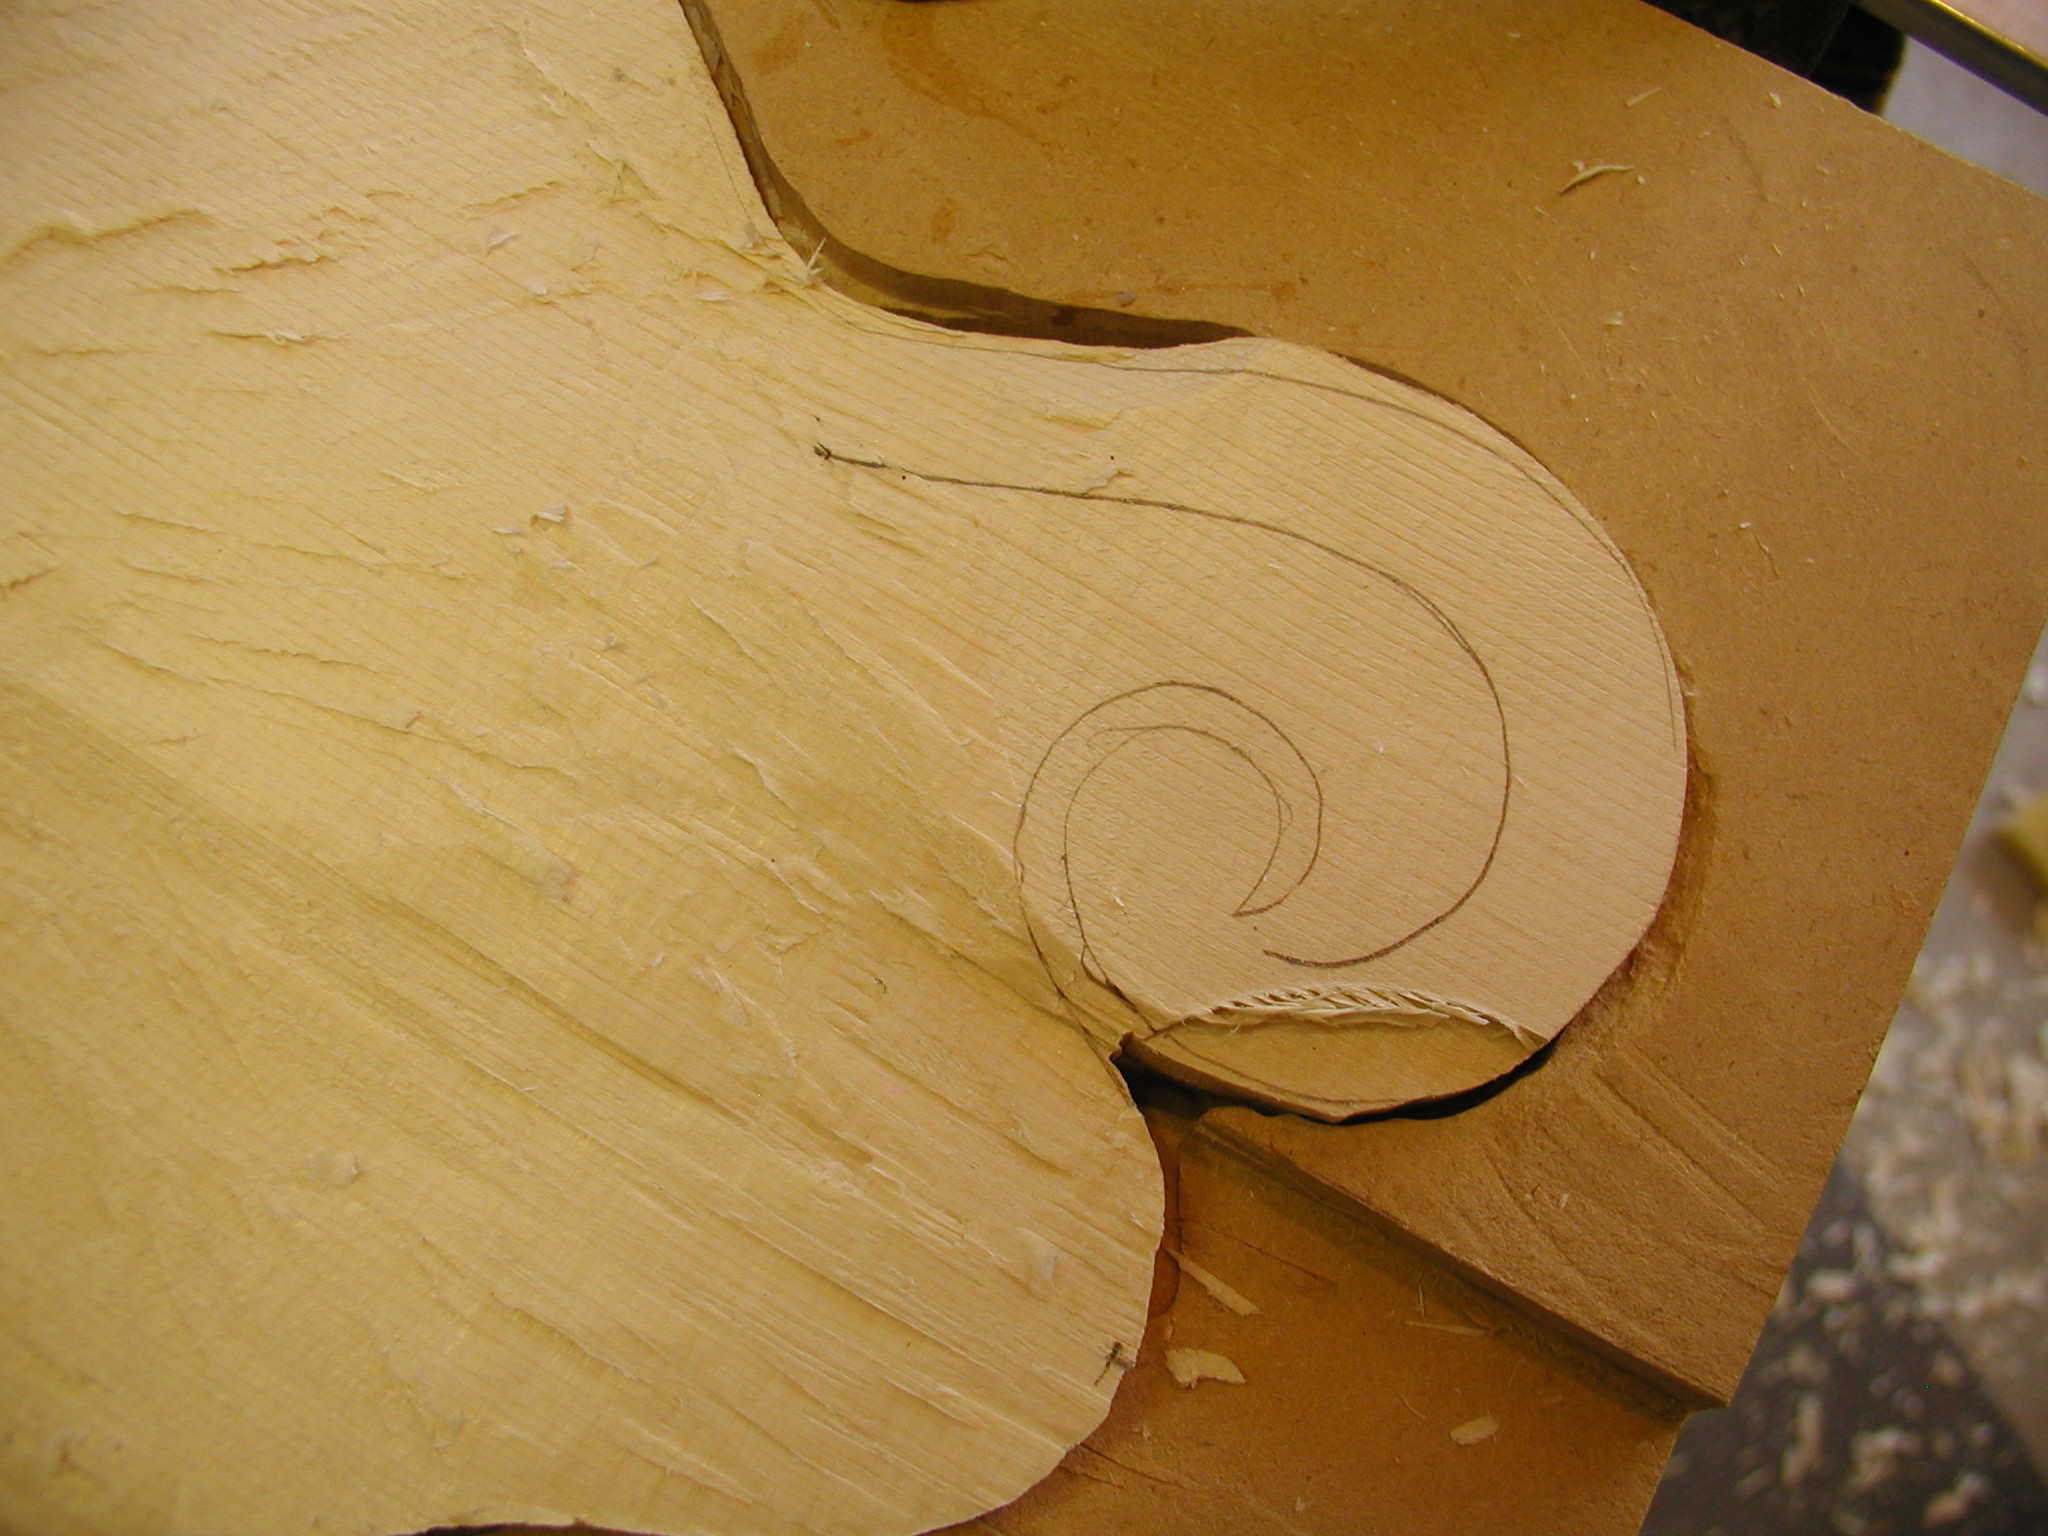
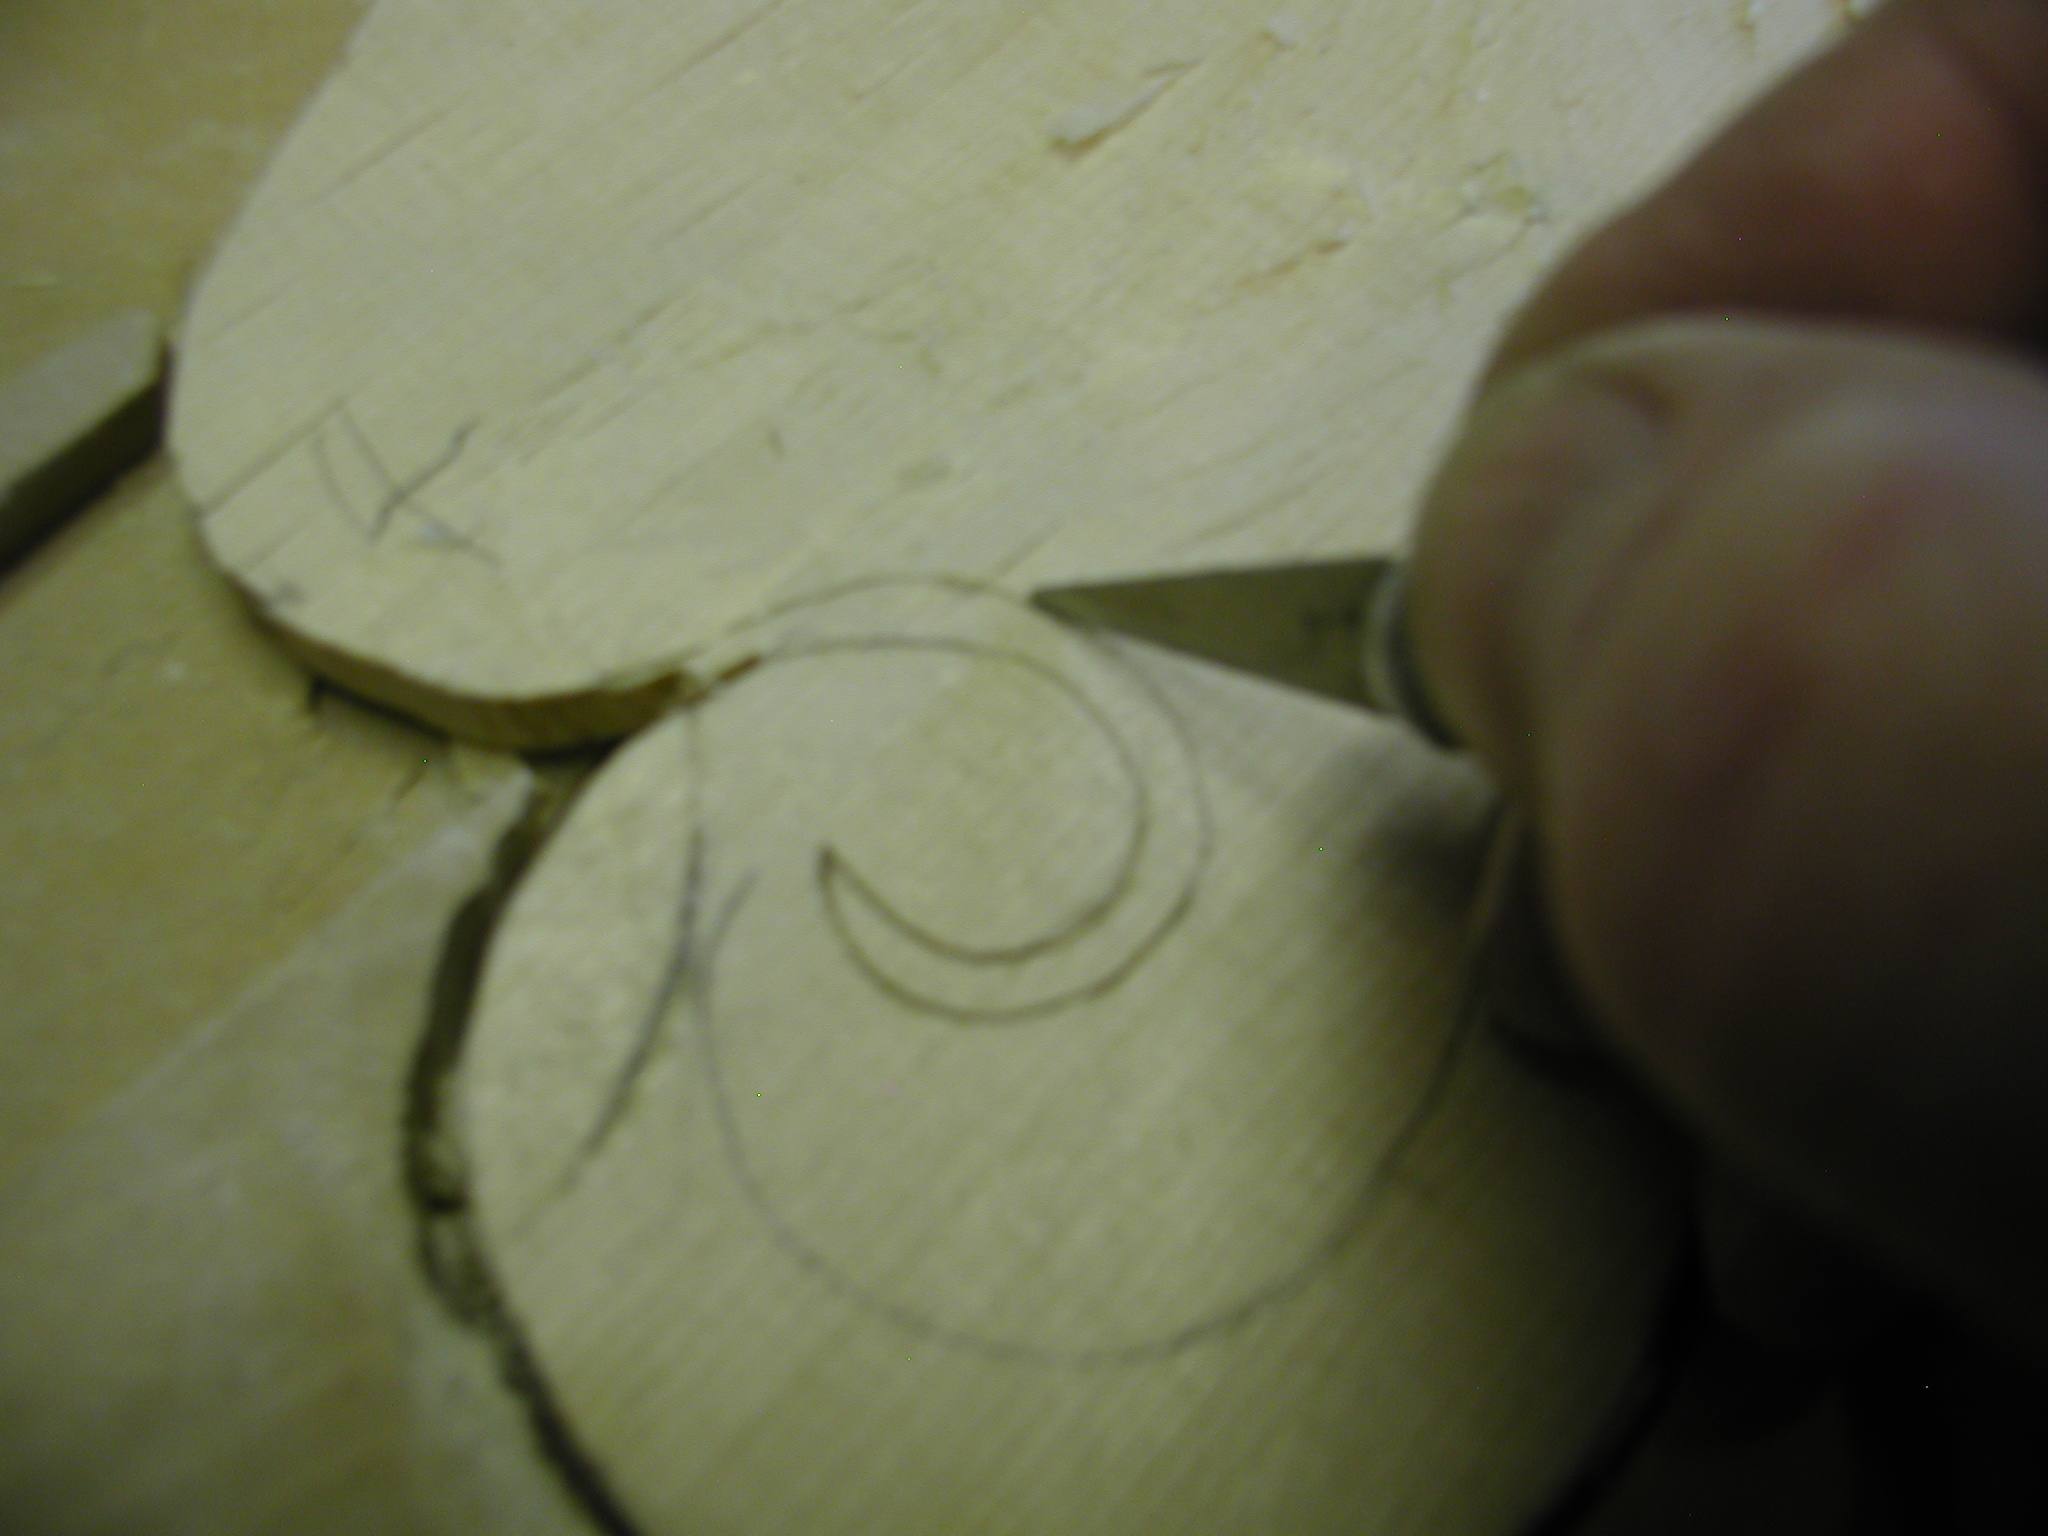
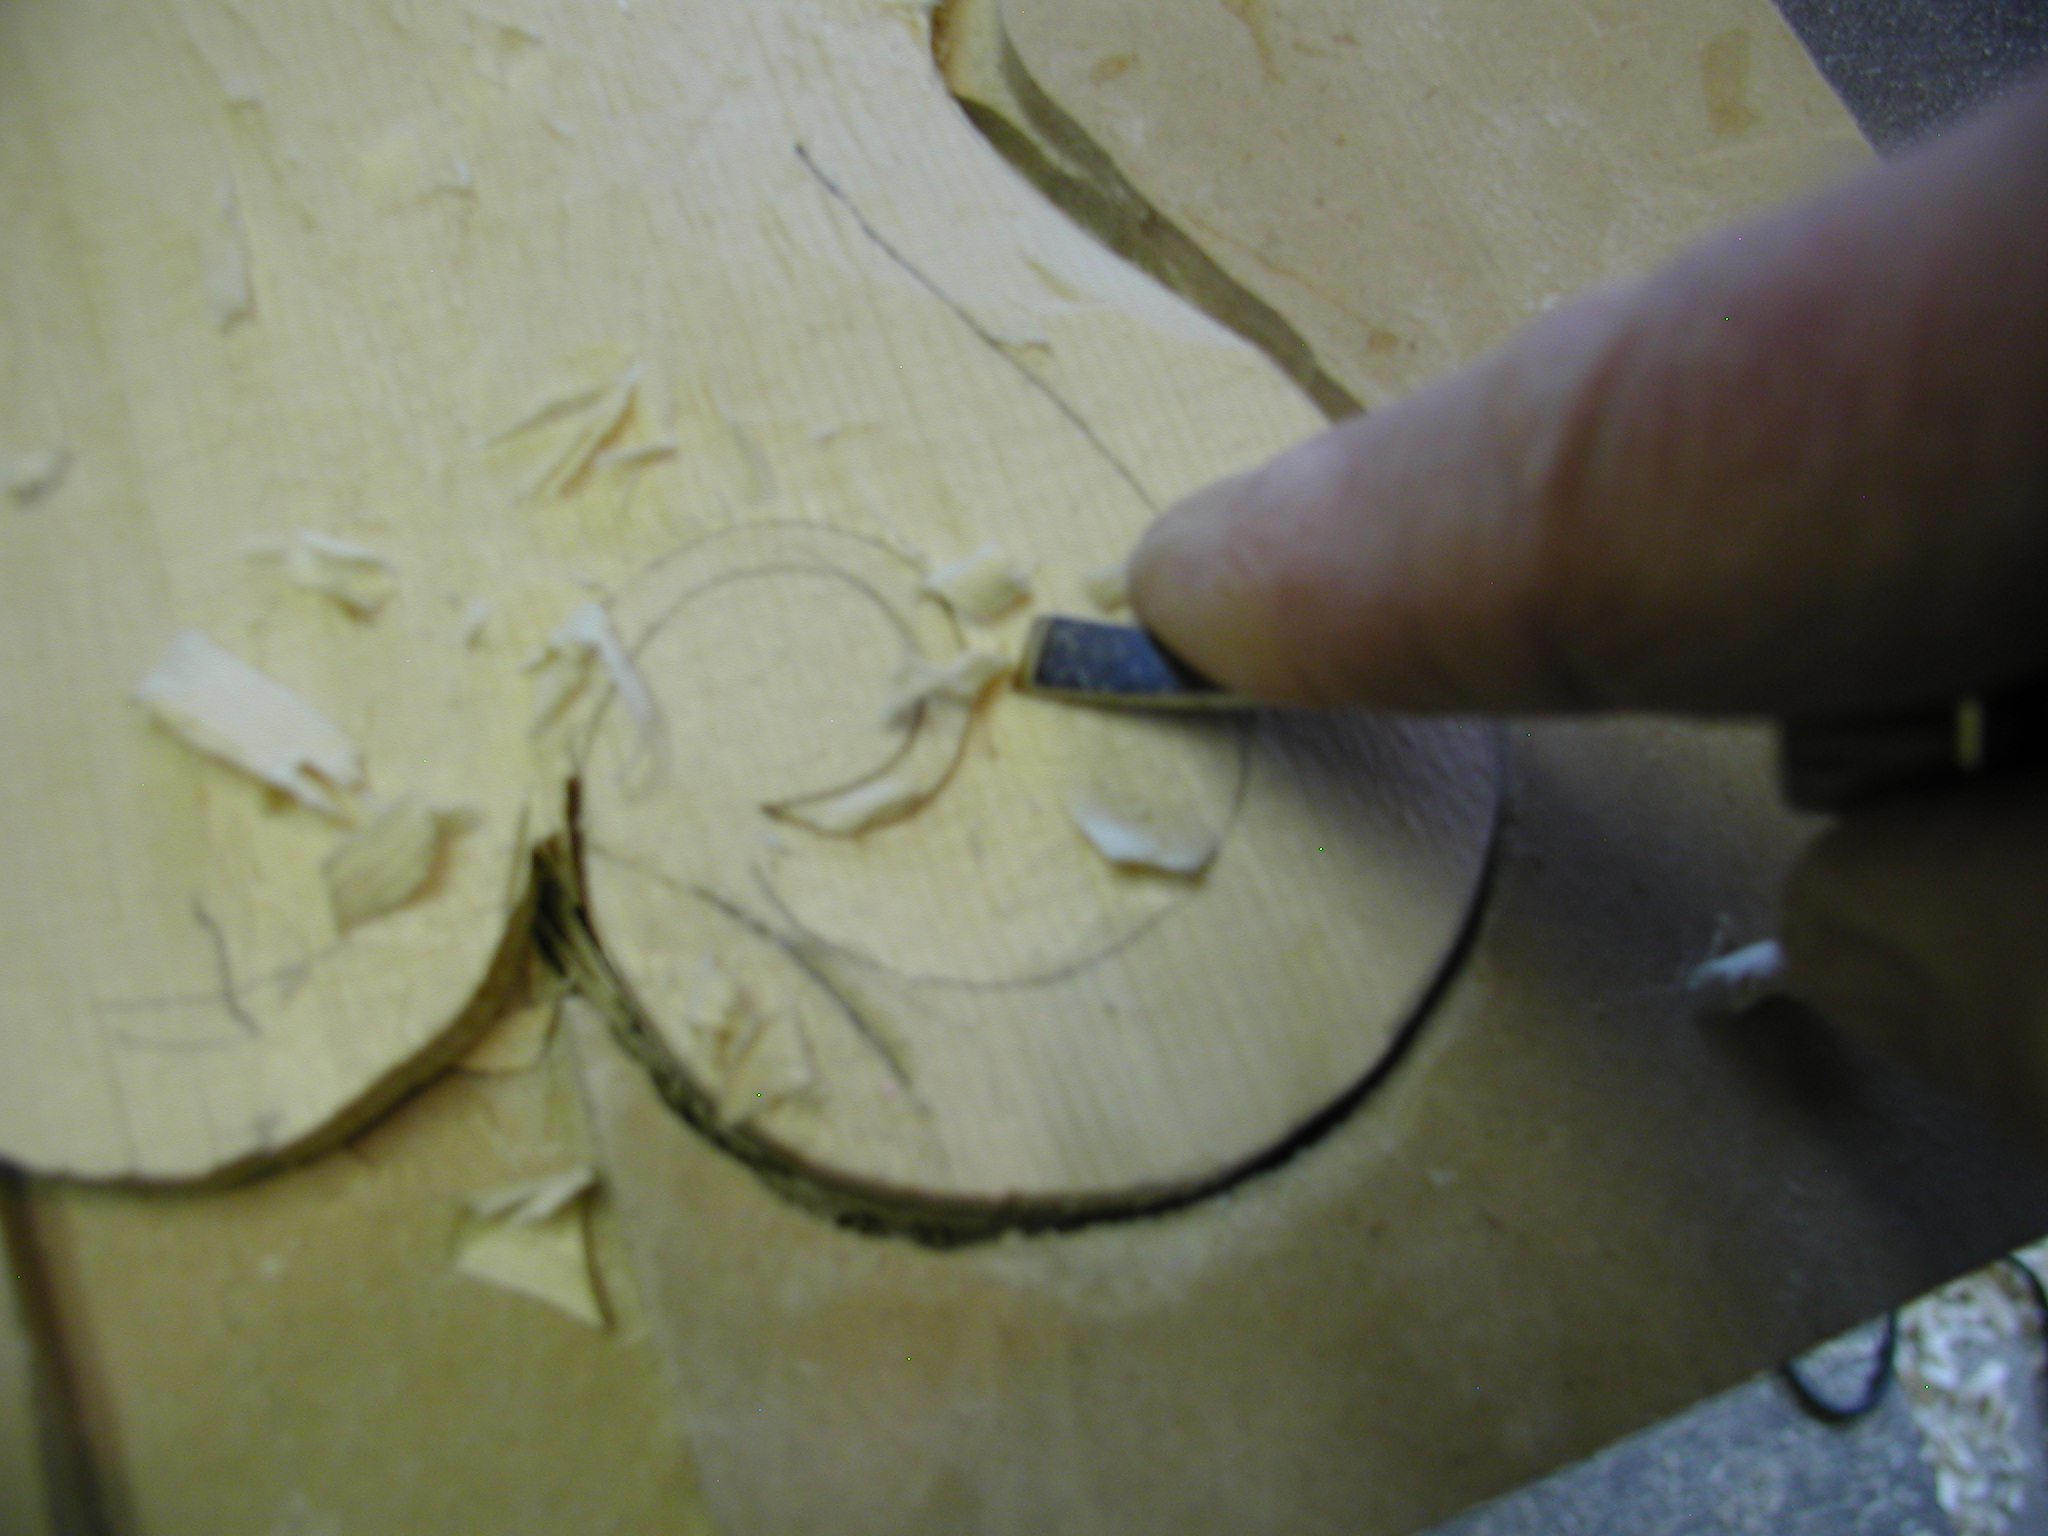
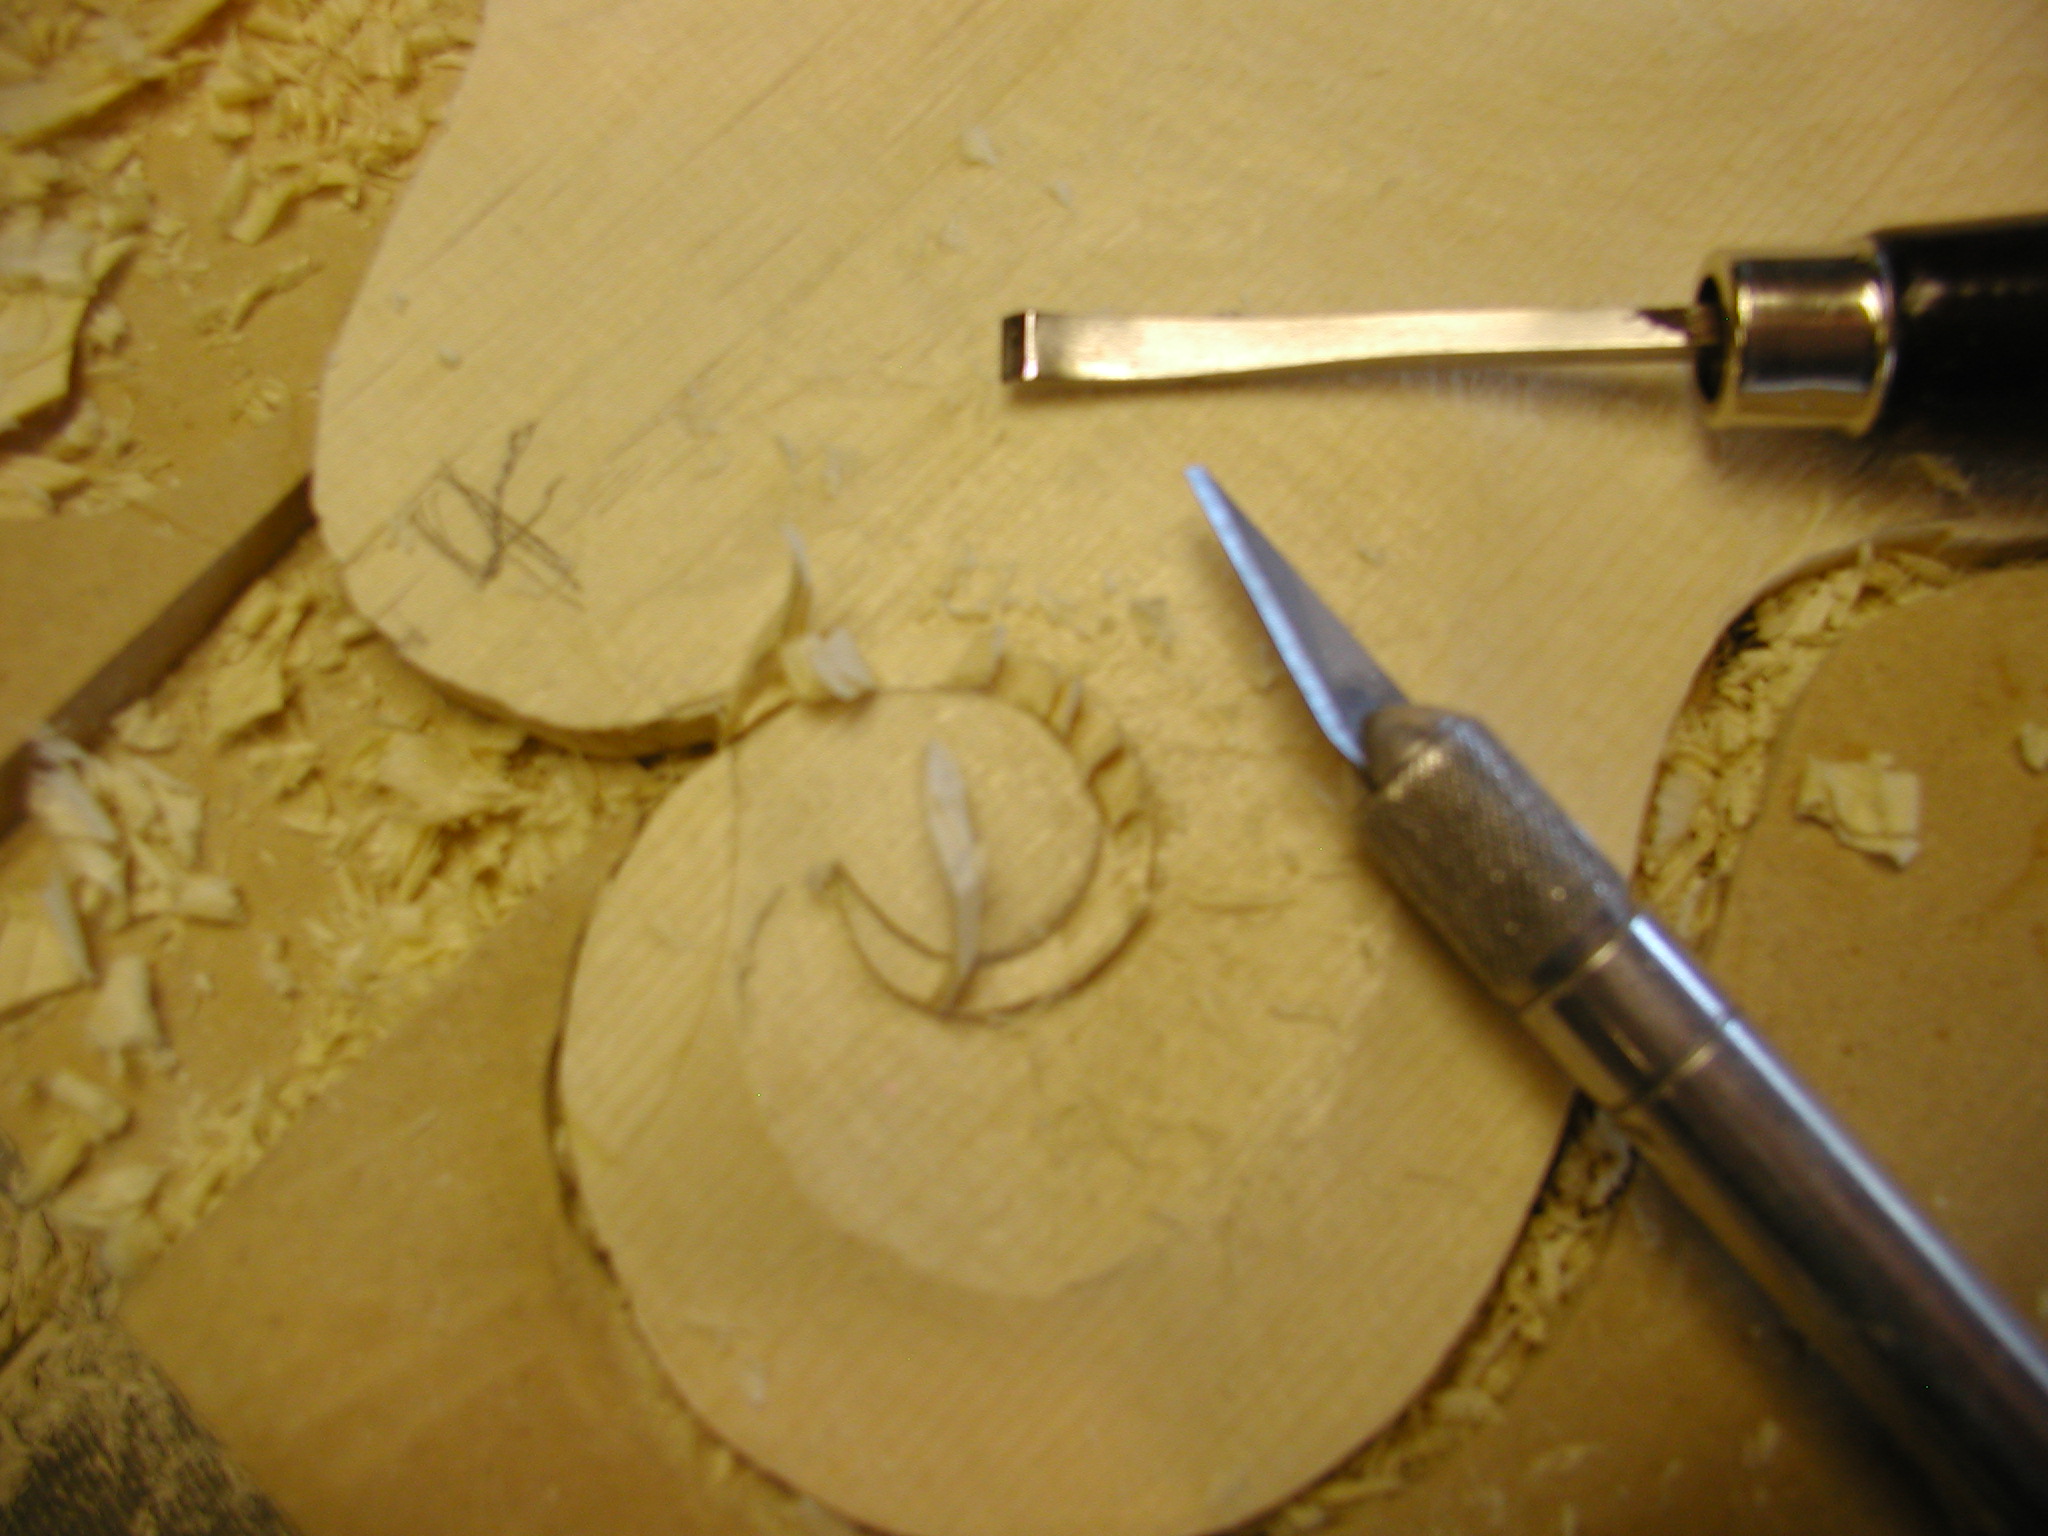
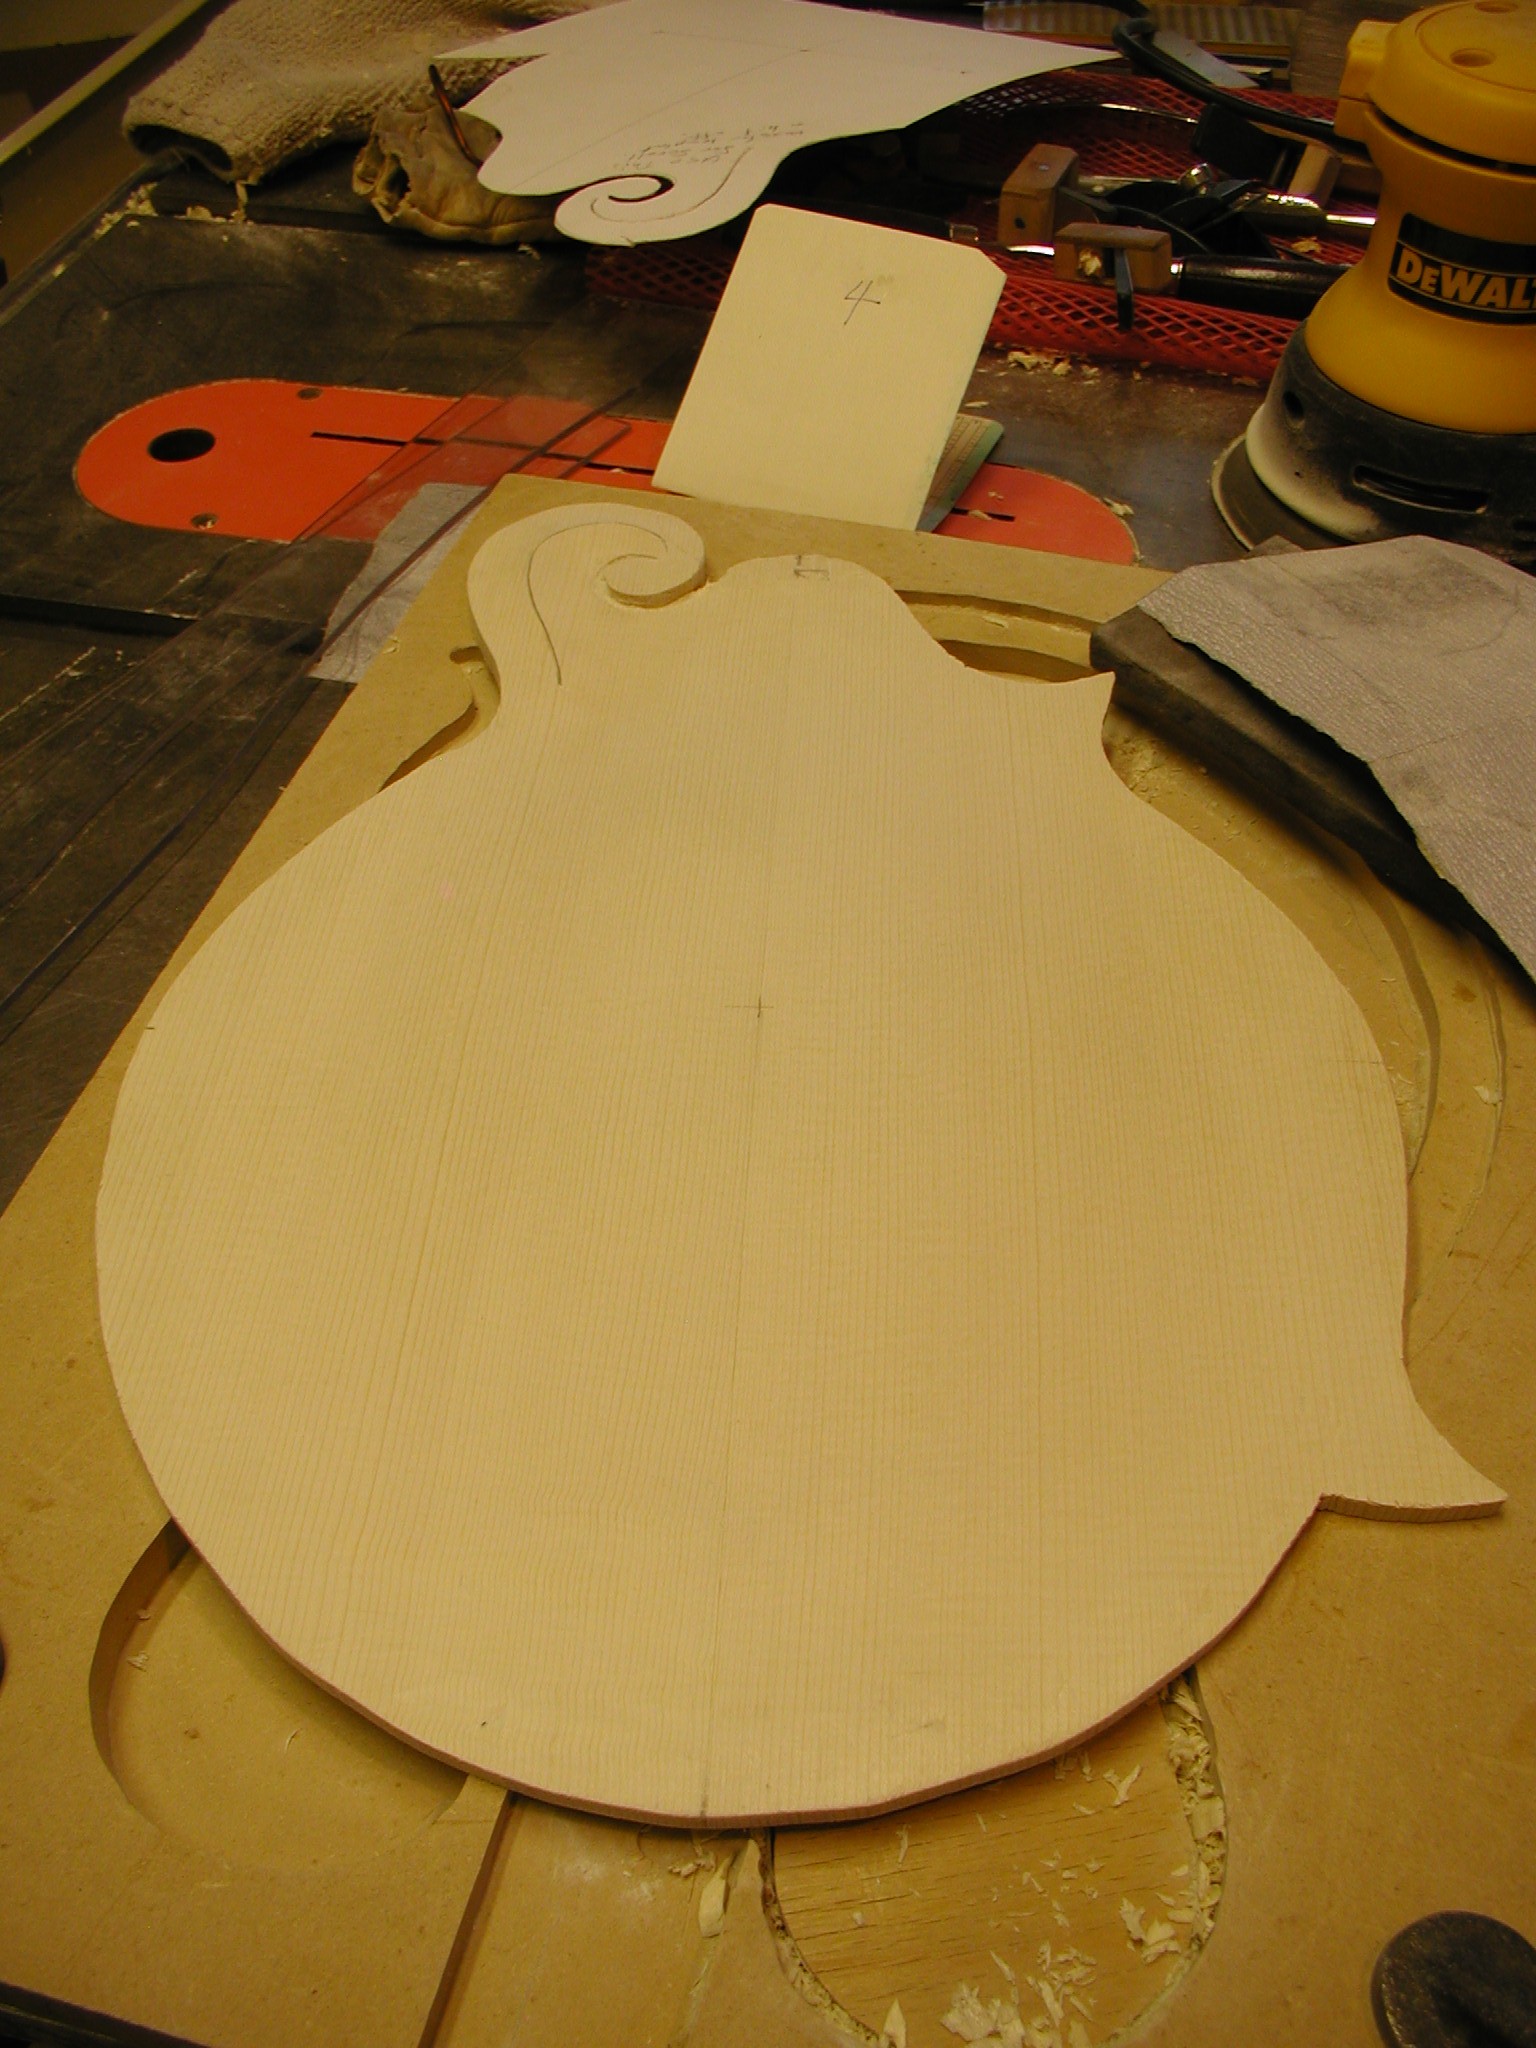
While it is still a bit rough I lay out the scroll and do the rough in of that profile. I have a template that lays this out using the center line intersection of the top and has a slot in the template that I can slip a pencil to draw the high point of the scroll curve. I carve the scroll and relieve the slot a bit so that when I bandsaw it later I won't mess up the top edge. A bit of sanding here to smooth it all out. Note that I've got the splint in place now. I do match the grain in the splint to the top wood because that can sometimes show through later under the finish.
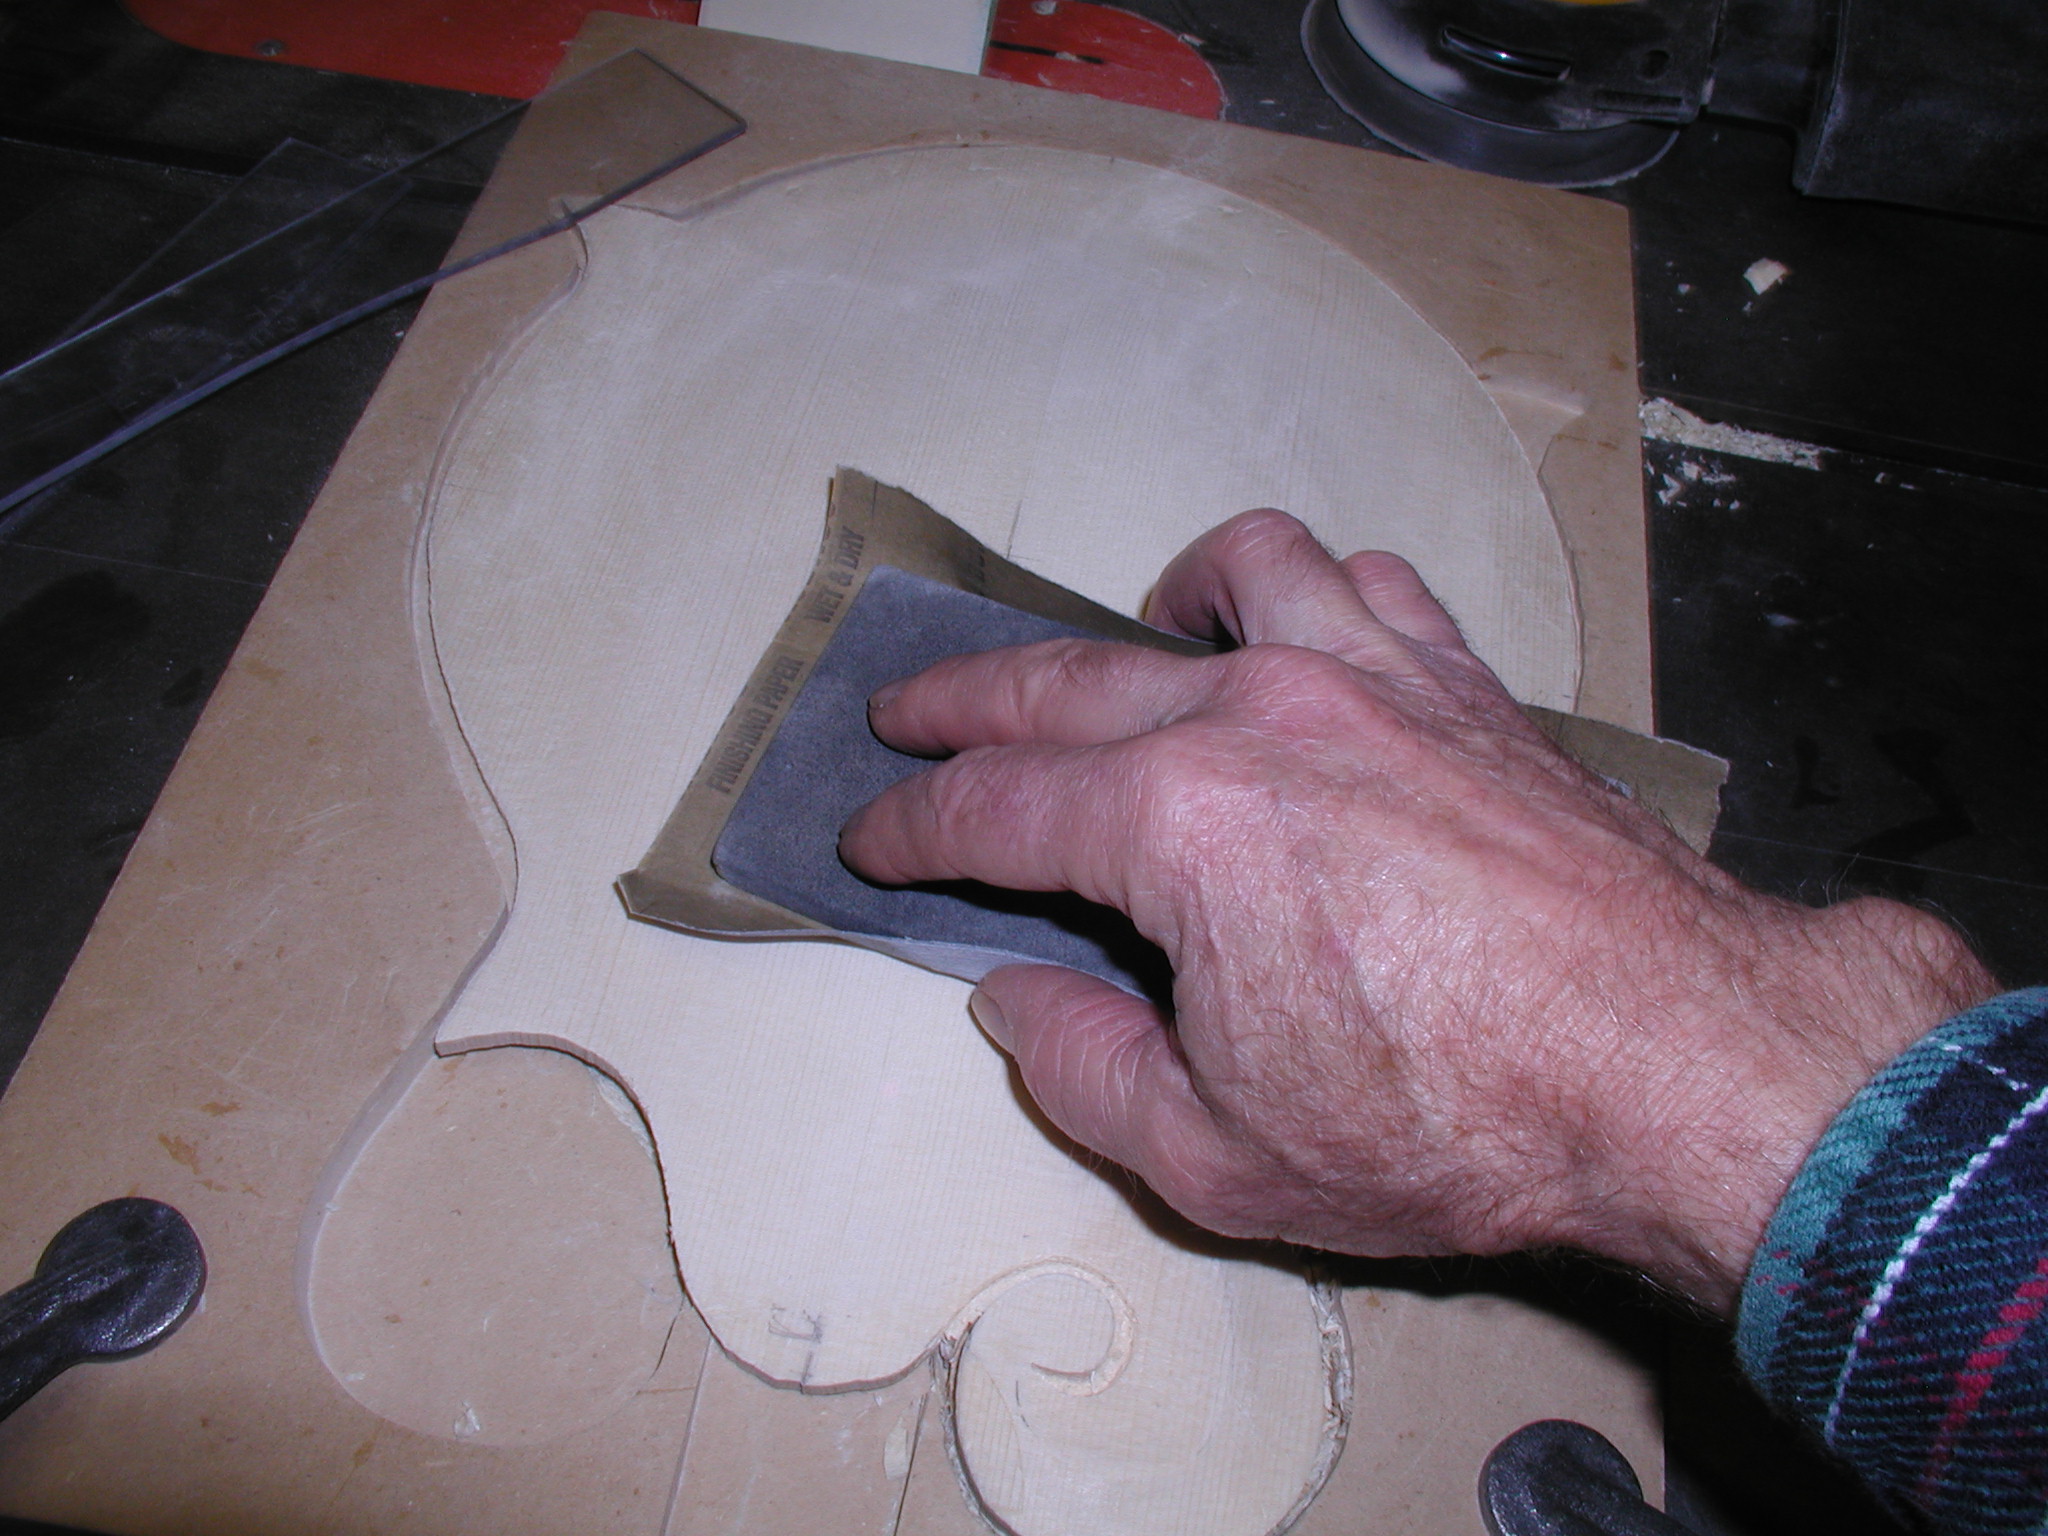
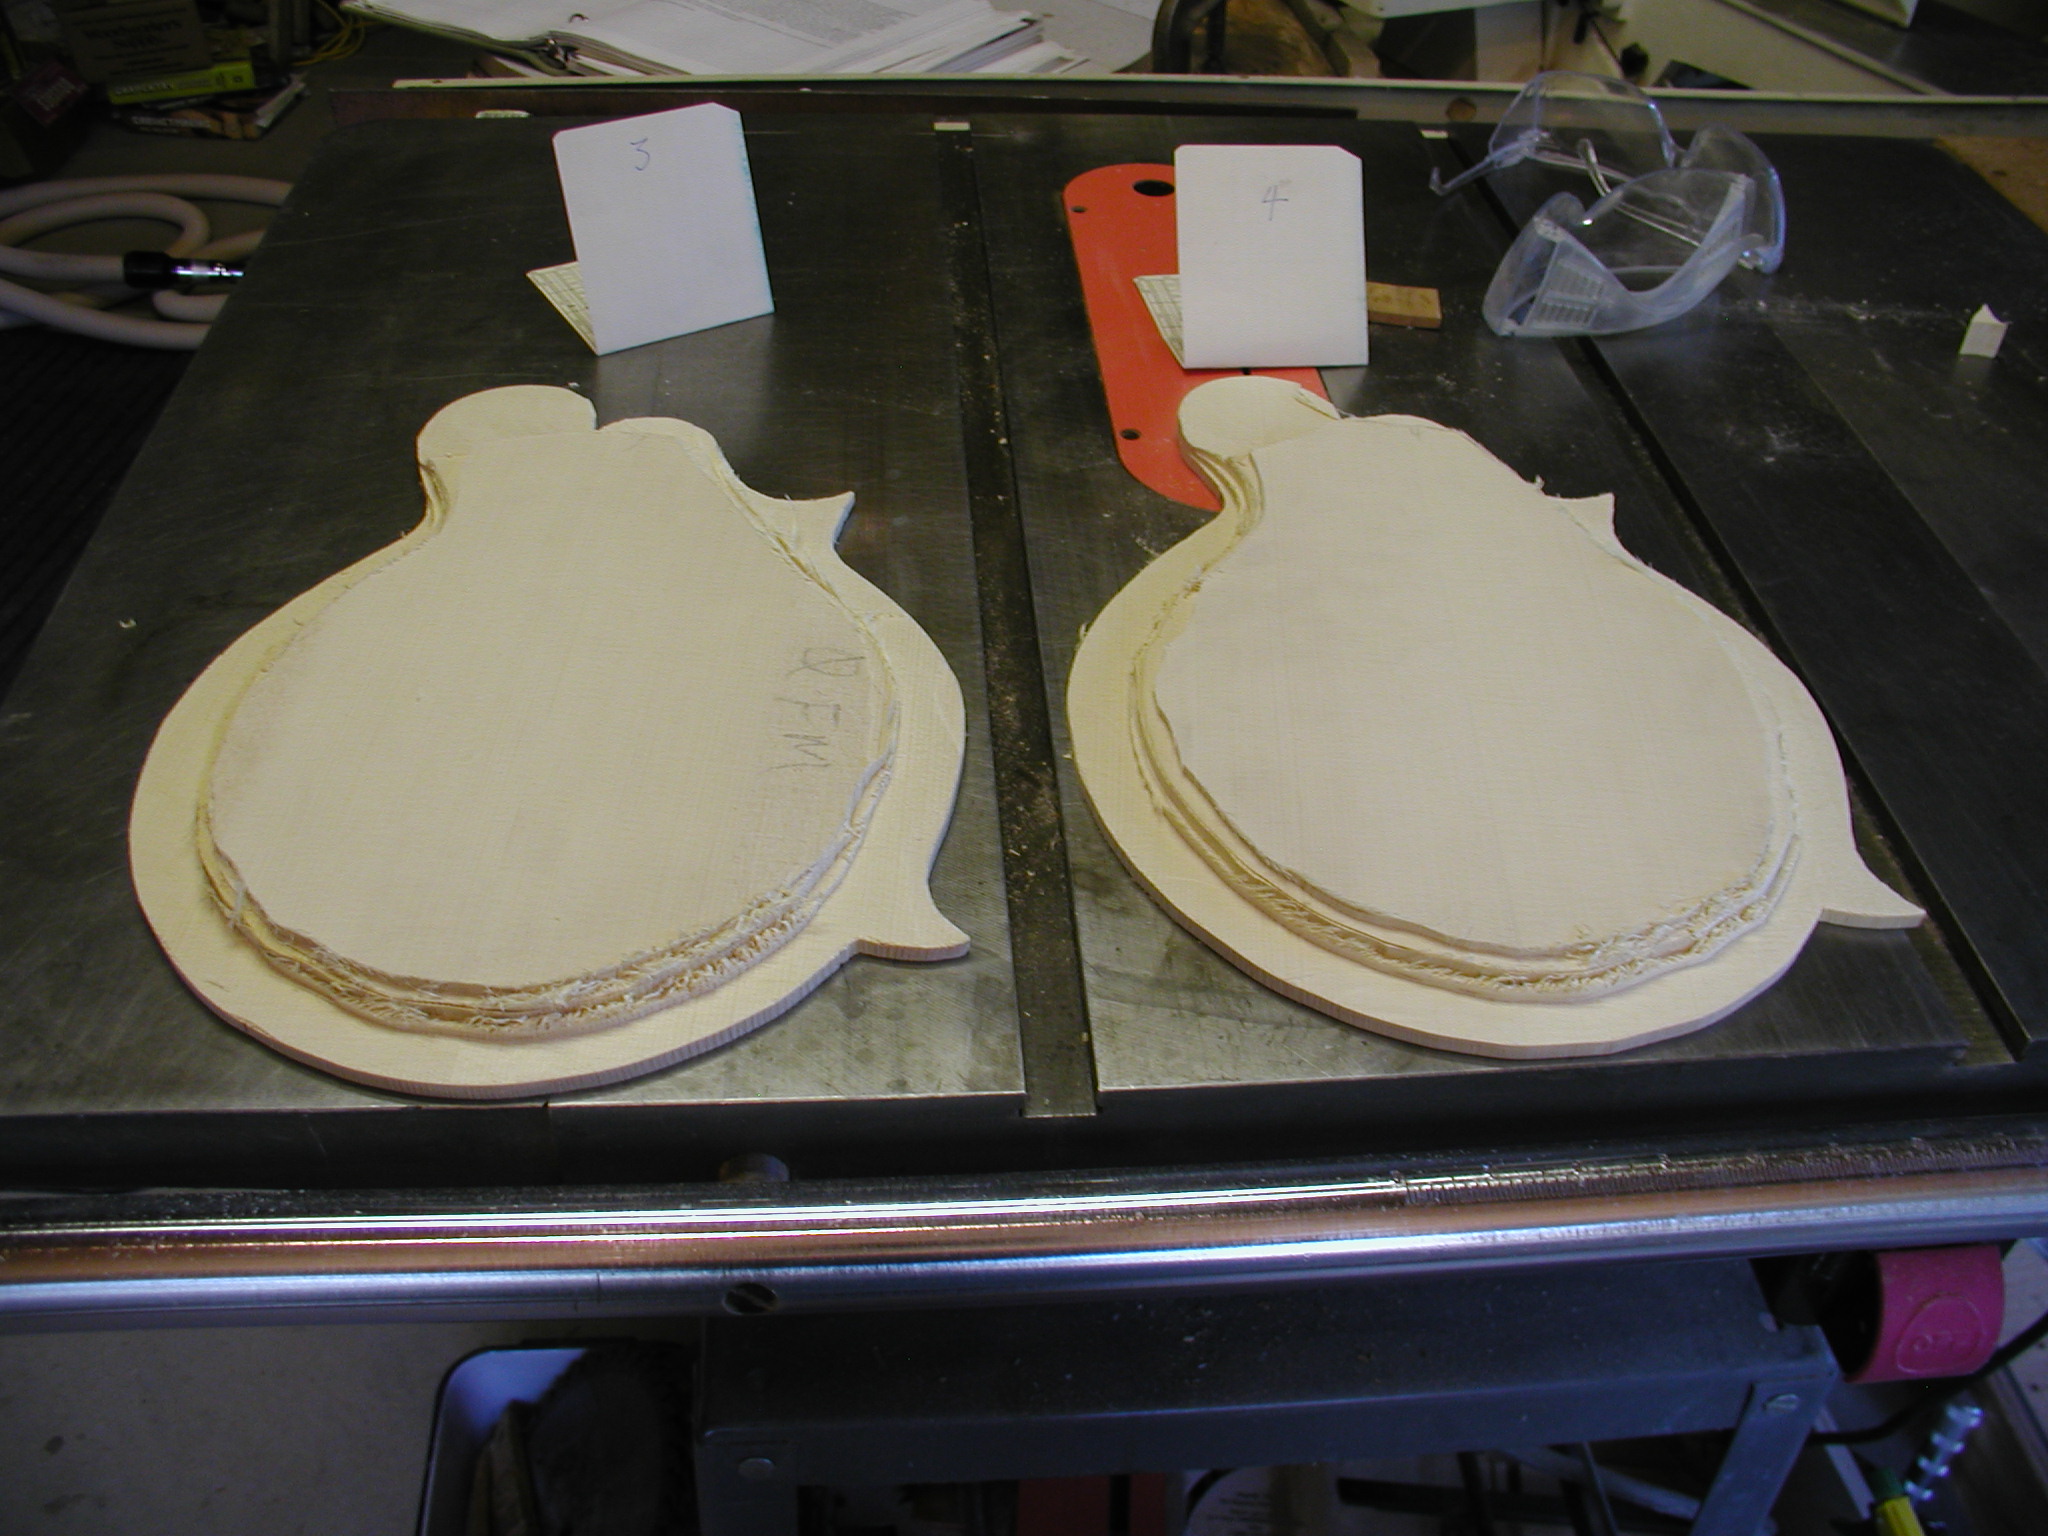
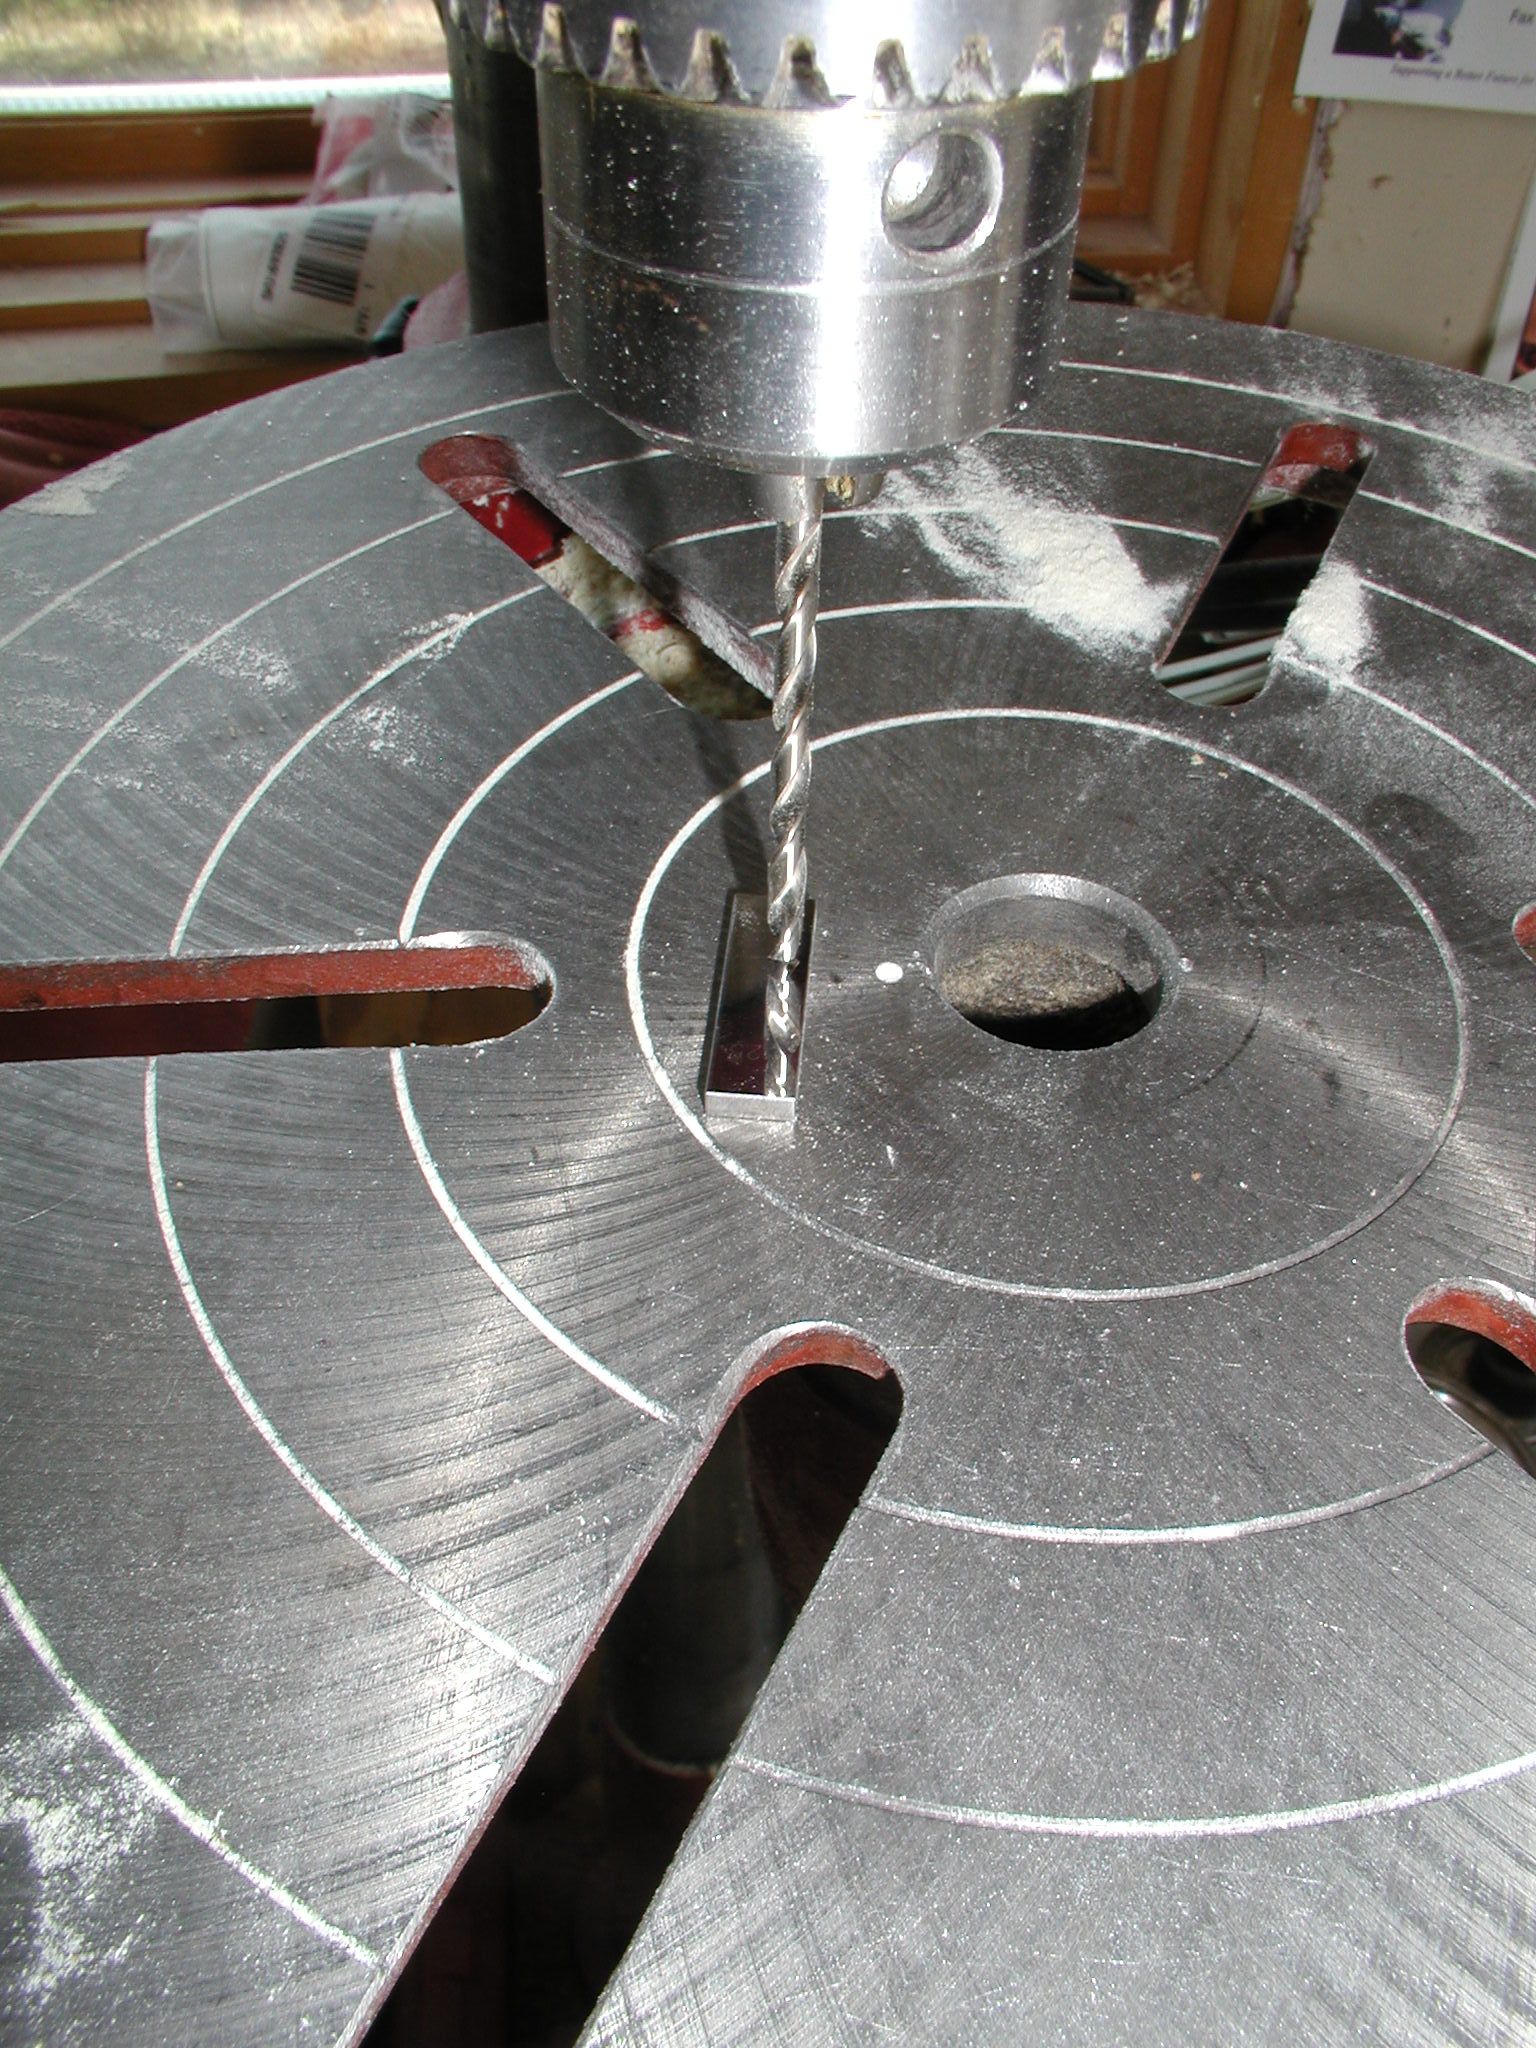
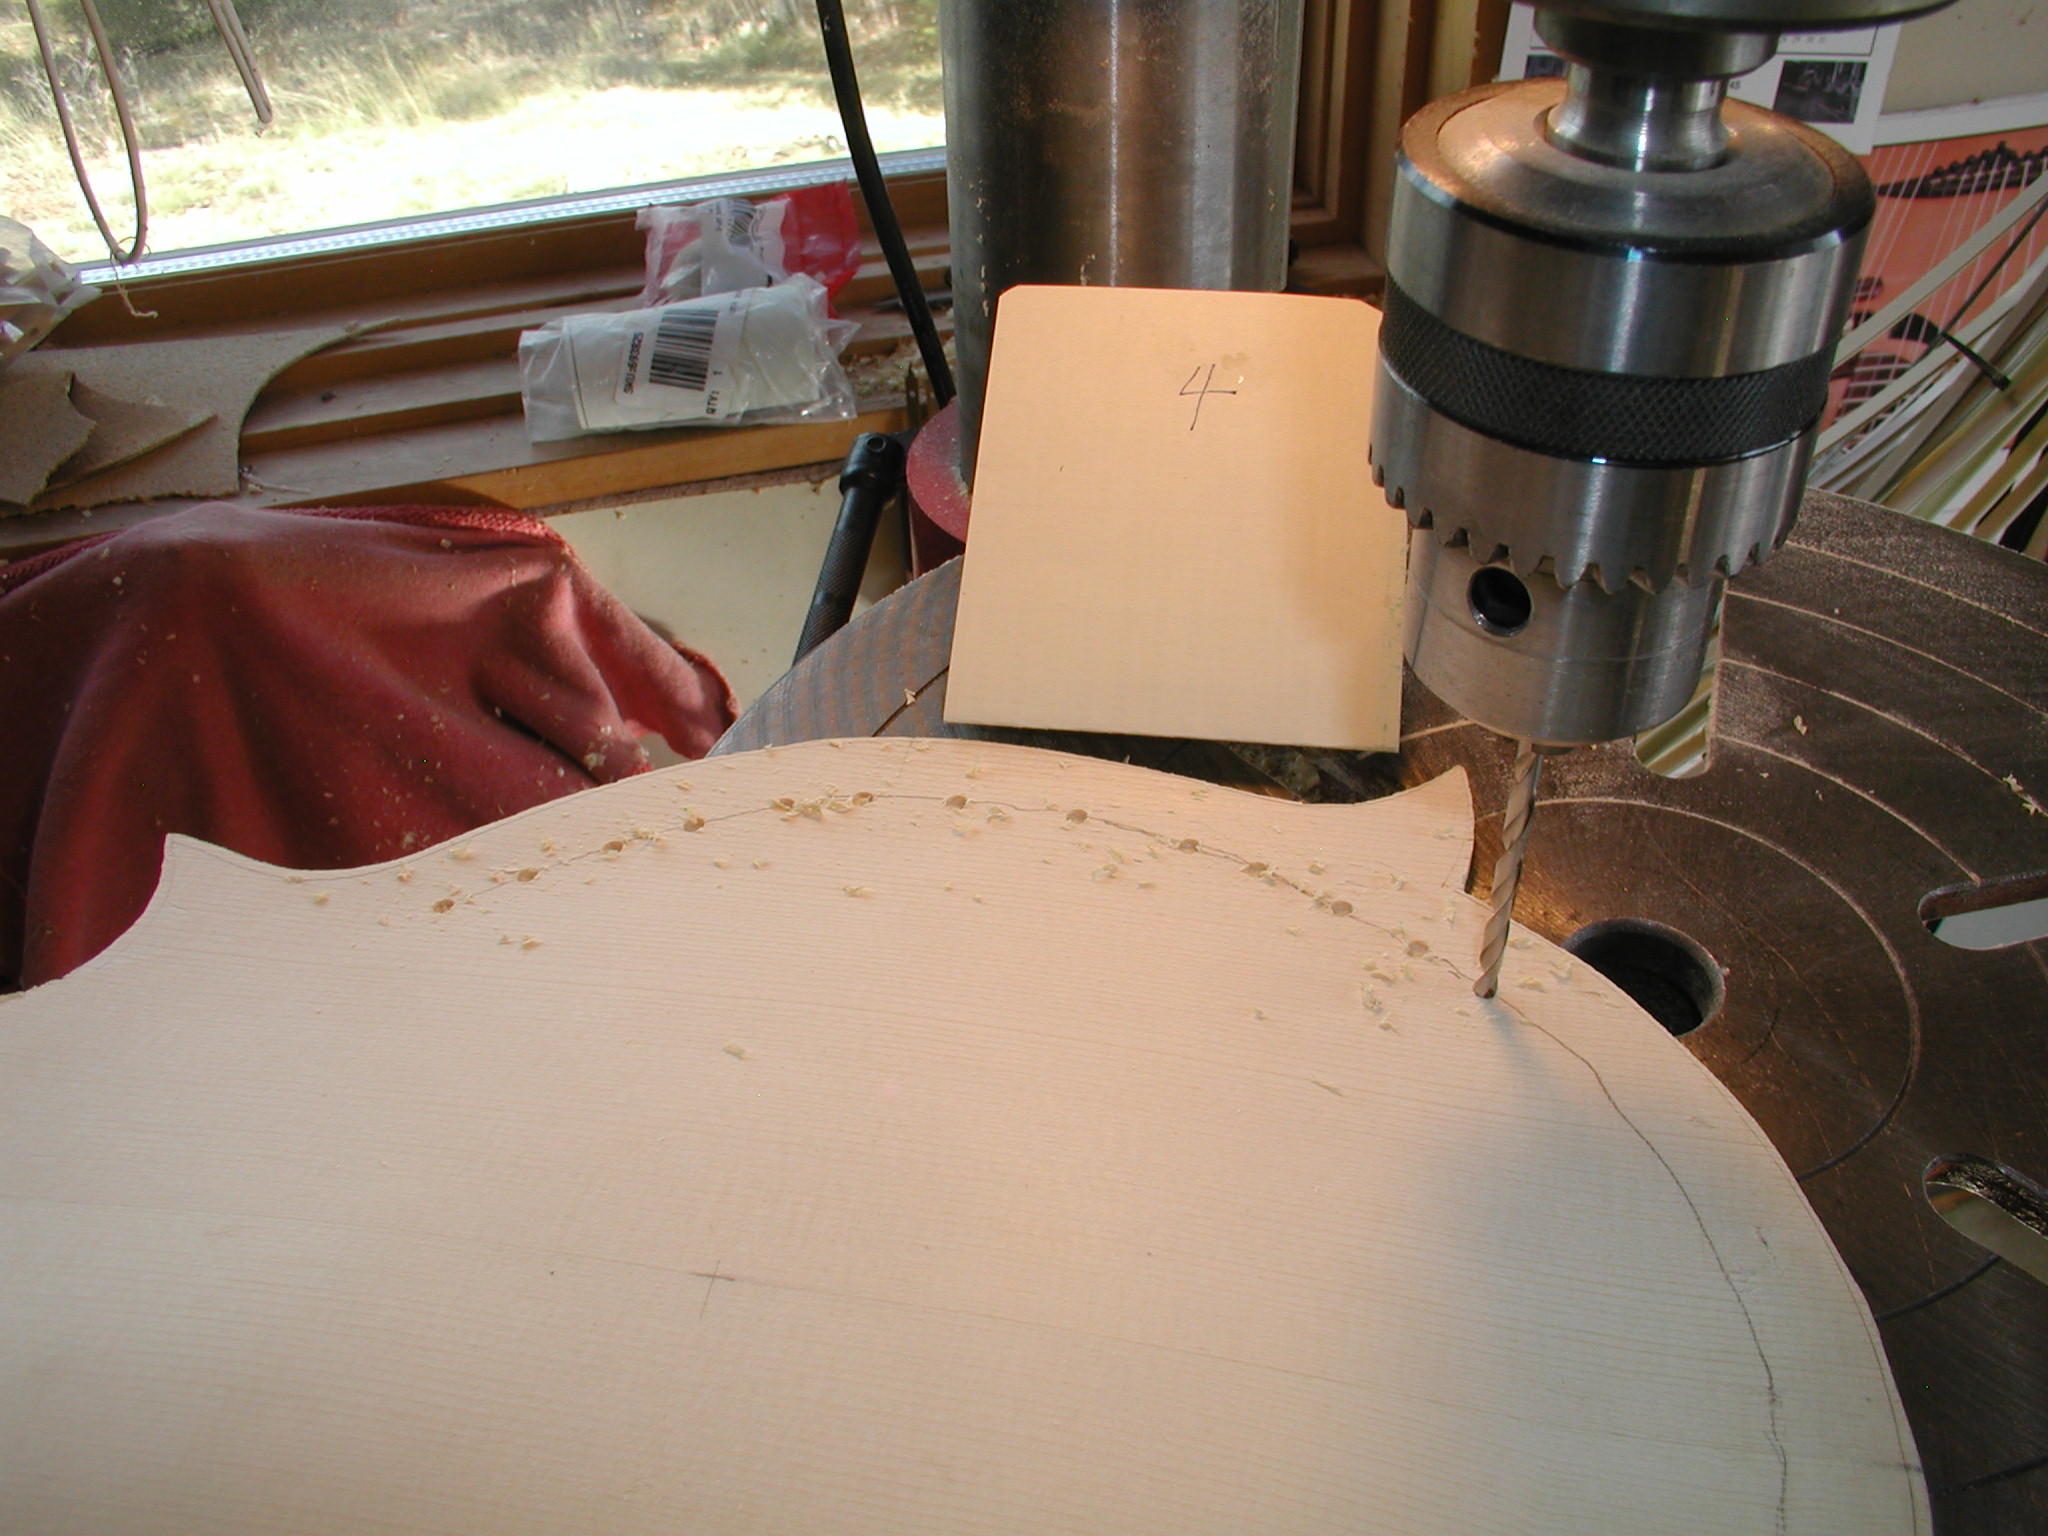
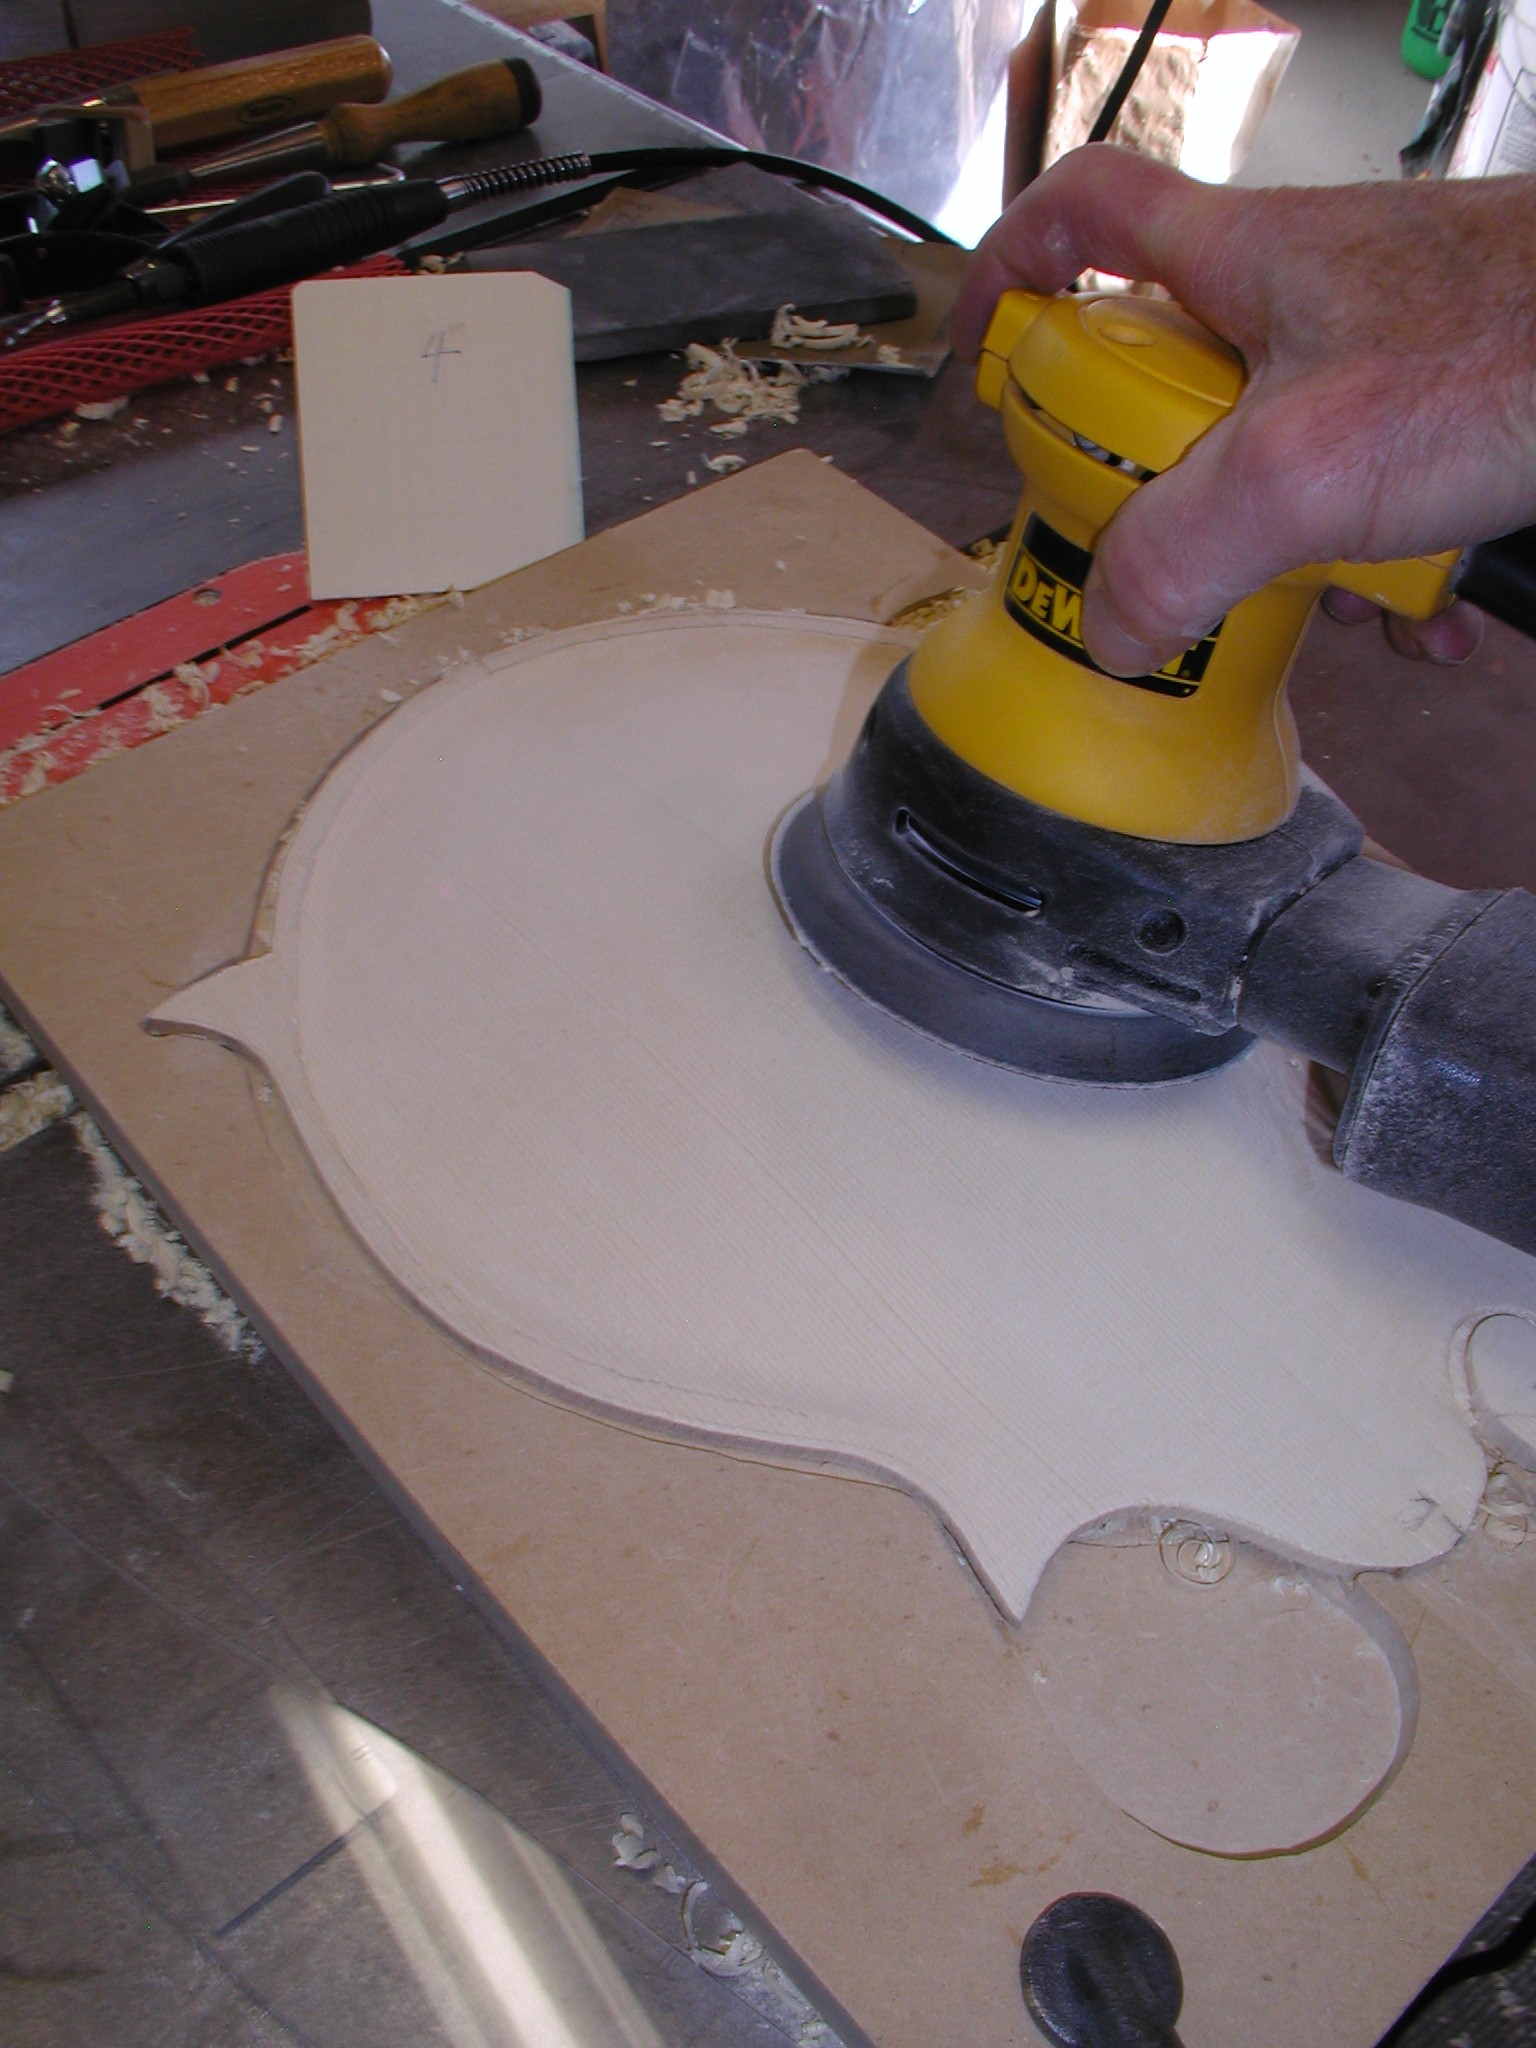
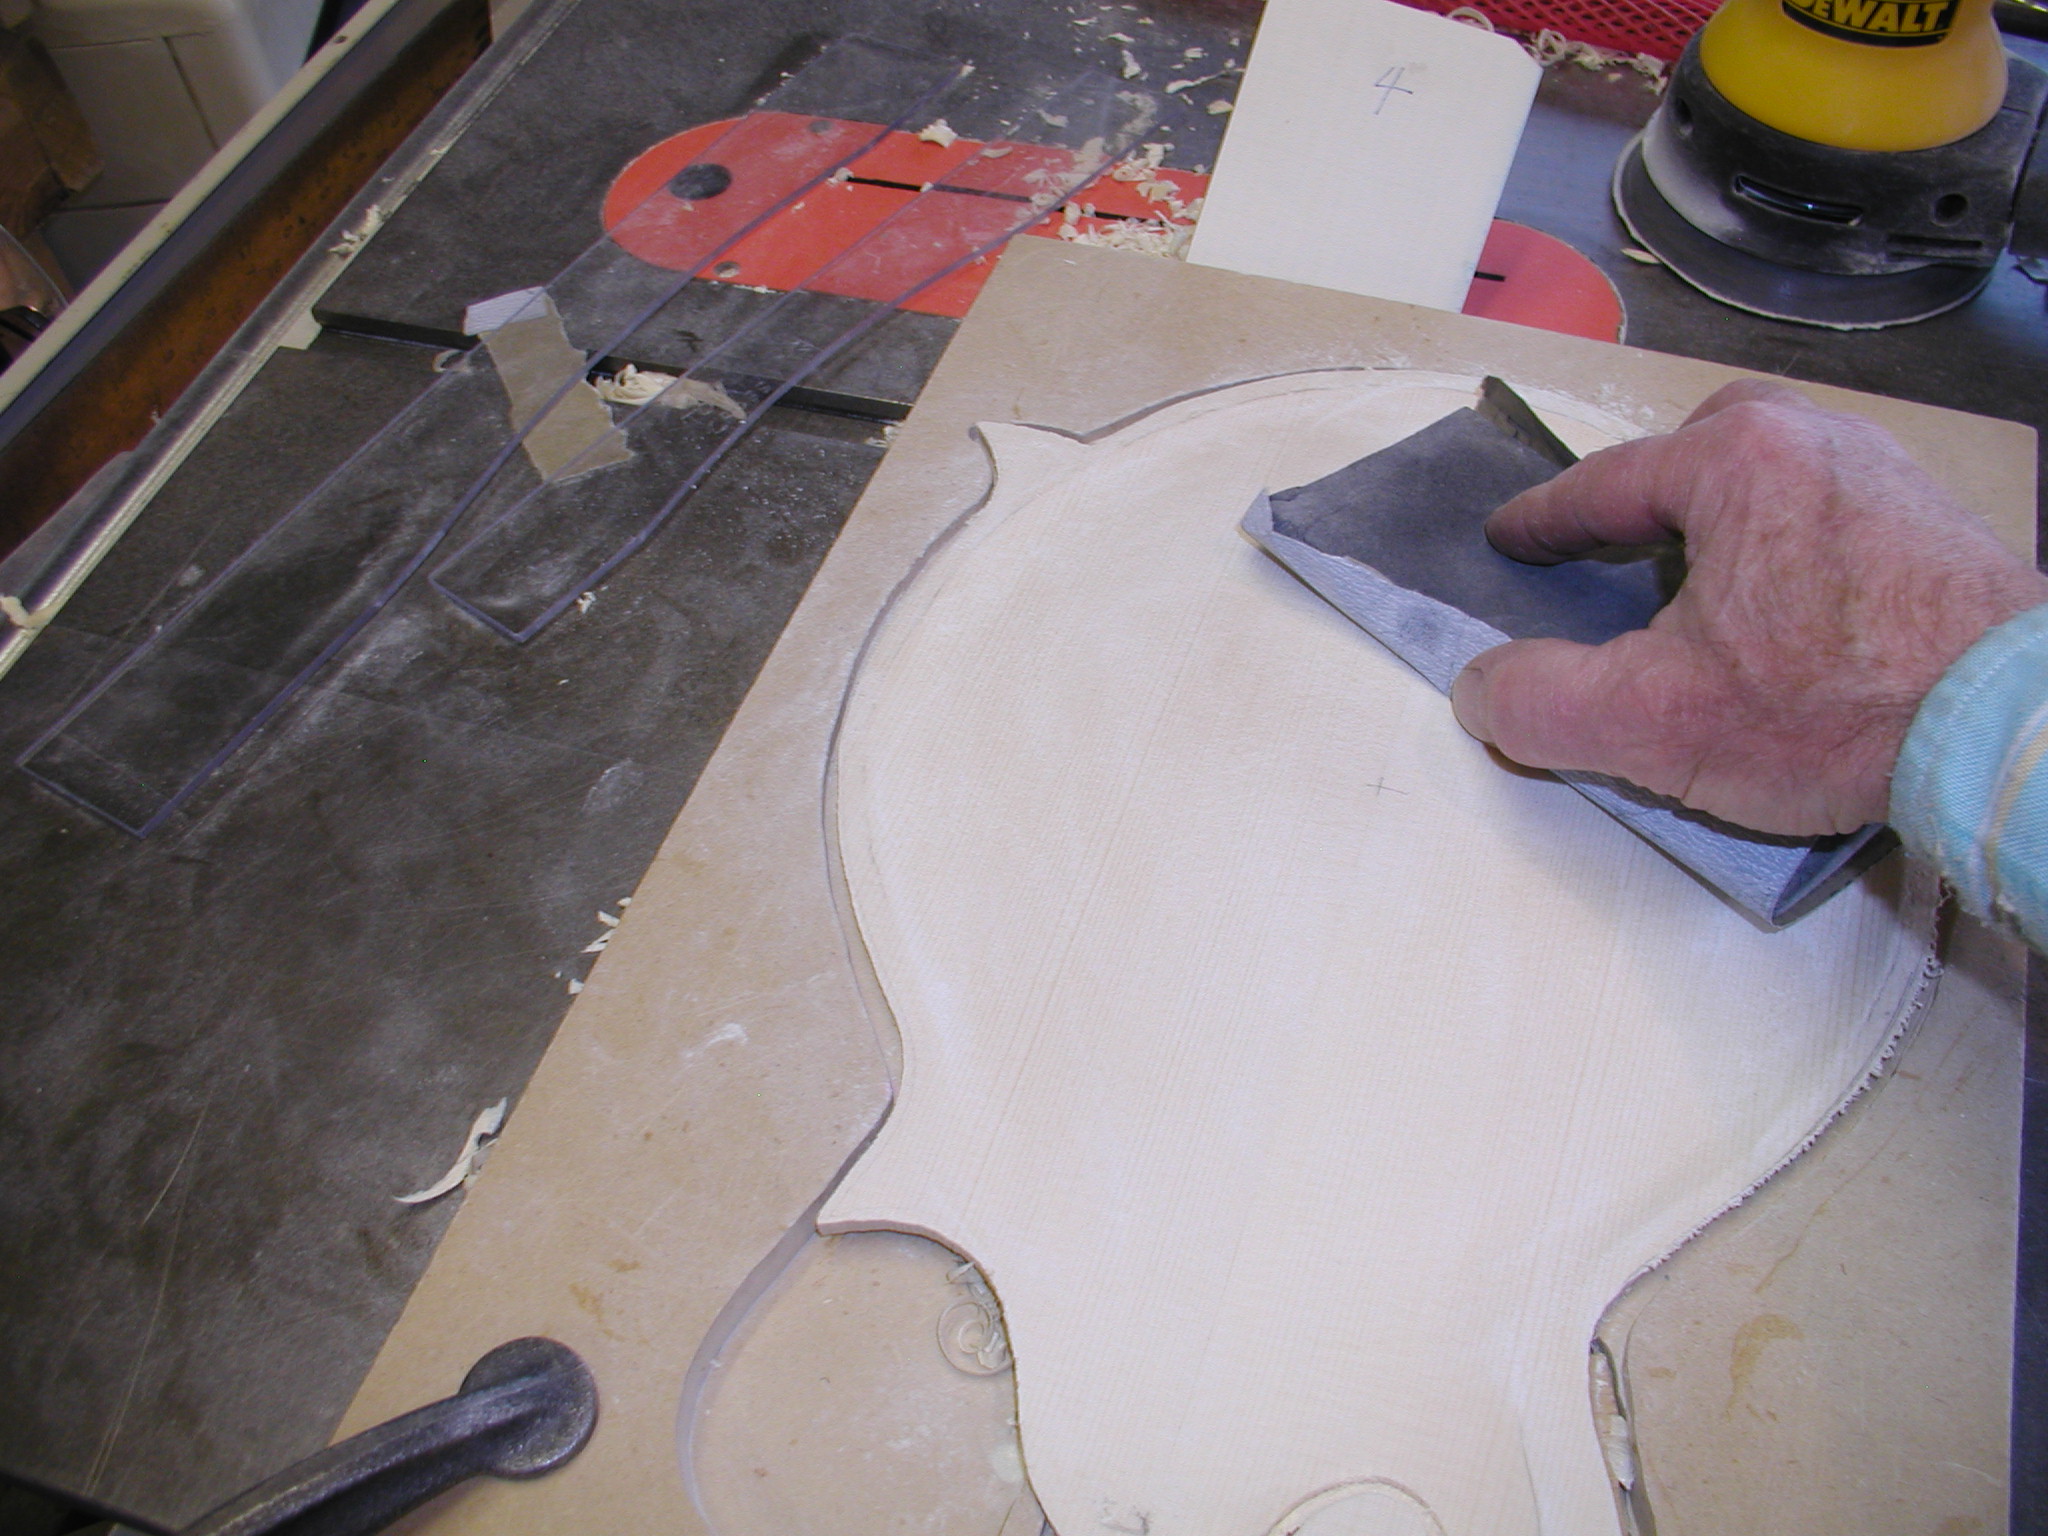
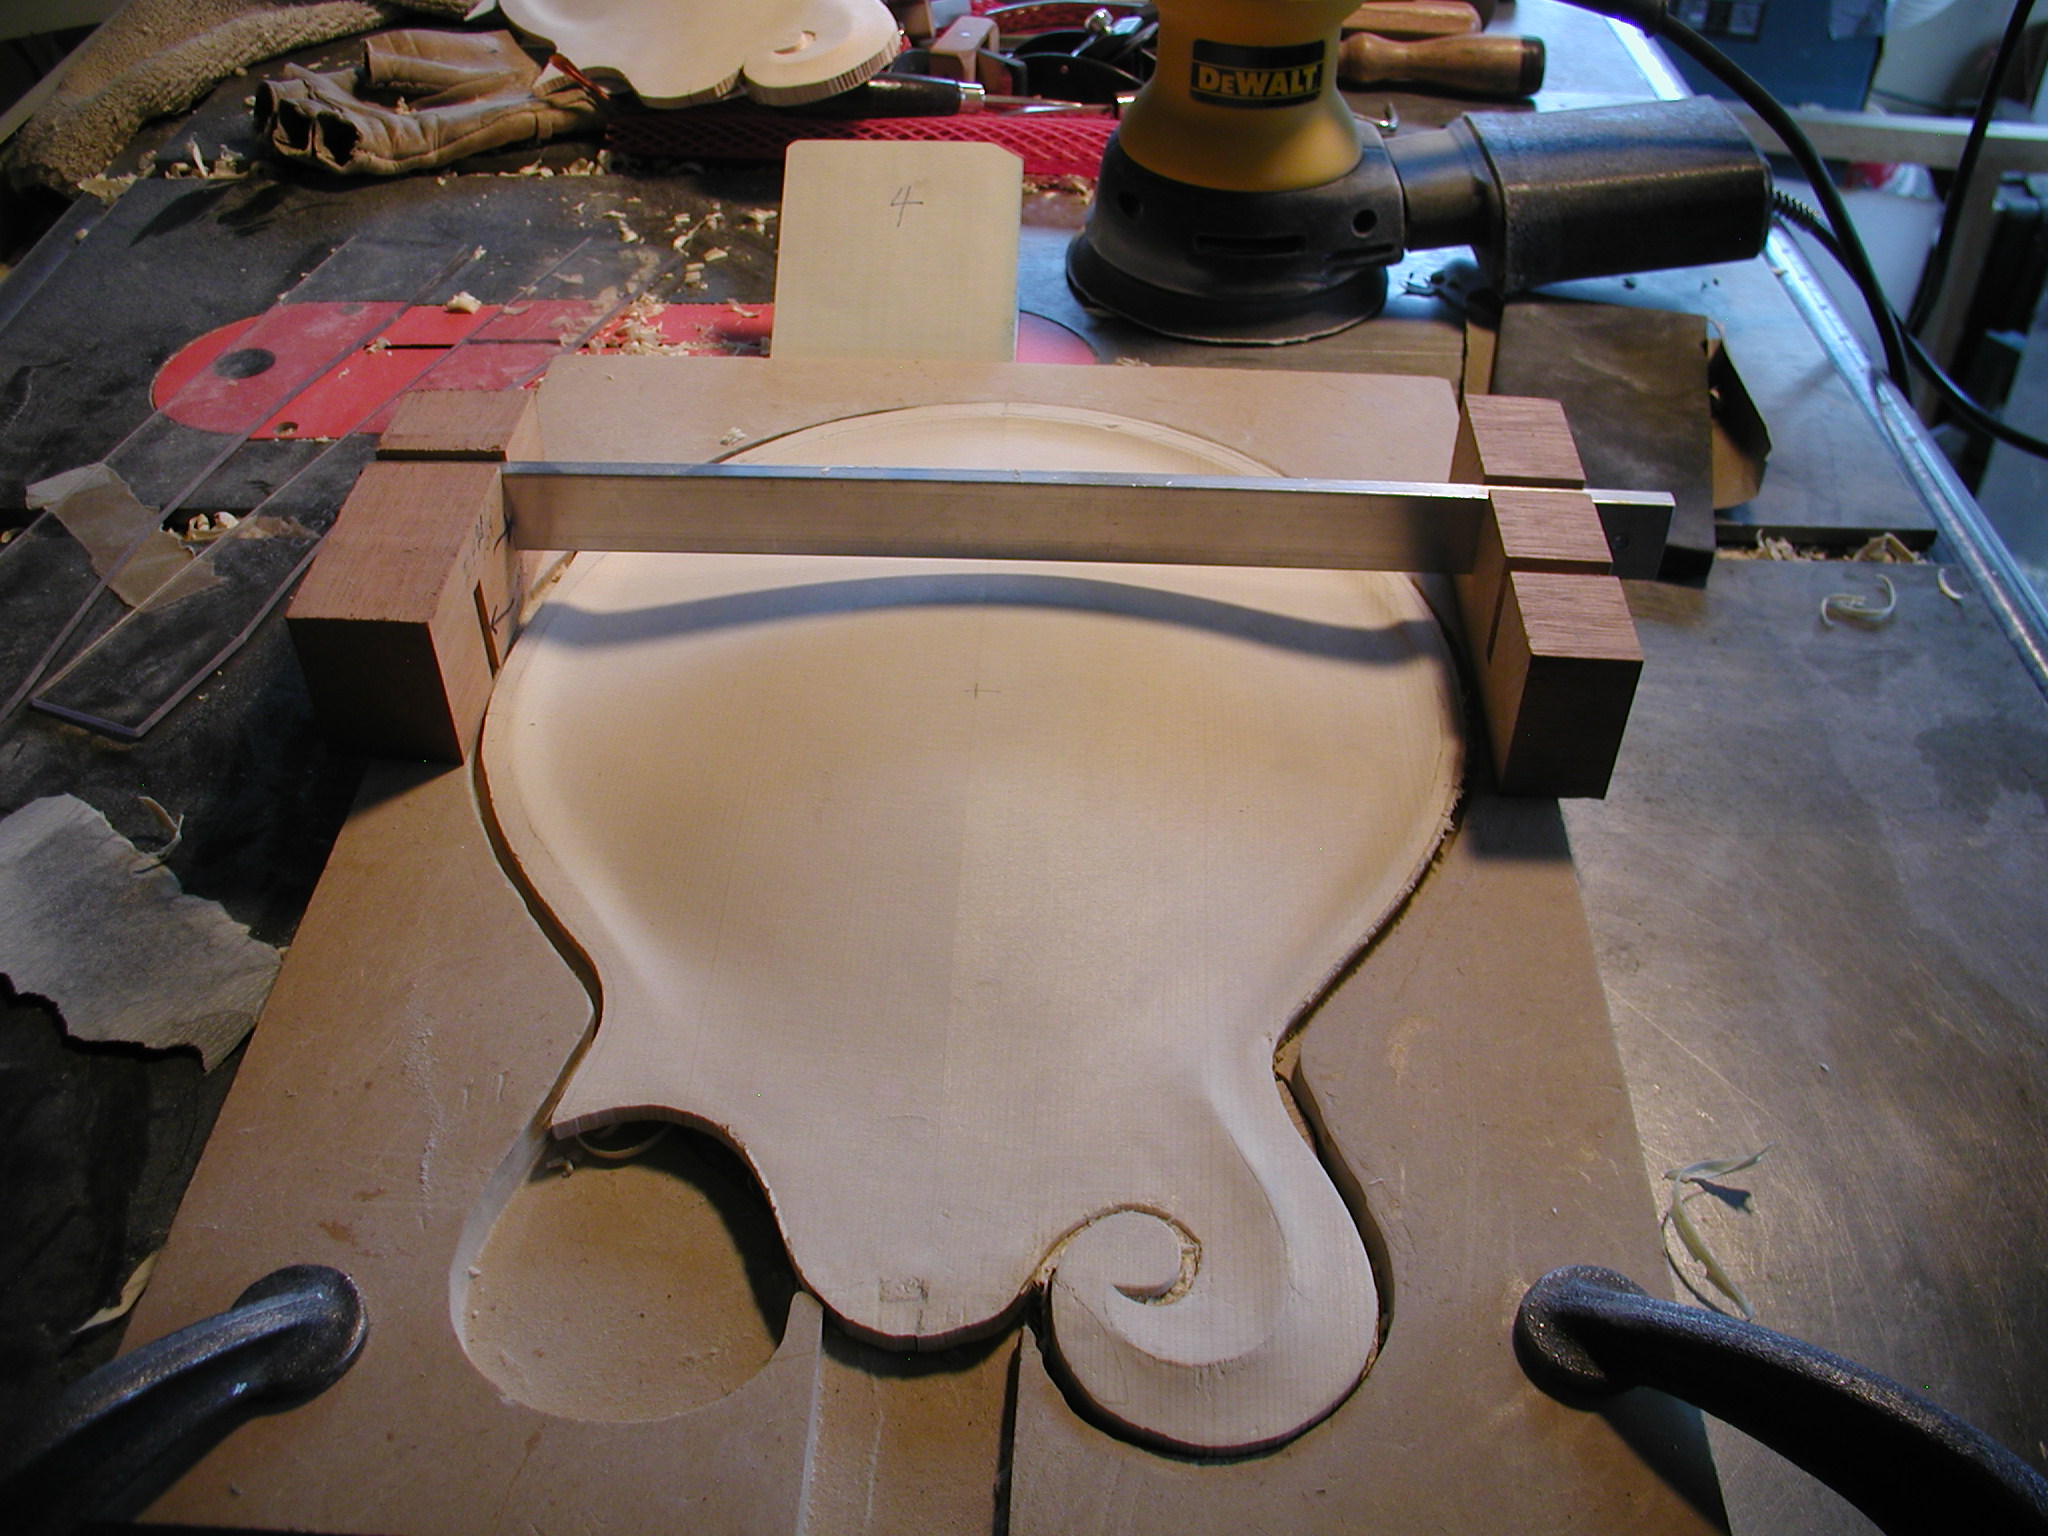
Here is a long series of photos for carving the recurve in the top. They are mostly self explanatory but a few need comments. First off I need to depth mark how deep to carve the very bottom. This is done by stop-drilling around the recurve area. I first use gauge blocks to set the depth of the drill bit to be 1/8" above the table top. I then draw in the recurve line 5/8" in from the edged and drill all around. Note that I stop before the waist and will fair that in by hand. I rough it in with the power gouge and then go to finger planes, power sander, and sandpaper. The last photo shows a nice tool to examine the curvature and look for bumps/dents. The straightedge with a single source light casts a nice clean edge shadow and you slide the straightedge back and forth looking at the shadow line. Anything odd really jumps out at you.

1 2 3 4 5 6 7 8 8a 9 10 11 11a 11b 12 12a 13 14 15 16 17 18 19 20