Let's Build A Mandolin (Page 7)
1 2 3 4 5 6 7 8 8a 9 10 11 11a 11b 12 12a 13 14 15 16 17 18 19 20
Last Modified - December 2011(©Alan Dunwell 2011)
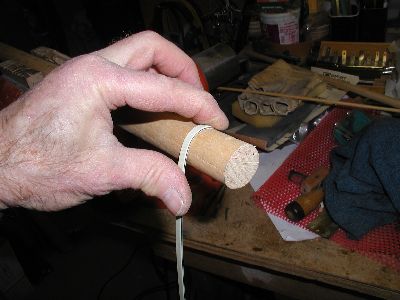
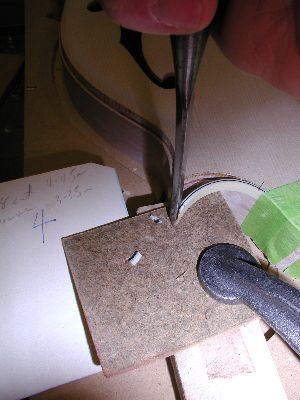
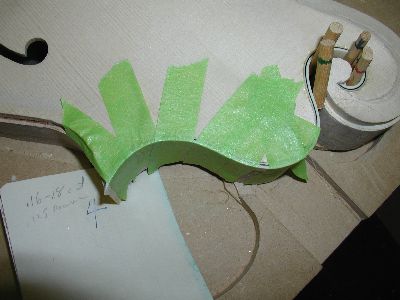
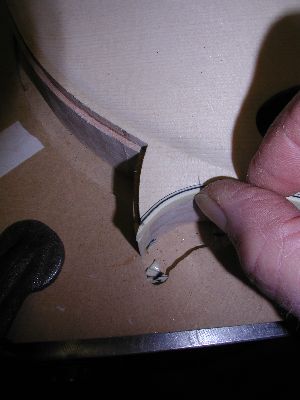
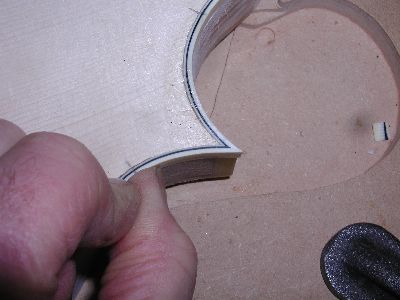
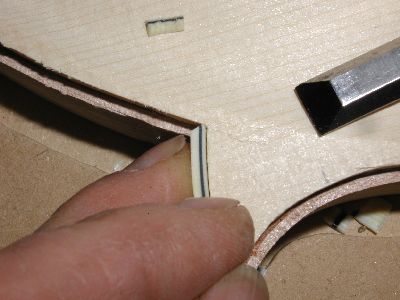
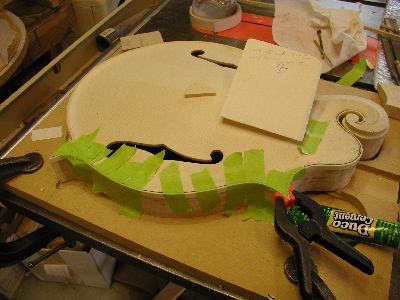
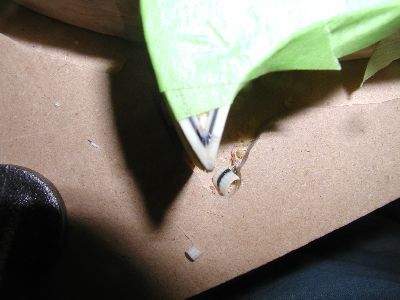
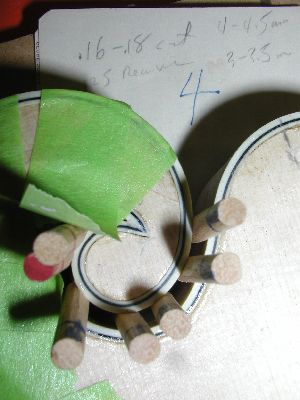
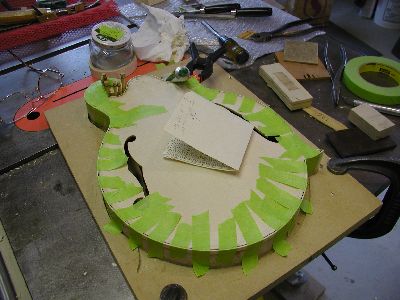
In Page 6 we started work on the neck and got the top/ribs assembly ready for top binding. So here we go on binding. I'm using nitro binding here because it is well behaved for plastic. I have tried all sorts of ways to heat it, some of which ended up with nice "binding fires", so be careful. Once I tried the hot sand method, thanks to a suggestion by someone on the Mandolin Cafe' group, I never looked back. The sand heats it all the way through and over a fairly large area so that the bends are smooth without kinks or abrupt curve changes. Here I'm using a Goodwill-scored cup heater (~$2.50us) to heat the sand. Then quickly to a piece of dowel and wrap it around getting a bit of spiral in it to accommodate the dip from the top of the scroll to the level of the headblock area. More heating and make the headblock curves and finally all the way around to the front point. I glue this one in near the scroll using super glue (CA) and tapered pieces of dowel as wedges to hold it in place. Then I just tape it in place the rest of the way so I can use a chisel to cut the angle at the point. I use a stack of blocks as a platform for the cutting and get the angle right while it is still long. Then keep the angle and slowly trim back till it is the right length. The I use Duco cement to glue it in place and wick more CA into the scroll area to lock it.
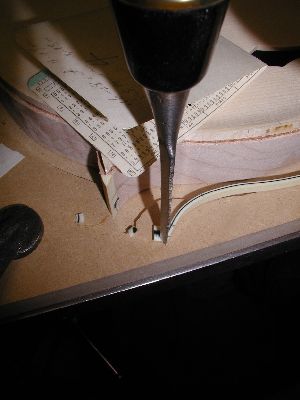
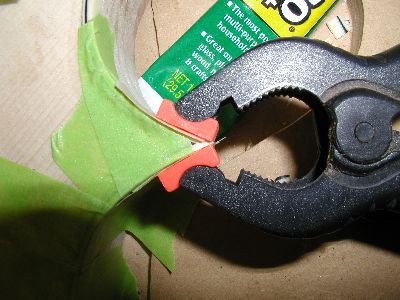
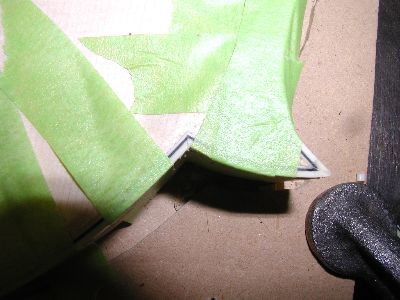
More photos of the same without too much comment. I fit the lower side to the front point, trim to the back point. Make and fit the back point little piece. Then to the scroll again and the long piece around and wedge-fit it into the joint at the little piece of the back point. Note the trick for gluing the points and some comment there. Once you have the point pieces fit, glue the binding in with Duco but also butter the points with some goober made from binding shavings and acetone. Make this a day or so ahead of time. This will make your joint mostly invisible. Then, apply double stick tape to the outside of the binding and grab it with a strong spring clamp. The clamp will stick to the tape and squish the point nice and tight for a seamless joint. Use the "butter" for all your joints. Do NOT scrape or shape your binding for at least a week to let all the solvents from the Duco and acetone gas out. The binding will shrink down in this process.
1 2 3 4 5 6 7 8 8a 9 10 11 11a 11b 12 12a 13 14 15 16 17 18 19 20

