Let's Build A Mandolin (Page 16)
1 2 3 4 5 6 7 8 8a 9 10 11 11a 11b 12 12a 13 14 15 16 17 18 19 20
Last Modified - April 2012 (©Alan Dunwell 2012)
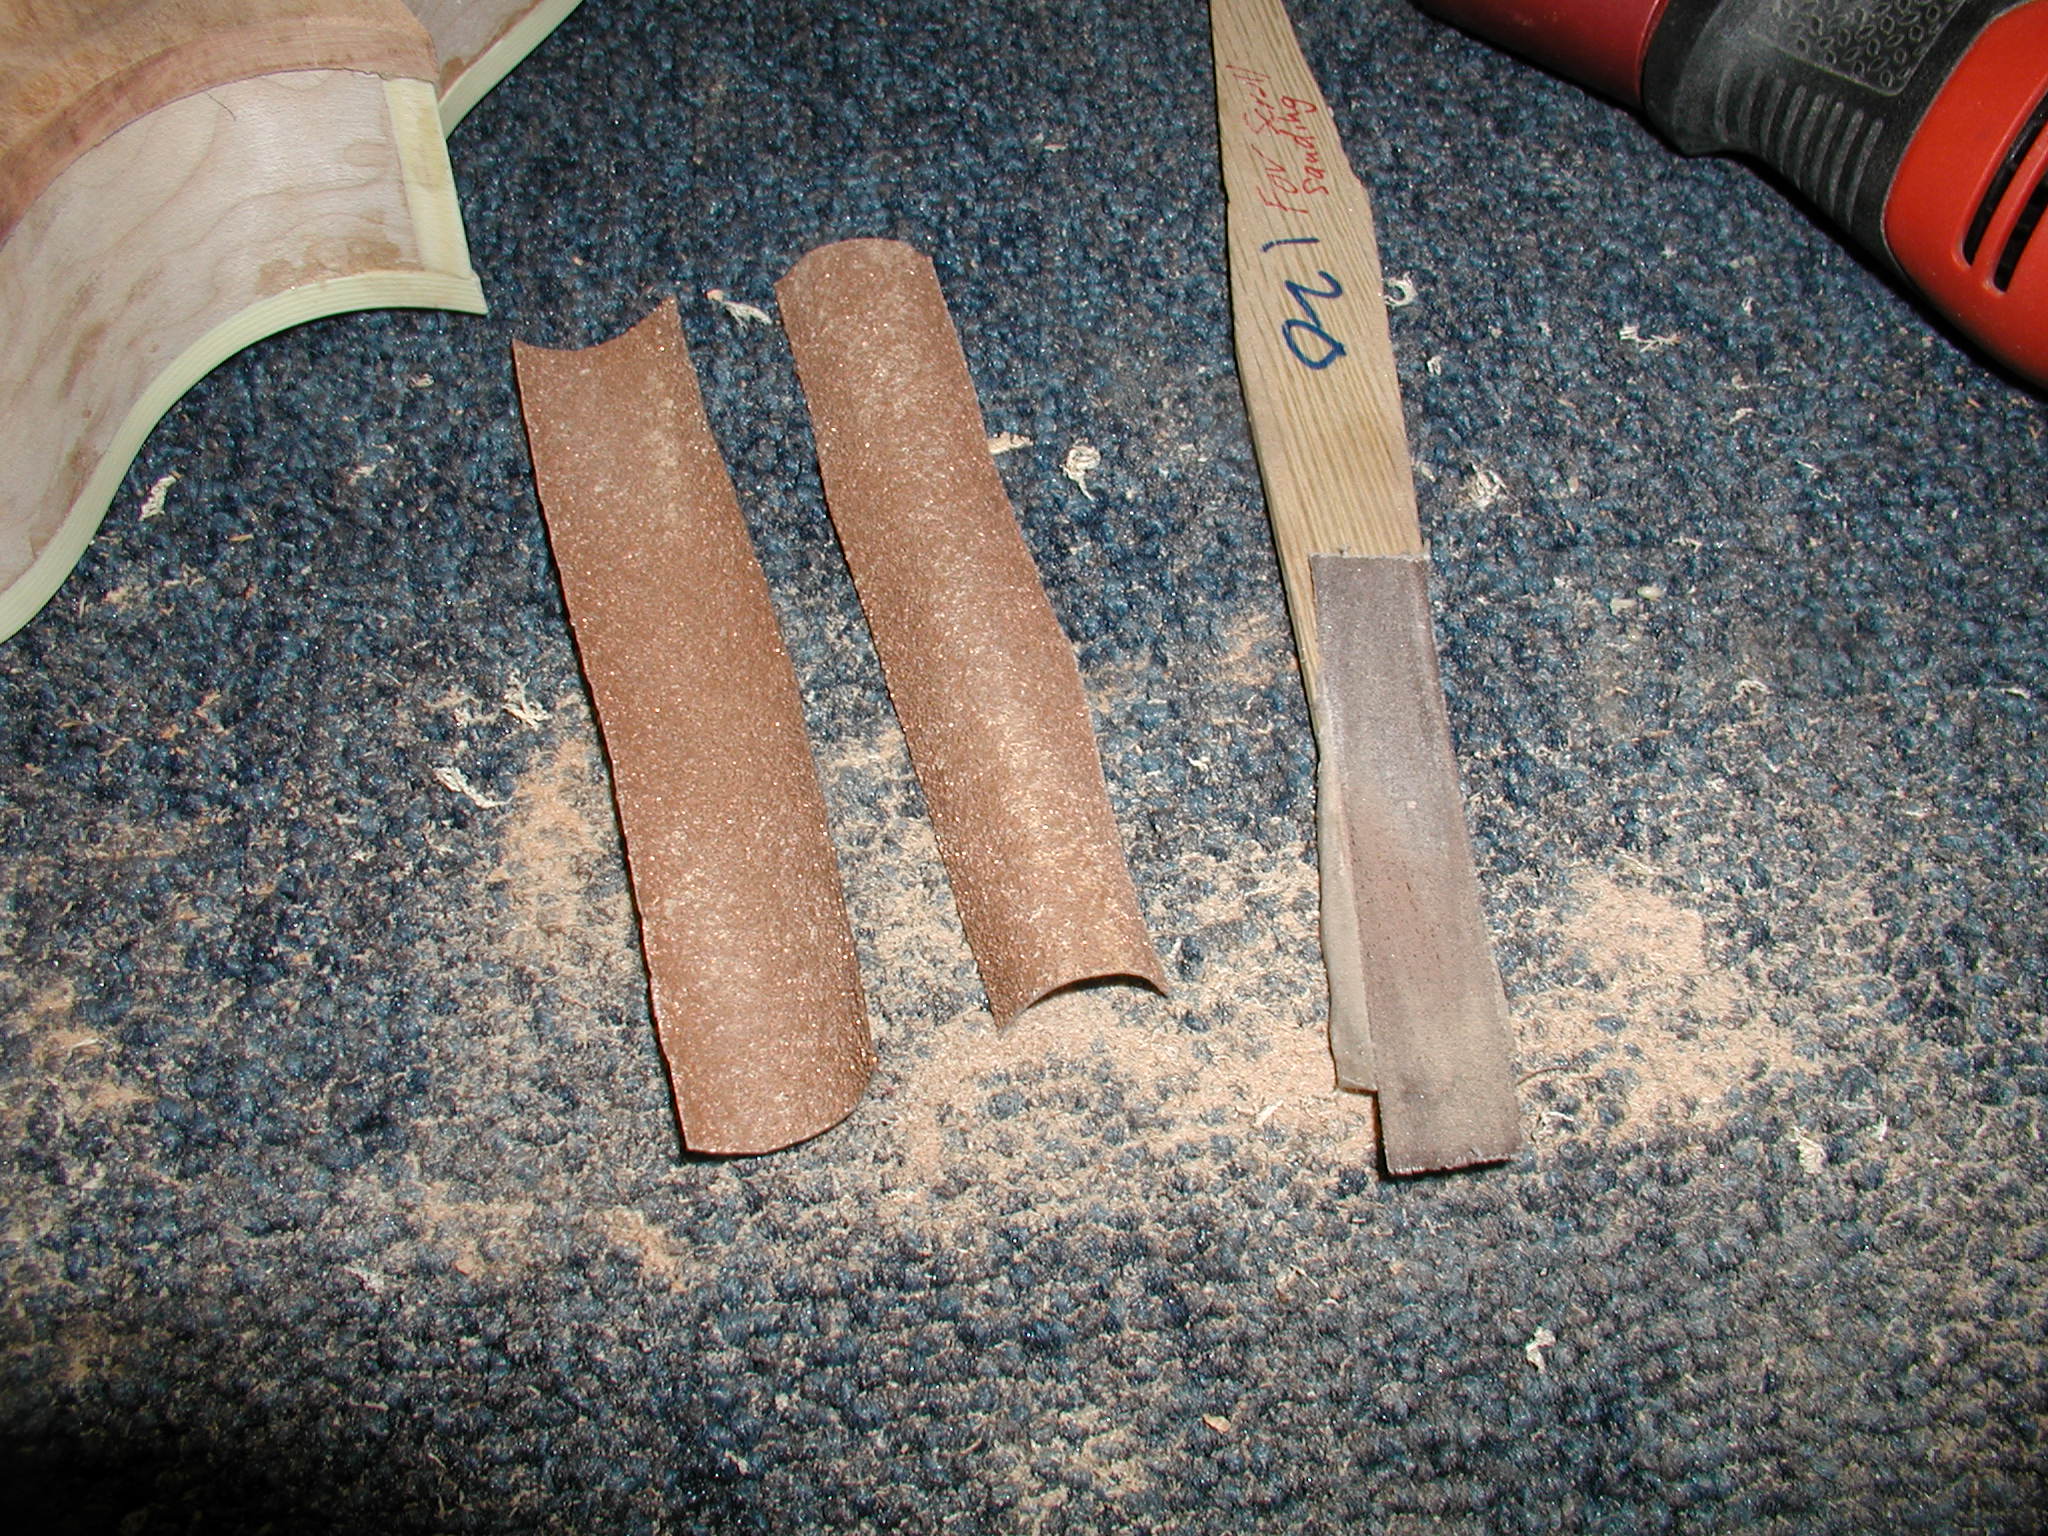
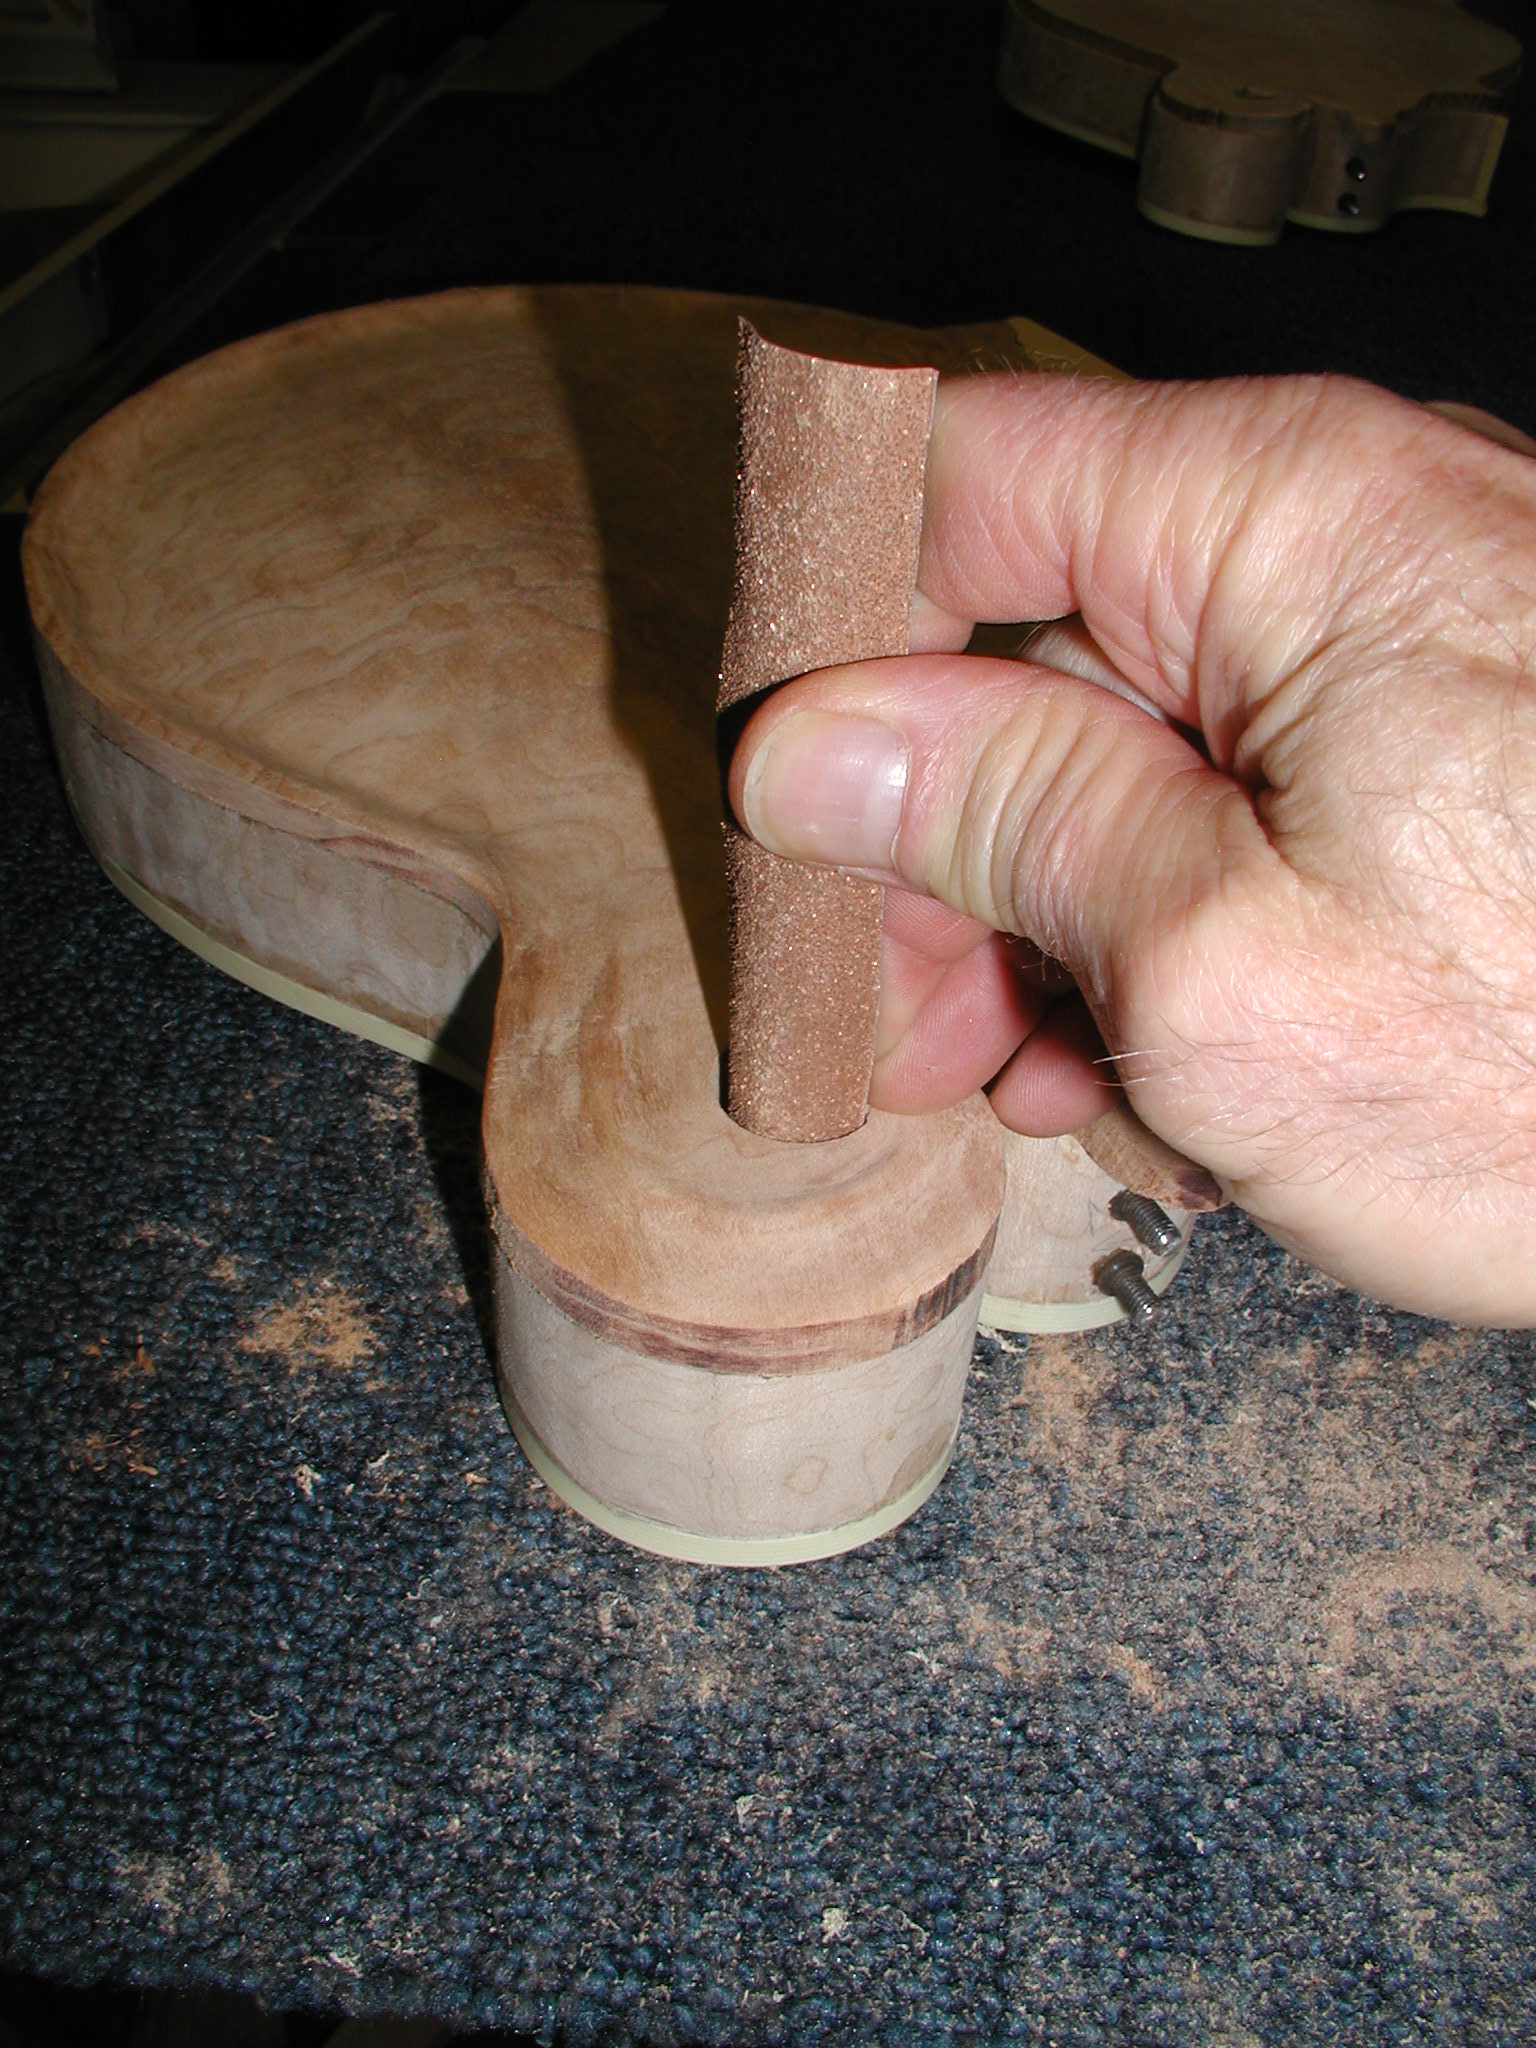
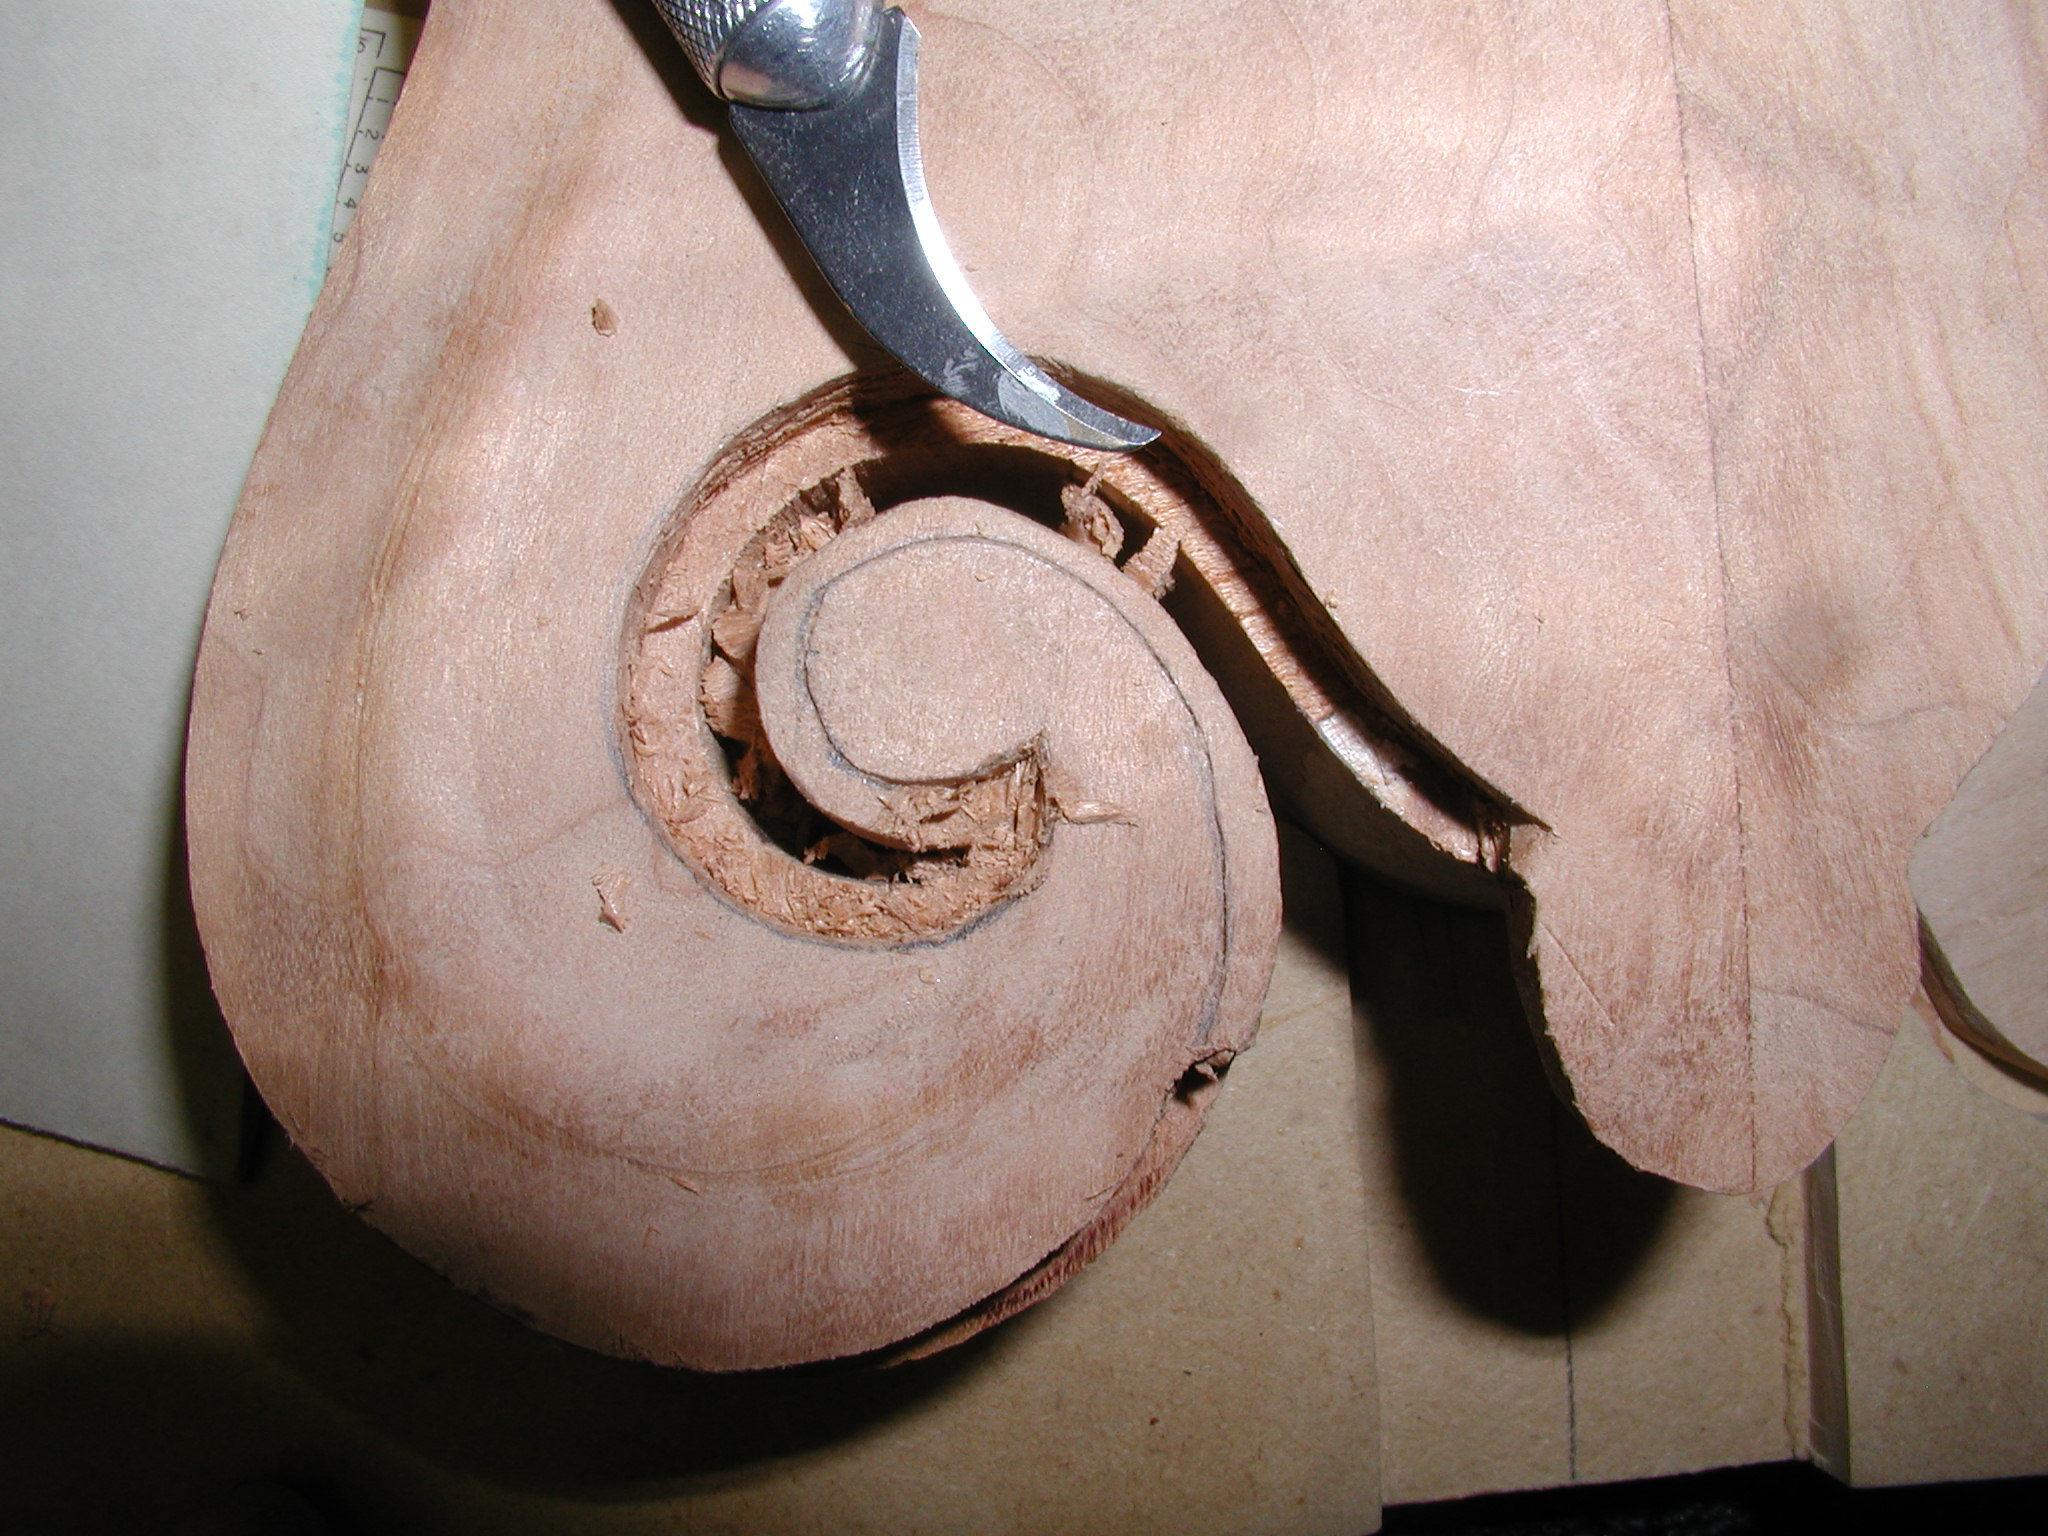
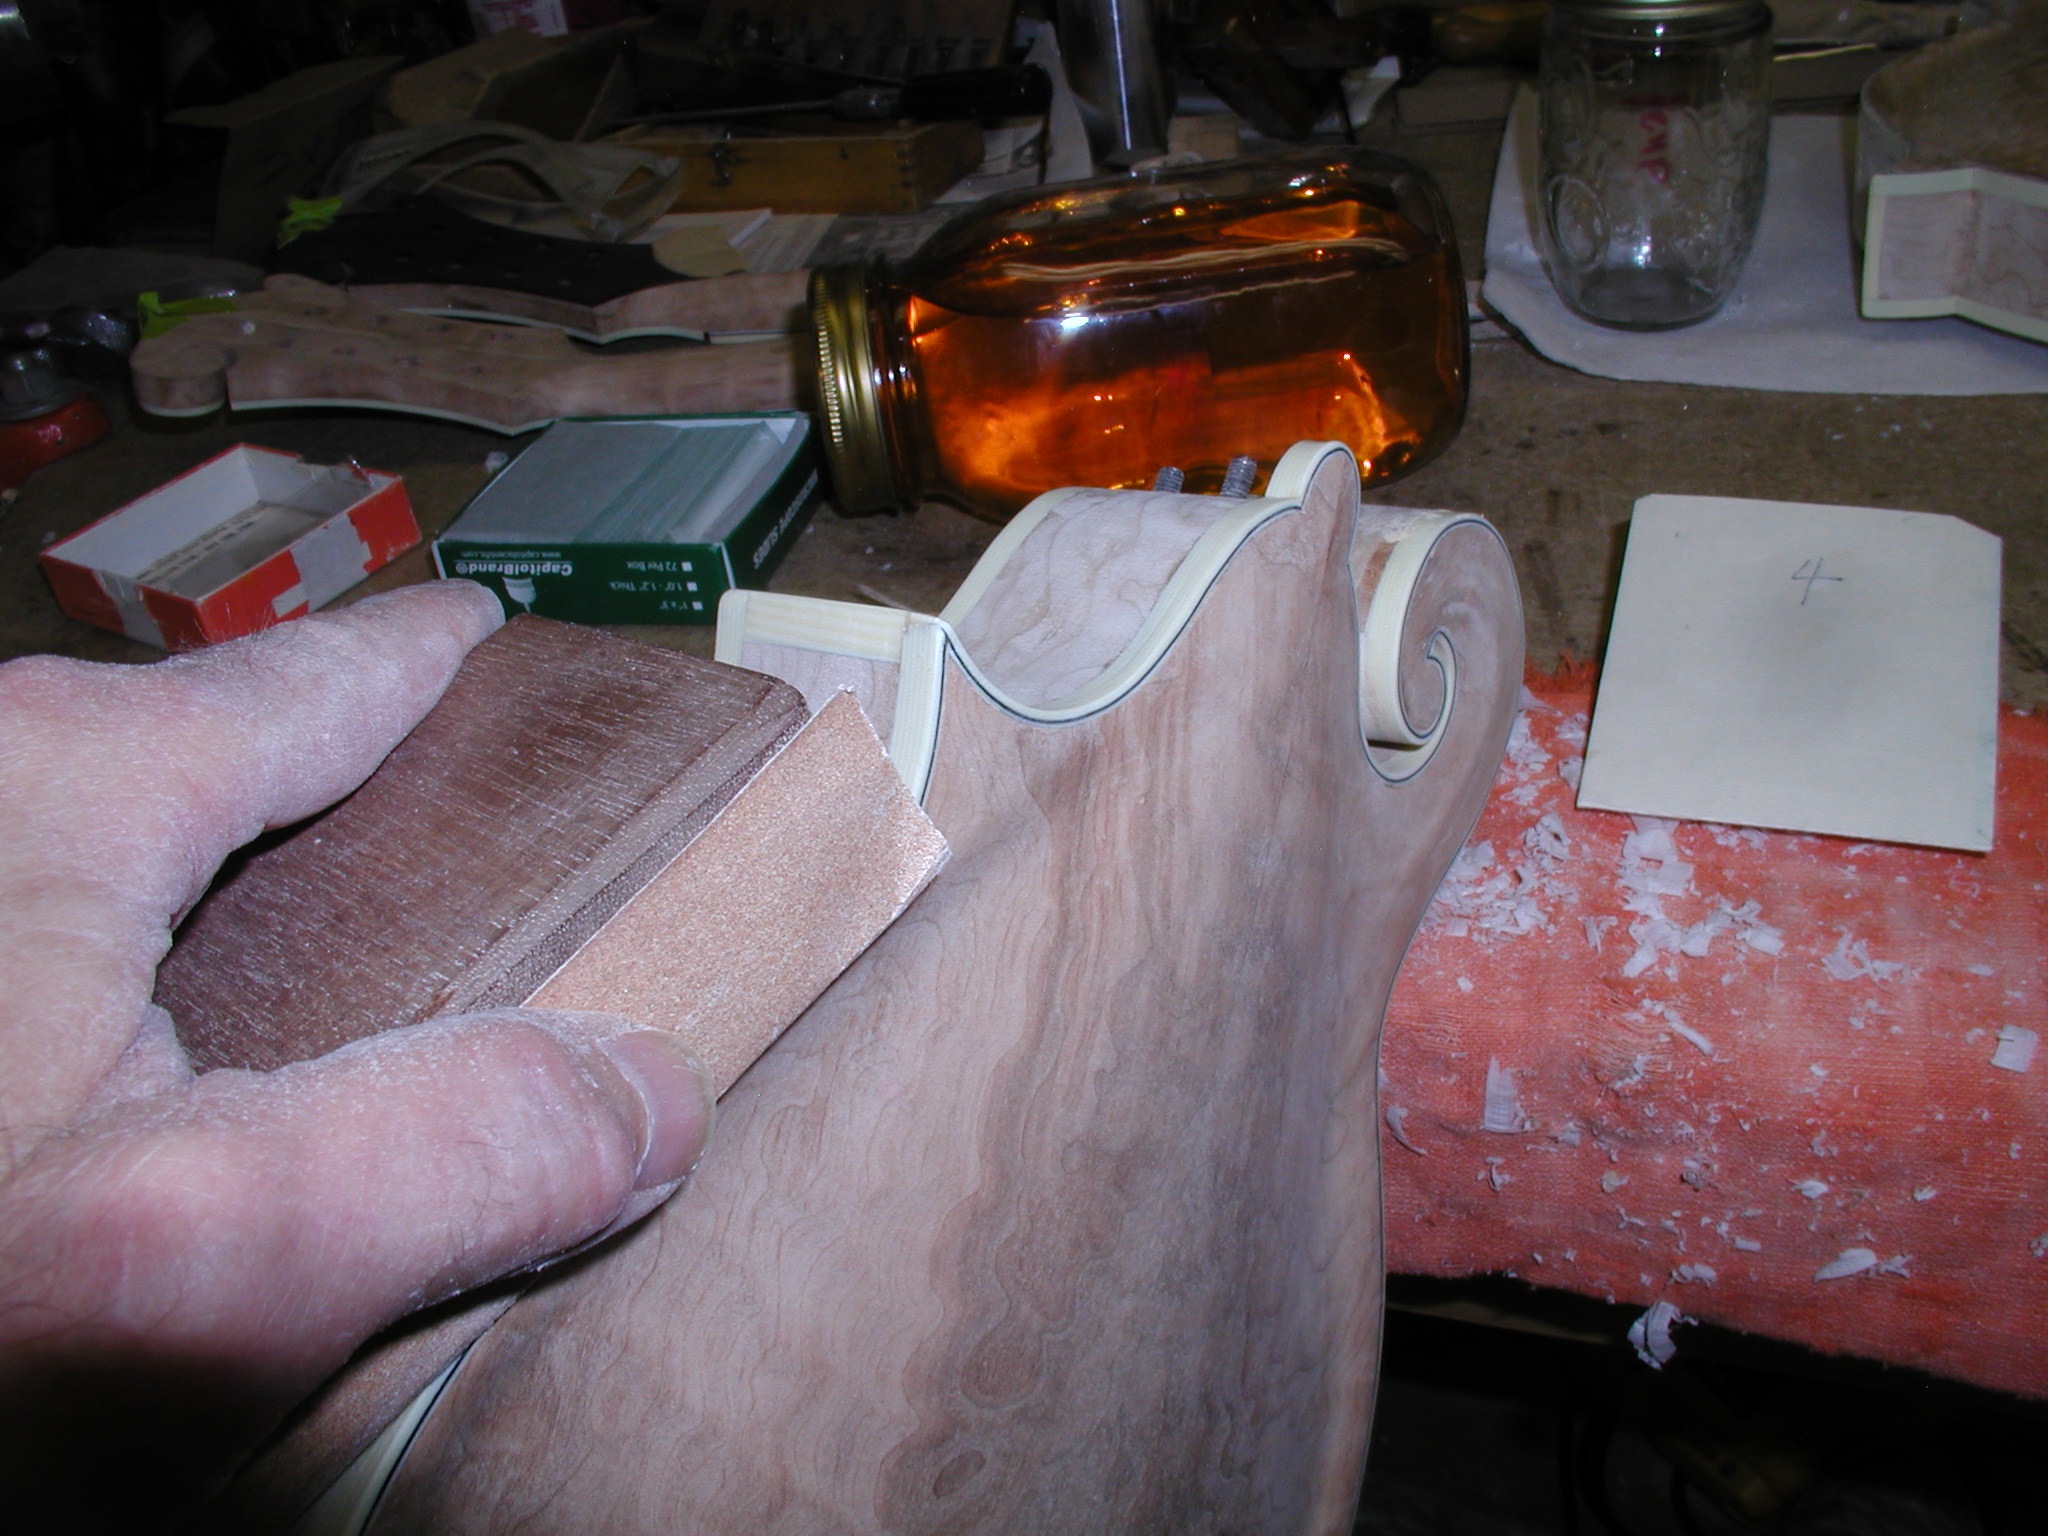
In Page 15 we got the body all closed up with the back plate glued in place. Now we need to clean up the back plate and get the binding on for the back. First I go in with what is called "sanding foil", thin strips of metal with grit attached. These are pretty rough and I use them for cleaning up the back plate maple and the rough cuts from the bandsaw in the scroll slot. I then follow with a piece of scrap wood sanded down into a similar curve to which I attach finer grits till I get the slot pretty clean and smooth all around.
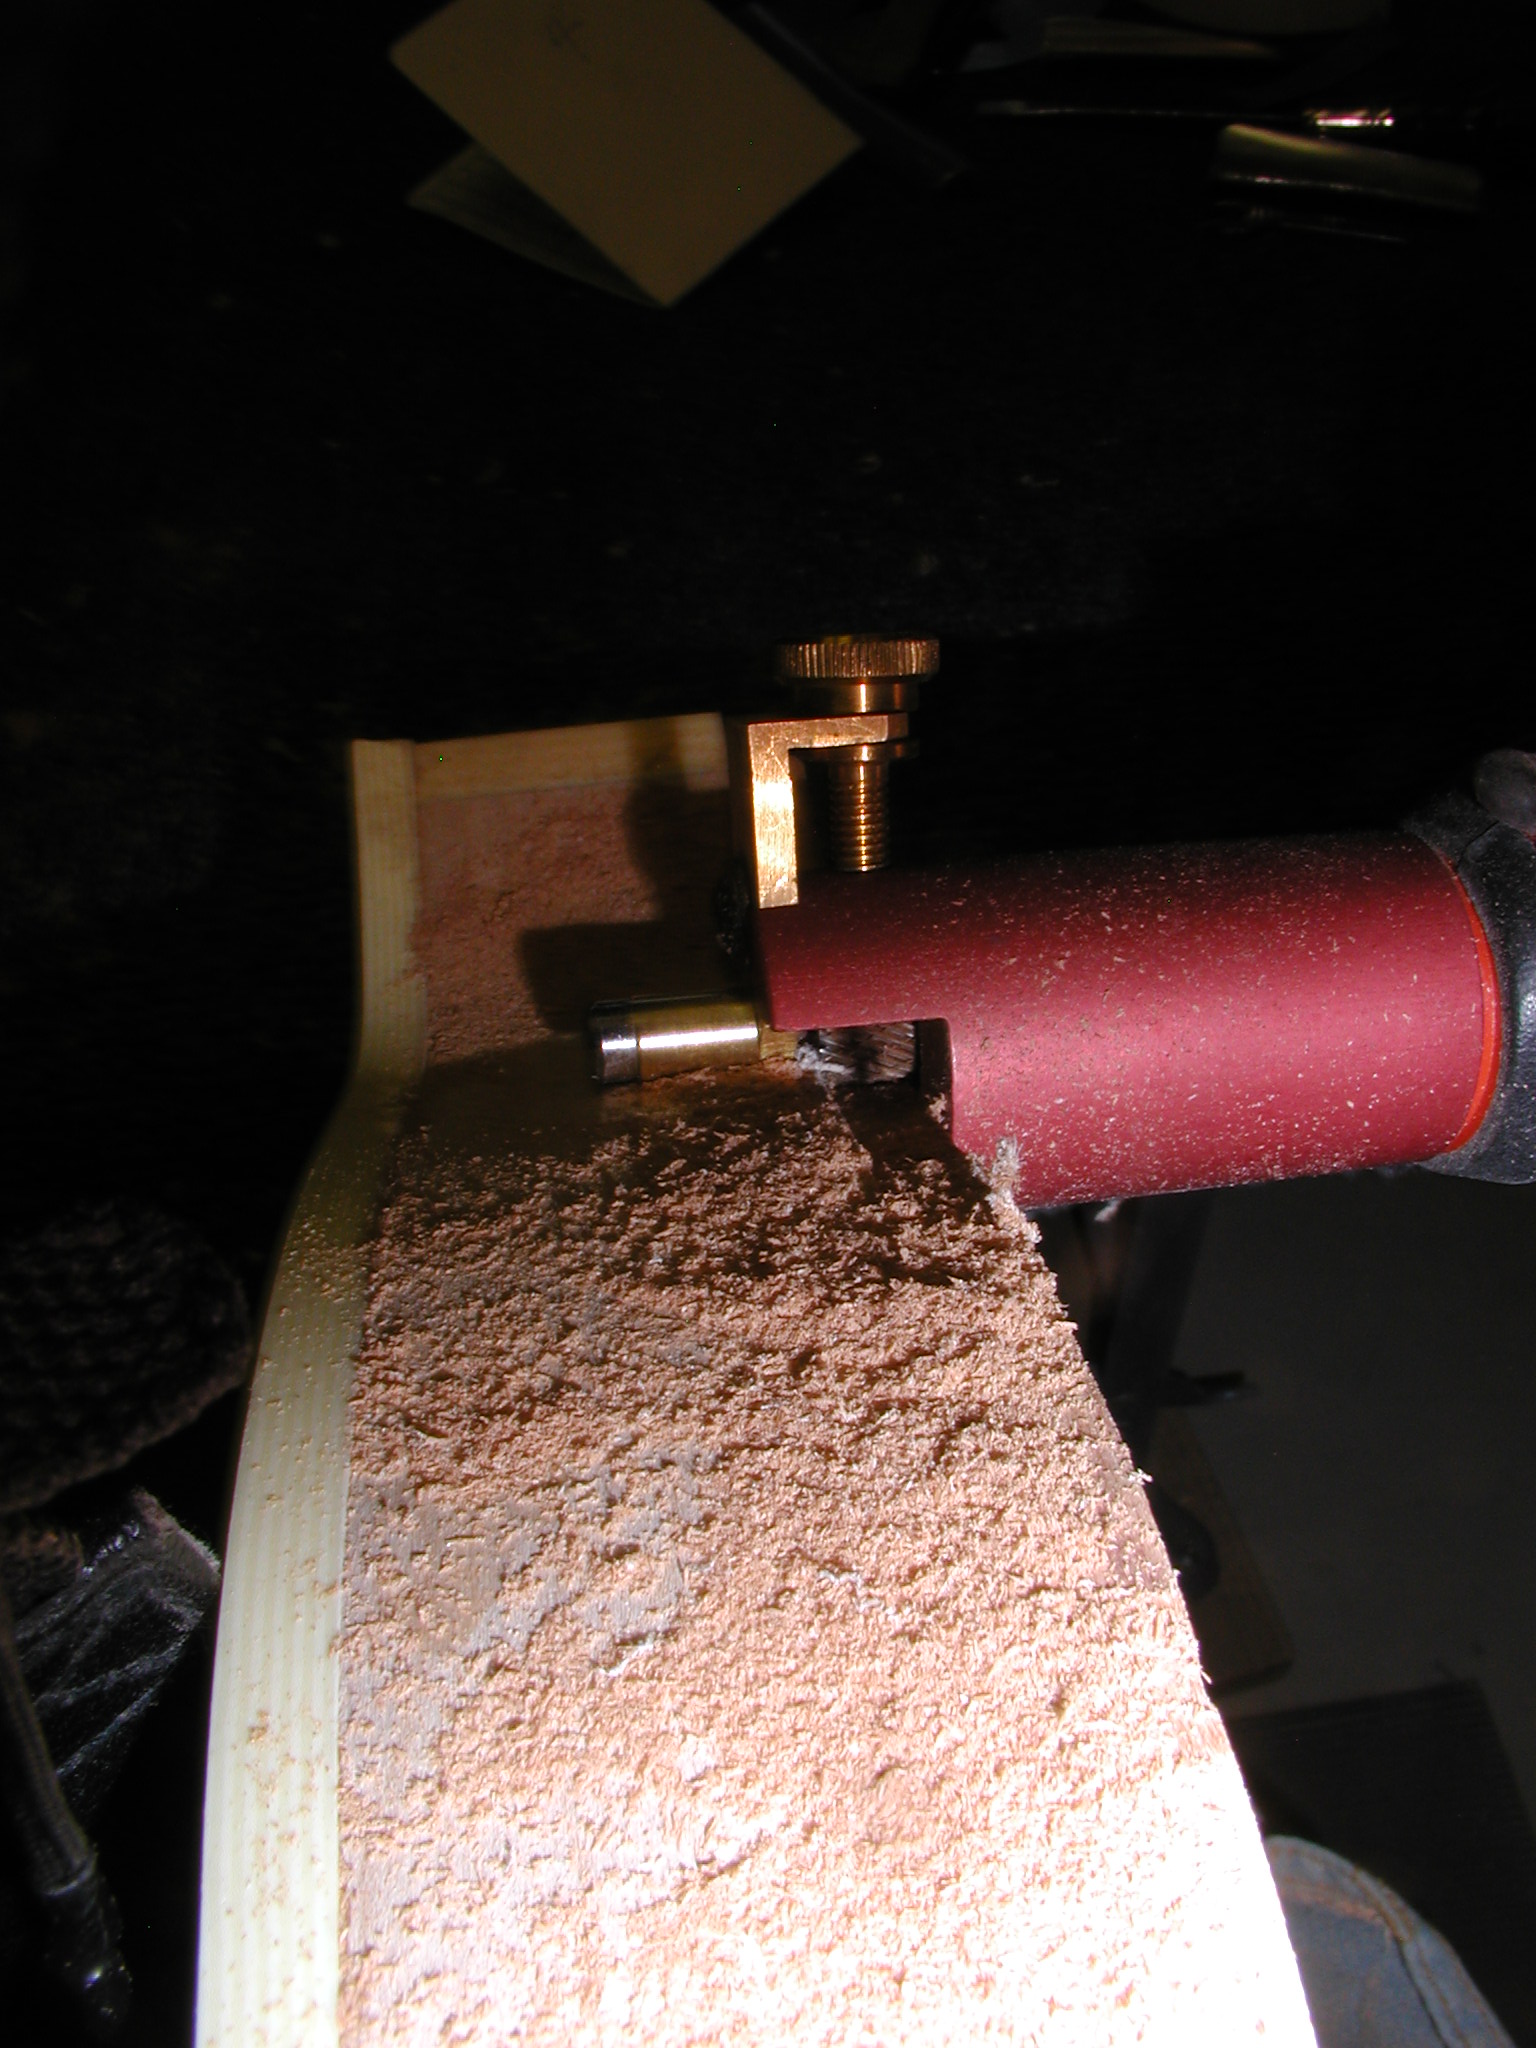
Not shown is where I quick buzz around the body on the spindle sander to bring the back edge in to the body profile. Then, pretty much like we did the routing for the top binding, we do the back. You can see a bit better the rotary file bit I'm using in the first photo. The maple is pretty hard so I go slowly to keep from burning.
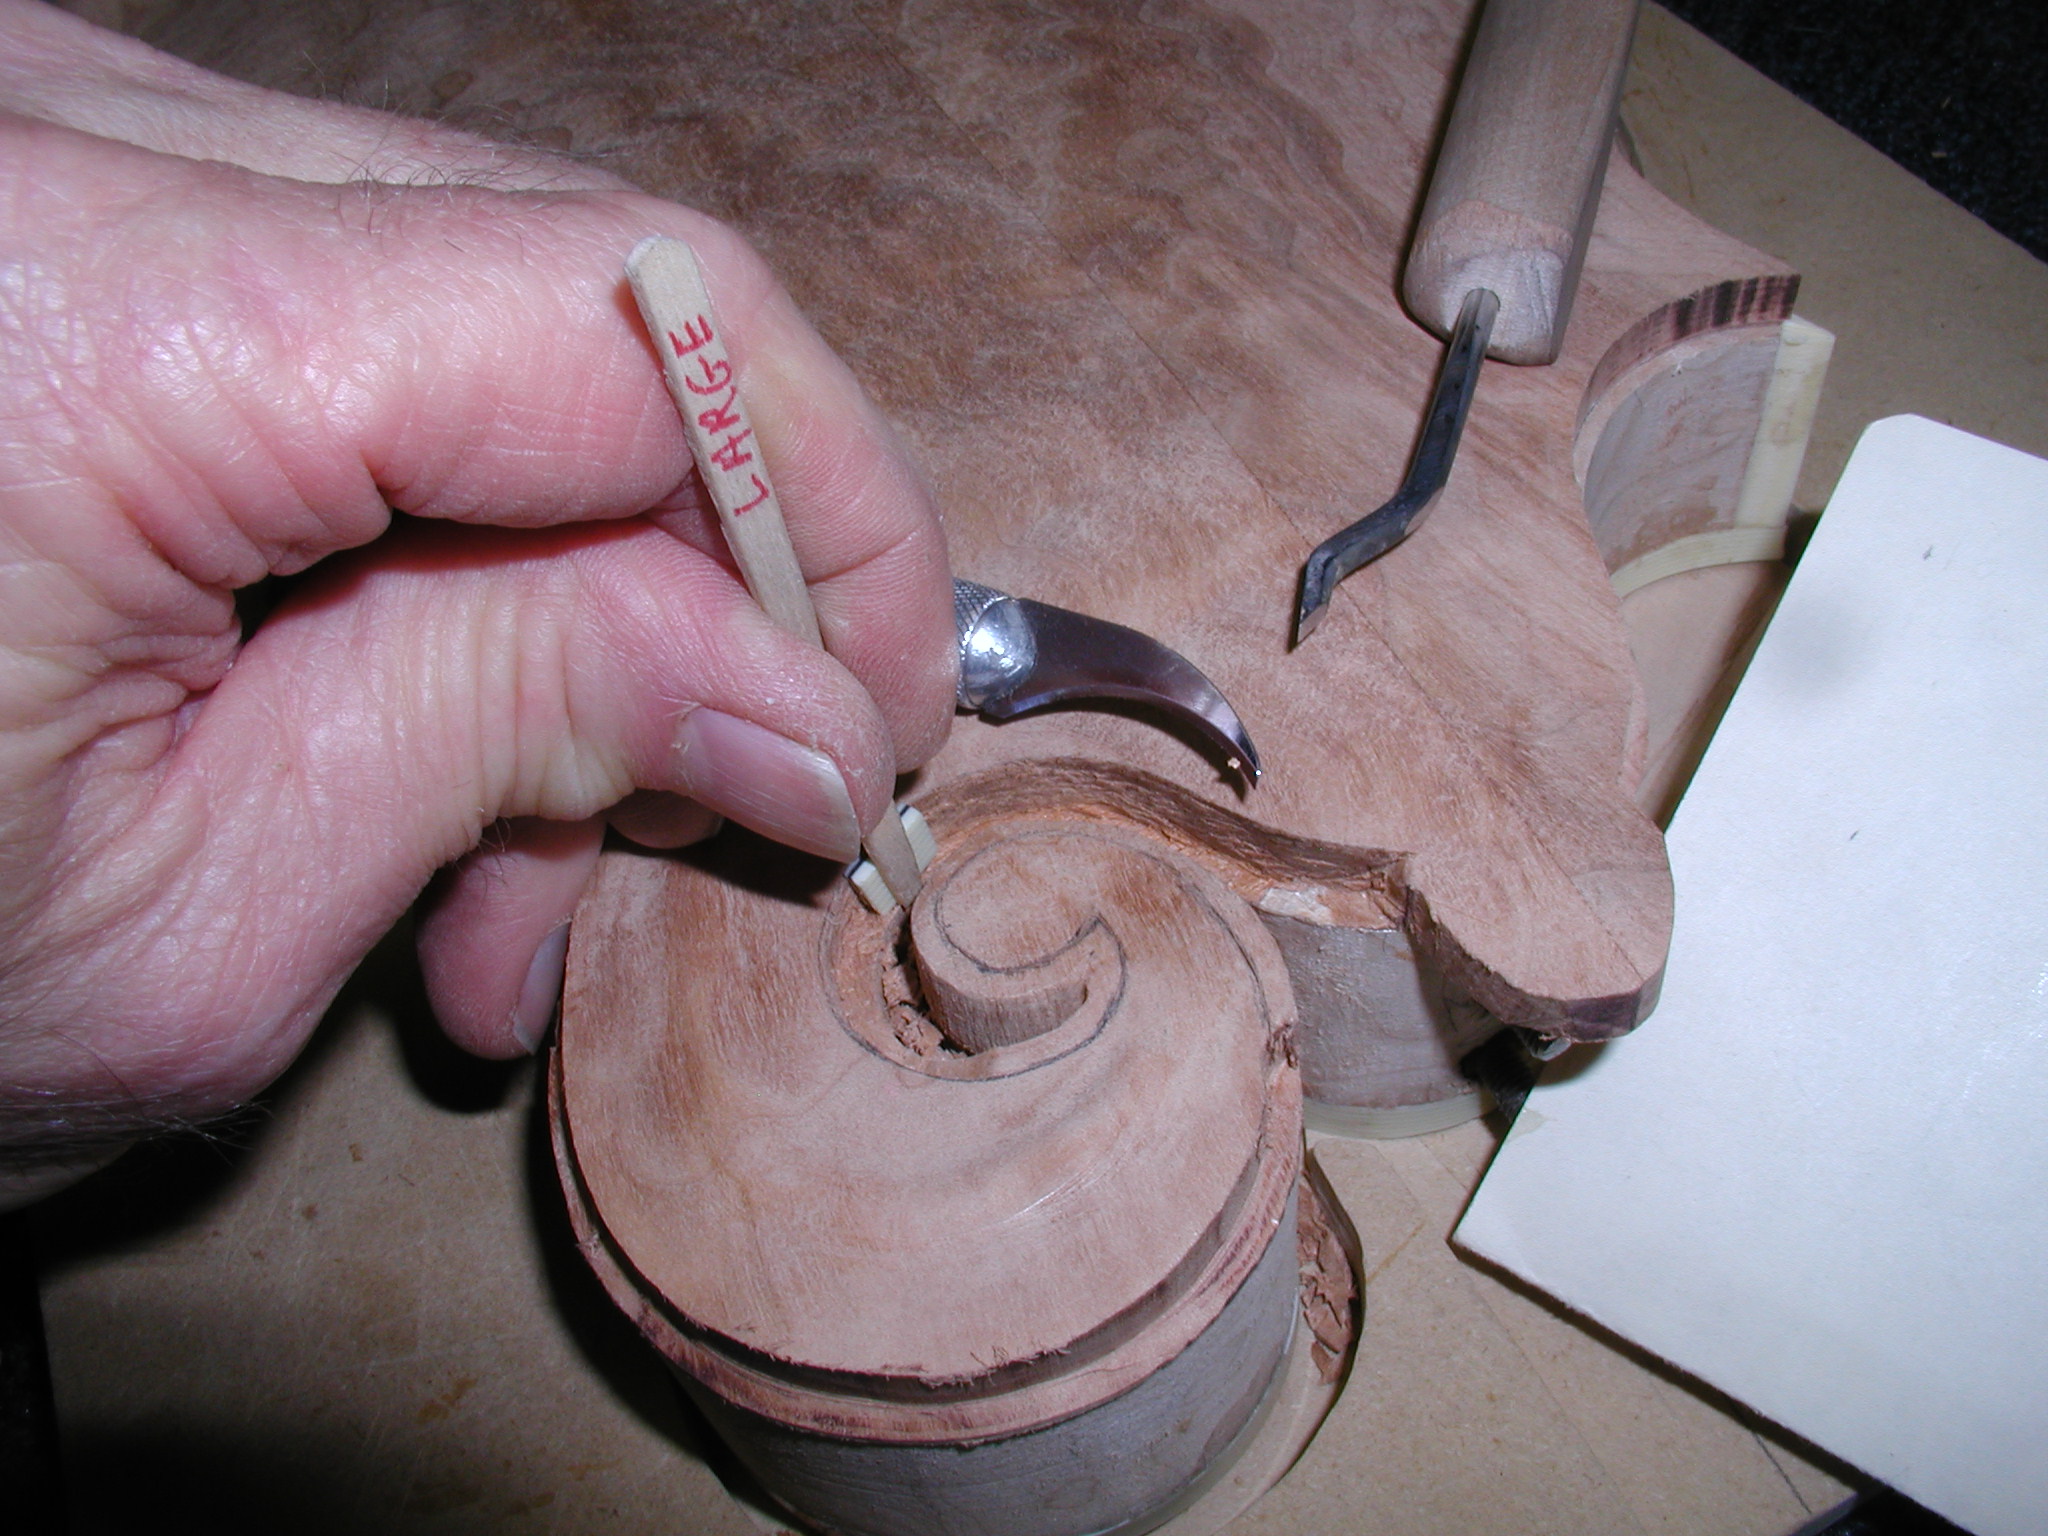
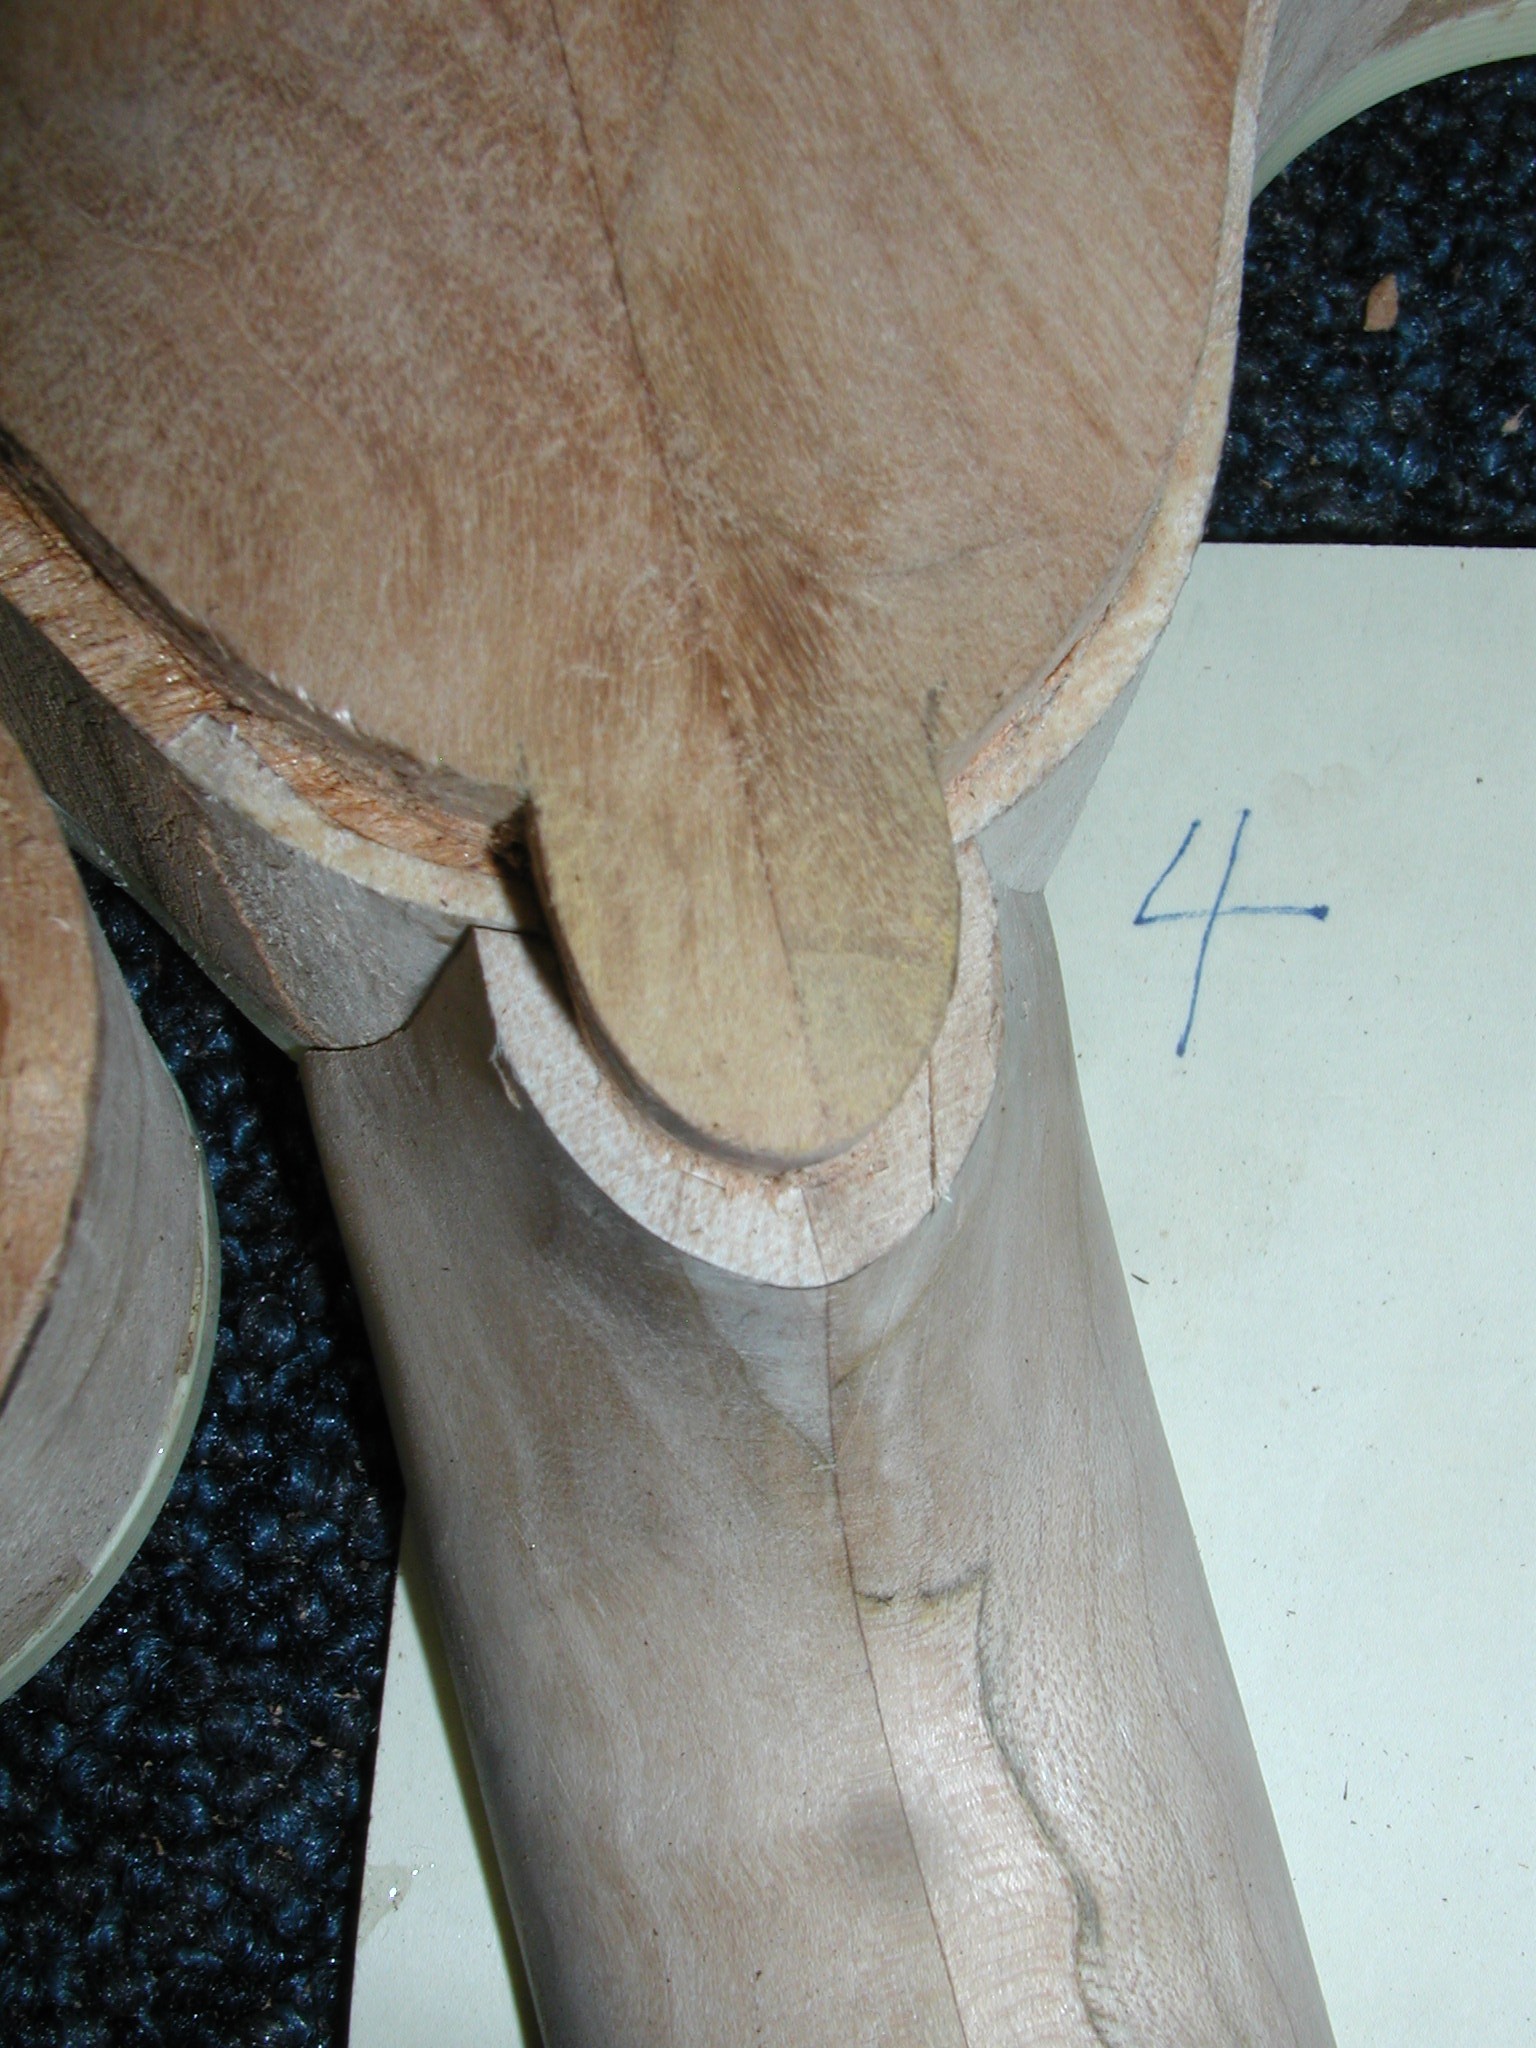
The back is a bit different because of the button that needs to be carved to the heel. I attach the neck and use a compass to mark around the button tracing the profile of the heel. Then I freehand it with the file bur, this is easier than it looks since the bur doesn't grab or jump around like a two or four flute bit might. It cuts on the end too so I can get the bottom pretty close. Then follow up with chisels to get a dead flat bottom and clean edges.
.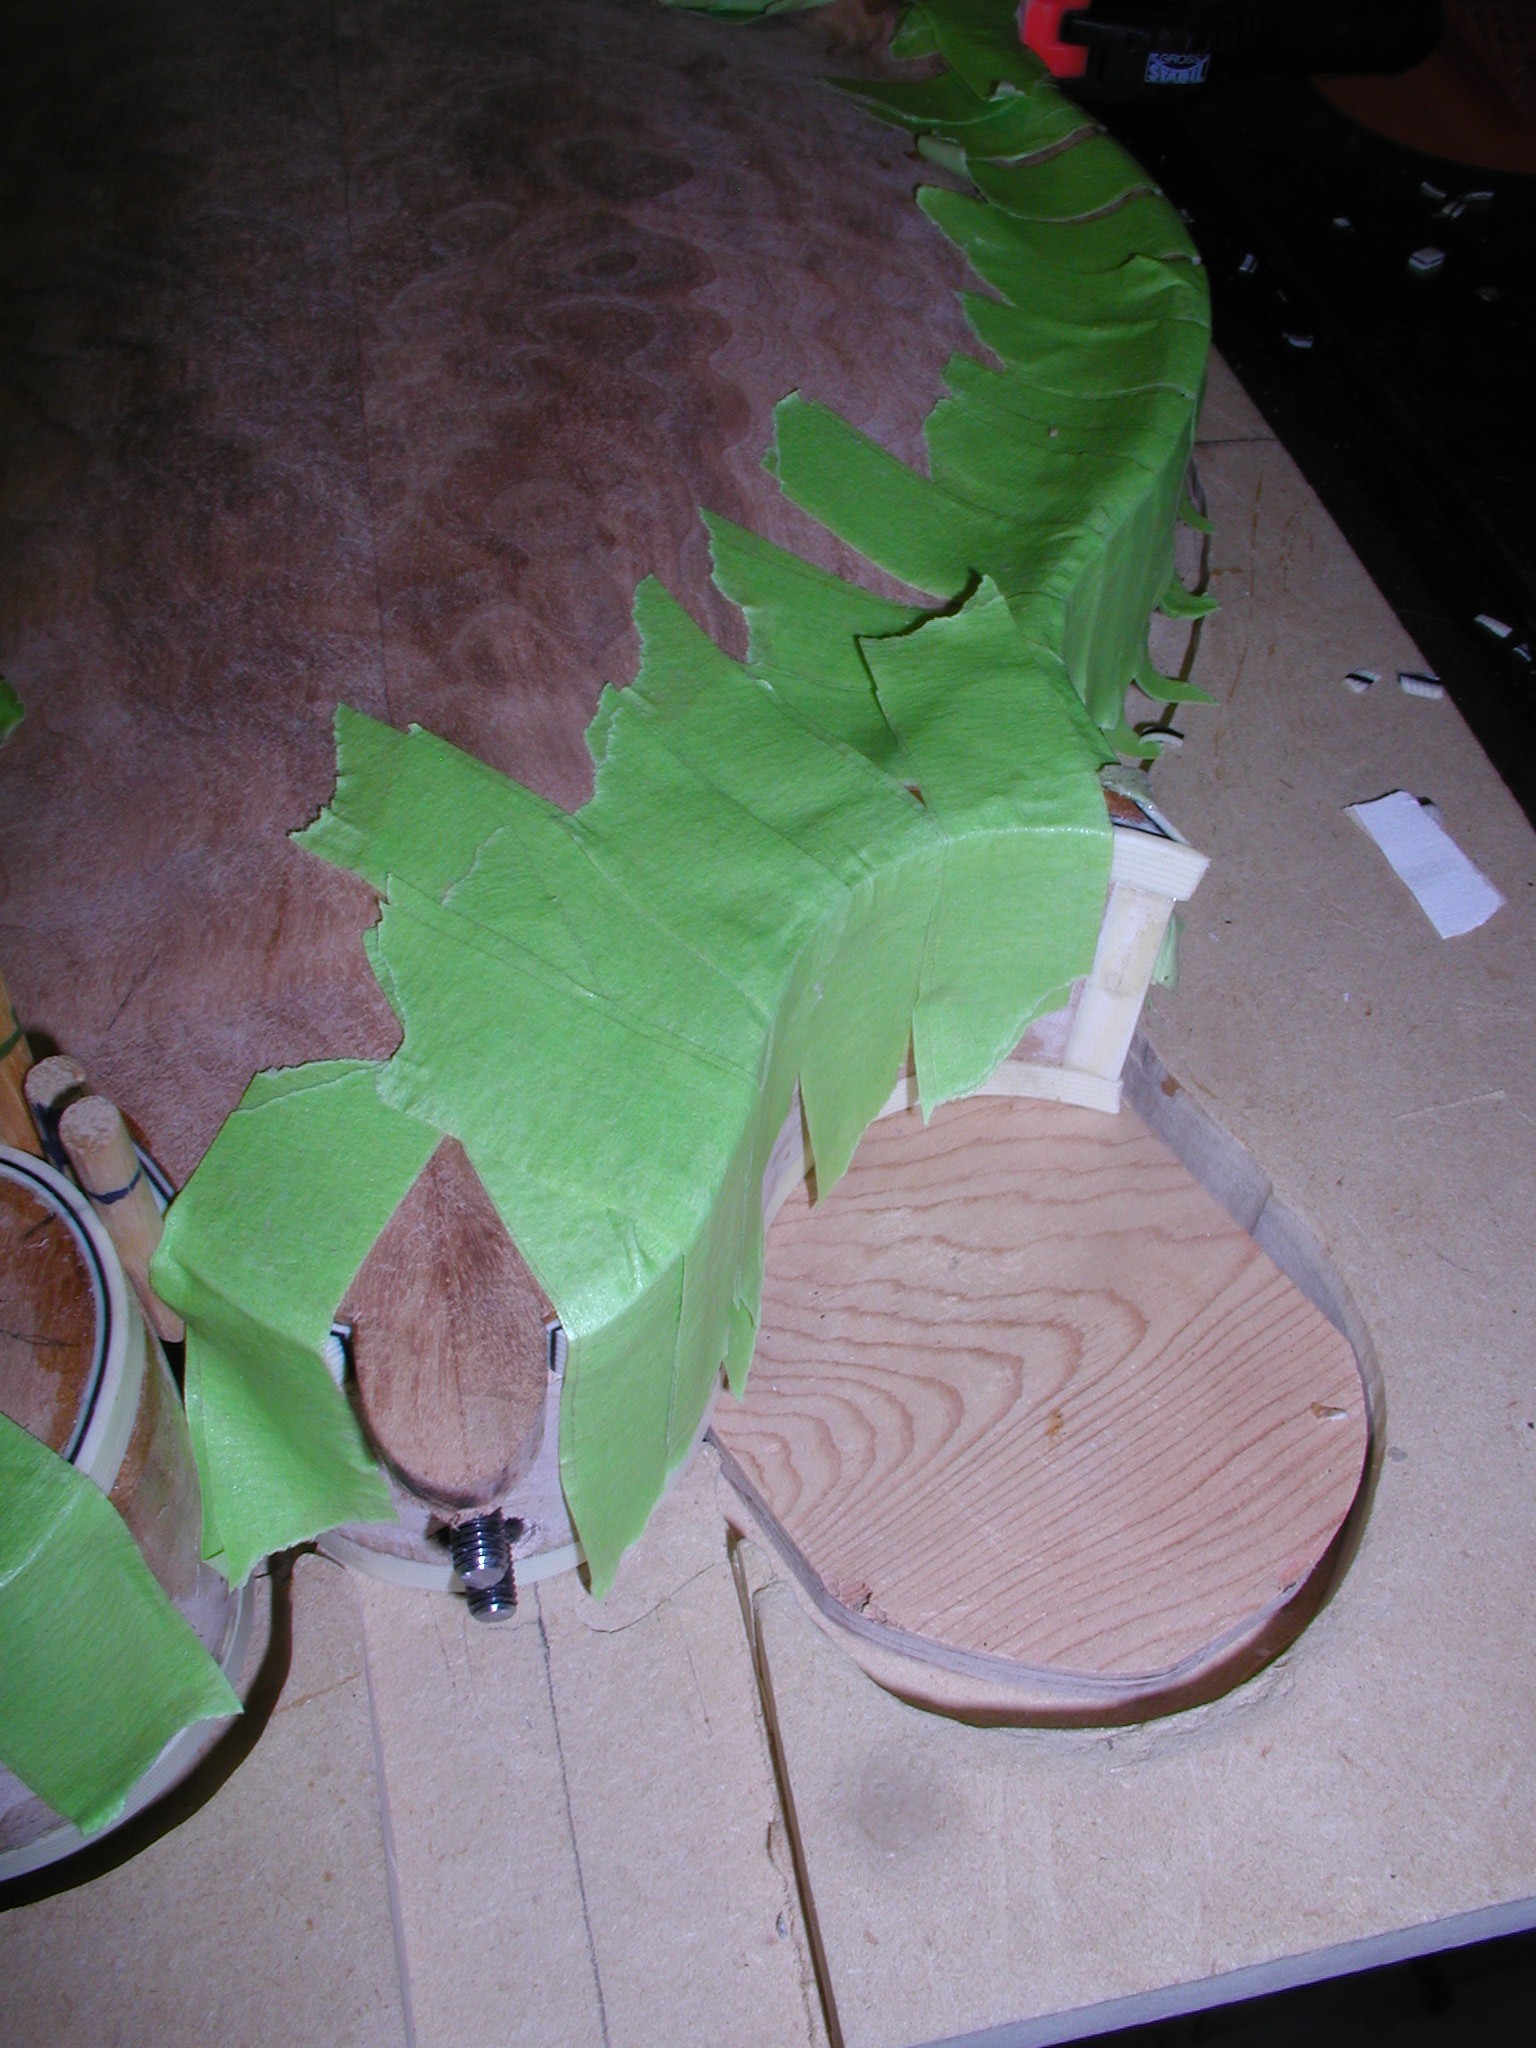

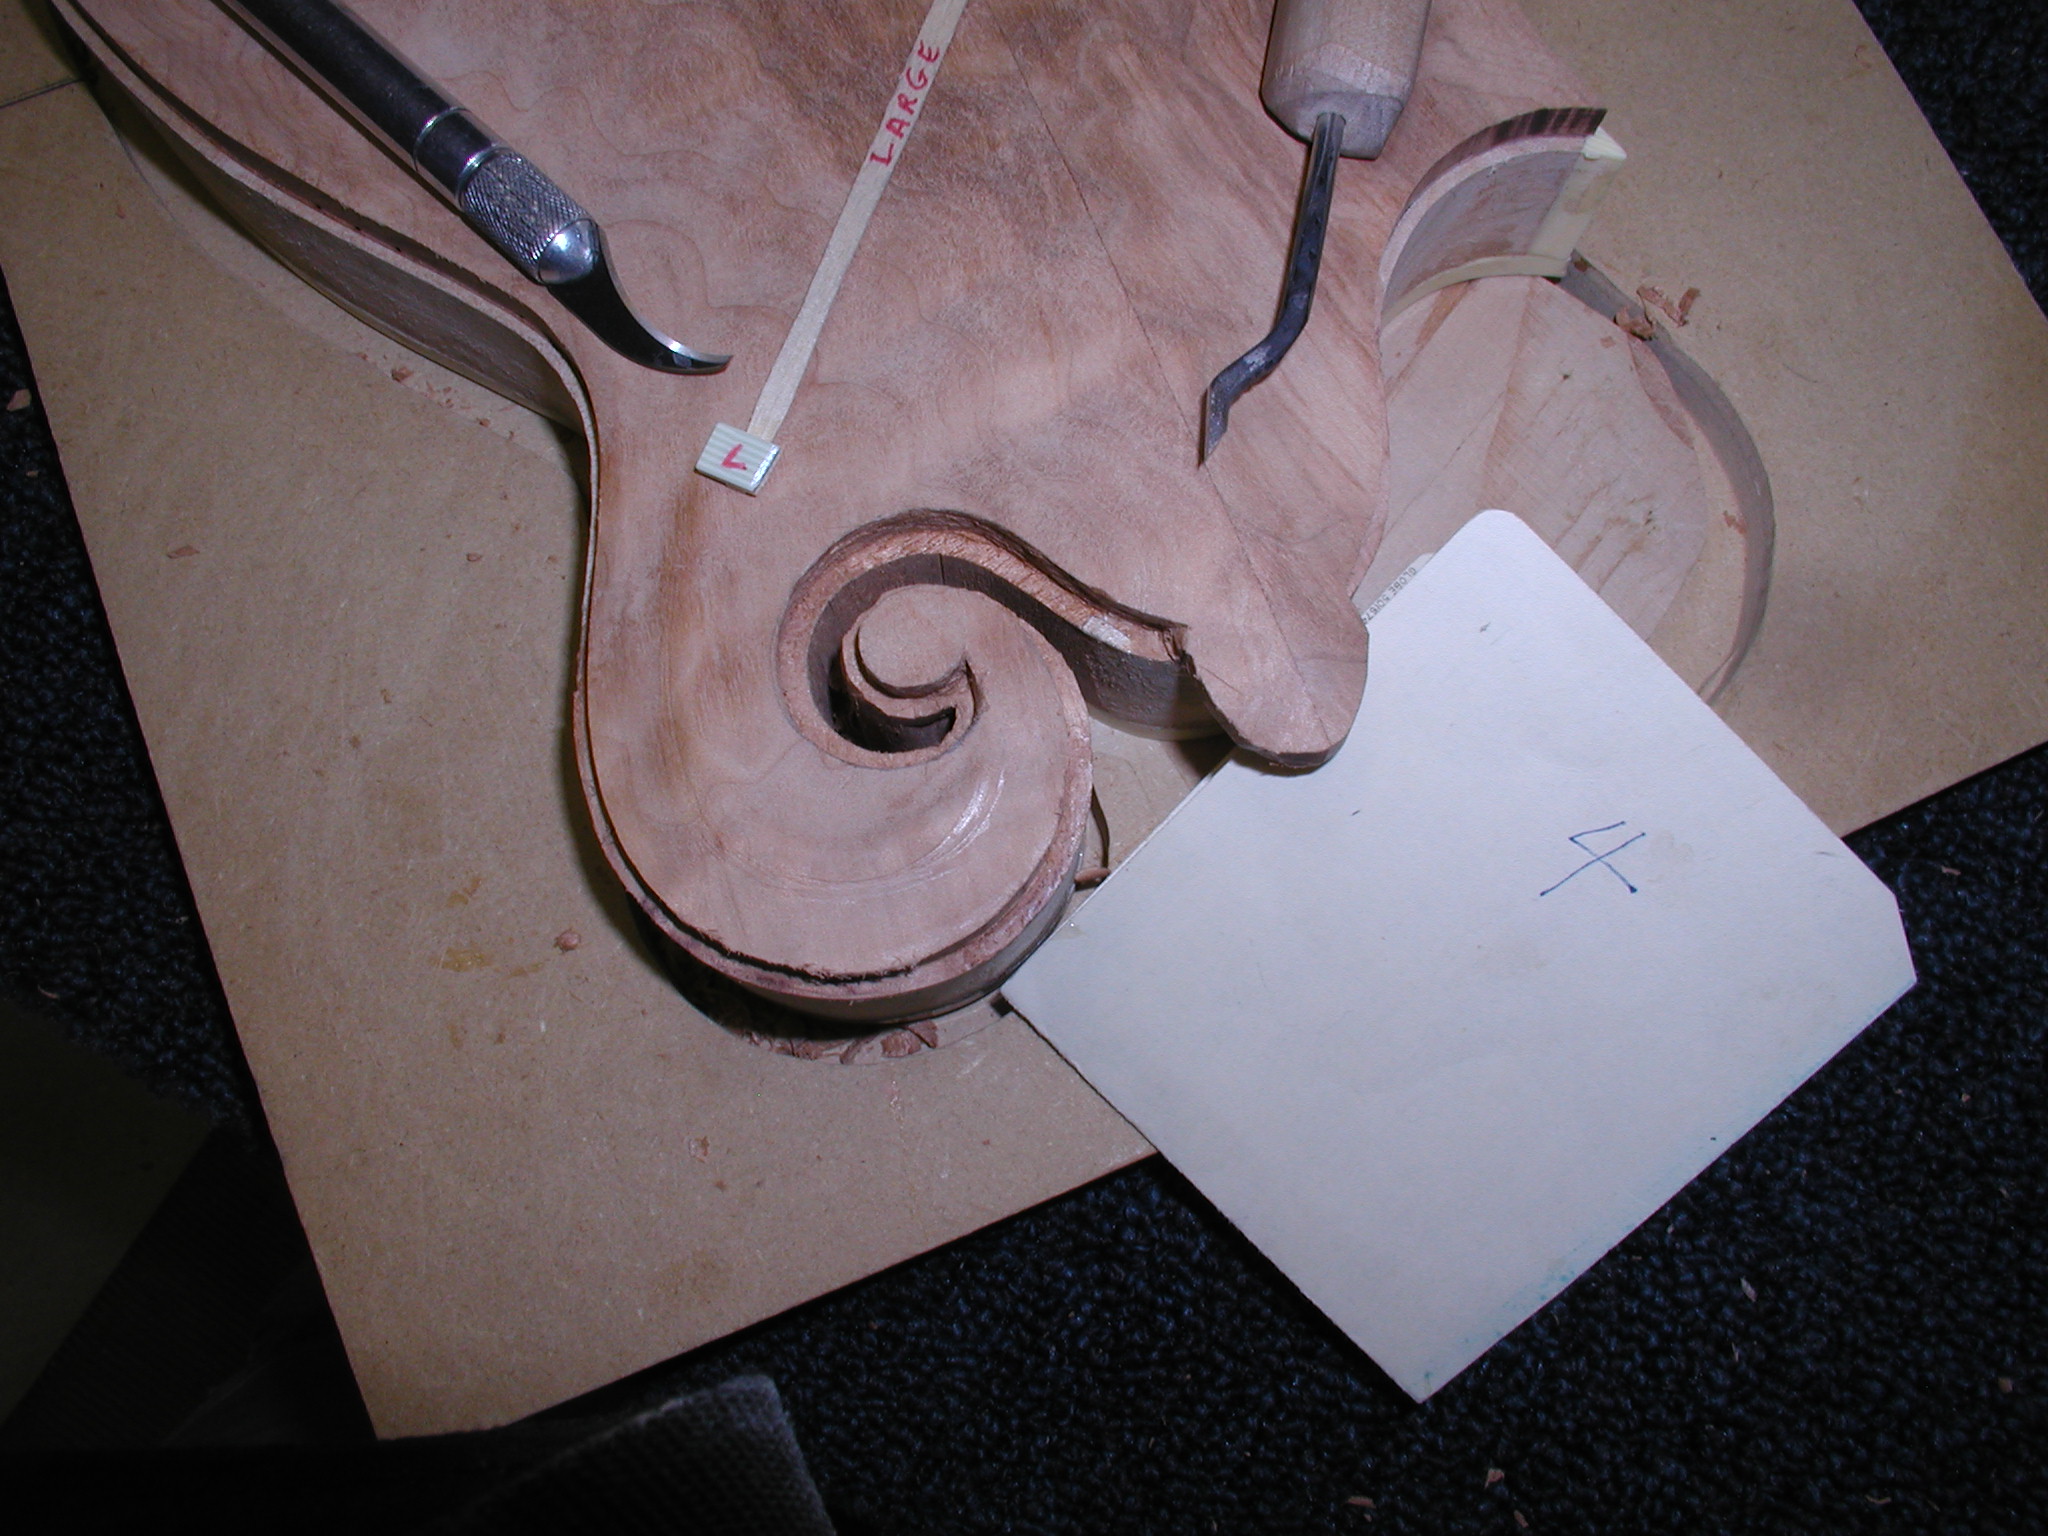
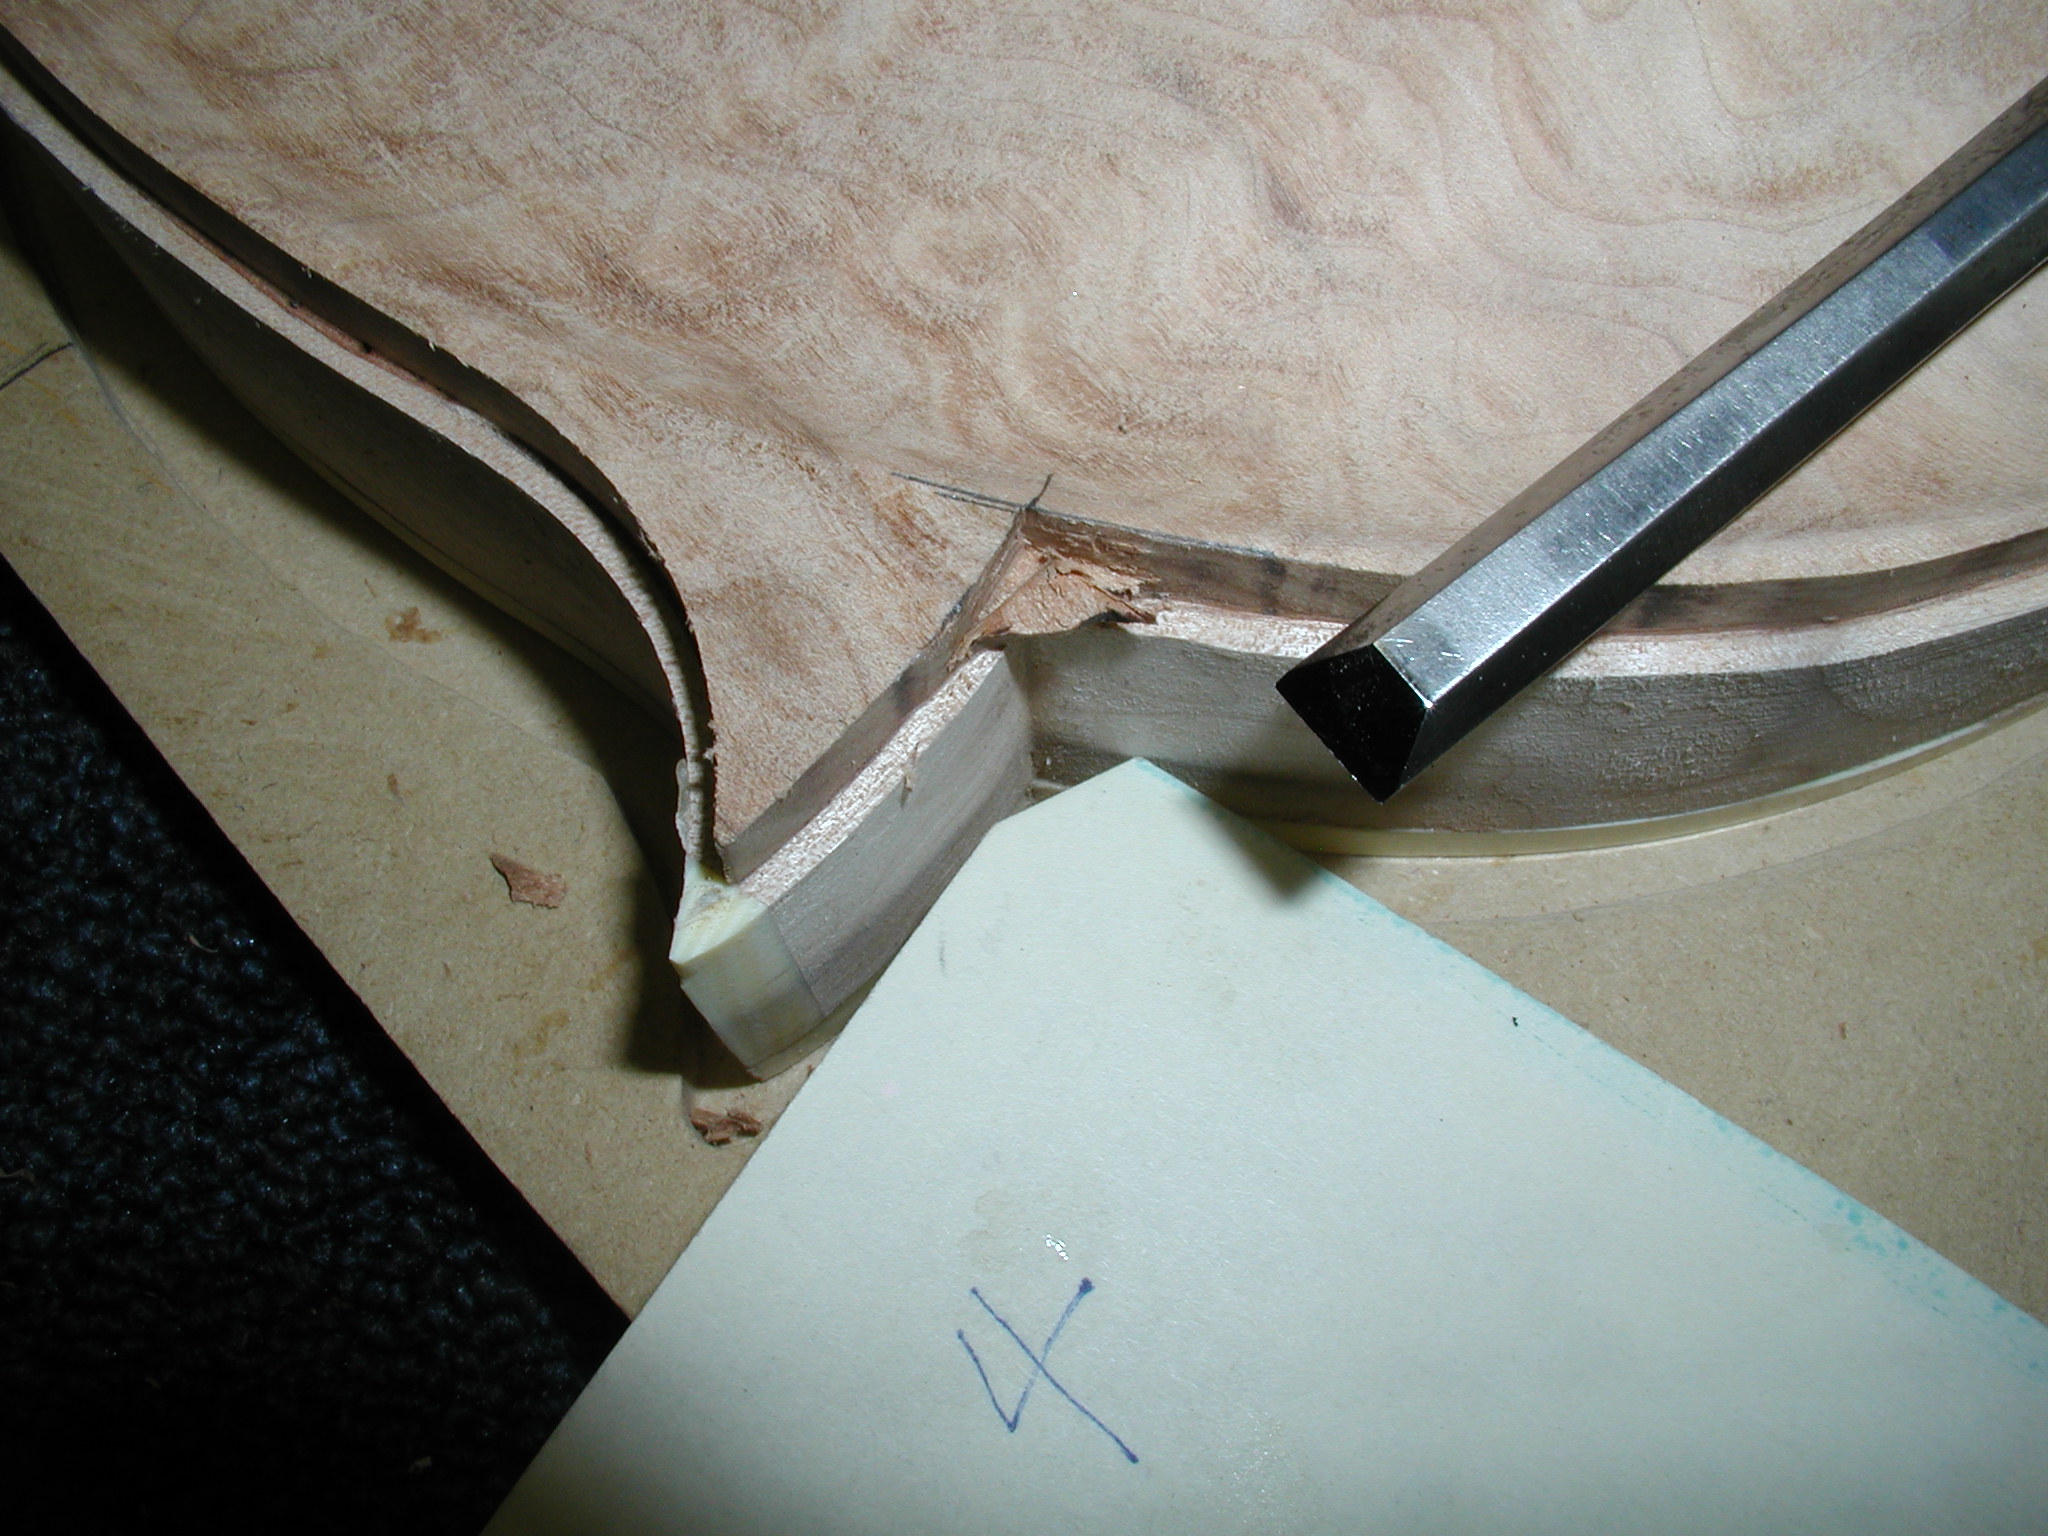
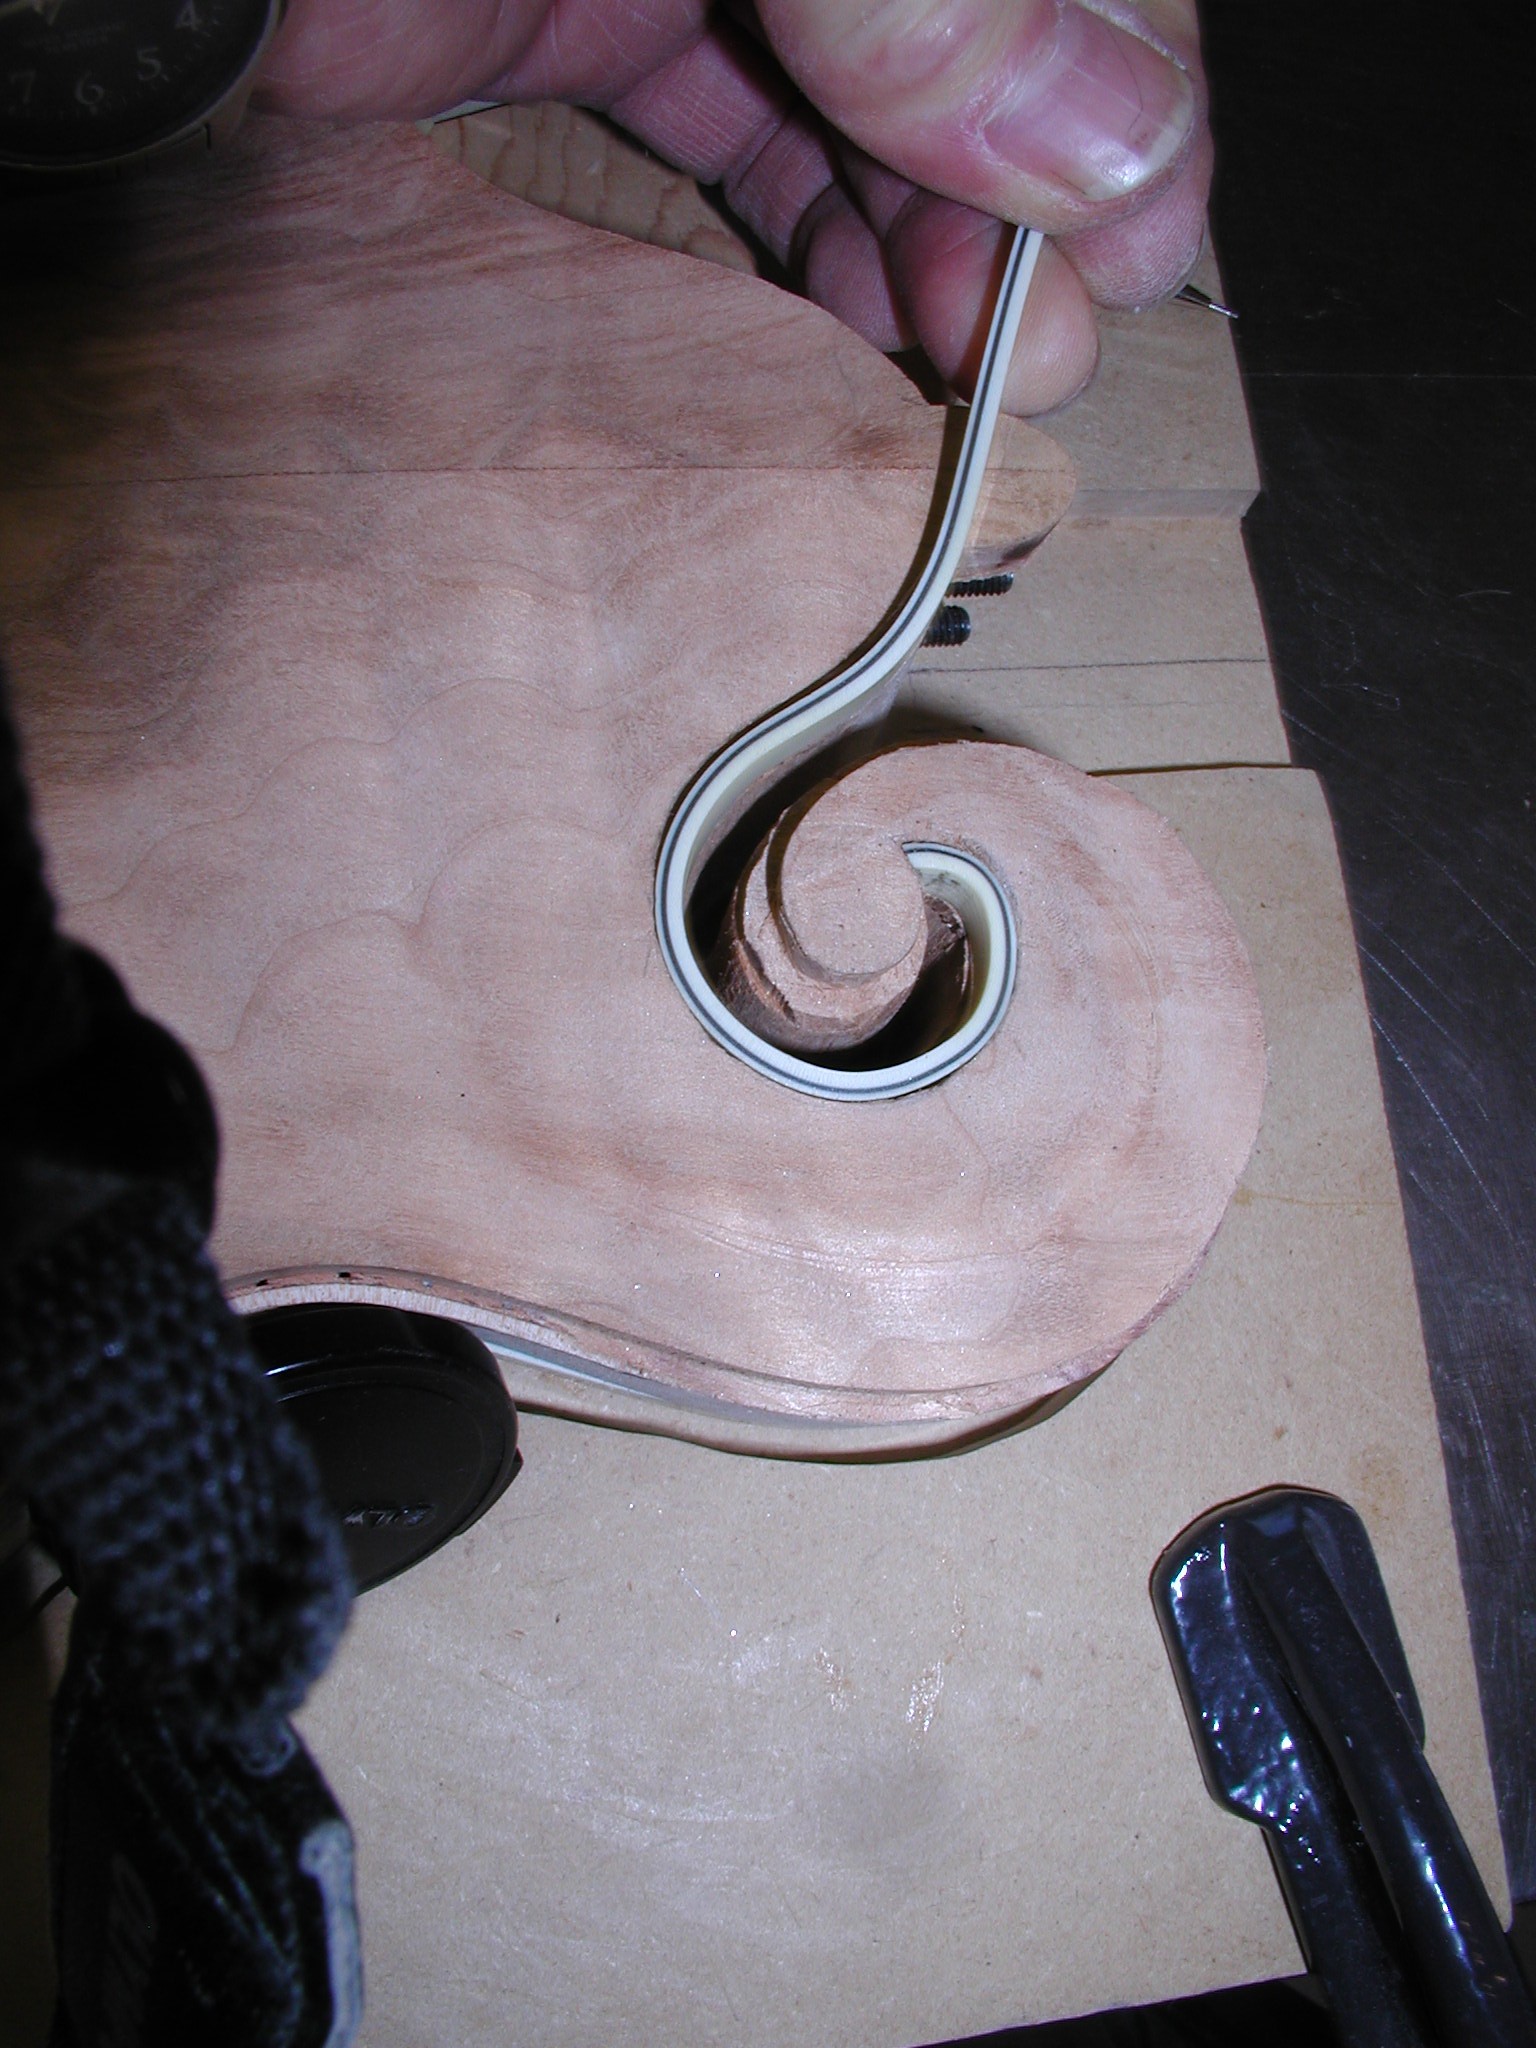
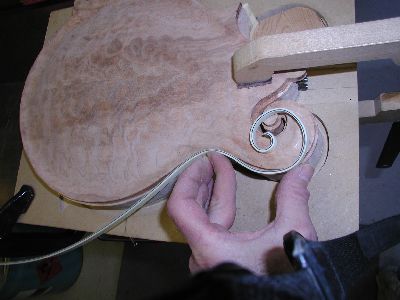
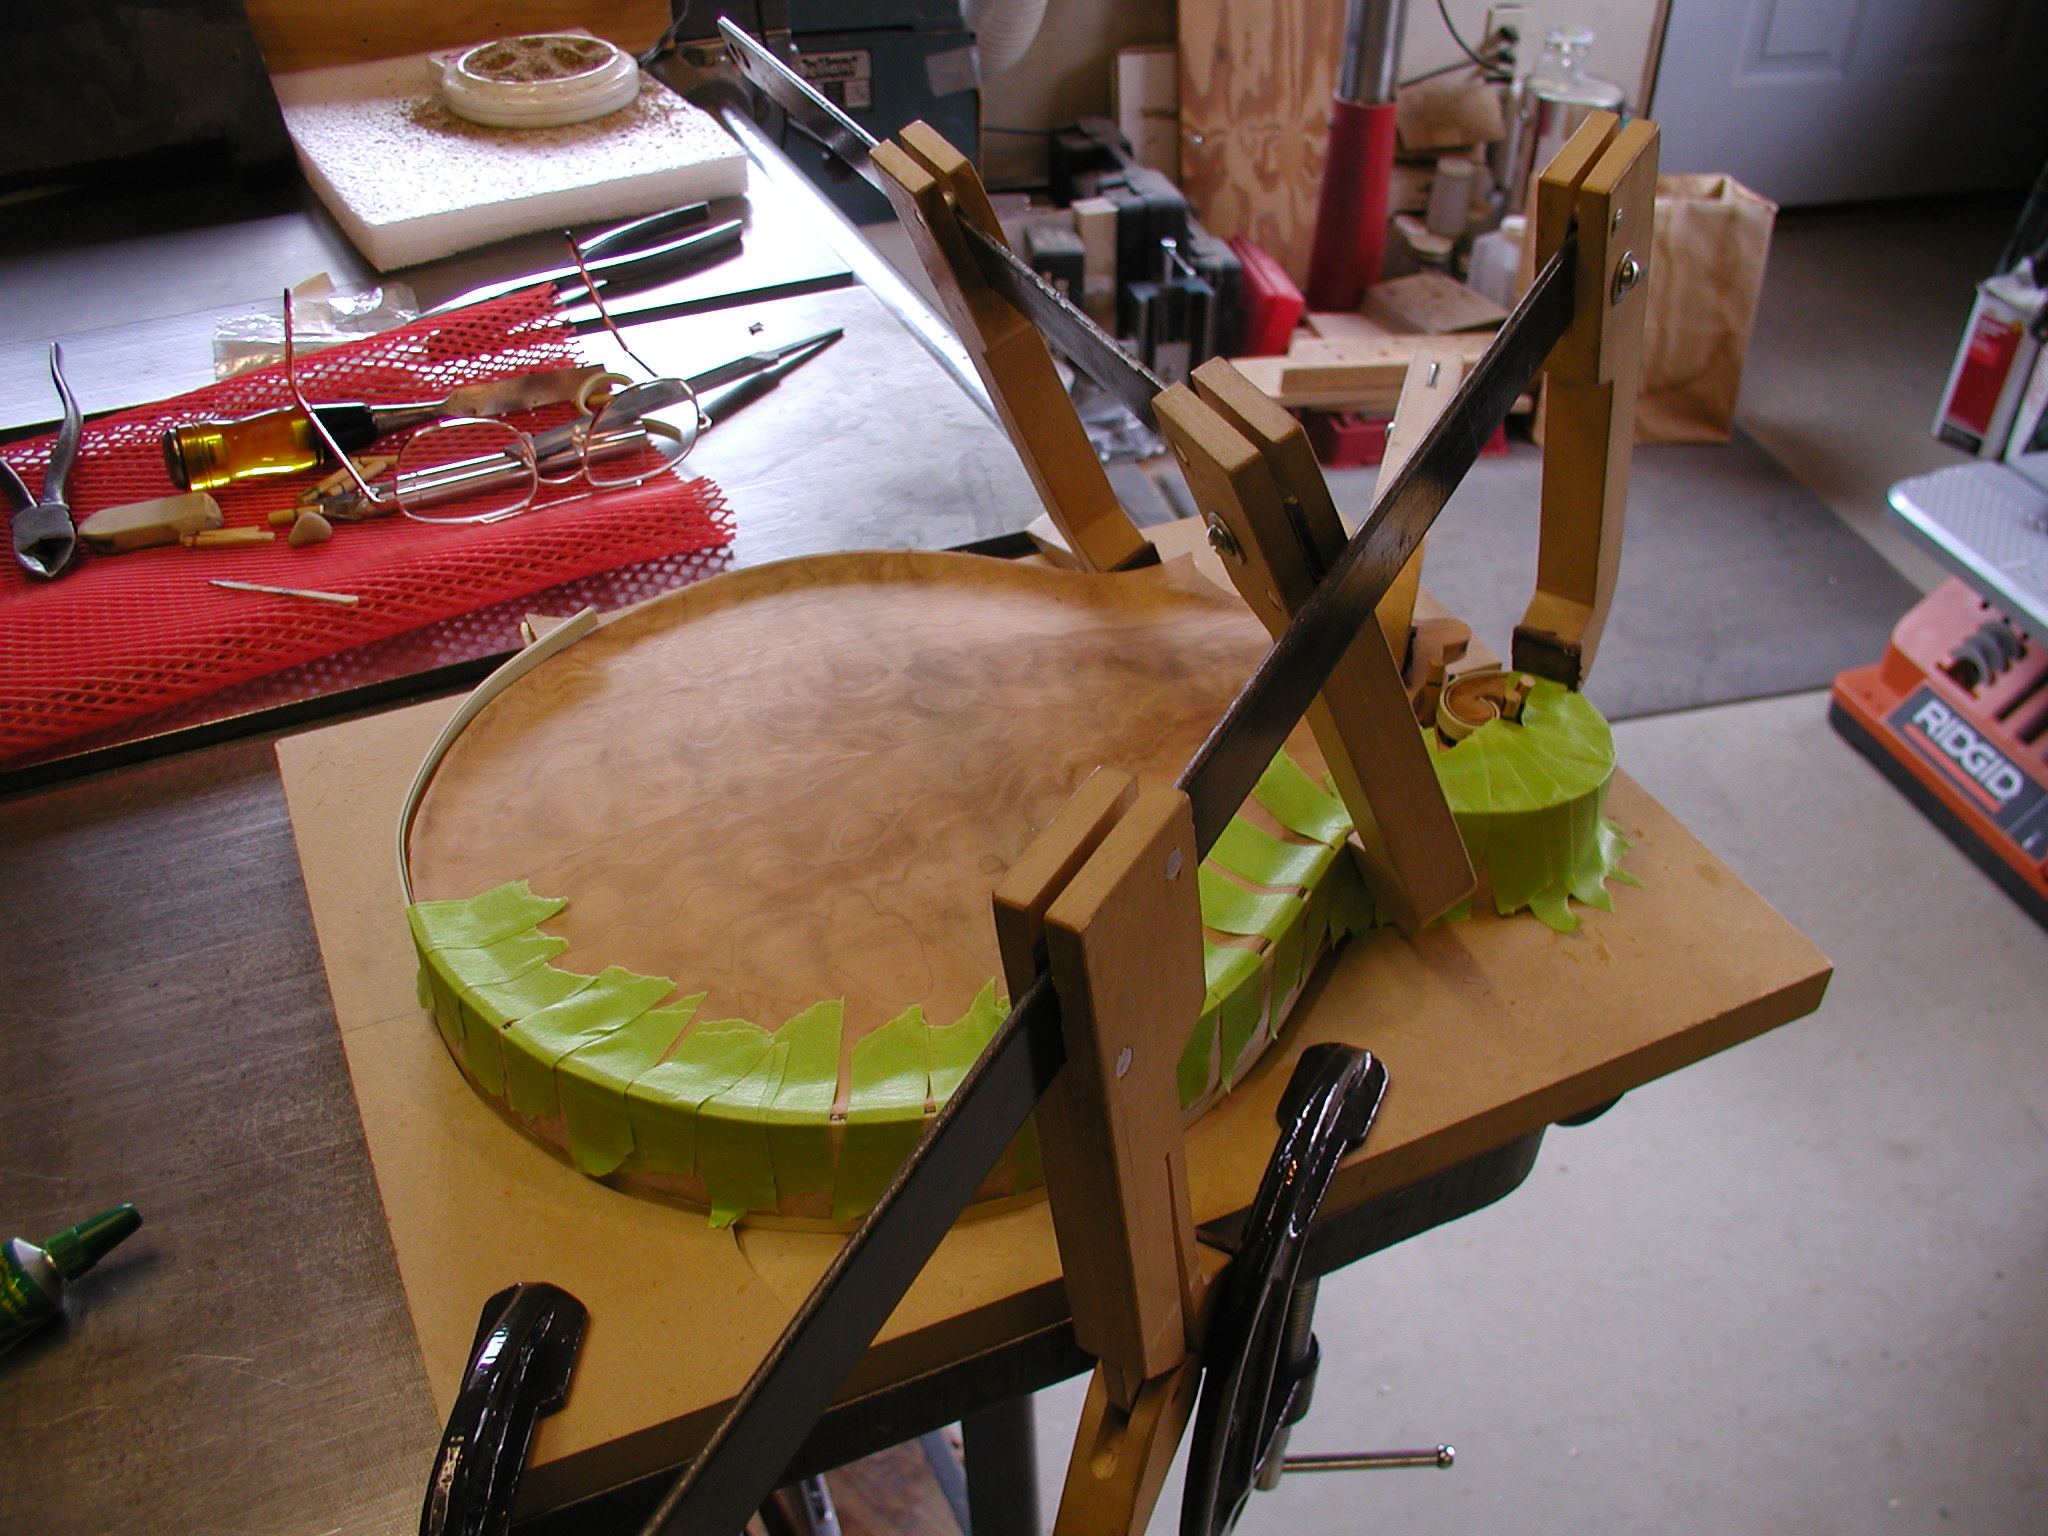
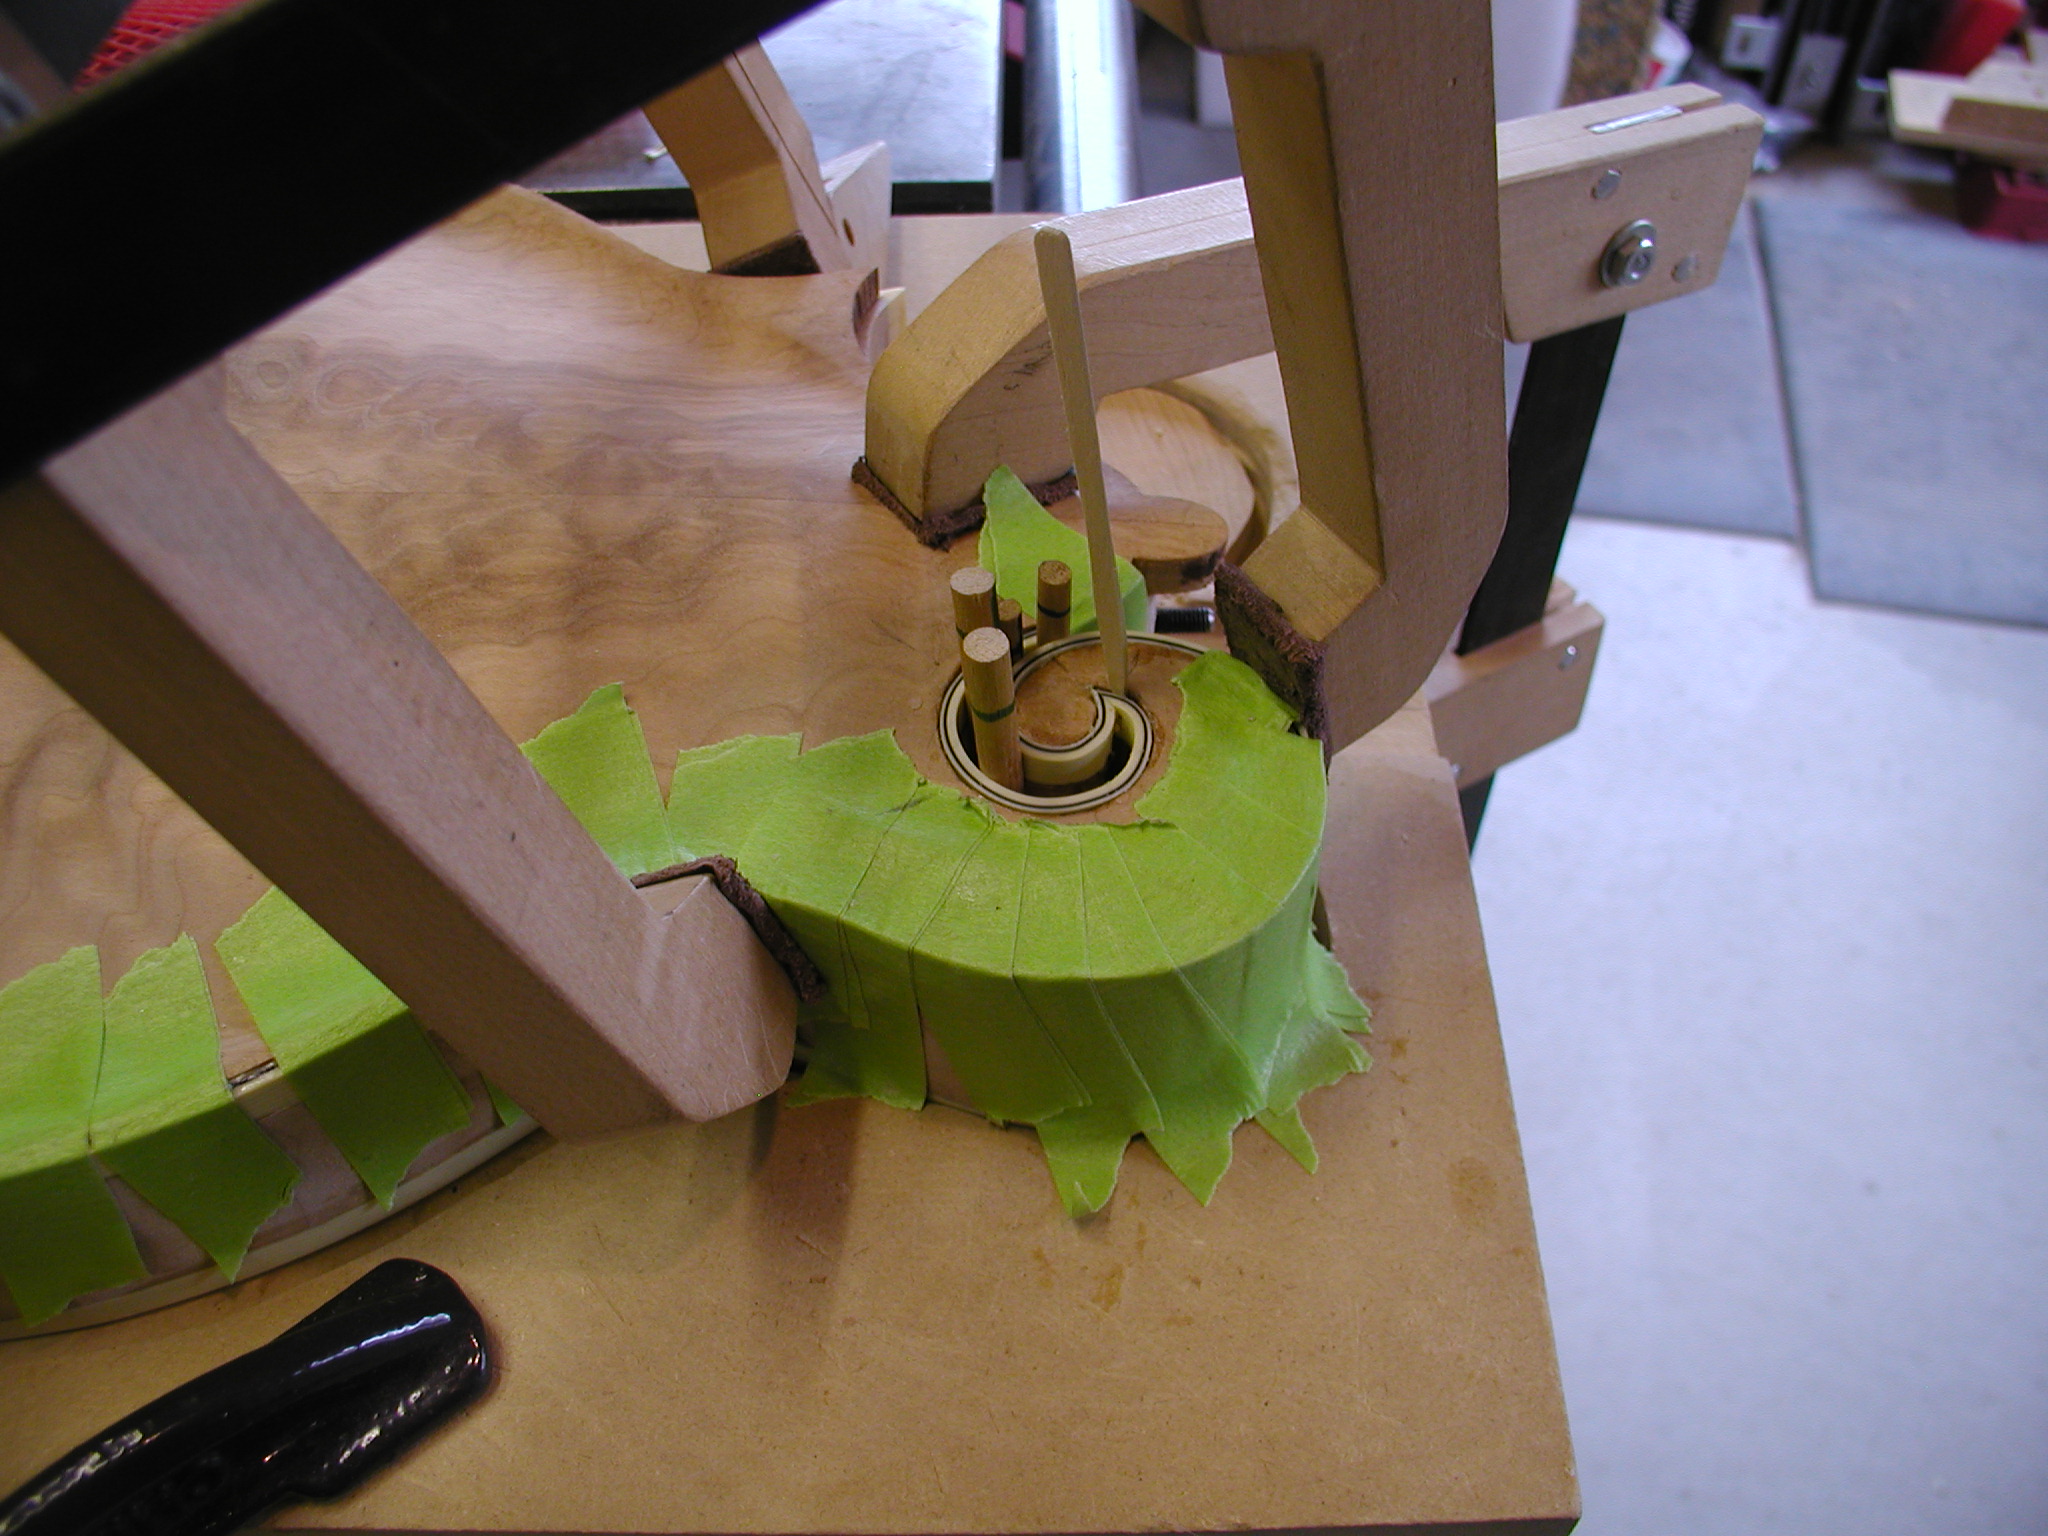
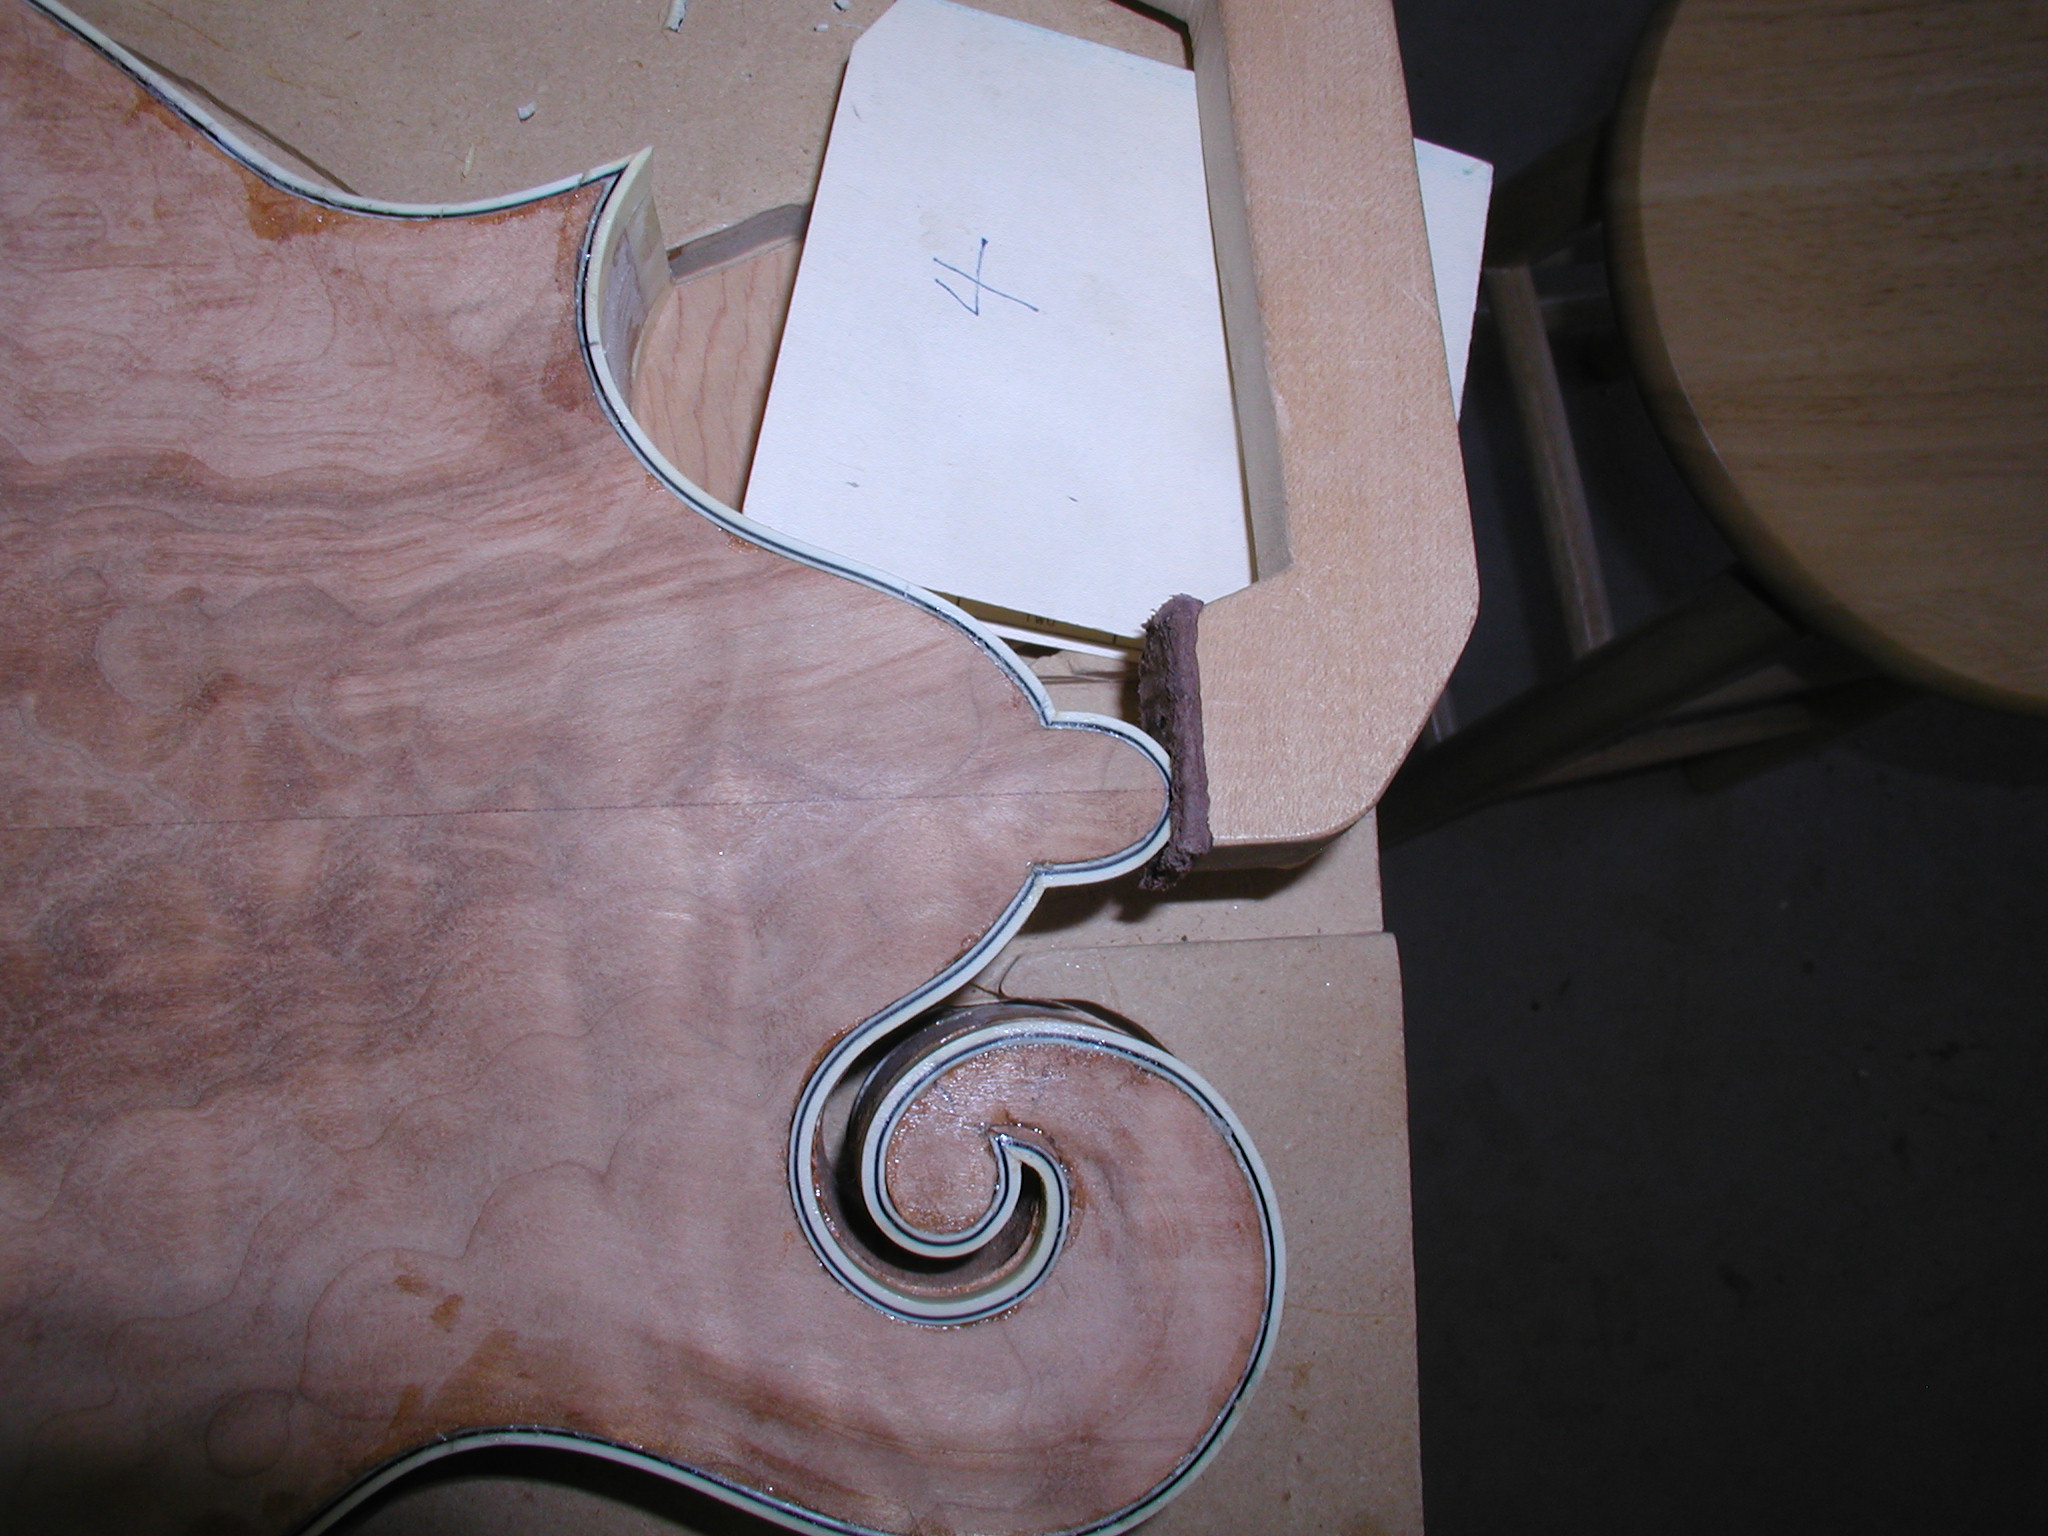
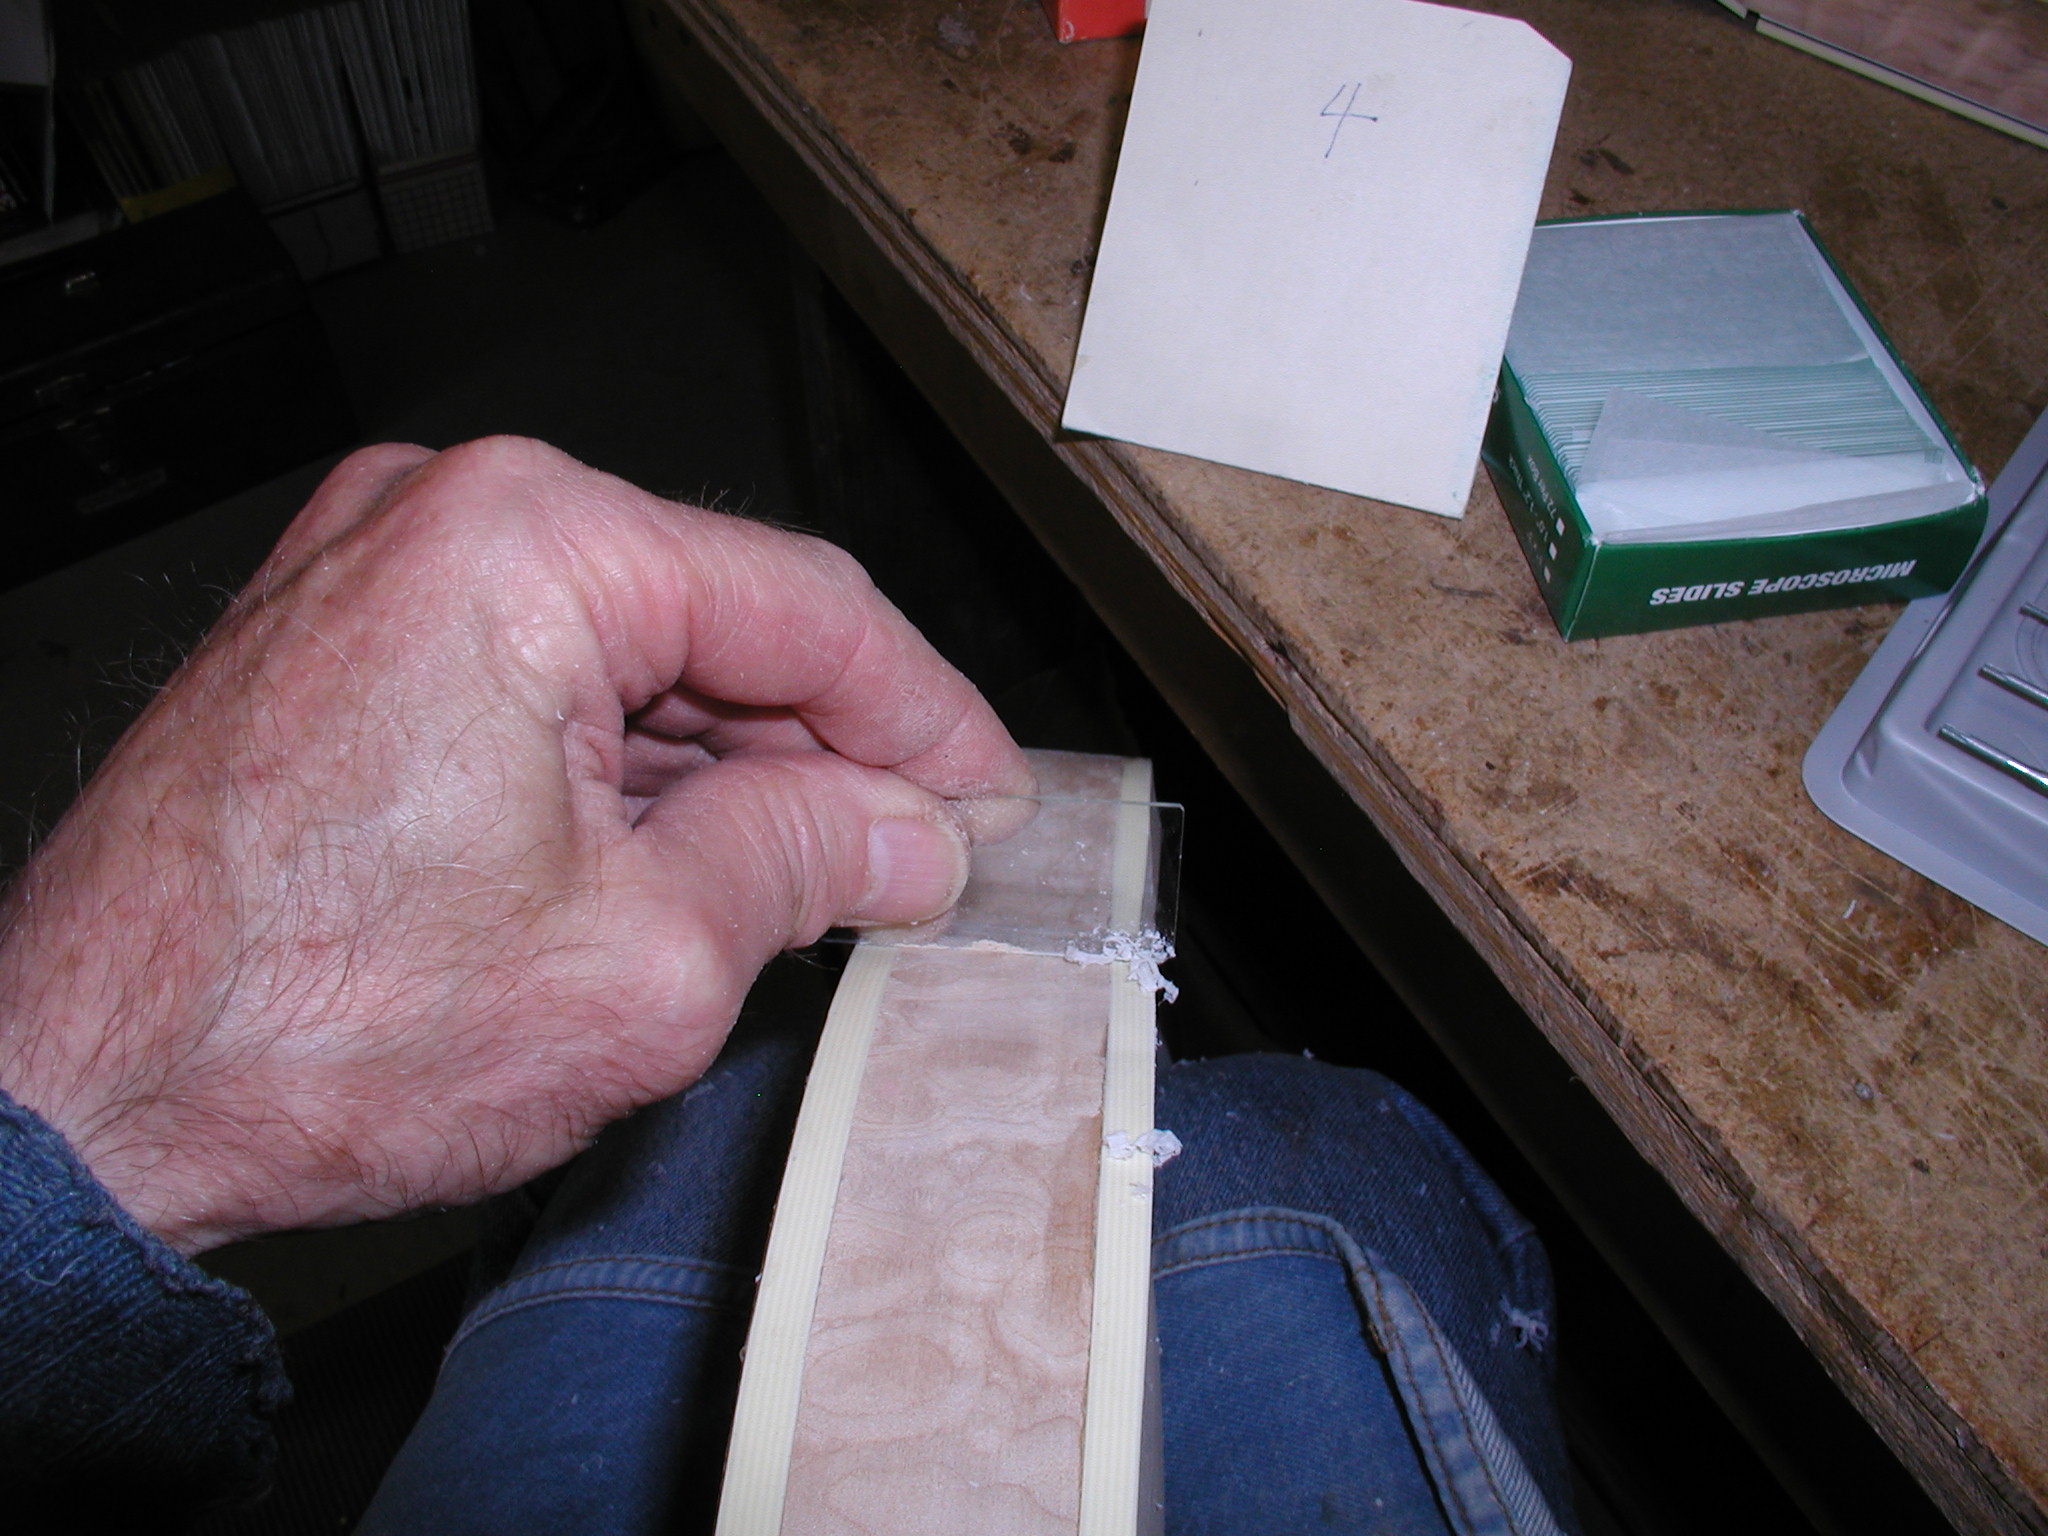
Binding. Pretty much the same as we did for the top. I'm using the hot sand and bending the binding to fit. Then Duco glue it in place mitering the corners. Tapered dowel wedges in the scroll area to wedge the binding tight in place. It helps to use a glass slide to scrape off the inside bottom corner of the binding to keep it from hitting in the bottom corner of the slot. Same game on the points using double stick tape and the spring clamps and binding "butter goo" to get the points nice and tight.
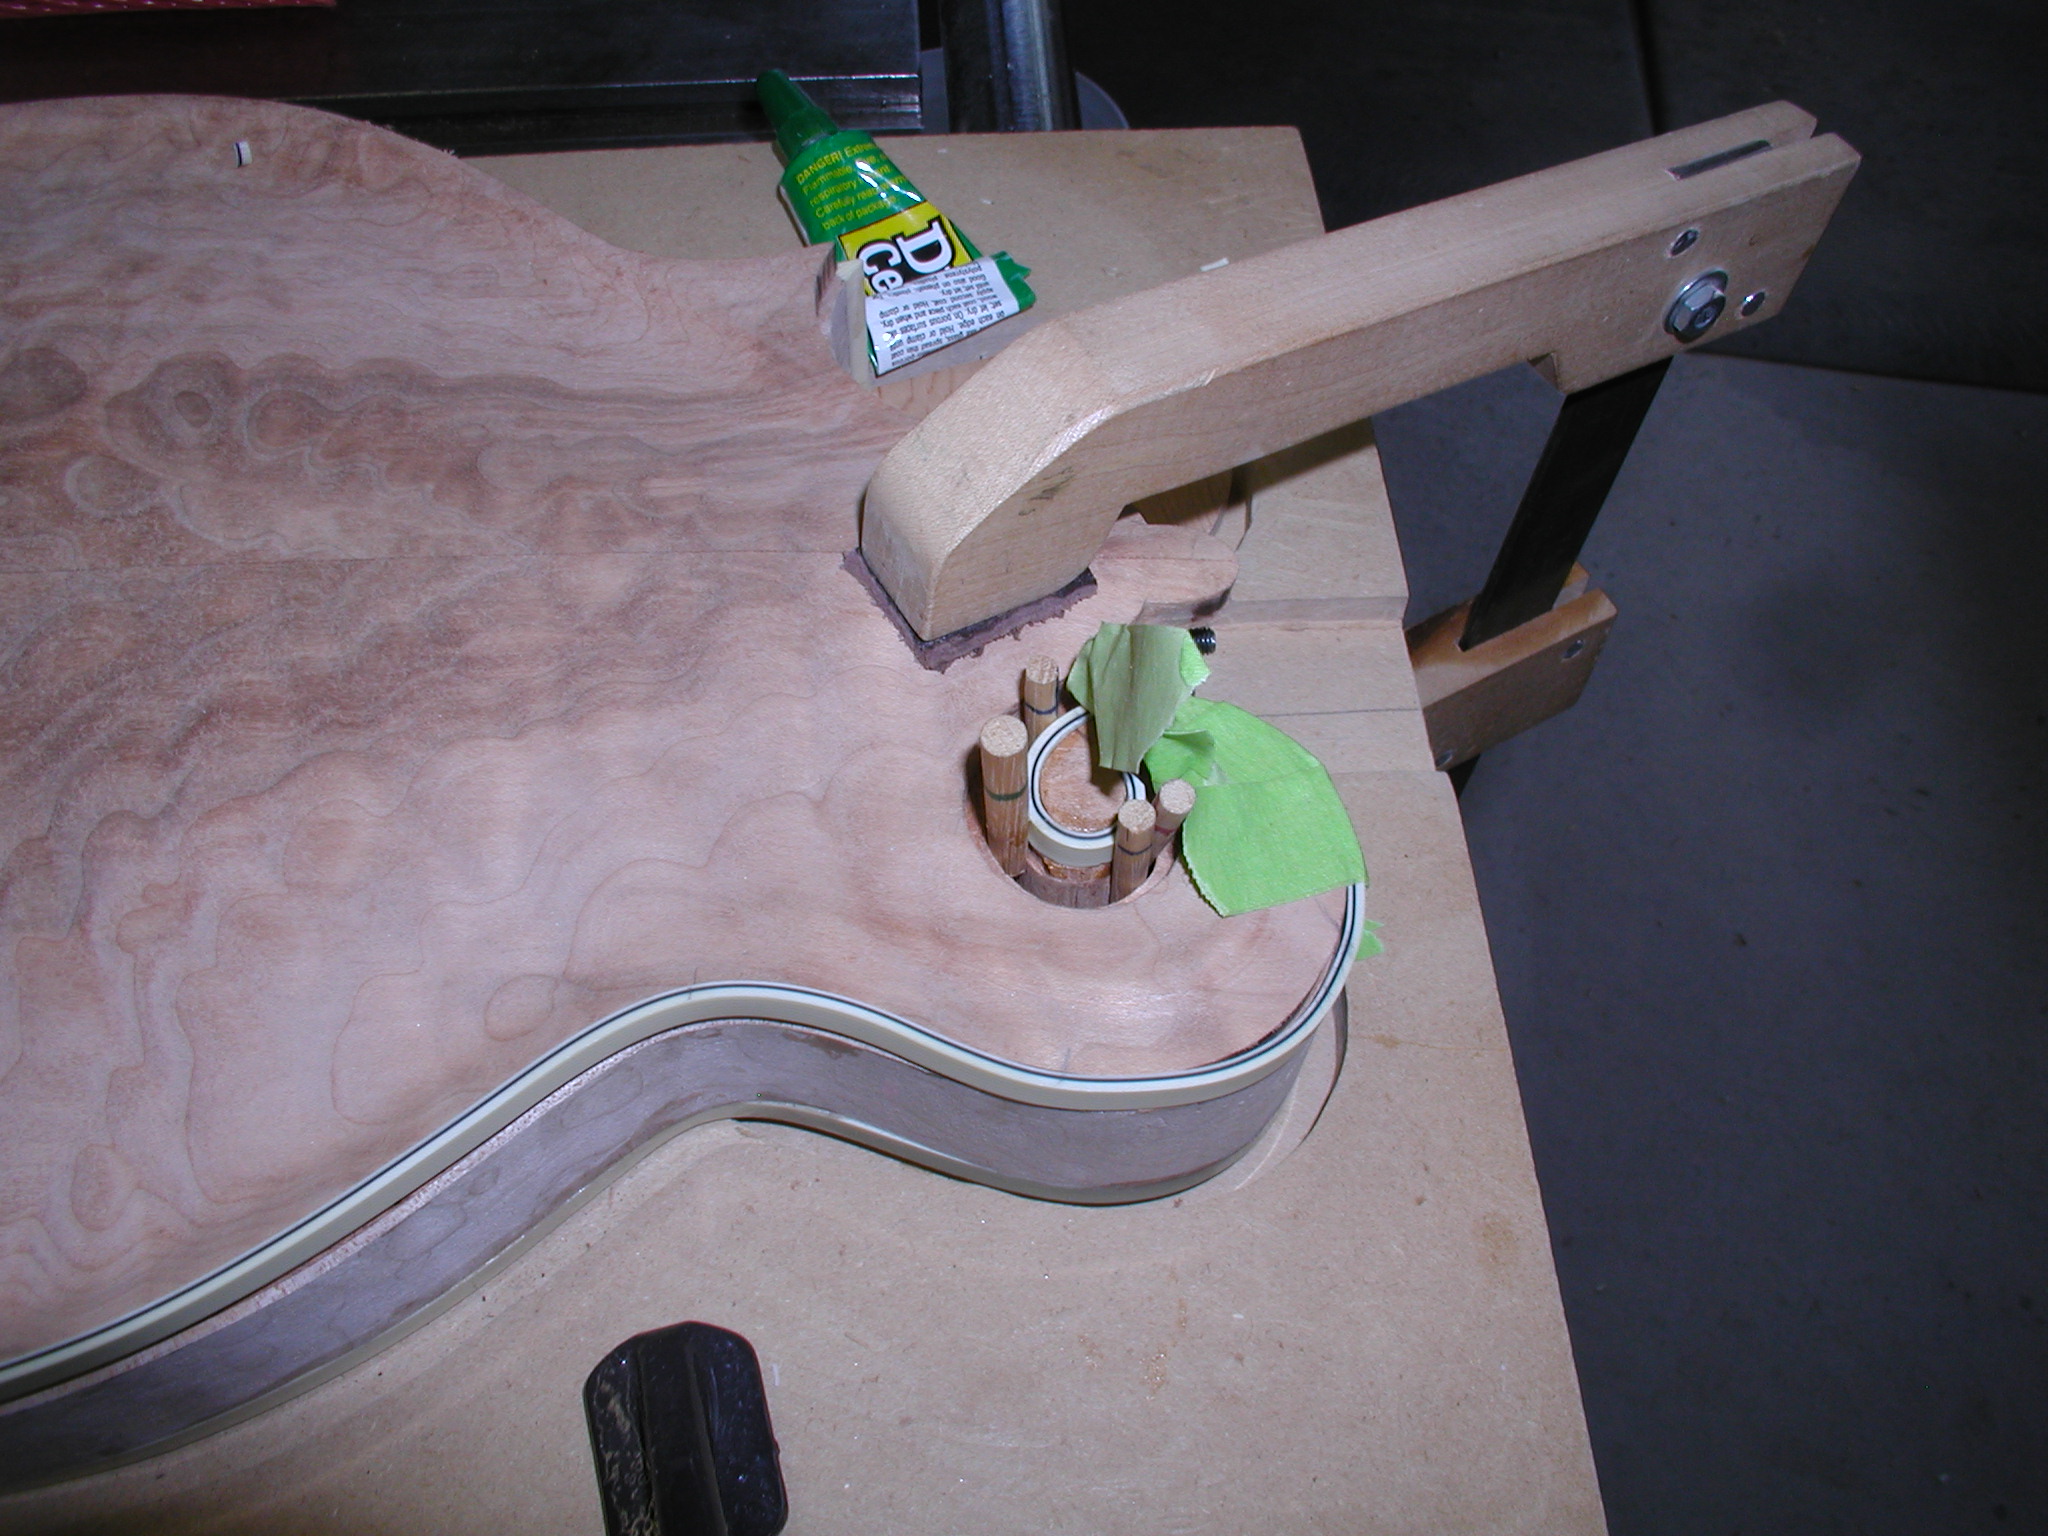

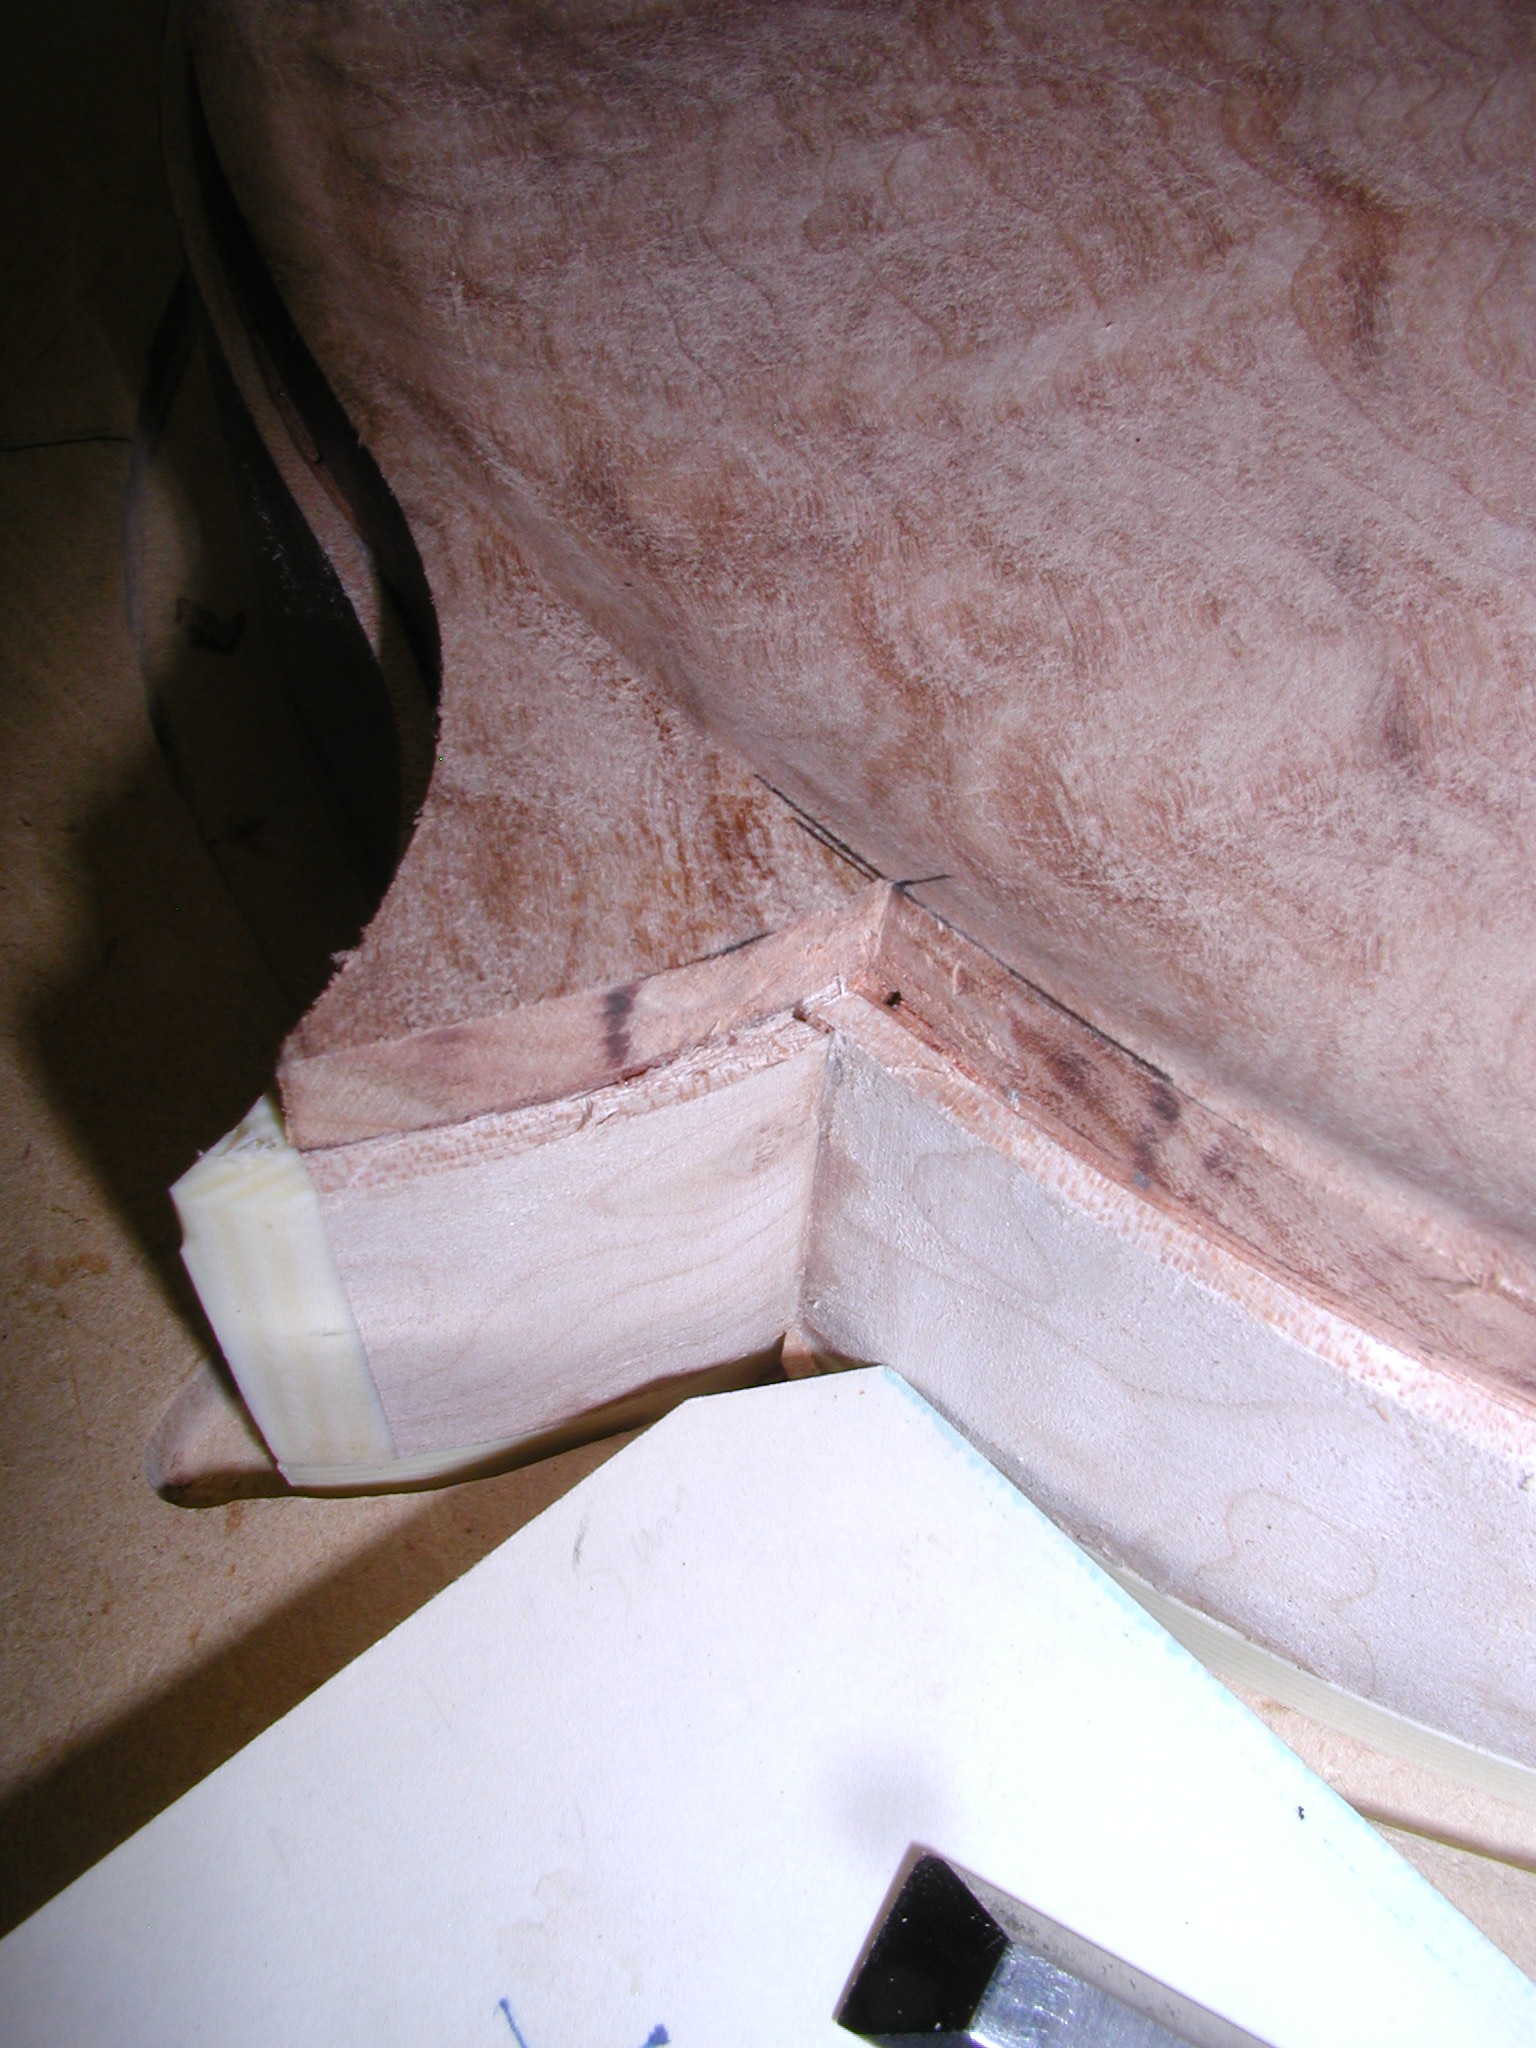
Again, the back has the button, so I bend that piece and then slowly miter in the corners. I leave it just a tad long, just one slice short of a good fit. Then I butter it with the binding goo and Duco and force it in place with a clamp. This makes a nice compression fit so it won't pull loose or show a gap later on as the binding and solvents cure out.
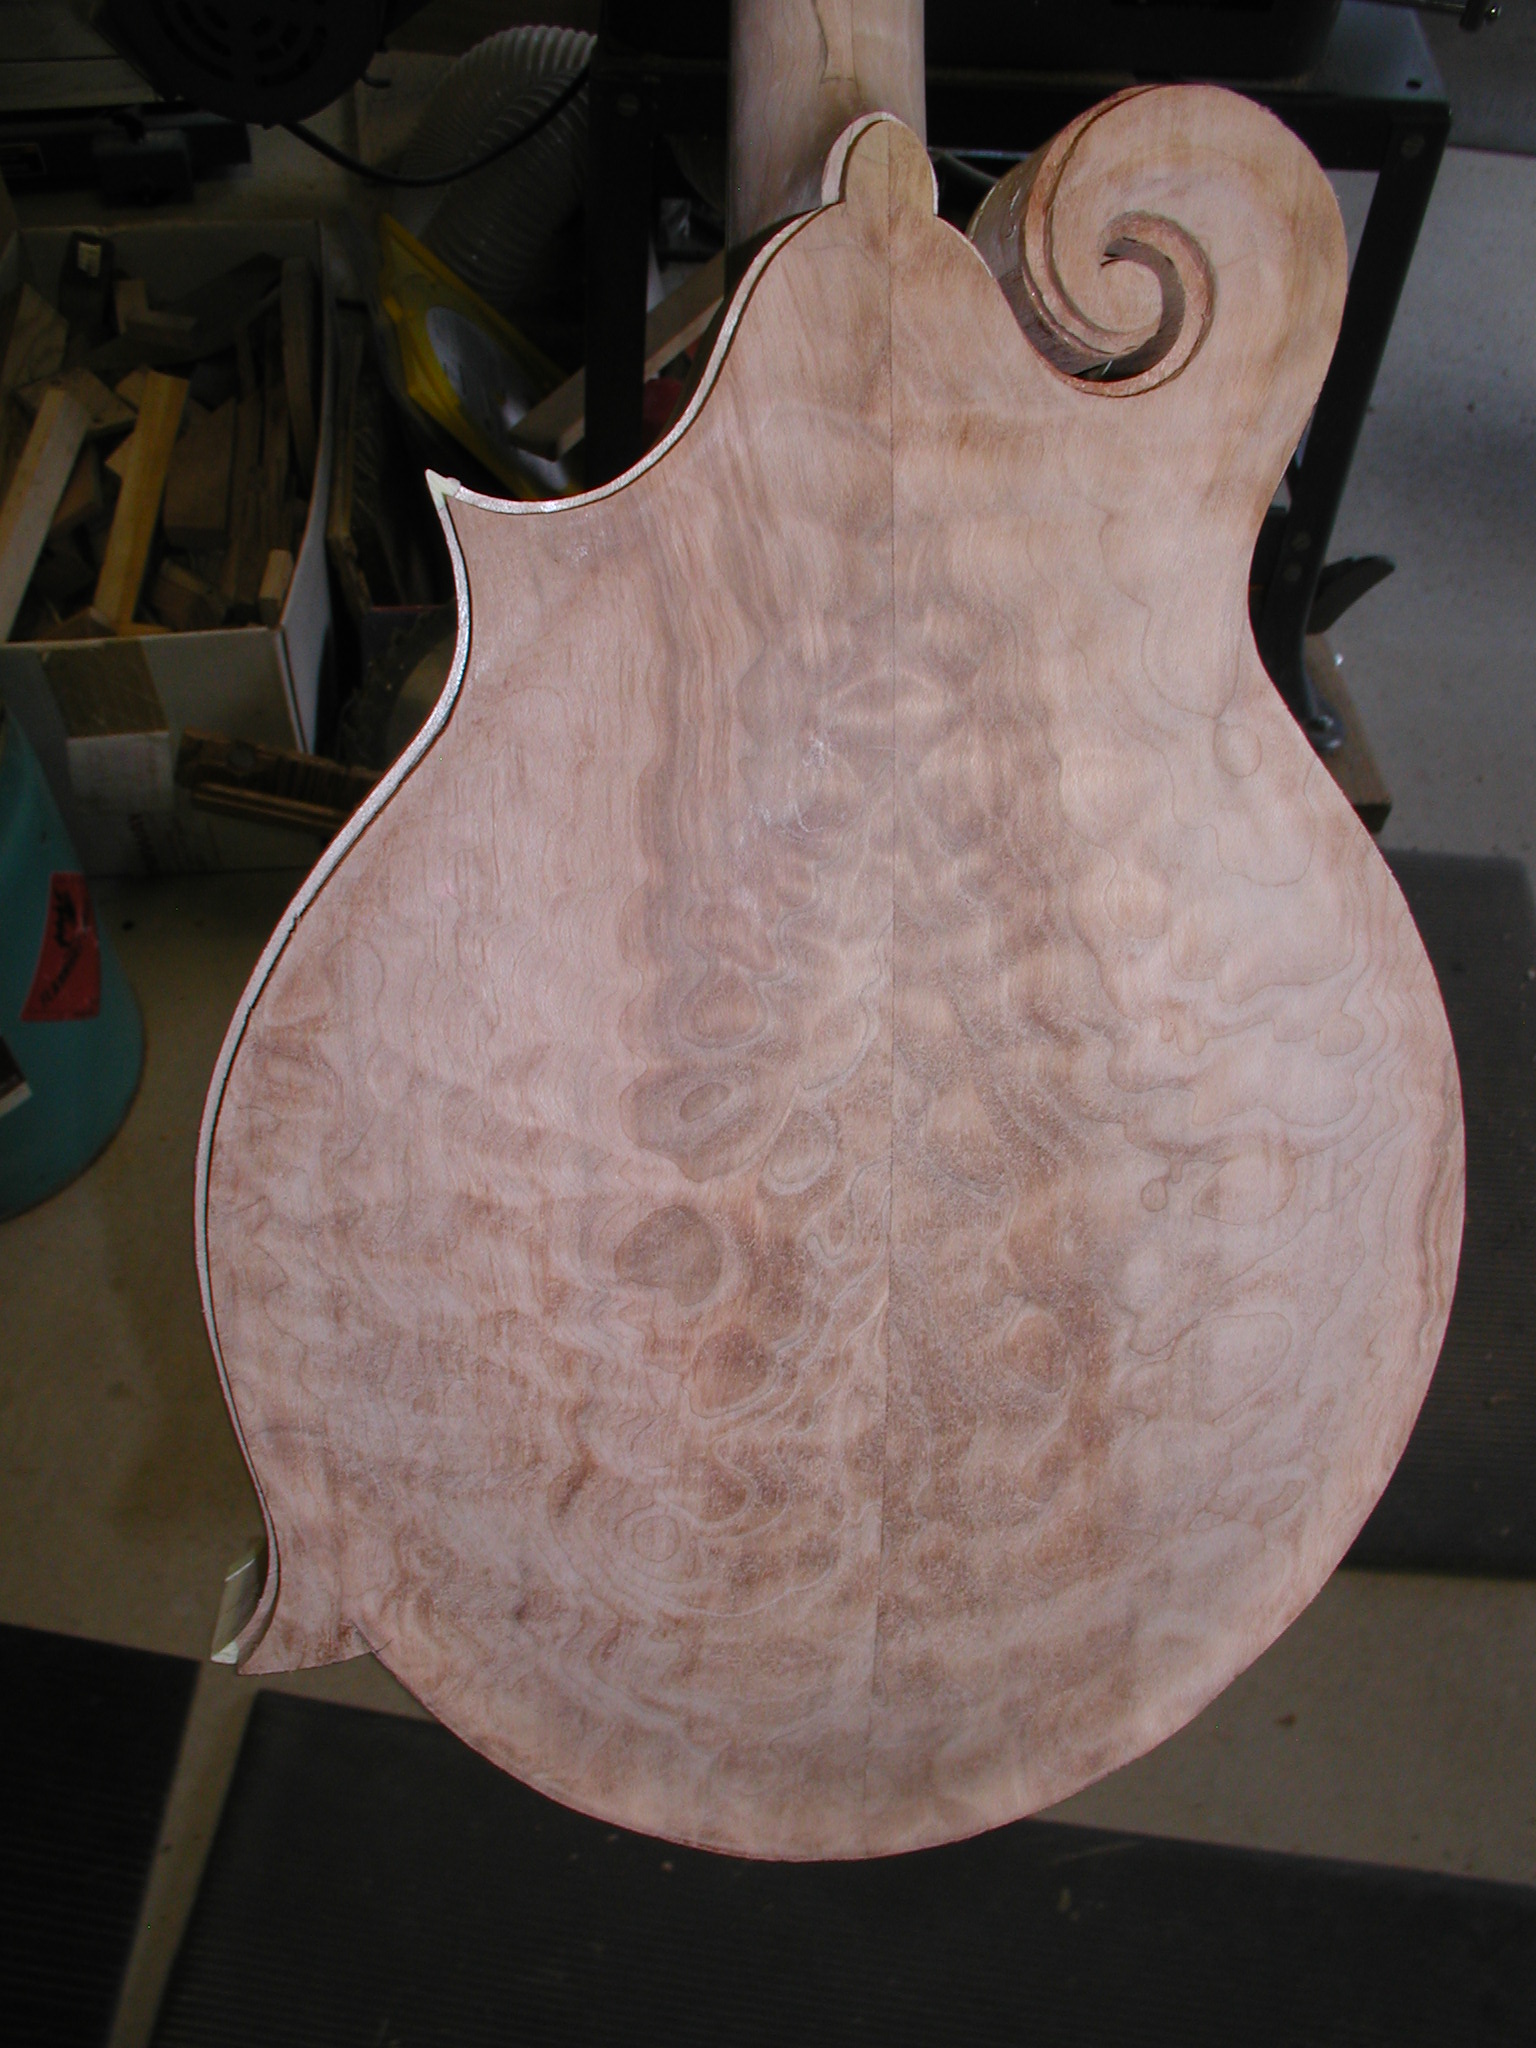
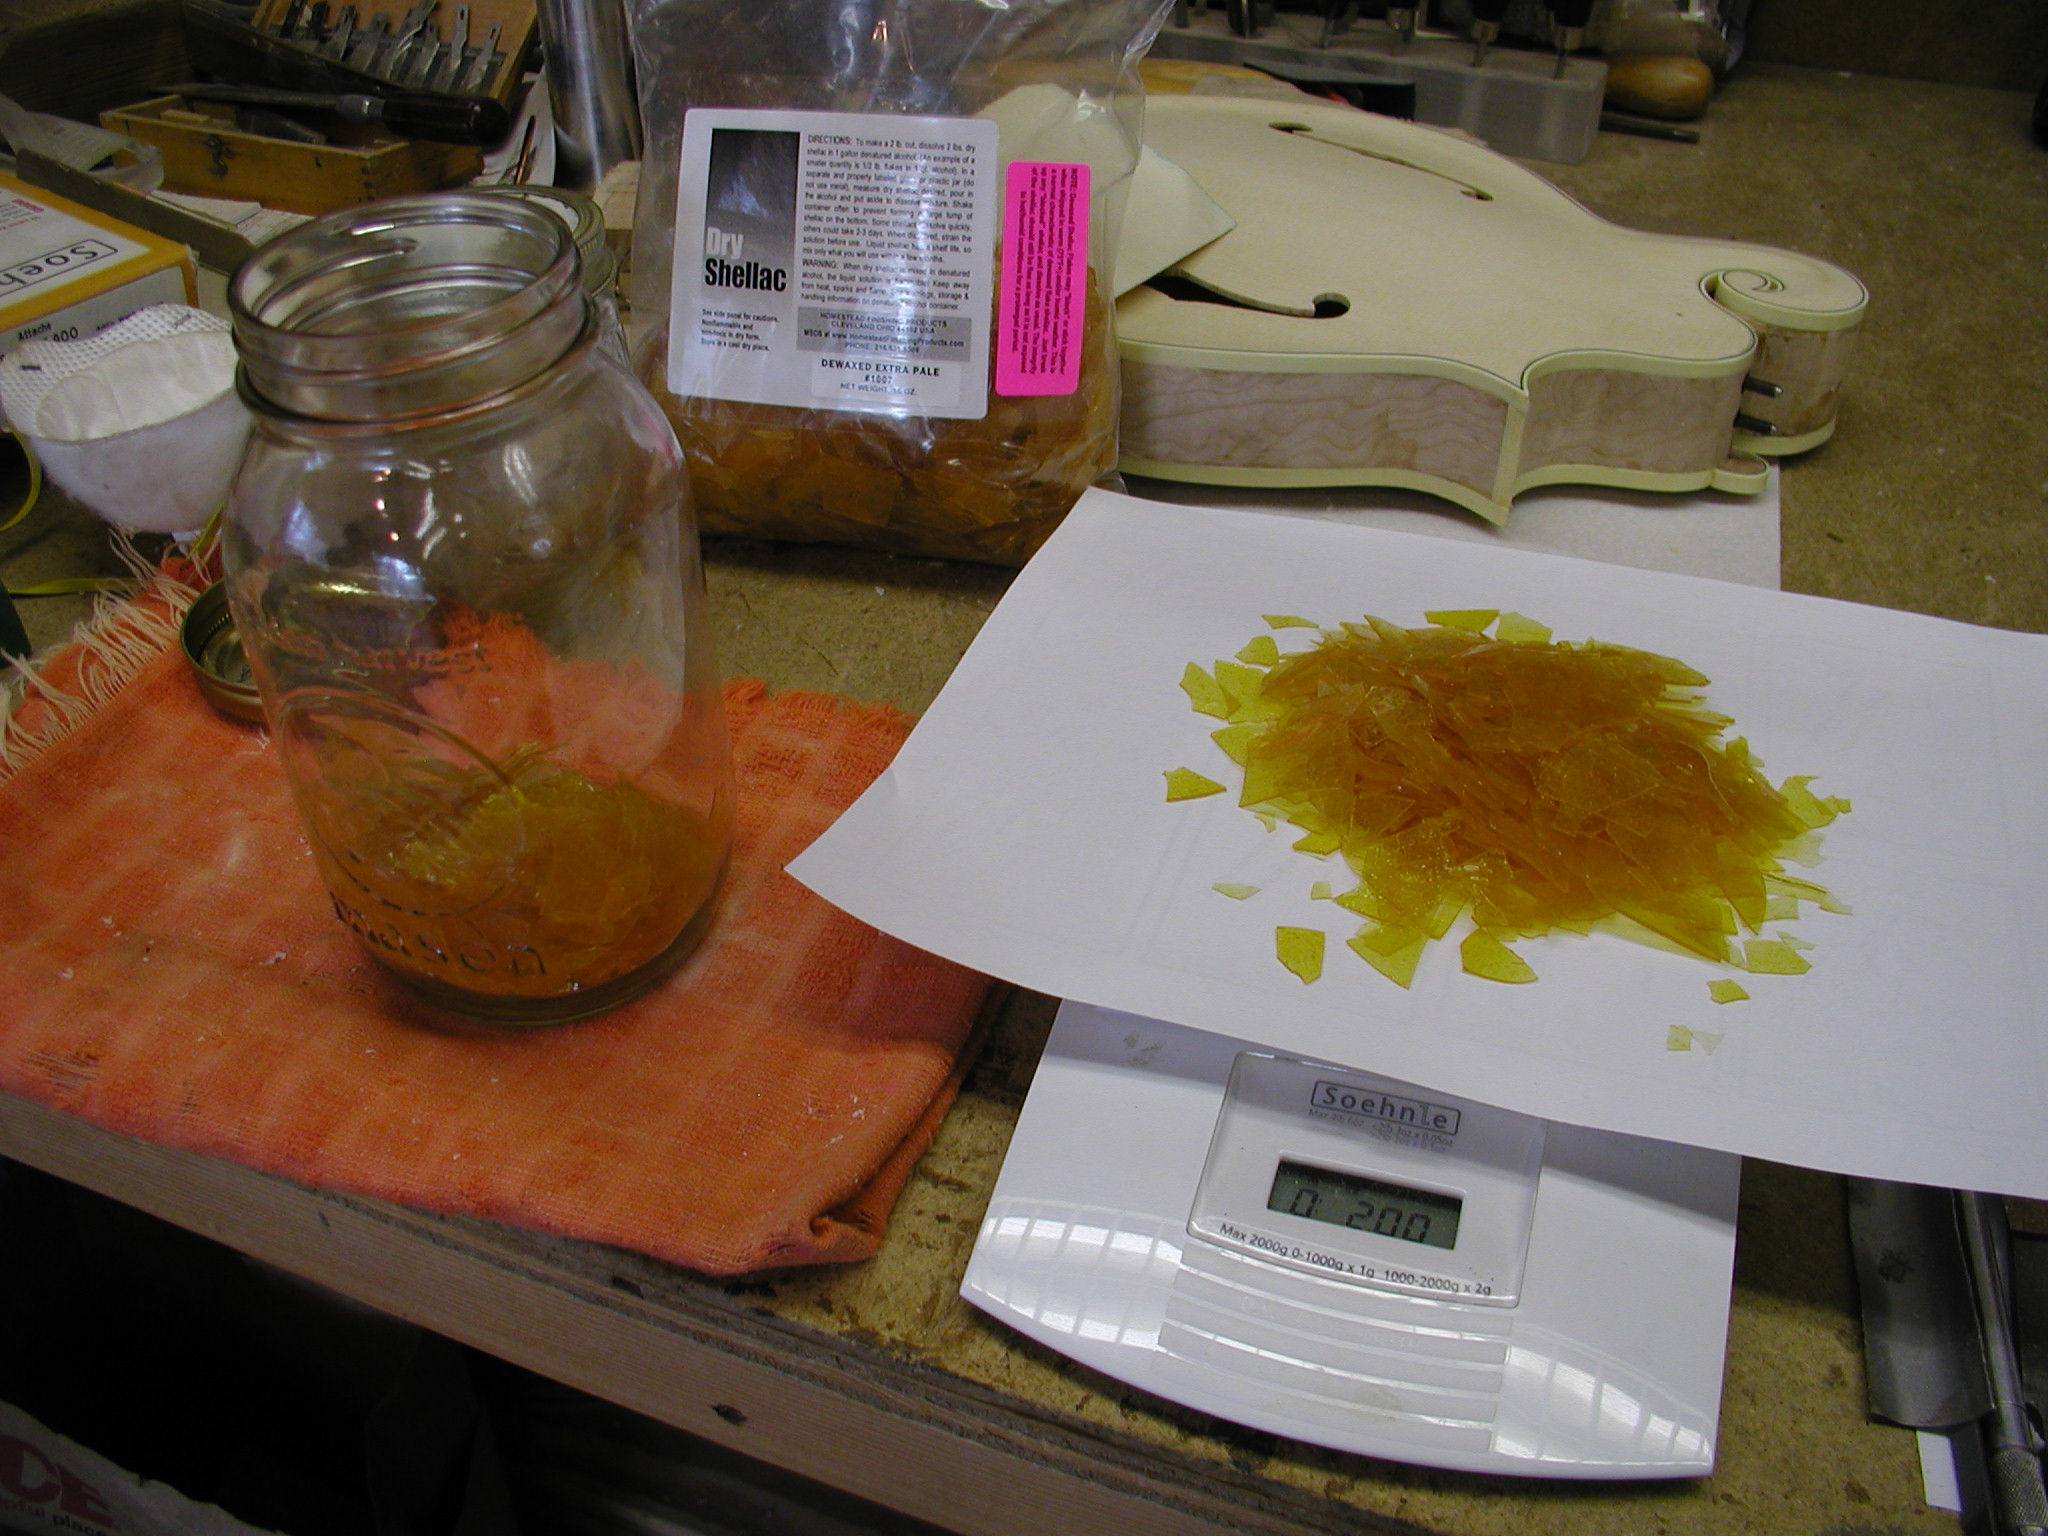
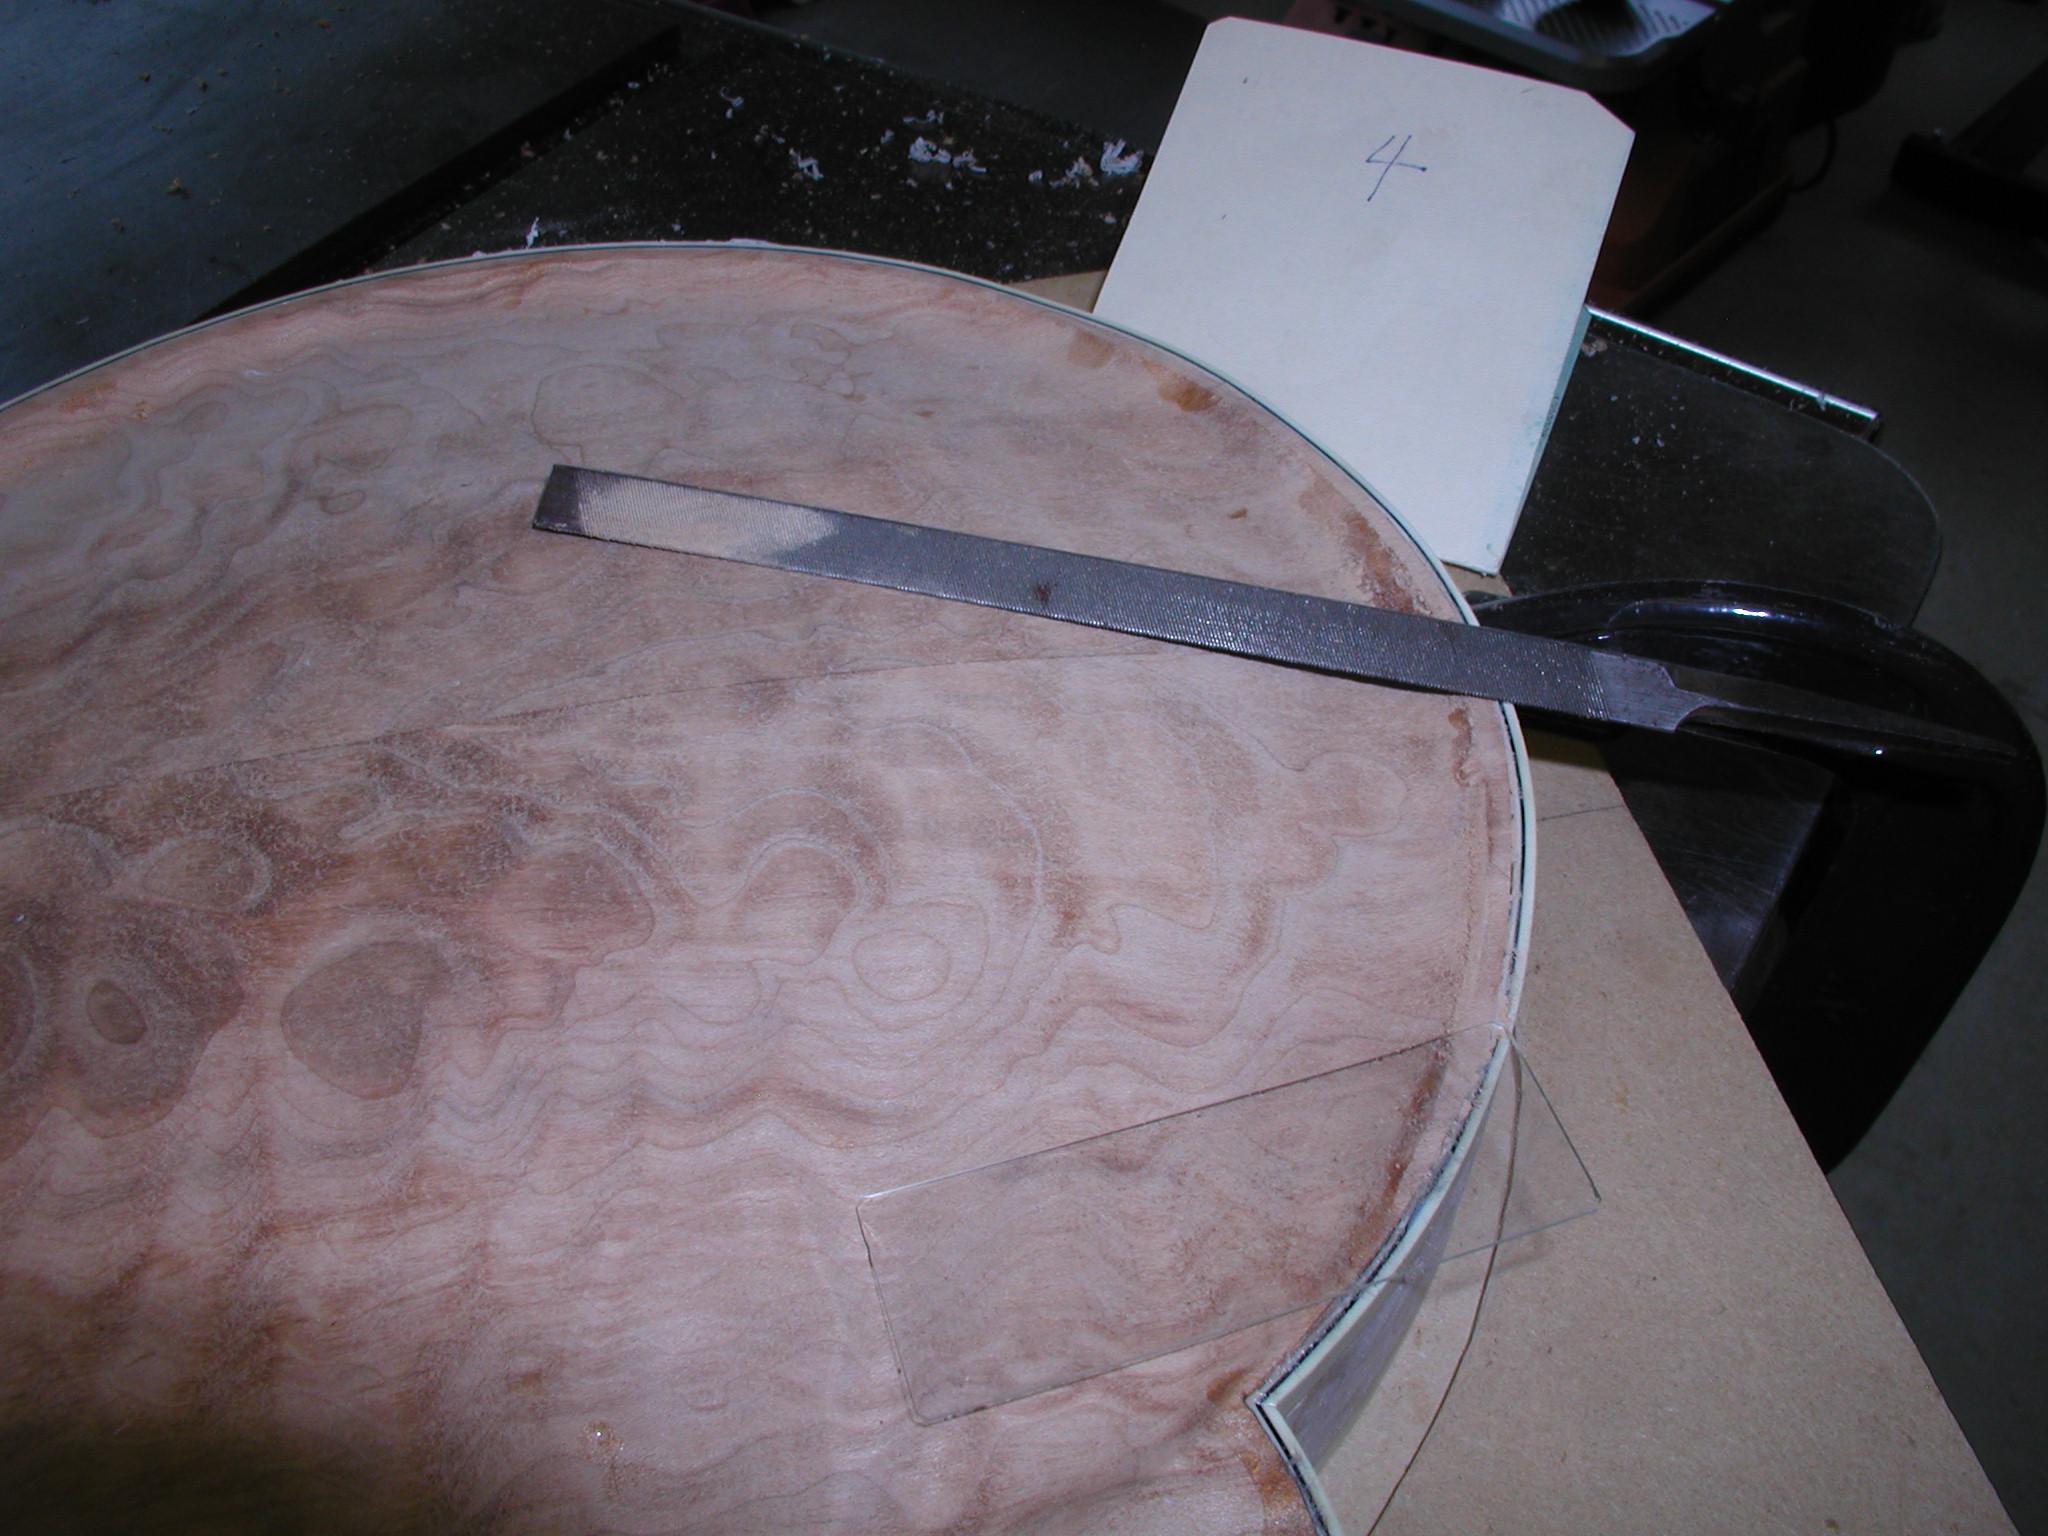
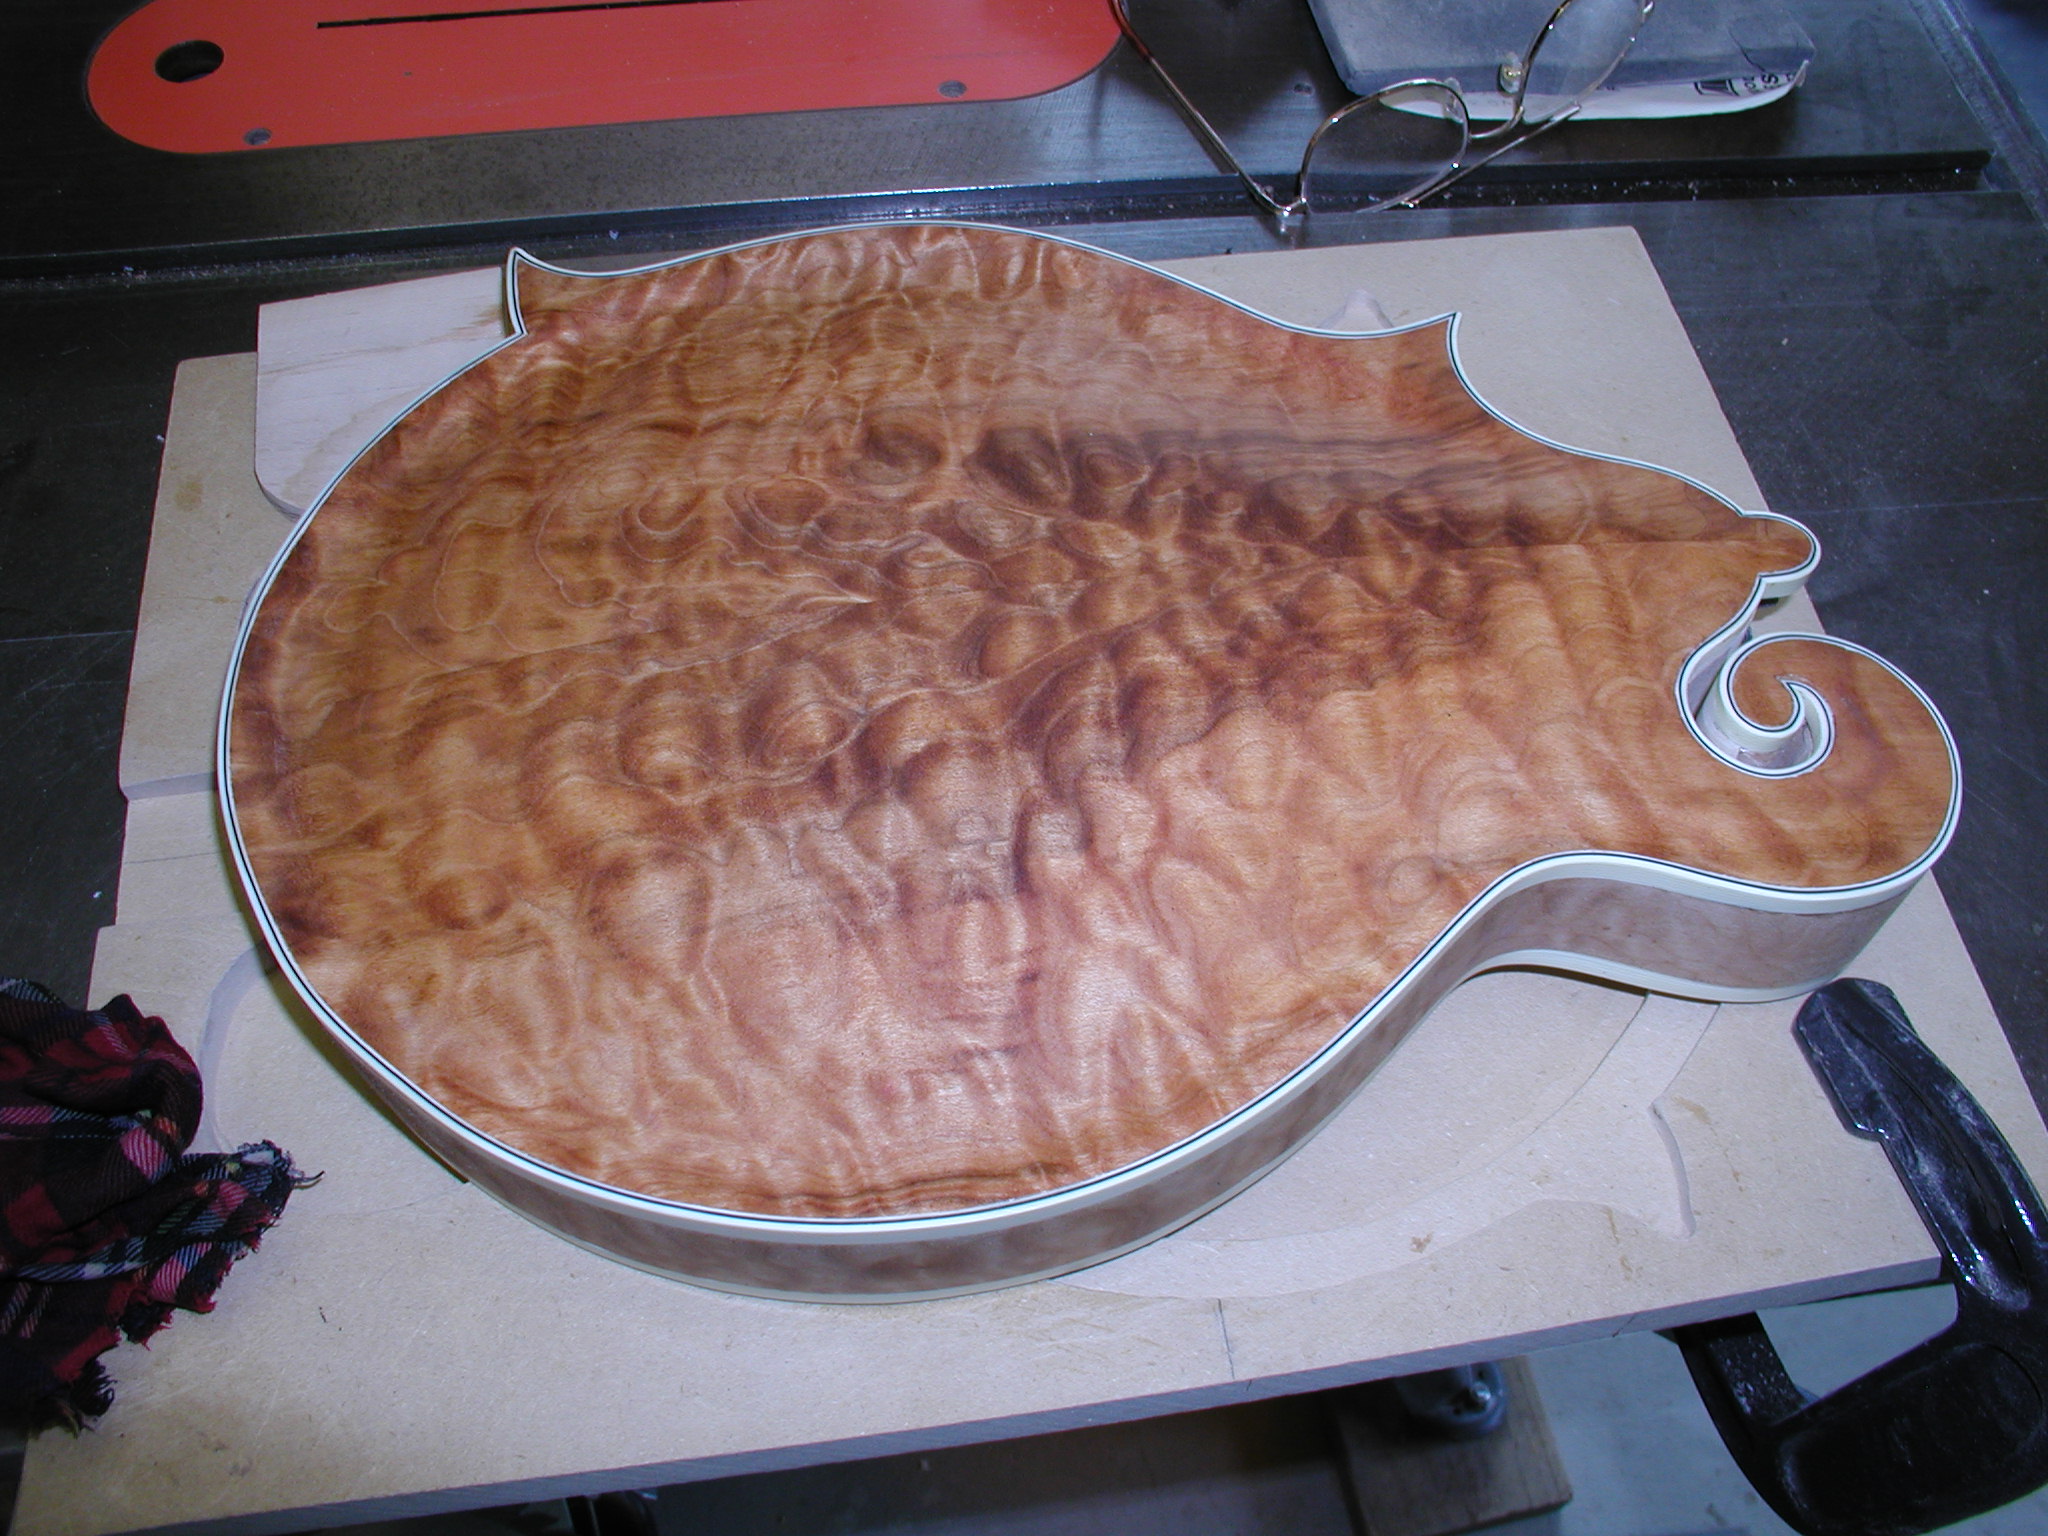
Huh, what's this? We are going to need some shellac soon, so I mix it up from flakes now and let it dissolve well over the next week or so. Then scrape the binding true to the sides and top. I use a file to level the binding and the back wood and then finalize the recurve to binding blend with scrapers and sandpaper. Sand the whole thing. Then raise the grain and sand/scrape it all true and smooth all over. Raising the grain really shows off what the quilt is going to look like under finish.
1 2 3 4 5 6 7 8 8a 9 10 11 11a 11b 12 12a 13 14 15 16 17 18 19 20