Let's Build A Mandolin (Page 4)
1 2 3 4 5 6 7 8 8a 9 10 11 11a 11b 12 12a 13 14 15 16 17 18 19 20
Last Modified - November 2011(©Alan Dunwell 2011)
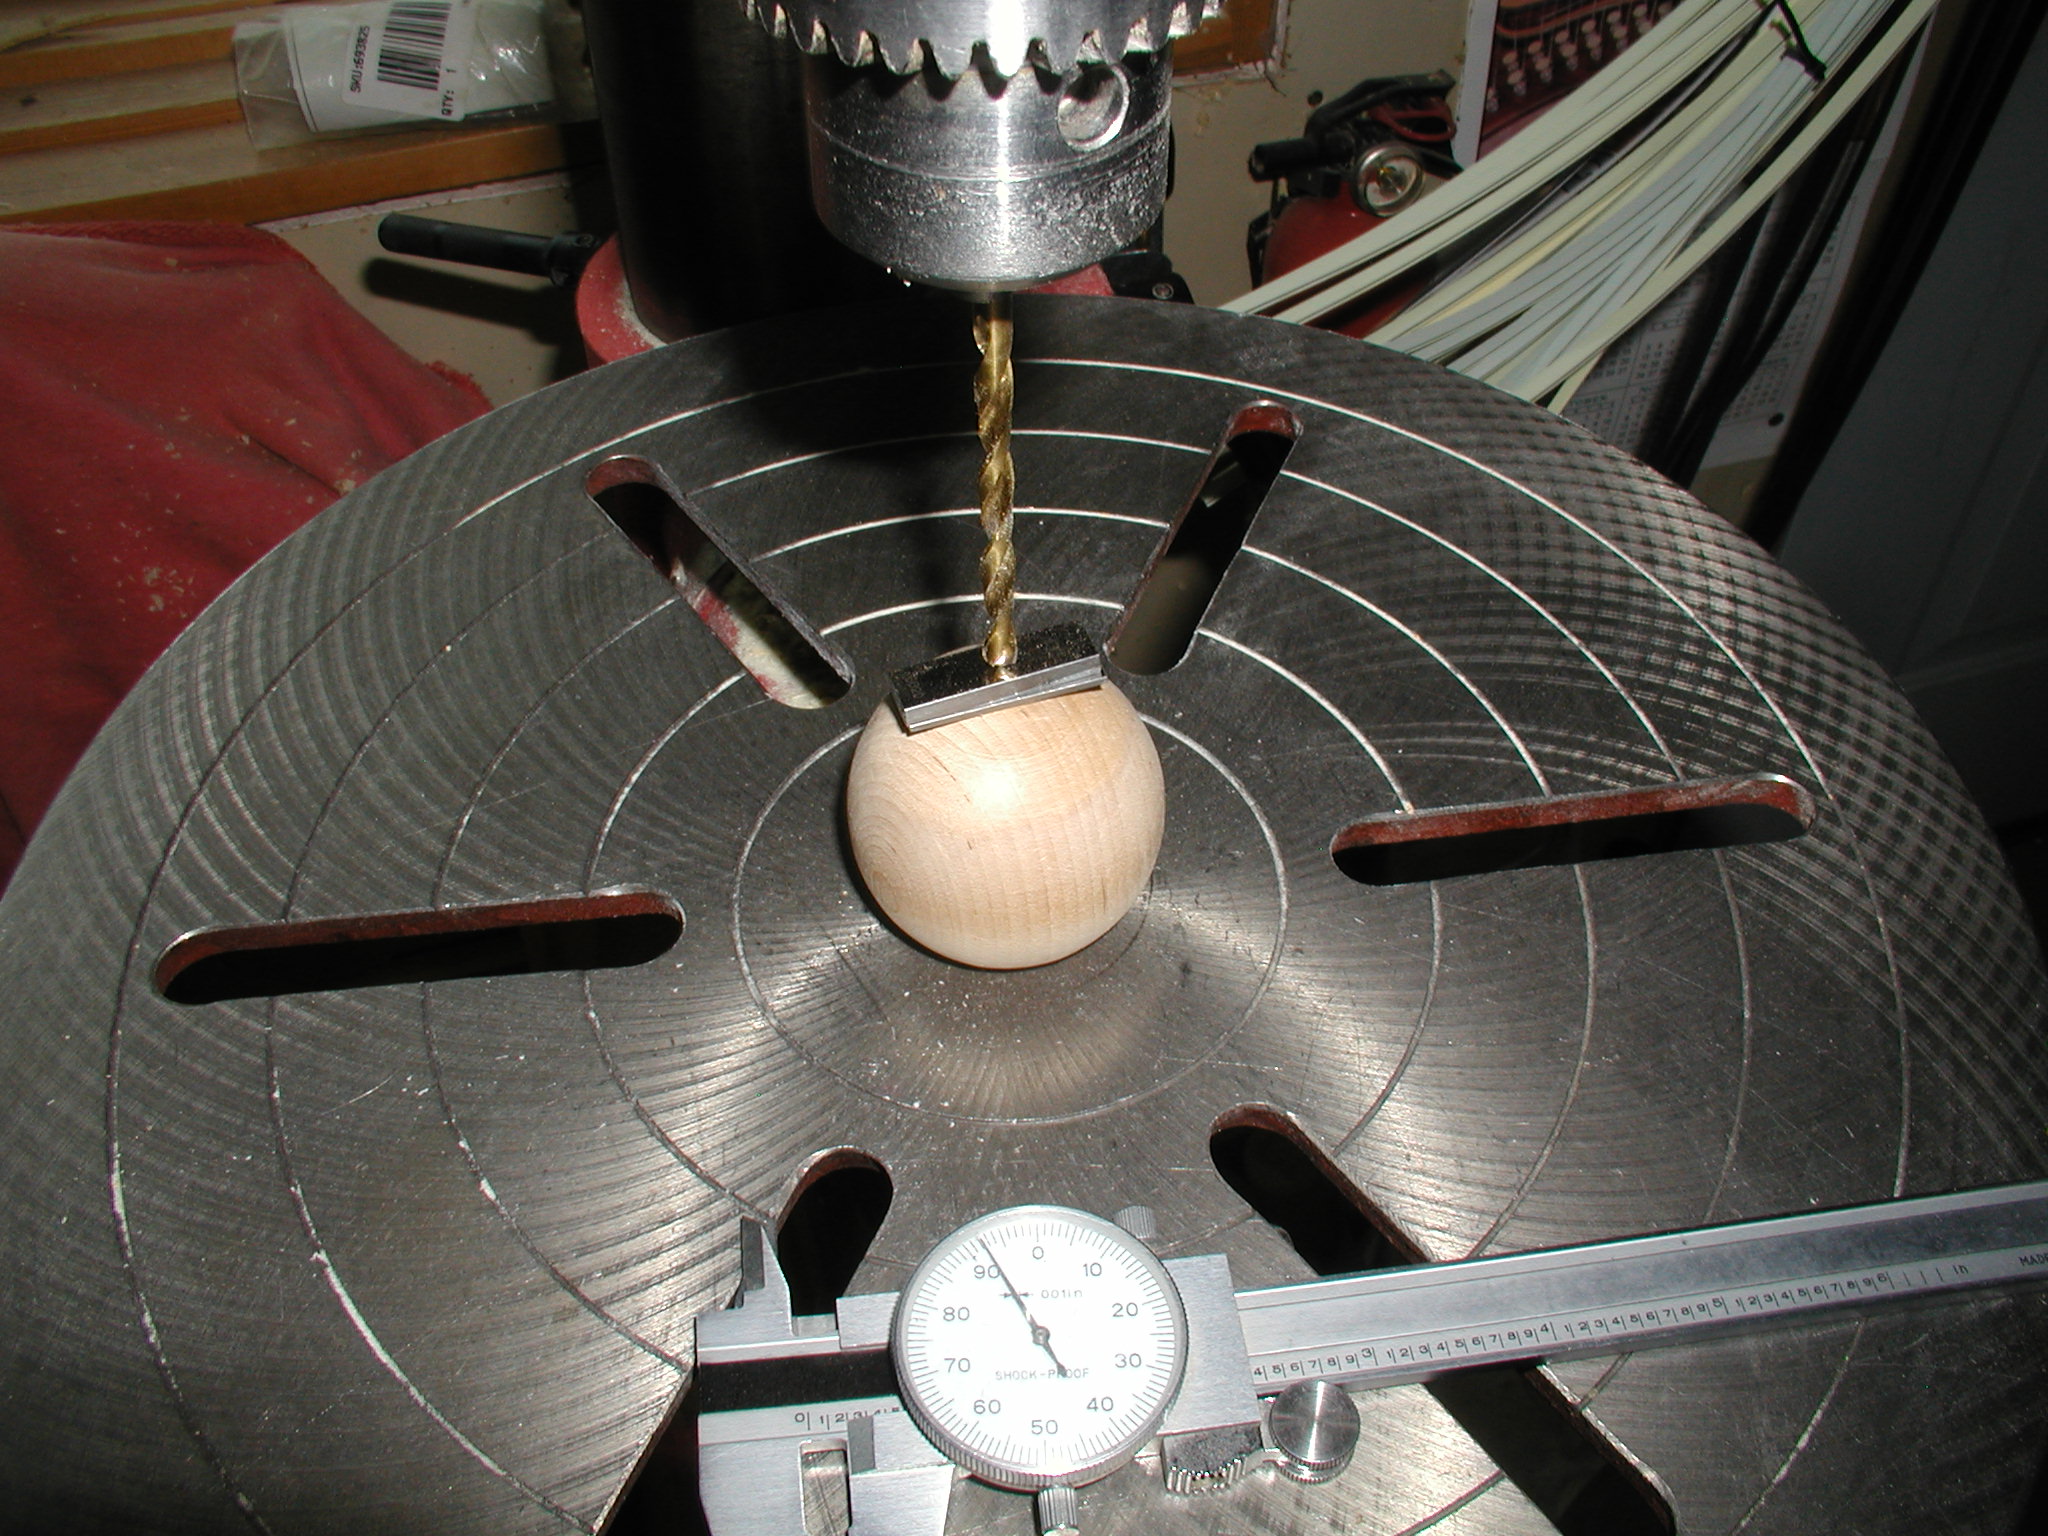
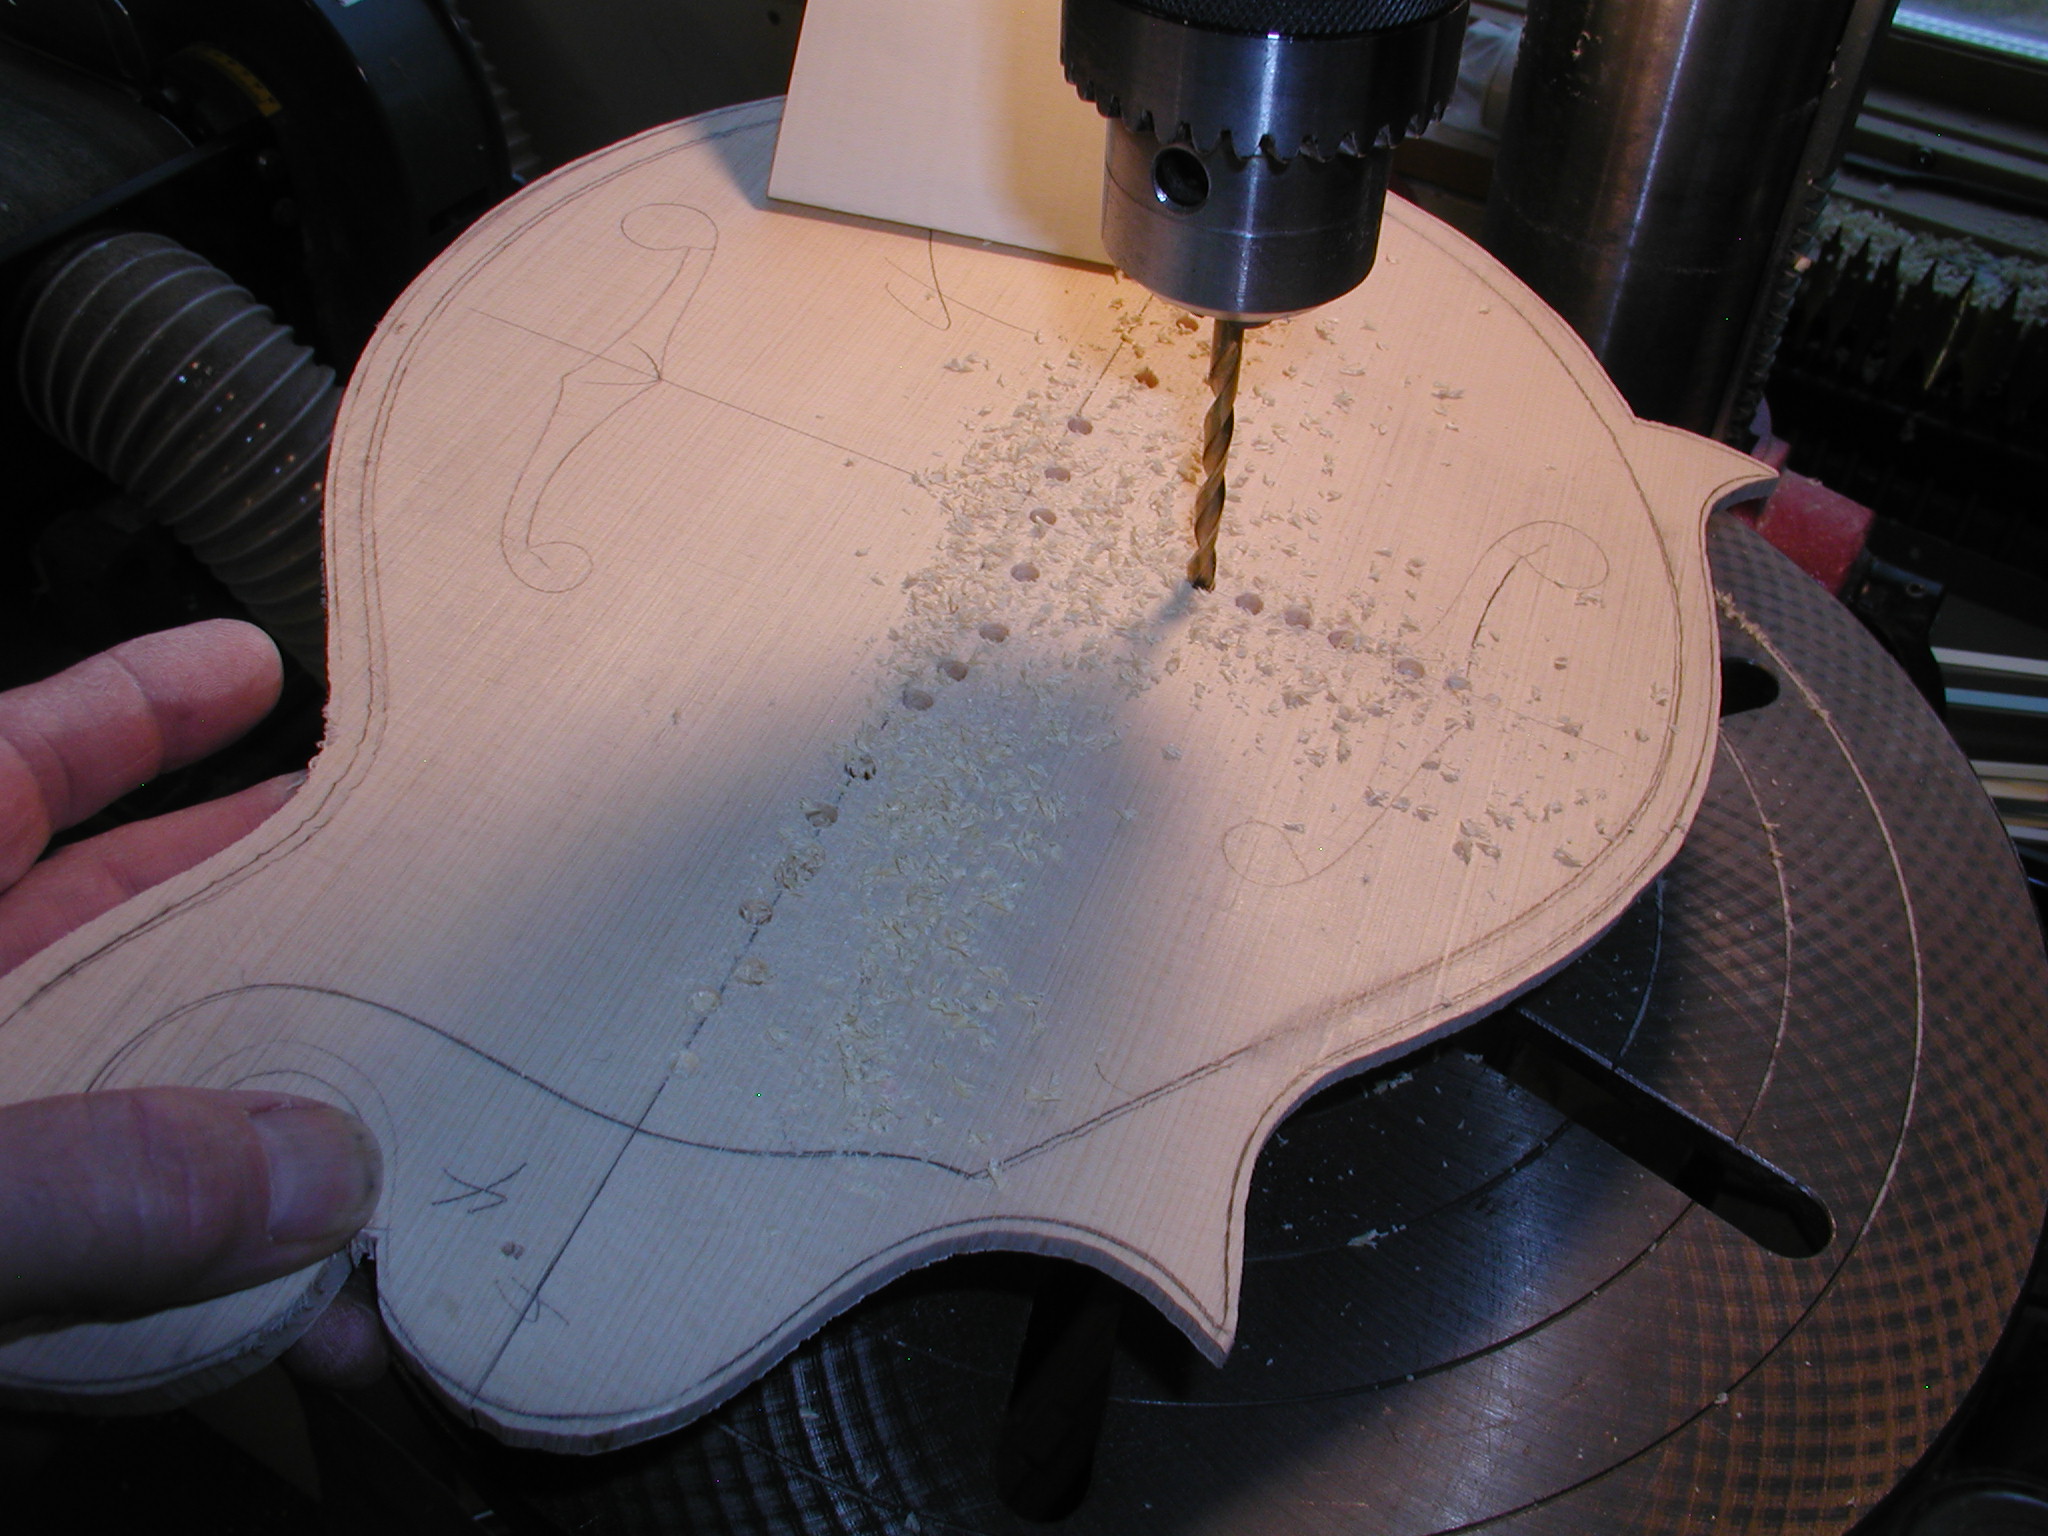
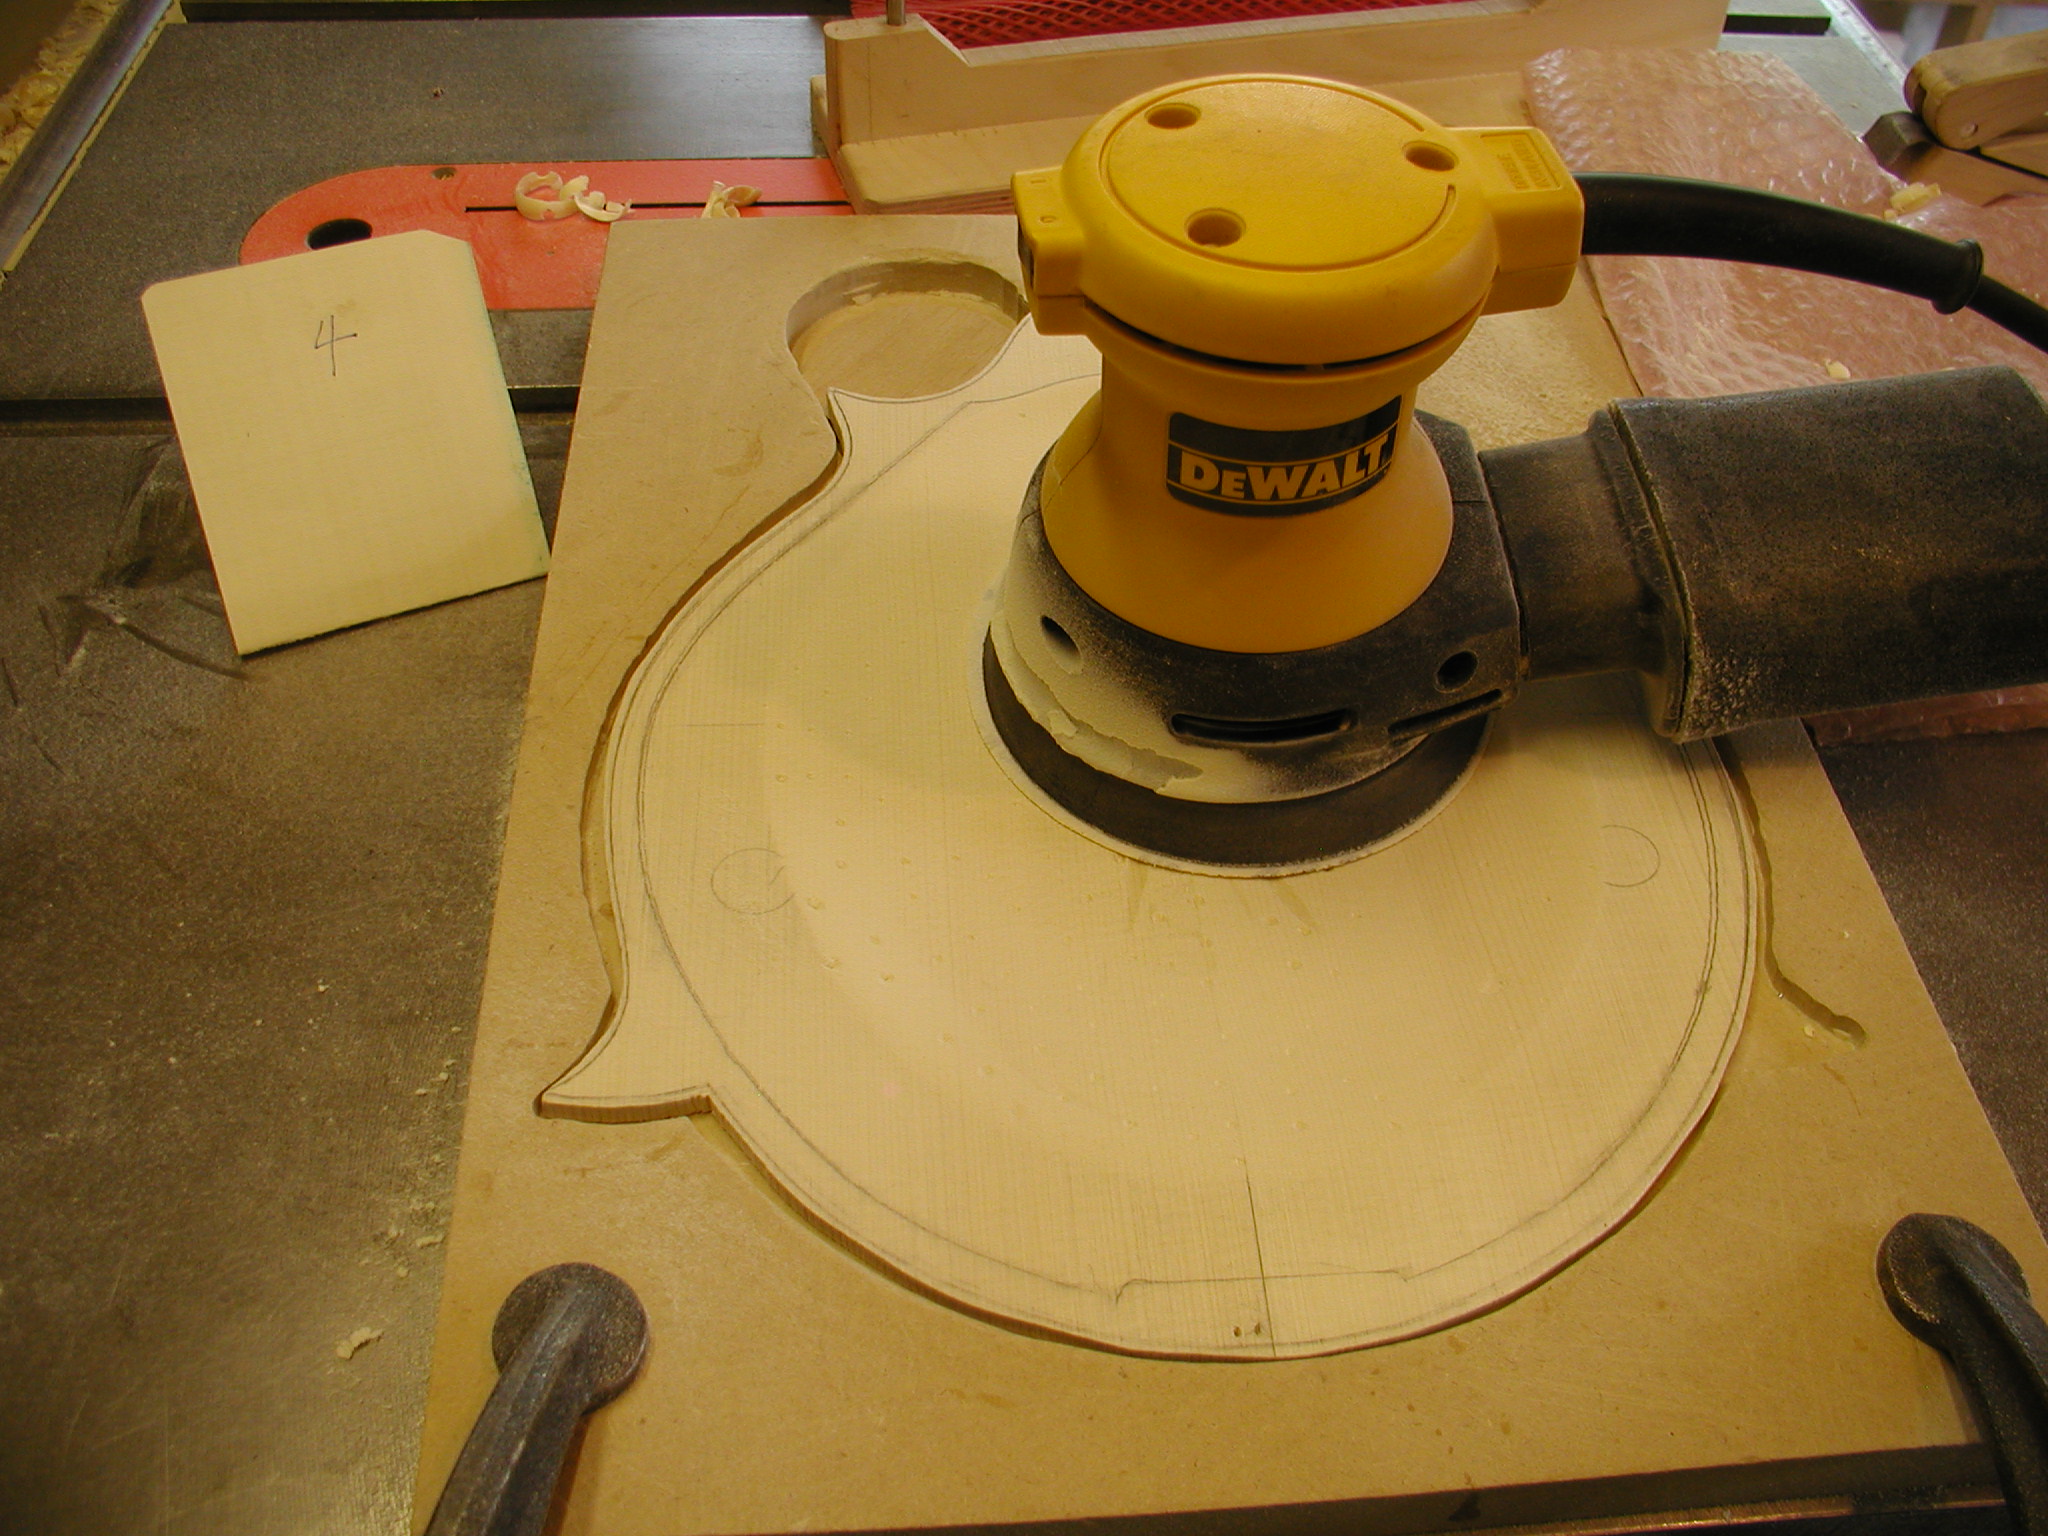
In Page 3 we completed much of the outside of the top with the exception of refining the scroll area. Now it is time to flip it over and carve out the inside and do our graduations. I draw the outside pattern by laying the body on and tracing it. This starts out similar to the outside carving but here I use a ball shaped piece in the drill press table. This is just a wooden knob with a screw anchored into a dowel that fits the center hole. The gauge block is again used to set the drill stop depth to 3/16". This is a bit more than the thickest part of the center, I just drill this one depth and do my graduations later reading with a caliper gauge. You need to tilt the top as you drill keeping the outside surface tangent to the tabletop plane. Don't press hard or you might dimple the top surface, just ease the bit down to the stop. Then I use a gouge to quickly remove the wood. No need to be delicate here, just taking out all the wood that isn't a mandolin top. Try to mostly gouge out side to side, that has the least amount of chance to split or tear out more than you want. I stop just above the bottoms of the drill holes.


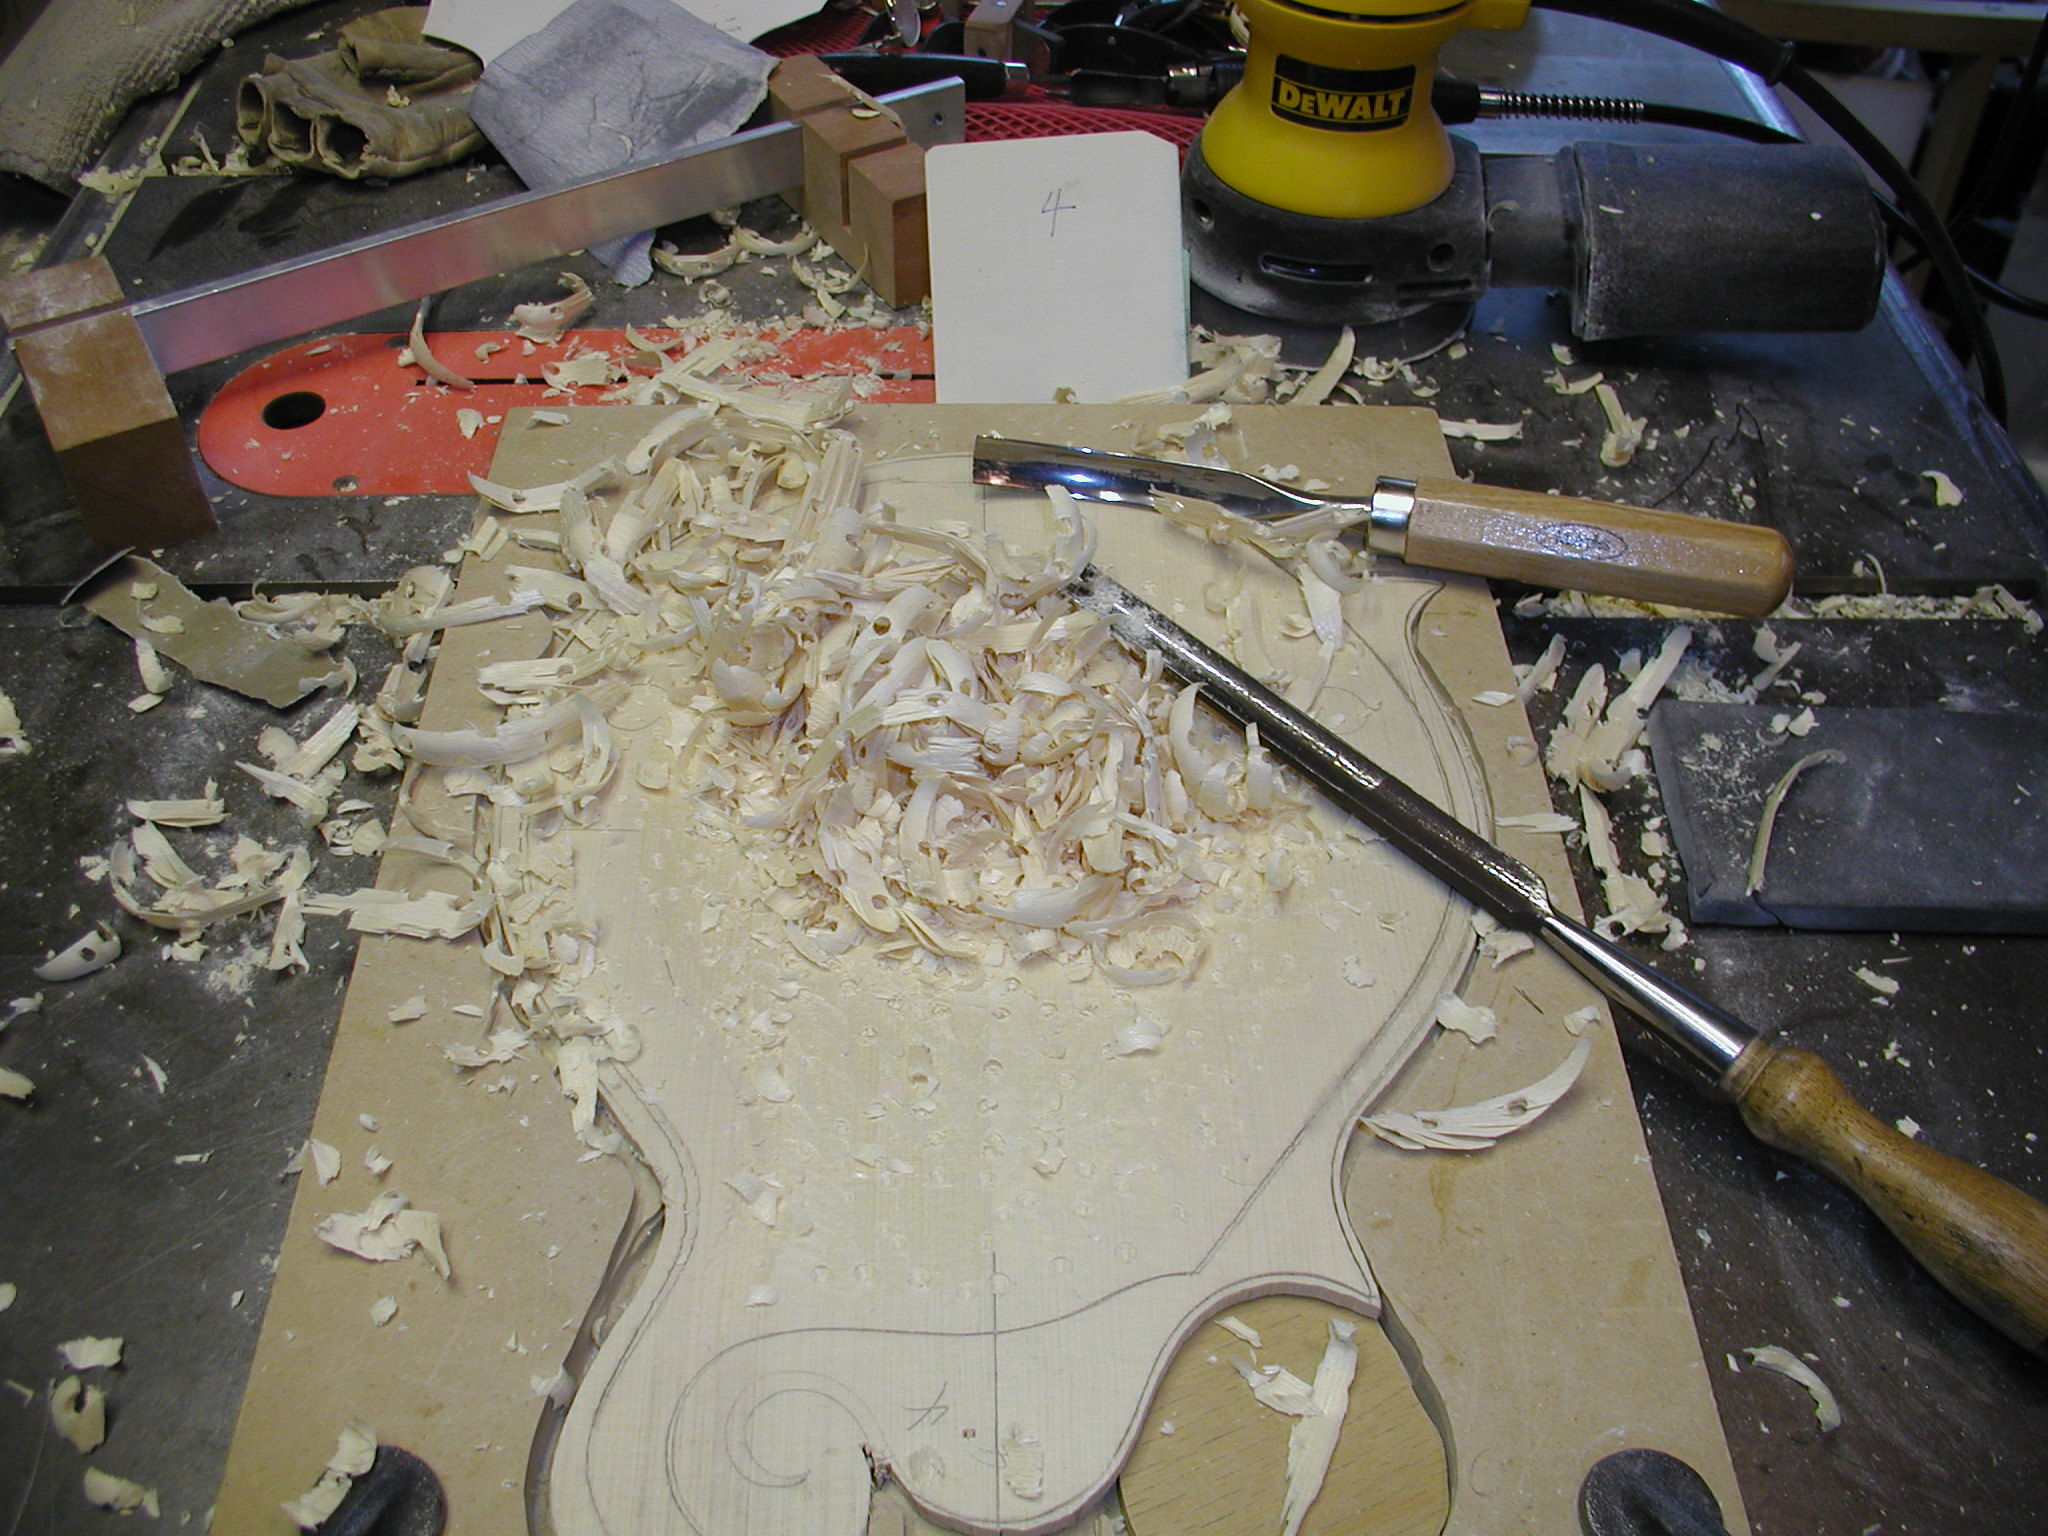
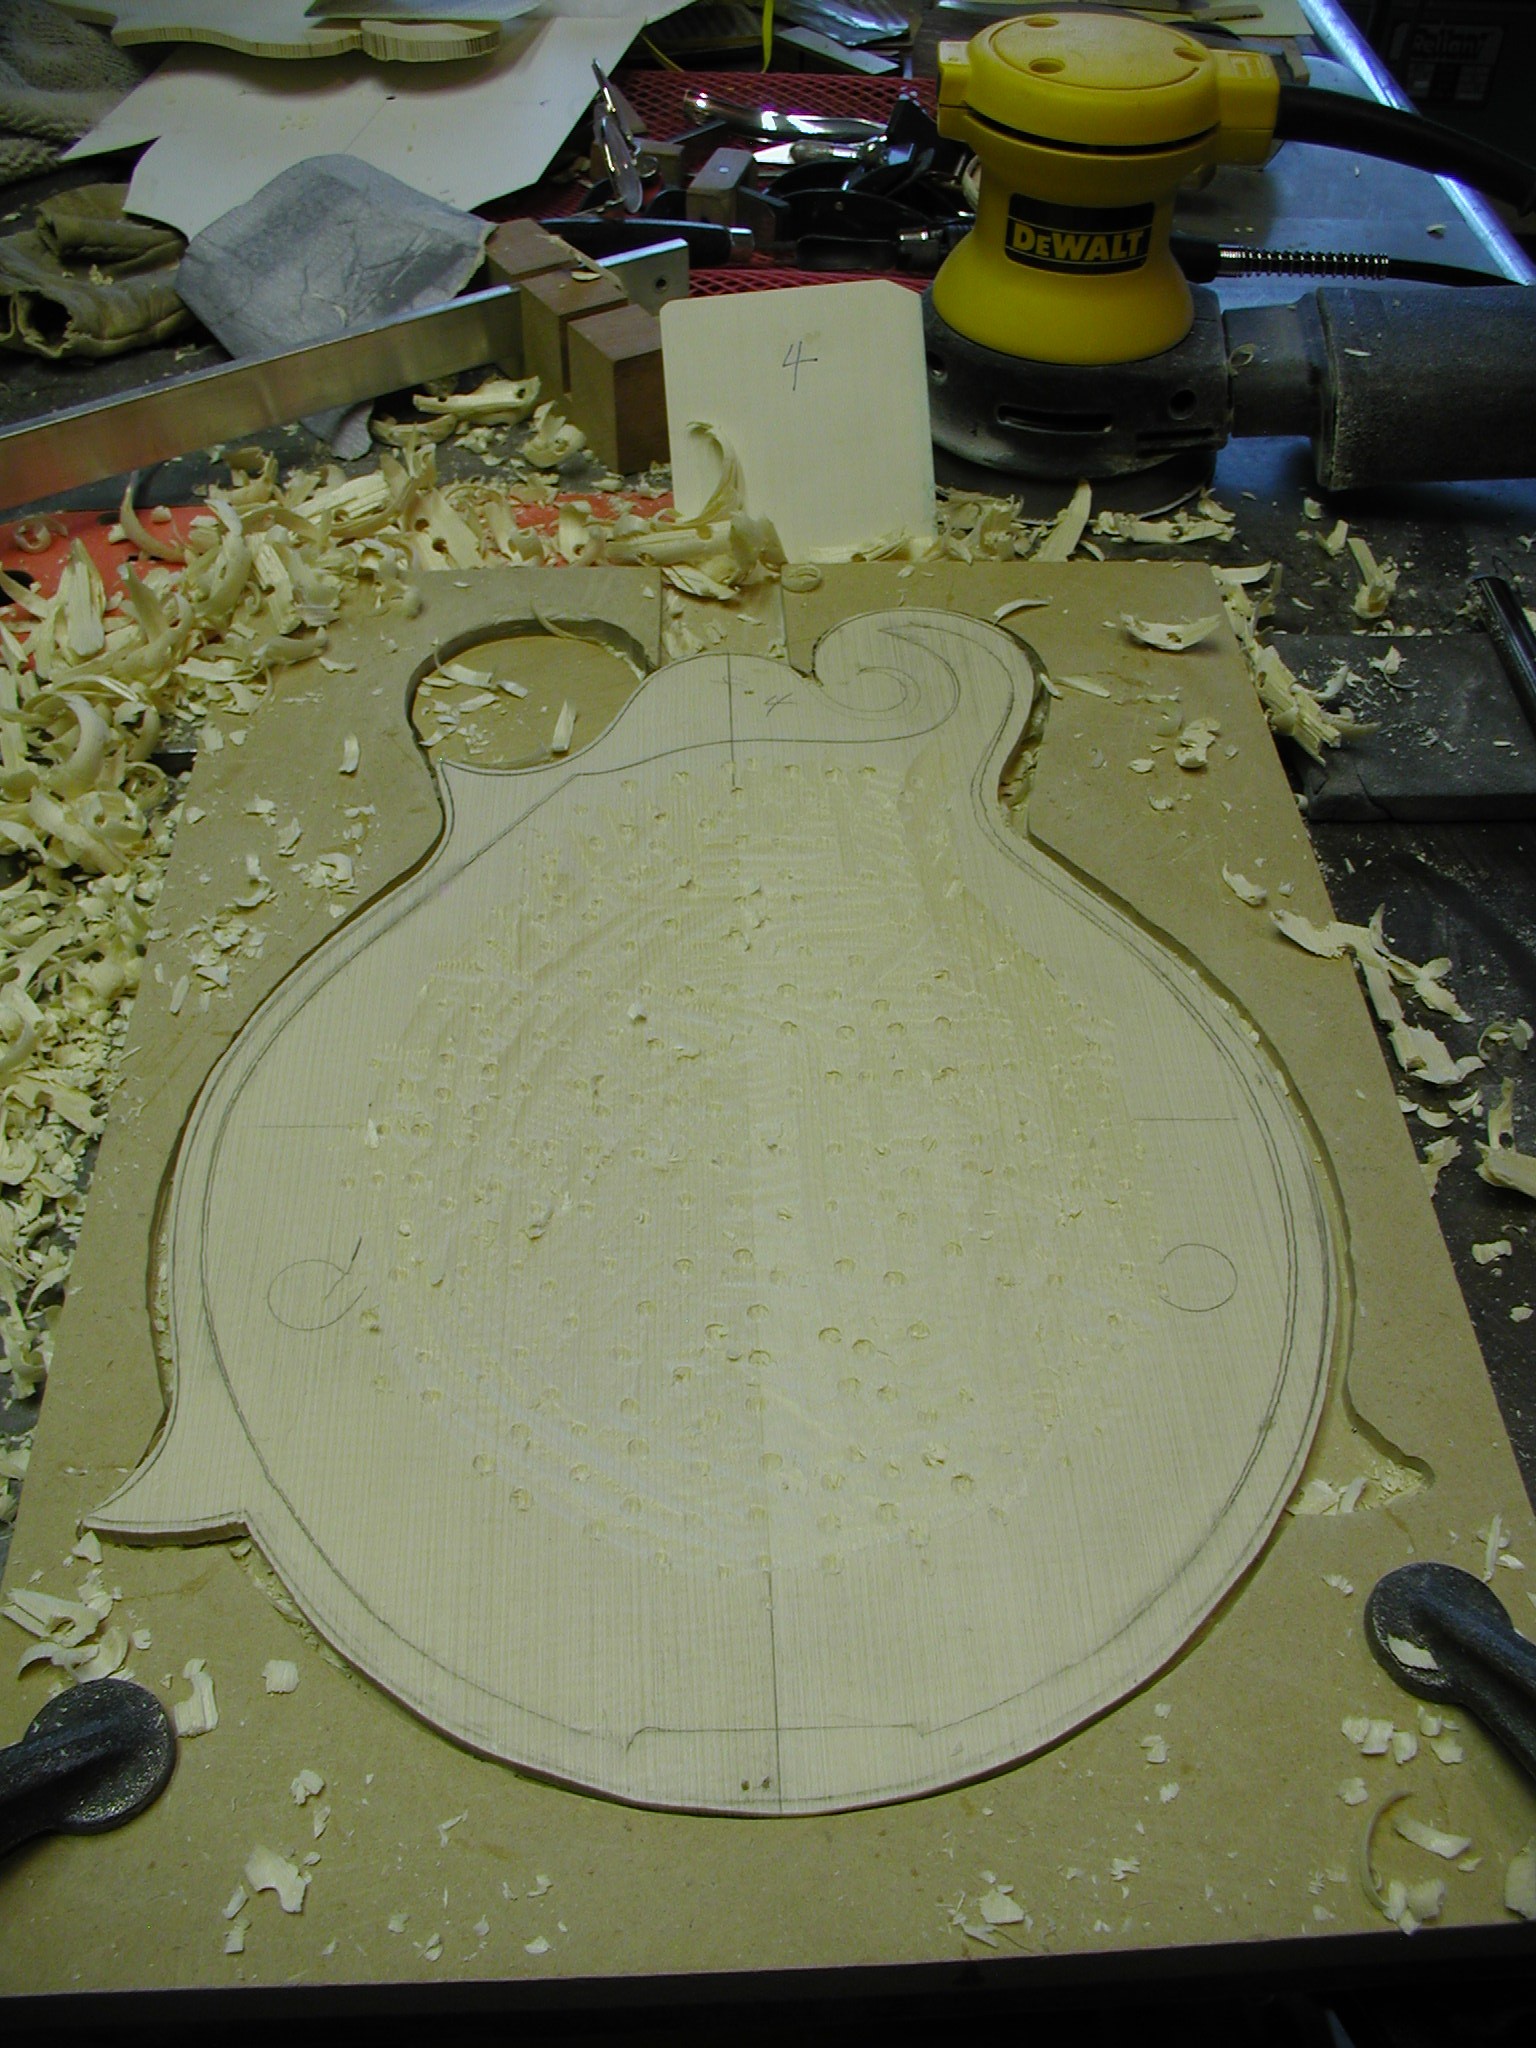
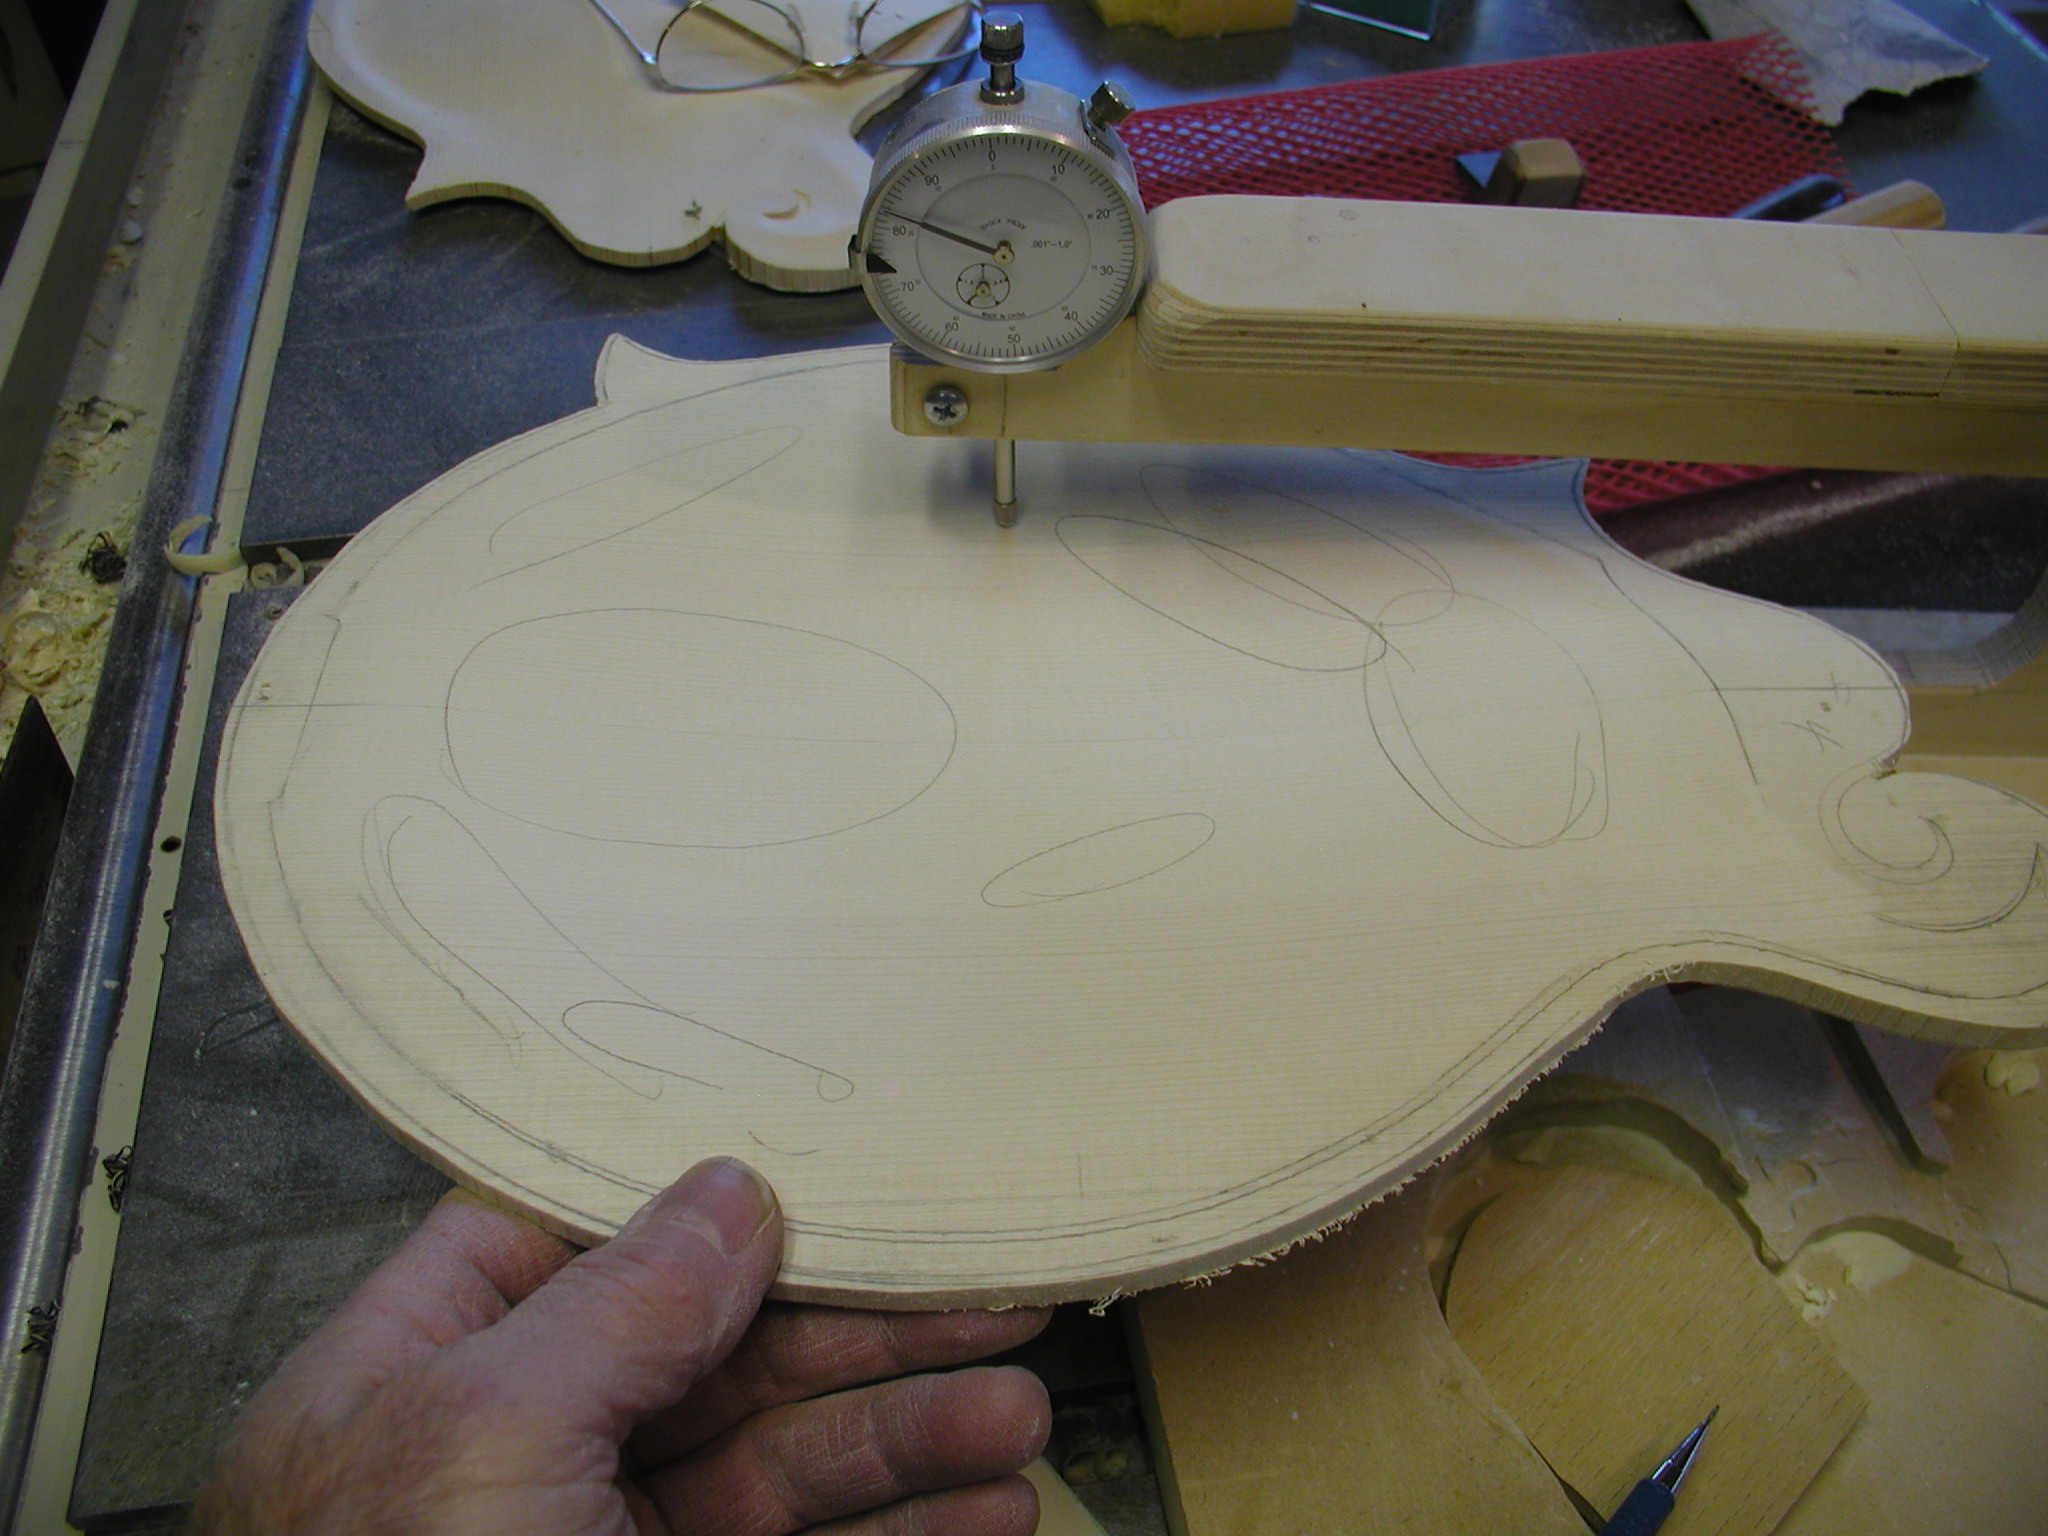
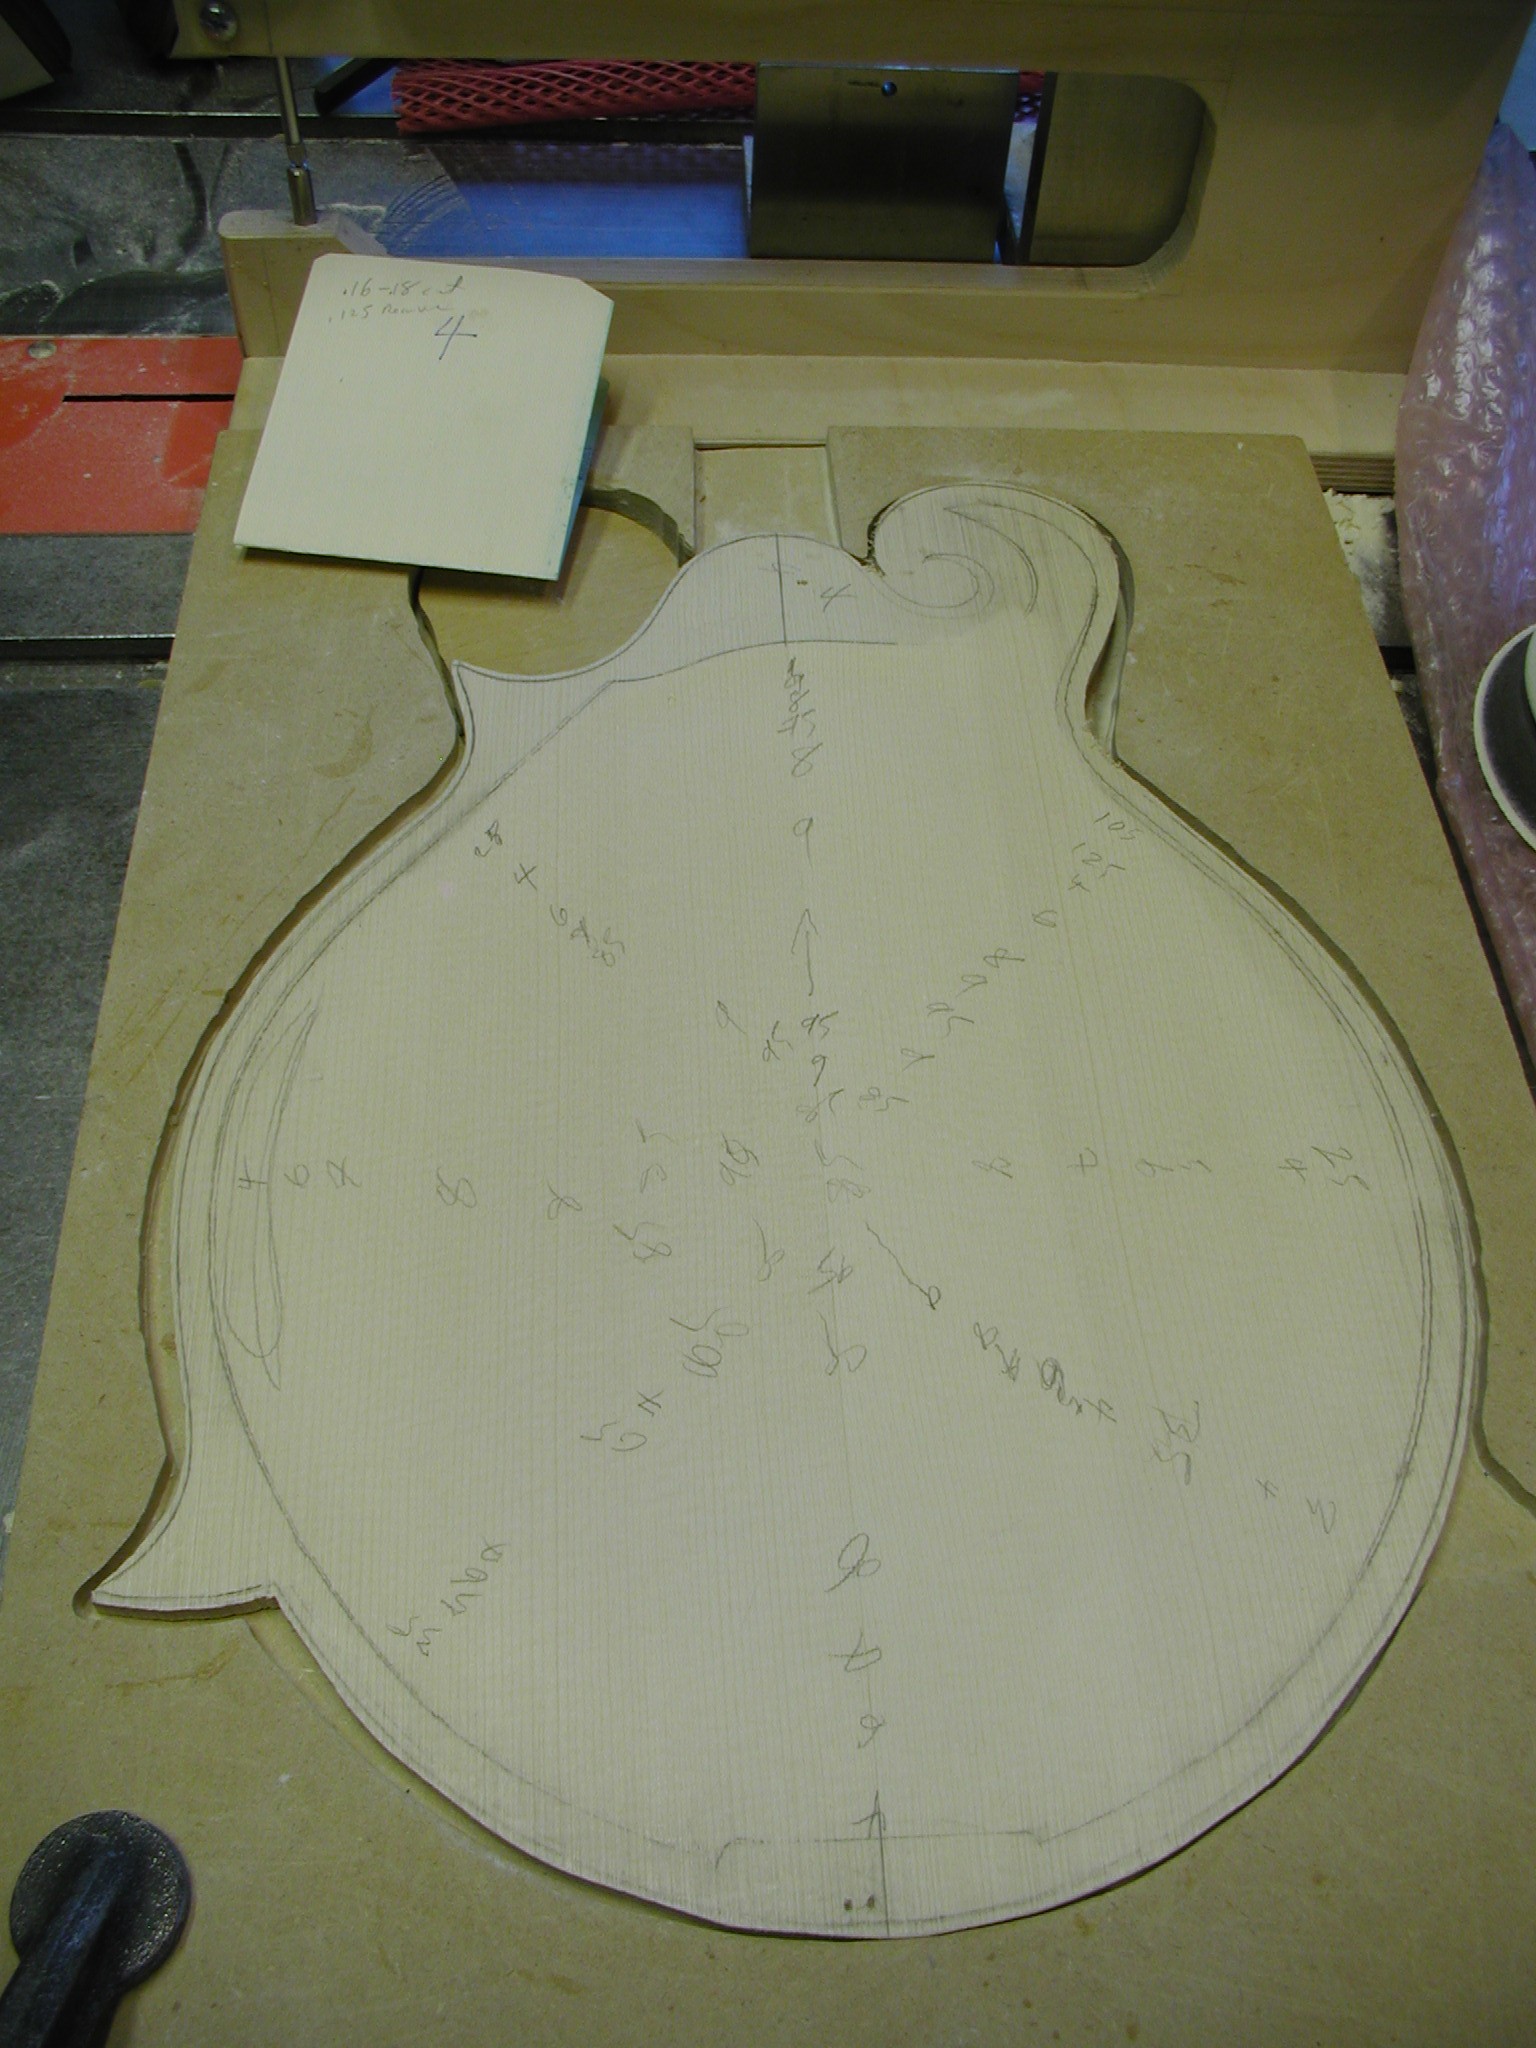
Here you can start using finger planes and slowly graduating but I've found that I get a better and more even result by going to a random orbital sander with about 60 grit Sandblaster paper. First I smooth it to just make the drill dimples go away and then start measuring with my thickness caliper. Note that at first I just draw in rough circled area of approximate thickness, then go to radiating lines of written values. I use the graduations from the plans but also do tap tuning and flexing at this point. Not shown here but shown later on, I also use a deflection jig to see how much it flexes to a known weight. I can not tell you what you want there, this is something that you need to learn as you build multiple instruments to get the sound you want. In particular, don't copy the numbers you see in these photos. This was a very stiff Adirondack top and it ended up thinner than usual. I'd suggest that you initially just go with the graduations from the plans, that will be sure to give you a good instrument that won't collapse later on.
I finally go to hand sanding with finer grits and last of all scrape it smooth. Close your eyes and just feel both the inside and outside. You will be surprised! There will be some bumps or divots that aren't initially visible but you will feel them. The eye is good to half a thousandth with parallel lines but touch must be better than that. Use the scraper or fine sandpaper to get everything just right.
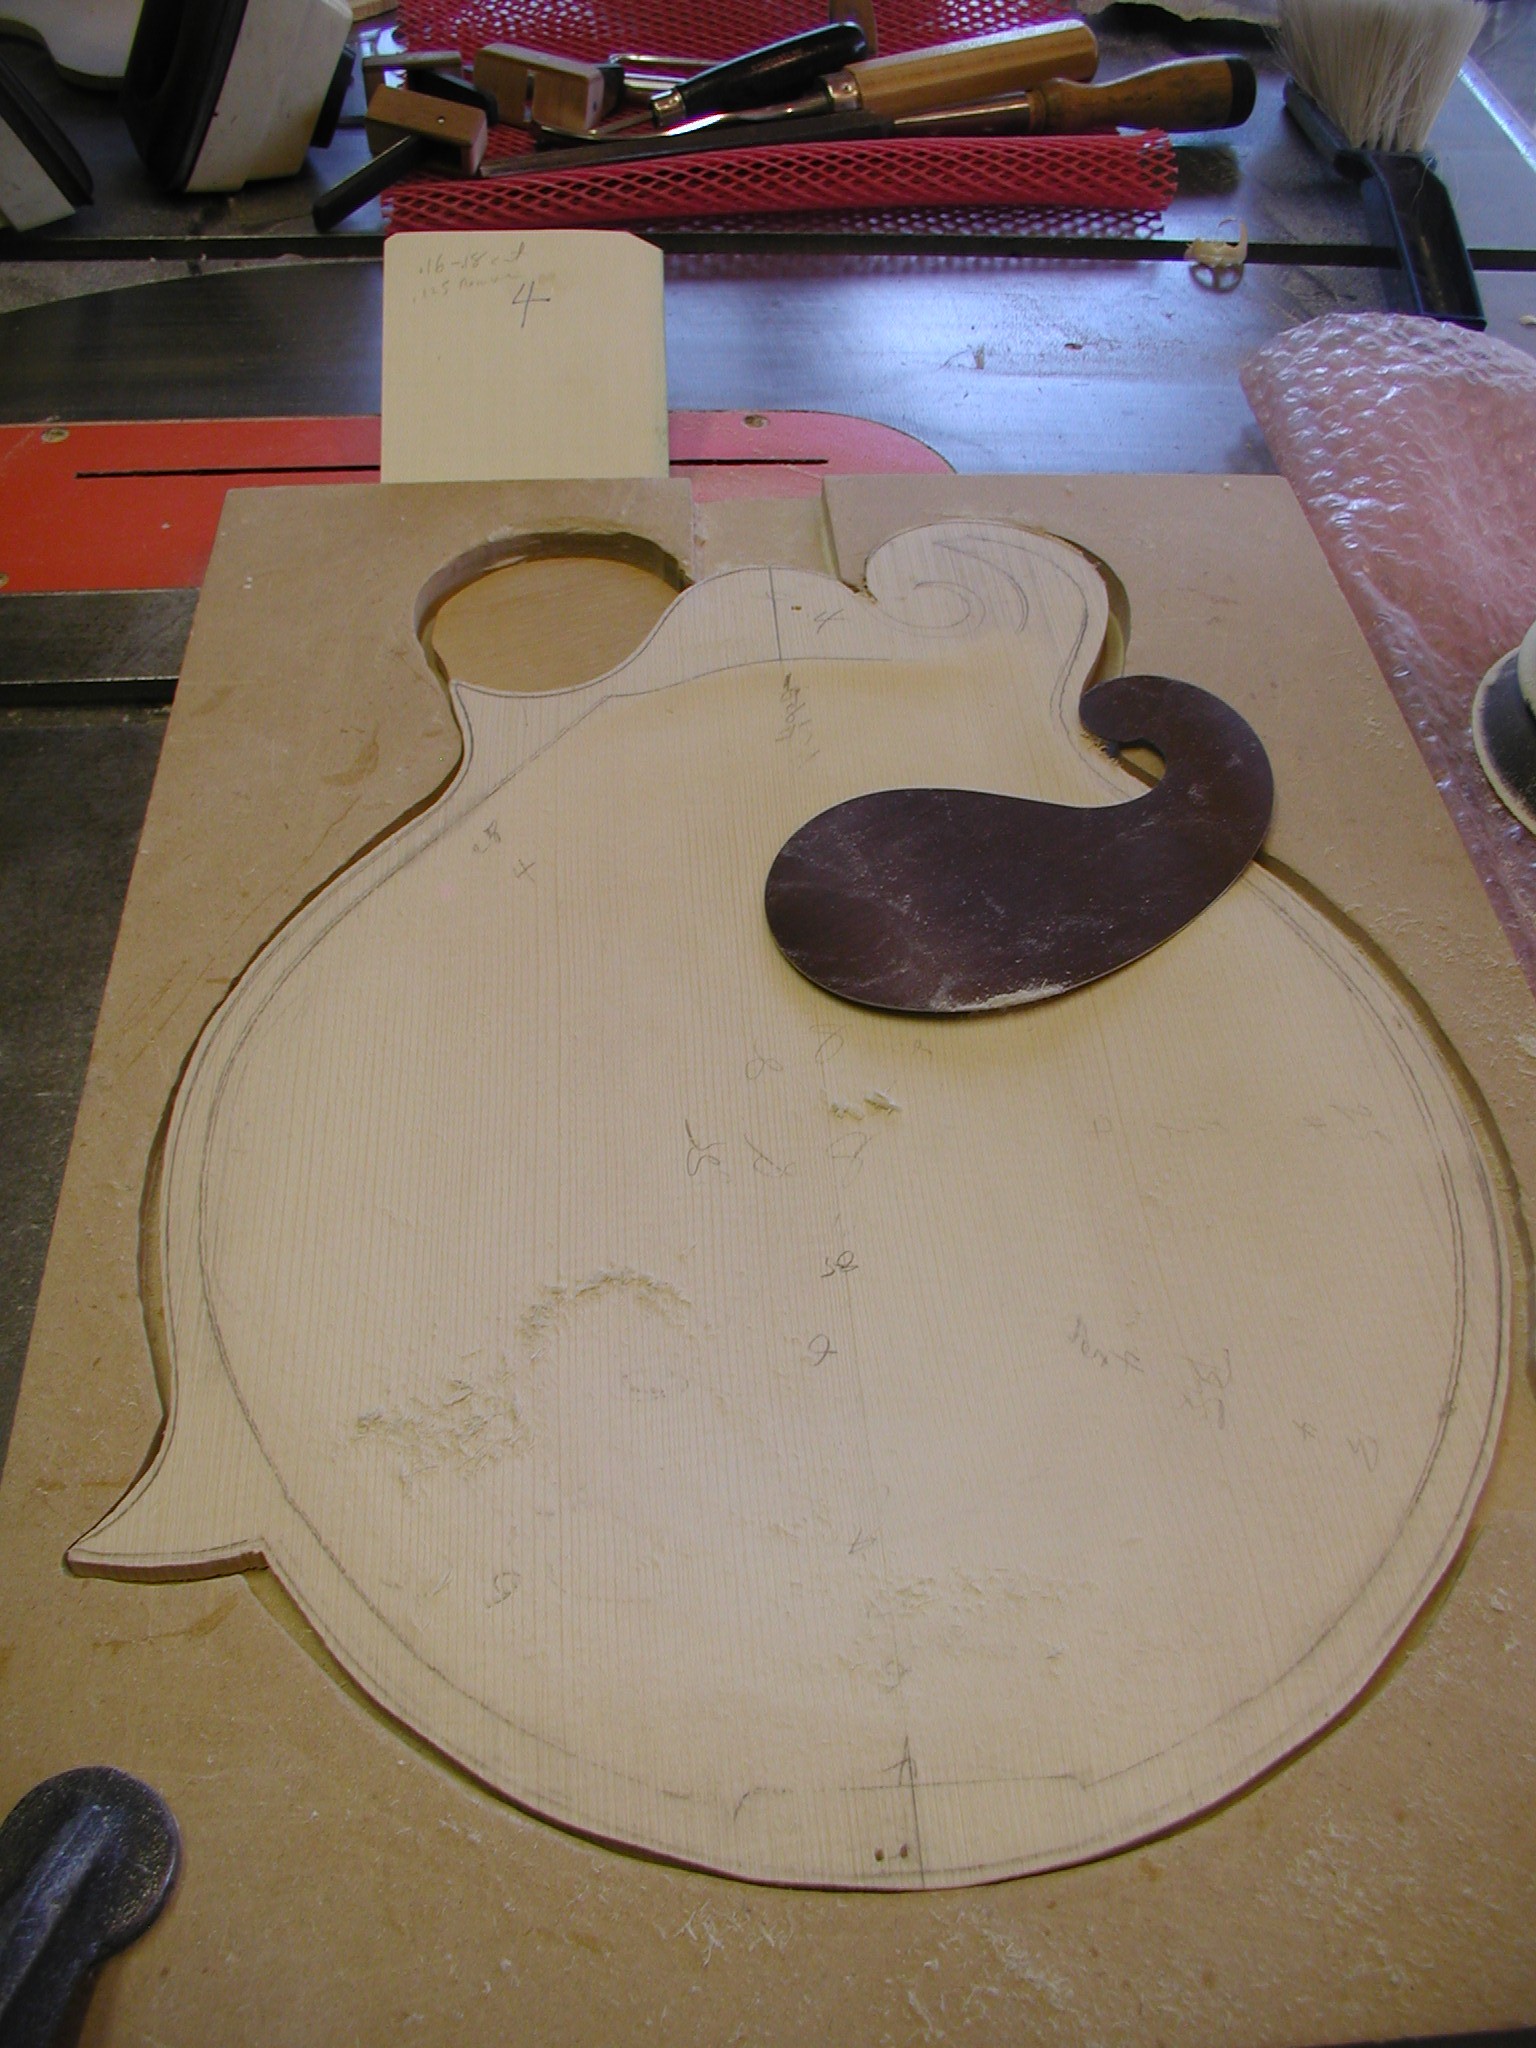
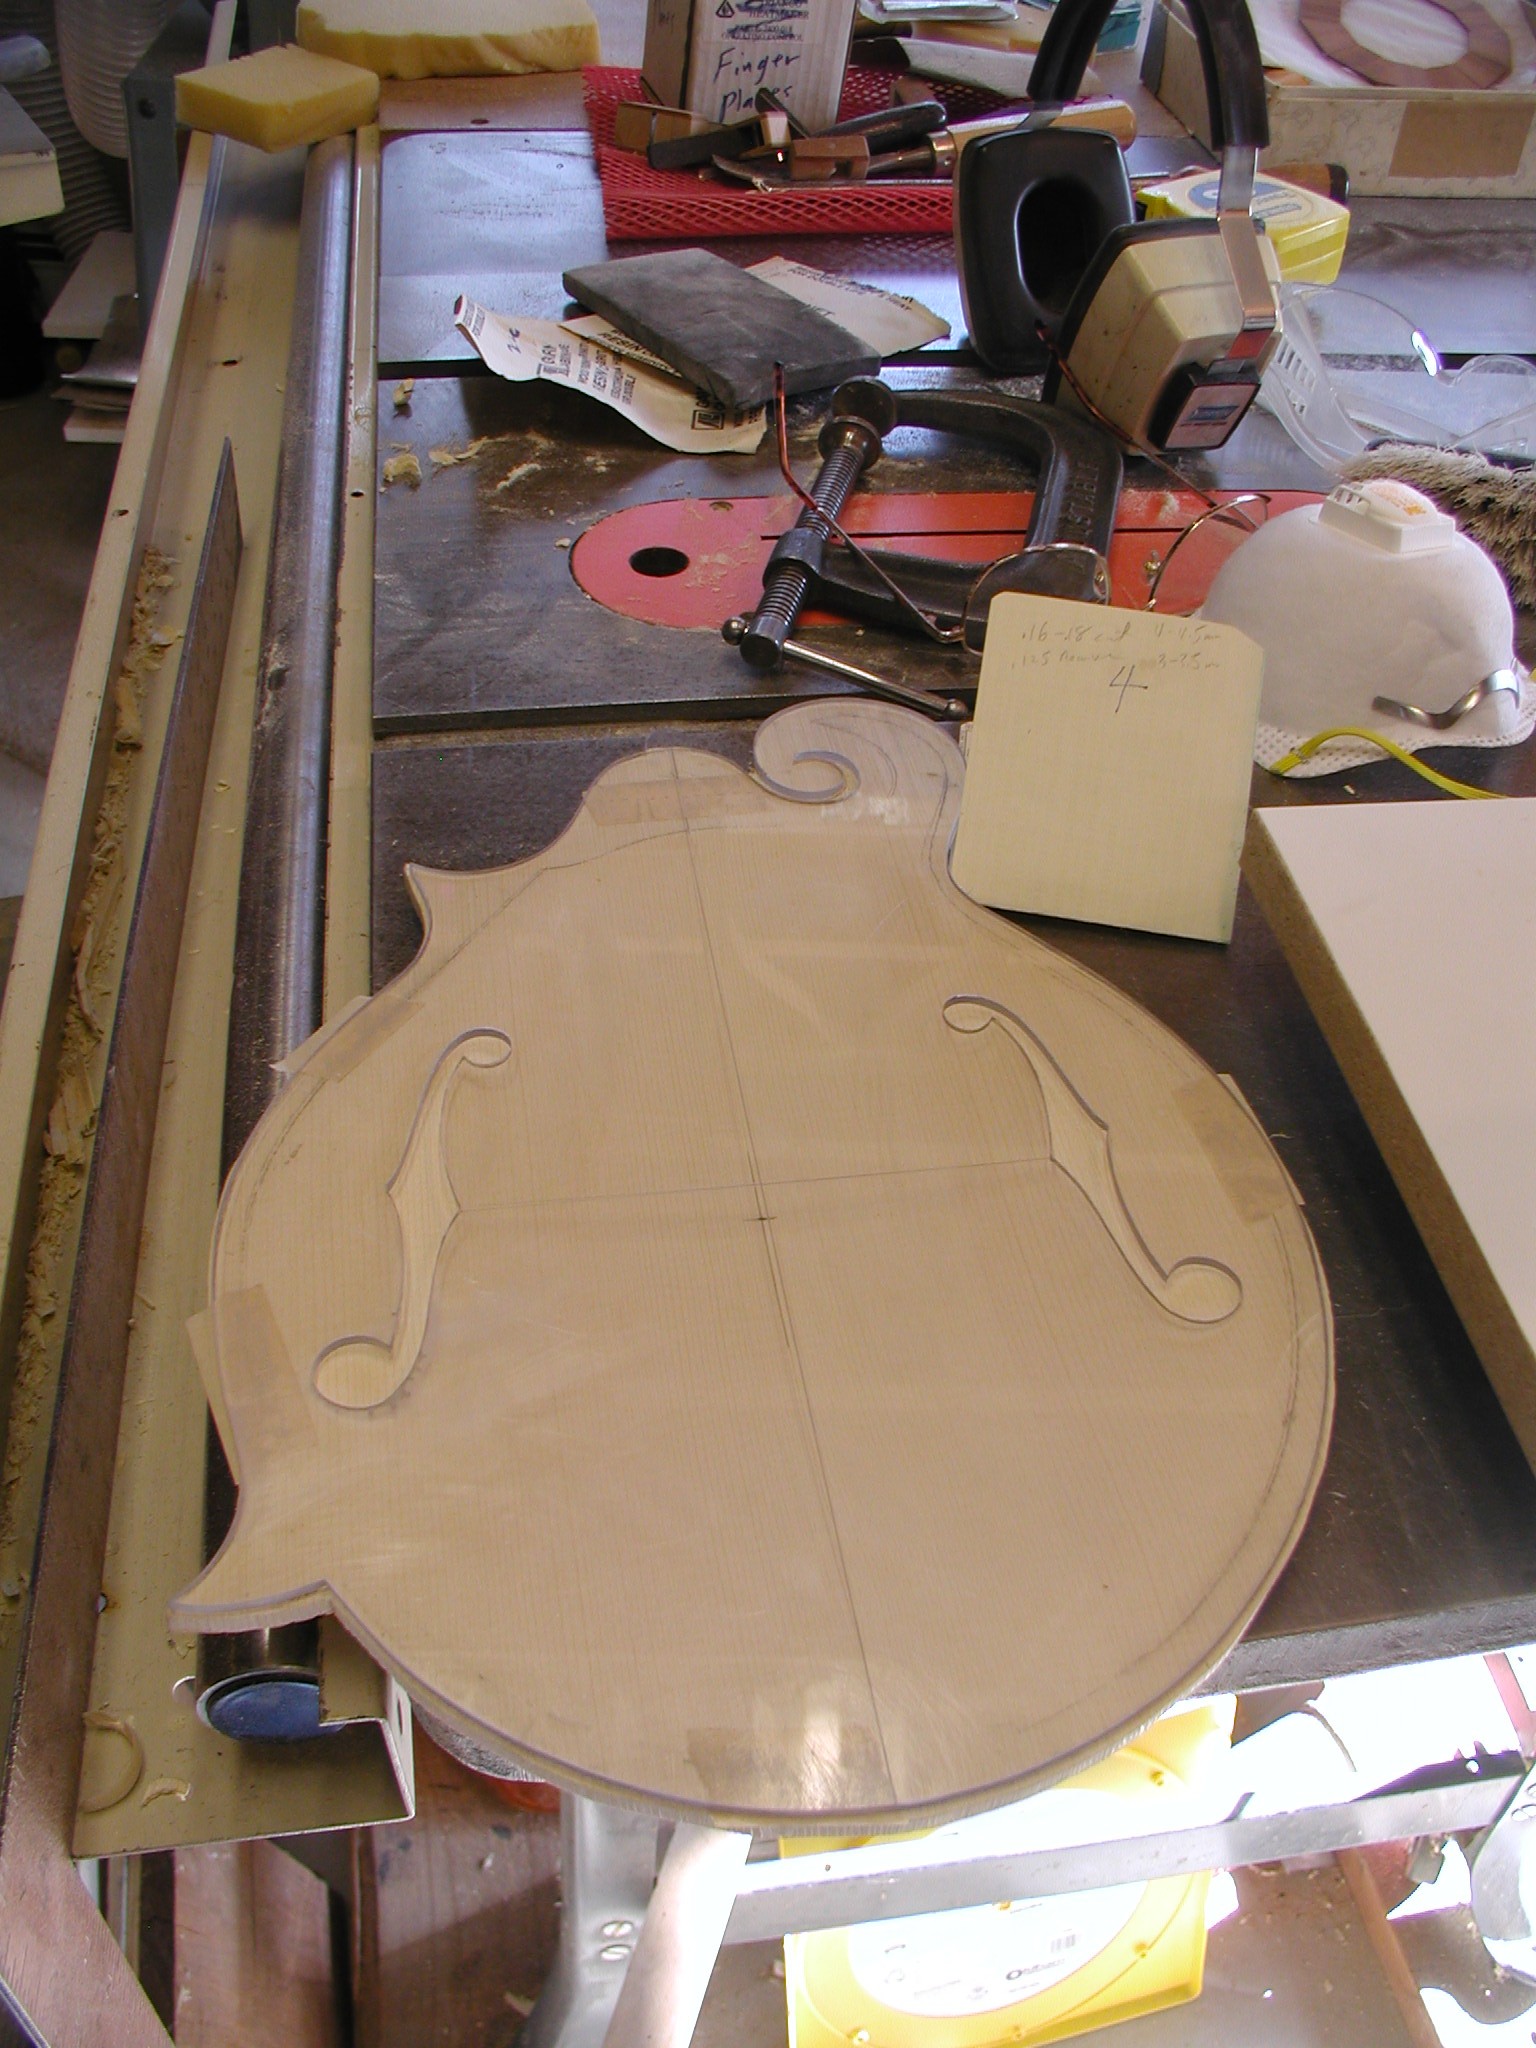
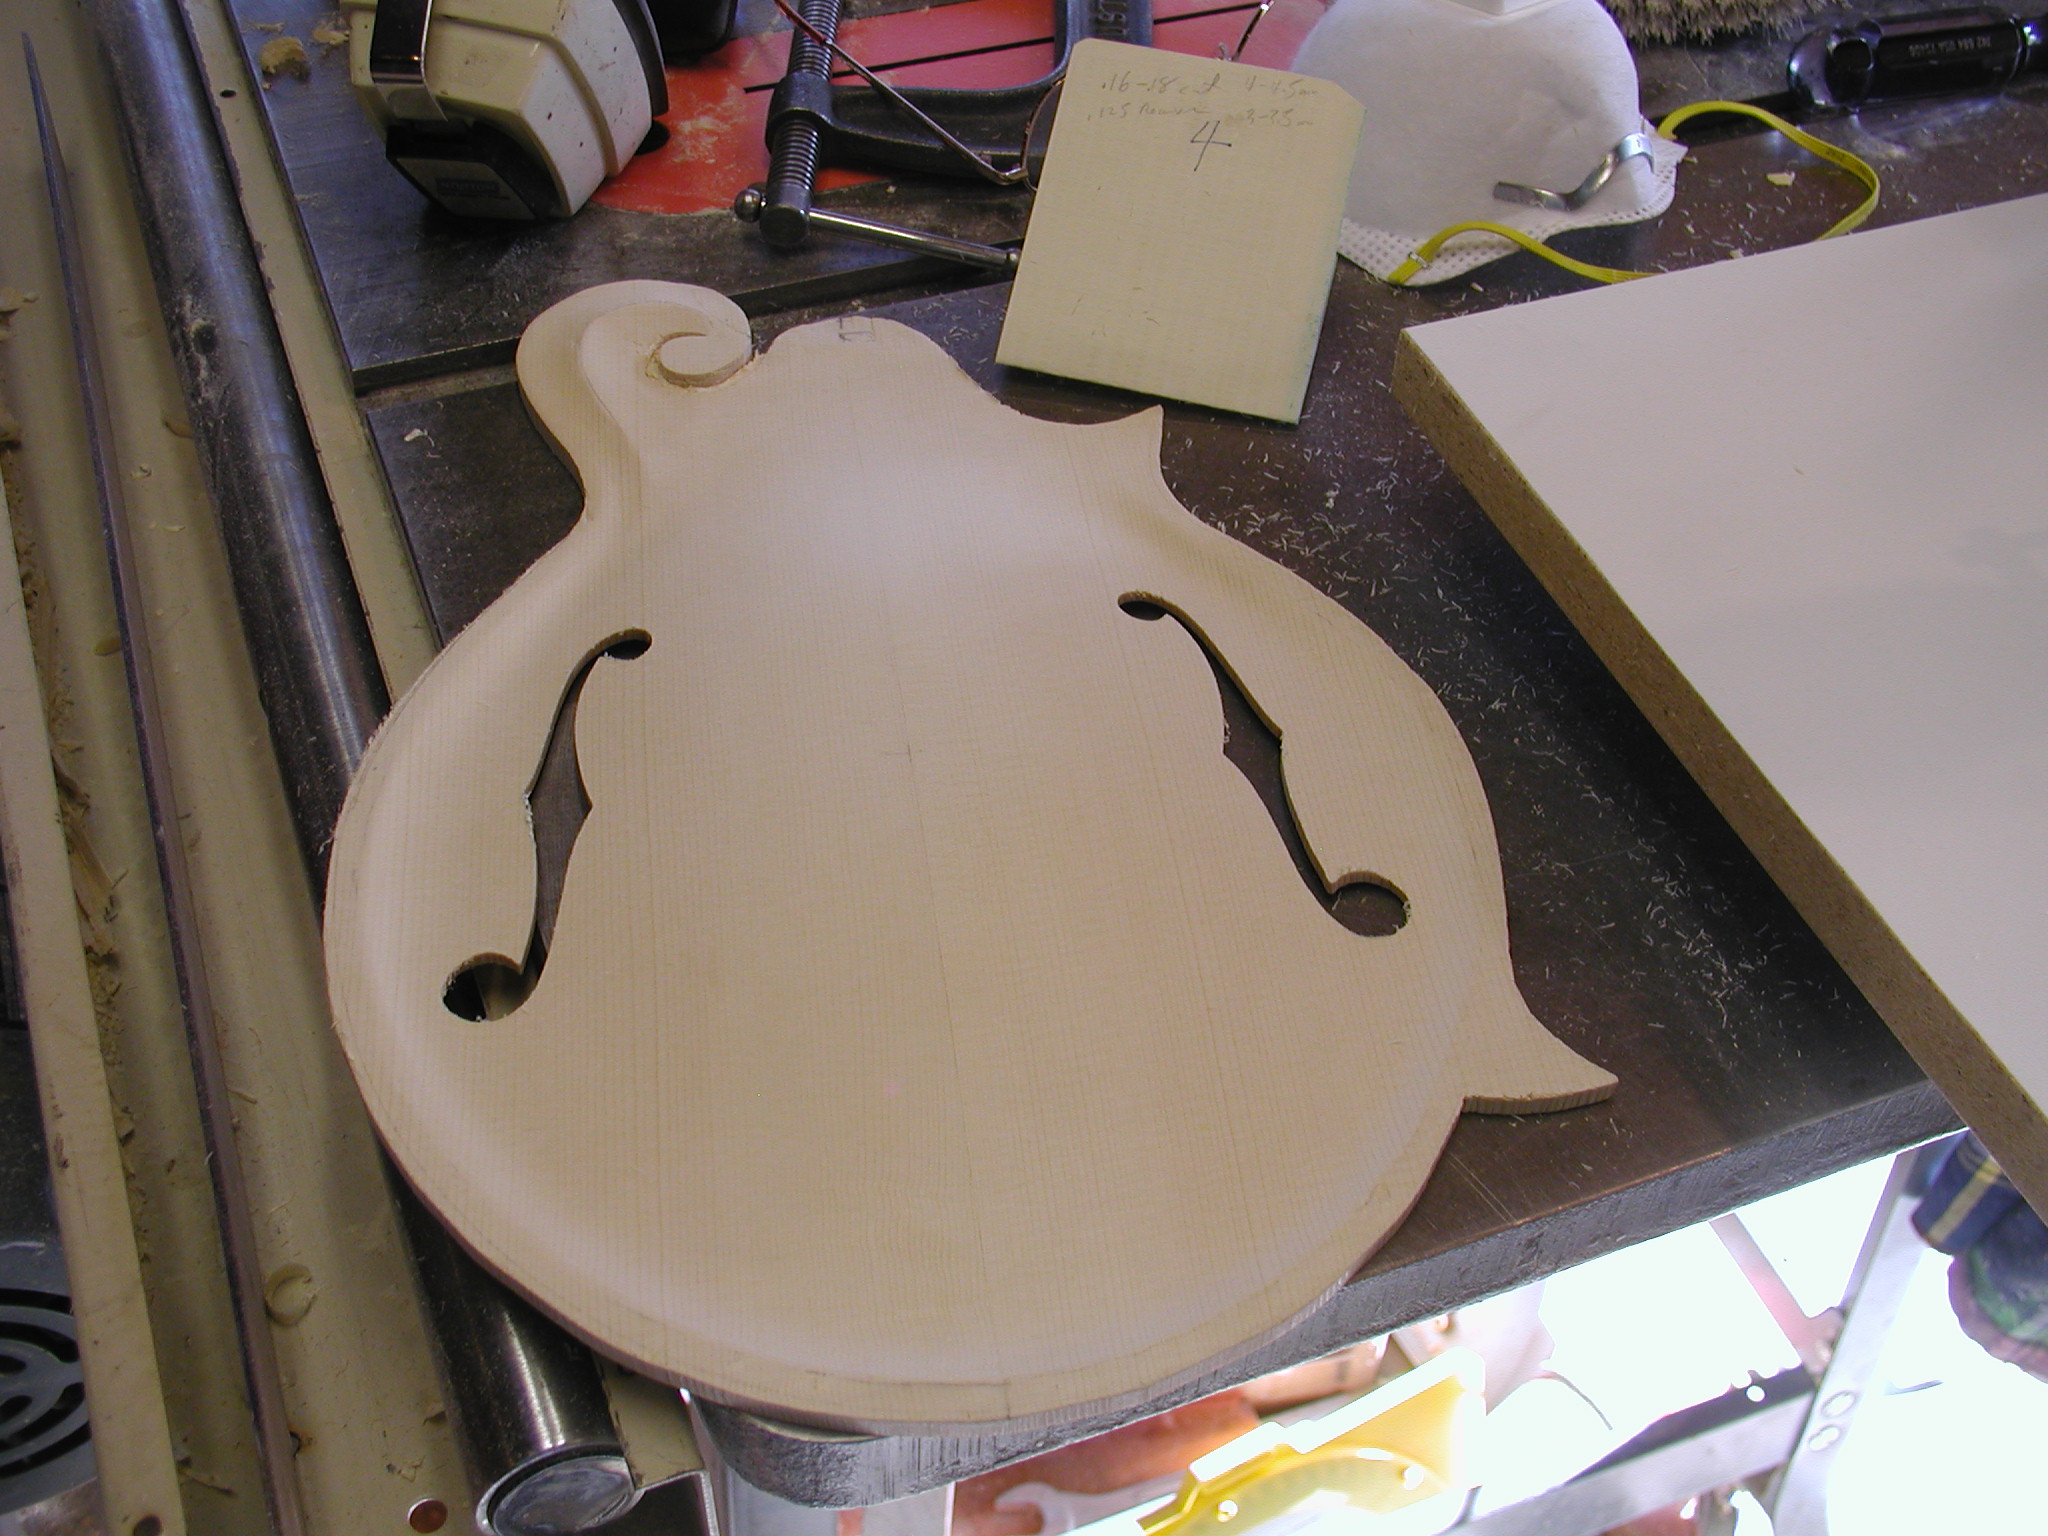
For the F-Holes these days I'm using a mini-pin router. In the past I just used a coping saw with a very fine tooth blade and that works quite well. You just need to be slow and patient. For that method you need to make a template out of flexible plastic sheet with a profile that compensates for the curvature of the top. If you just copy the flat view from a template the resultant hole will look "funny". Look around on the web and you will find various compensated images. These should be keyed by the center seam of the top and a distance from the butt end or similar. Then drill an access hole in the middle of the big hole of the F and slip the blade though, teeth pointing down towards the outside surface of the top, and tighten it up. Rest the top on your workbench with the F-hole hanging over the edge. Cut with the blade straight up and down relative to the table top. Pull down and it will be cutting on the down stroke to protect the face surface from splinters. This will give you a consistent edge to your F-hole despite the curvature of the top. Go slowly and cut just outside the line and later clean it up and refine it with an Xacto knife and files. Keep the edges and corners sharp for now.
With the pin router I use my template as the bottom pattern. I double stick tape it to the inside surface. The router jig itself is just a Proxxon mini-drill press to which I've added a slick base board. I then took a 1/8" carbide mill bit (Check out MSC Industrial for bits) and use it to make a hole in the base. Into the hole I CA glued a steel 1/8" pin. The template slips over the pin so the movement of the top/template is constrained to the F-Hole location. I then drop the cutter through middle part of the big hole and proceed to route around. Run your motor tool at it's highest speed! At lower speeds it can catch between the summer/winter grain lines and jerk around. Some folks do this in multiple passes going lower each time around. For myself I find that just running it to the max depth and doing it in a single pass gives me a better result.
Note also that I don't bother with the gauze or anything. I haven't found the need for that.


1 2 3 4 5 6 7 8 8a 9 10 11 11a 11b 12 12a 13 14 15 16 17 18 19 20