Let's Build A Mandolin (Page 10)
1 2 3 4 5 6 7 8 8a 9 10 11 11a 11b 12 12a 13 14 15 16 17 18 19 20
Last Modified - January 2012 (©Alan Dunwell 2012)
In Page 9 we finished up preparing the fretboard except for the final profiling. Before we can attach it to the neck though we need to get the neck fit to the body and the fretboard extension attached. NOTE: My method here is not traditional. I have done that but now just use a butt joint bolt on neck. It is quite strong and allows easy alignment of the neck and can be easily removed if necessary.
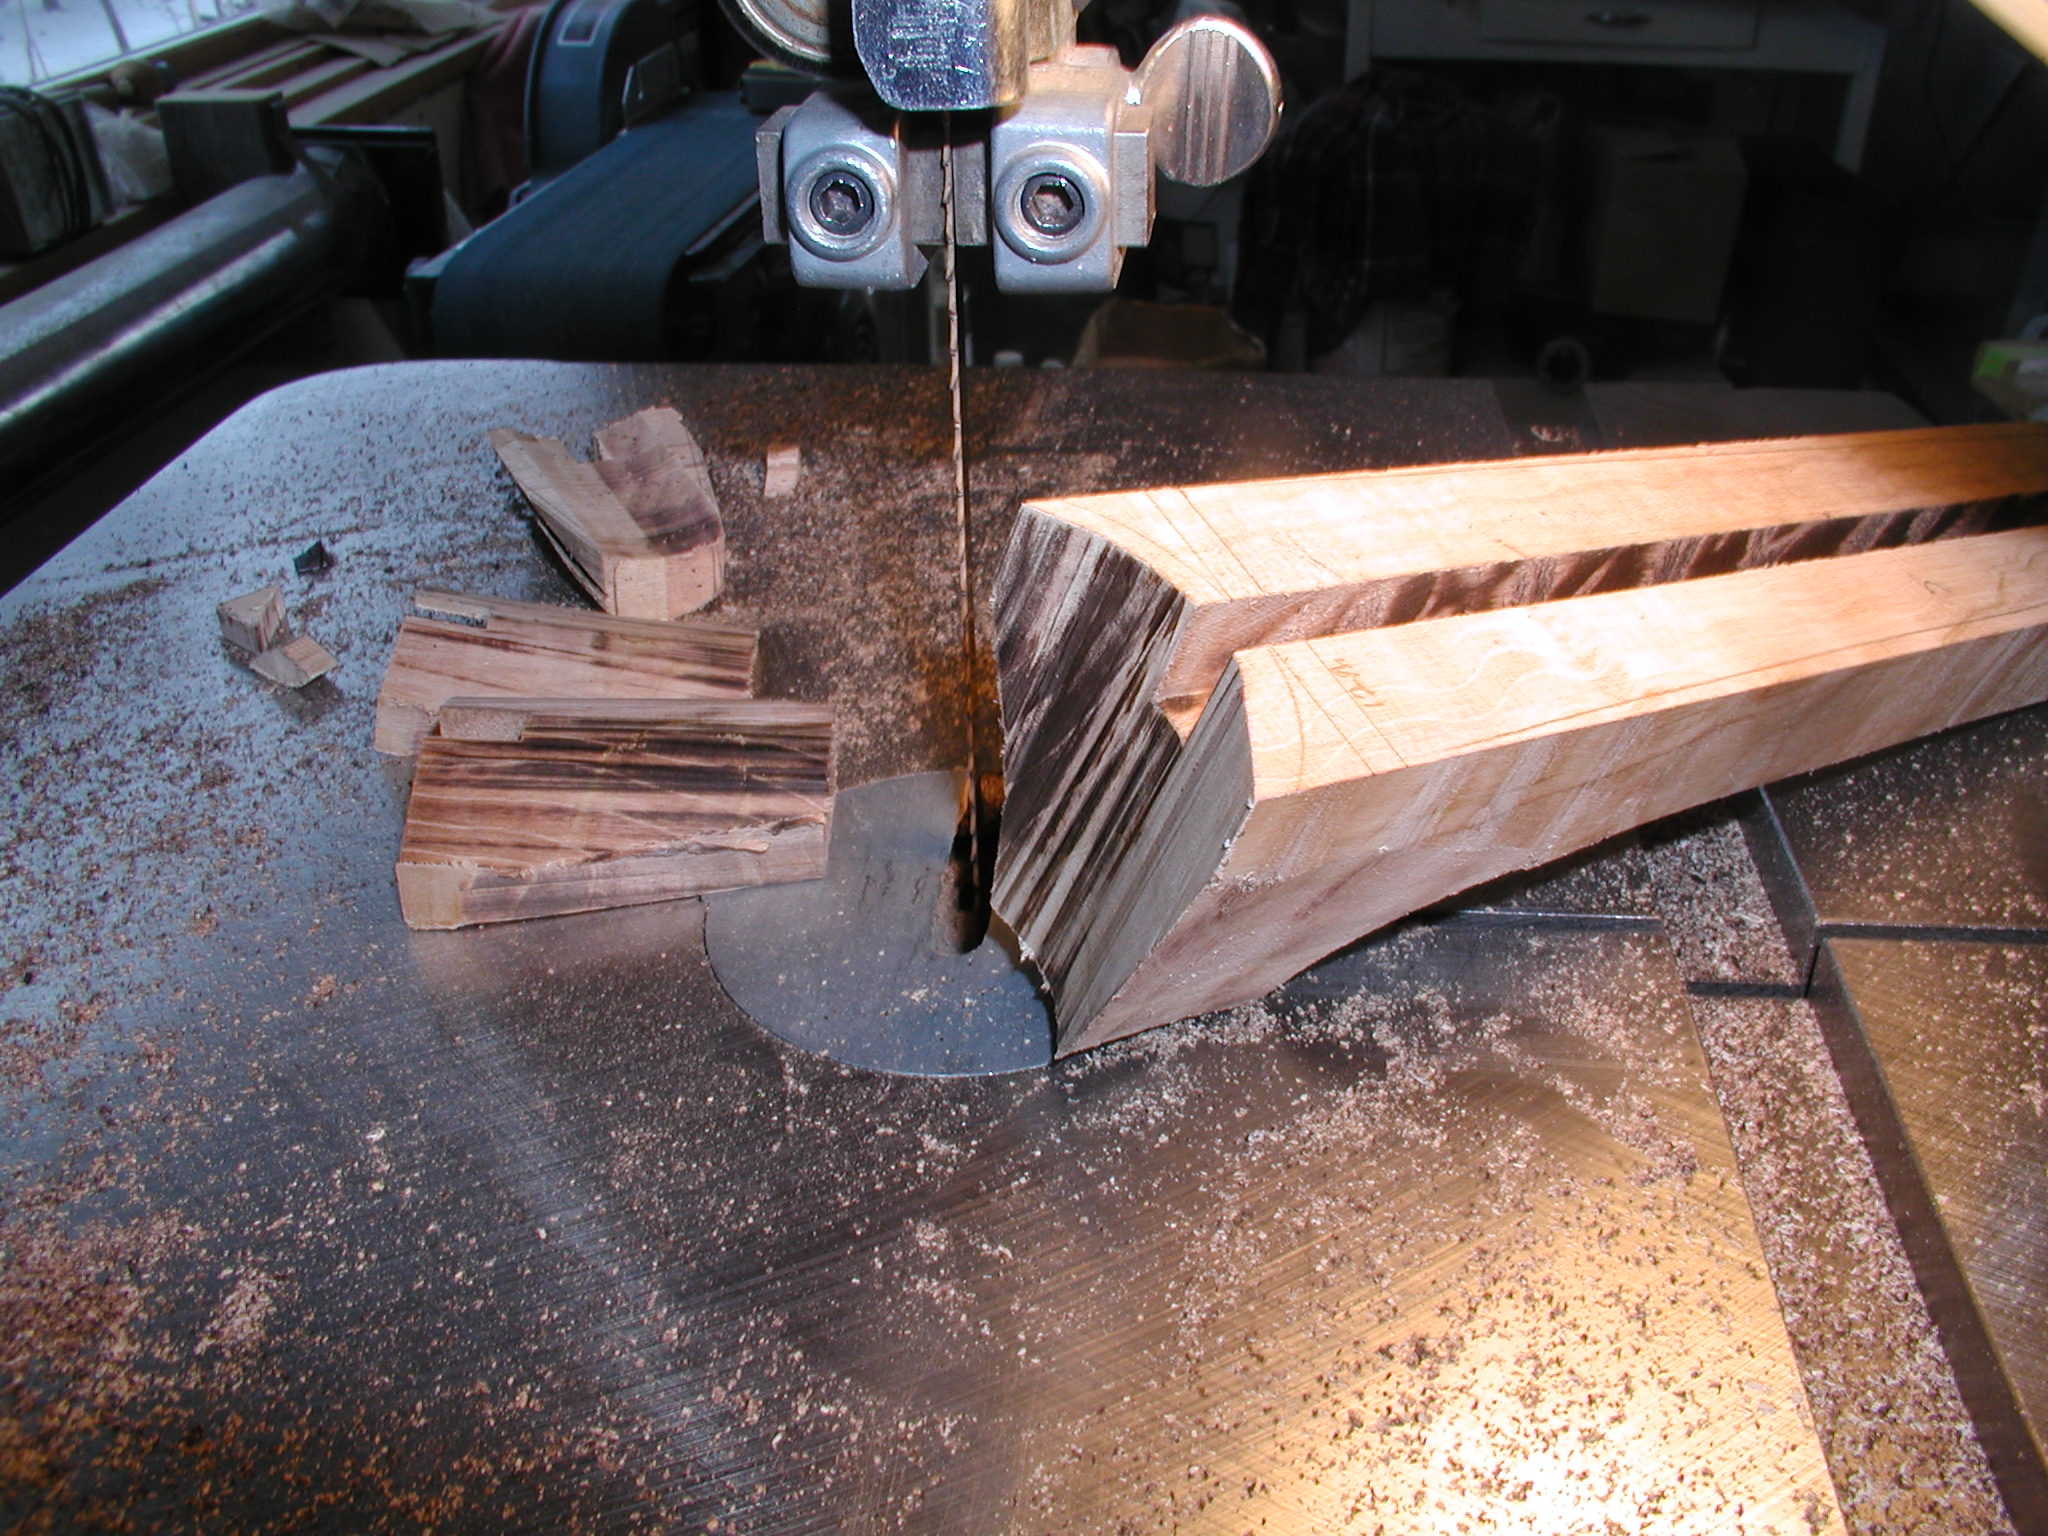
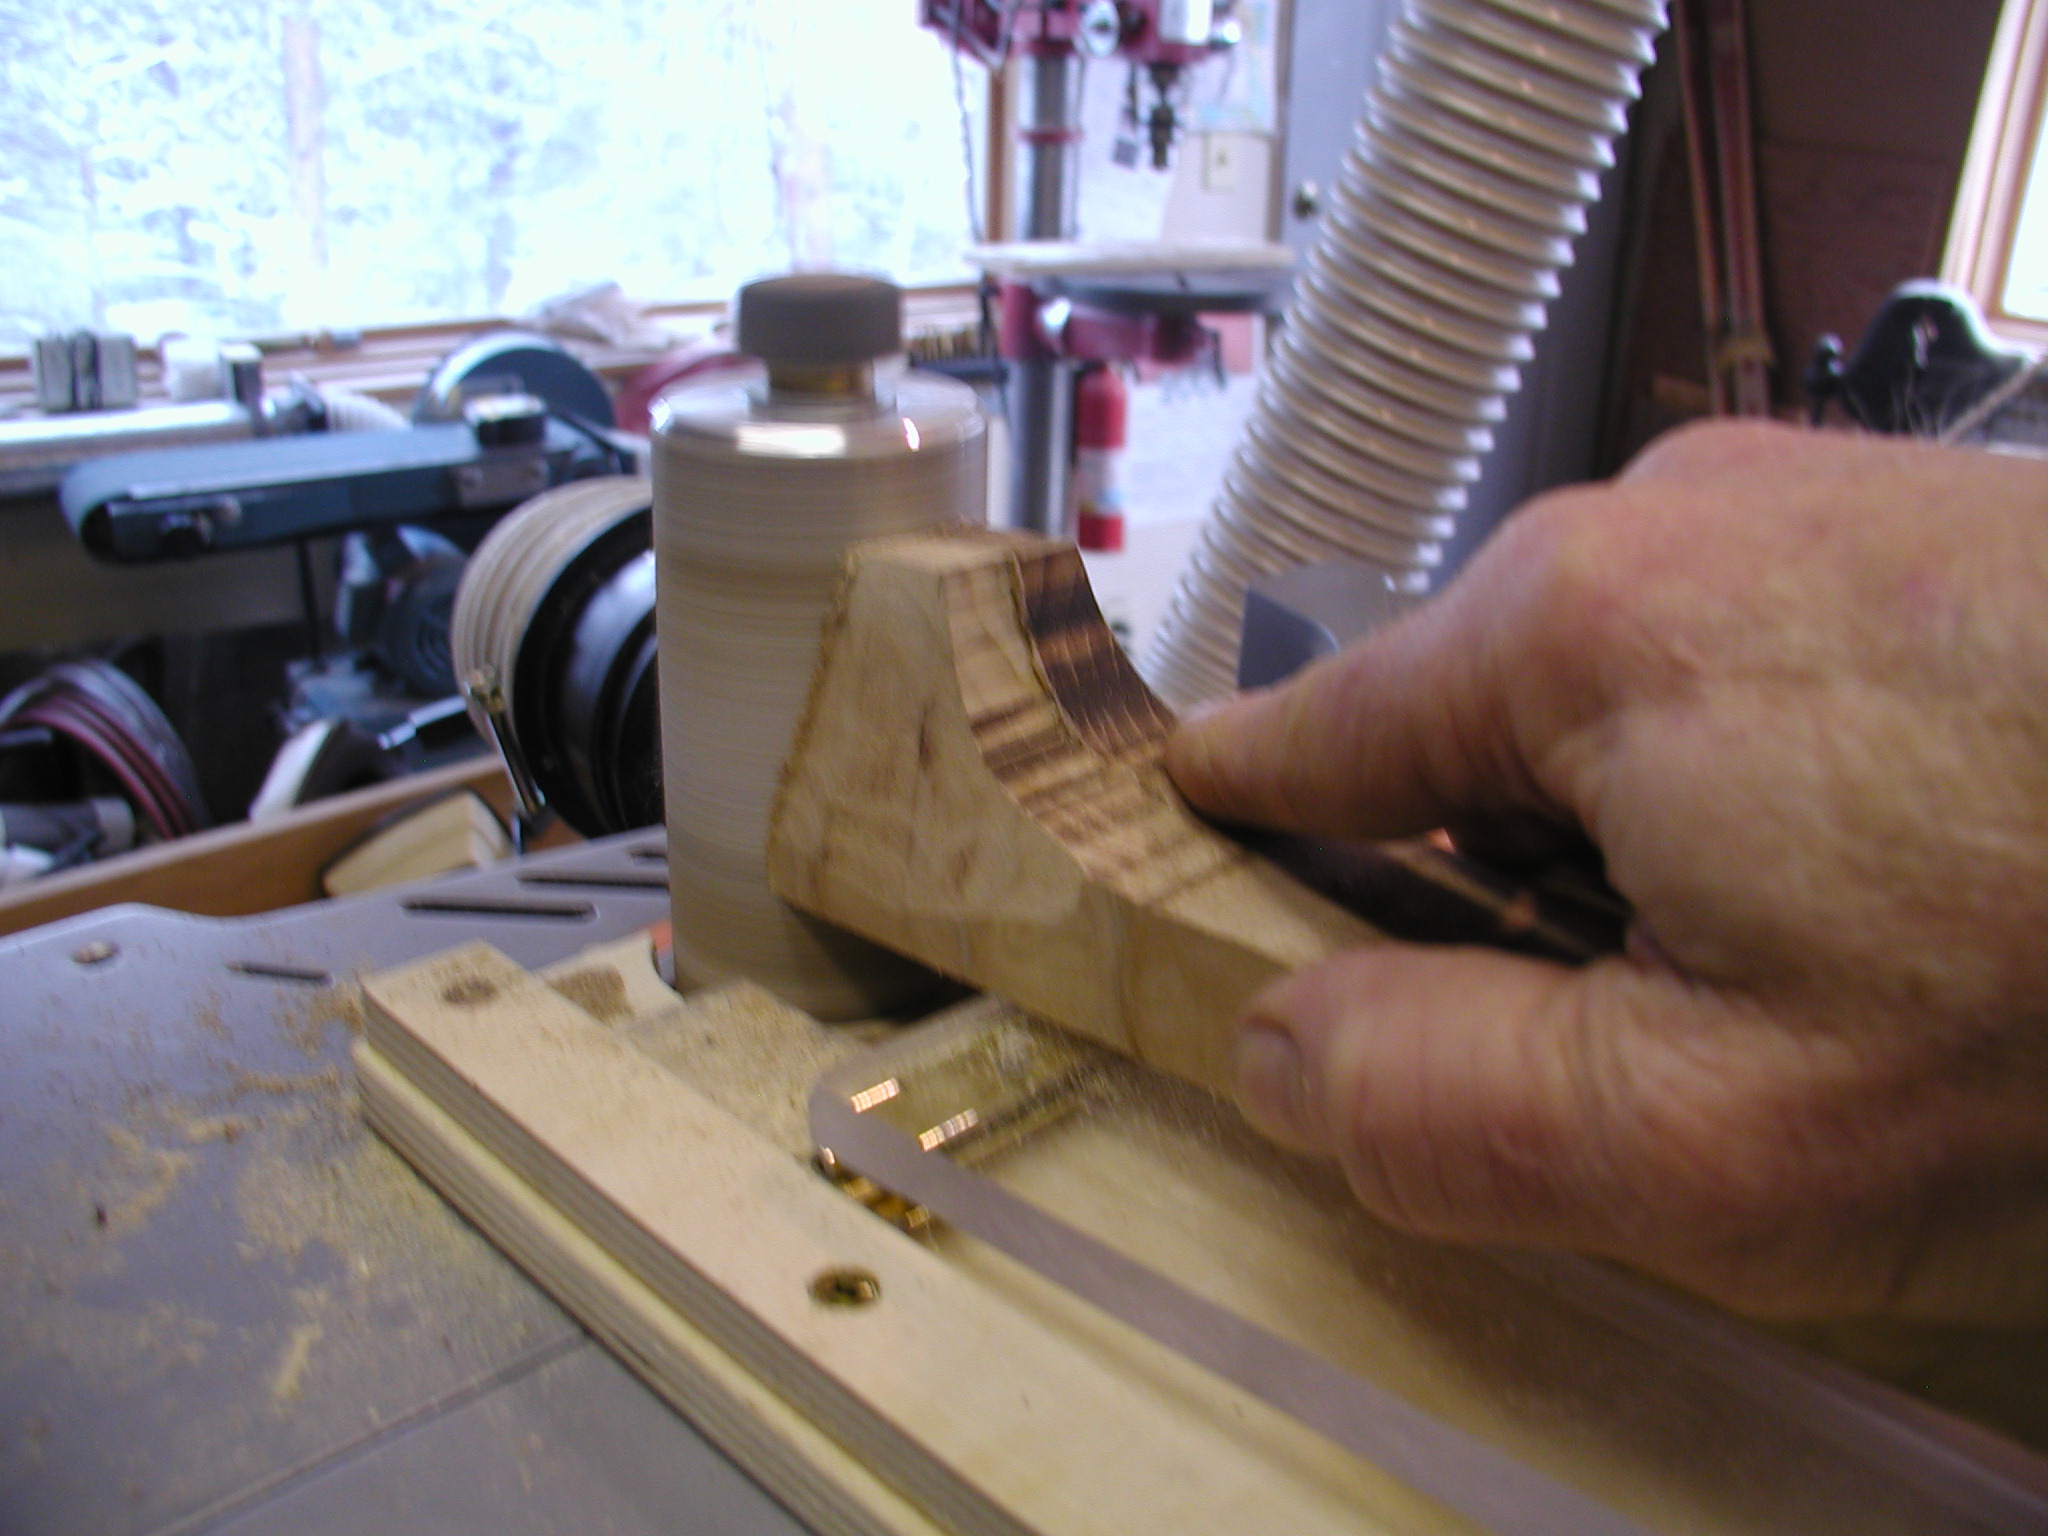
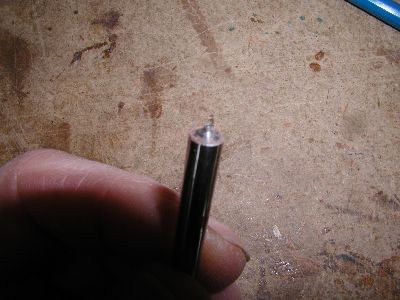
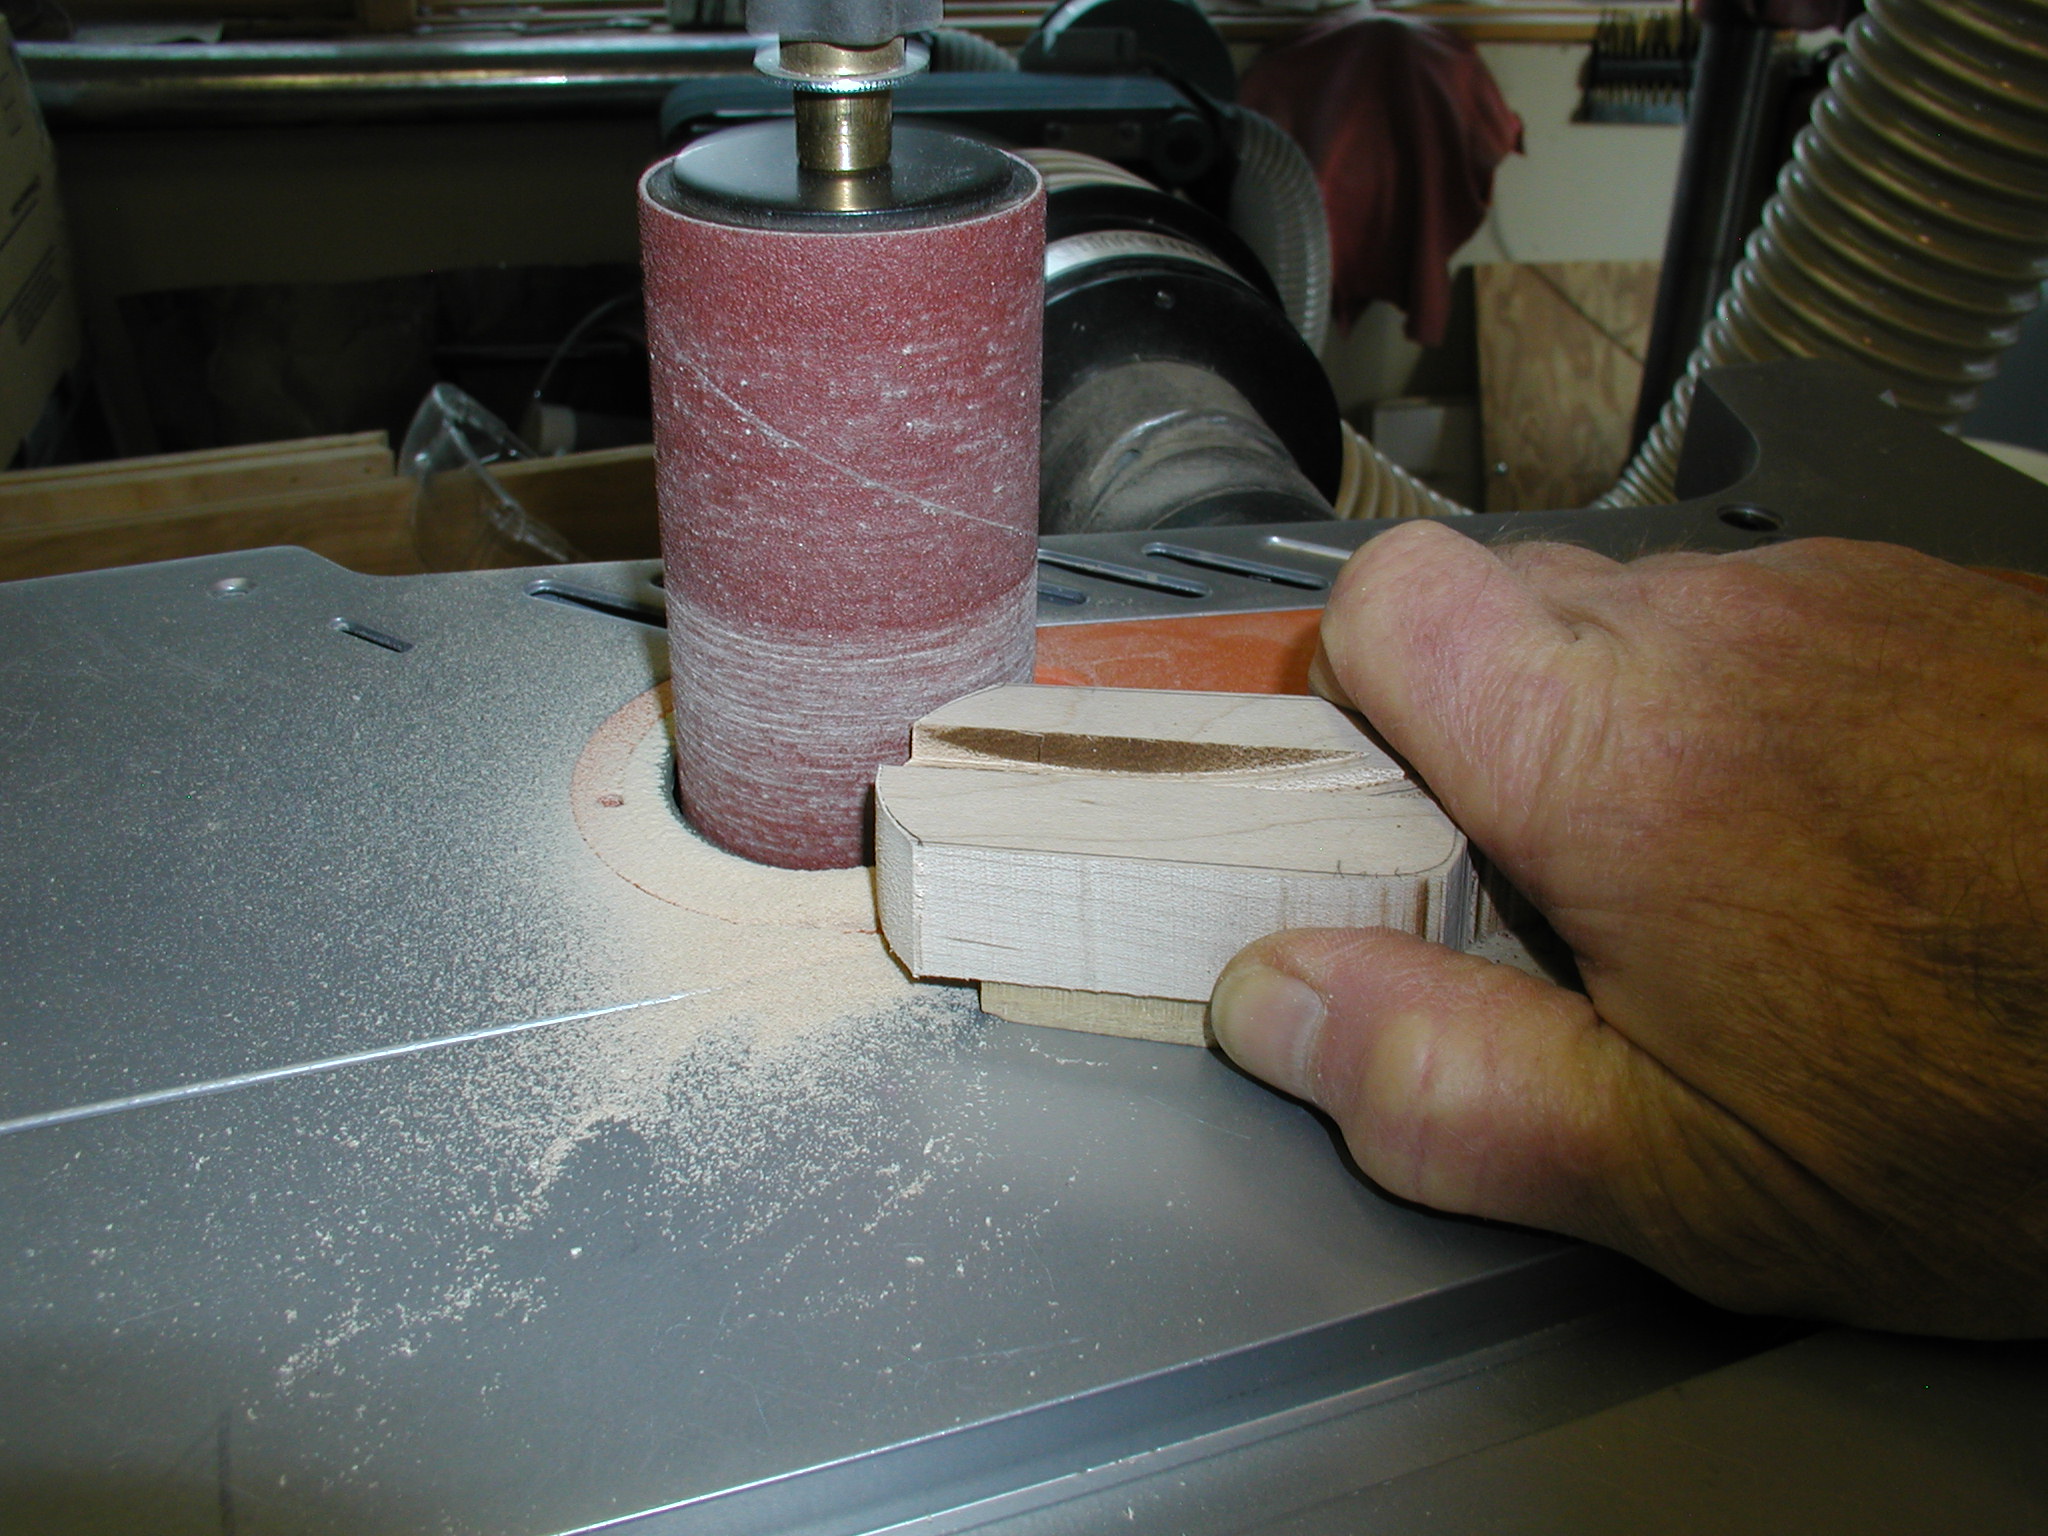
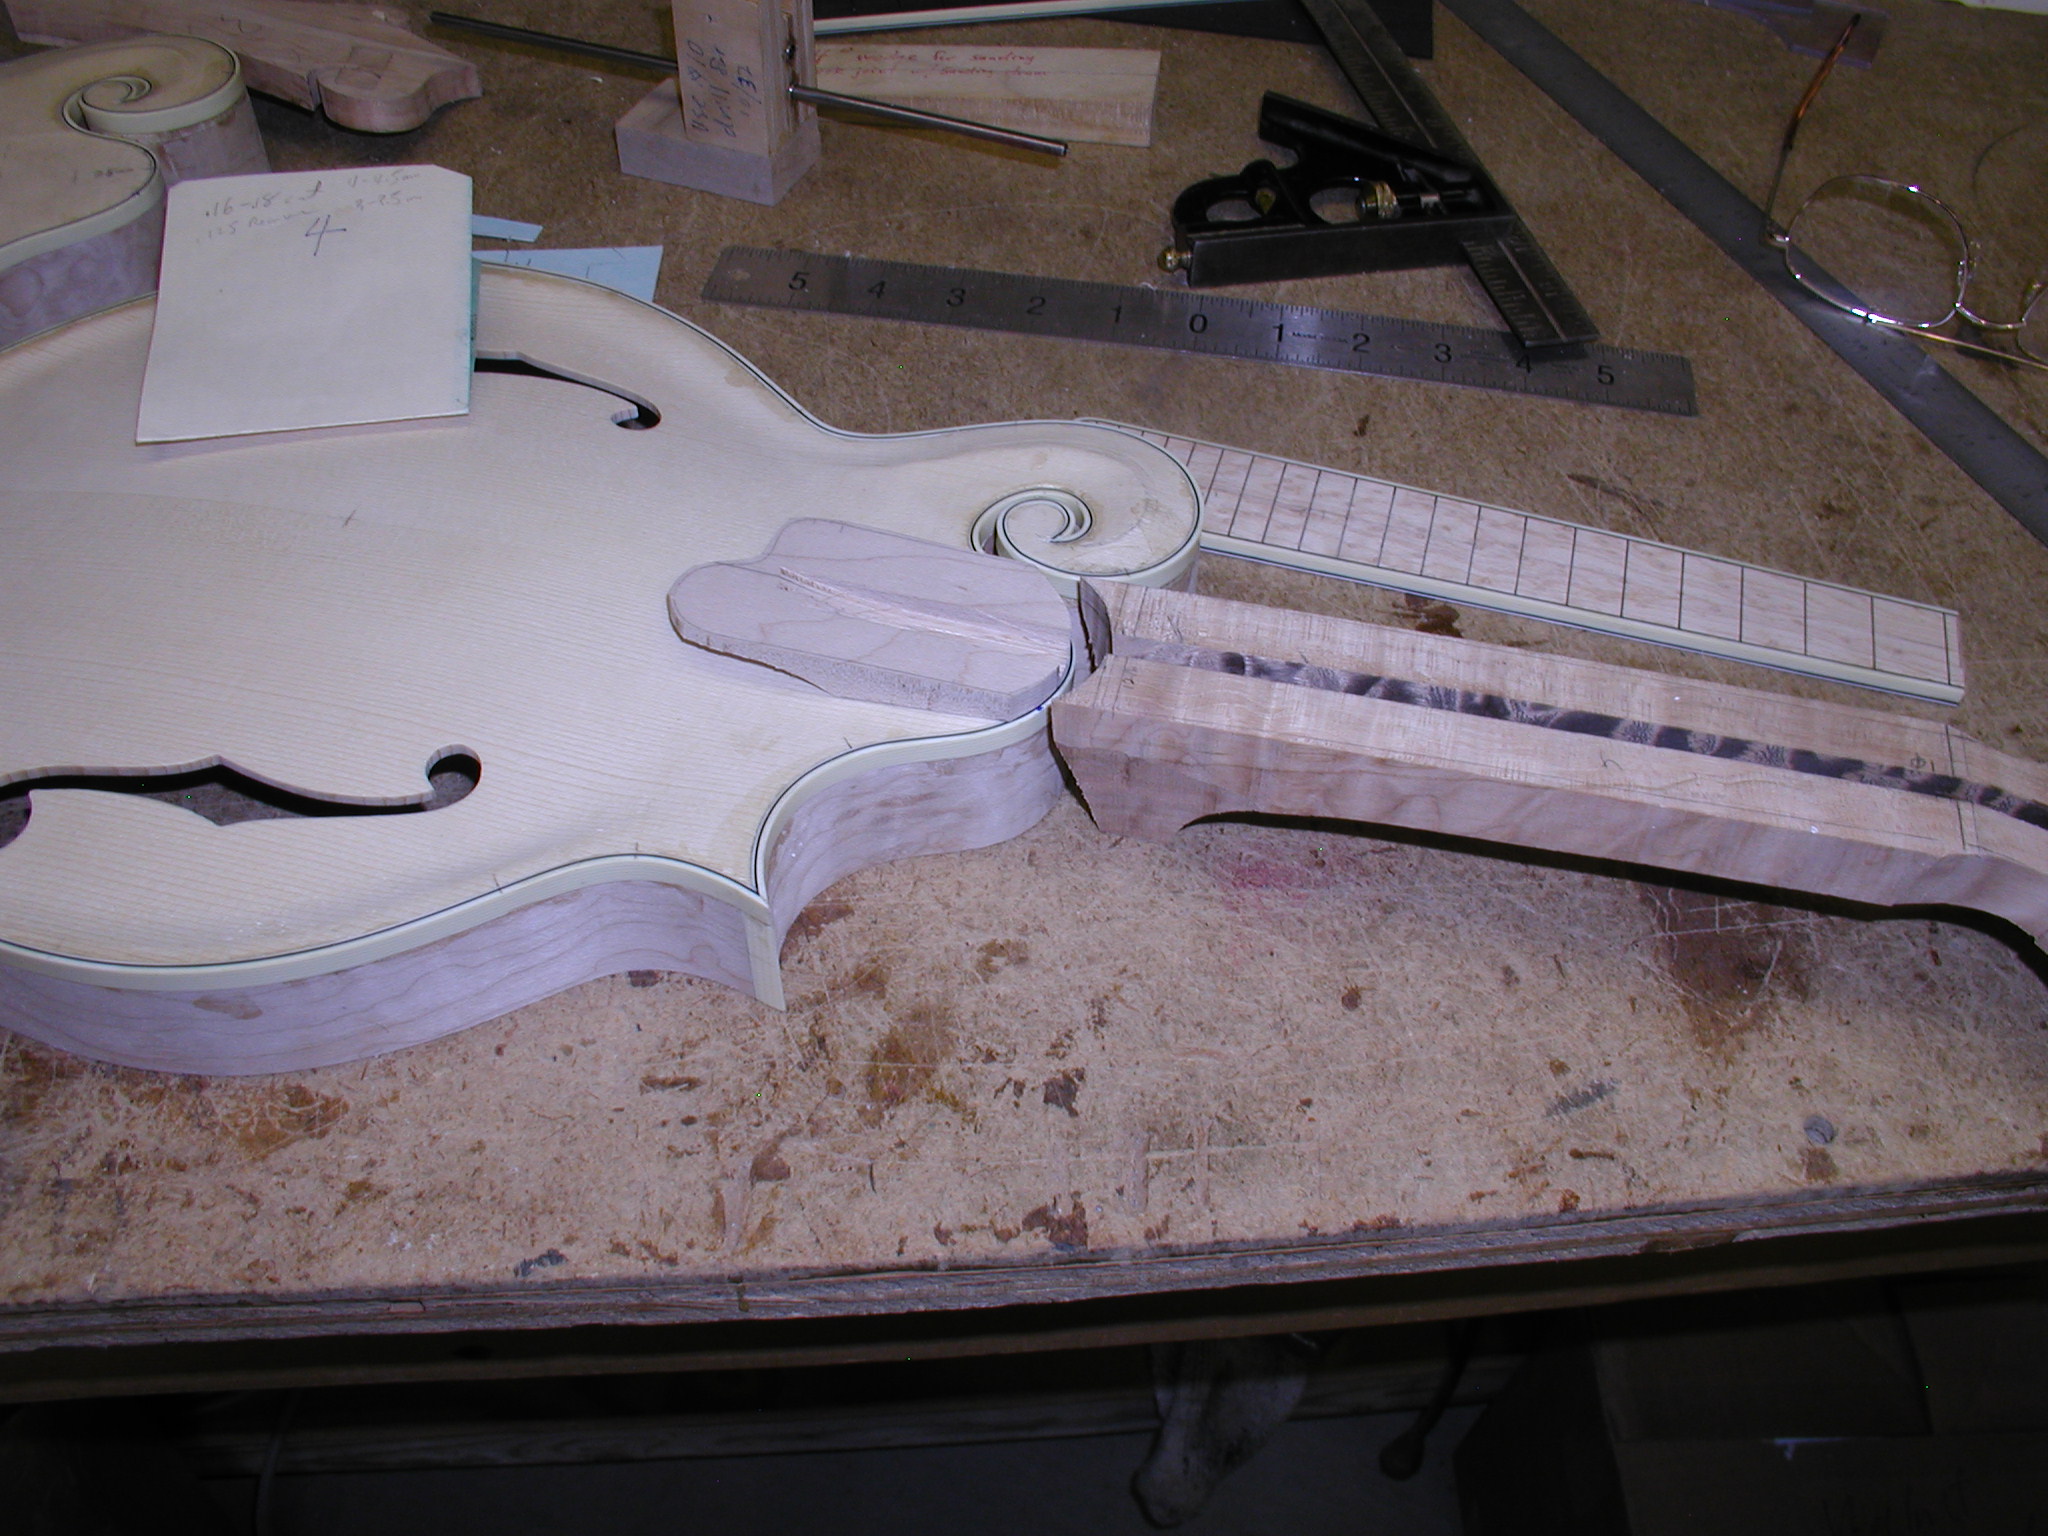
First I use templates to mark the 14th fret line and draw approximately where the neck will meet the body. I rough this out on the bandsaw. As with a dovetail joint, the butt joint also uses various jigs to help get it nice and true. I am using (you guessed it!) the oscillating spindle sander to cut the butt end of the neck to match the body. The usual two inch sanding drum is not actually exactly 2" and isn't really true but is a bit barrel shaped. So I turned off an aluminum round that is just 2" when the PSA sand paper is attached. The wooden jig fits into the miter slot so it is exactly centered on the drum. The face that the fretboard surface rest on is angle adjustable vertically with the pivot point being in the plane of the sanding drum shaft. I just slid the neck and angle assembly into the sanding drum and take off little amounts and check the fit with my "High-Teque-Stick ™ © ® ". It has a hole that lets me see and align to the 12th and 15th fret lines and the tip end is the bridge location on the body. I hold it to the 12th position on the neck and check the tip end. I just keep taking off the butt end till I have it right. Man, the cost of these specialty jigs from High Teque is just killin' me!
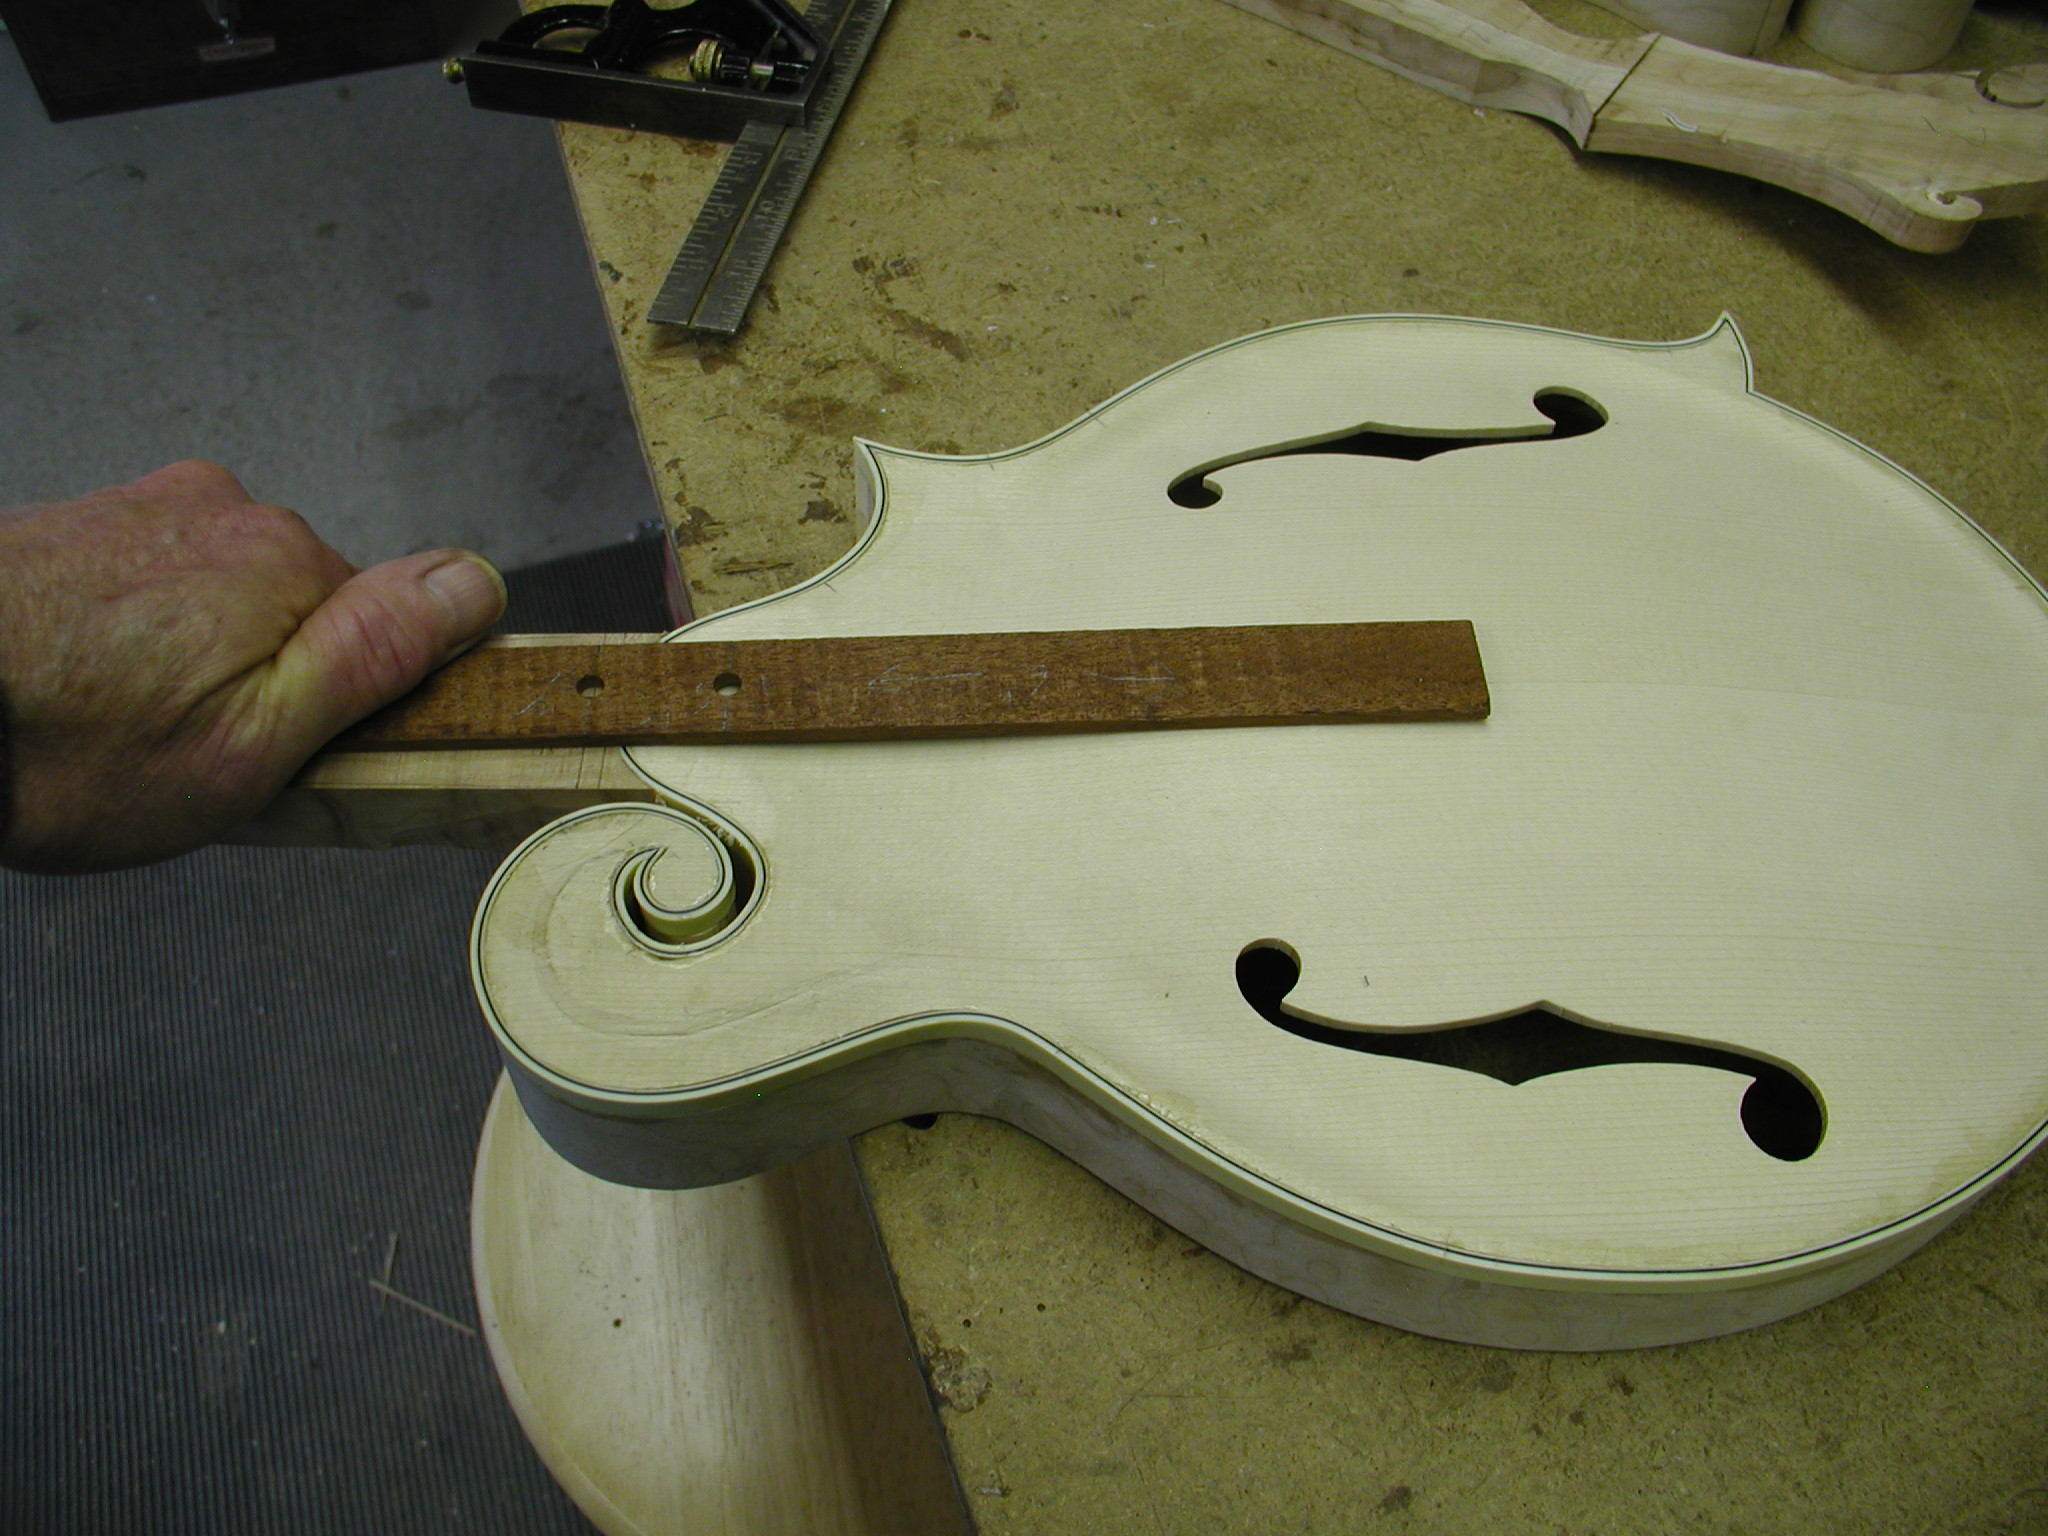
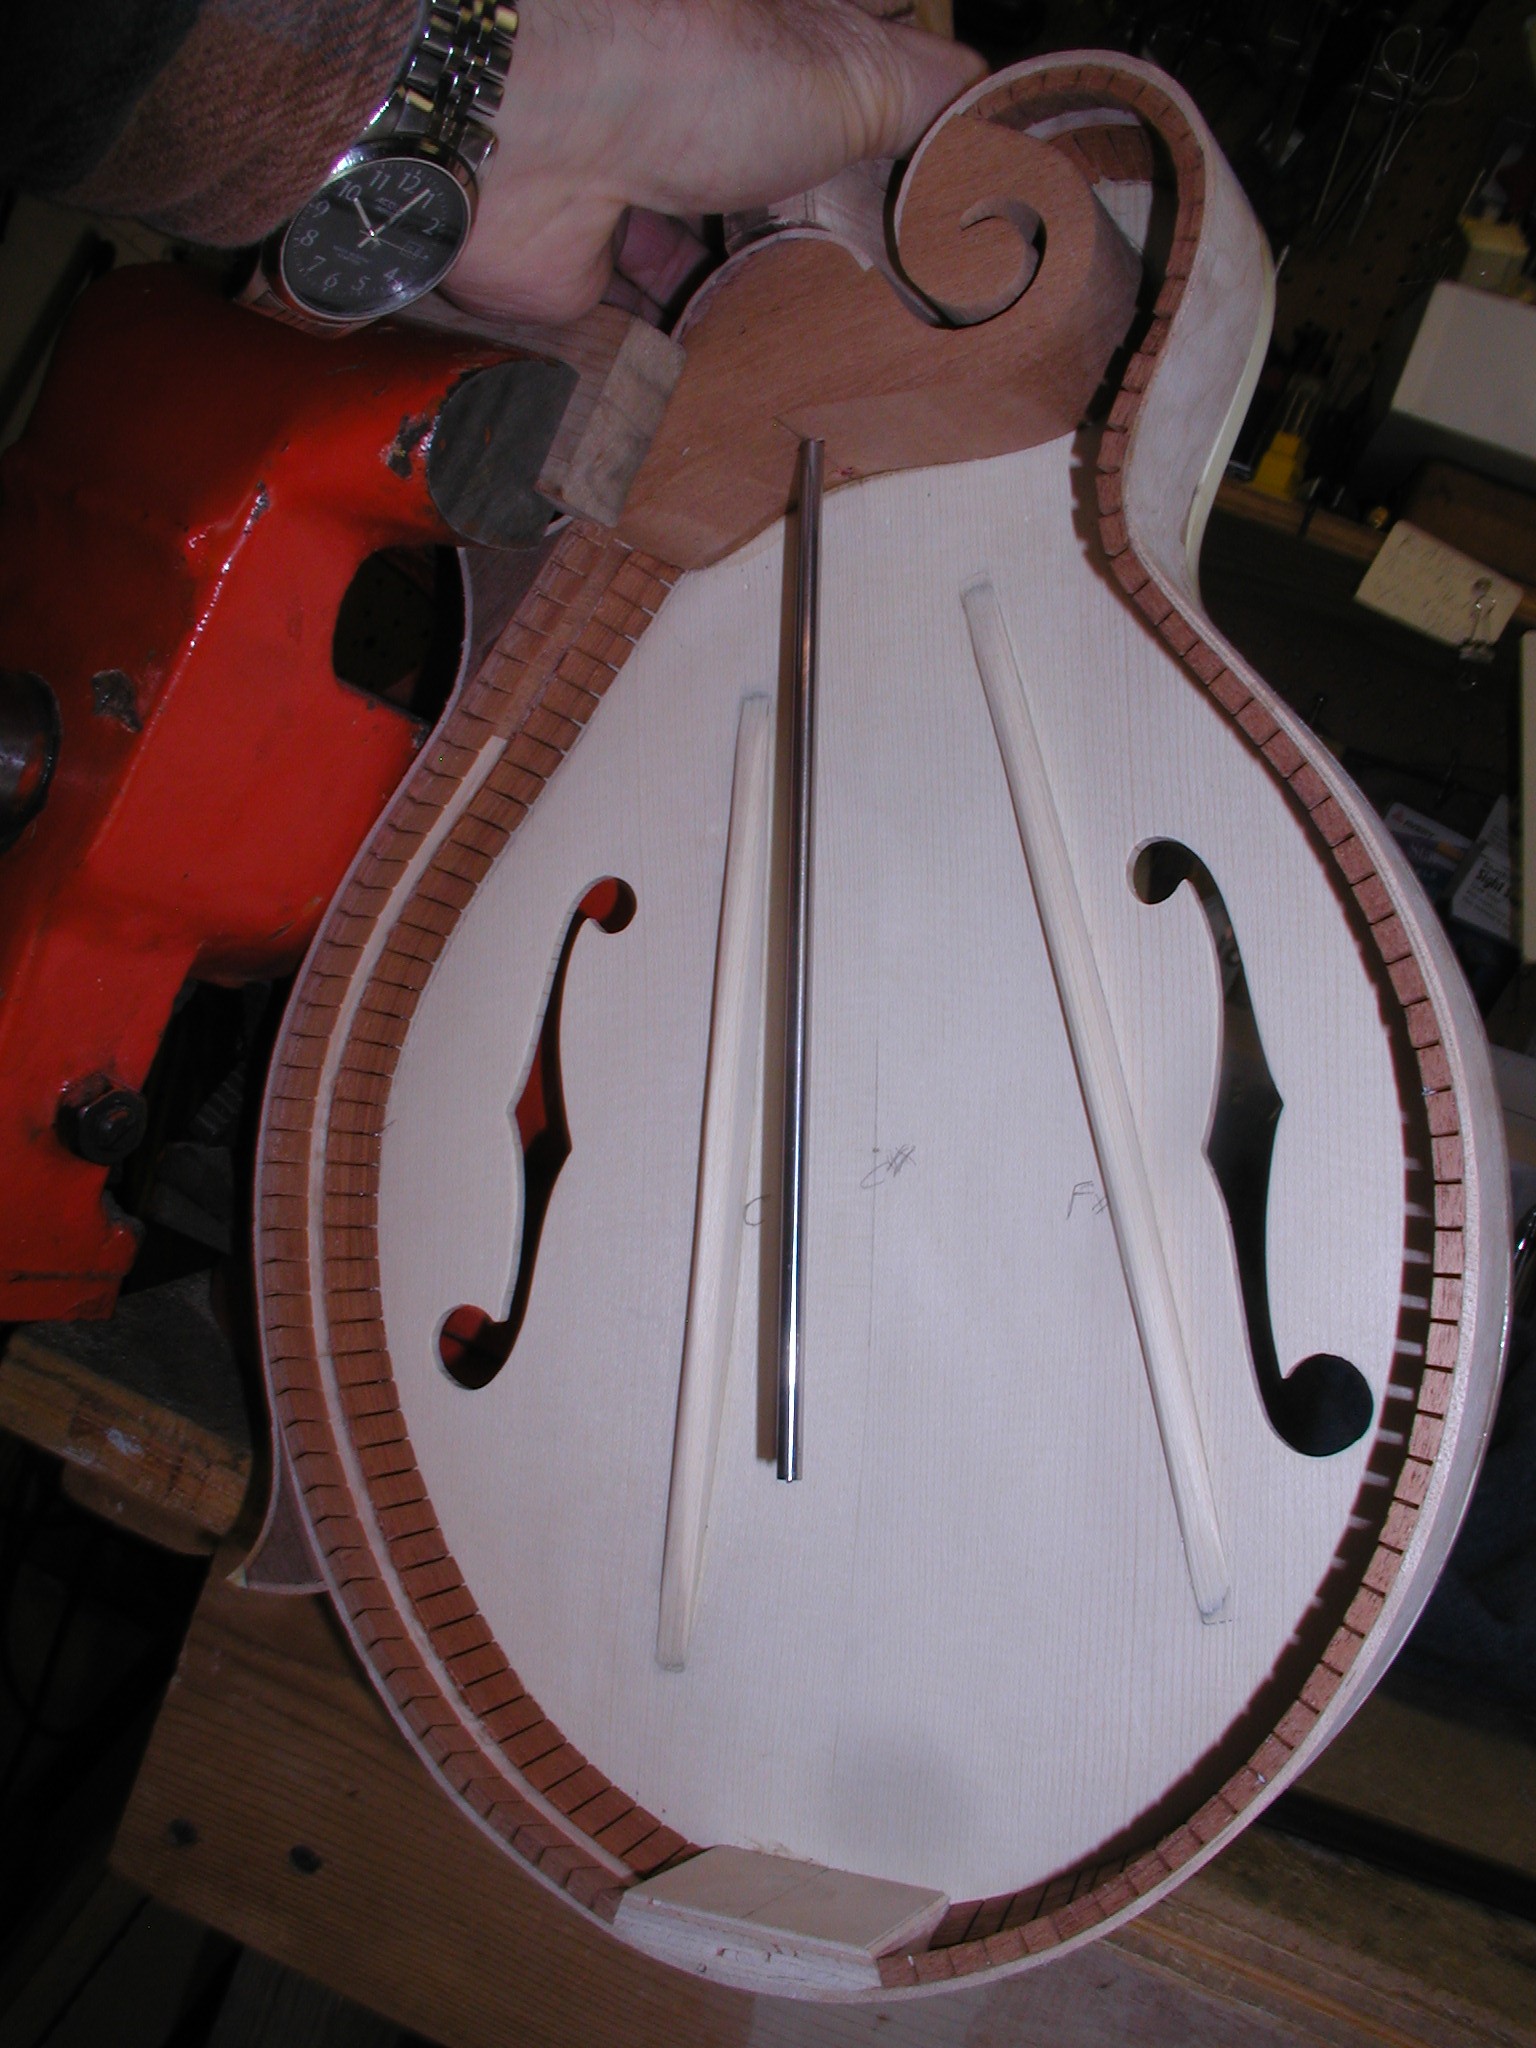
At the same time I'm sneaking up on the butt length I also check the butt angle. I just tape on the fretboard and the Super Mega High-Teque Height Test Stick (also ™ © ®) till I have the back angle exactly the way I want. This may vary a bit depending on arch height of the body. The SMH-THT Stick has a block of exact thickness and a line drawn where the bridge goes. Once I have the butt length all sanded I slide the neck up and down till it is just the right position to provide the right height at the bridge. I draw a pencil line on the butt to mark this.
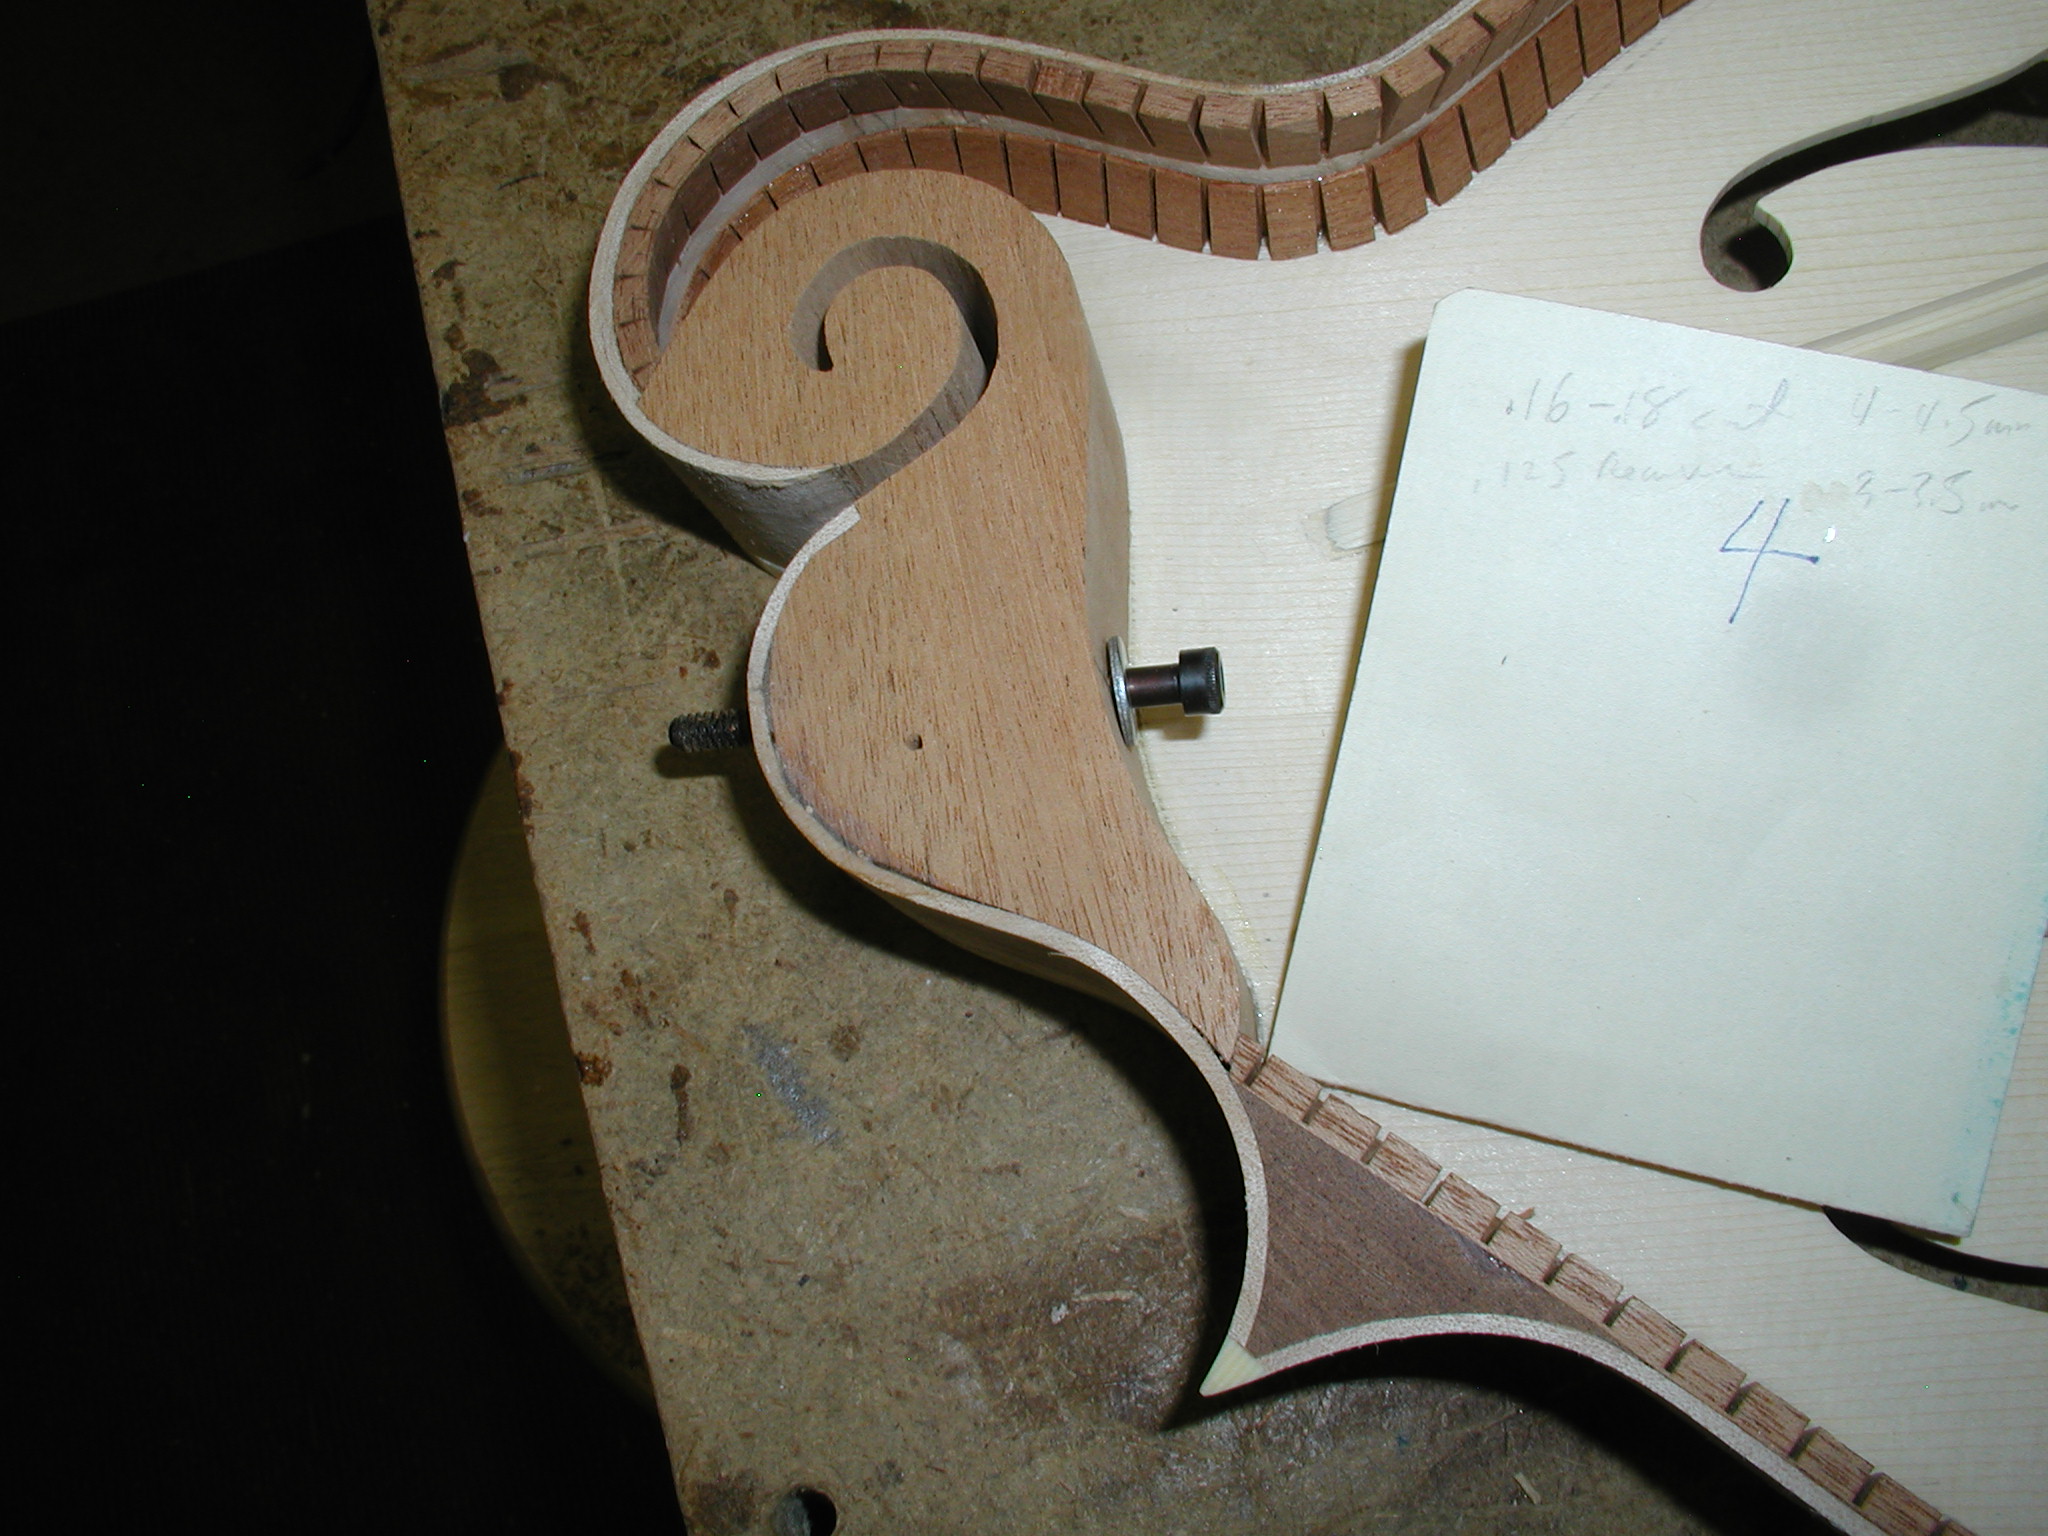
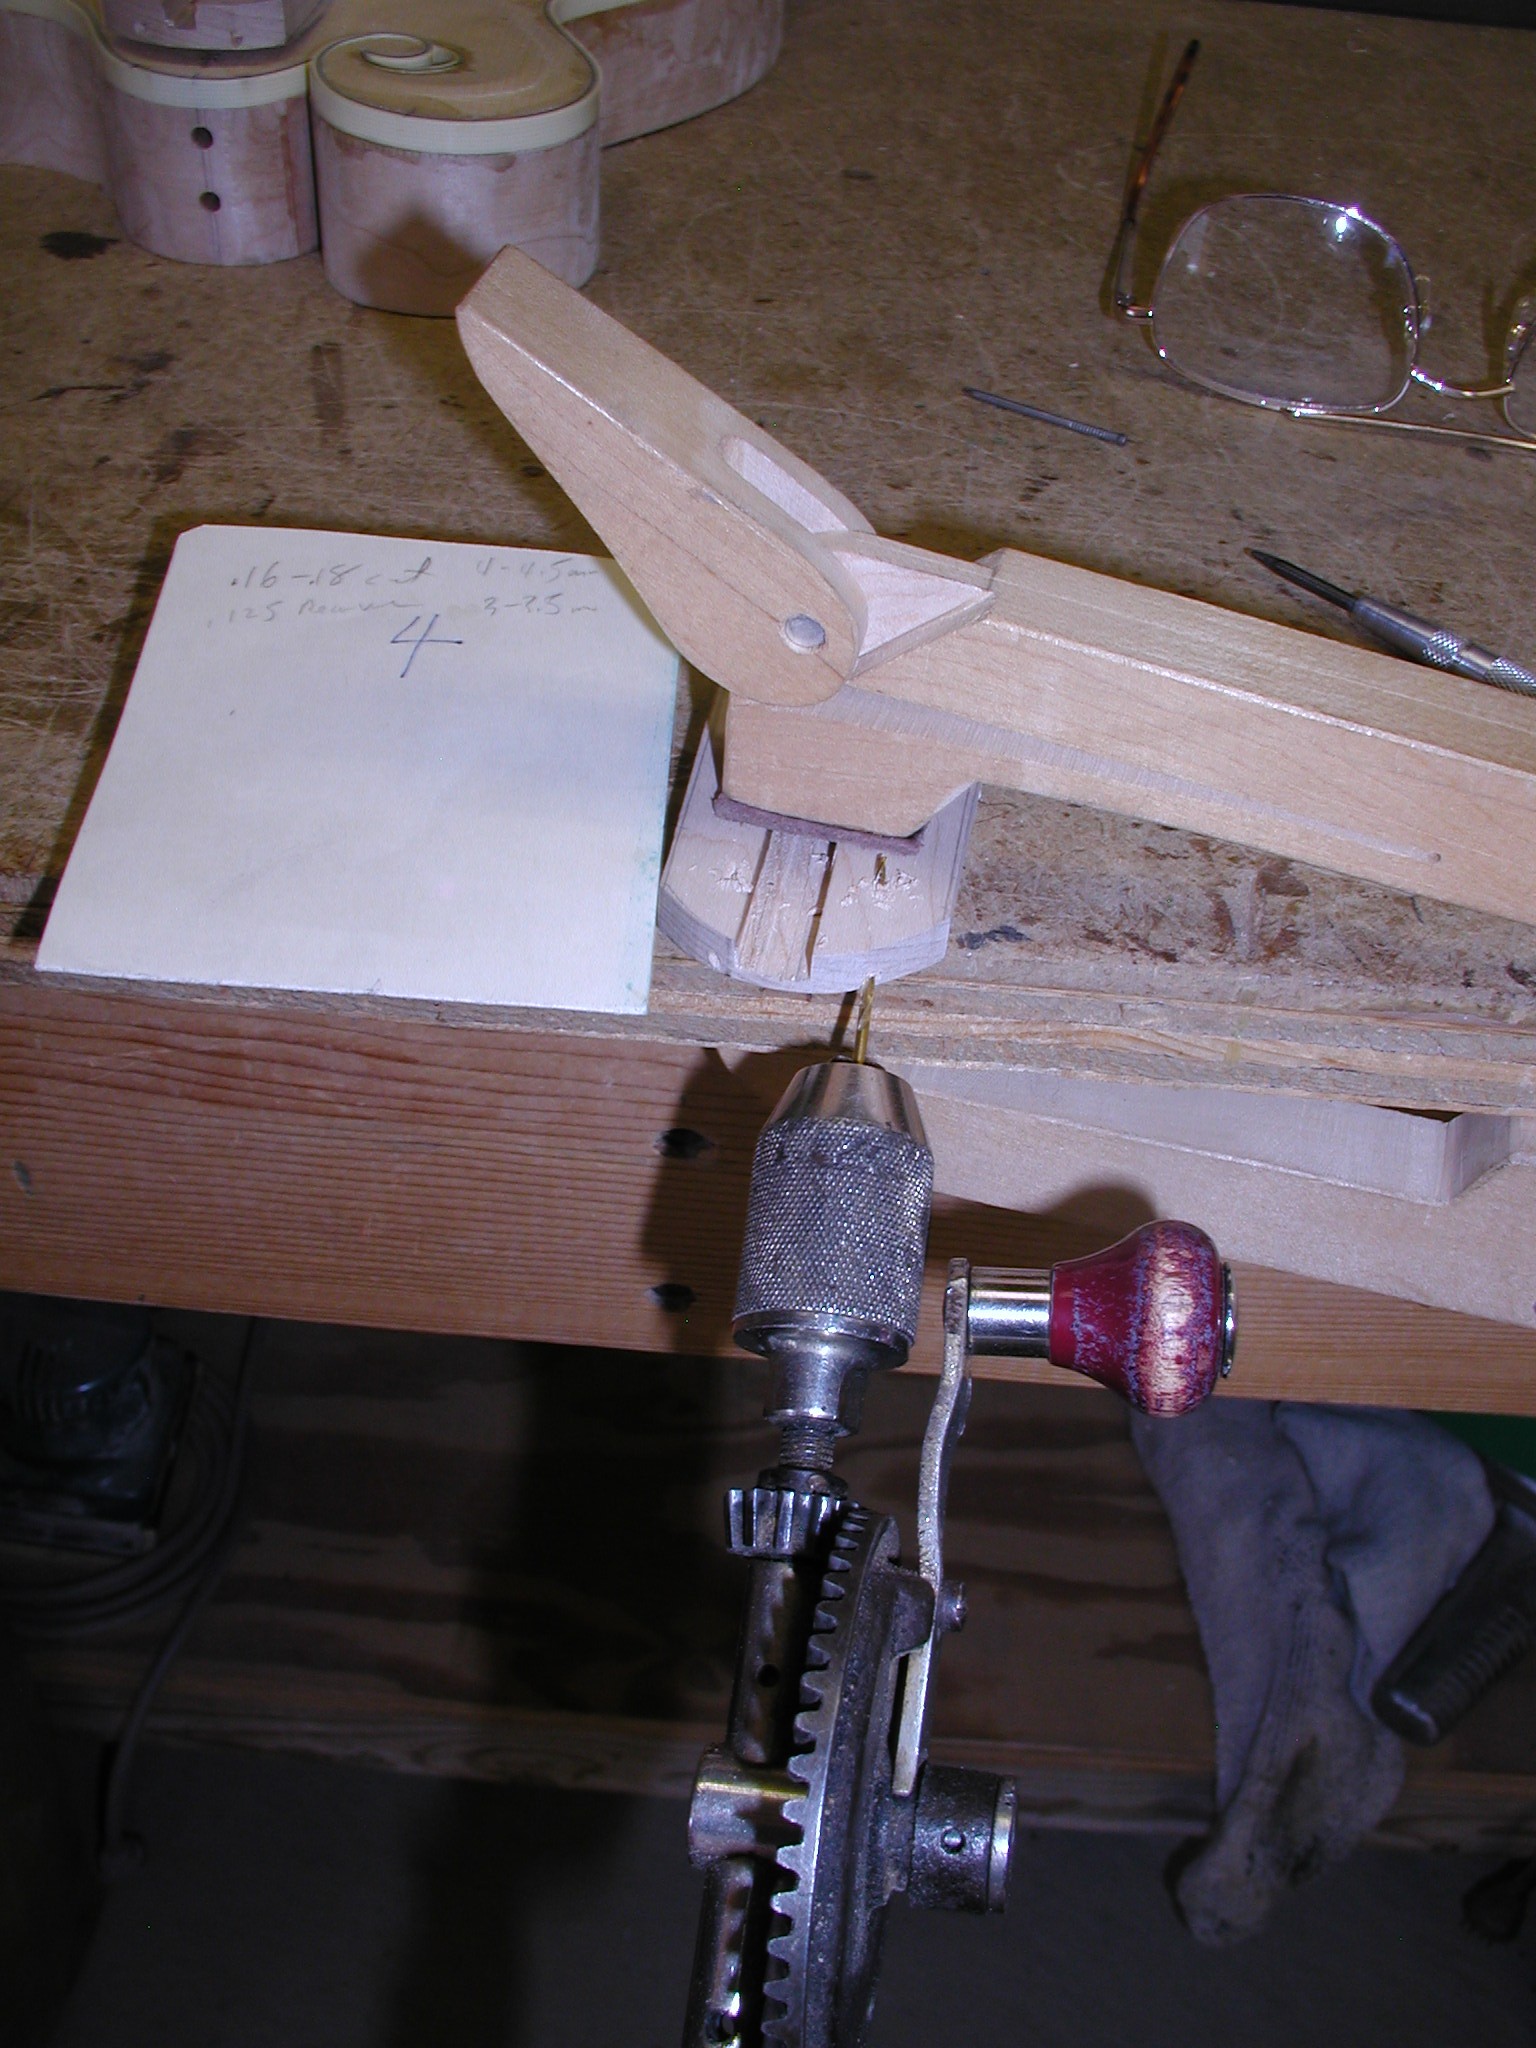
Next I set up the neck/body bolting system. I make the body holes first and then key the neck to it. My jig is pretty simple, just a plywood block that I shaped like the butt end of a neck on the spindle sander. It also has a slot that matches the truss rod and two holes that are aligned with the truss rod slot, all along that center line. Also, notice the small block glued to the bottom, this extends out so the headblock rest on it. This locates the holes vertically. I pop in some graphite truss rod bars as an alignment indicator and slip the block around till the bars are aligned to the centerline of the top. I clamp the jig in that location and dill holes into the body/headblock to receive the allen head bolts.
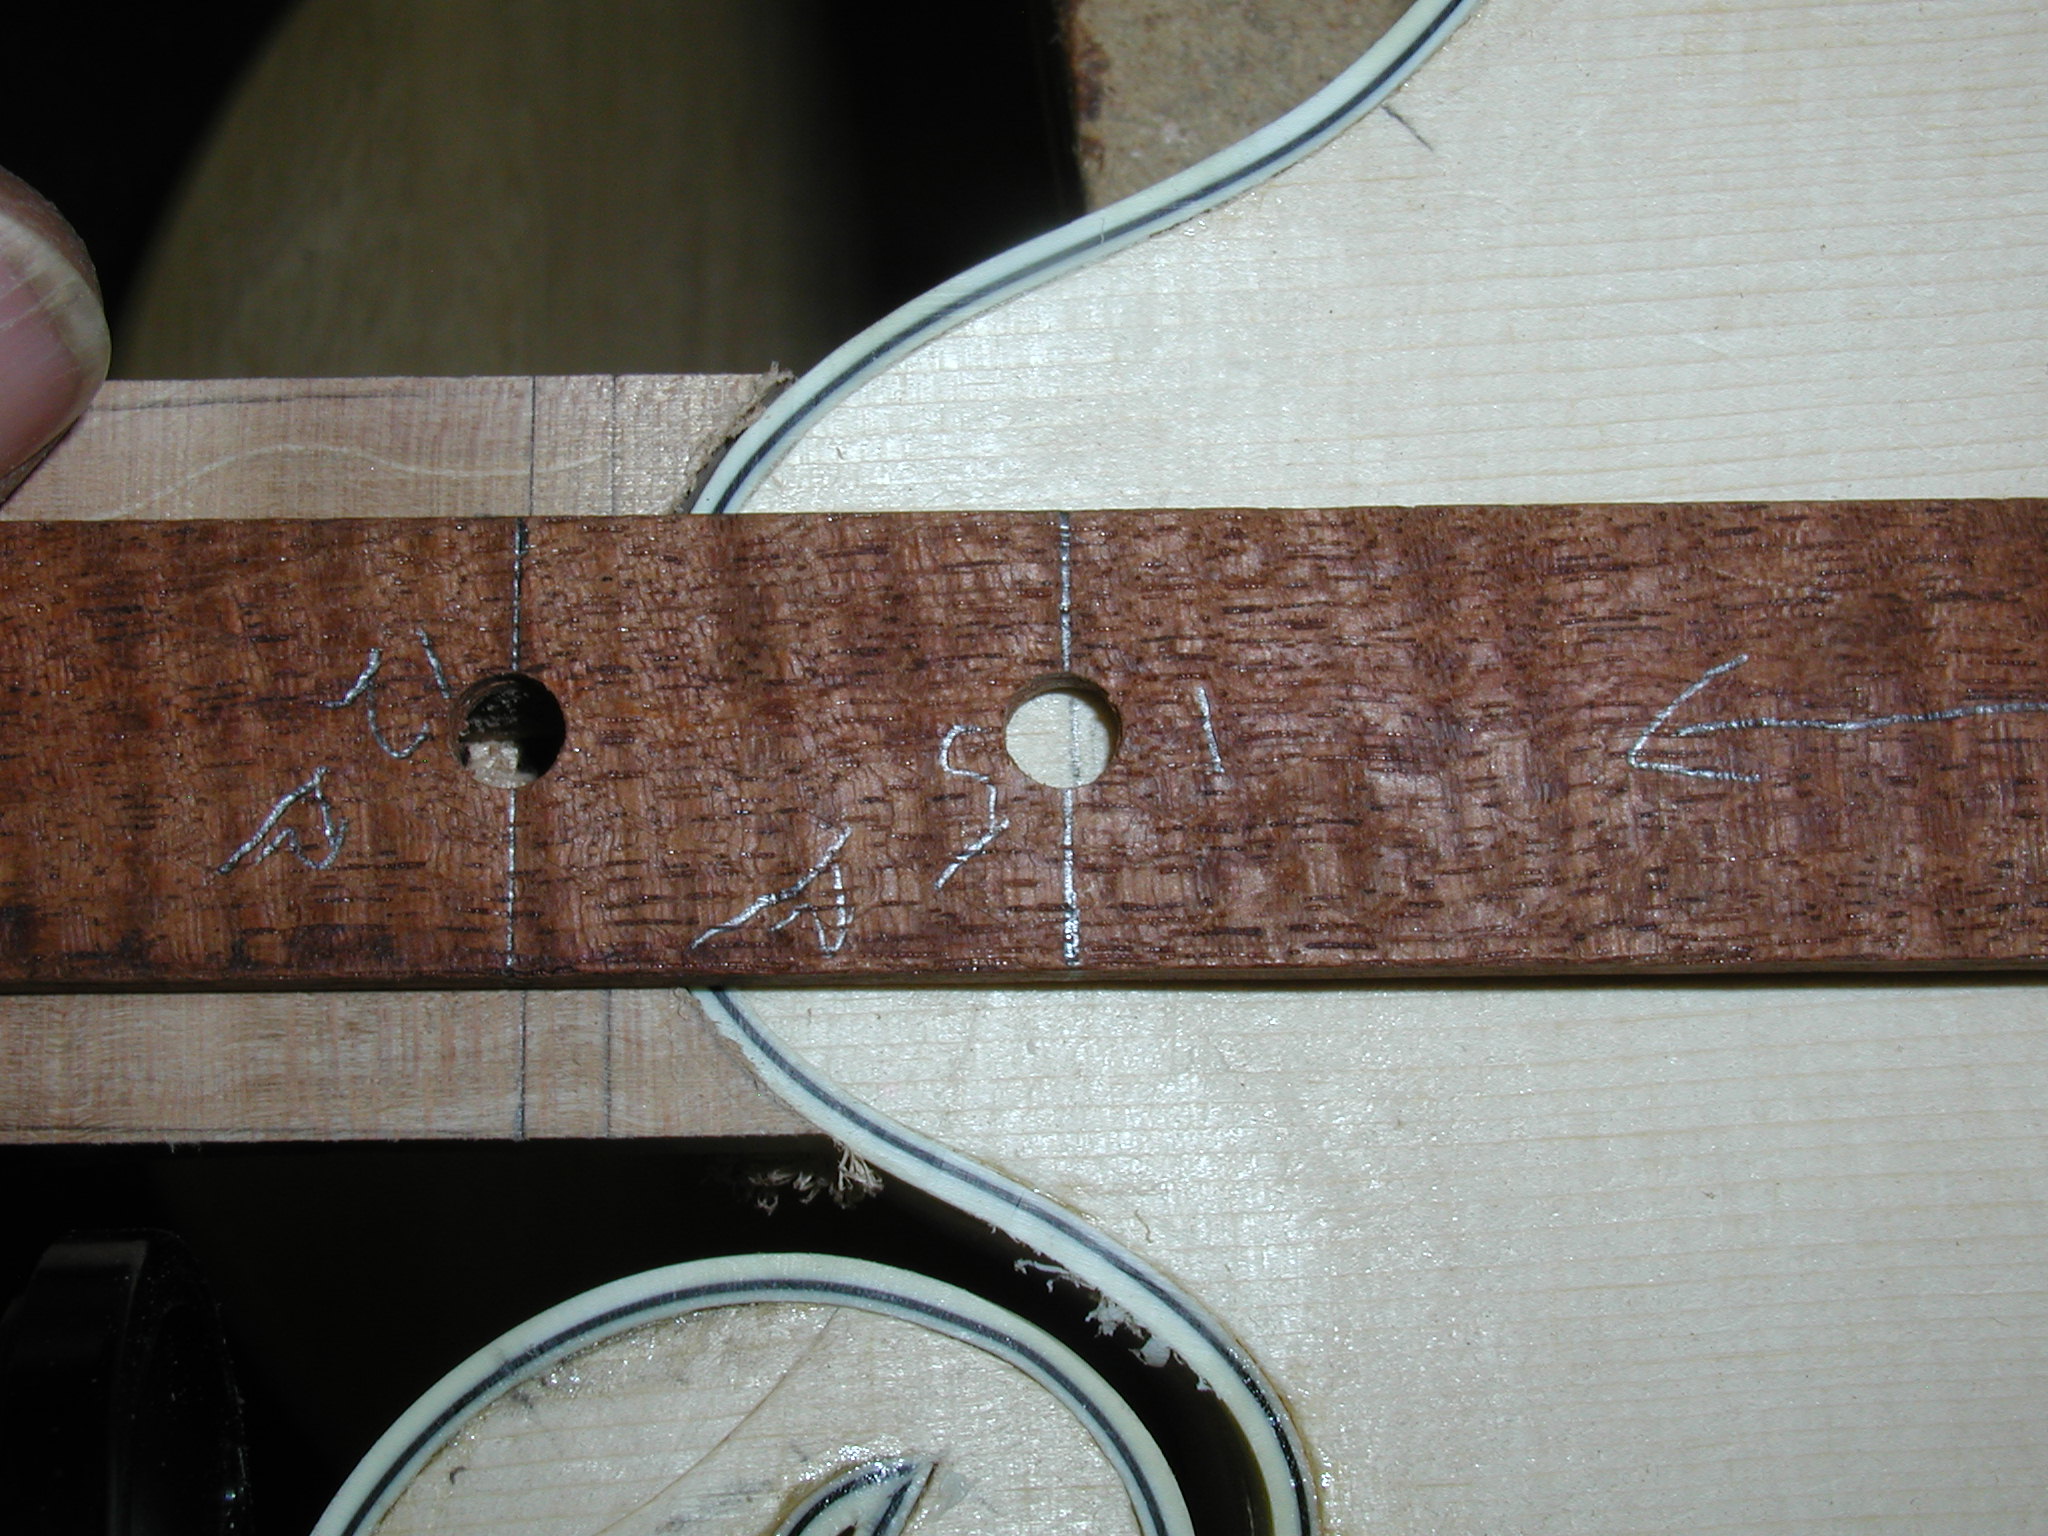
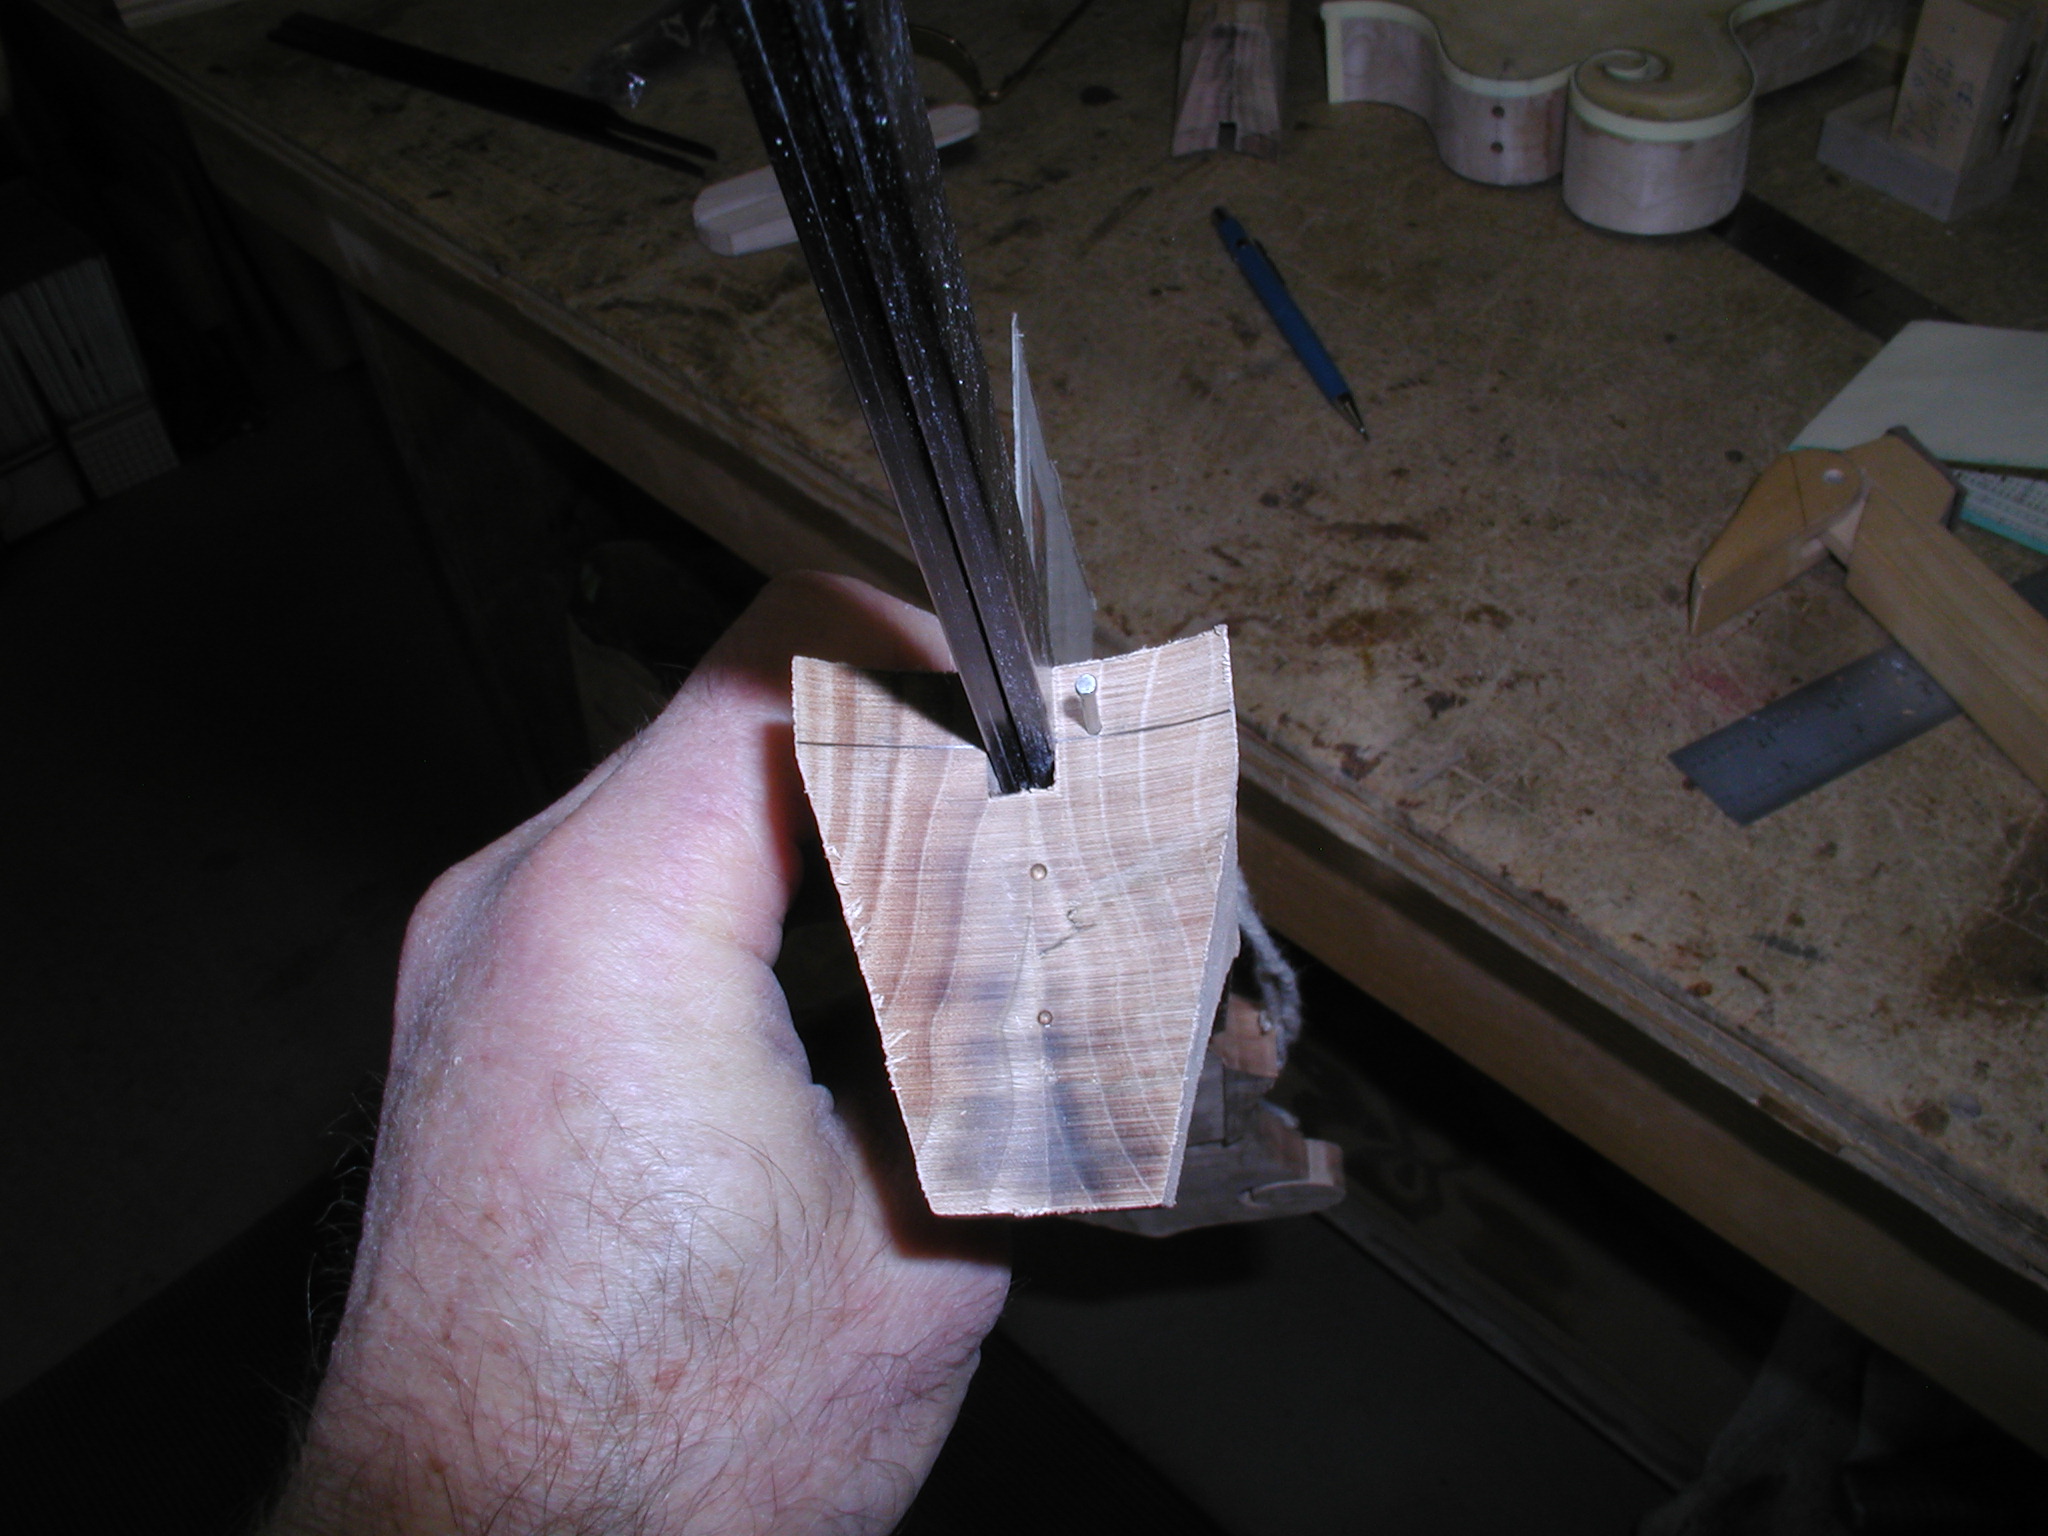
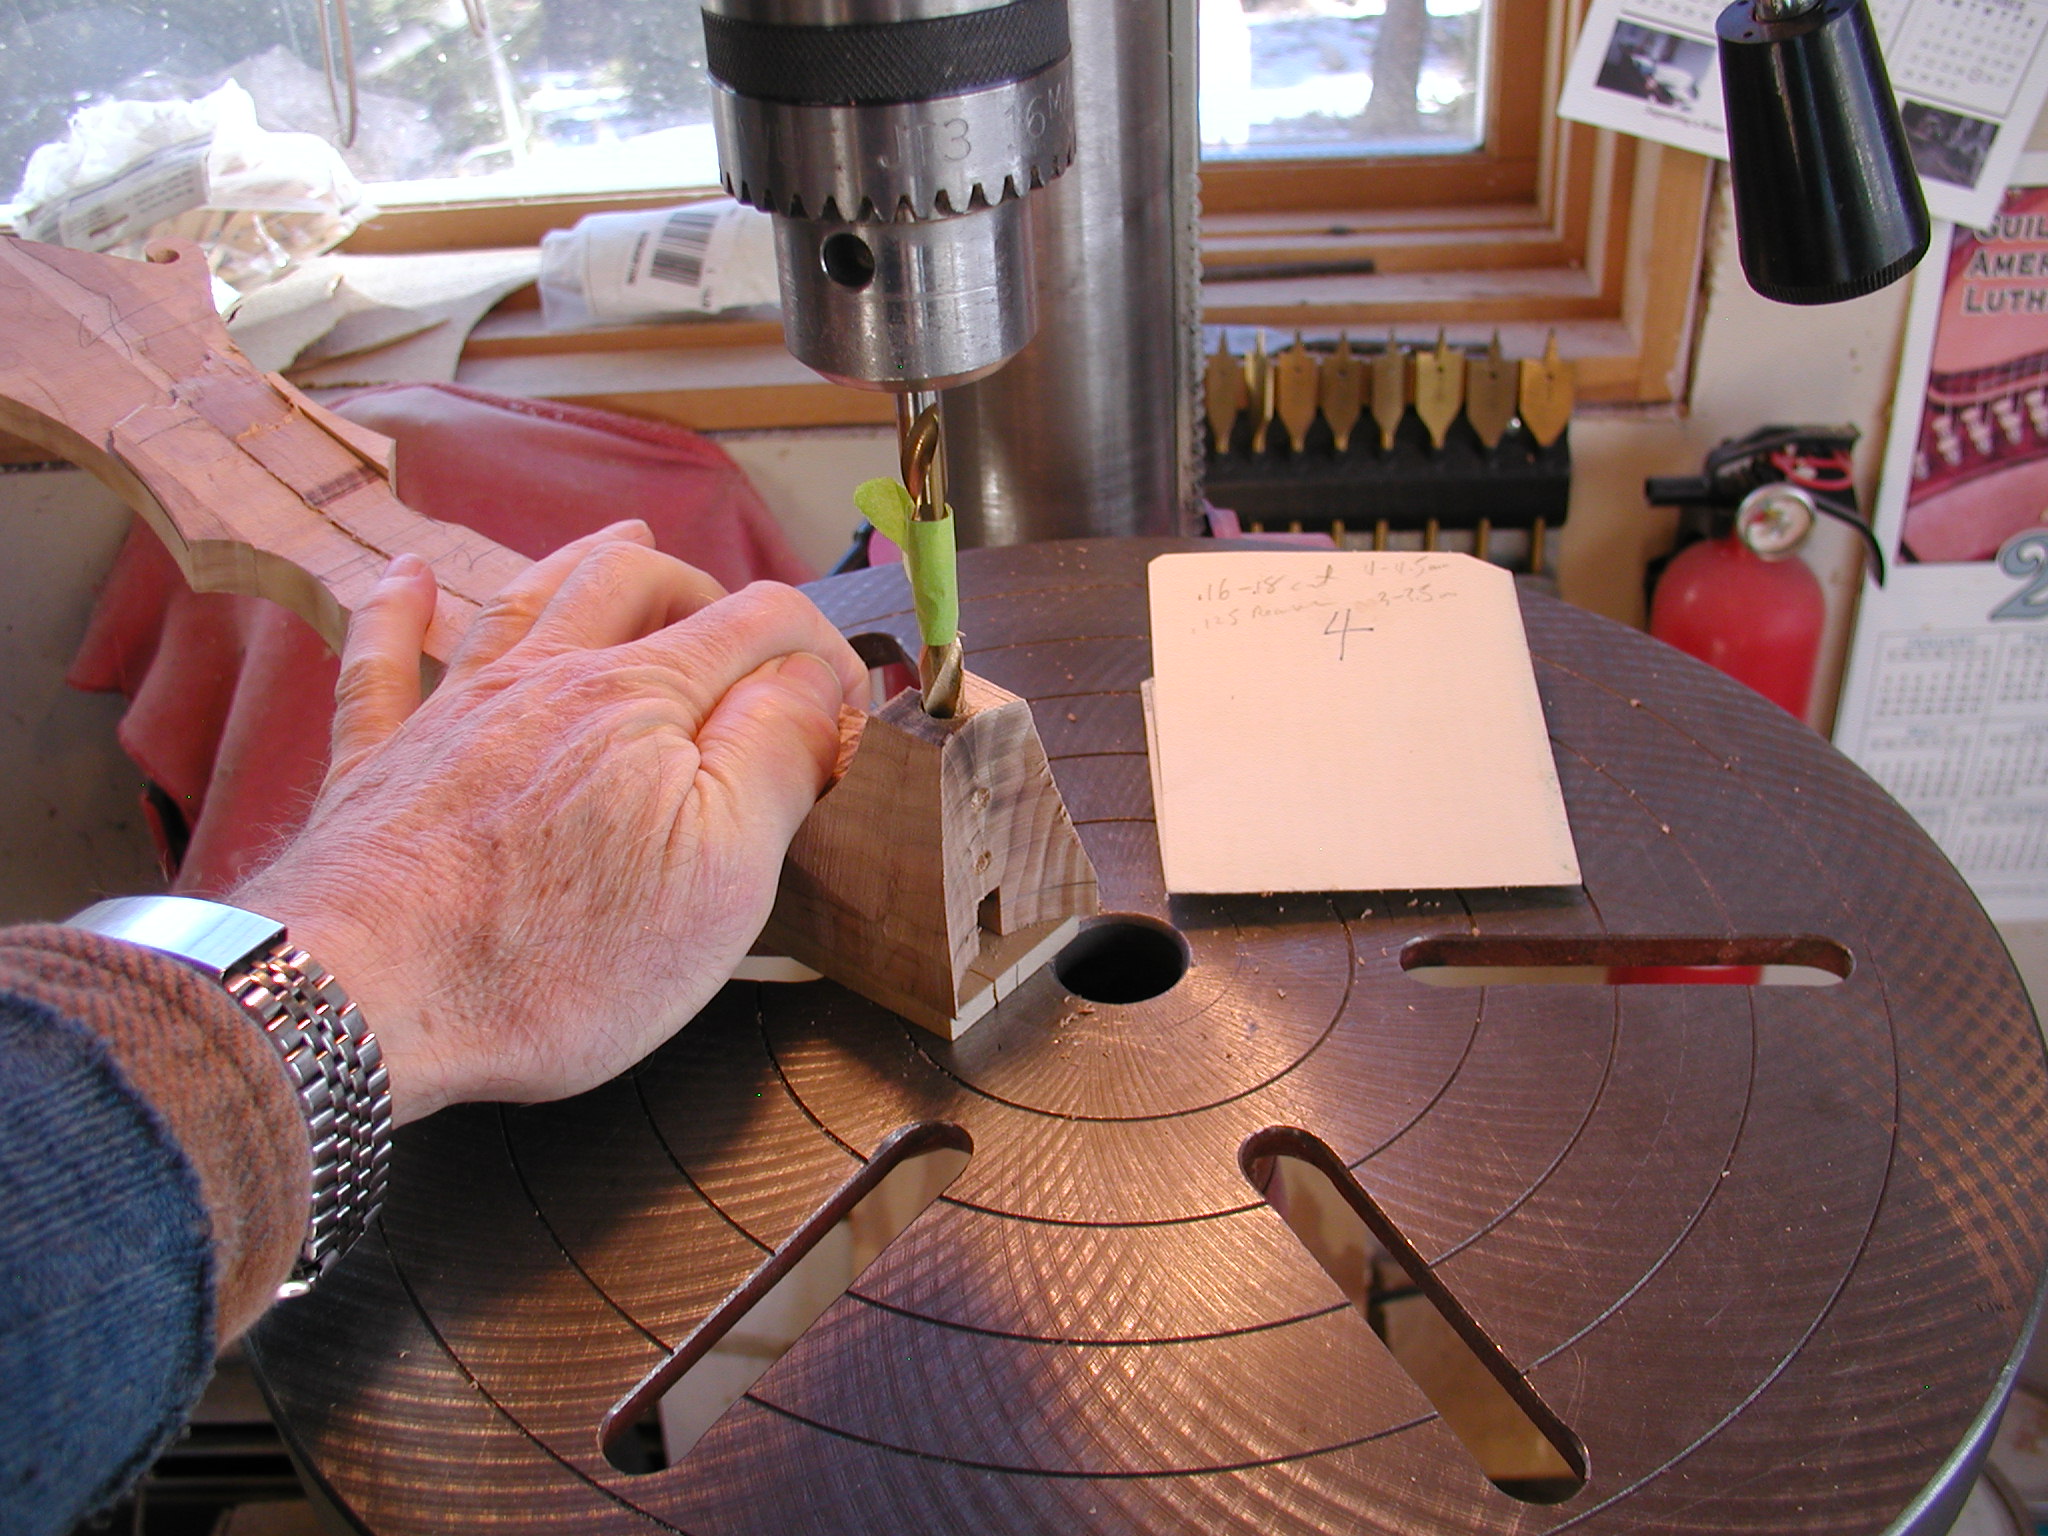
Now I do the same sort of thing with the neck. I put the graphite bars in place in the neck and since the slot there is just a bit large to accommodate the future gluing I wedge them in place with a card. I align the neck to the centerline and use the pencil line I drew on the butt to locate it vertically. Then I use a center-dot marking tool through the body holes to dimple the neck butt end with just a tap of the hammer. Using the dimples I drill some very small pilot holes and follow that with clearance holes for the allen bolts. Note the tape on the drill bit so I don't drill too deep. Just enough to reach through the anchor I will install but not enough that I'll carve into them later. Last hole is vertically through the heel to just short of the truss rod slot. This will take the anchor. Drill this hole so that you leave enough meat in the inside so it won't tend to break out in the end grain, at least an eighth of an inch, better a quarter inch+. Note that I'm using an angle wedge under the neck when I drill so that the hole is going in parallel to the butt end.

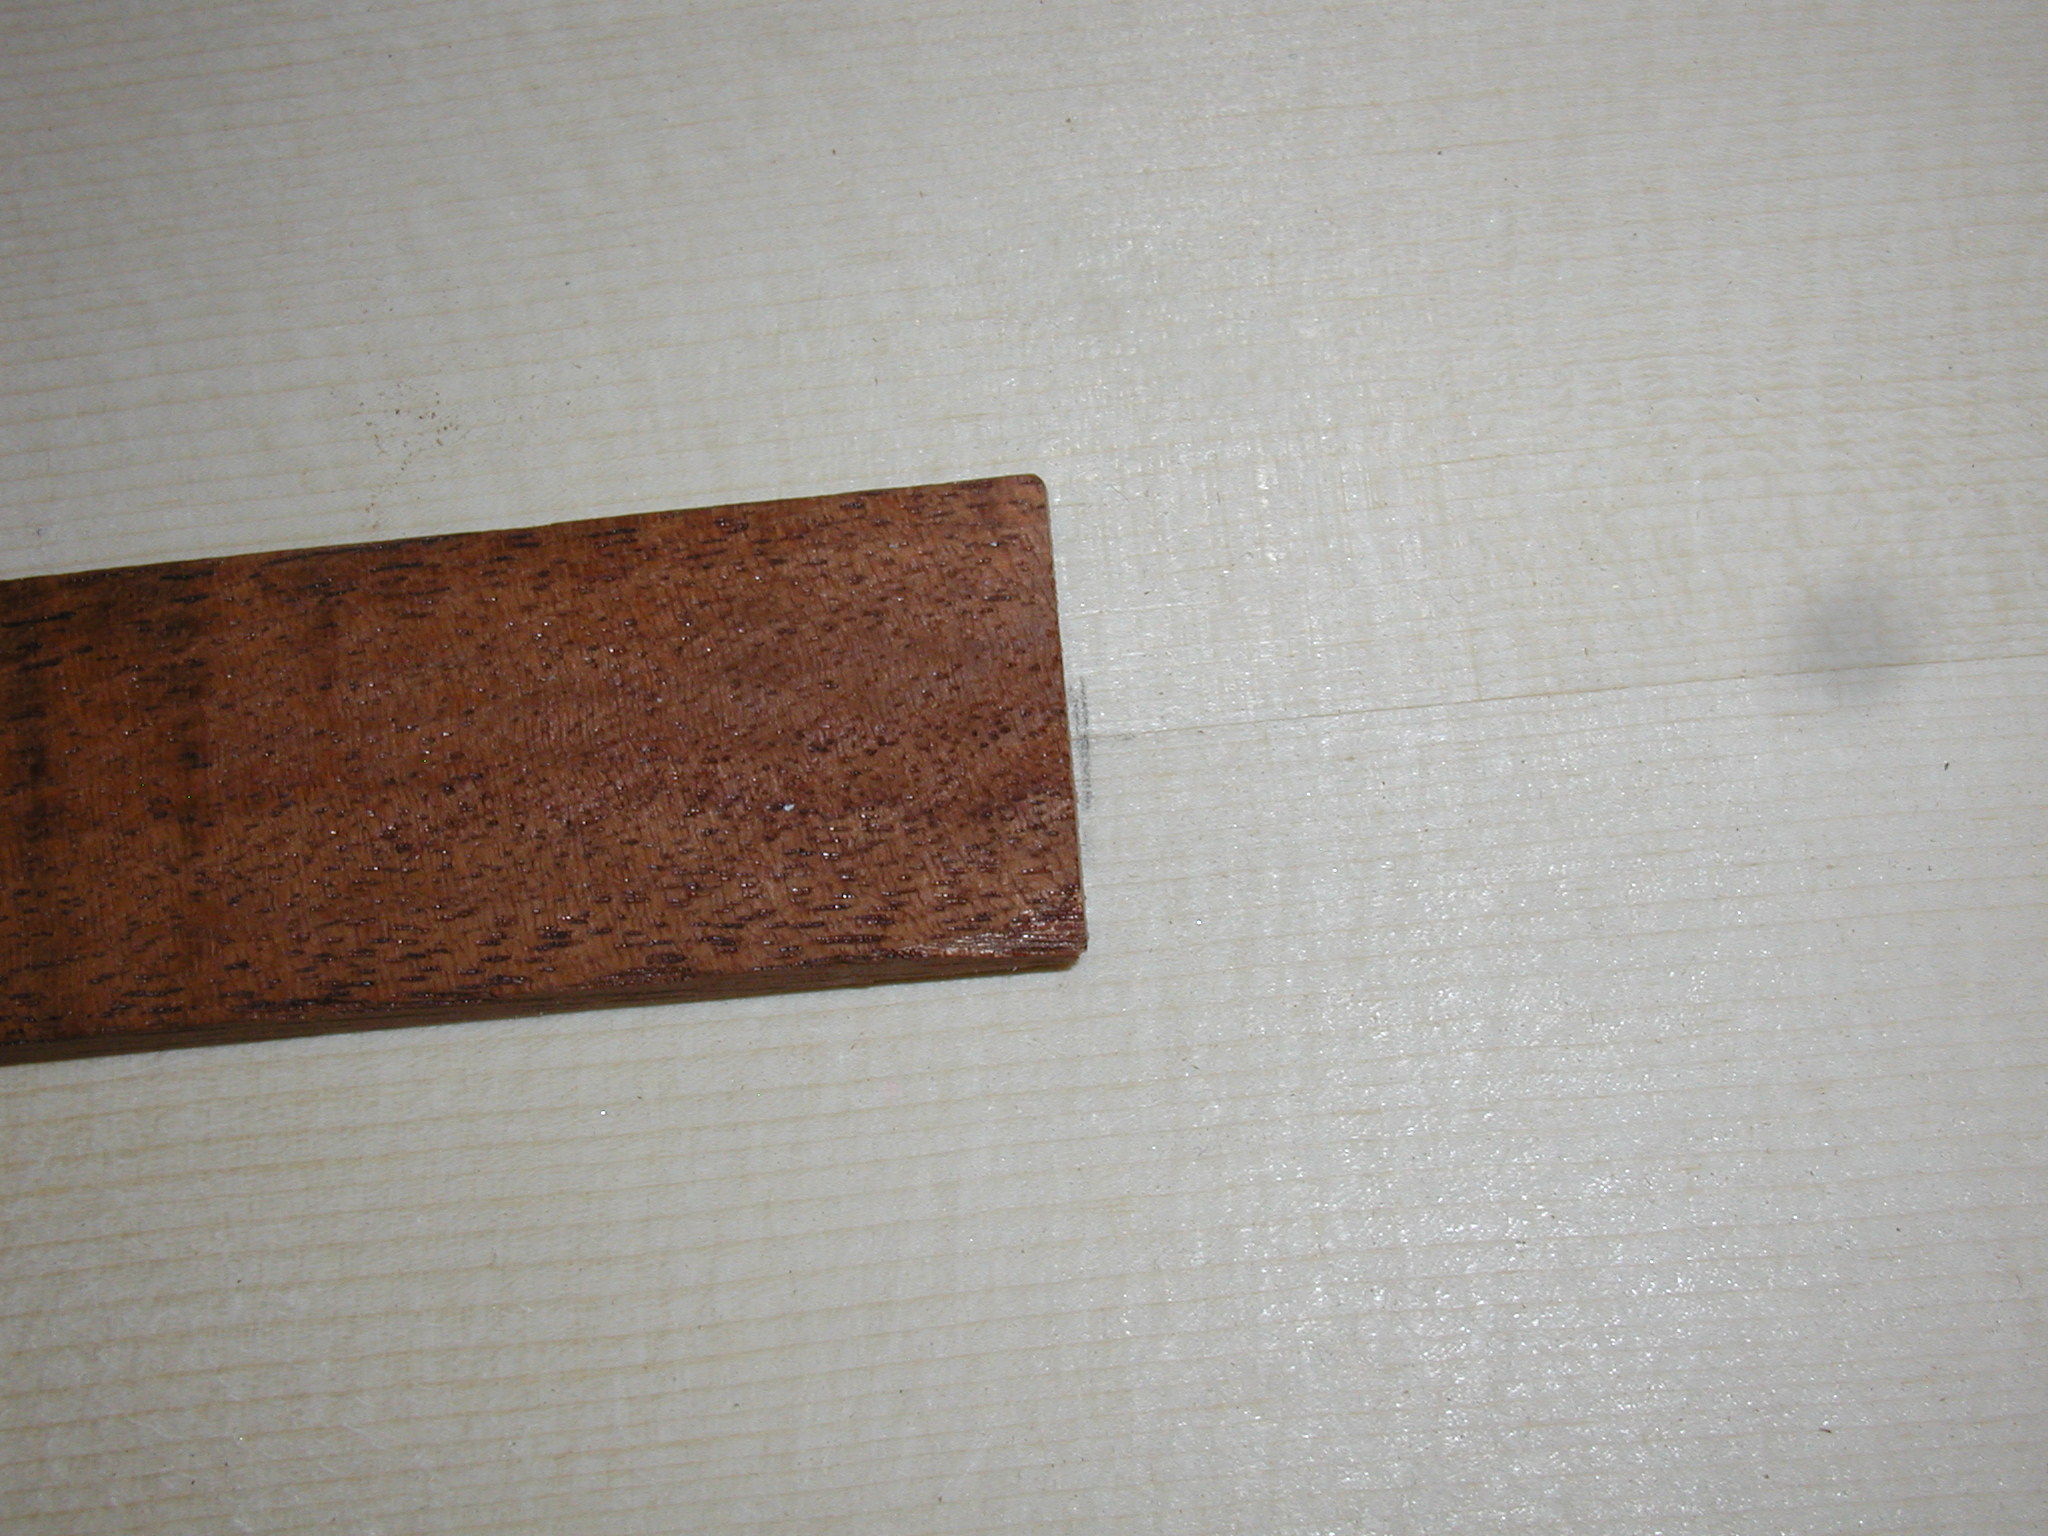
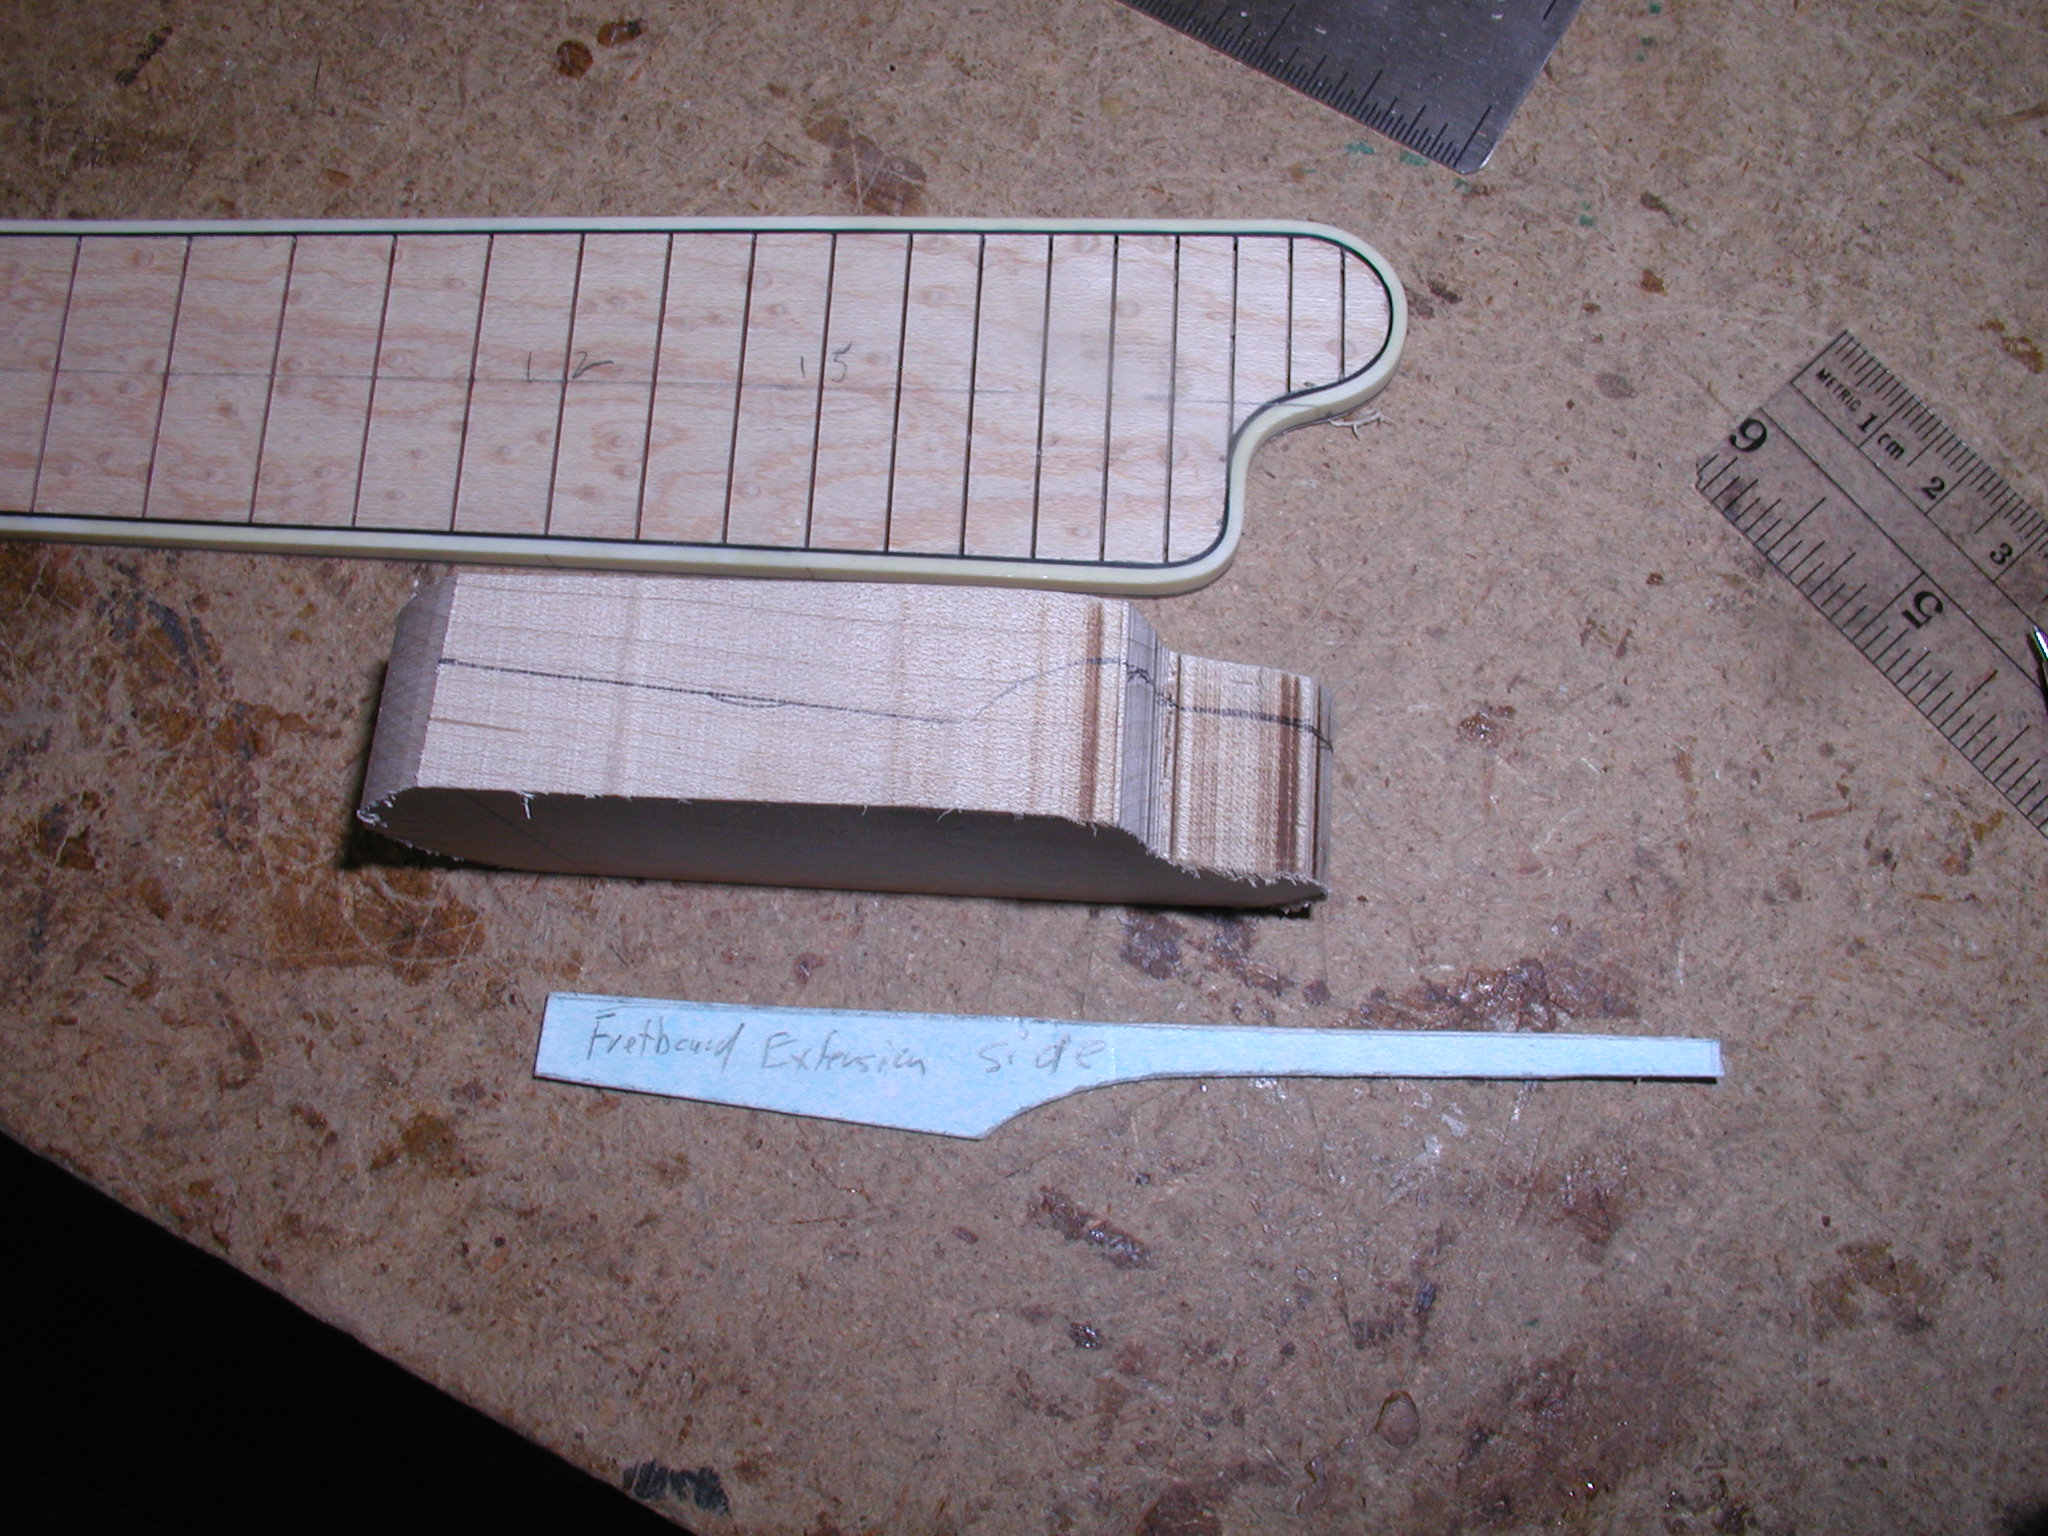
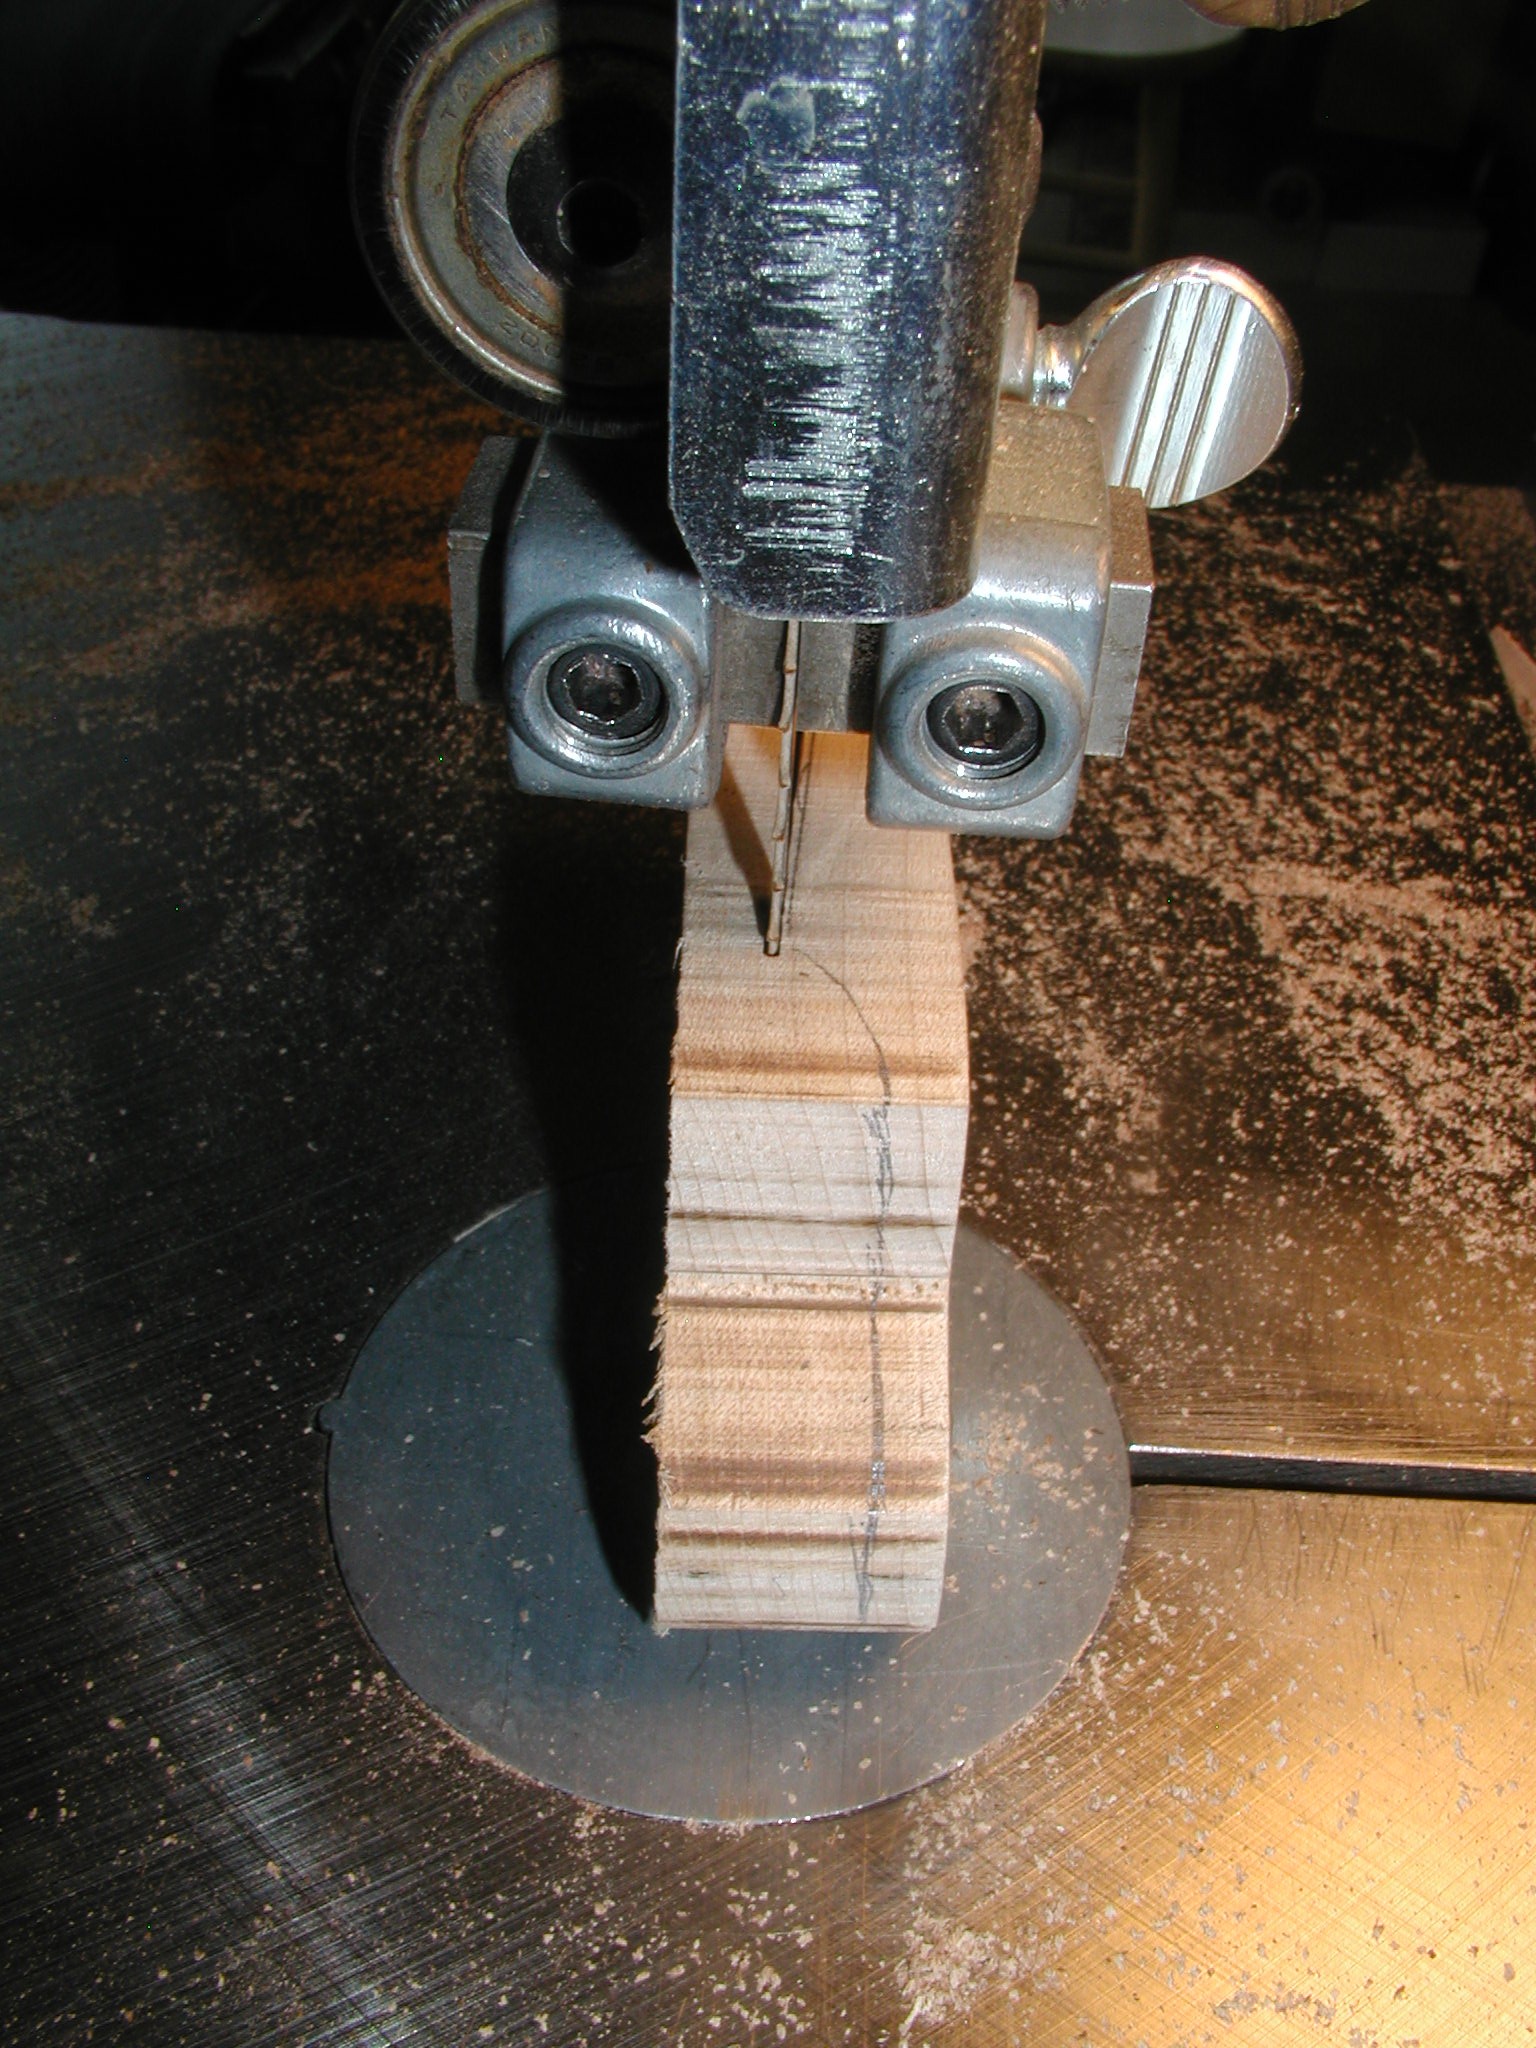
Time for the fretboard extension. I use a piece of nice maple that it thick enough and mark a center line and then lay out with my pattern. Here I truncate the full "florida" pattern to my rounded version this customer wants. I use my dado to partly slot the top side ending short of the end. This will allow me to run the graphite bars right into the extension. Nip it to shape on the bandsaw leaving the line.
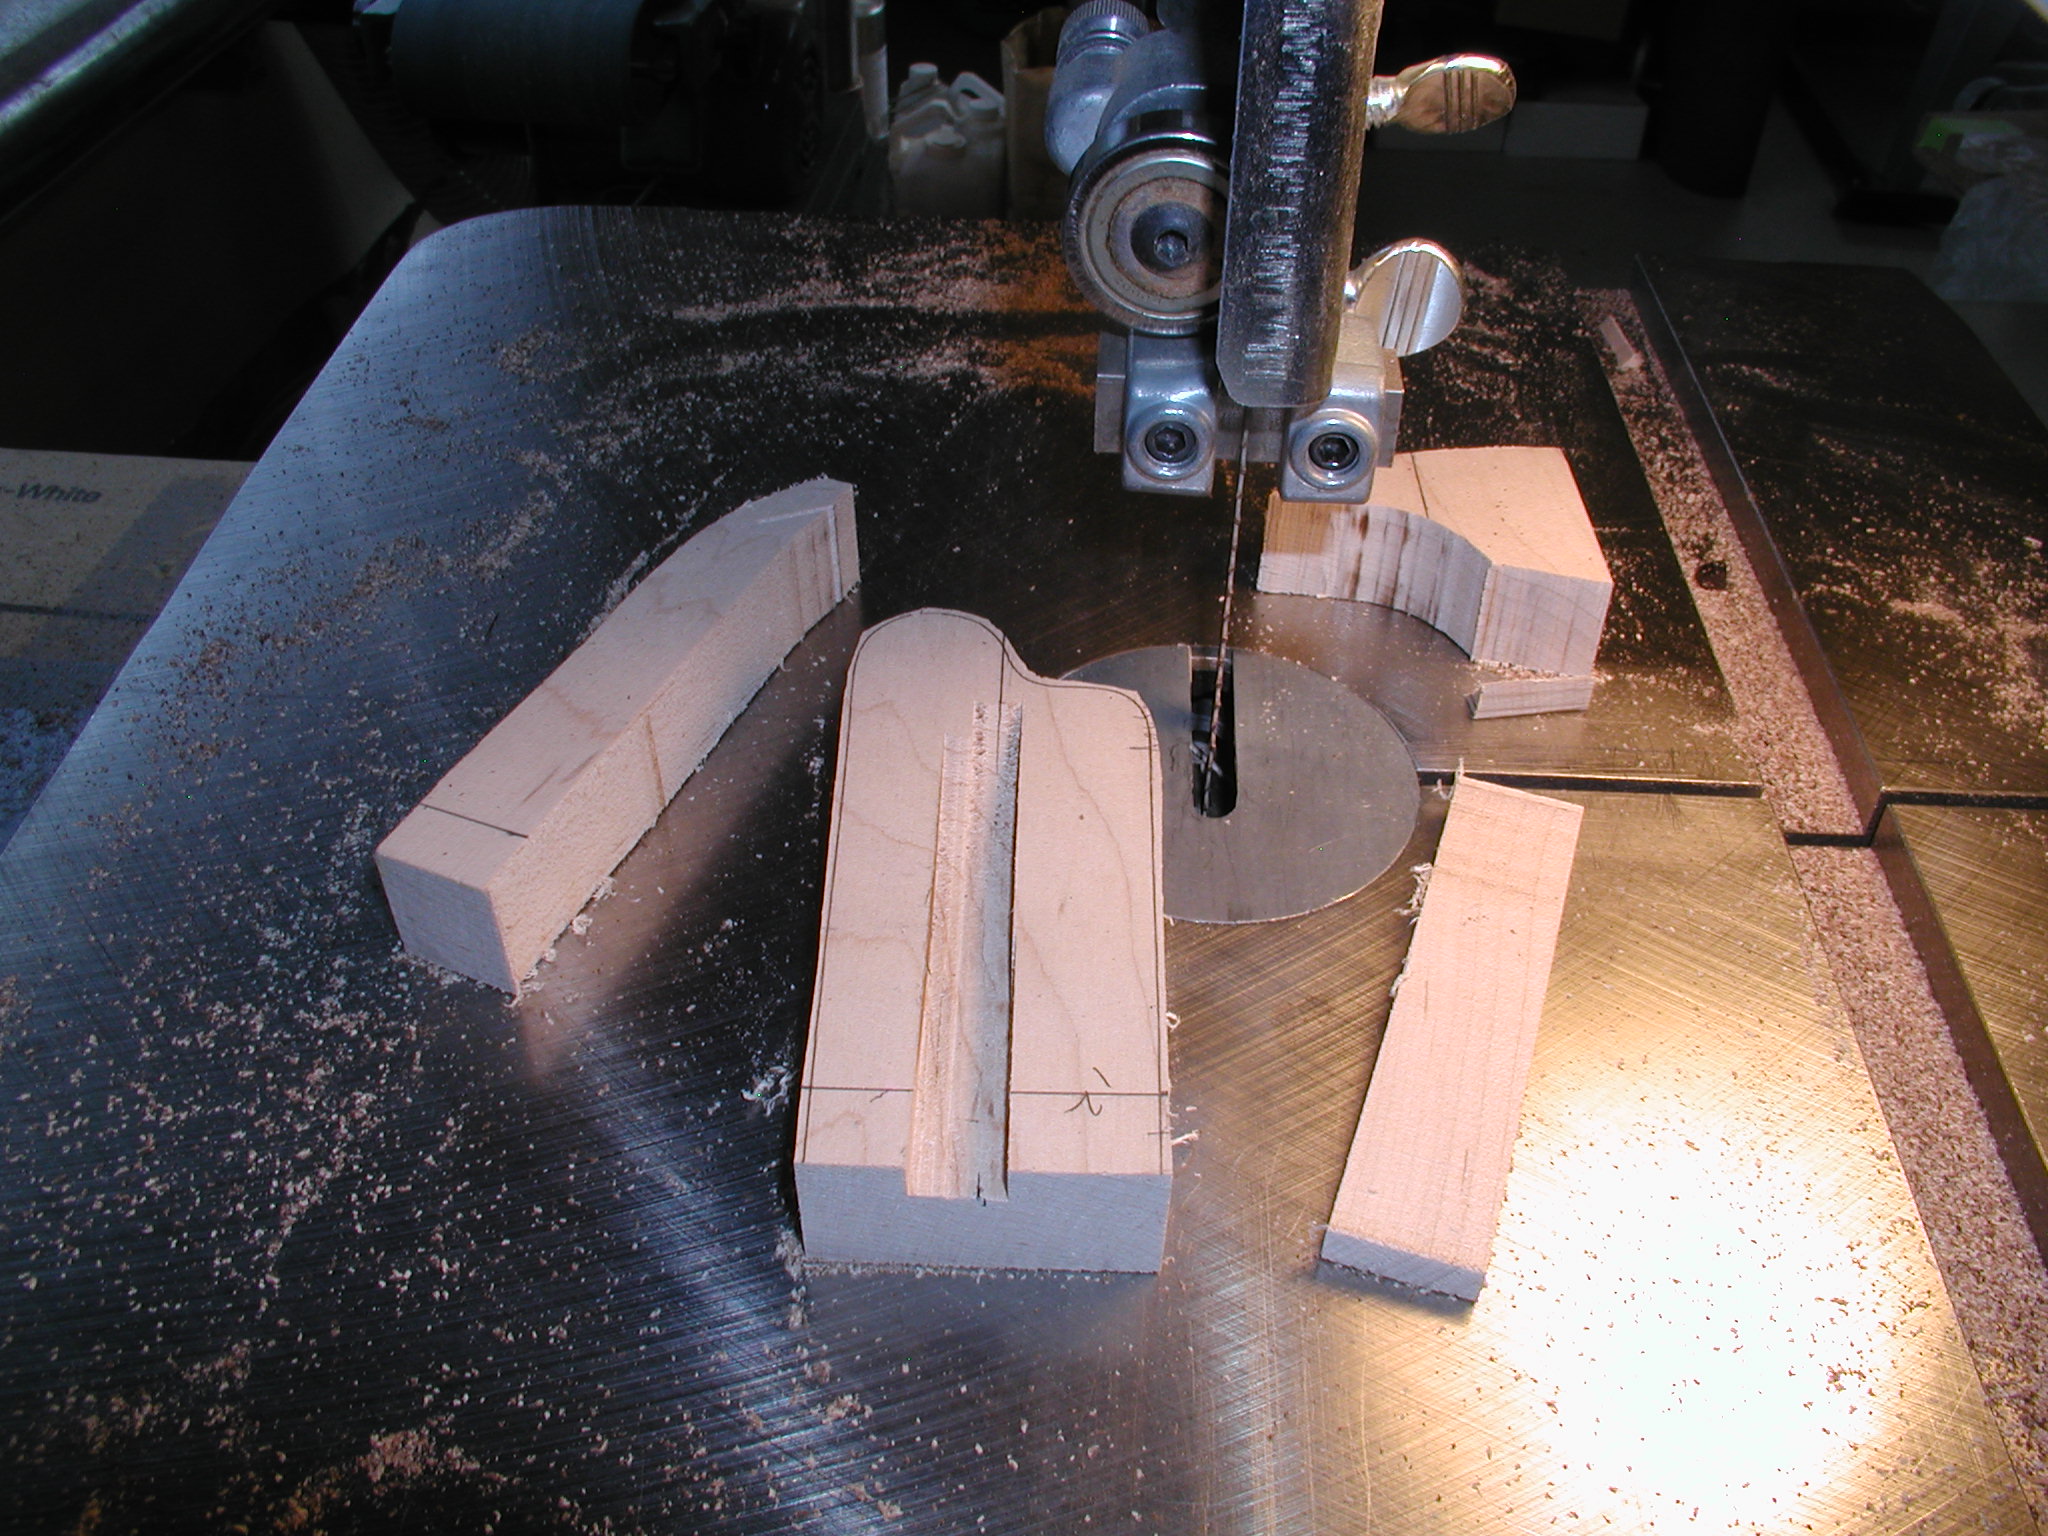
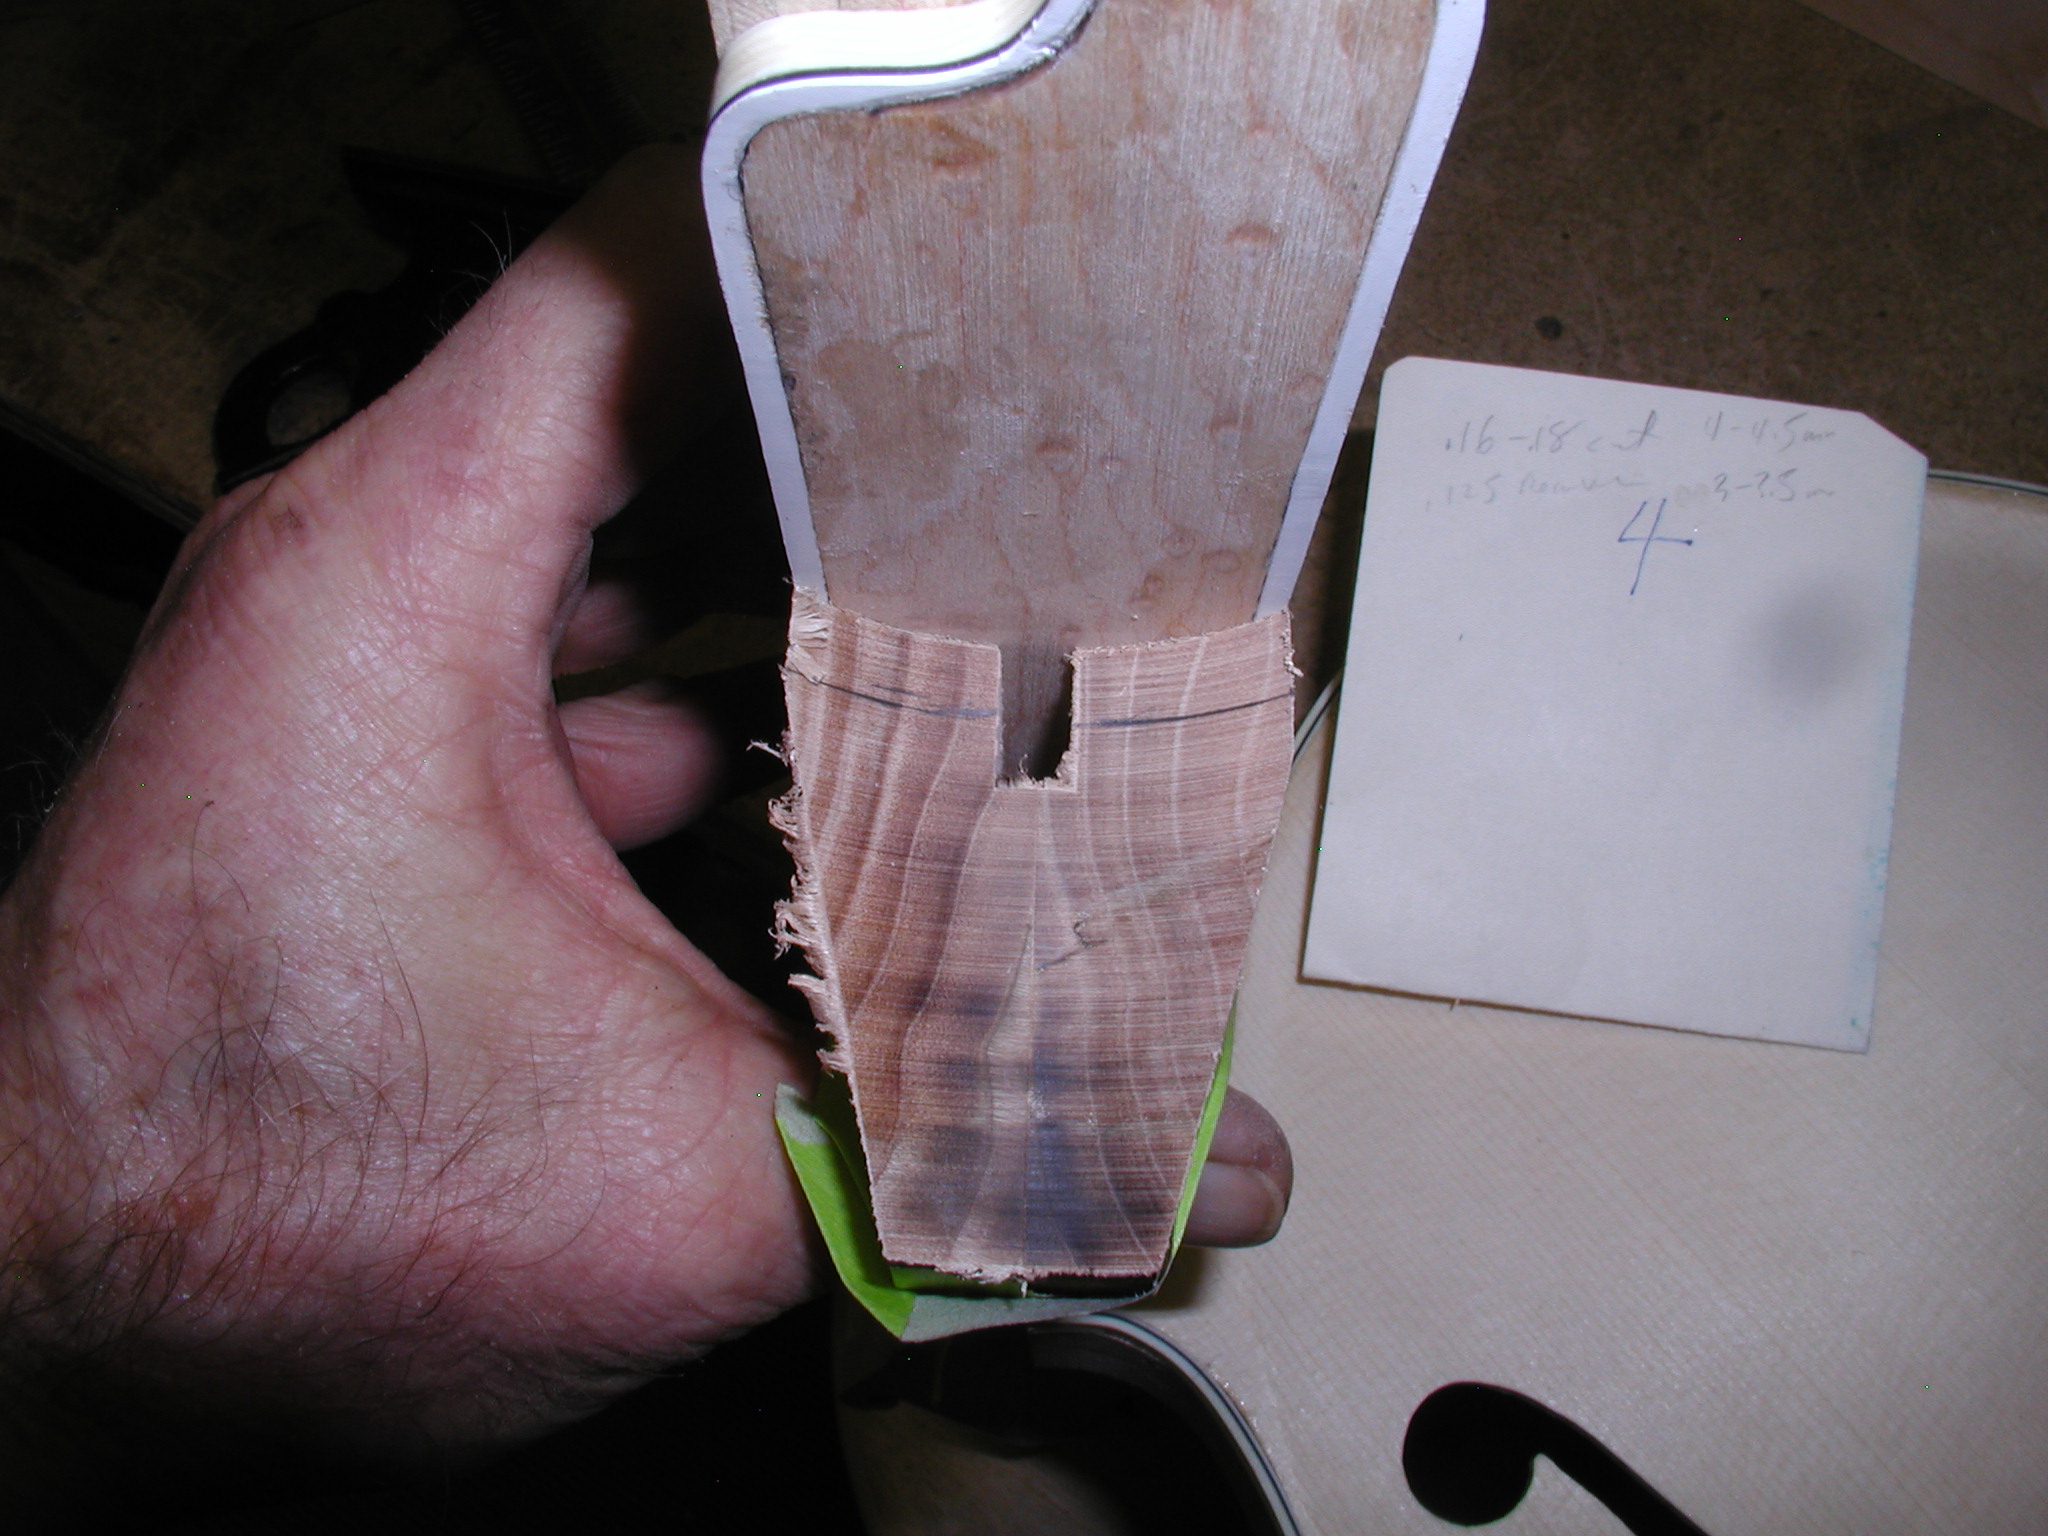
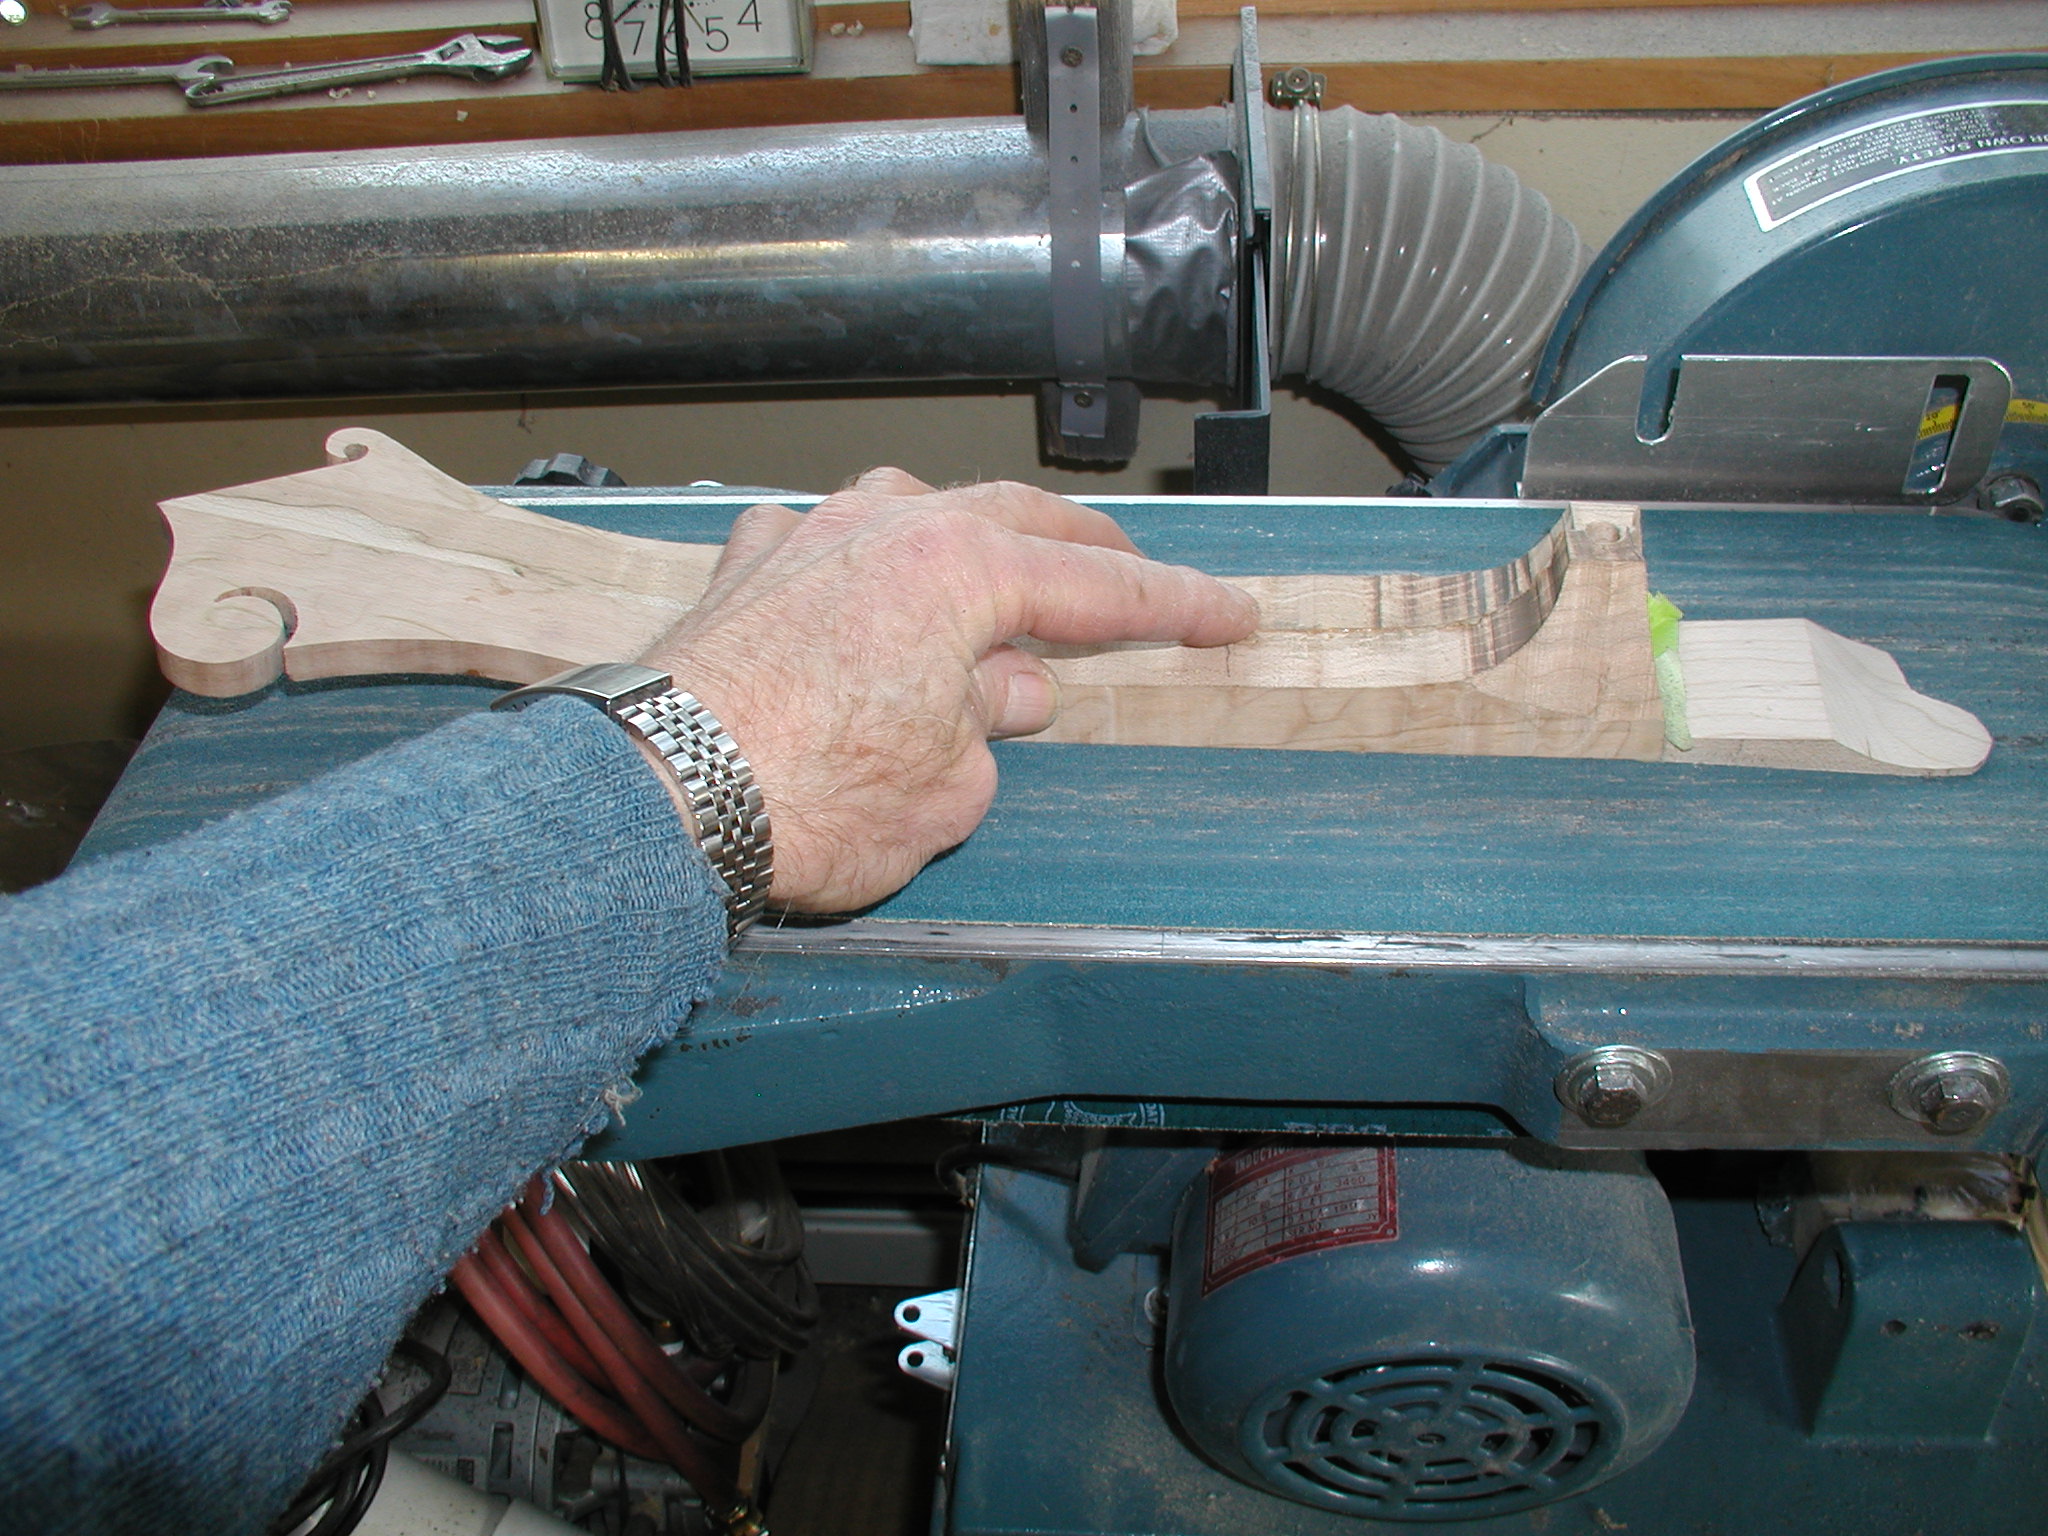
On the bottom side I mark the location of where it meets the neck and then draw the curvature of the butt end. This then gets trimmed off on the bandsaw. Then smoothed right to the line on the spindle sander. (Did I mention.) Note that I'm using a wedge board as the base to match the neck back angle but this is not exact. So I check the fit to the butt of the neck and make shim adjustments if necessary before sanding right to the line.
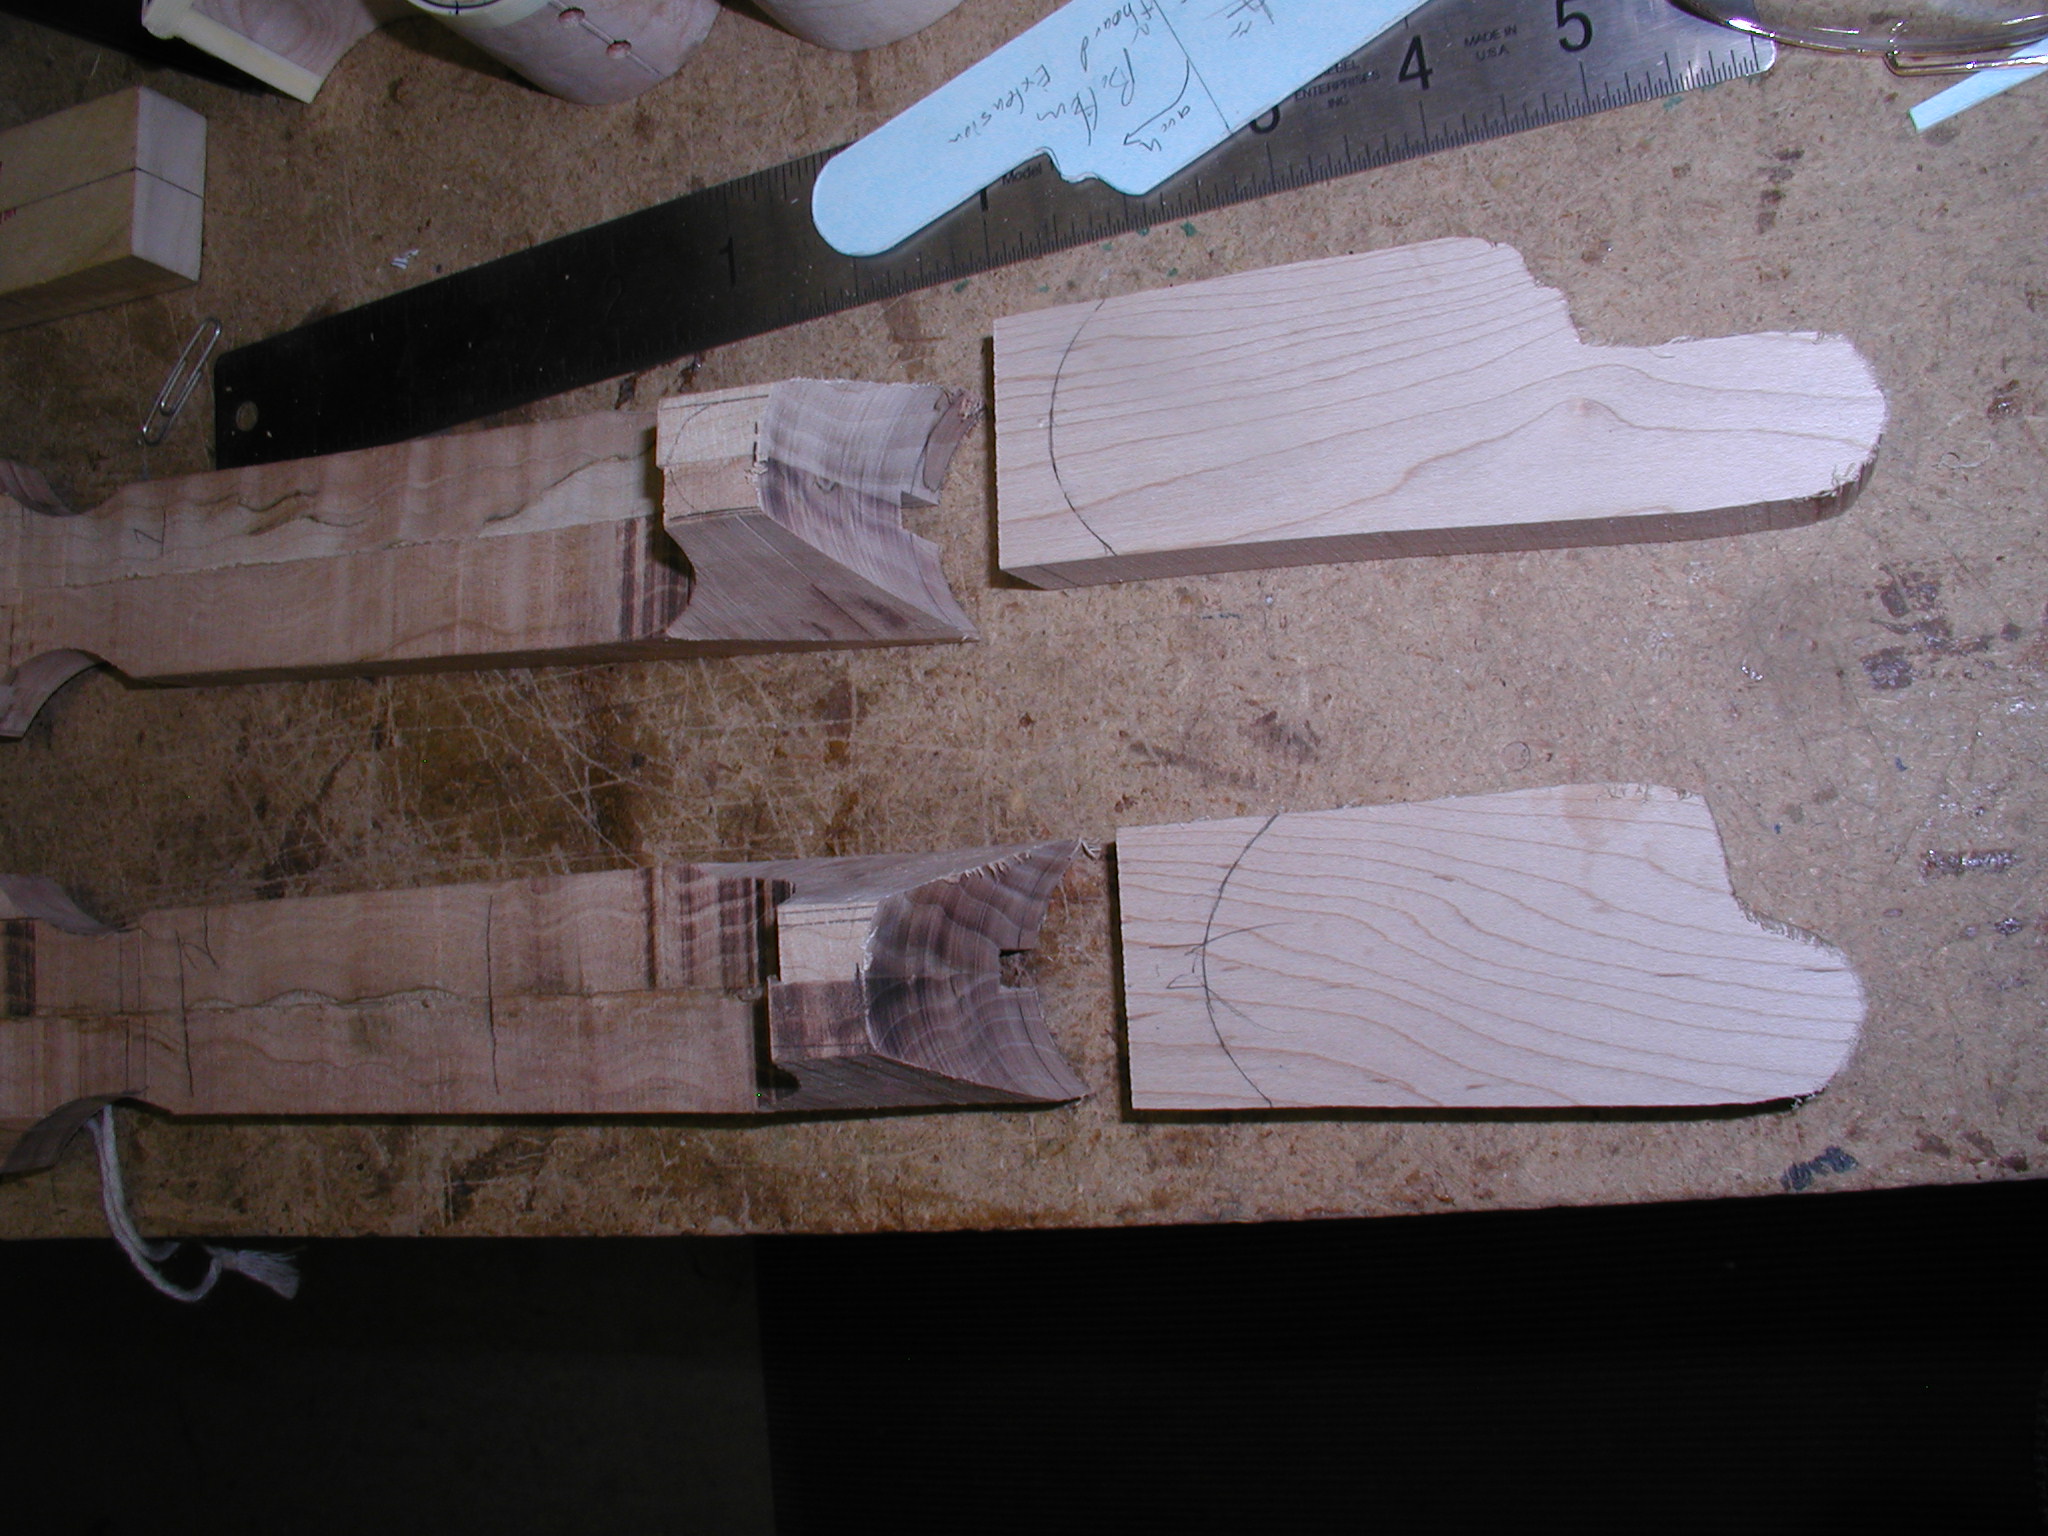
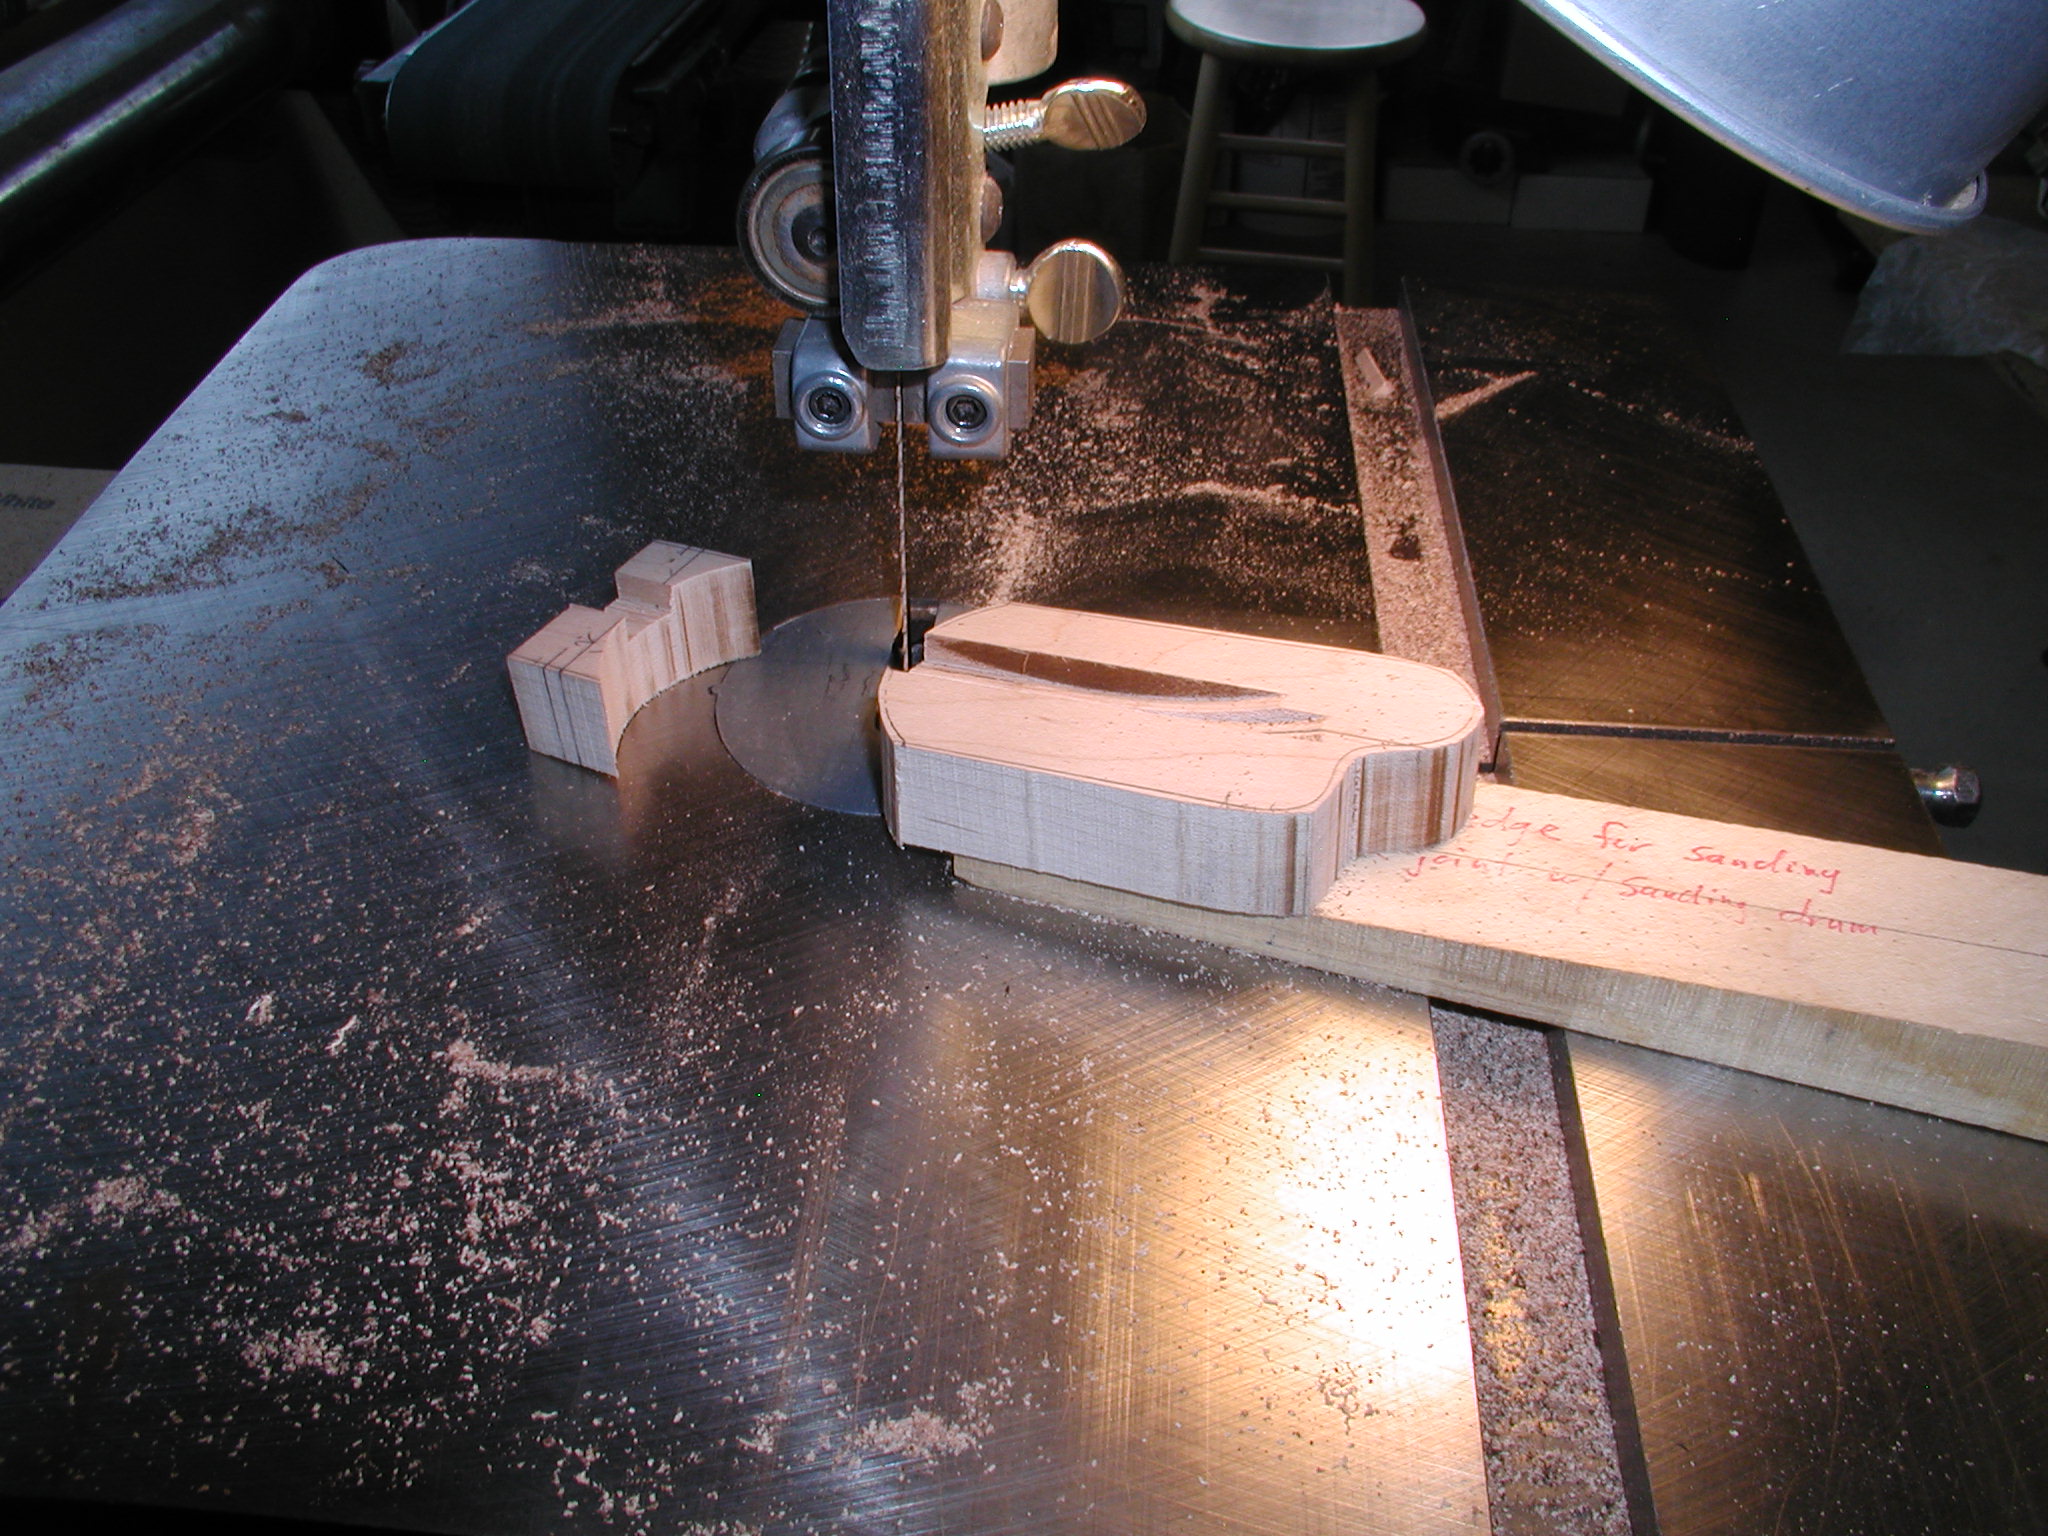
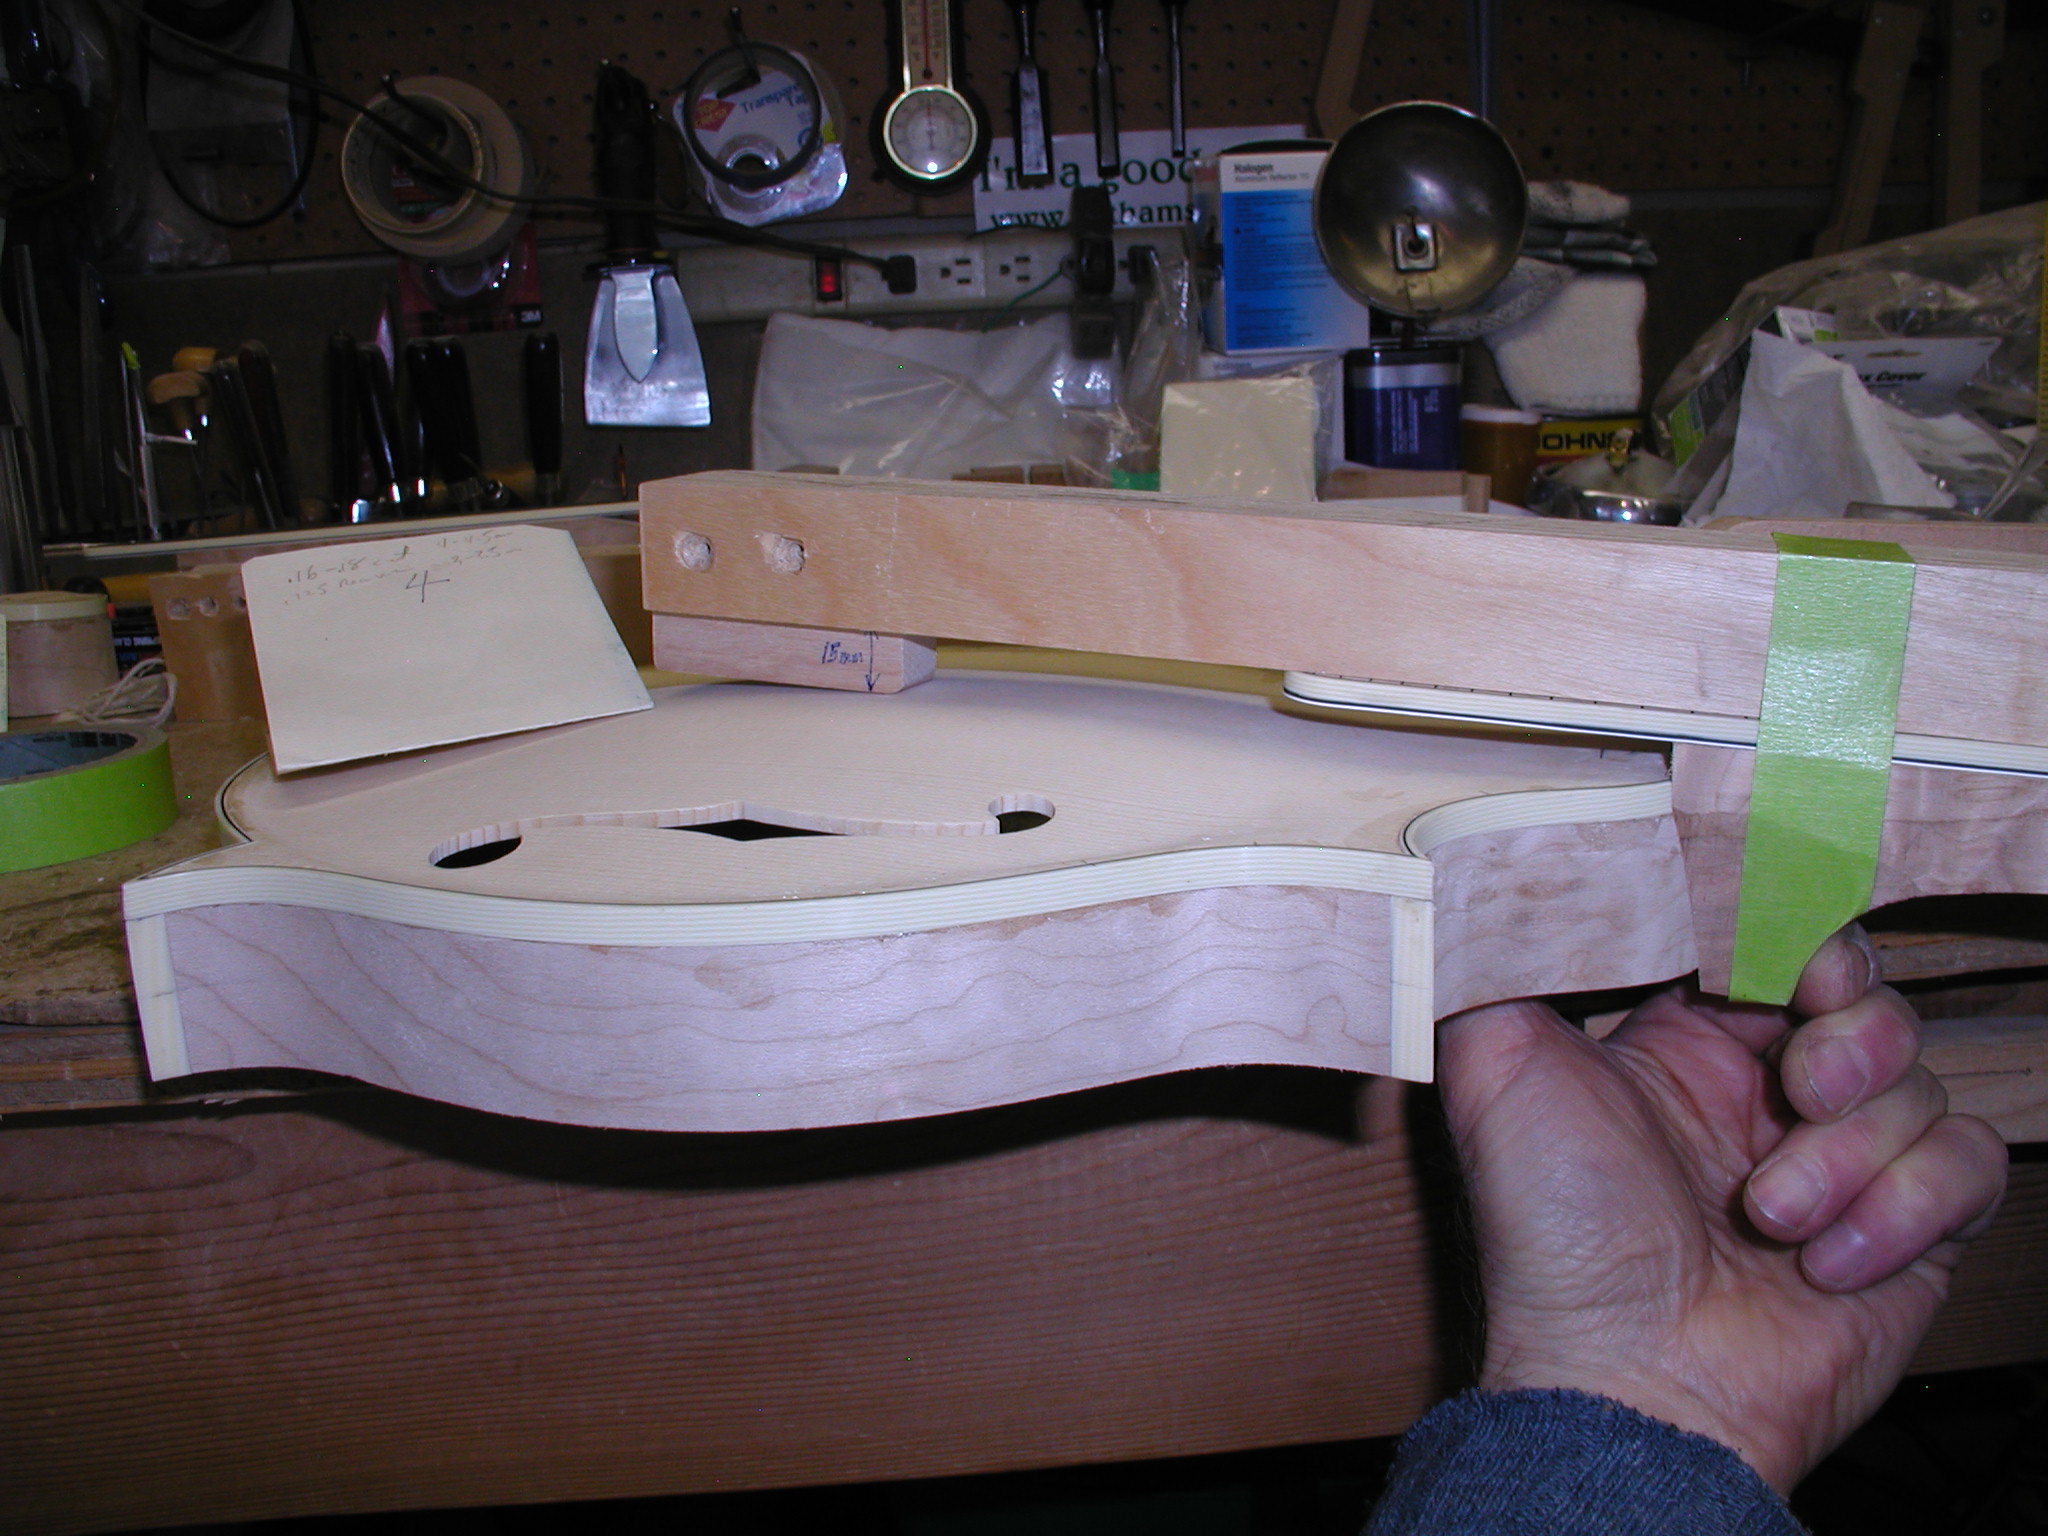
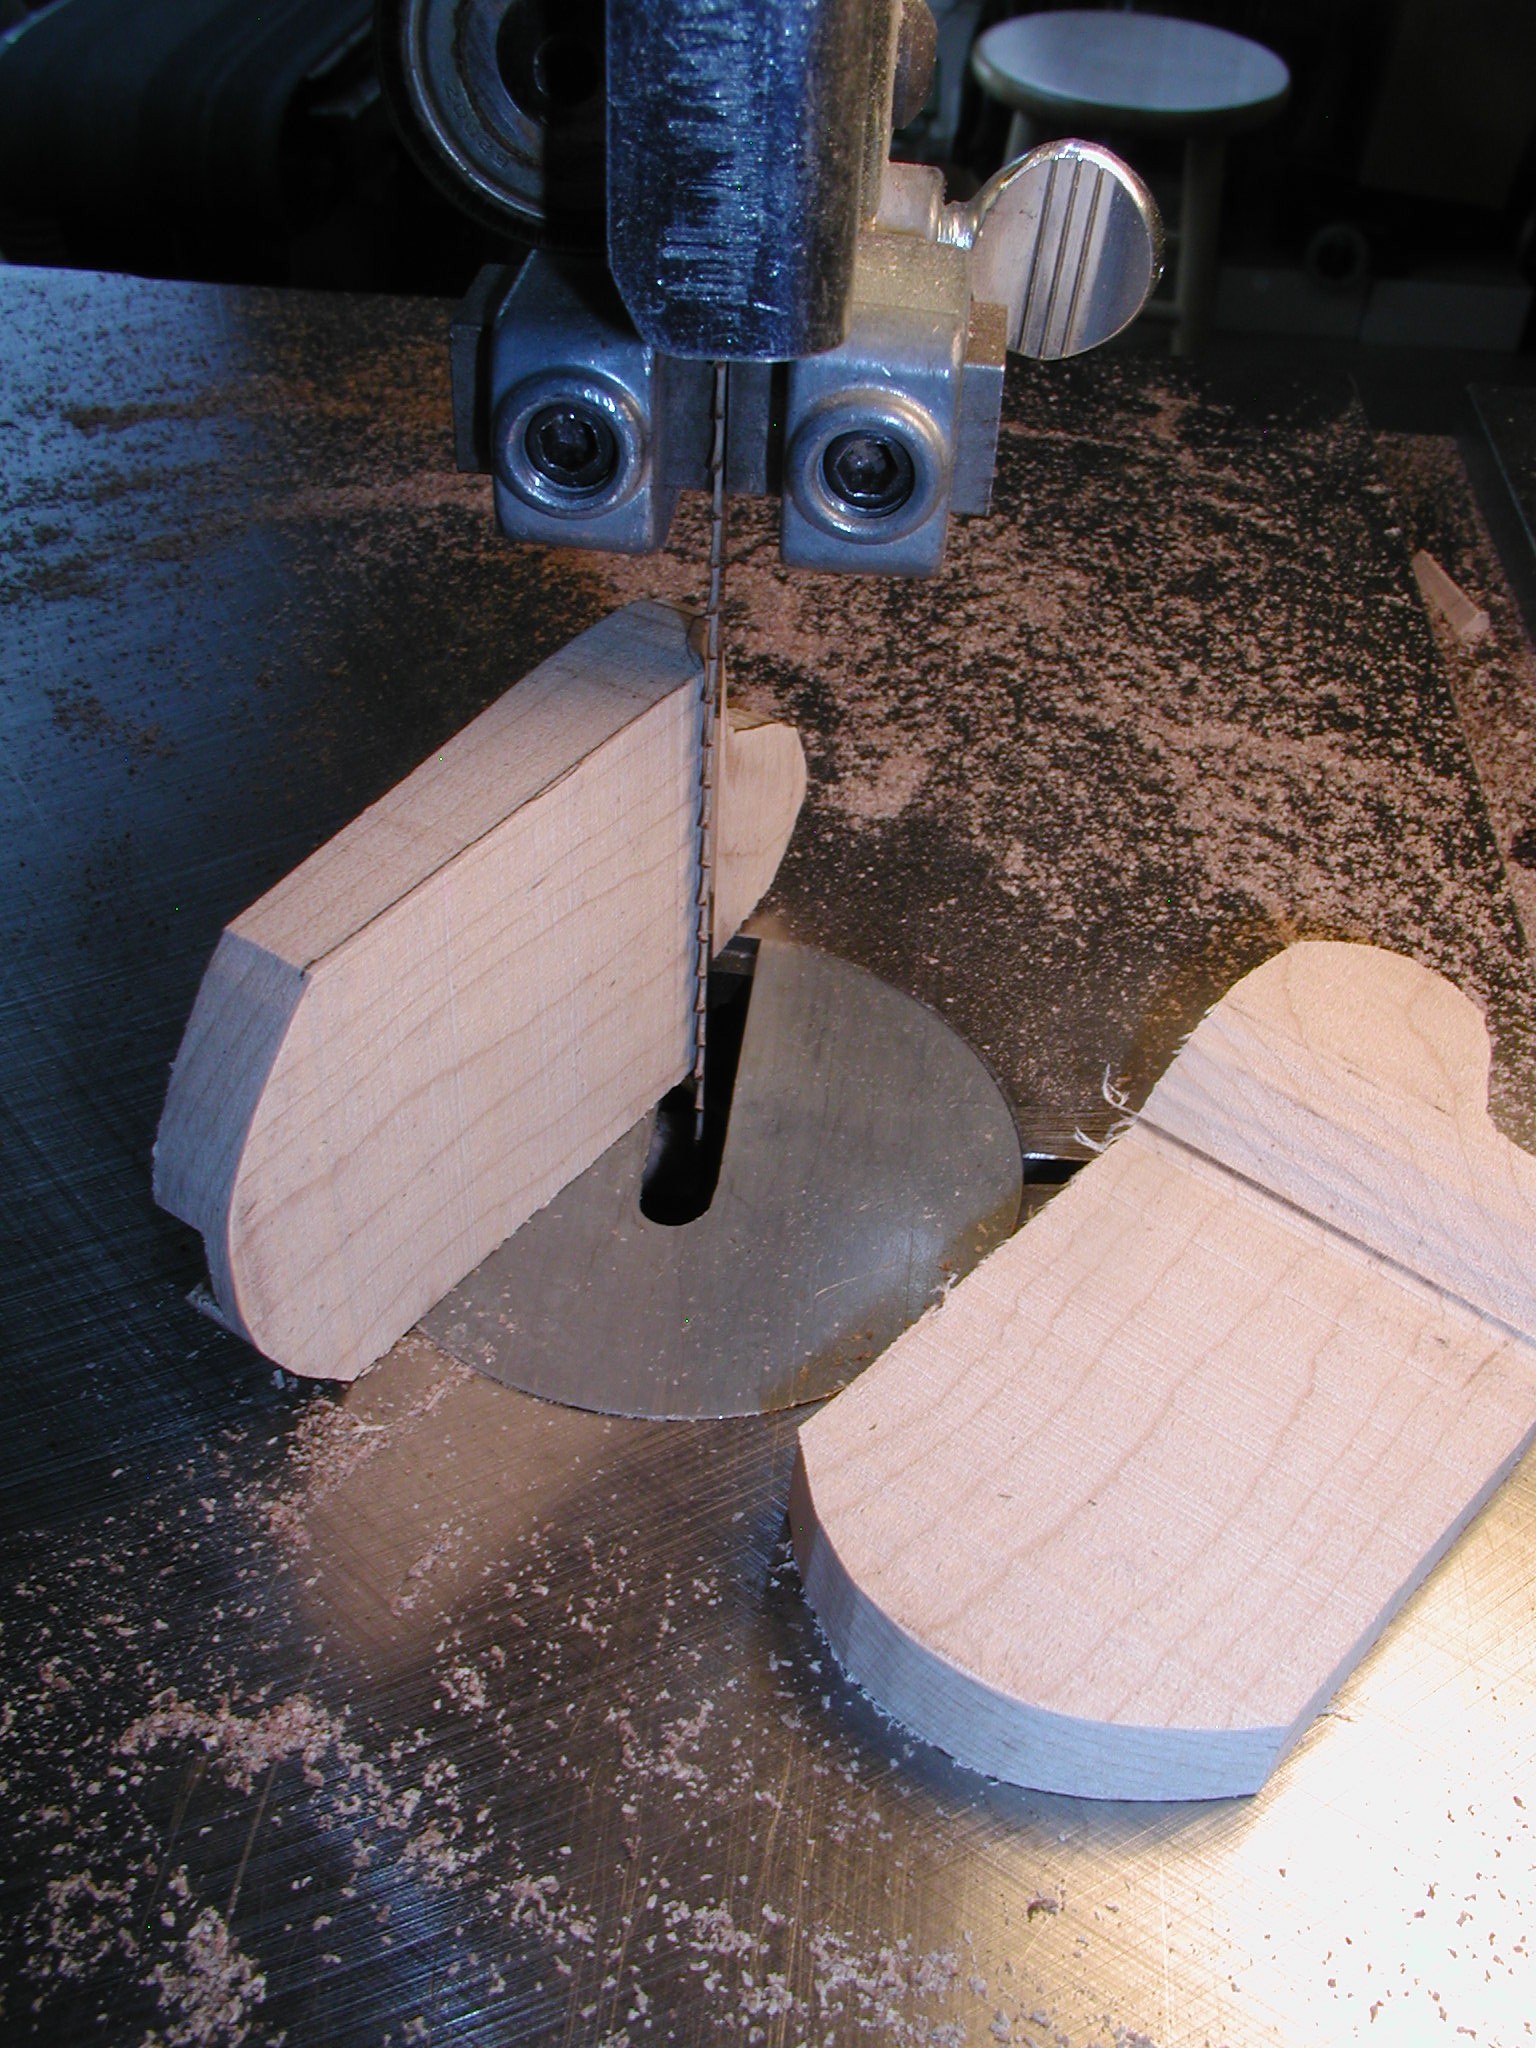
I use another template for the side profile that I laid out to match the neck back angle. This is made so that it is just a bit too tall so that I can fit the extension to the body exactly later on. Mark the profile and cut on the bandsaw.
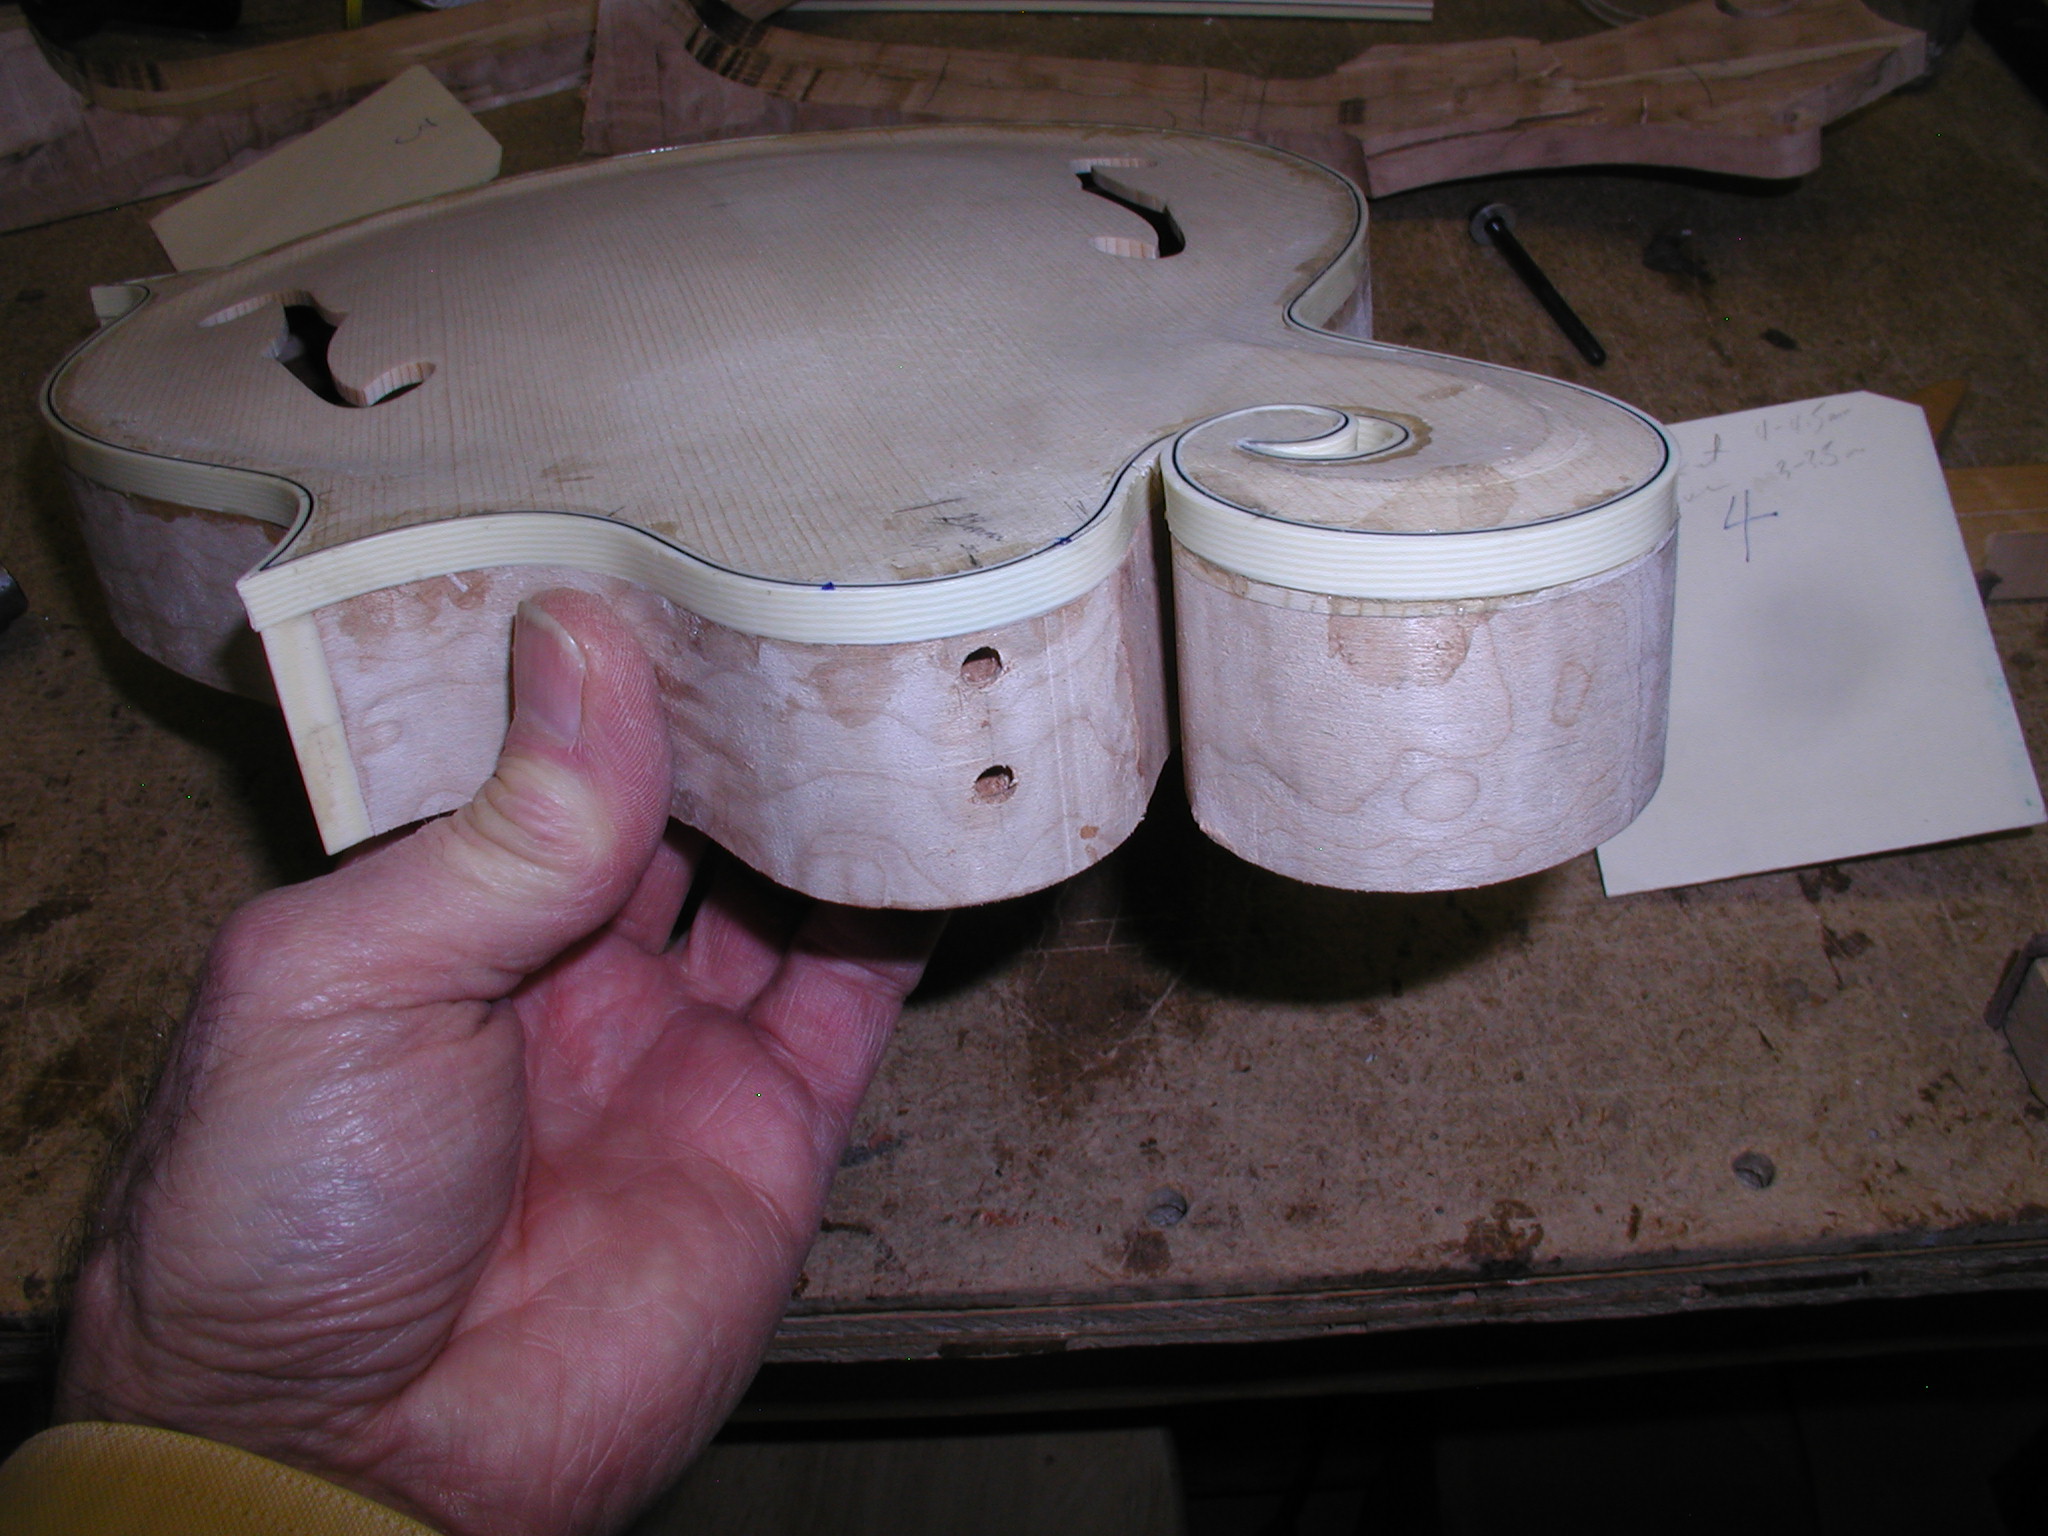
The bottom surface is the rough cut and the top surface is smooth. Then with the neck held in place on the body I slowly belt sand the bottom surface of the extension. Checking with a straight edge I sand to get the extension to sit flat on the top and true to the fretboard surface both along and across the fretboard area. Then I drill some small holes at an angle, these will later get some wire size finishing nails as pins.
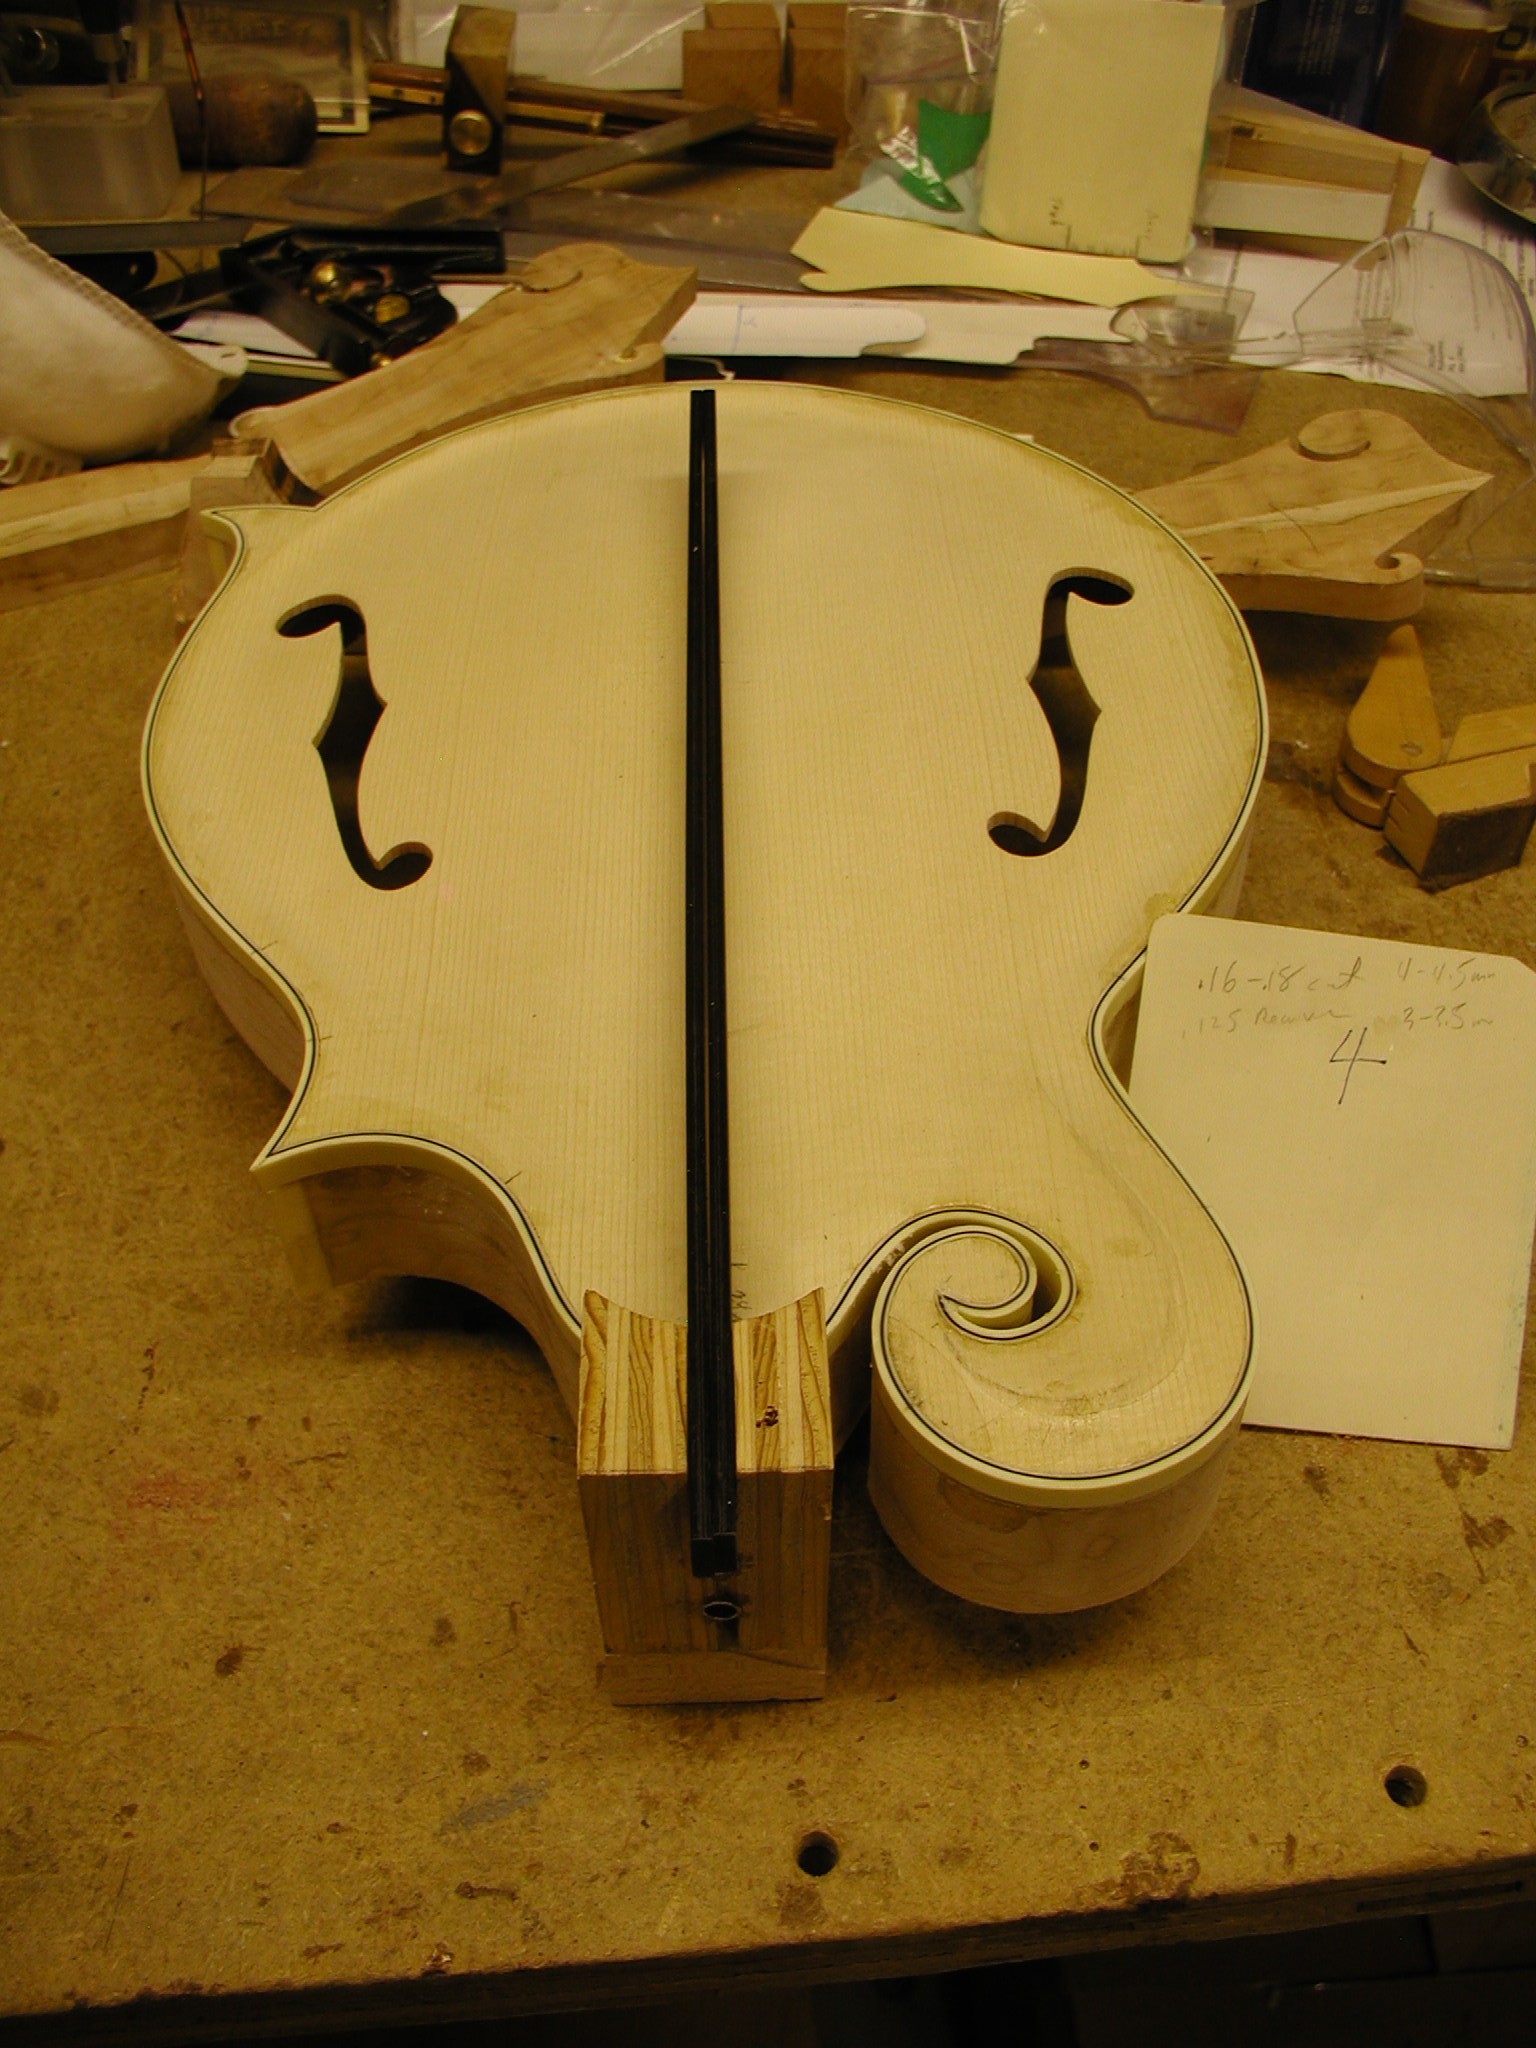
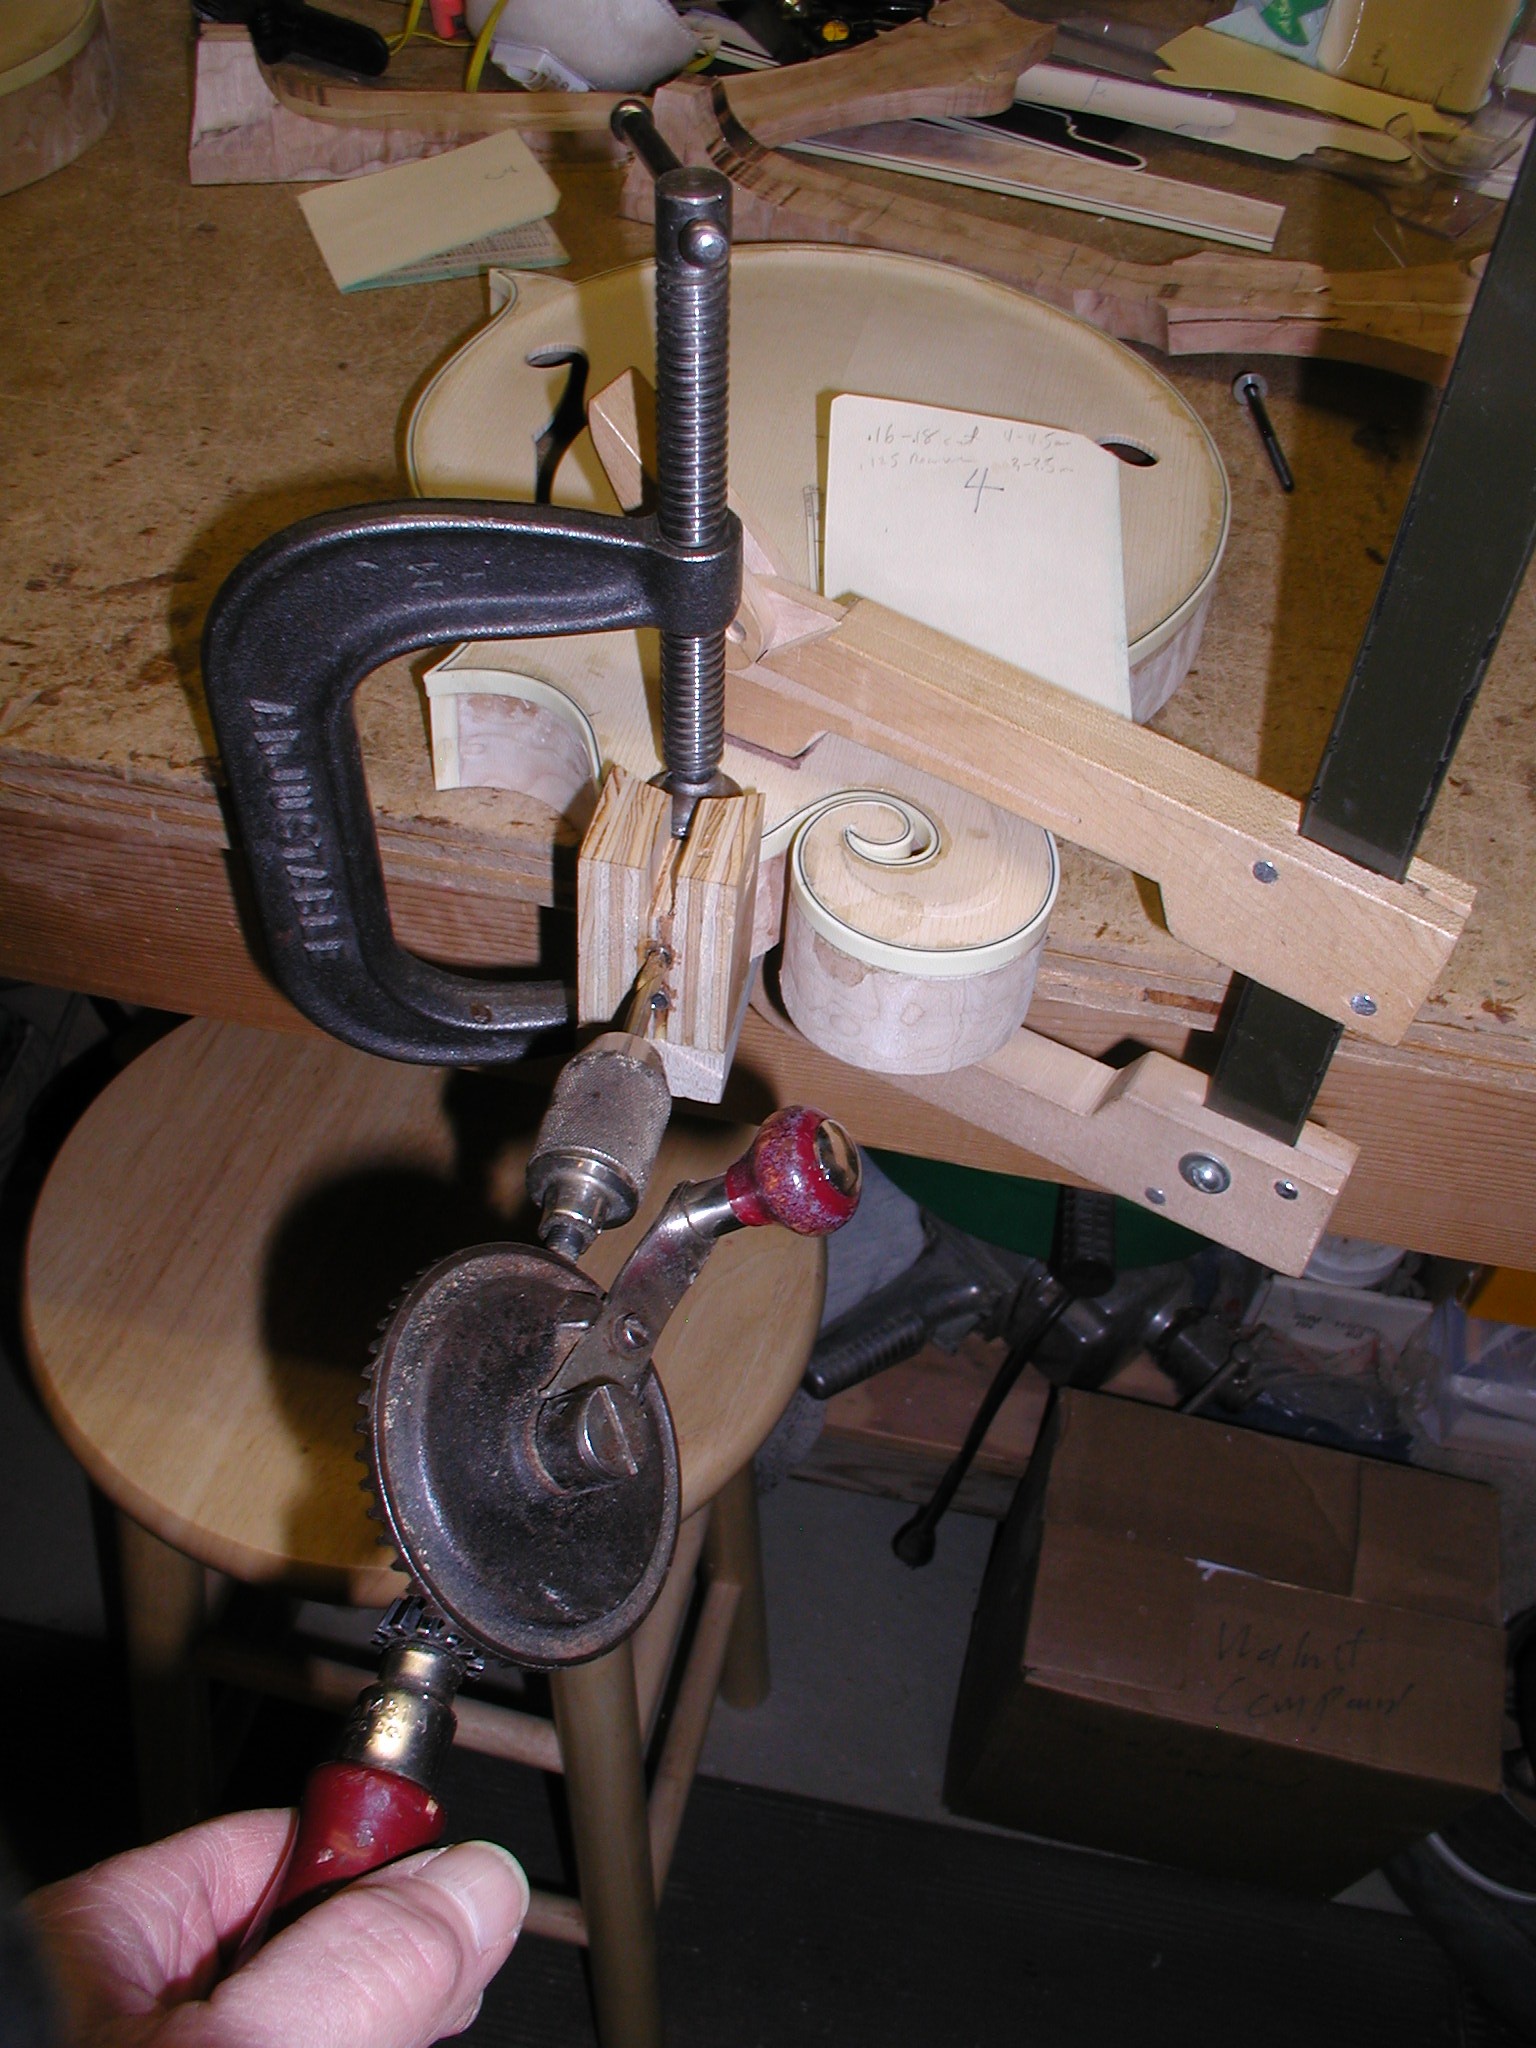
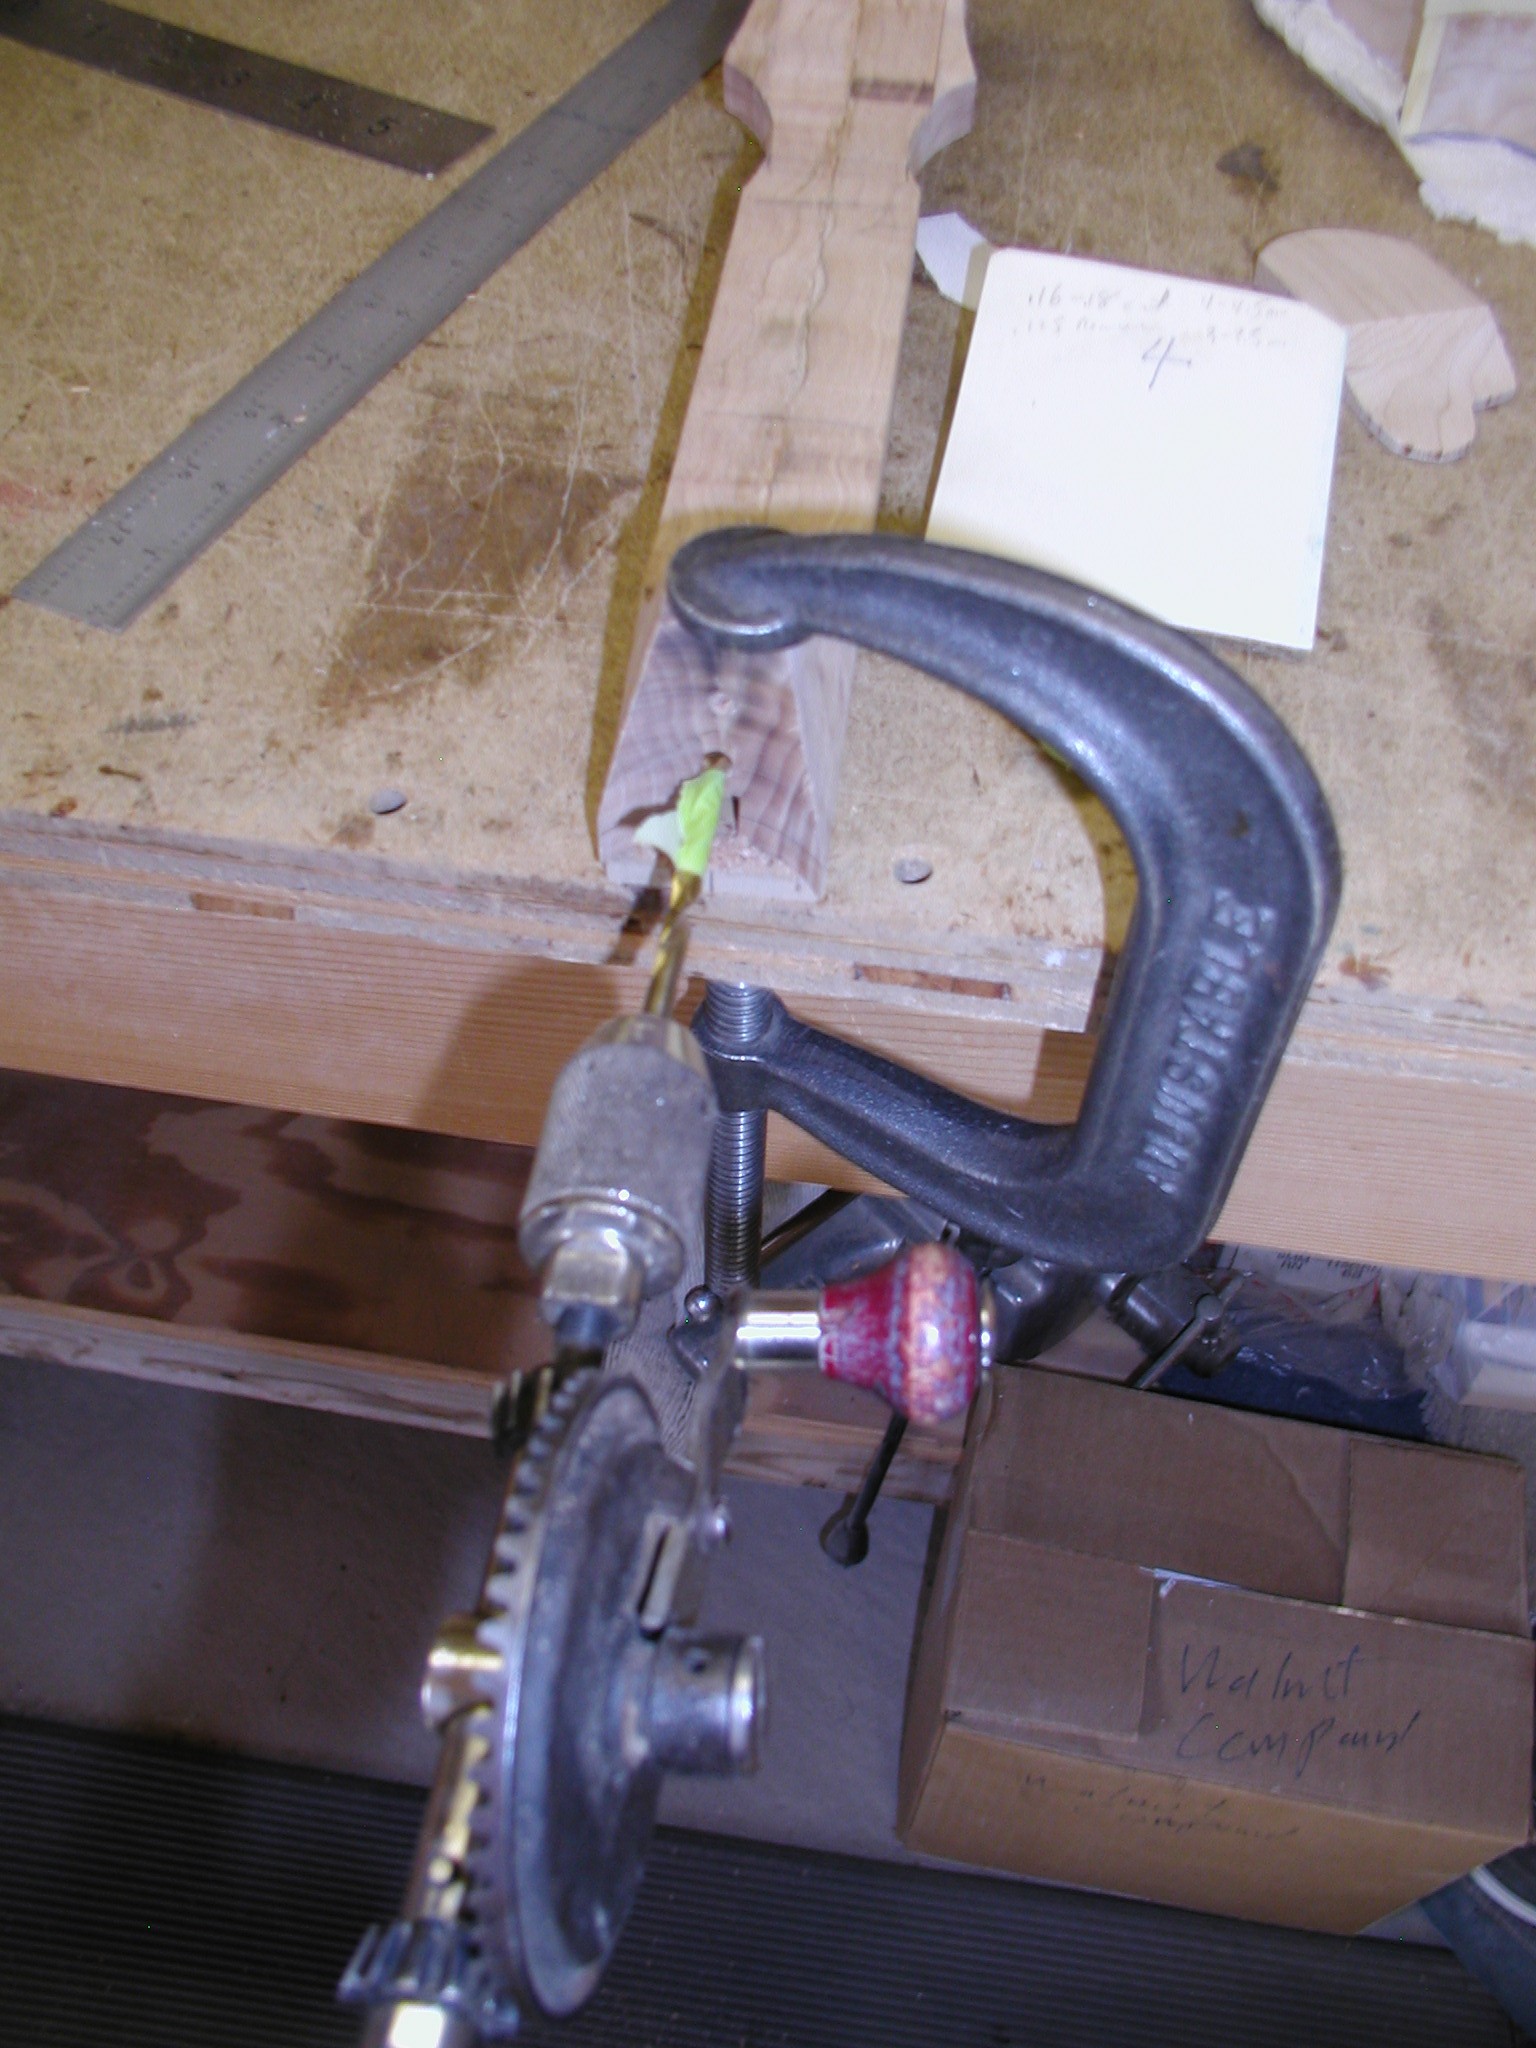
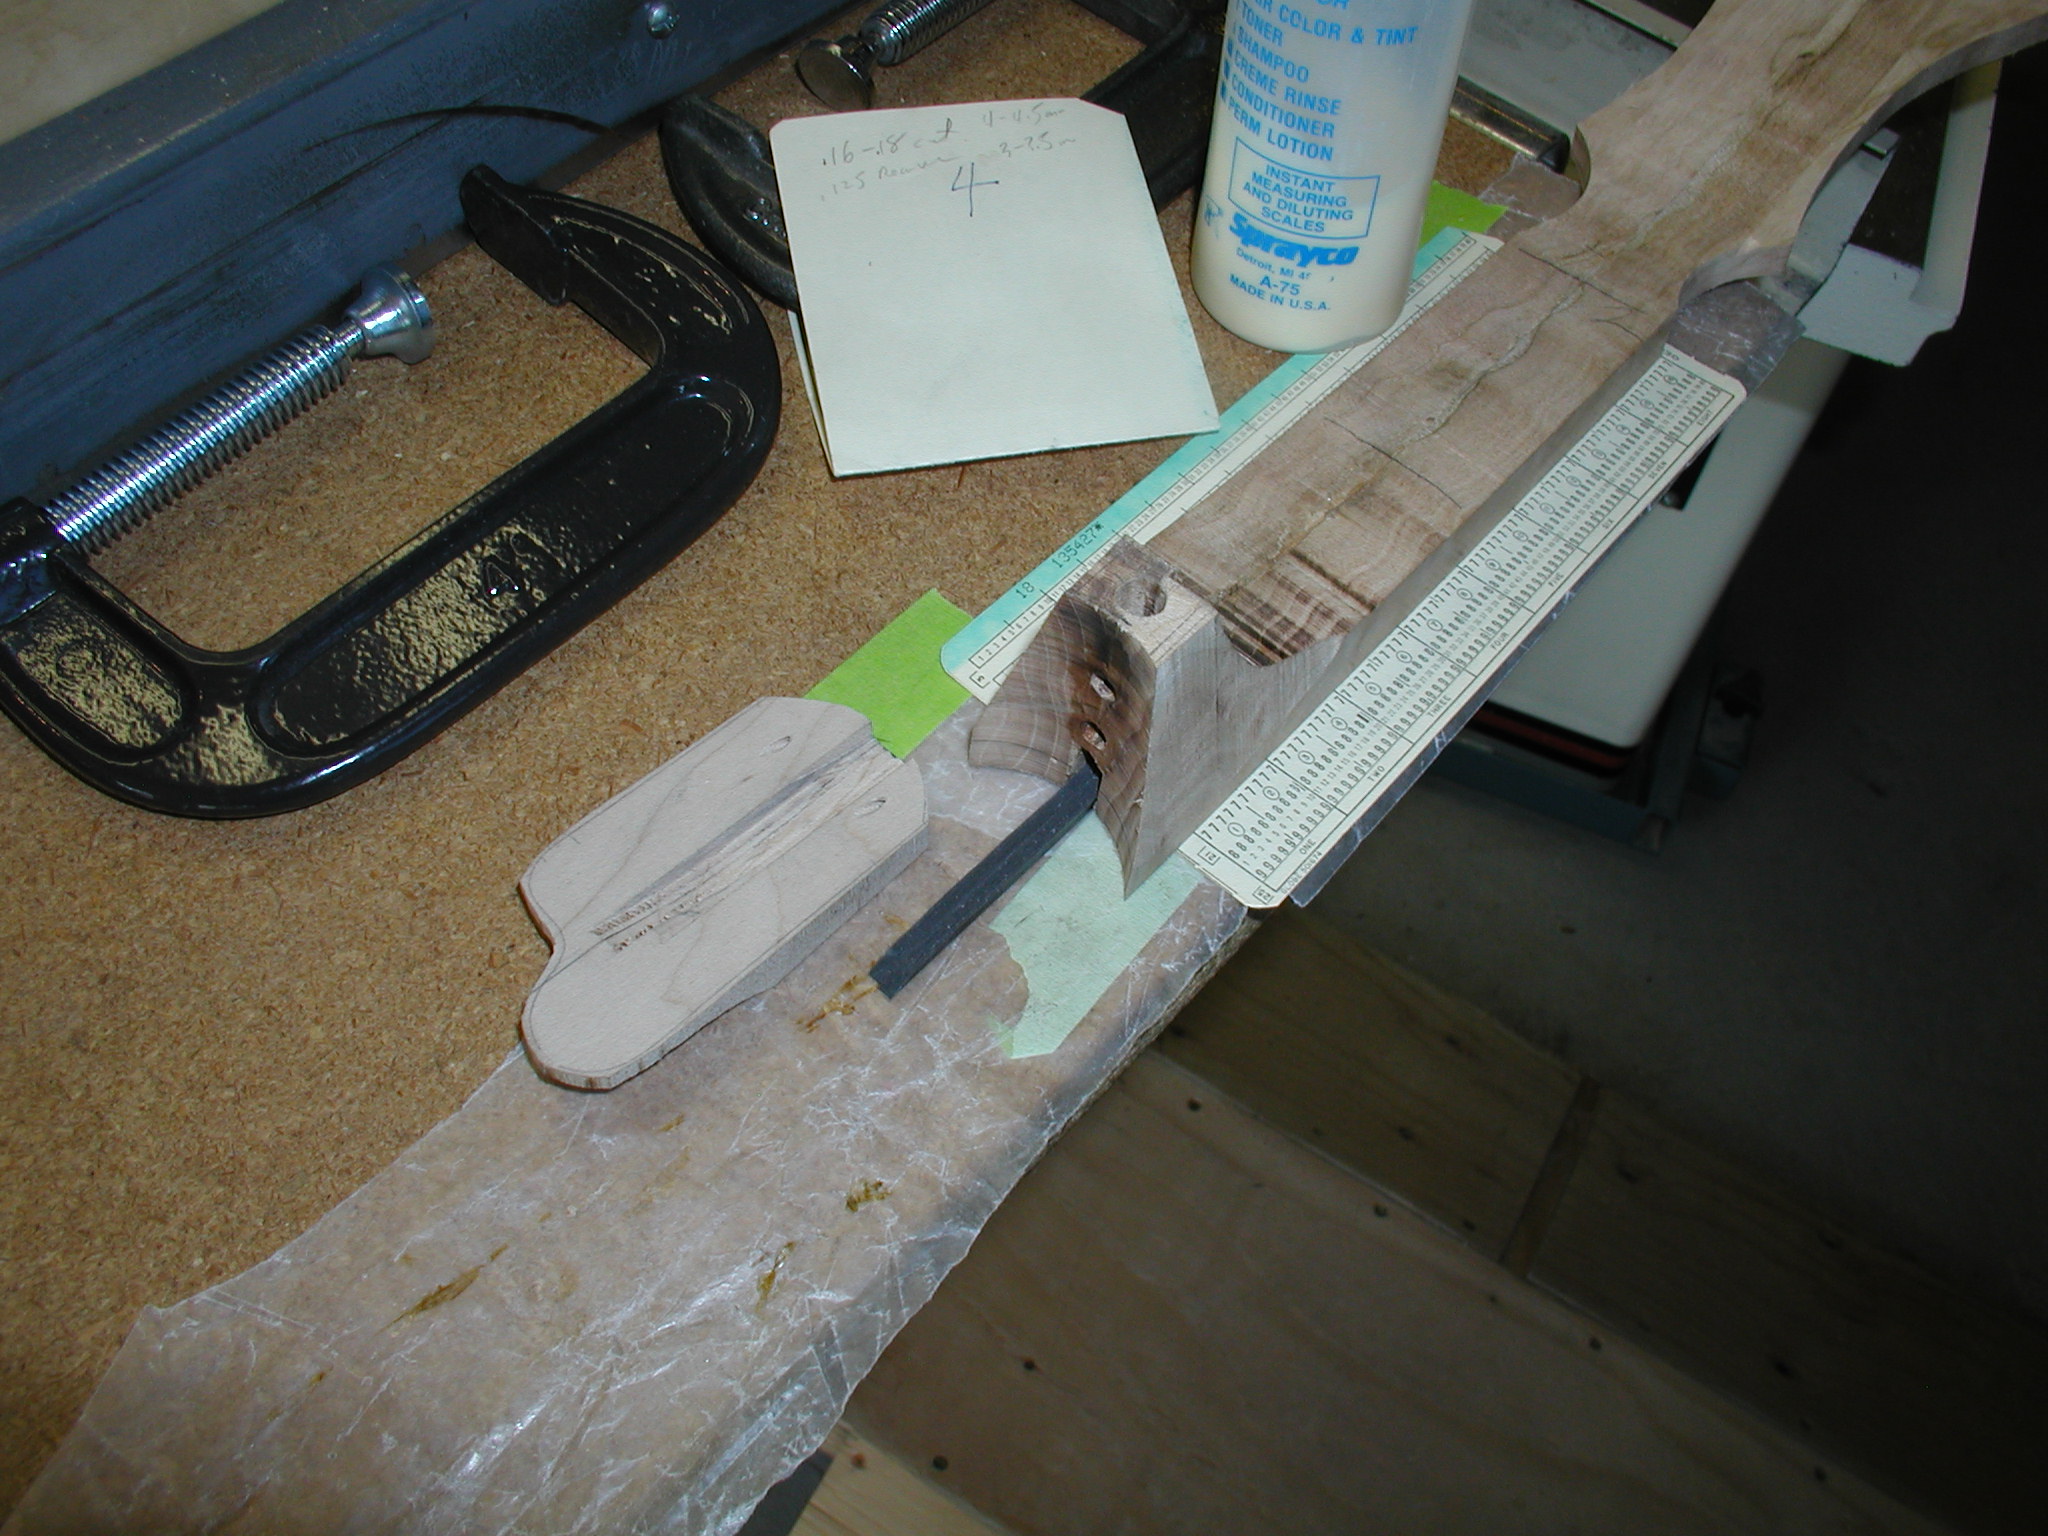
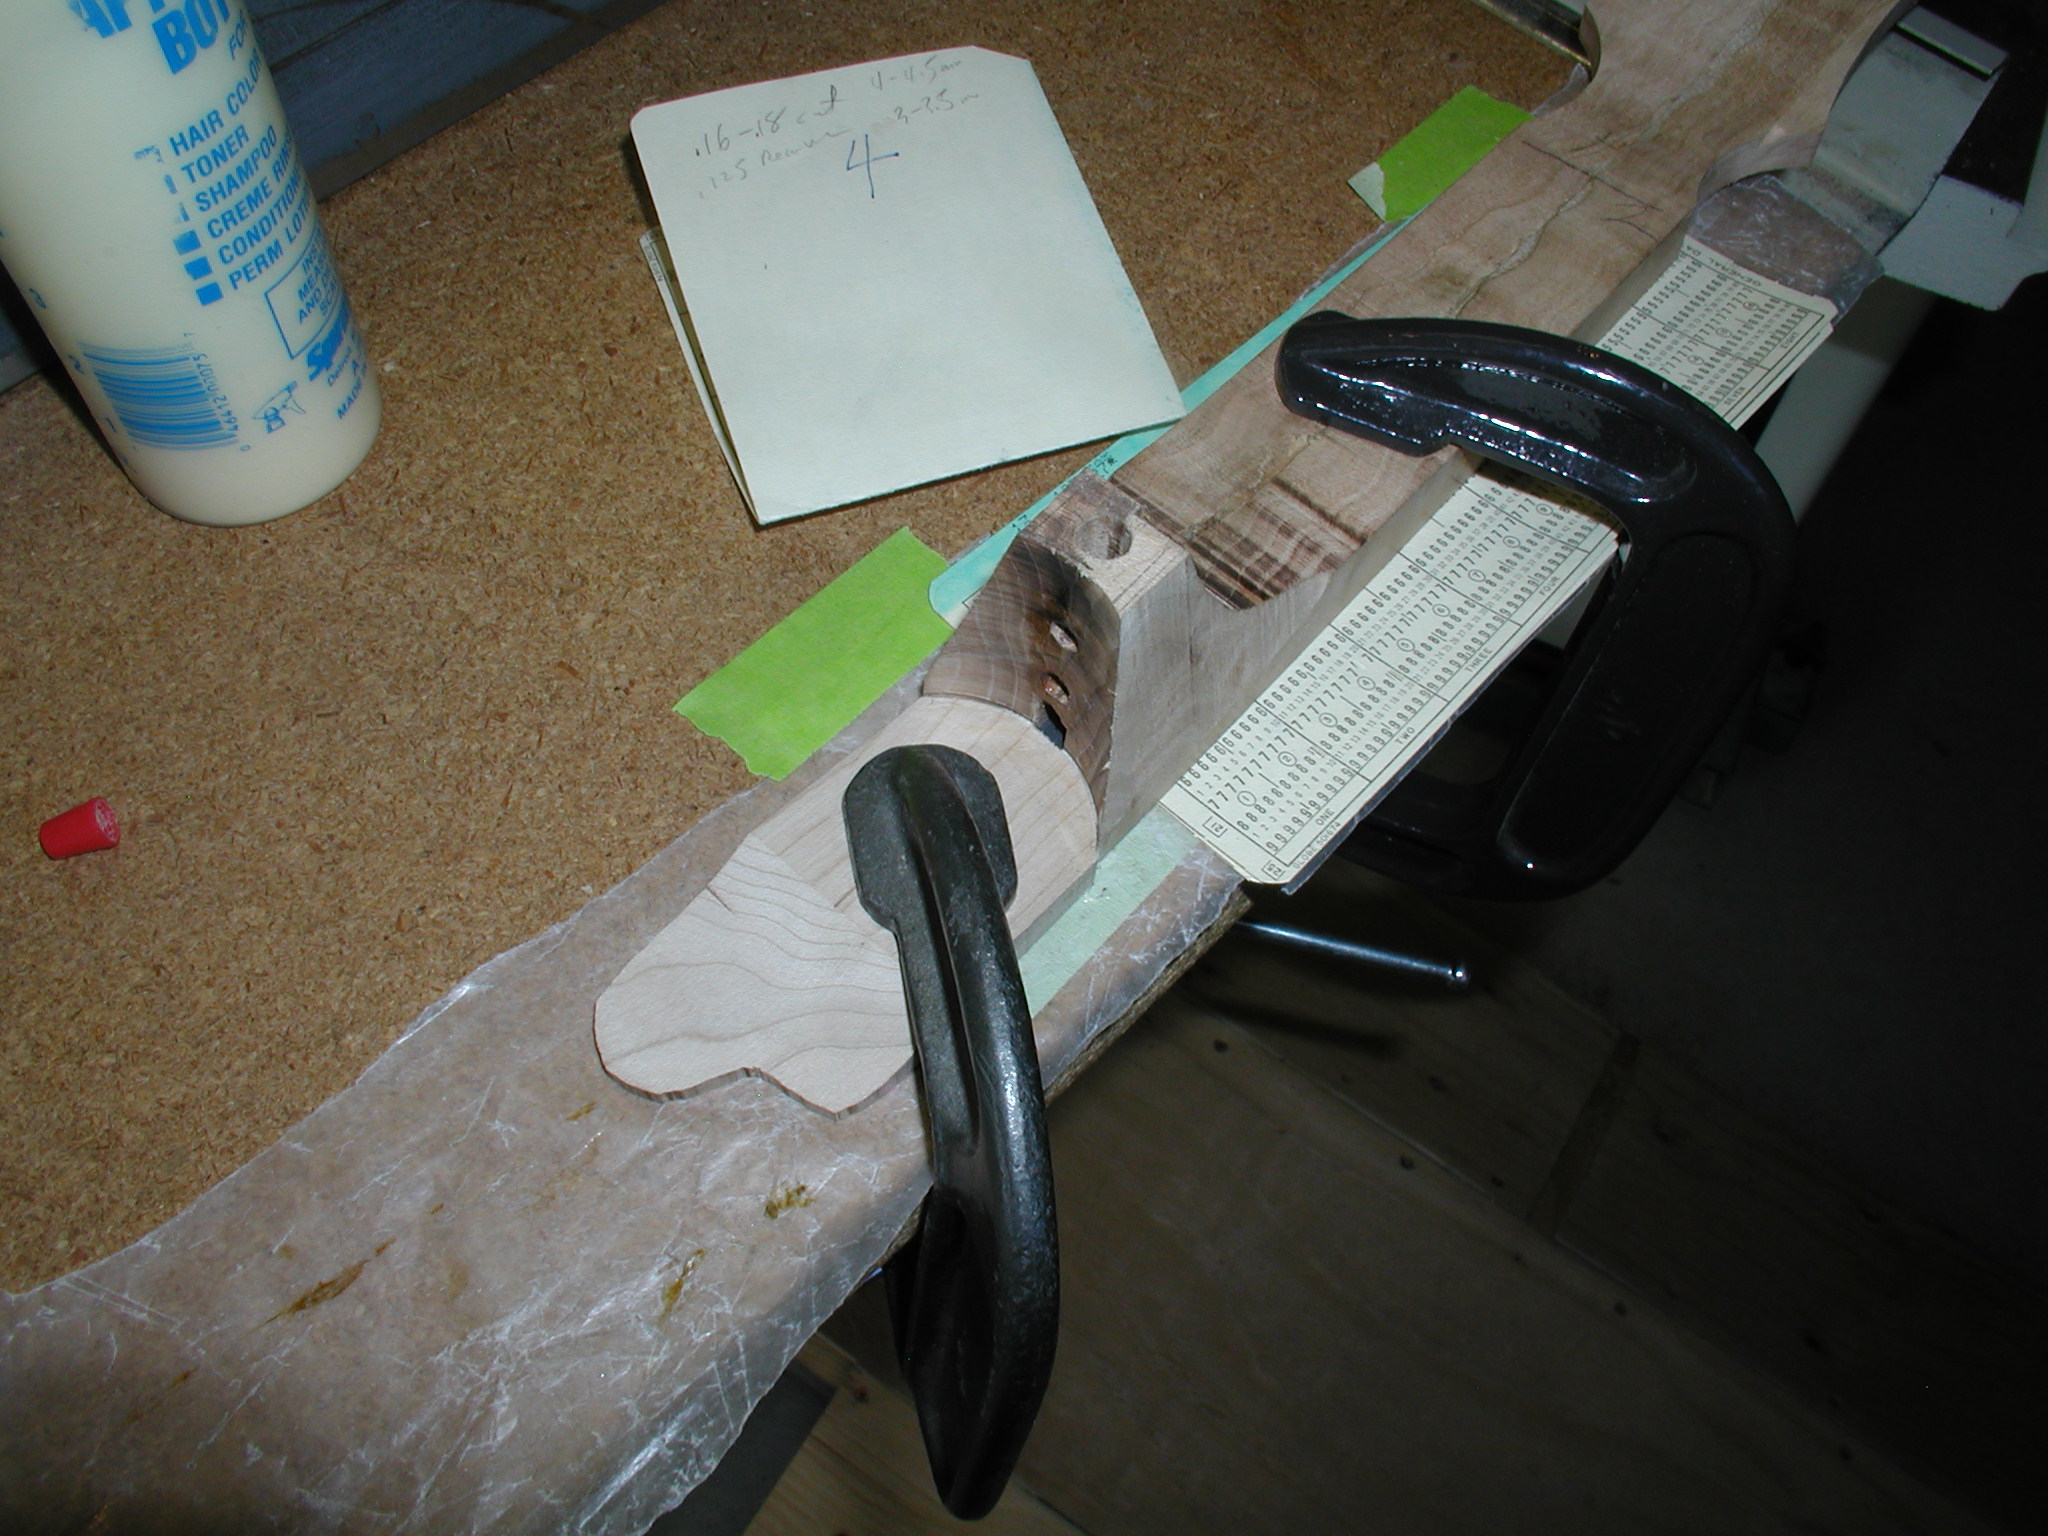
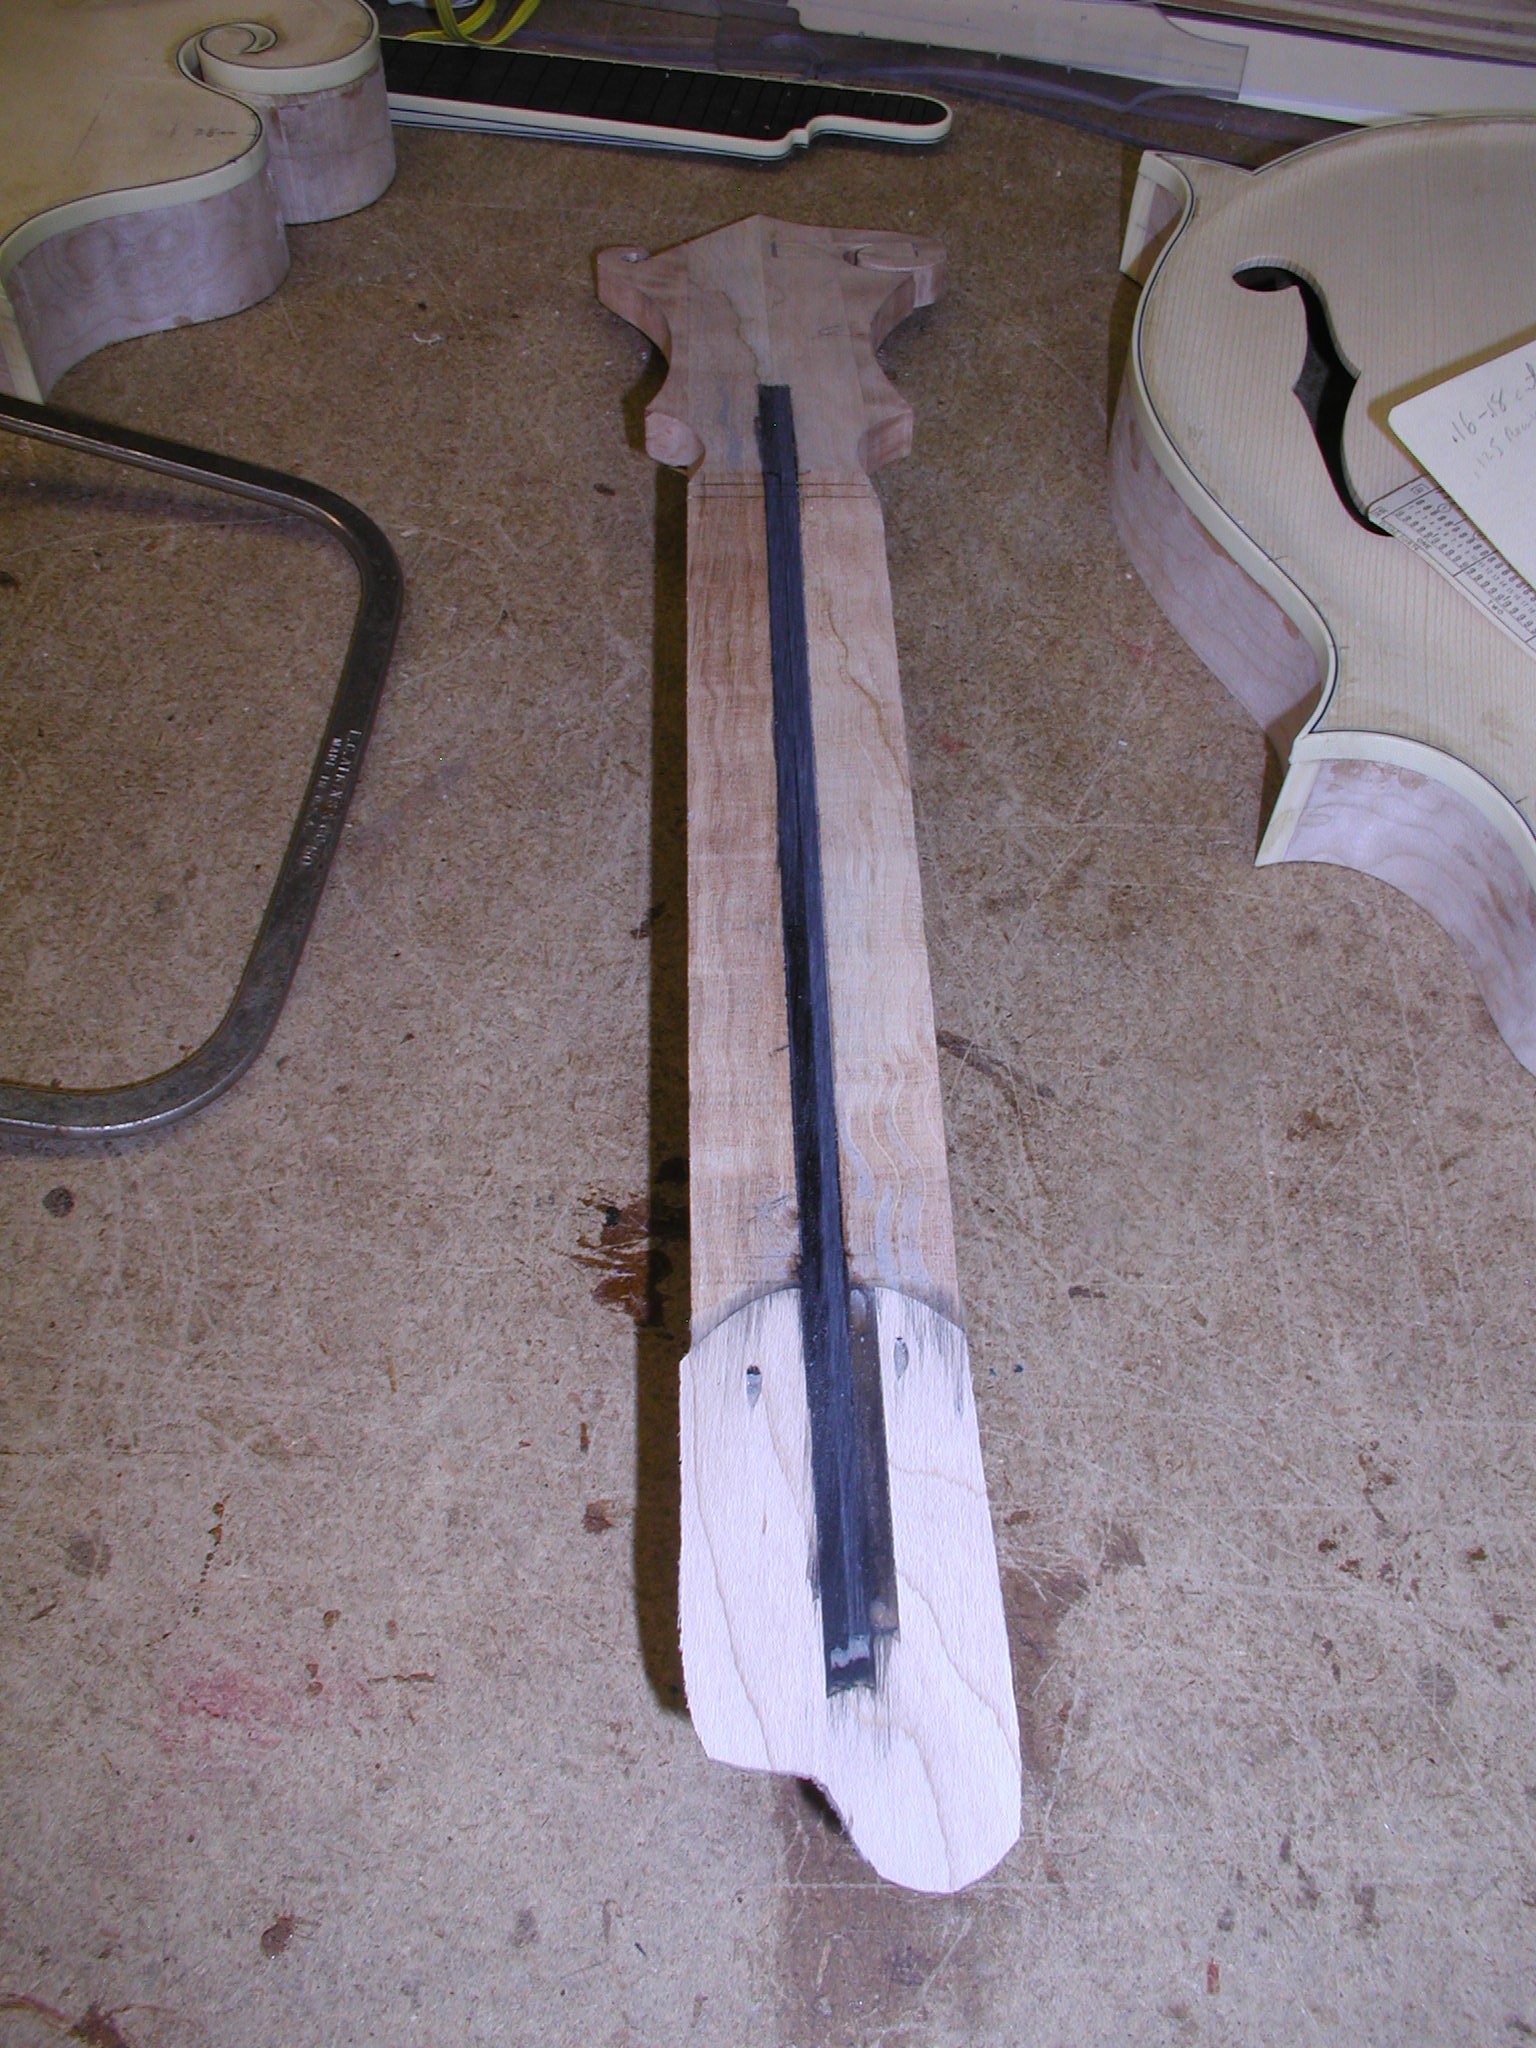
Using the graphite bars as a centering guide I butt glue the extension to the butt of the neck. Note the waxed paper to keep from gluing to the table top. I use a long bar clamp to put end pressure on while I then hold it with the C-Clamps. Once C-clamped the bar clamp can be removed. Once the glue is set, I put some glue, using a syringe, into the holes I drilled and tap in the finishing nails with a drift punch till the heads are below the surface level. Lightly true it all up on the belt sander but be careful not to mess up any of the surface angles.

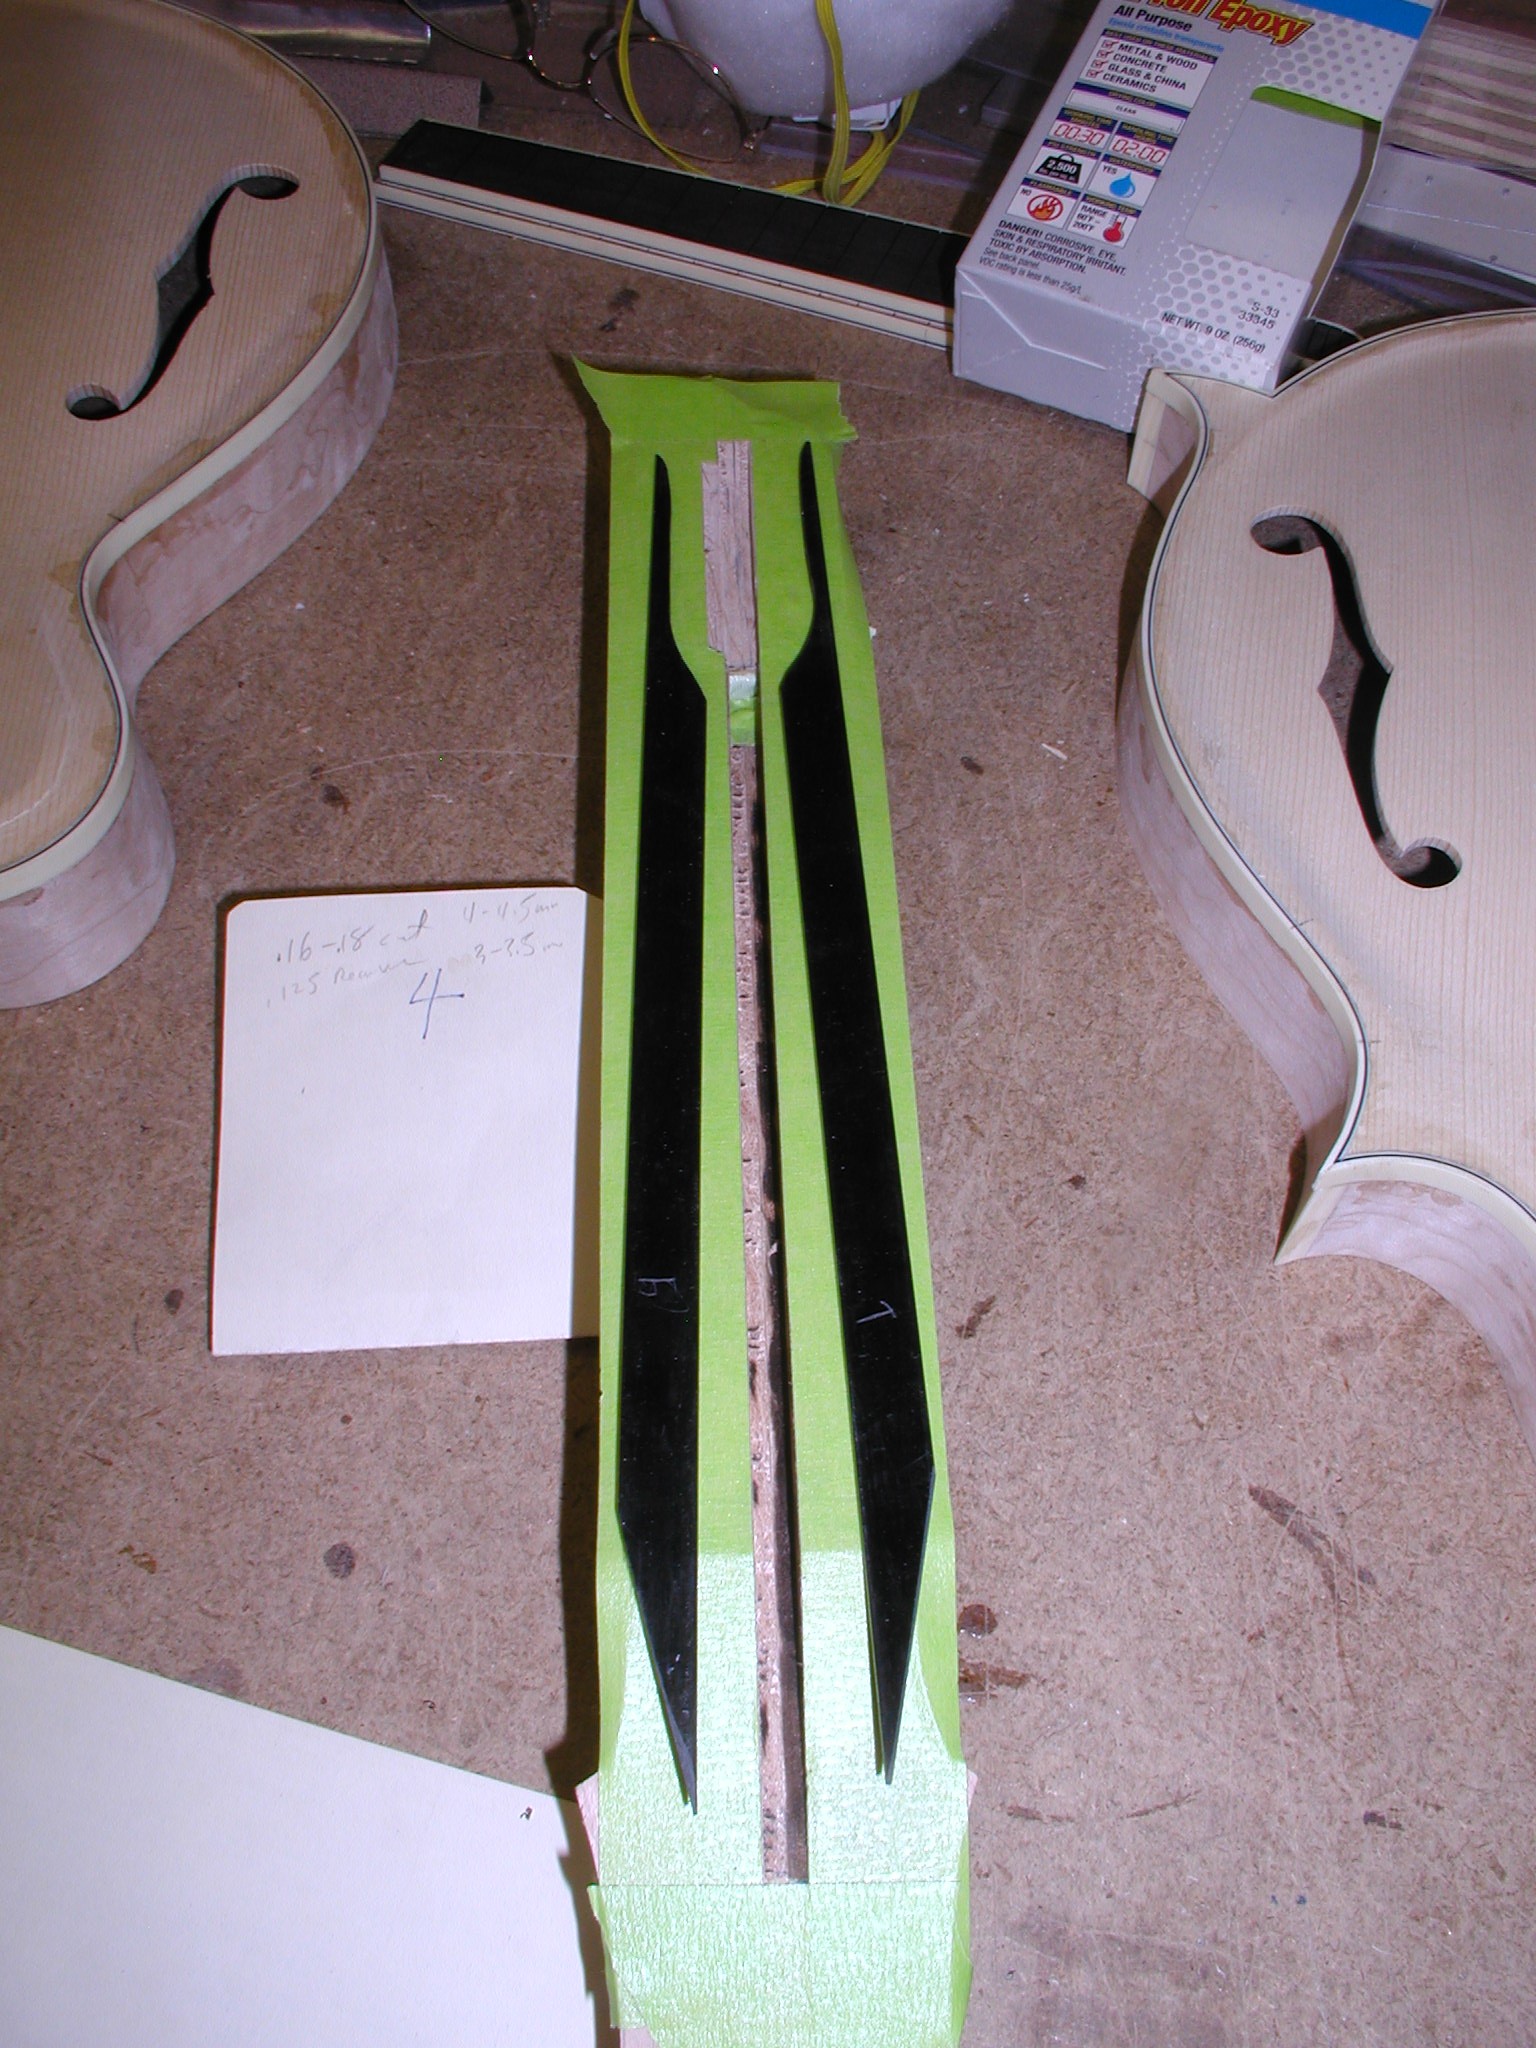
The final step here is to epoxy in the graphite bars. Notice that I've cut the headstock end to match the headstock angle and trimmed the extension end to accommodate that lesser depth of slot. Mask off the top of the neck and if you accidentally drilled your neck anchor hole too deep stuff a bit of cotton ball in there to keep the epoxy from dribbling down. Partly fill the slot with epoxy and press the graphite bars in place being sure to get some epoxy between the two pieces. After is is all cured, remove the masking and again level sand off the fretboard surface and headstock face just enough to get it clean without altering the actual surfaces or angles.
1 2 3 4 5 6 7 8 8a 9 10 11 11a 11b 12 12a 13 14 15 16 17 18 19 20