Let's Build A Guitar (Page 9)
Last Modified - November 6, 2012
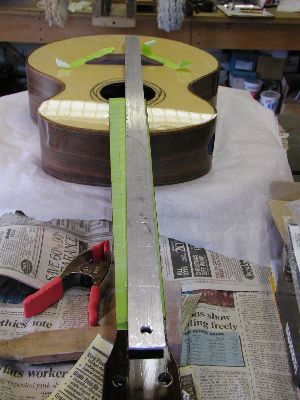
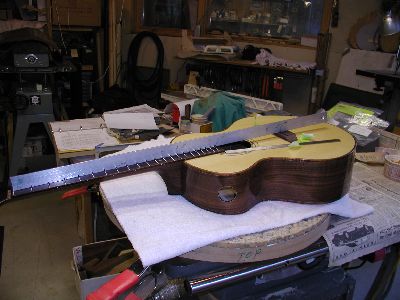
In Page 8 we were working on the bridge and also doing the lacquer finishing. Let's continue on with the making of the bridge. We had it radiused to the top and the saddle slot cut. Notice here that I've got the neck on already. Not shown were the final steps of bolting the neck in place. Since it is totally bolt on no finish needs to be removed from the top. I just slip the neck in place, snug up the two bolts that hold it through he head block and screw on some flat washers and elastic stop nuts on the screws in the fretboard extension by reaching through the sound hole.
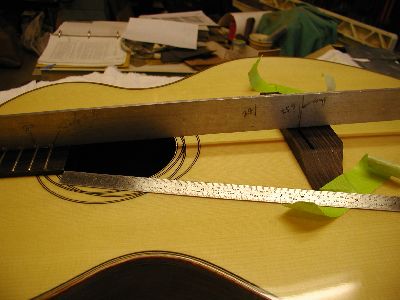
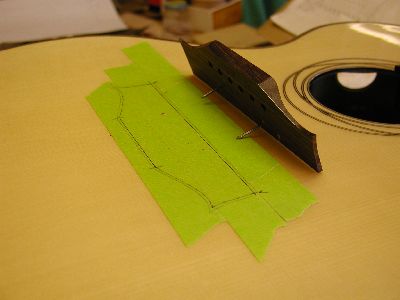
I now check the position of the bridge. I mark the centerline of the bridge onto the top of the bridge and then center it and set it's distance from the nut with my straight edge. I use a rule measuring from the fretboard to the corners of the saddle to set the rotation. There are some very clever jigs made to help with this process, particularly a recent one by Tracy Leveque at Luthier Suppliers but there are many. I have just gotten so used to doing it this way and can do it quickly that I continue to do so. I am also checking the height of the bridge at this point and can hit it on the belt sander to reduce the height till it is just at the same level as the surface of the fretboard. With the bridge now taped in the proper position I then use the straight edge laid along the fretboard edges, just in to the E string locations, to draw those E string lines on the bridge. This locates the two outside pin holes which then are used to layout the rest of the pin hole locations.
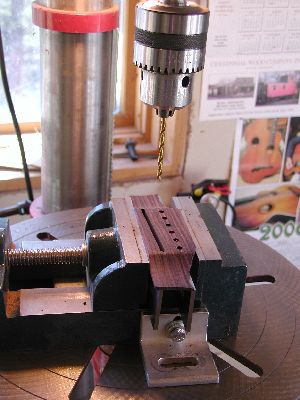
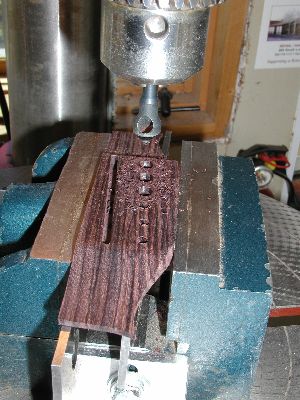
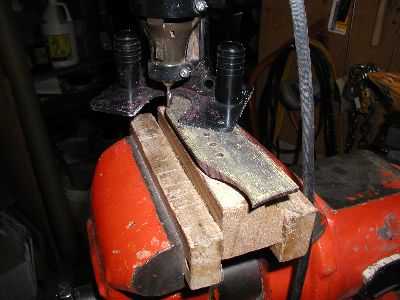
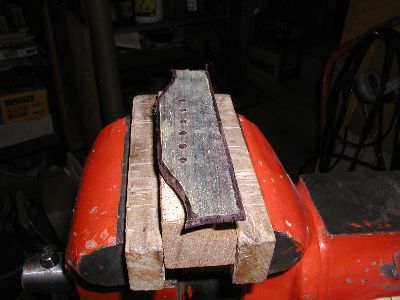
Note that the pin holes follow the same angle as the saddle, this makes the distance from the saddle to the pin the same for each string and makes the break angle the same as well. I then drill the pin holes with a #50 or so bit all the way through. I use this hole as a guide for a brad-point drill. I drill from the back side first half the way through, then drill the rest from the top side. This eliminates and chip out on the curved bottom side since it won't lie flat against a drilling caul. I then use a countersink to chamfer the holes for the pin head relief. Note that we haven't done any of the rounding and smoothing of the bridge yet, there remain a few steps where we still want to grip it with the vise.
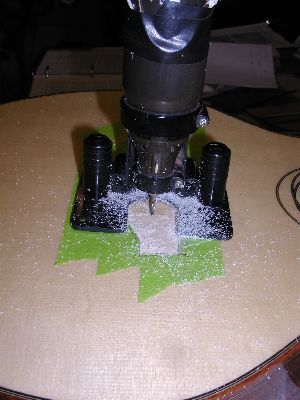
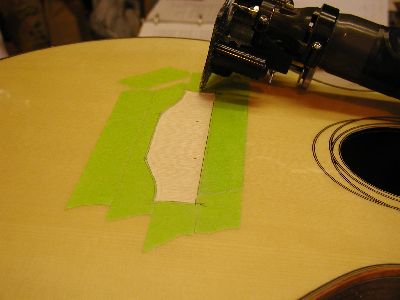
Time to get it ready to glue down. I put down lacquer mask tape that won't harm the finish, this is the Green 3-M stuff. Do NOT substitute other stuff or you will see your nice finish get damaged. And don't leave the green stuff on the finish for more than a day or so or it will leave an imprint too! I then re-position the bridge exactly as before and tape it in place. I drill down through the saddle slot and the top and bridge plate with a #54 drill which makes the perfect hole for a small wire brad finishing nail. I use these for position locators from now on, no more careful measuring. I trace around the bridge and then trace again just inside that line about 1/8" or less and cut along that line to remove the tape. Don't cut through the finish though, you don't want to damage any of the top wood fibers. I used to scrape away the finish by hand at this point but that is beyond tedious. I now just use my Dremel tool with a 1/8" bit and rout away the finish. I do this only to a depth that just touches the top wood, so it leaves some little bits of finish behind. This gets scraped away and then the whole area gets scrubbed with Q-Tips soaked in lacquer thinner till it is squeaky clean, literally it will squeak.
Ugh Oh! We removed the finish but in an area smaller than the bridge. Now the bridge won' sit down on the top for gluing because of the thickness of the finish. No Problemo! We measure the thickness of the finish, it better be between 0.005 - 0.007", and just remove that much from the edge of the bottom of the bridge. Again I used to do this with a scraper but now I just zap it with the Dremel tool with the same setting I just used for routing the finish away. That is equal to the finish thickness plus the tape thickness which is 0.005". So I end up with the edge of the bridge just above the finish. I scribe a line and dust it with chalk line dust so I can see it easily and just zap it by eye. The idea here is to have the bridge overlap the finish so that it makes a very clean job of it without any edge of the raw finish or glue showing in the end.
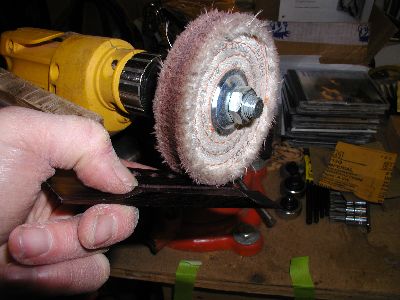
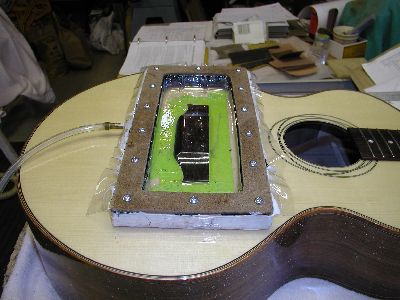
OK, now the final stuff. Not shown, I round off the back side of the bridge and sand it completely smooth out to 1000 grit and buff it with rottenstone. The buff always shows you the sanding scratches you missed and you get to do it all again, and again, till it is buffed to a high gloss. Then it gets glued in place. The earlier green tape is removed, the bridge goes in place and more green tape goes down right up against the edge of the bridge. Then the tape and the edges of the bridge get wiped with regular old Johnson's Paste Wax. I use a Q-tip and just go around a few times. Don't polish it out, it is there to keep any squeezed out glue from sticking to anything. I clamp sometimes with big C-clamps through the sound hole and sometimes with a vacuum clamping jig like this. Both work, but I'm not sure the vacuum clamping gives enough pressure for this application. I've never had one come off so who knows.
