Let's Build A Guitar (Page 6)
Last Modified - November 6, 2012
In Page 5 we finished all the rough work on the neck. Now it is time to make it look like a part of a guitar.
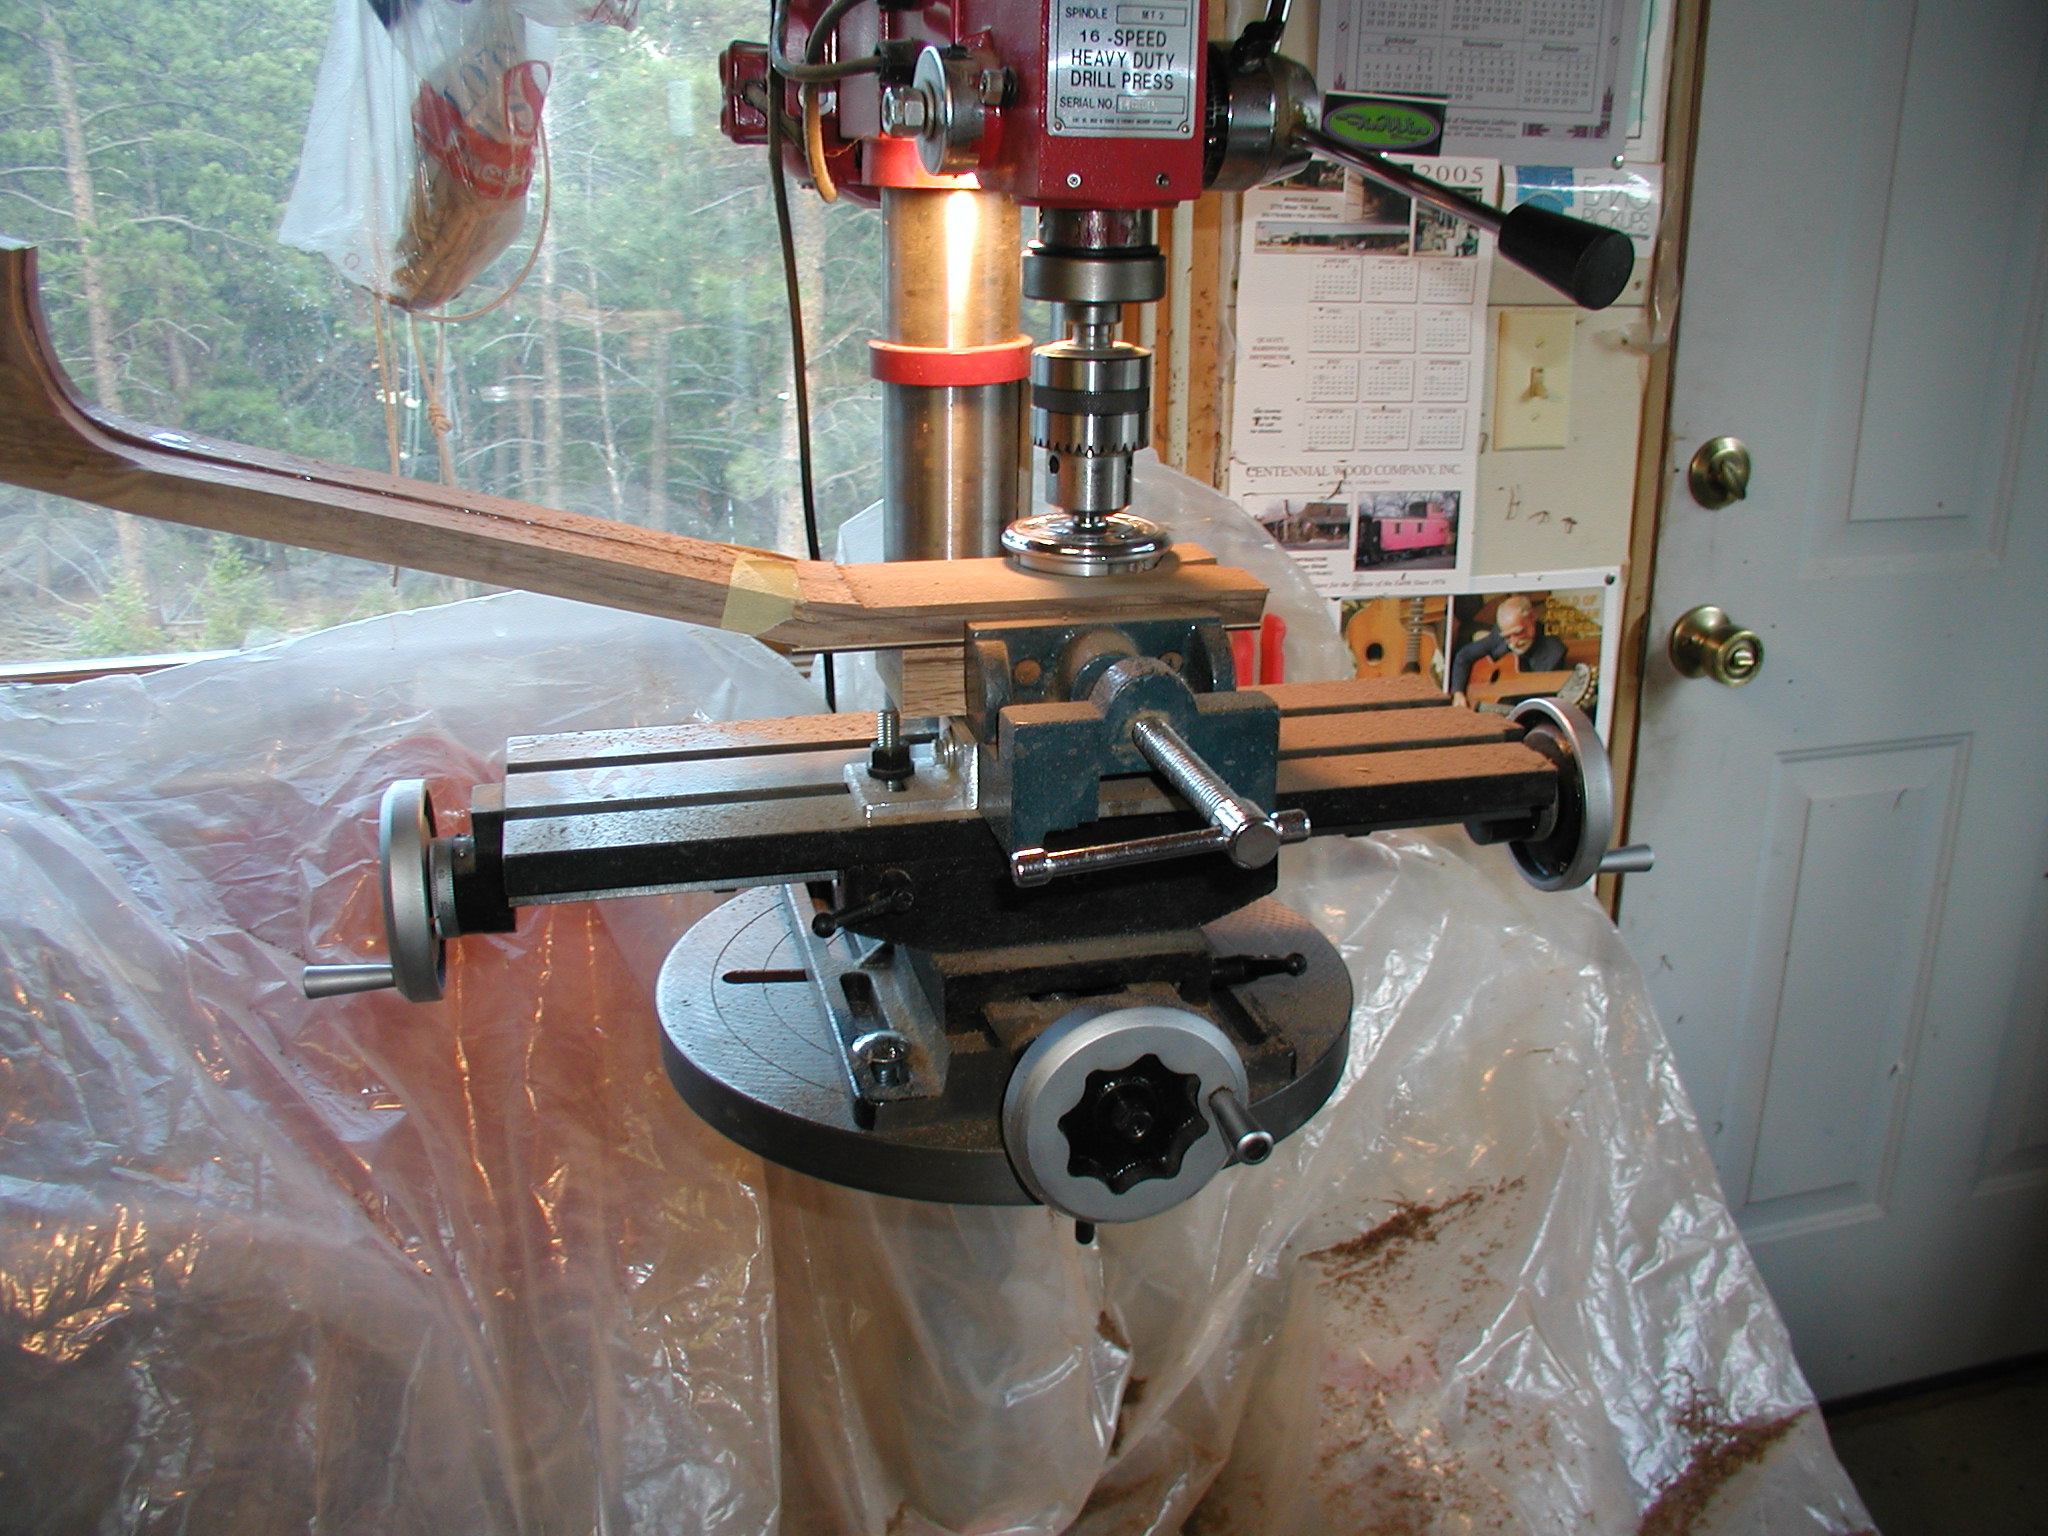
Here I am thicknessing the headstock, the actual measurement depends on the tuners used. I have done this lots of ways in the past but have settled on this method now. I am using a crossfeed mill/drill table and a cool little tool called a Saf-T-Planer, basically a three toothed fly-cutter. Despite the name, this is kind of a scary tool and you want to keep all the little finger parts away from the blade. I used to just hold the neck and feed it by hand with the faceplate against the drill press table. You can see why I prefer the crossfeed table. You need to crank up the RPMs a good bit or it will tear out the neck wood, but up to speed it does a great smooth job. Clearly I need to get some sort of dust collection to this machine!
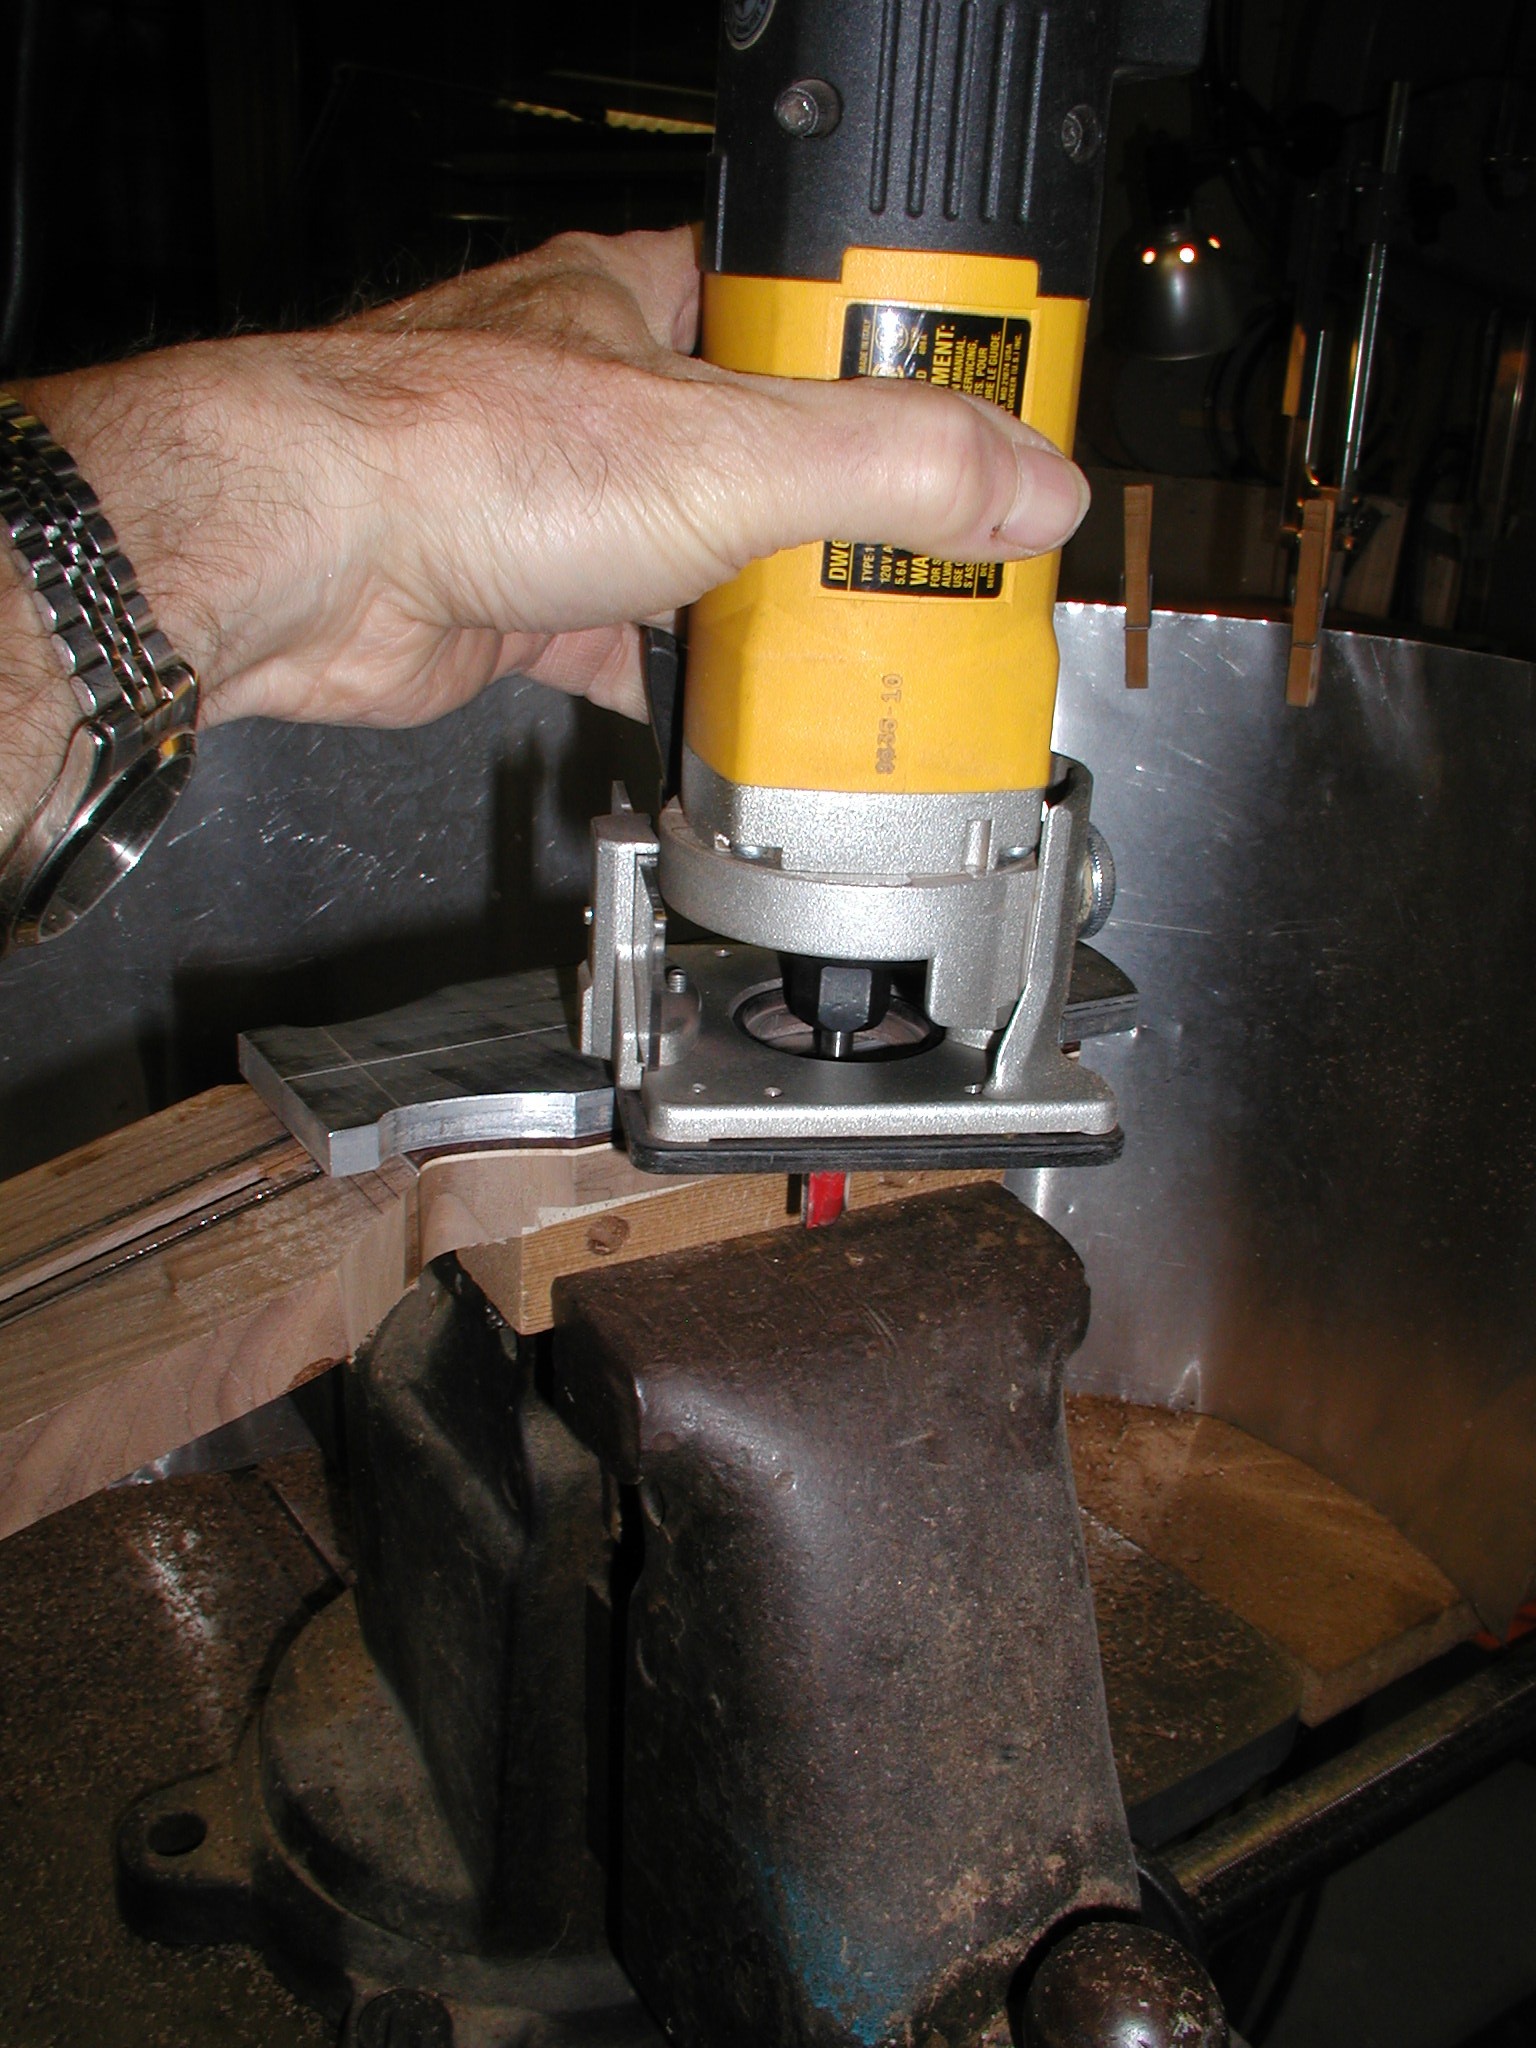
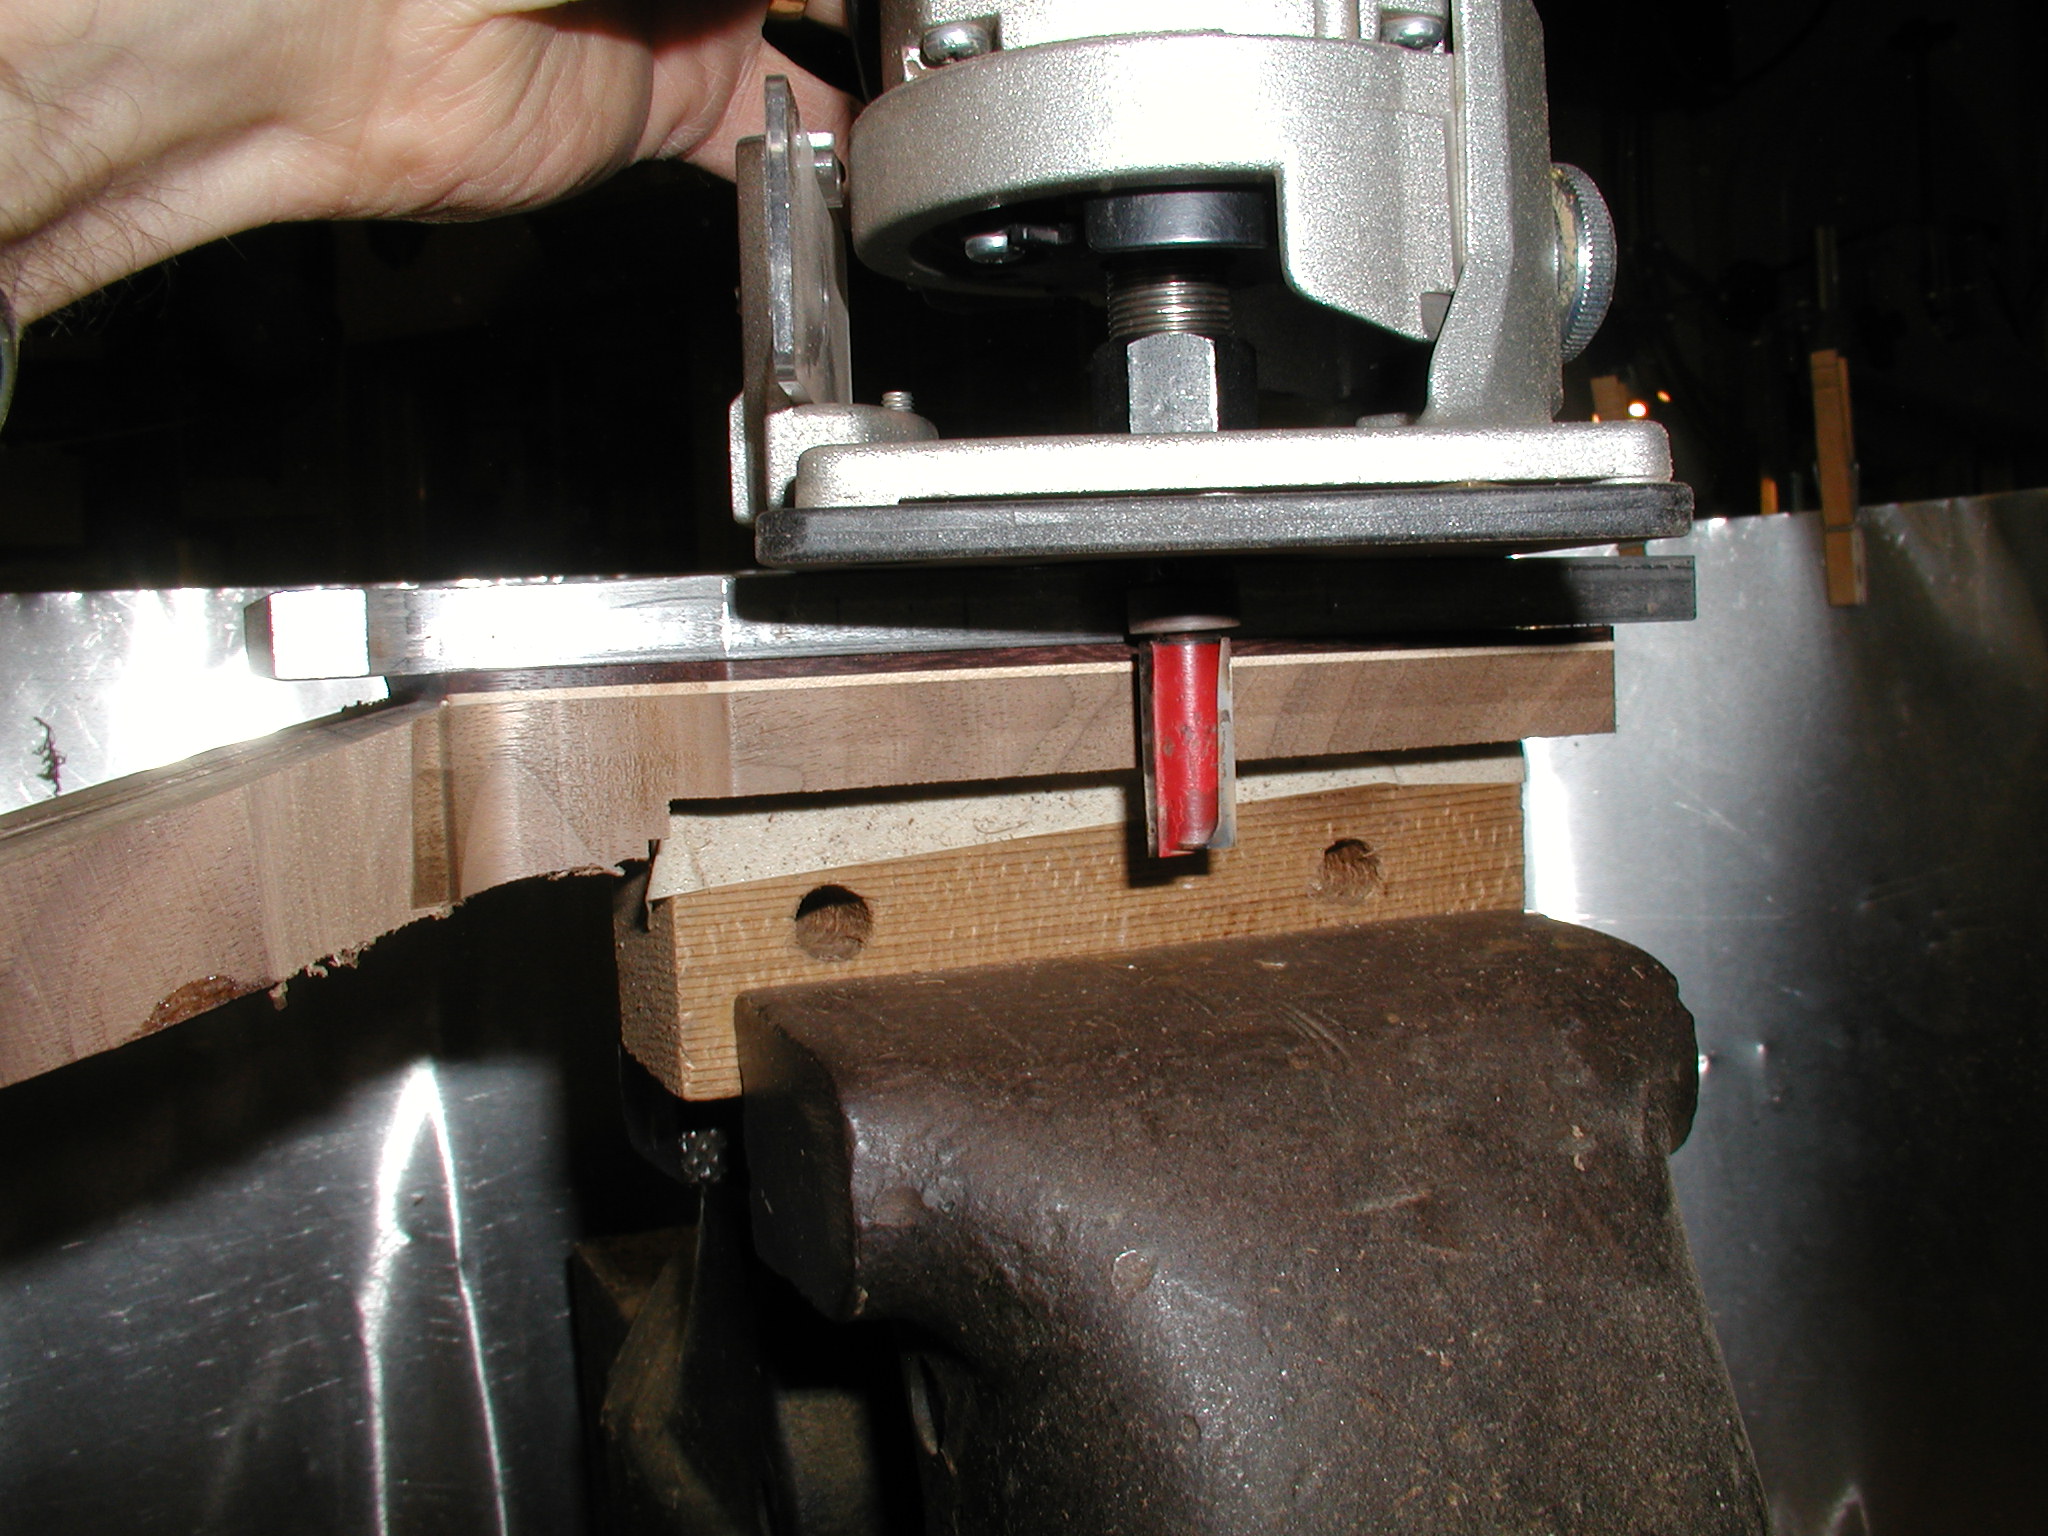
I use some aluminum templates for my headstocks. Here I am going around the perimeter to cut the profile of the headstock shape down through the nut line. This uses a laminate edge trimmer and a pattern follower bit. It is necessary to do this in little bits to avoid tear out or flying routers and such. I slowly rough it in and then do a single final finish cut pass.
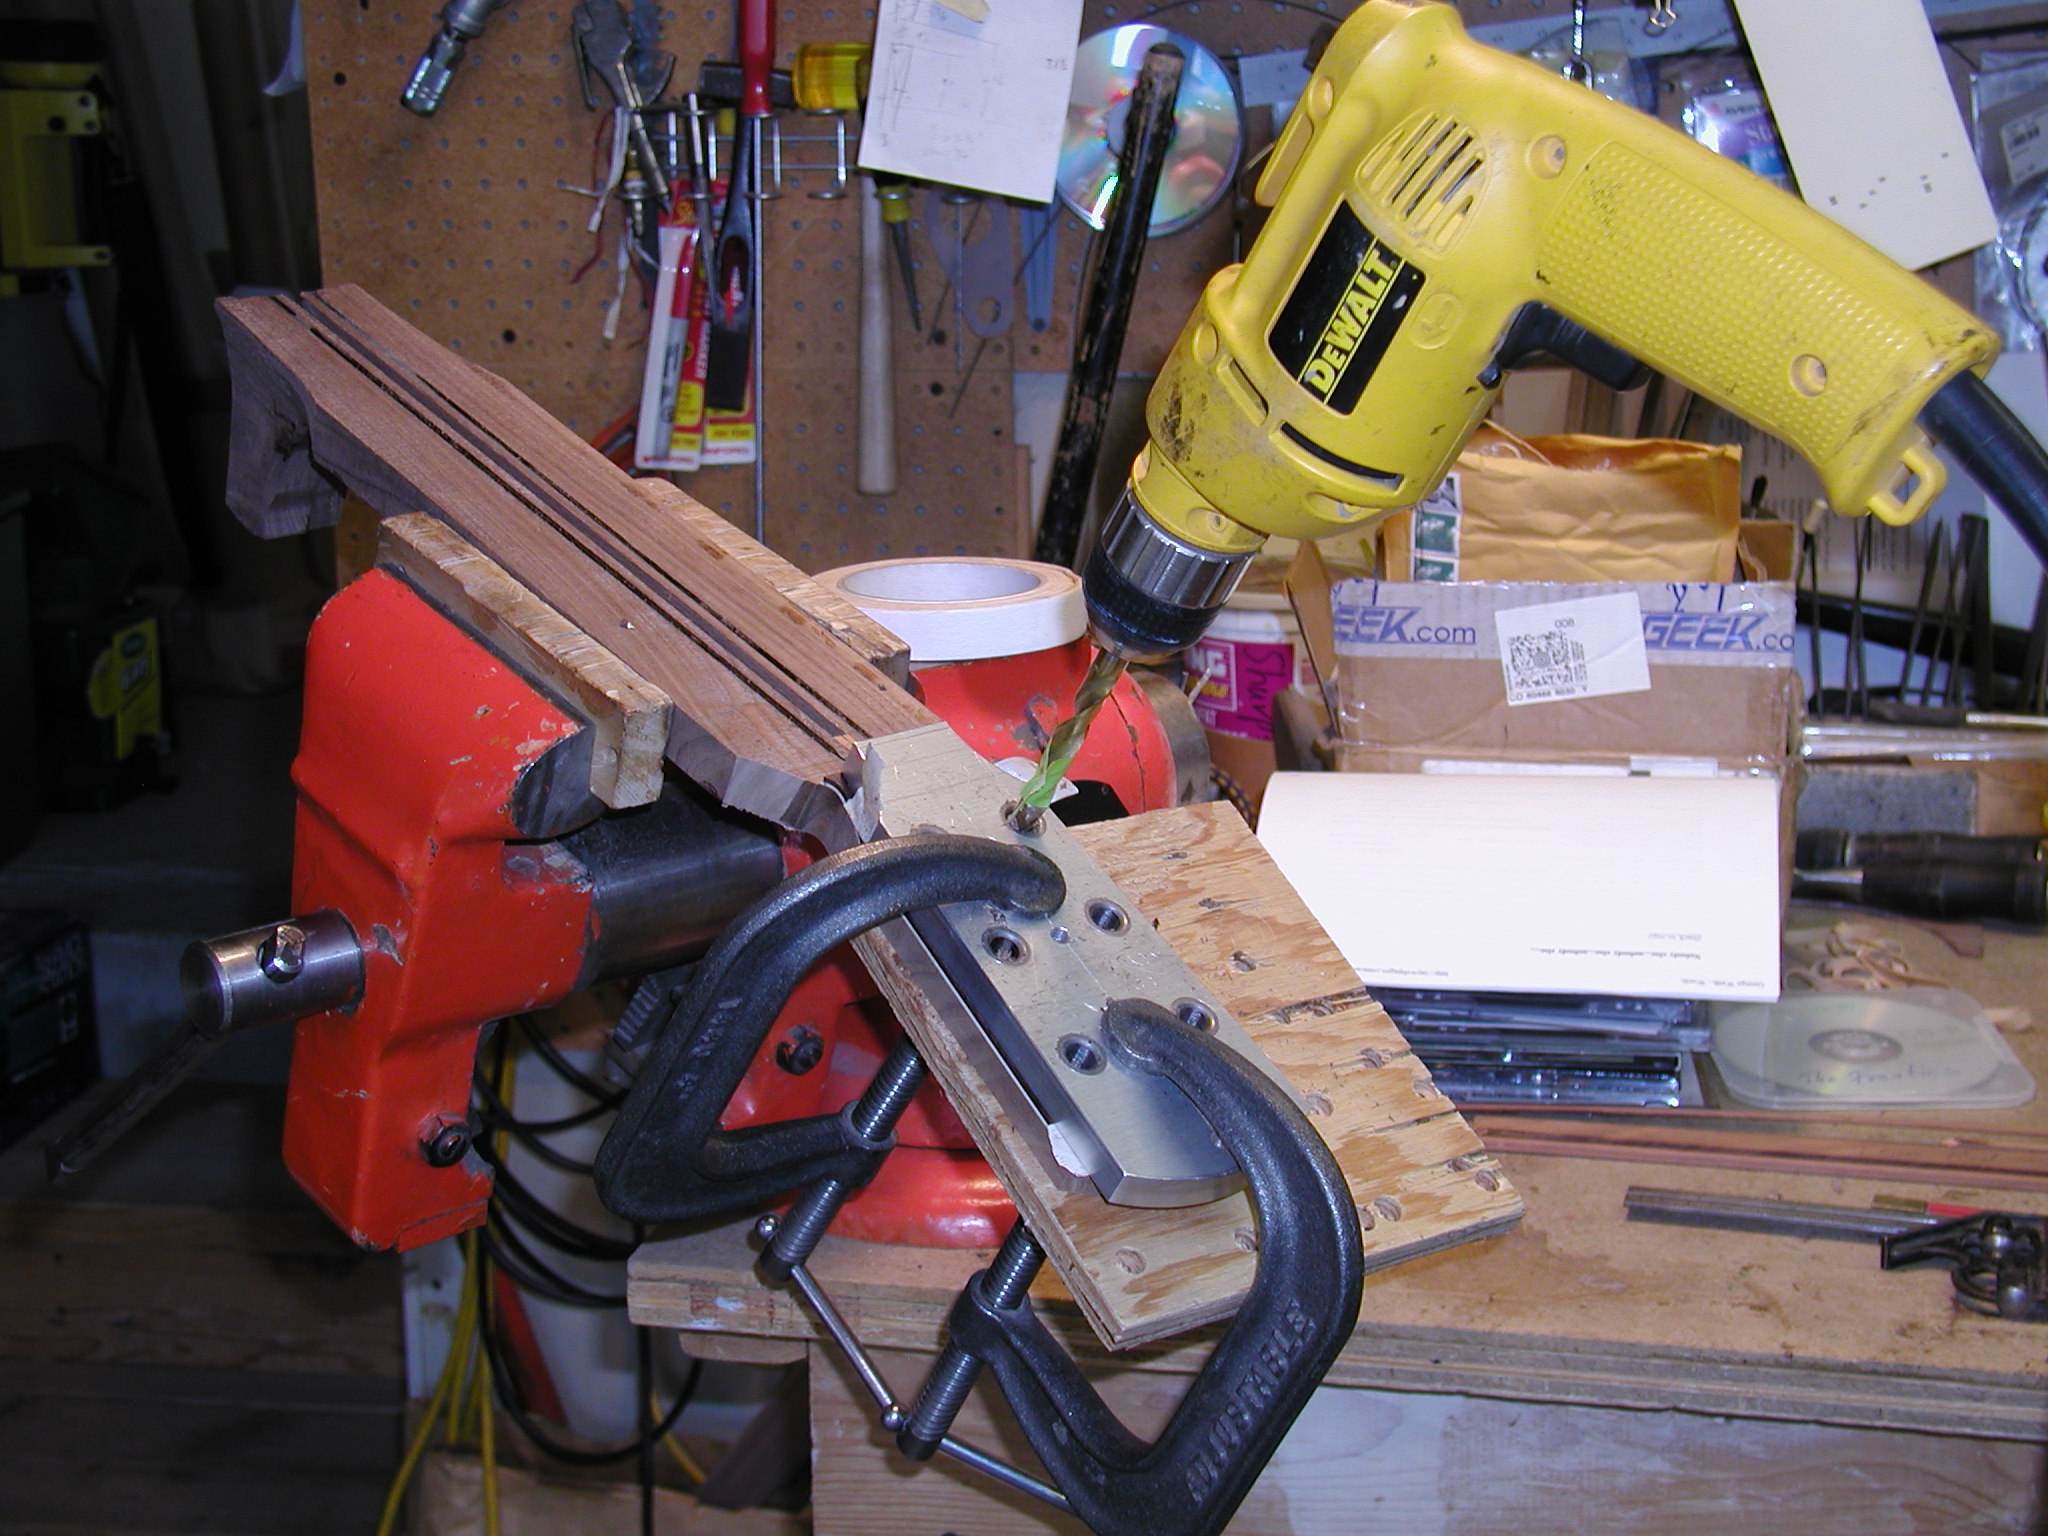

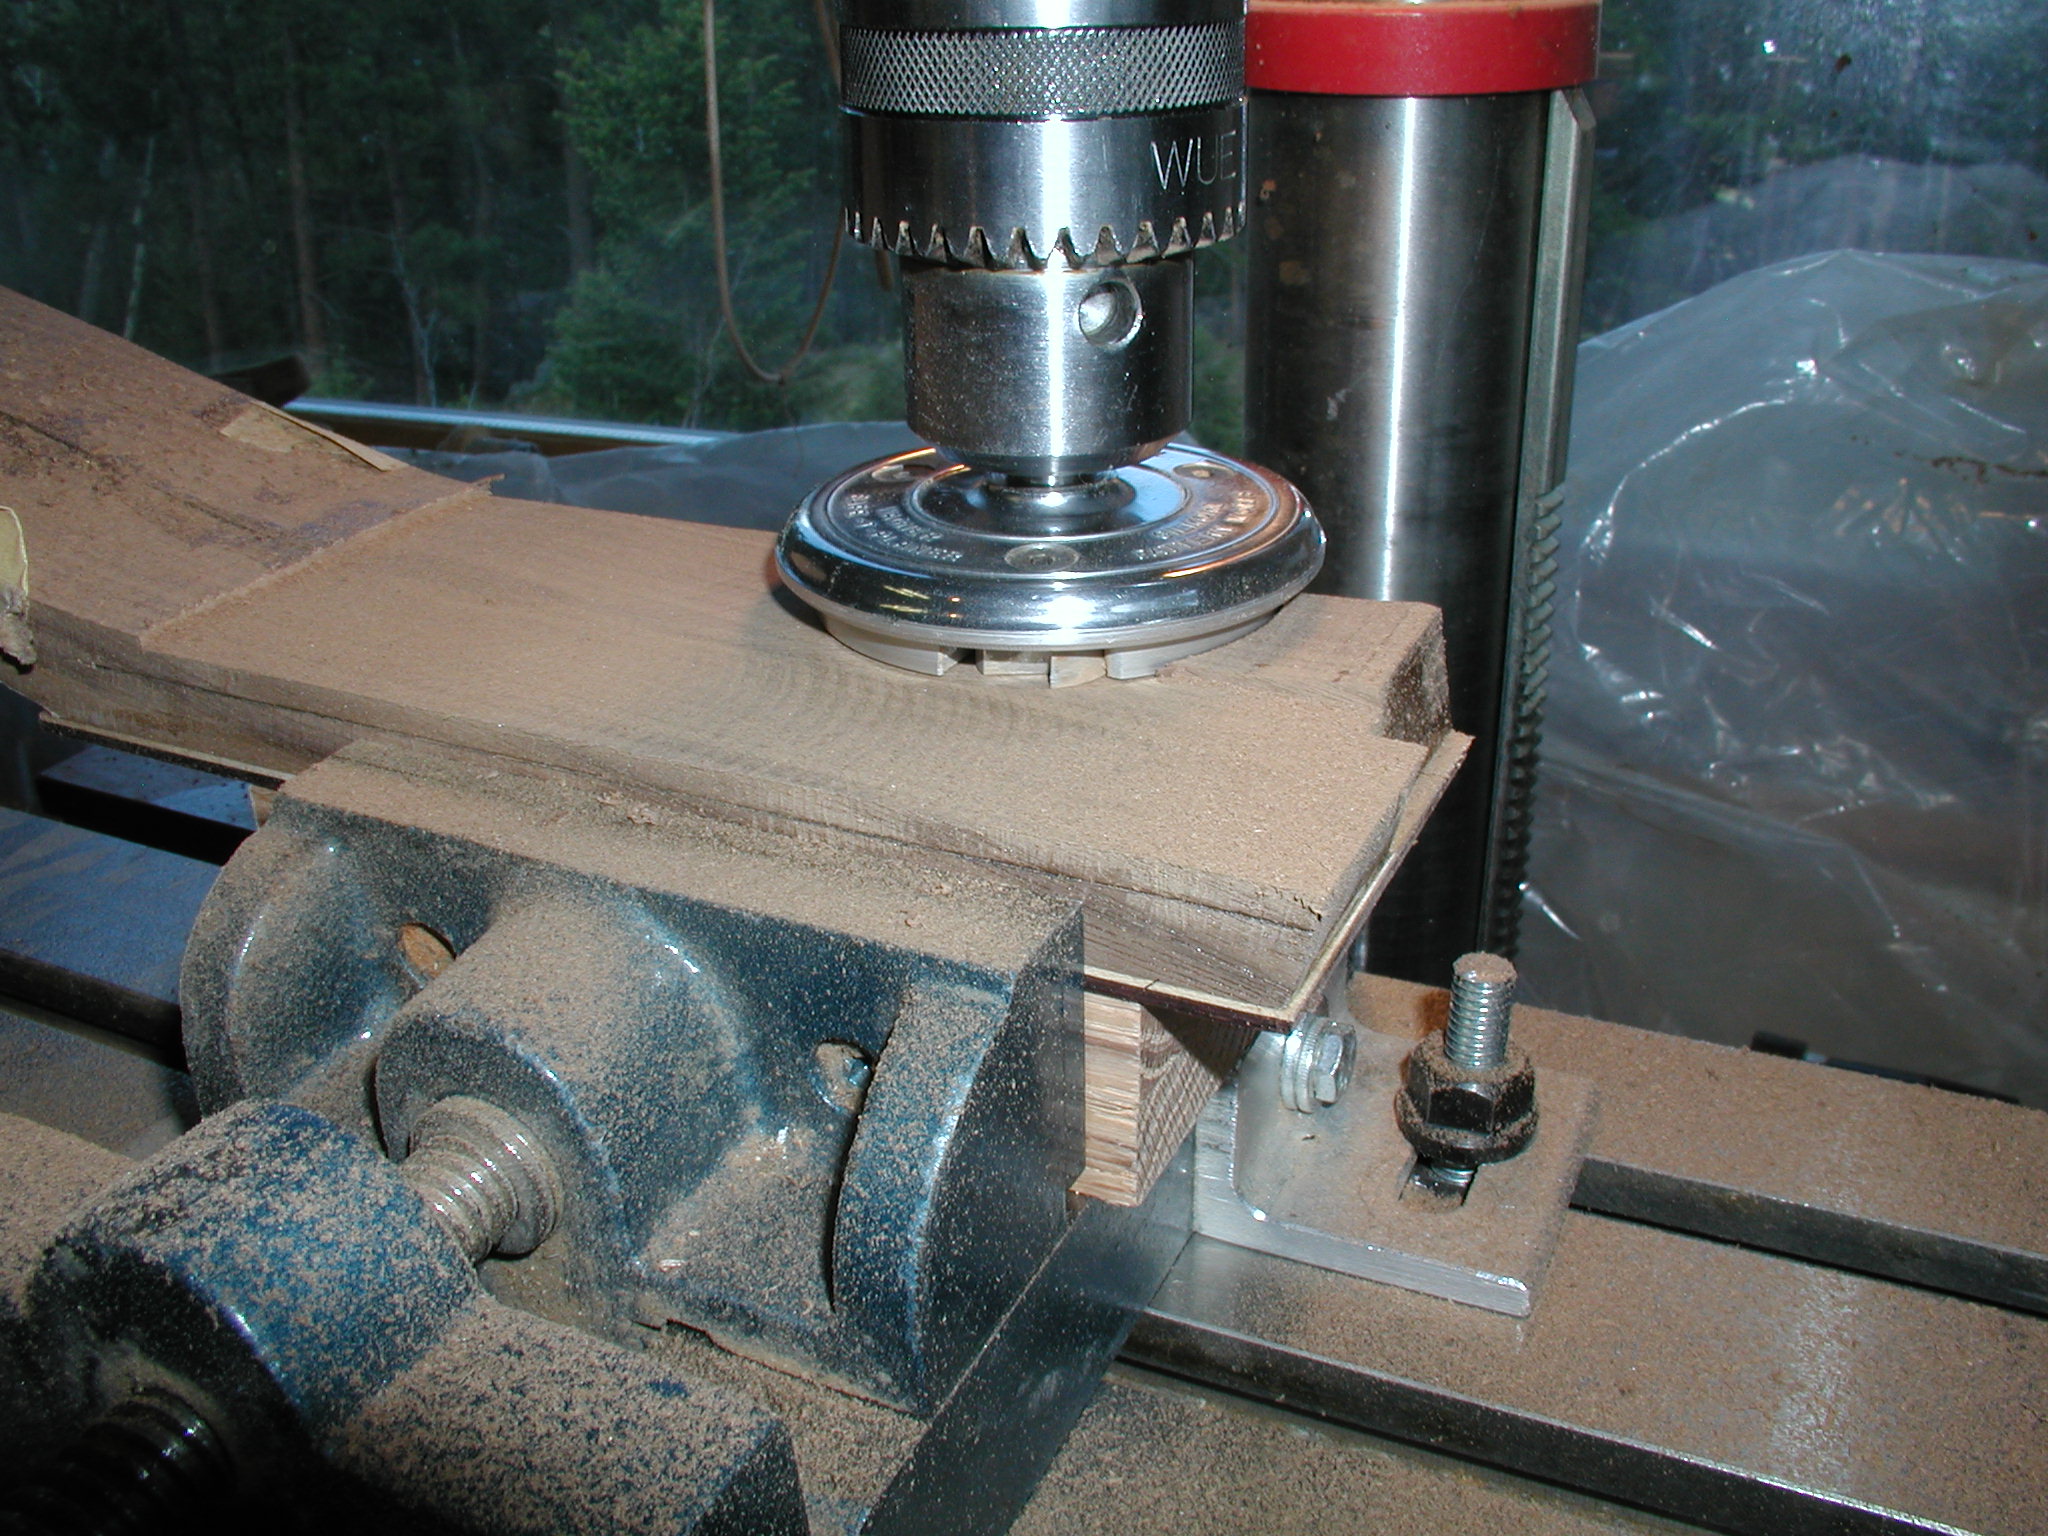
Using the same template I drill the tuner holes using a backer piece of plywood to avoid tearout on the back side. Note that although I have these fancy templates, I arrived at them over time by making simple fiber board and hard wood ones first. I strongly suggest that you also take that process till you arrive at a design you know you will keep for a while. Then make the jigs for those. I have three headstock designs and template for all three plus templates that are 0.090" smaller for routing headstock binding slots. Plan it out so each template does multiple tasks. A good hardwood template with drill bushings should last forever, you don't need to get fancy.
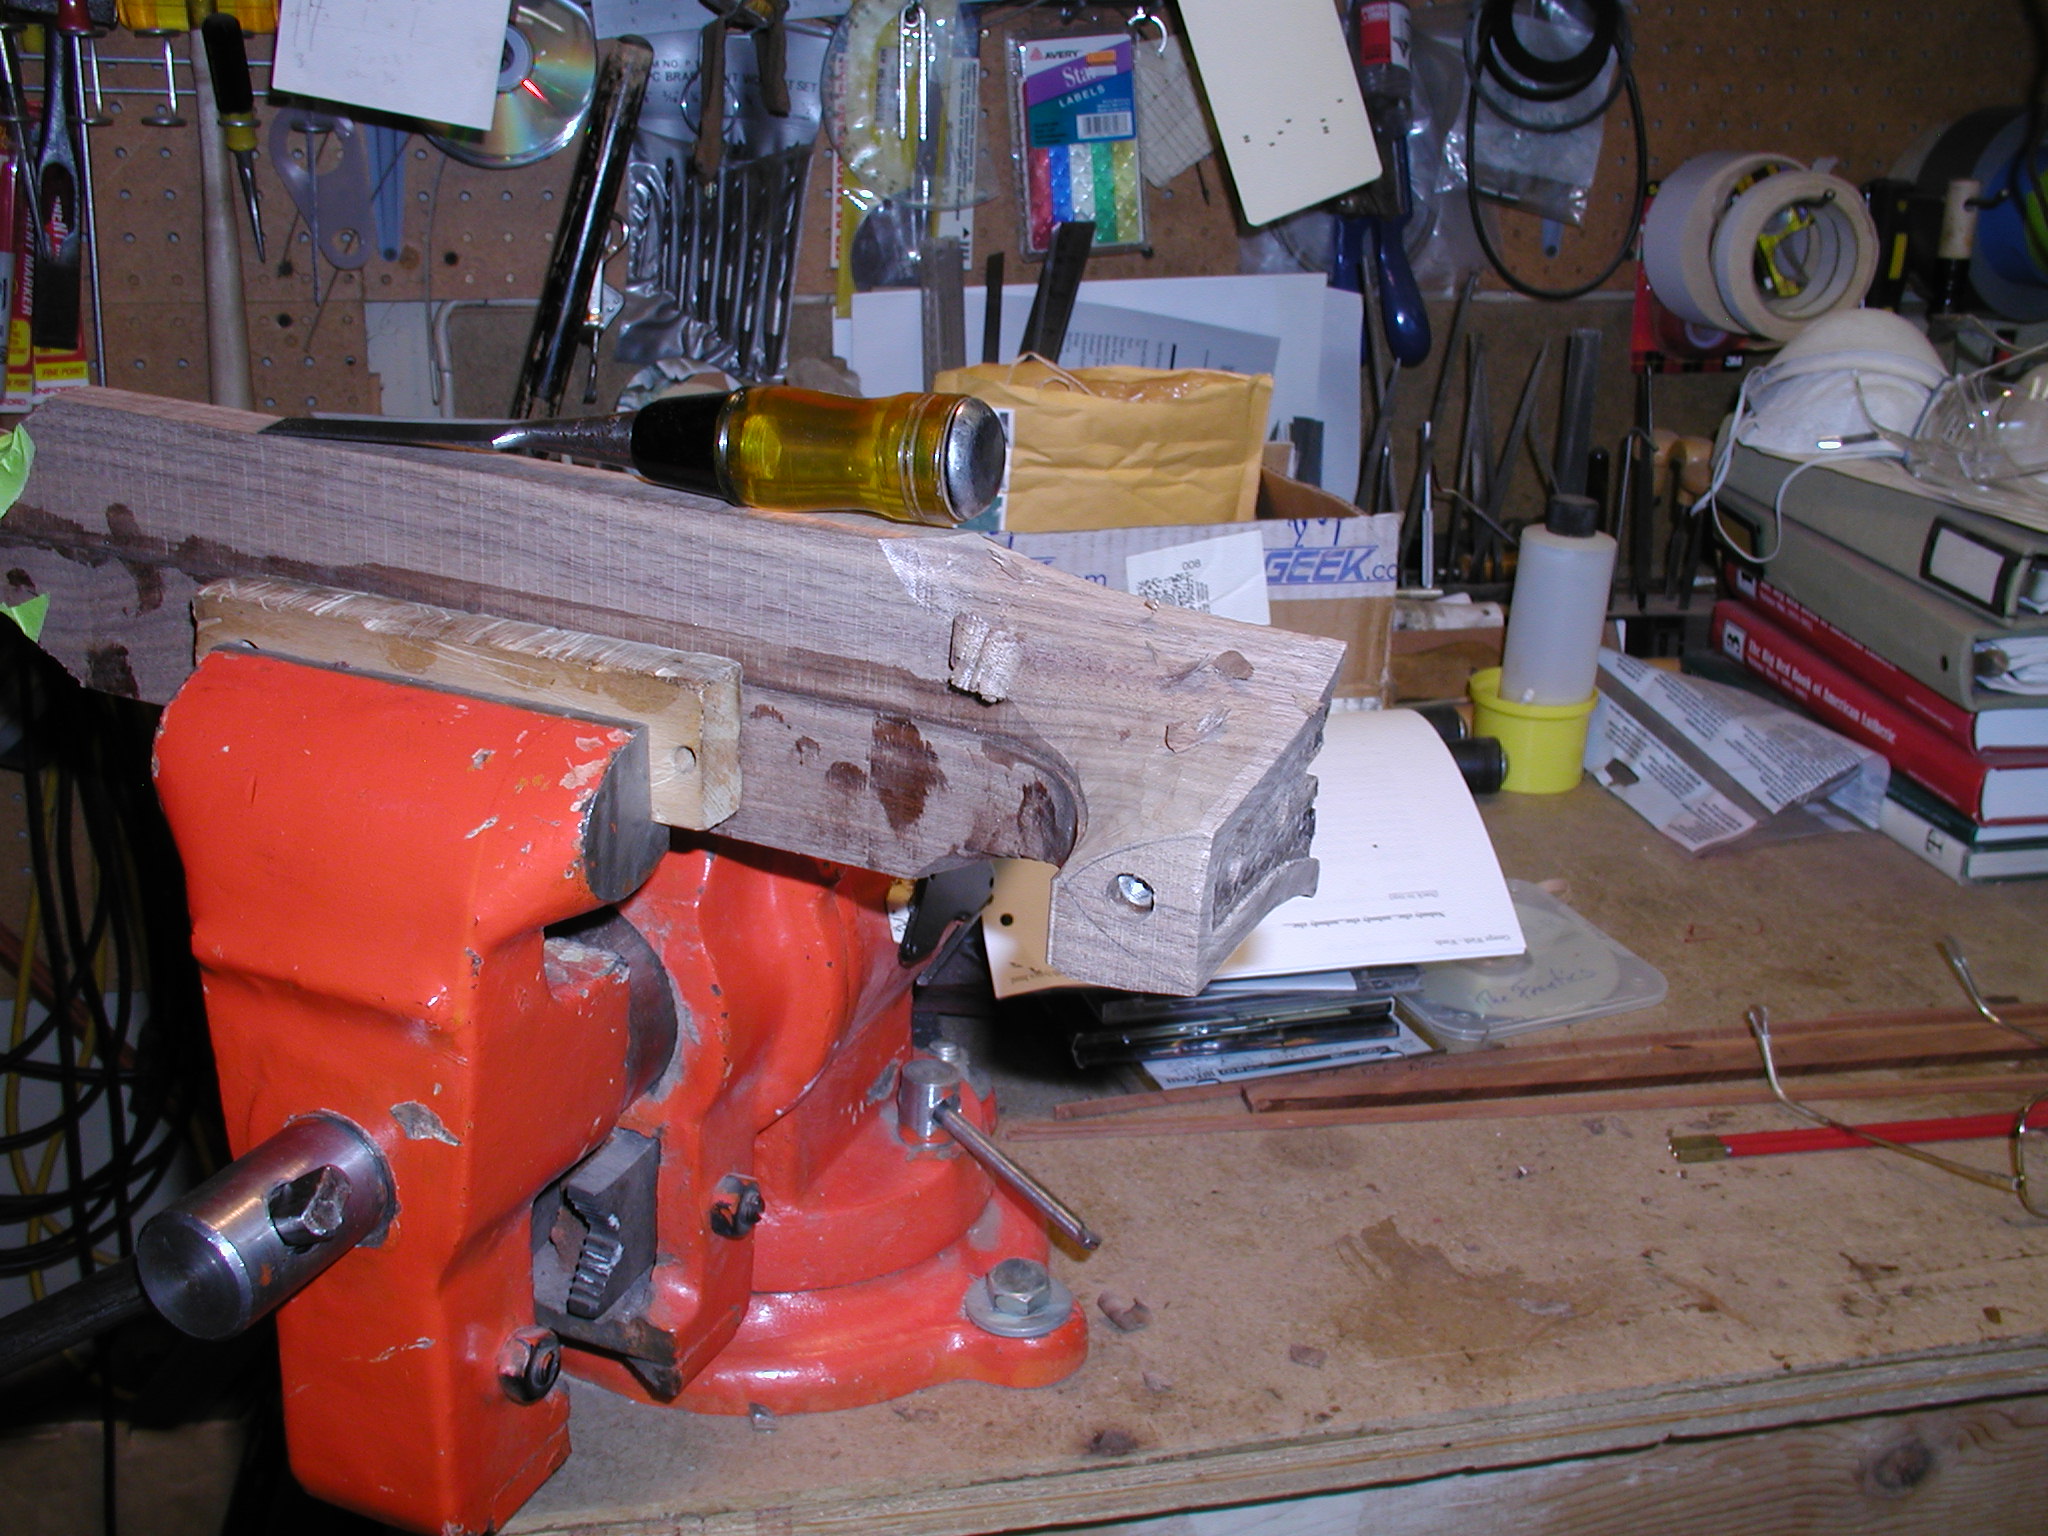
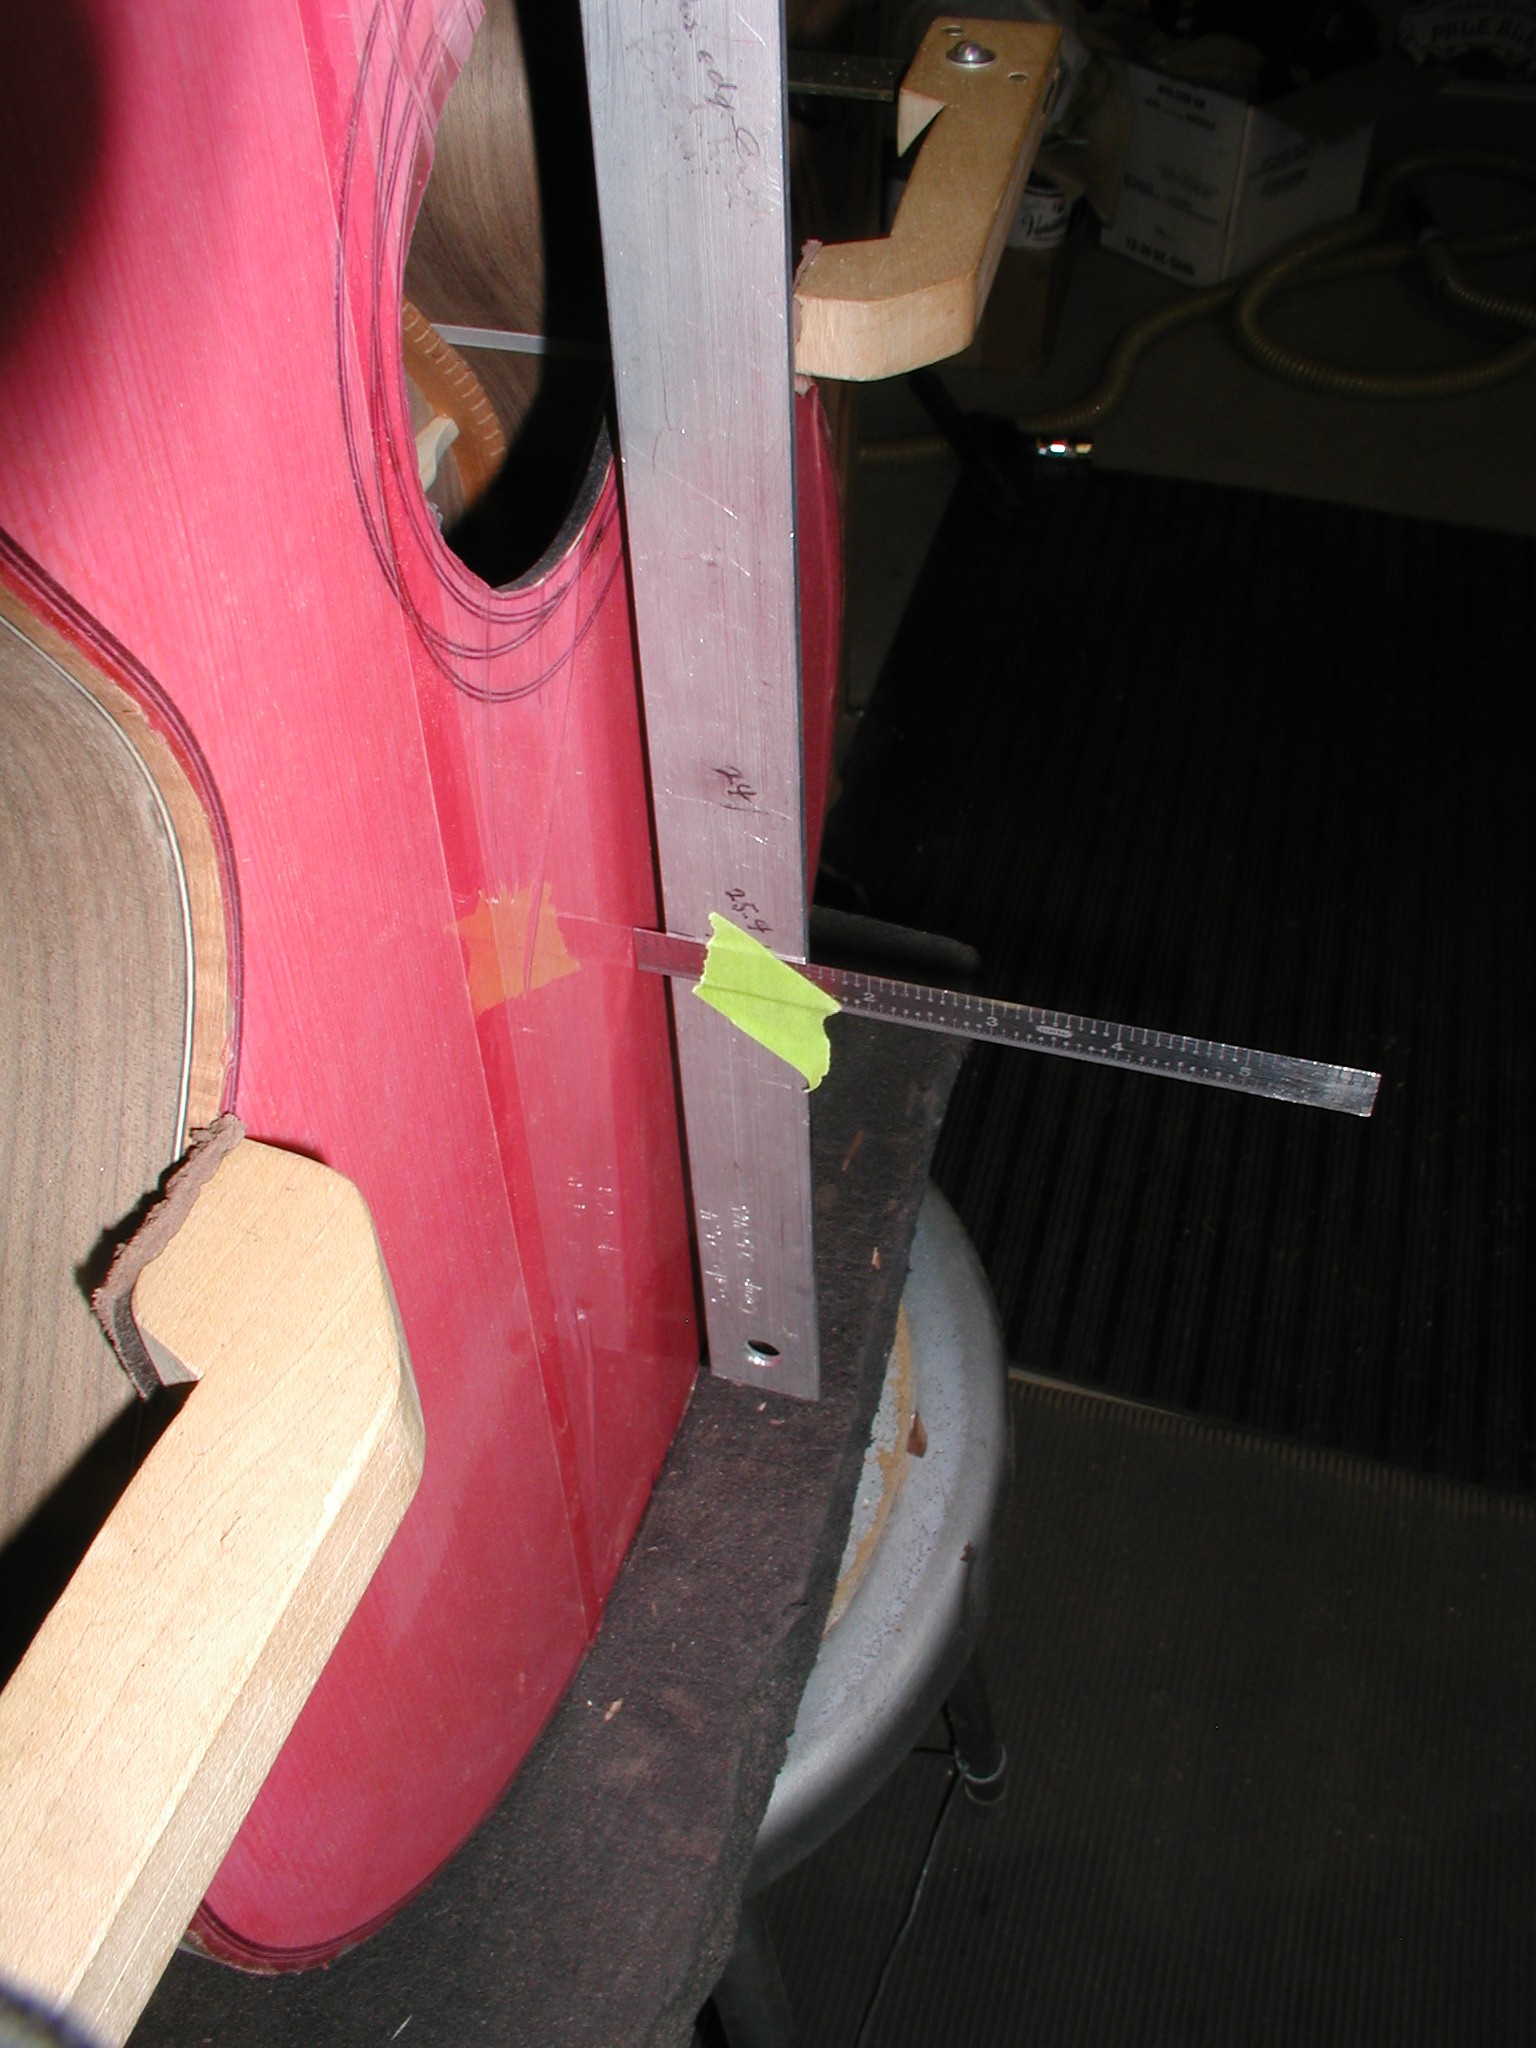
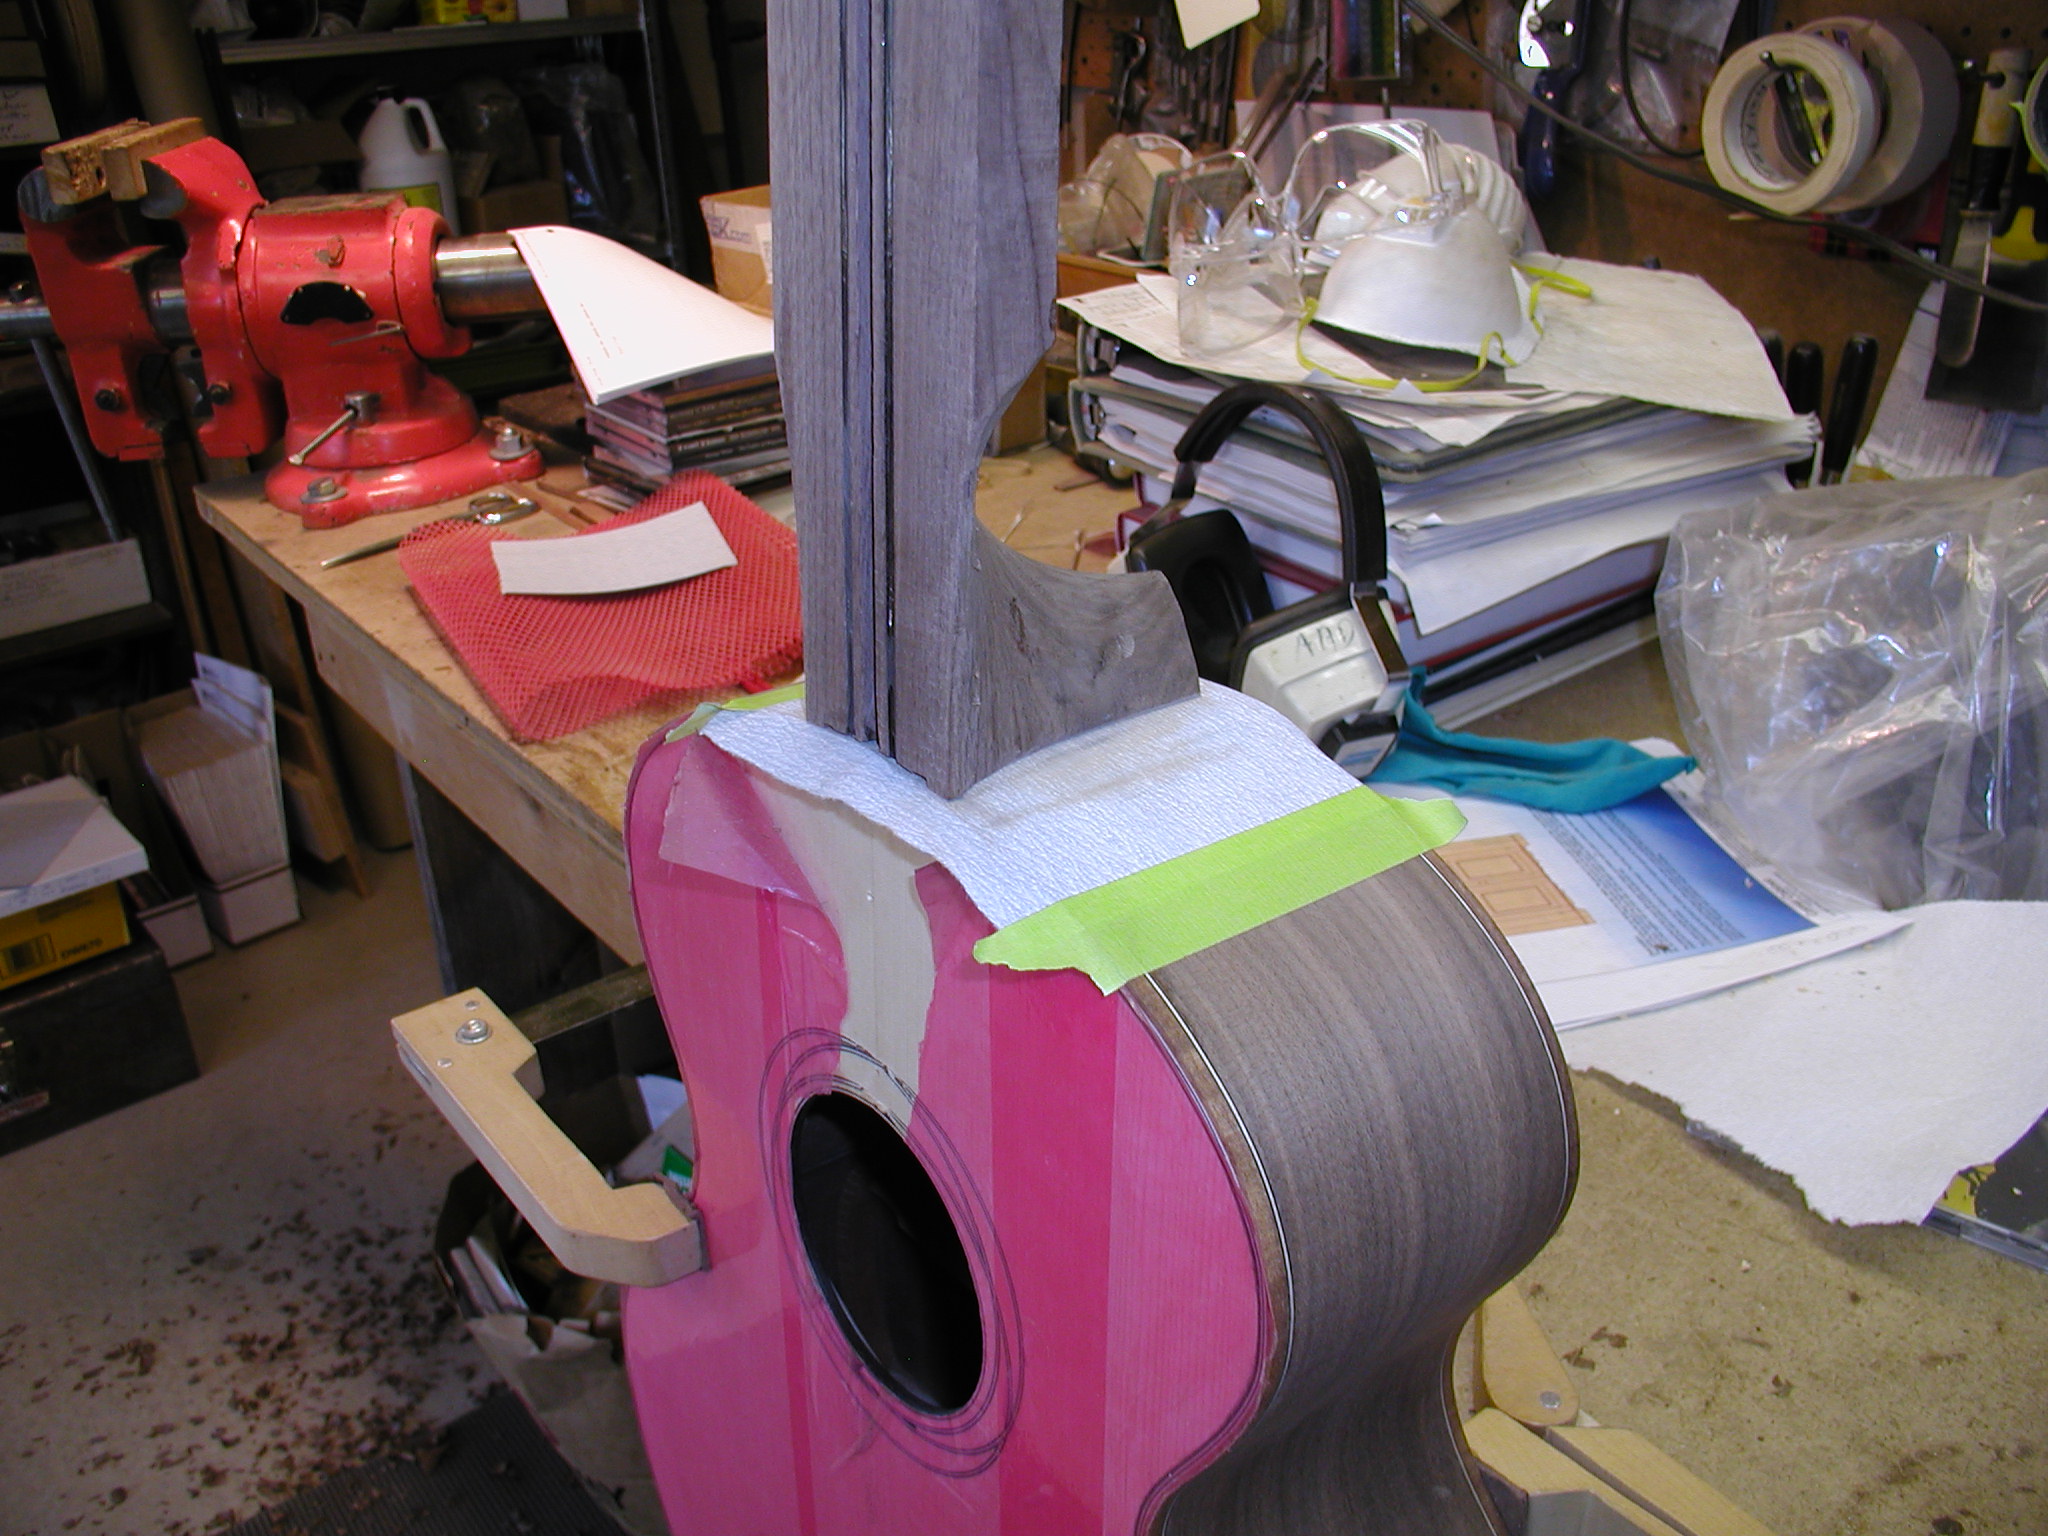
Back to the heel end again. I just happen to have jumped around like this with this particular instrument, in most cases I would have probably done these steps before doing the headstock. I carve the heel using a chisel and then refine it with sandpaper later. This is one of the true pleasures of building for me, the carving of the heel and neck. I take strokes from the heel cap end using the pencil lines drawn earlier and curve them around into the neck shaft. I do this totally by feel and not to any templates. I have three general designs for the heel but my whim and fancy at the time determine the final shape. Then I do an almost final fit of the butt joint. Do you get the feeling that this joint is never done? Here I am checking the back angle so that i will align to the bridge properly. At the same time I check the centerline to the center at the end-block of the top. It is a three dimensional puzzle that you have to sneak up on, but it must be exact! Here you can see my newer method with the sandpaper tape to the body. You can do this even with a M&T or dovetail joint, it works quite well.
Next up is the fretboard work.