Let's Build A Guitar (Page 10)
Last Modified - November 6, 2012
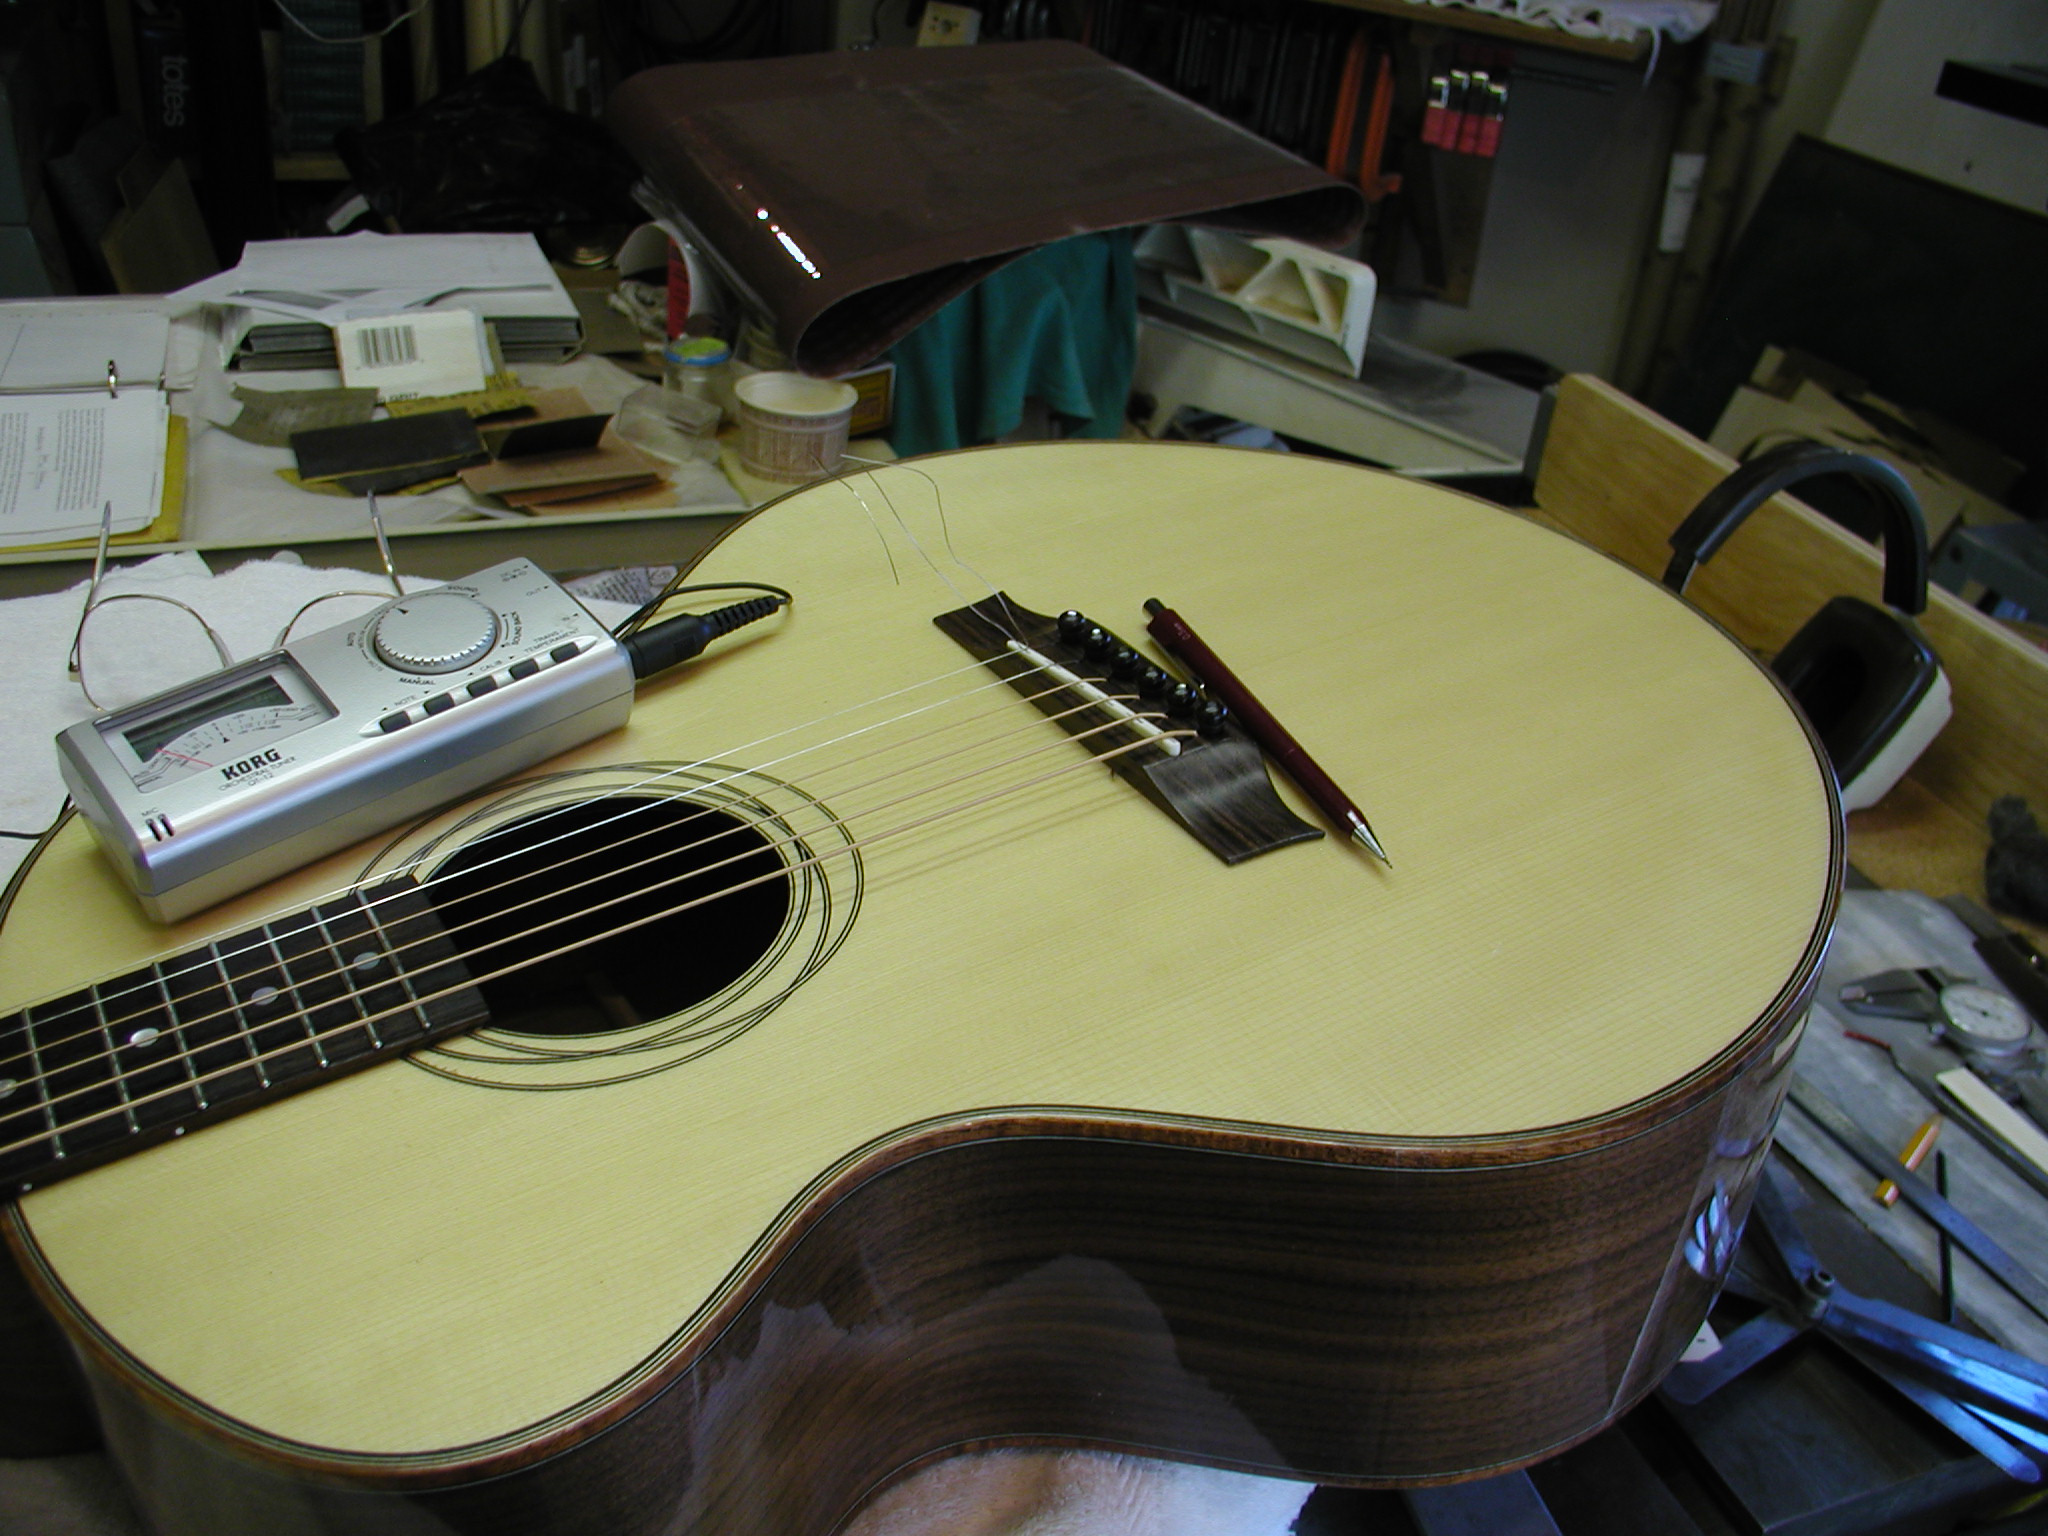
In Page 9 we had just finished gluing on the bridge. Now it is time to do all the final diddly stuff and the setup and make all the parts believe that they are a guitar.
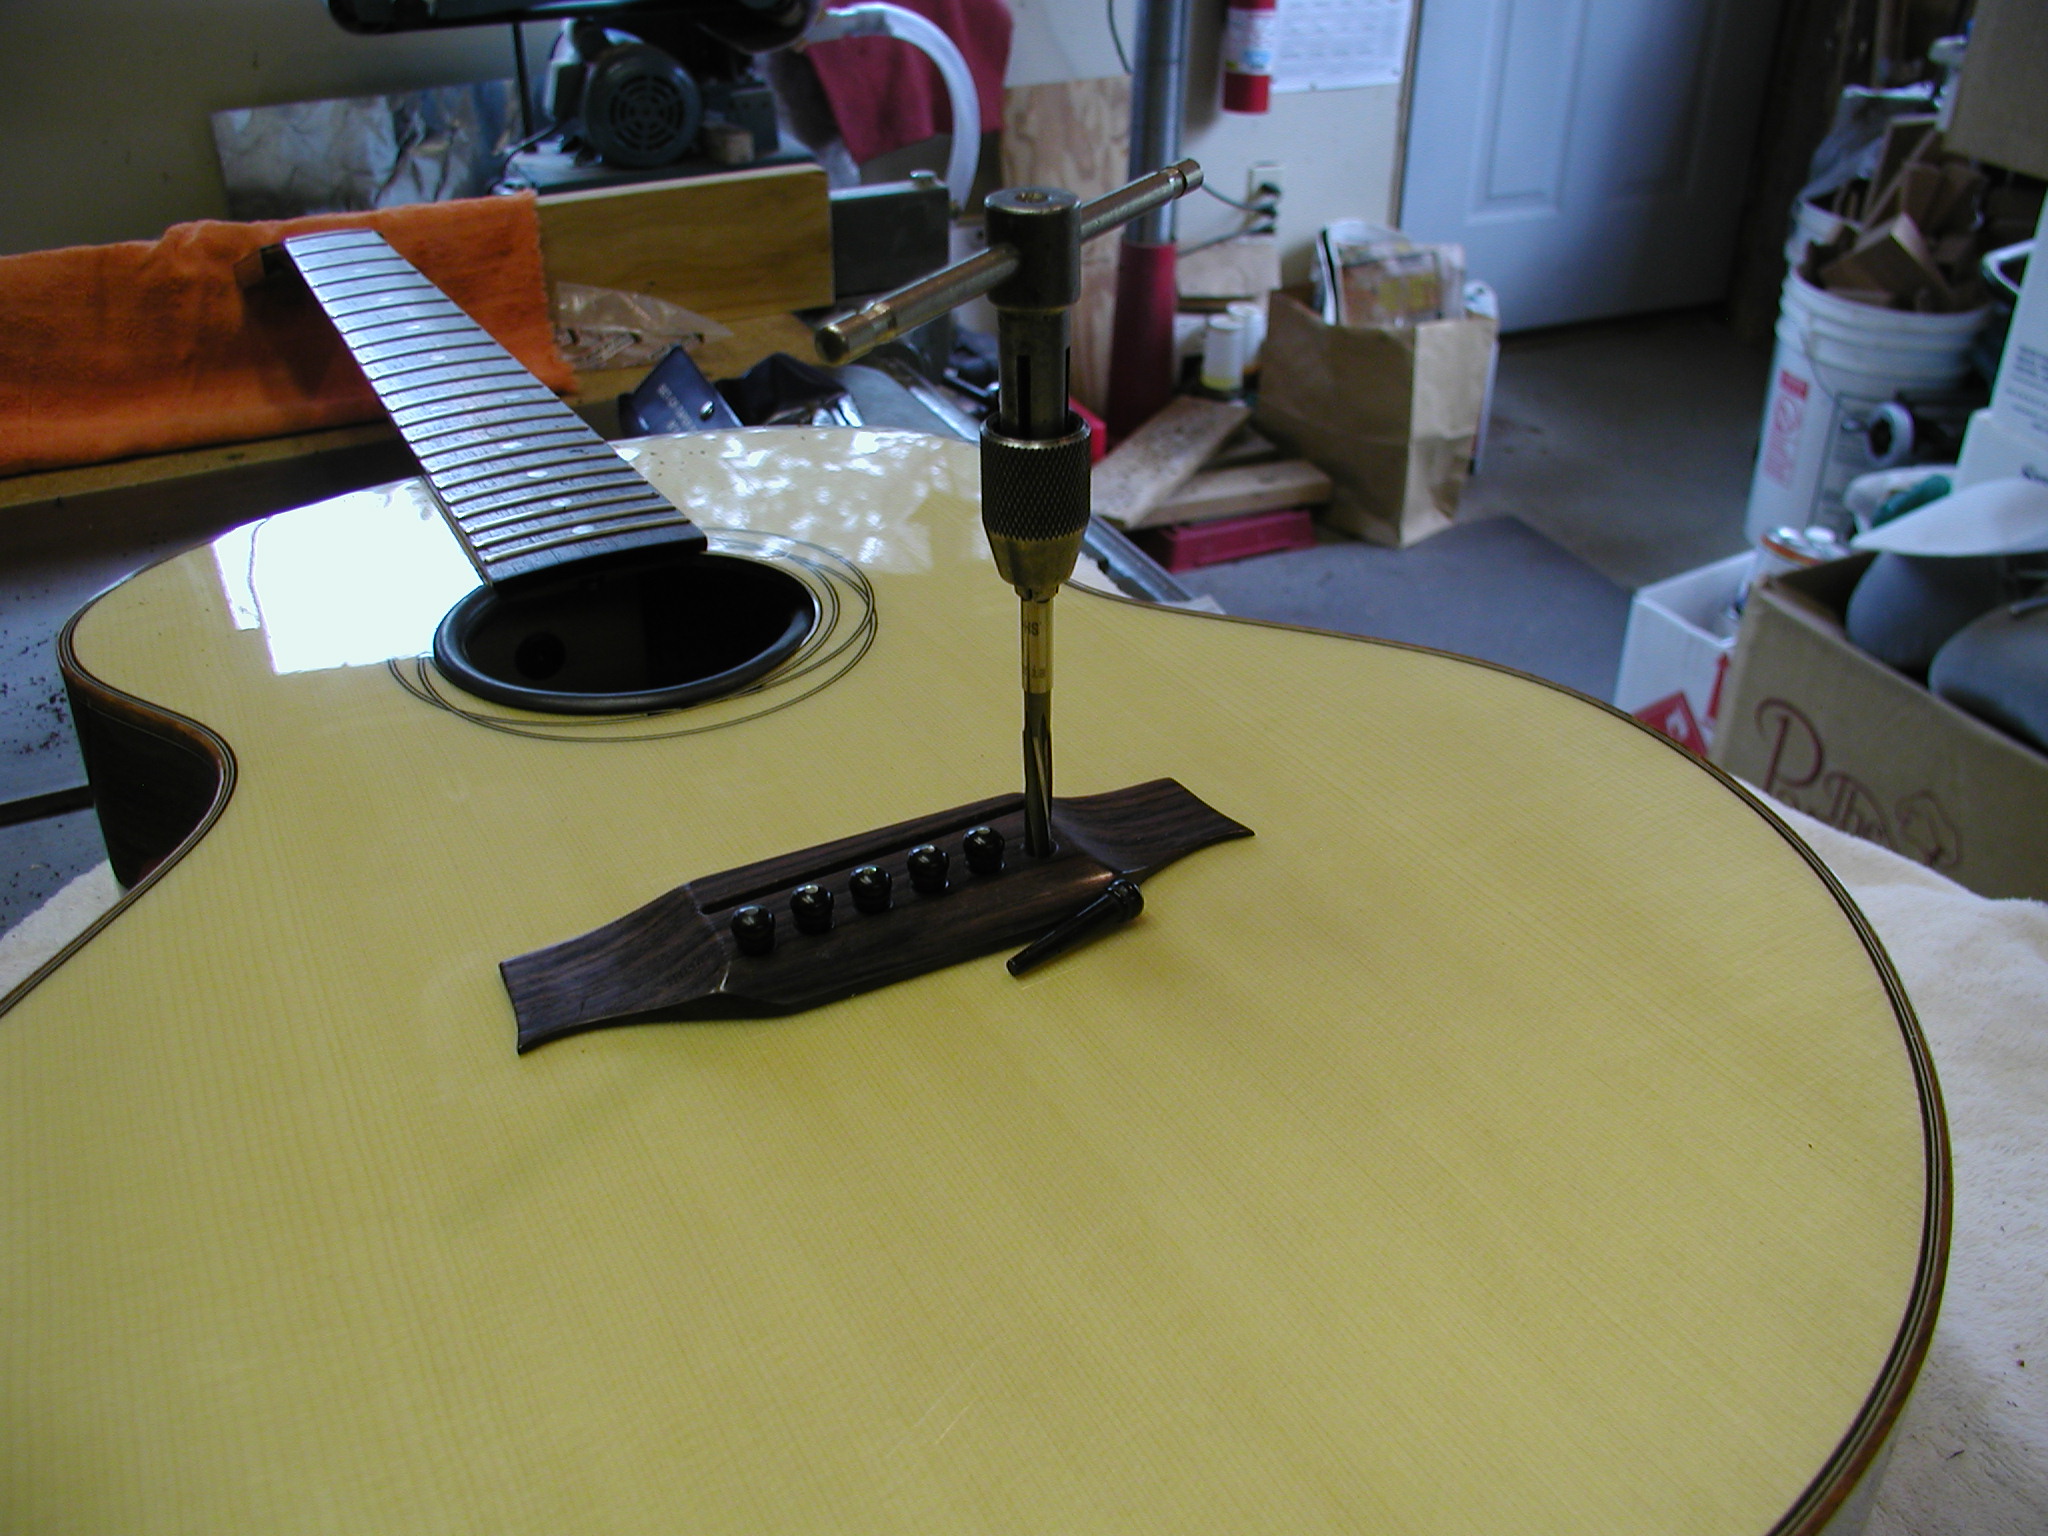
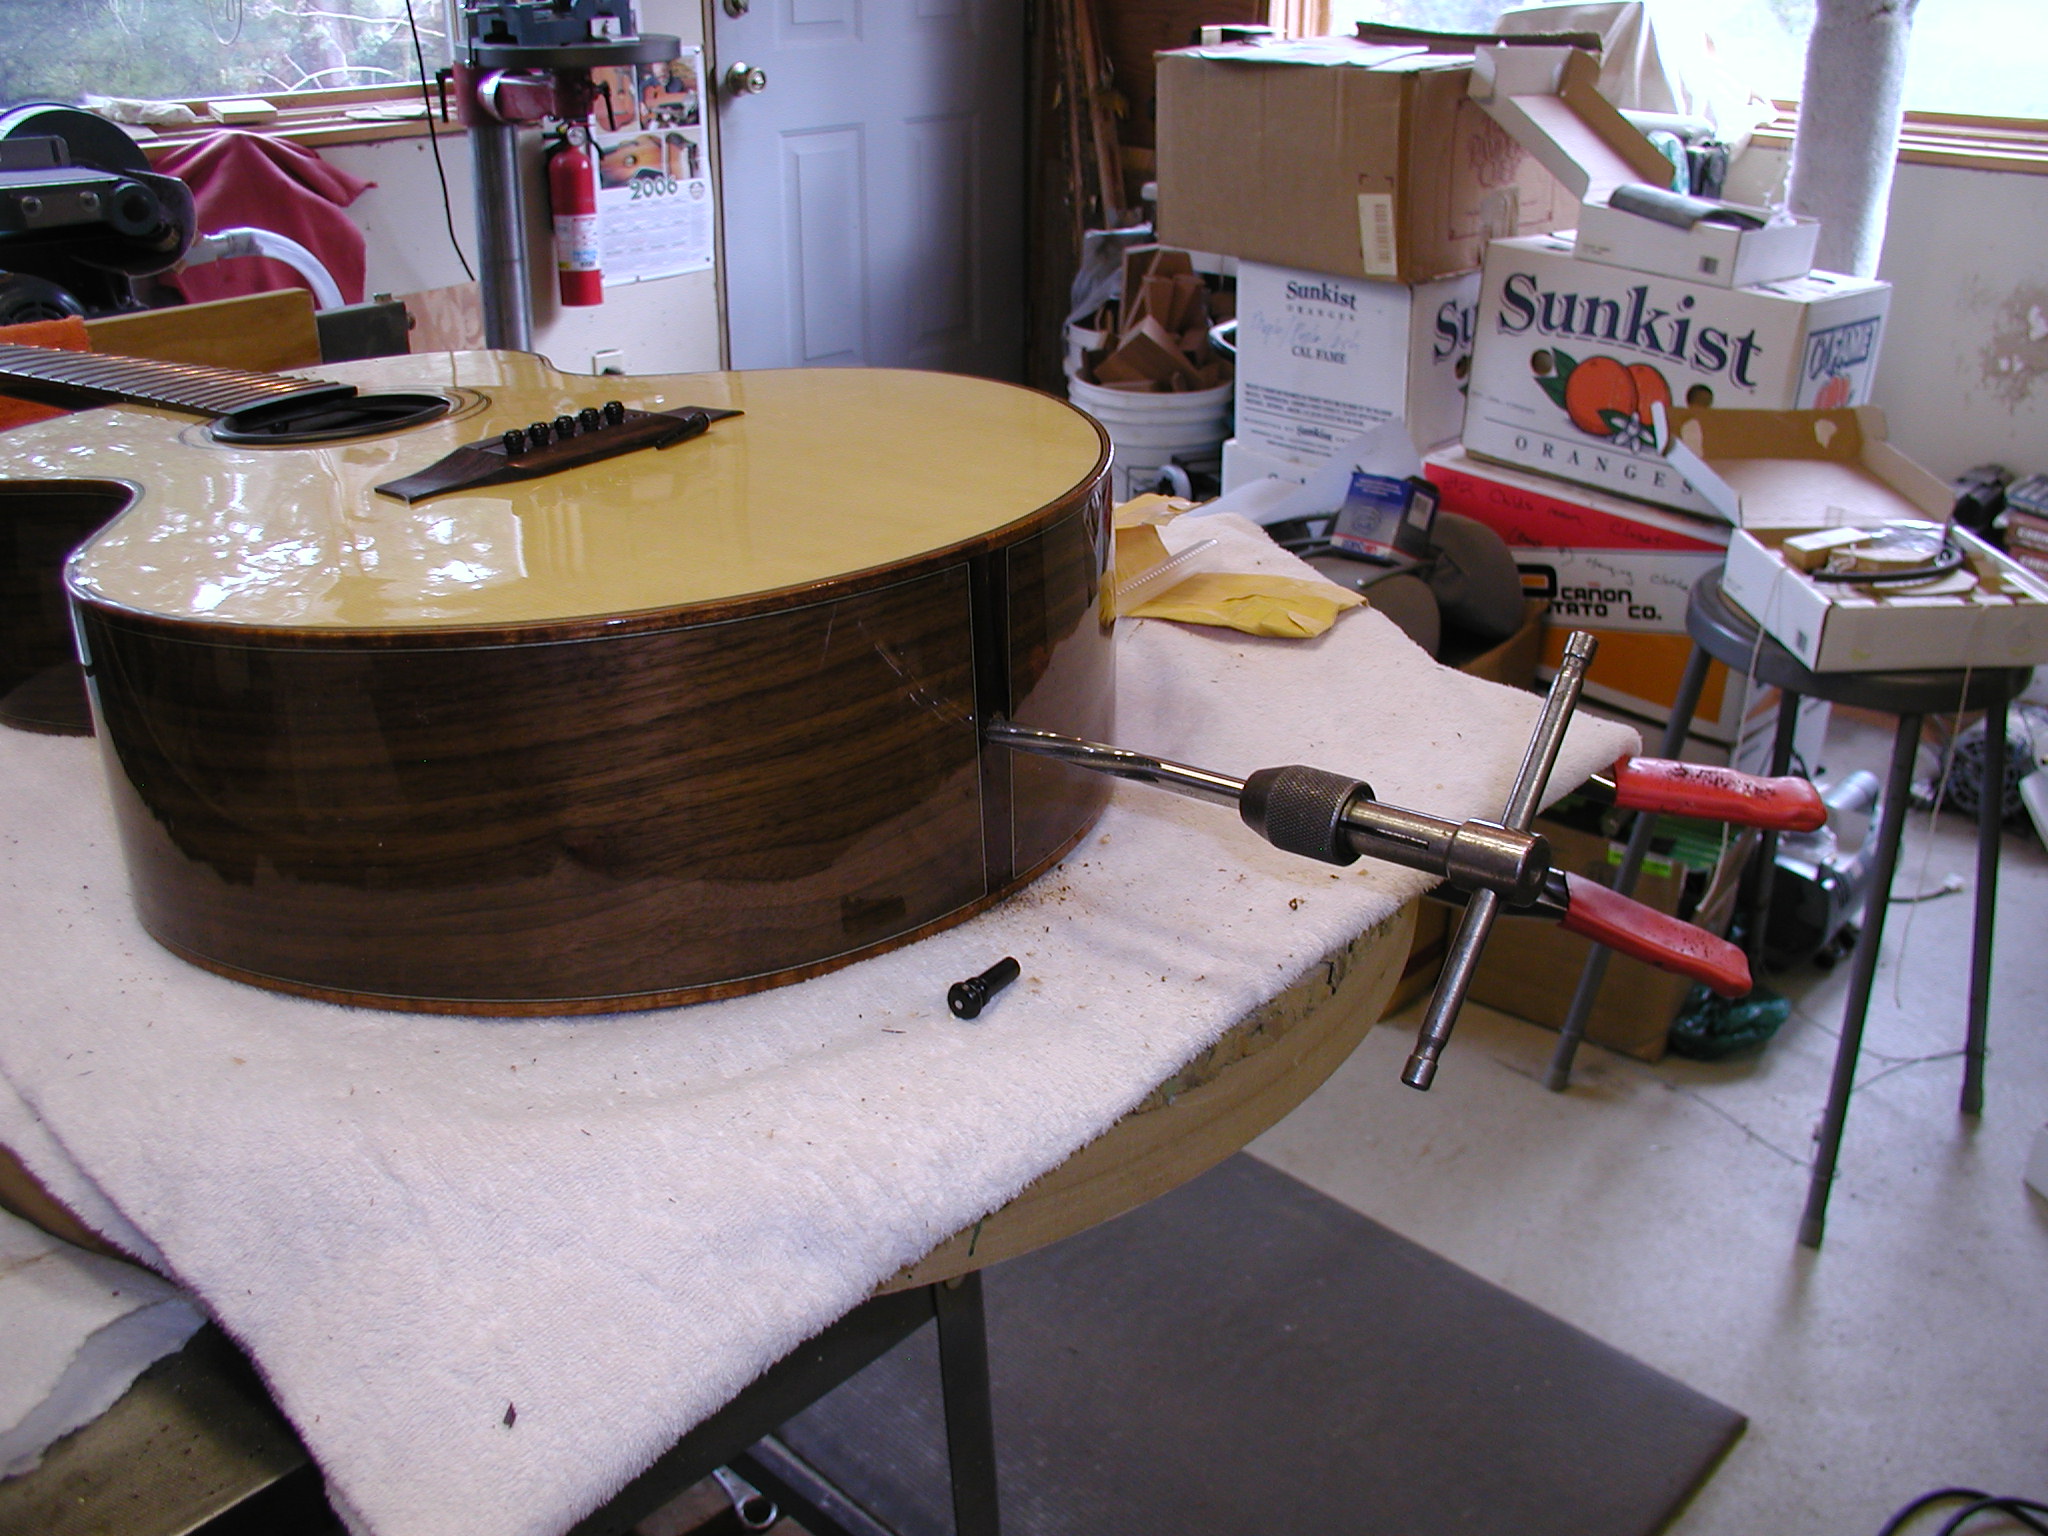
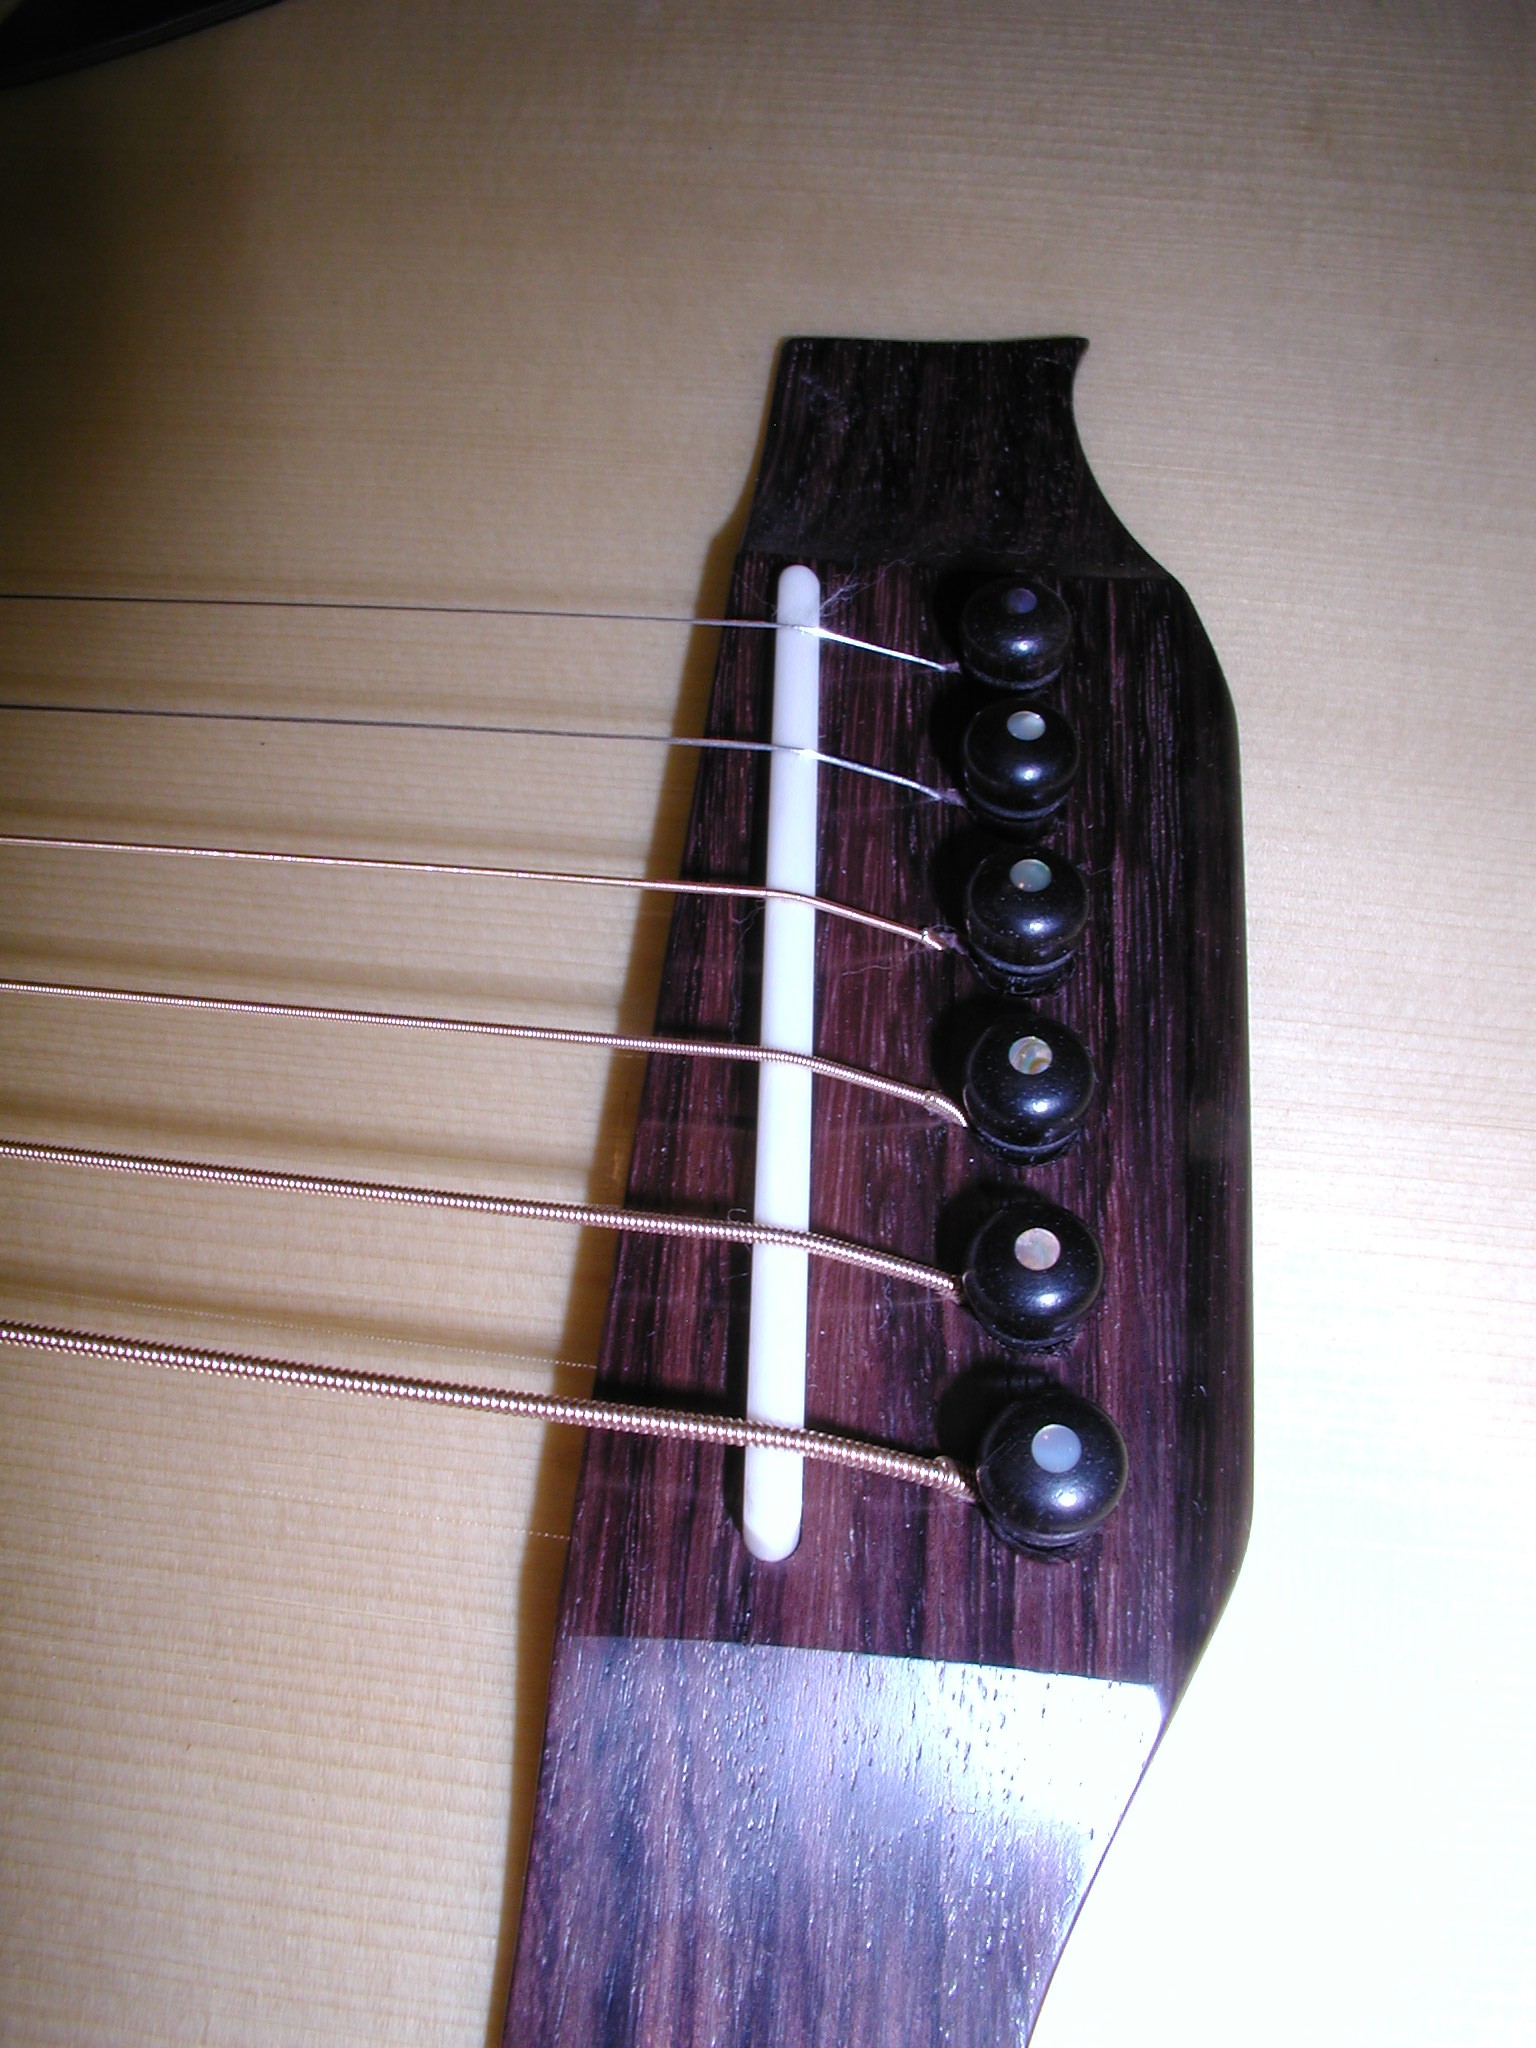
With the bridge in place now we can re-drill the bridge pin holes all the way through the top and bridge plate using a backing caul to prevent tear-out. Then the holes get reamed slowly with a #3 taper pin ream till each pin fits snug and the tops are all even across. I tend to leave them just a bit high since over the first year or so they will sink in a bit with use. I also slot and ramp the holes as needed. I also mark each pin for position with file nicks so that each pin is kept with the proper hole. The same procedure for the end pin only using a larger ream.
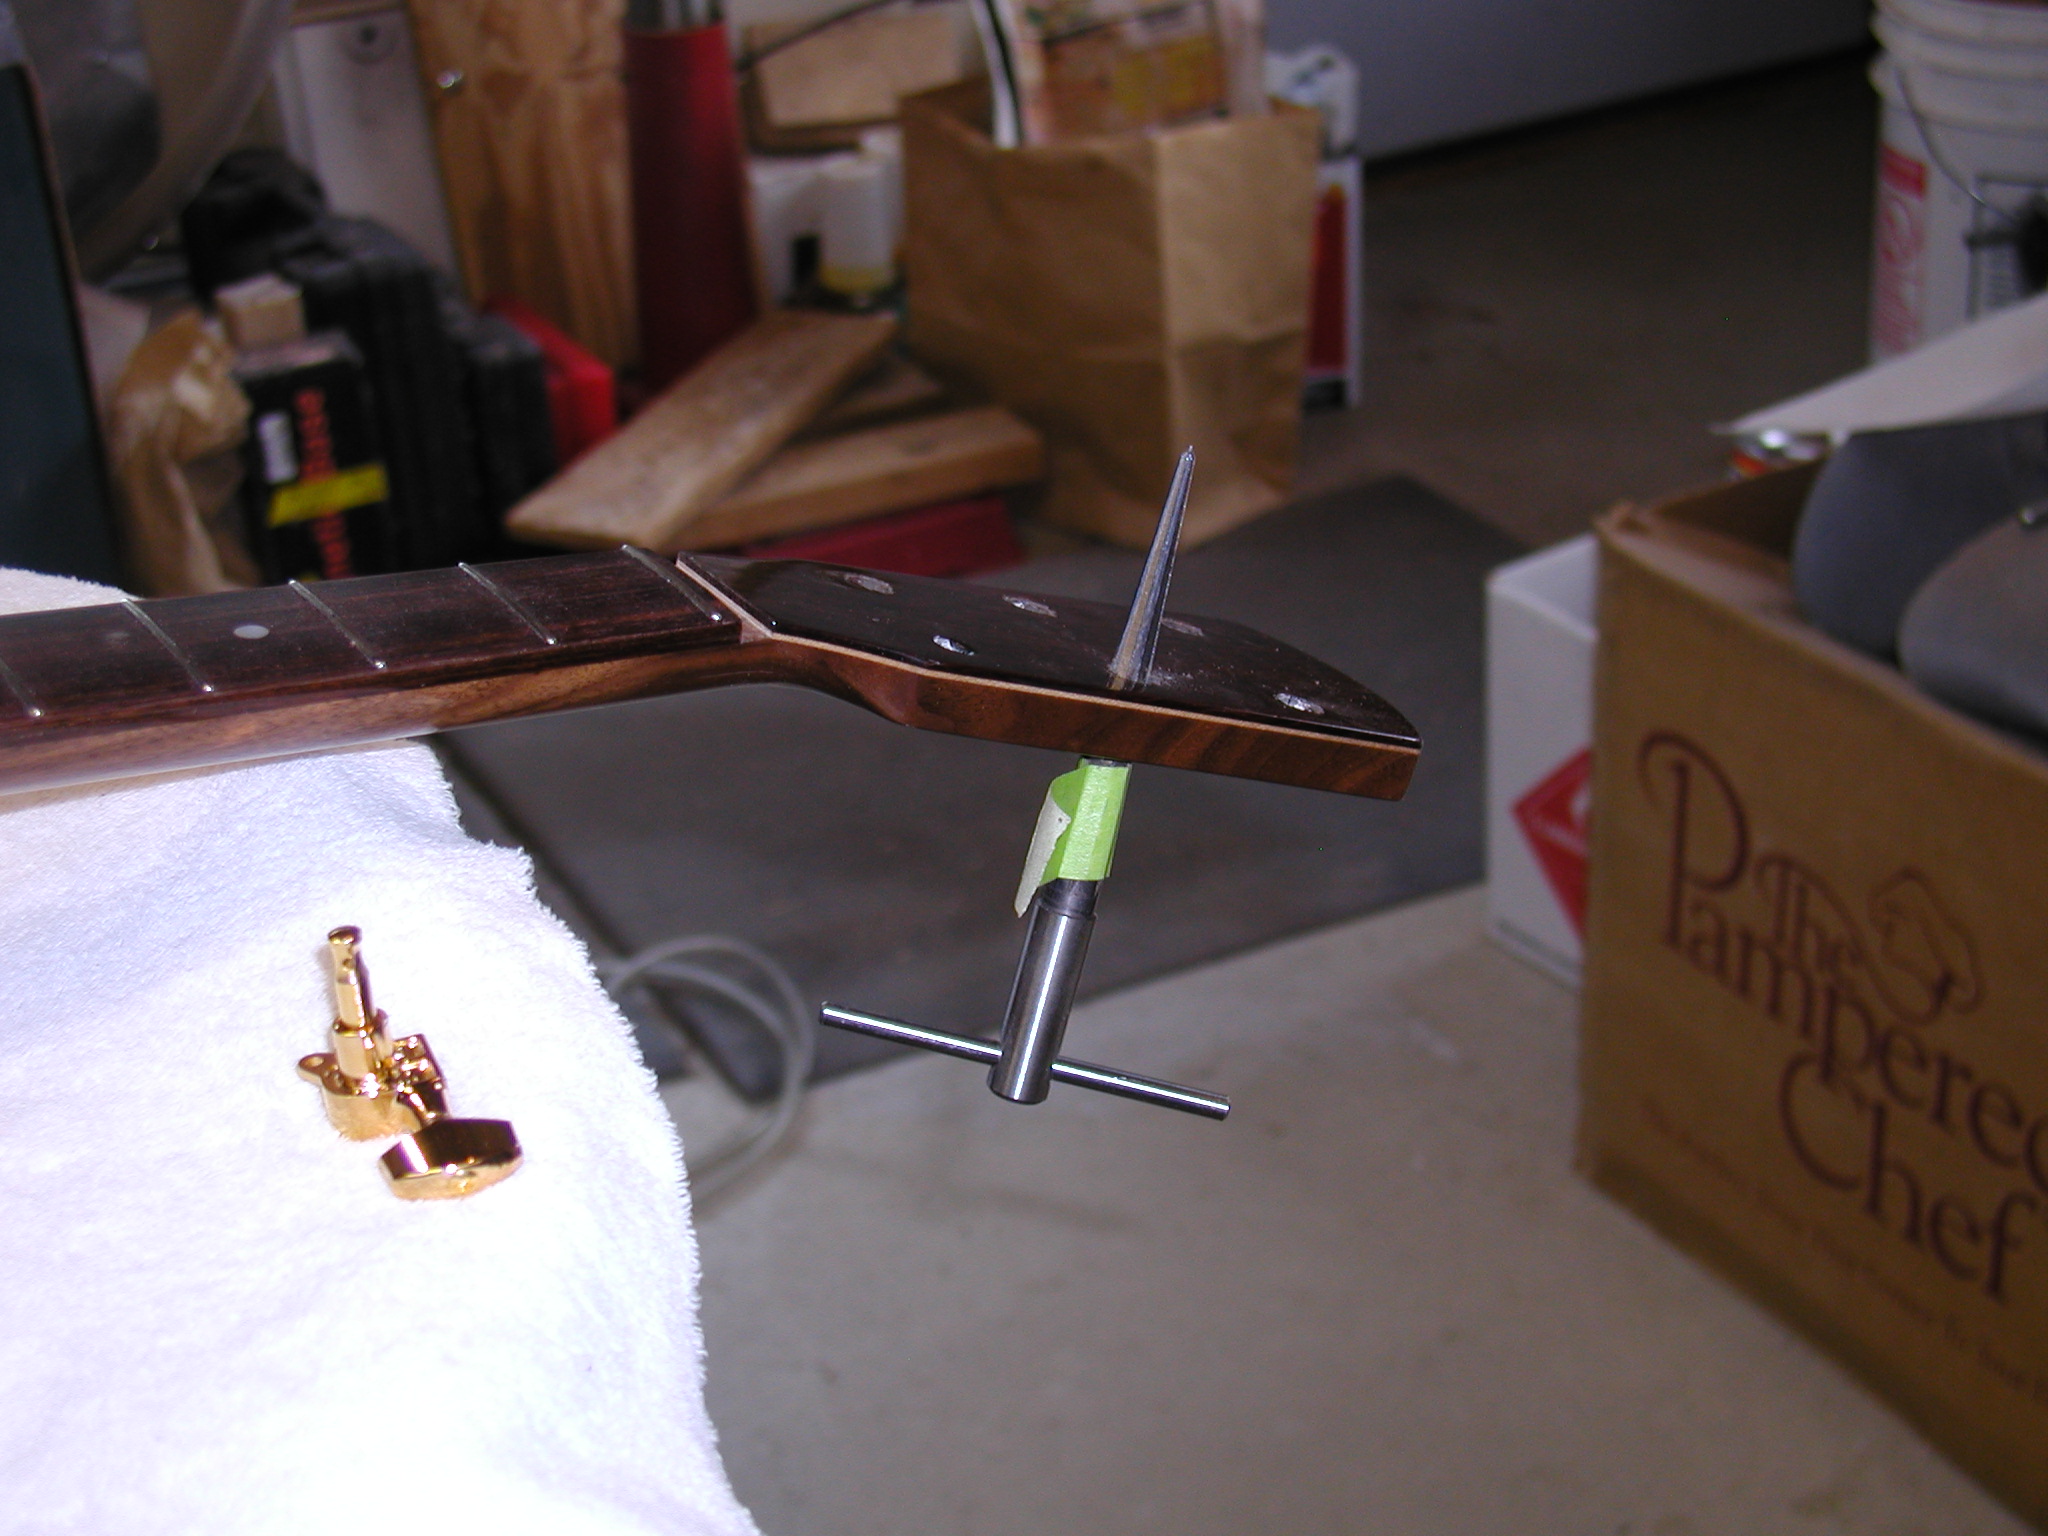
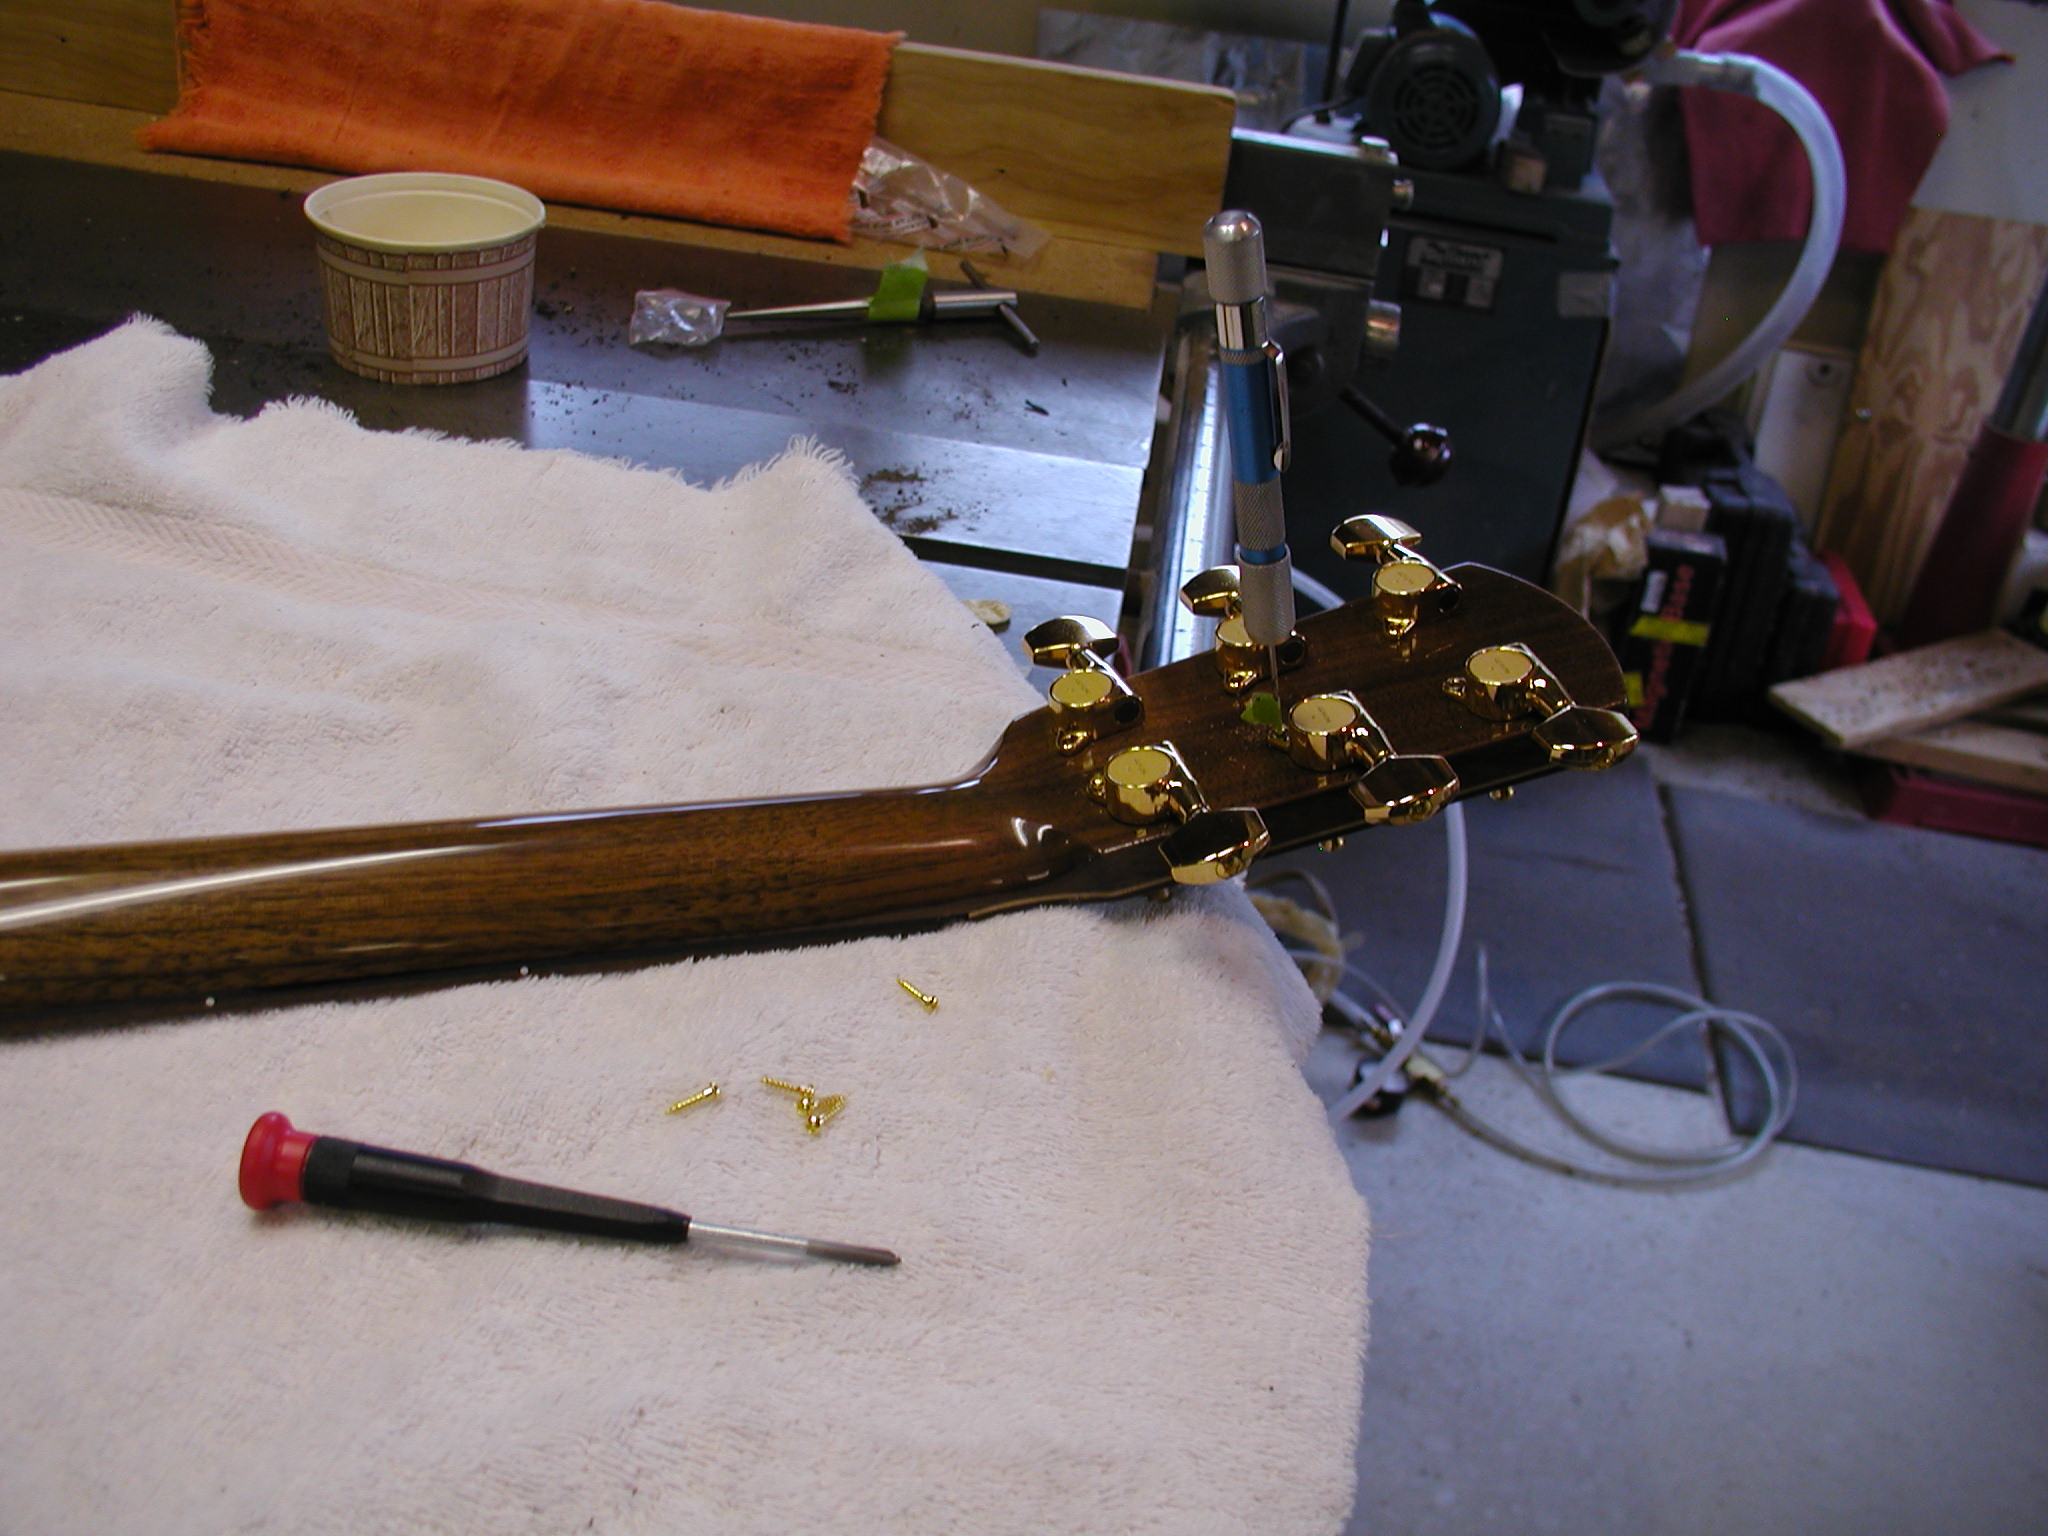
The tuner holes get reamed from the back side with a standard old plumbers ream. The tape flag goes on as a guide after reaming the first tuner to a nice snug press fit. Then the tuners go in, get aligned with a steel rule, and get screws to hold the alignment. Then they are snugged down from the front with the ferrule nuts. It is a nice touch to make sure that all the ferrule nuts and the screw slots line up with each other.
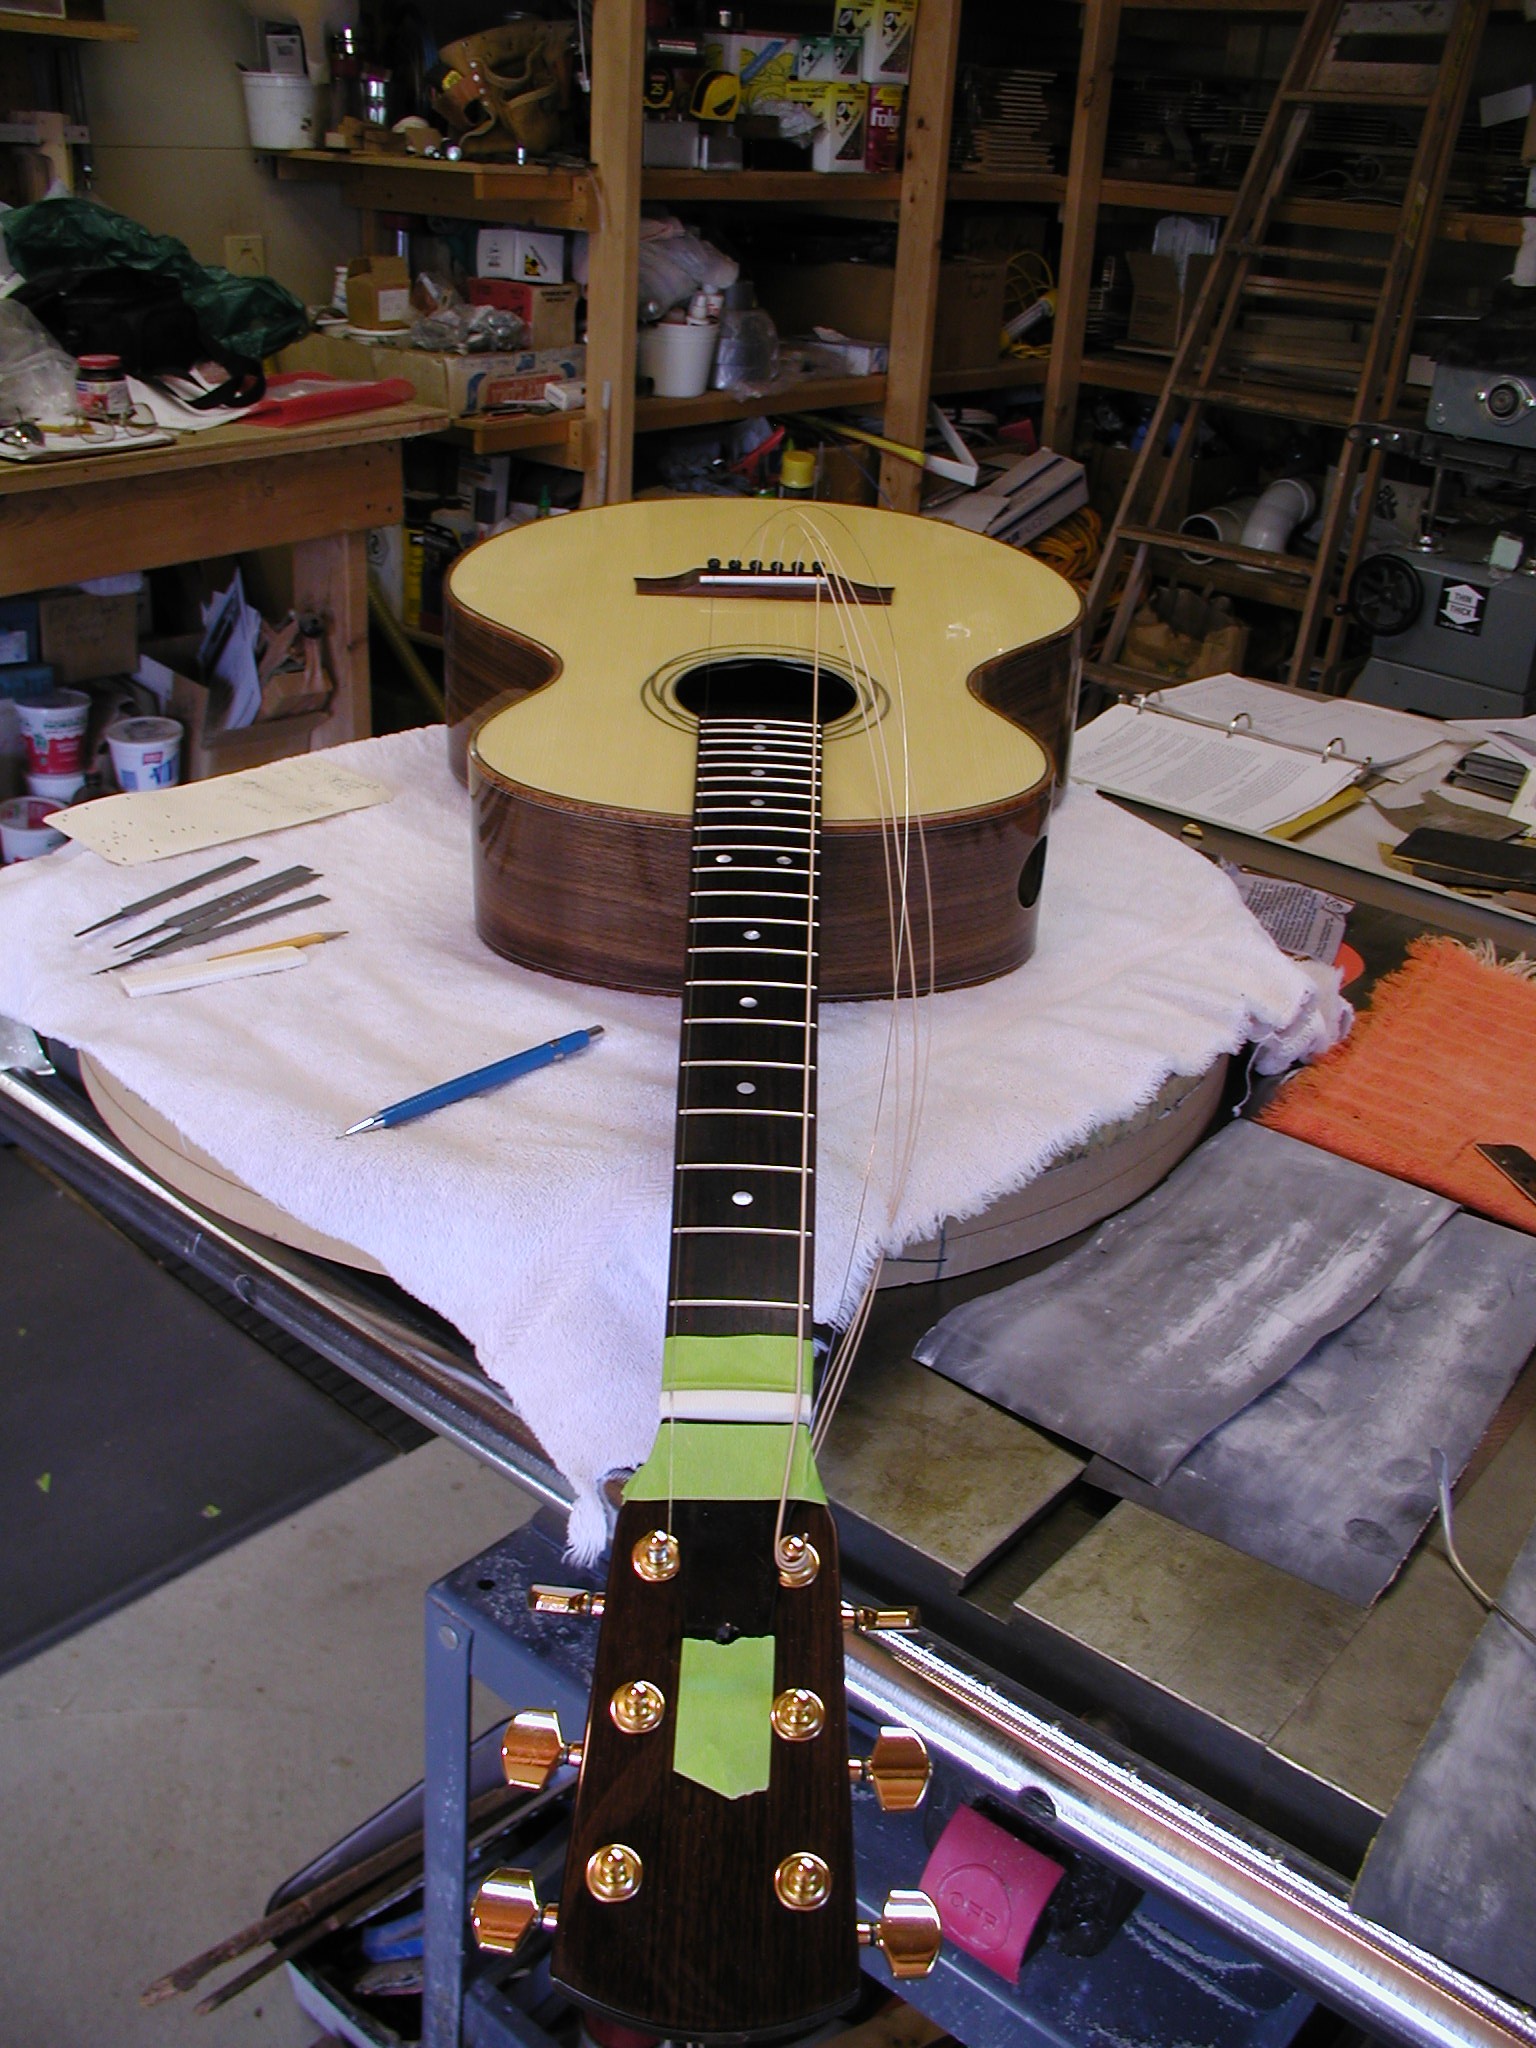
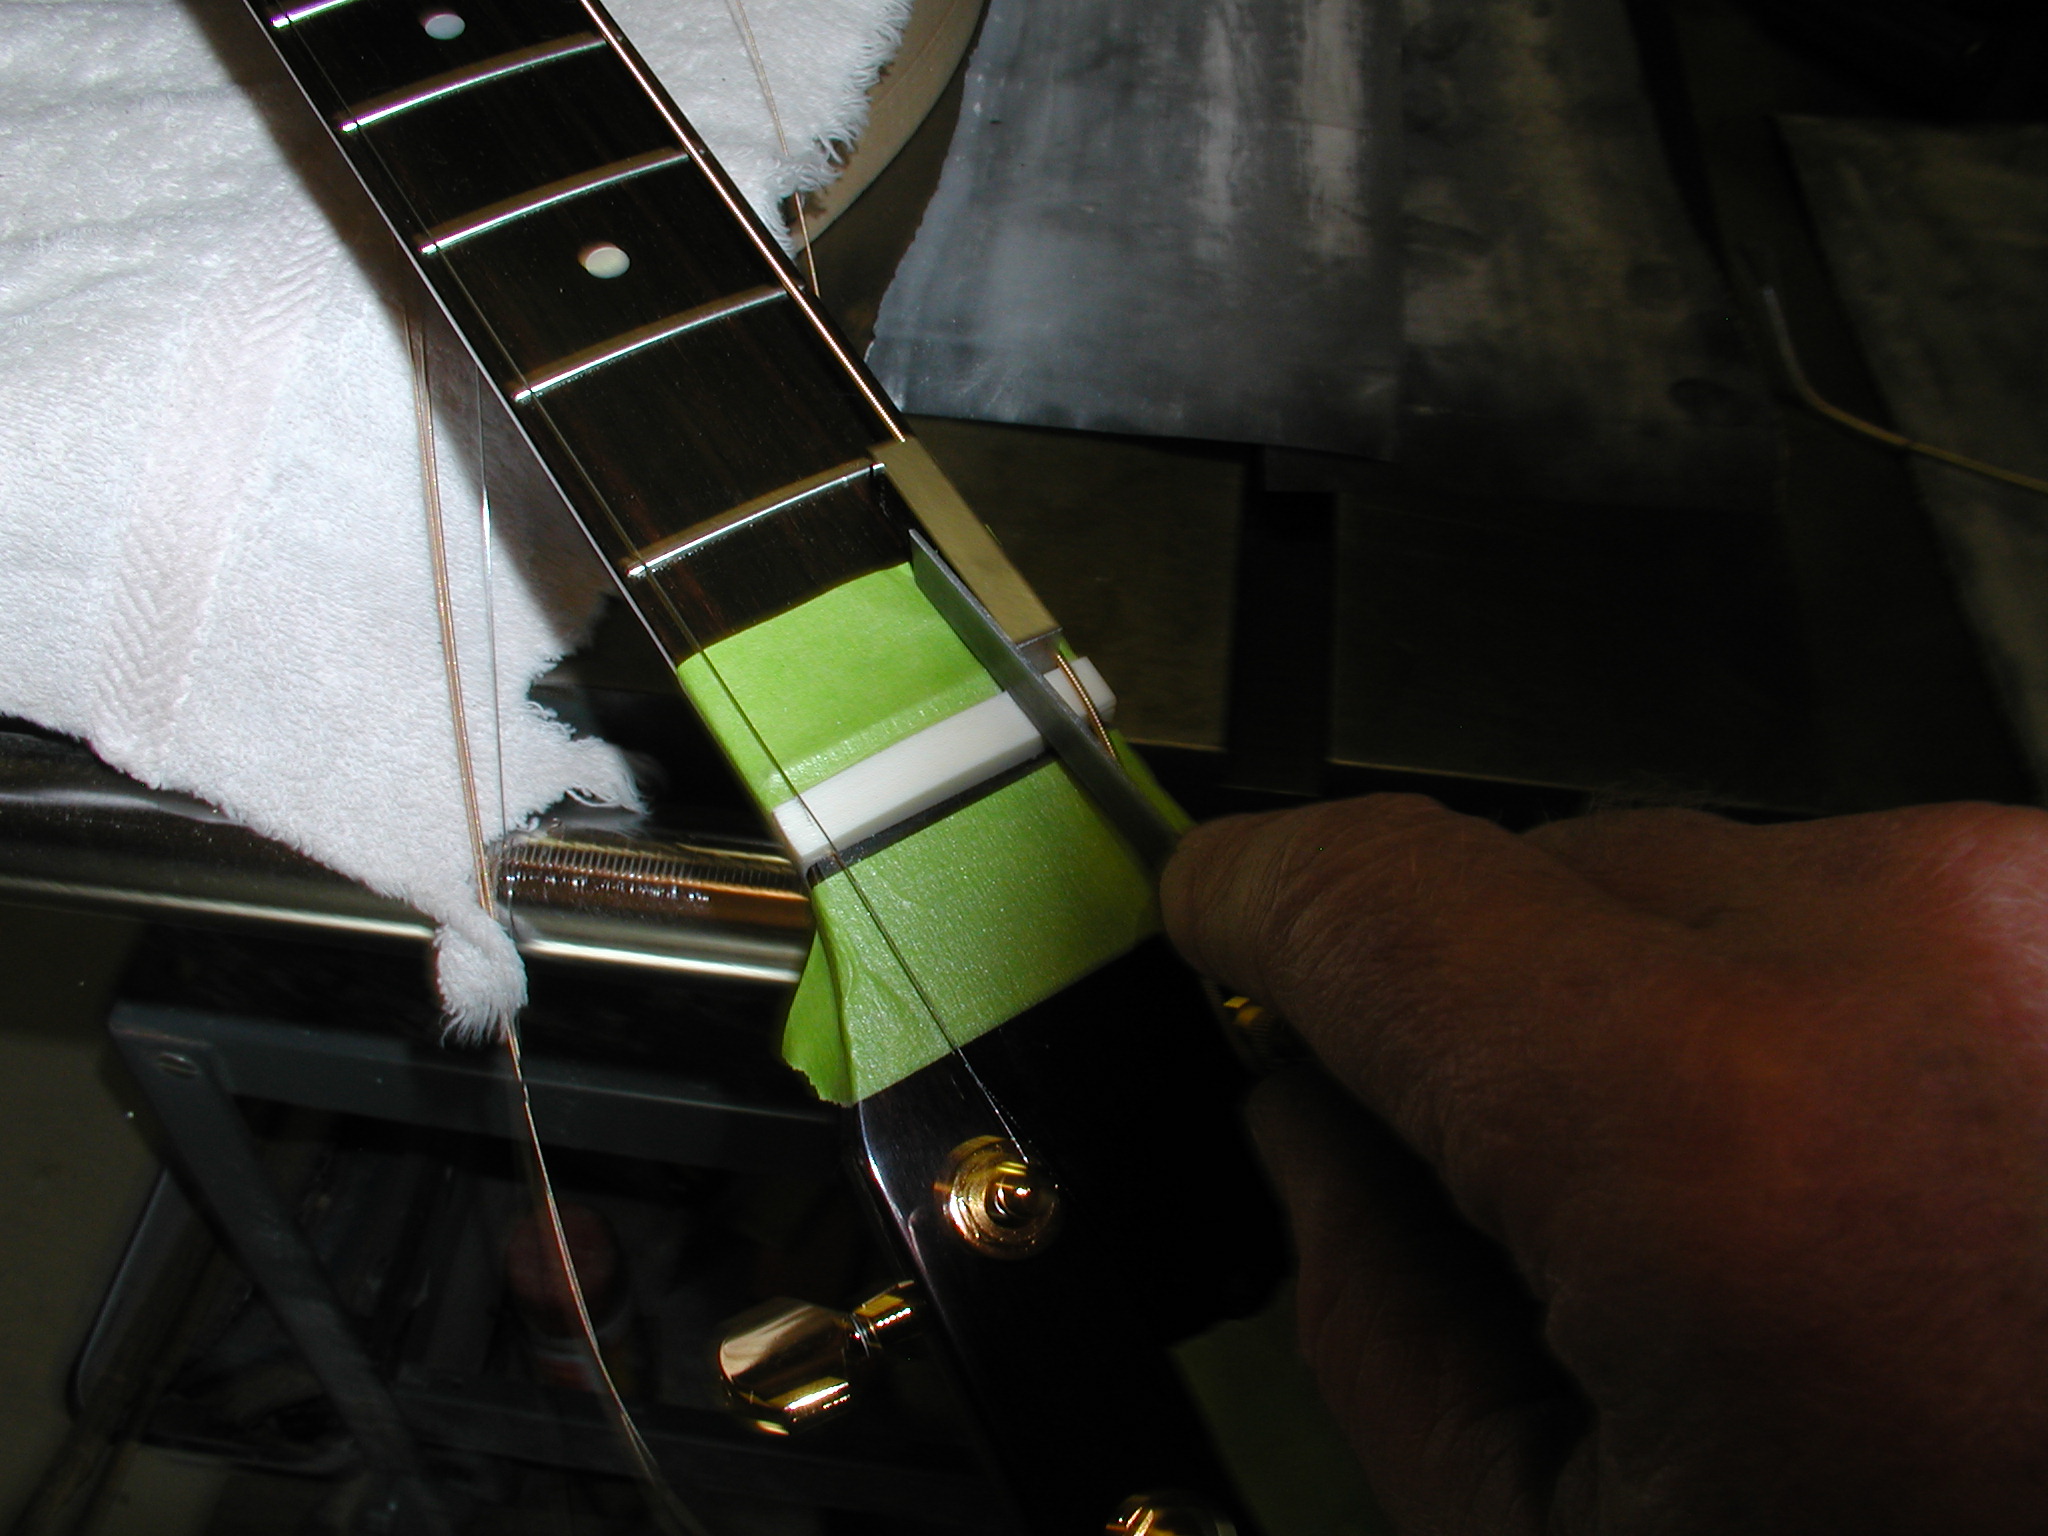
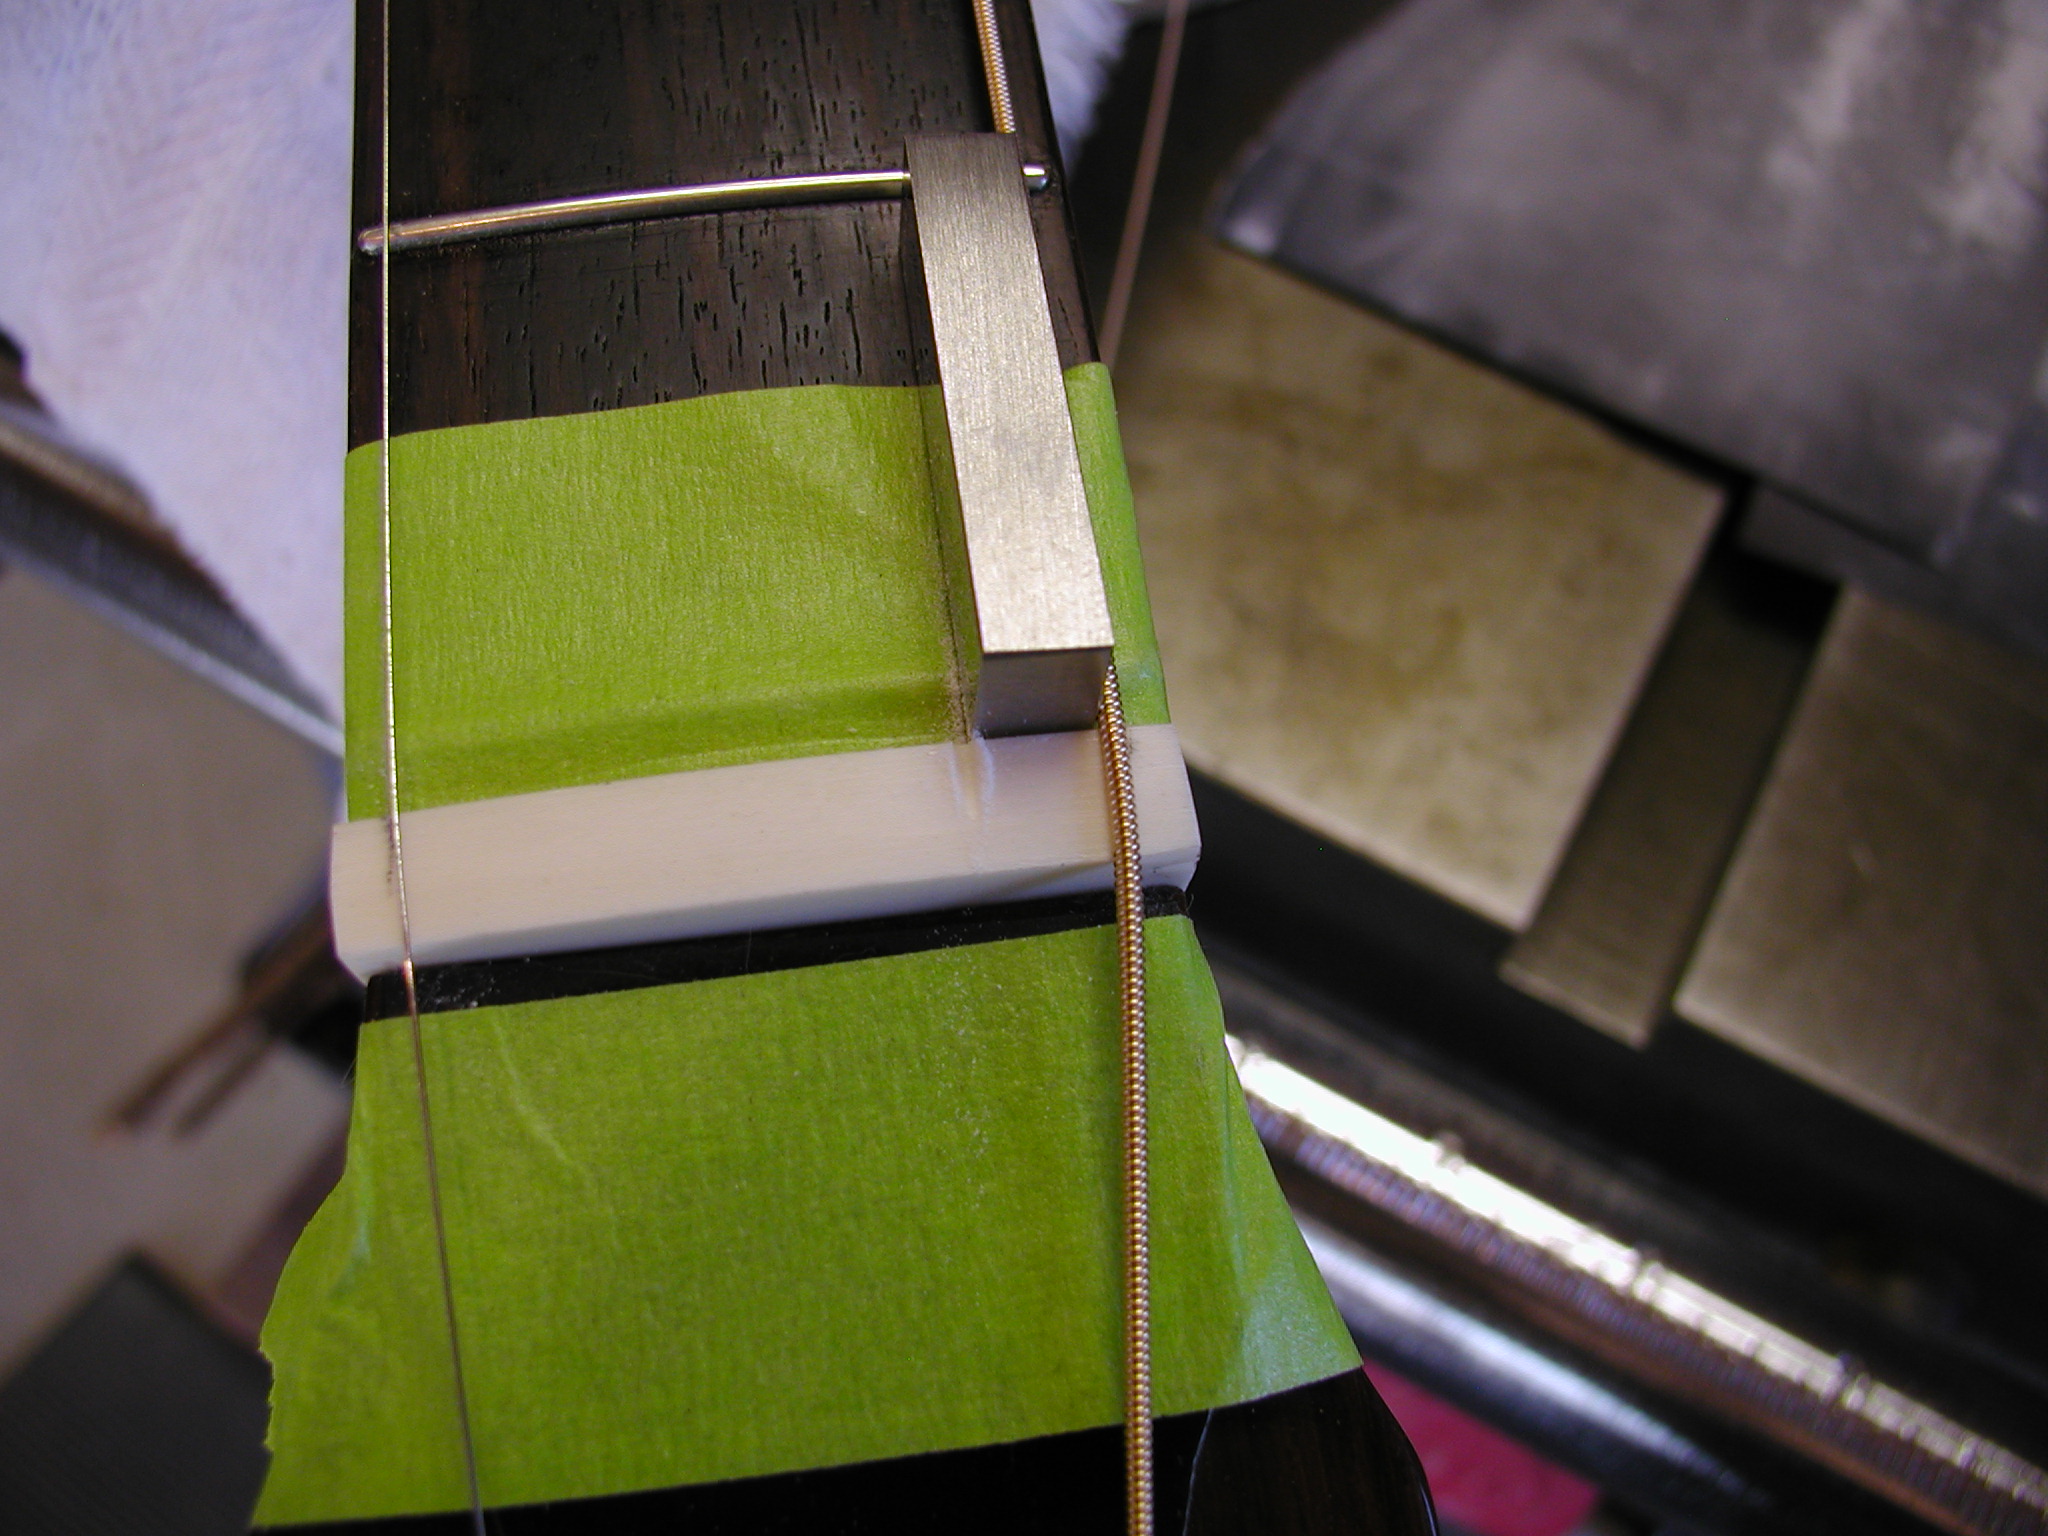
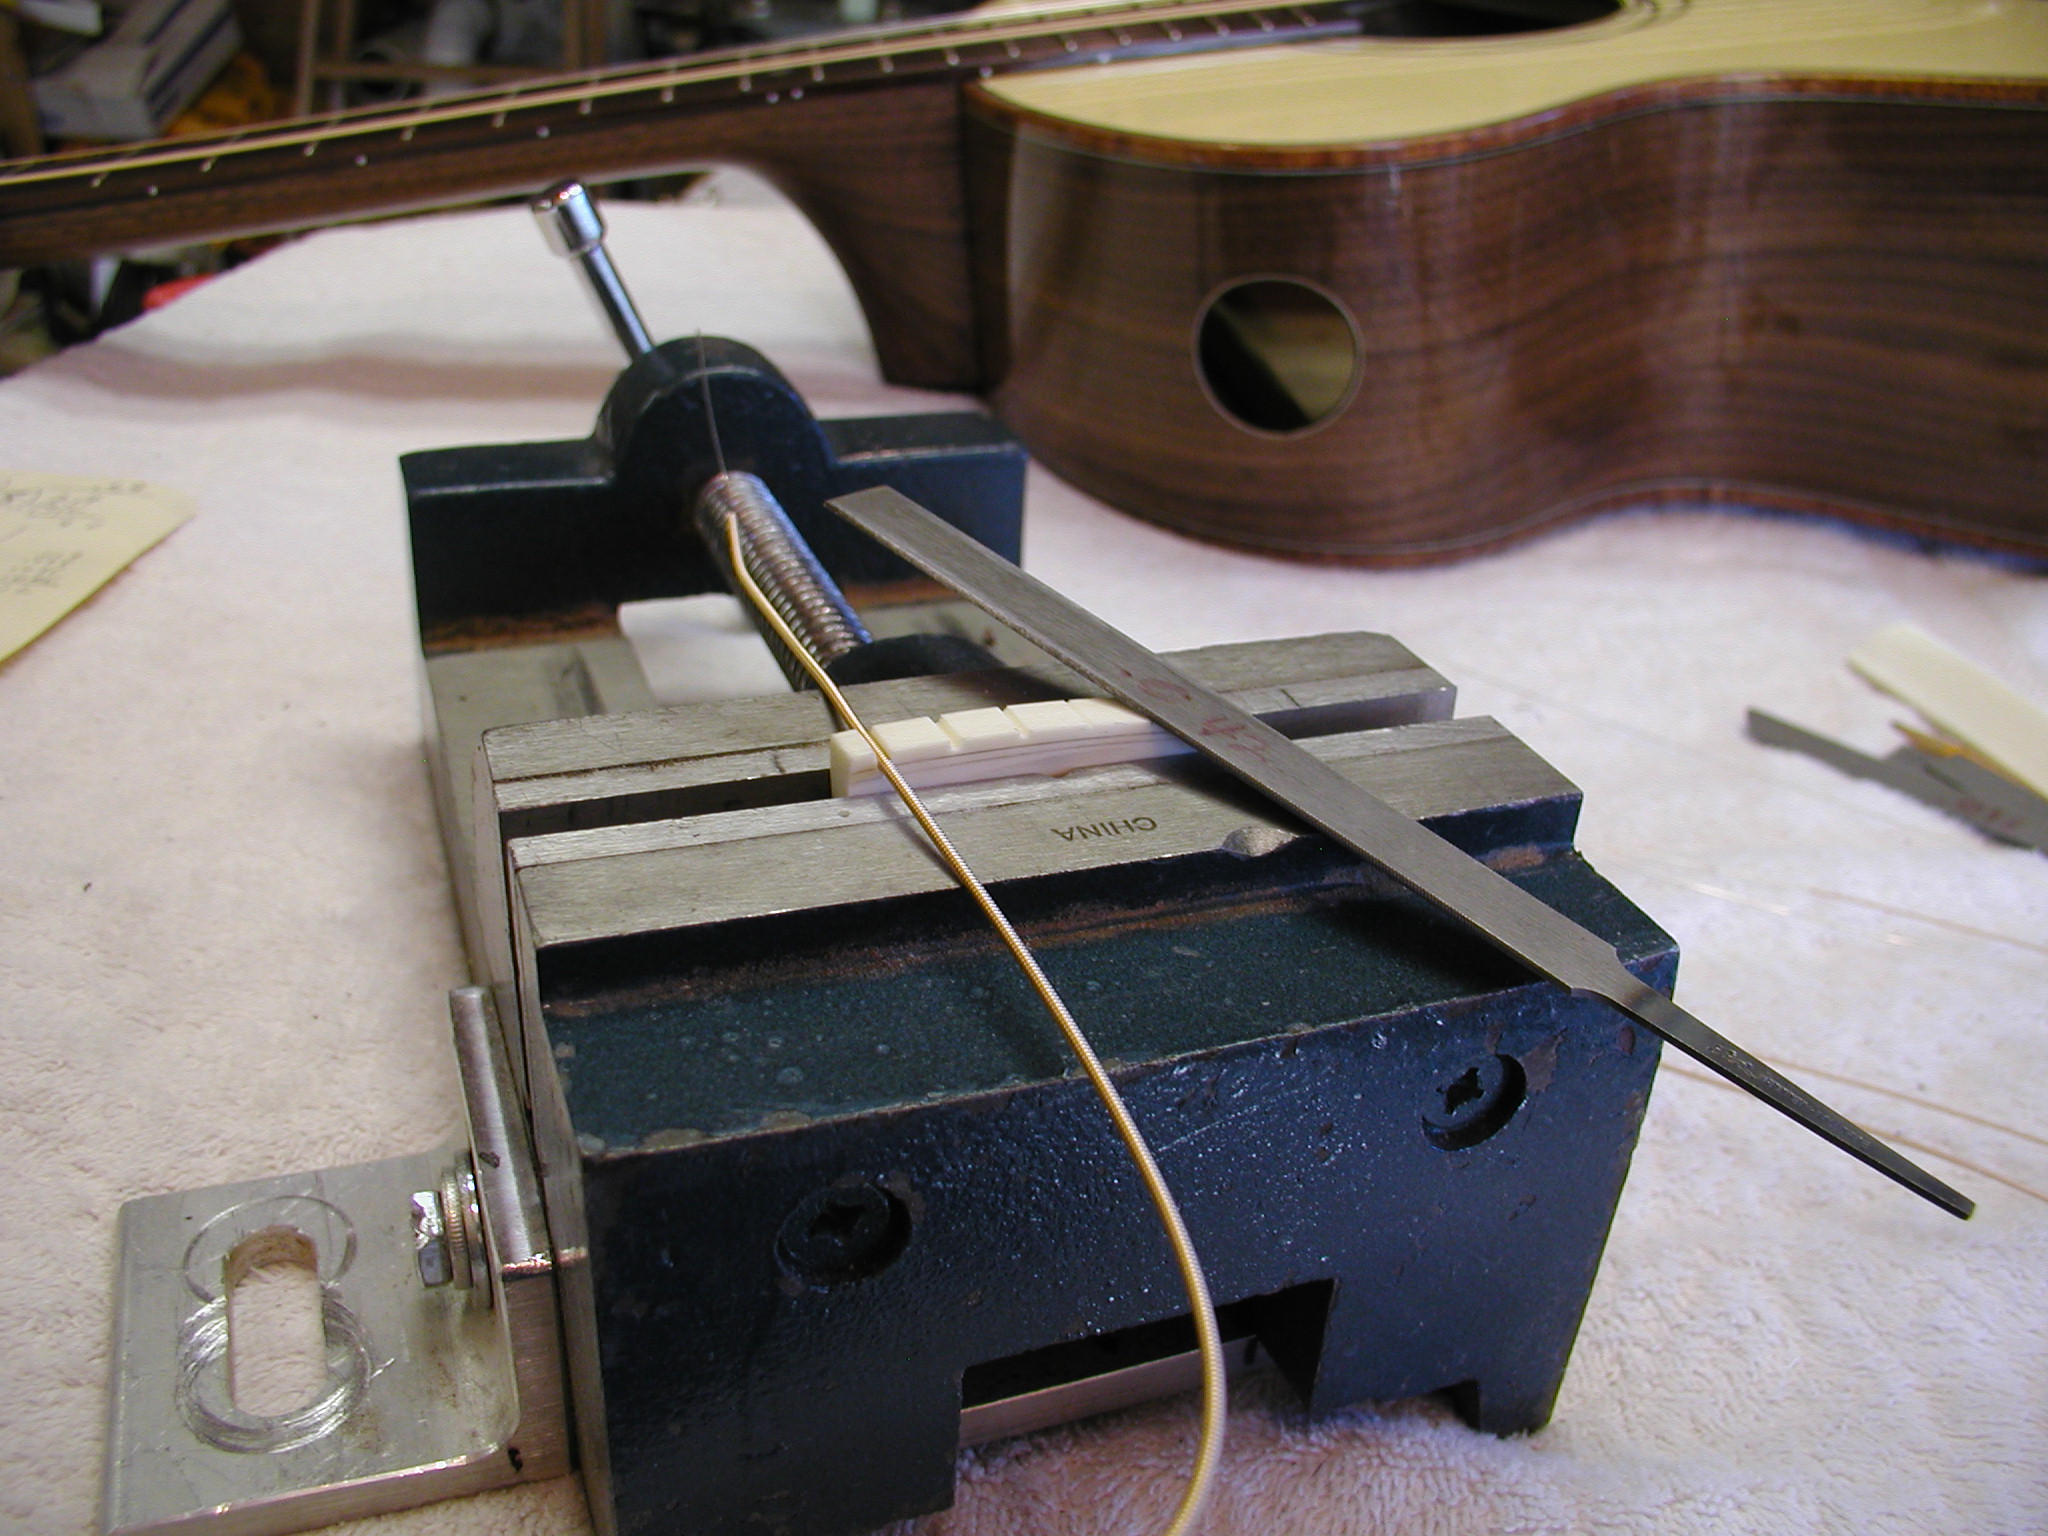
We can now put on some strings and get to the setup. I make a bone nut that fits into the slot and is roughly angled on the top. I nick this to hold the E strings in the proper position relative to the sides of the fretboard. Typically this is 3/32" or 1/8" depending on the player and style. I now know the space left for the rest of the strings and calculate the space between each string, this is a bit tricky. I set up my nuts with equal space, not equal string centers. The difference is subtle but a good player and easily feel the difference. I then use a machinist's gauge block of the right size as a spacer and cut the next strings in. These get notched in a bit with thicknessed nut files. The strings go on and I repeat for the two inside strings. If necessary I move things around after feeling and looking closely. Then the nut goes to a small vise and I notch them down to just above the final depth using string scraps to make sure the notches don't bind the strings.
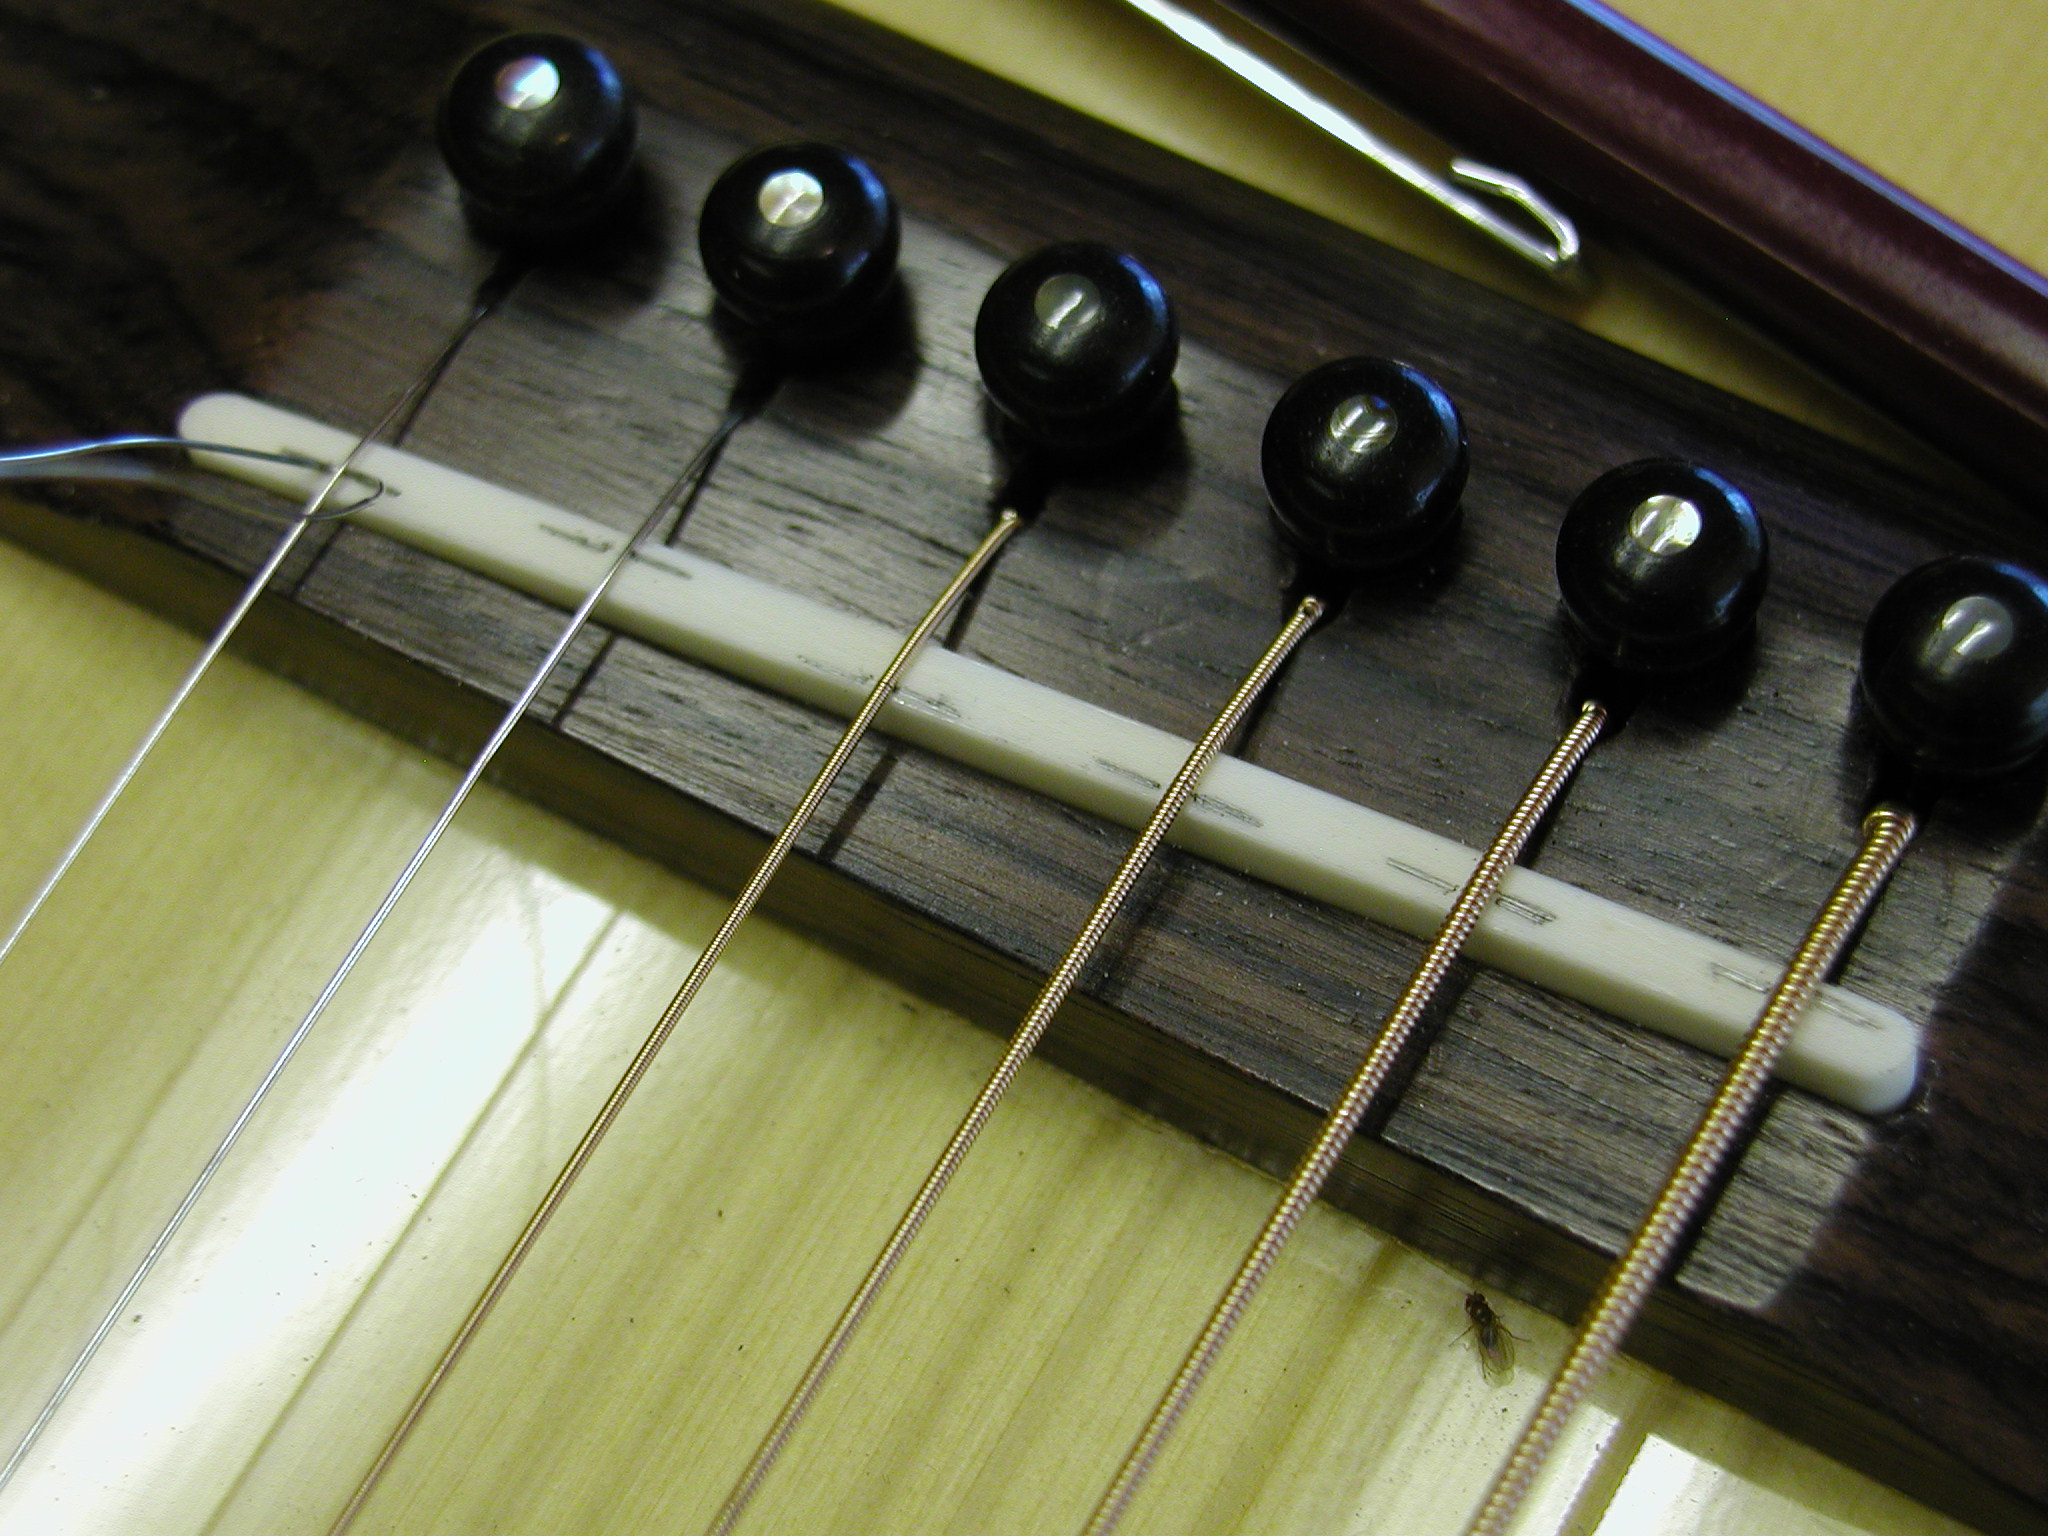
The nut goes back on and a bridge saddle is made and roughed in. I check the string height at the 12th fret and adjust the saddle height as needed. I do this by marking a line and the just whacking it down to the line on the belt sander. Now the full, real setup can begin. My procedure is to string to tension and check the up-bow in the neck, this is the relief in the neck at the 5 to 7 fret range adjusted with the truss rod. This is the only real use of the truss rod, it is not used for any other action adjustments. Next I cut the nut slots to the just short of the proper depth. Then check the 12th fret string height again and cut the saddle as needed. Then check and adjust the nut and 12th fret again and keep going around till I have it just right. Intonation is then done at the saddle. String to pitch and check the string notes open, fretted at the 12th, and the harmonic at the 12th. I slip an old piece of high-E string under each string and scoot it back and forth till the not is just right an then mark the position (no extra charge for the fly). The saddle then gets filed to rounded peaks to follow these marked lines. When all is right, the nut and saddle come off and get sanded out to 1000 grit and buffed to a high gloss. I like to also soak the top of the saddle with CA glue before the final sanding and buff to help harden it a bit. I glue the nut in with one drop of Tightbond between the nut and the fretboard, just enough to hold it in place when the strings are off.
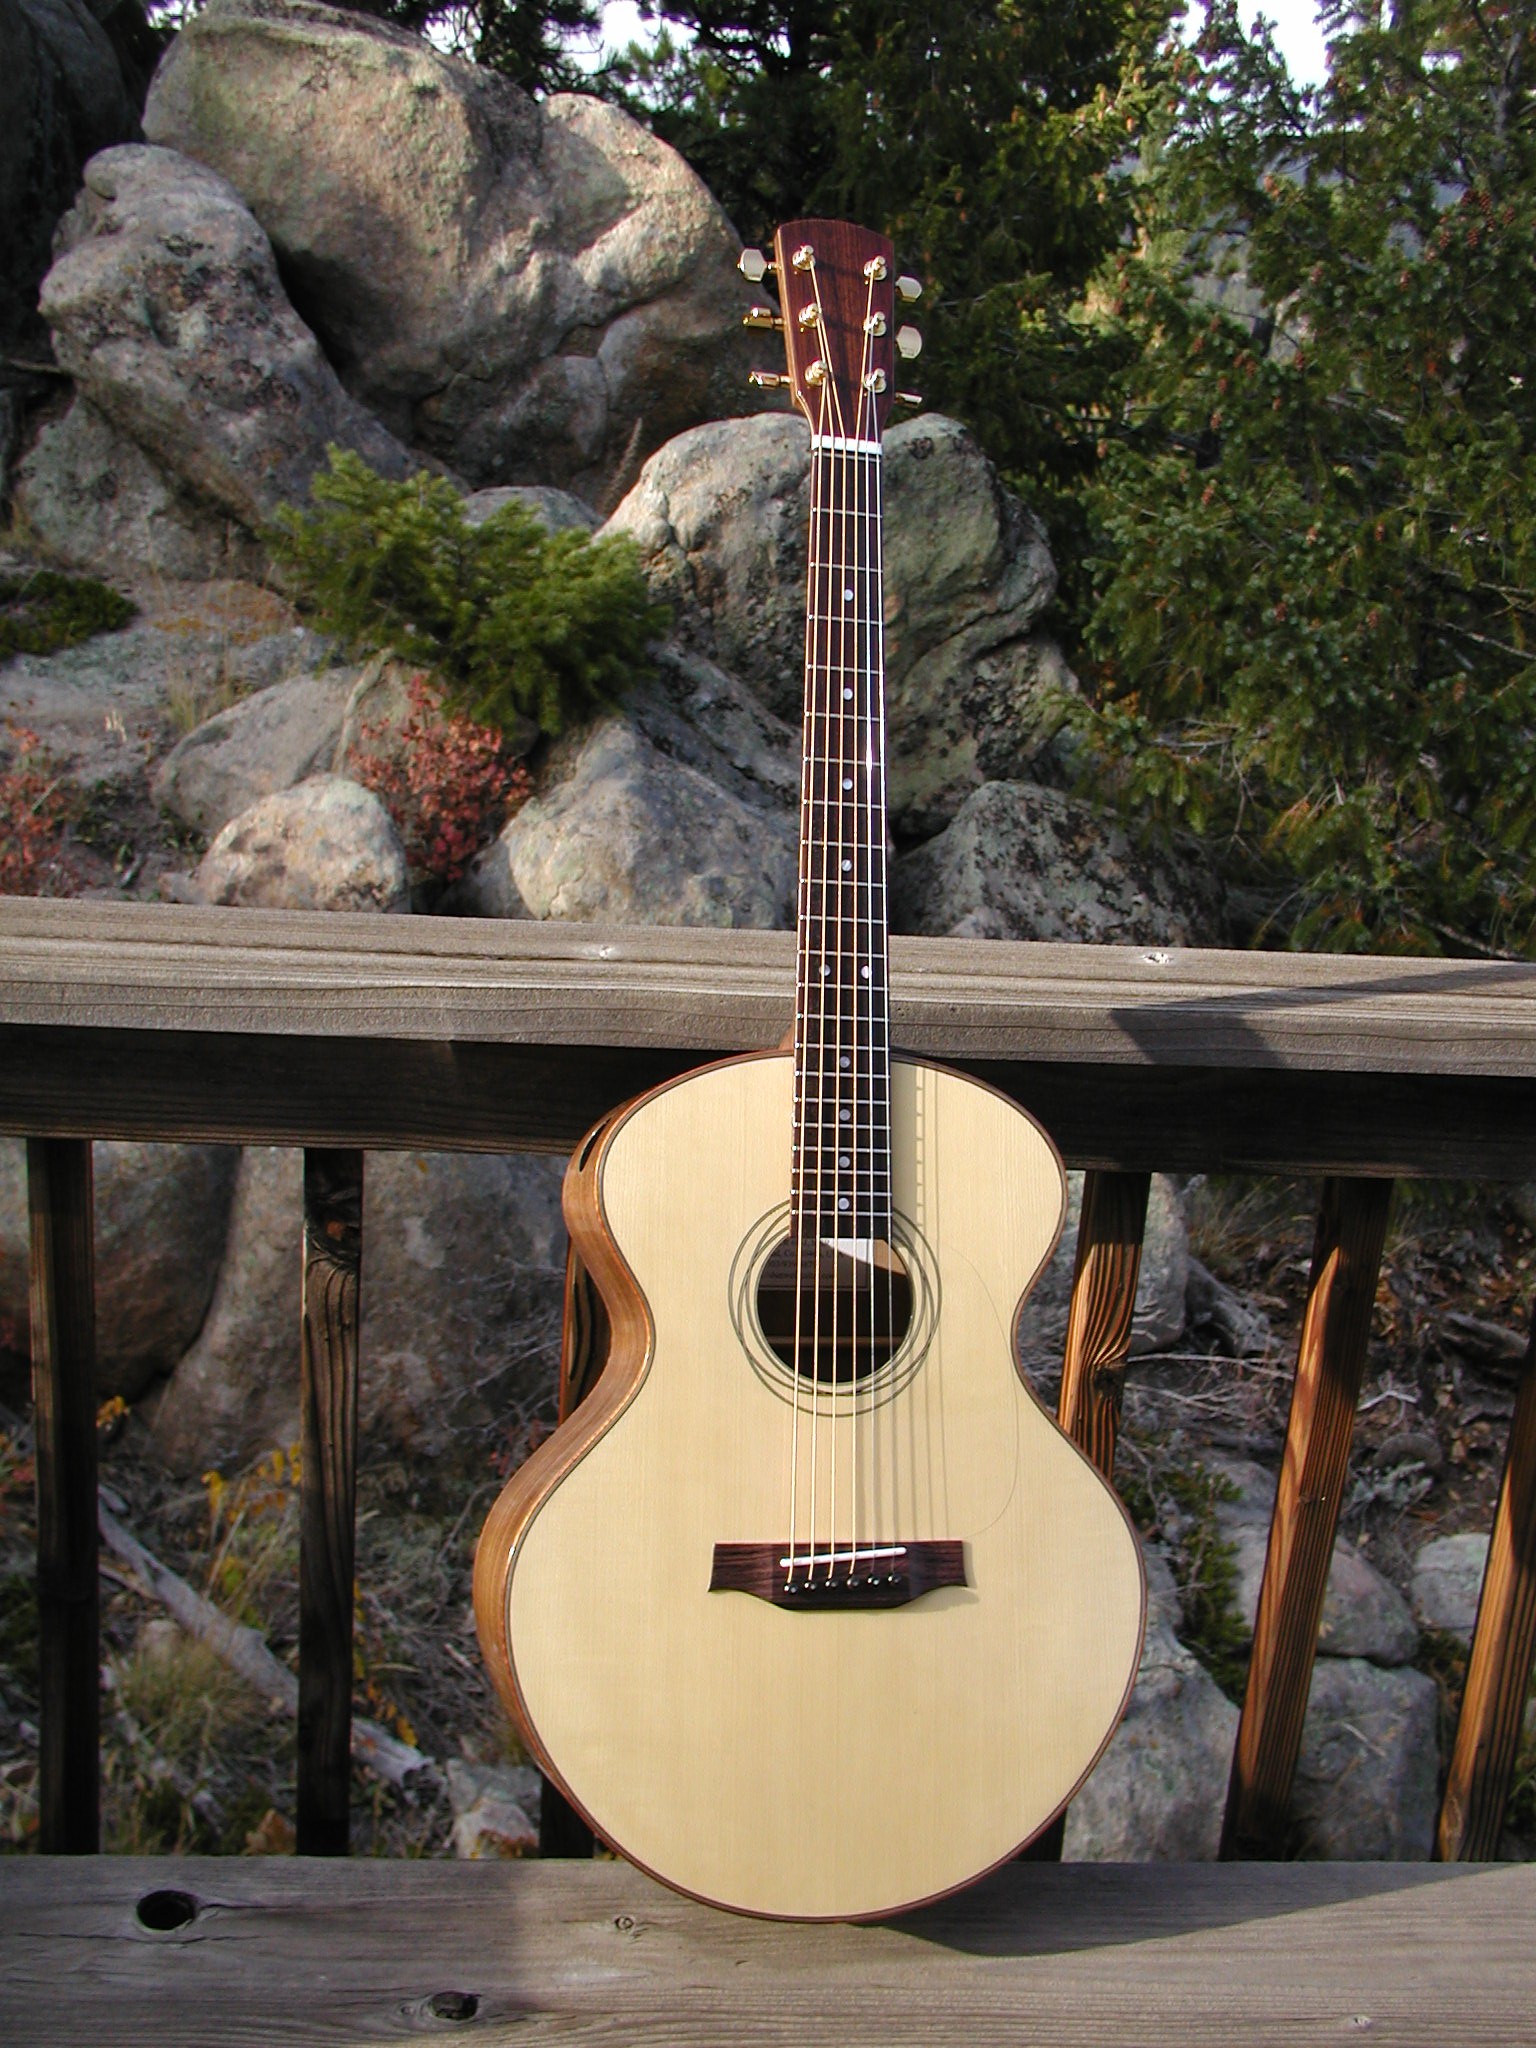
I teat the fretboard with a 50/50 mix of boiled linseed oil and turpentine. The turp lets the oil penetrate and then evaporates and the oil cures hard. Final check out and polish up any little nicks or scuffs. Put on a 0.020" clear mylar pickguard if desired, a new set of strings and.... Play the first song. I love it!
I hope you have enjoyed this little building tour and got some good ideas or information from it. Remember that this is always a work in progress, I will try to add in additional information and photos as time goes by or when I change methods. Thanks for viewing this show.
Alan Dunwell