Let's Build A Guitar (Page 7)
Last Modified - November 6, 2012
In Page 6 we finished the headstock end and close fit the heel to the body. Before I carve the neck shaft I like to make the fretboard and glue it on while the shaft is still sort of square and easy to grab in the vise.

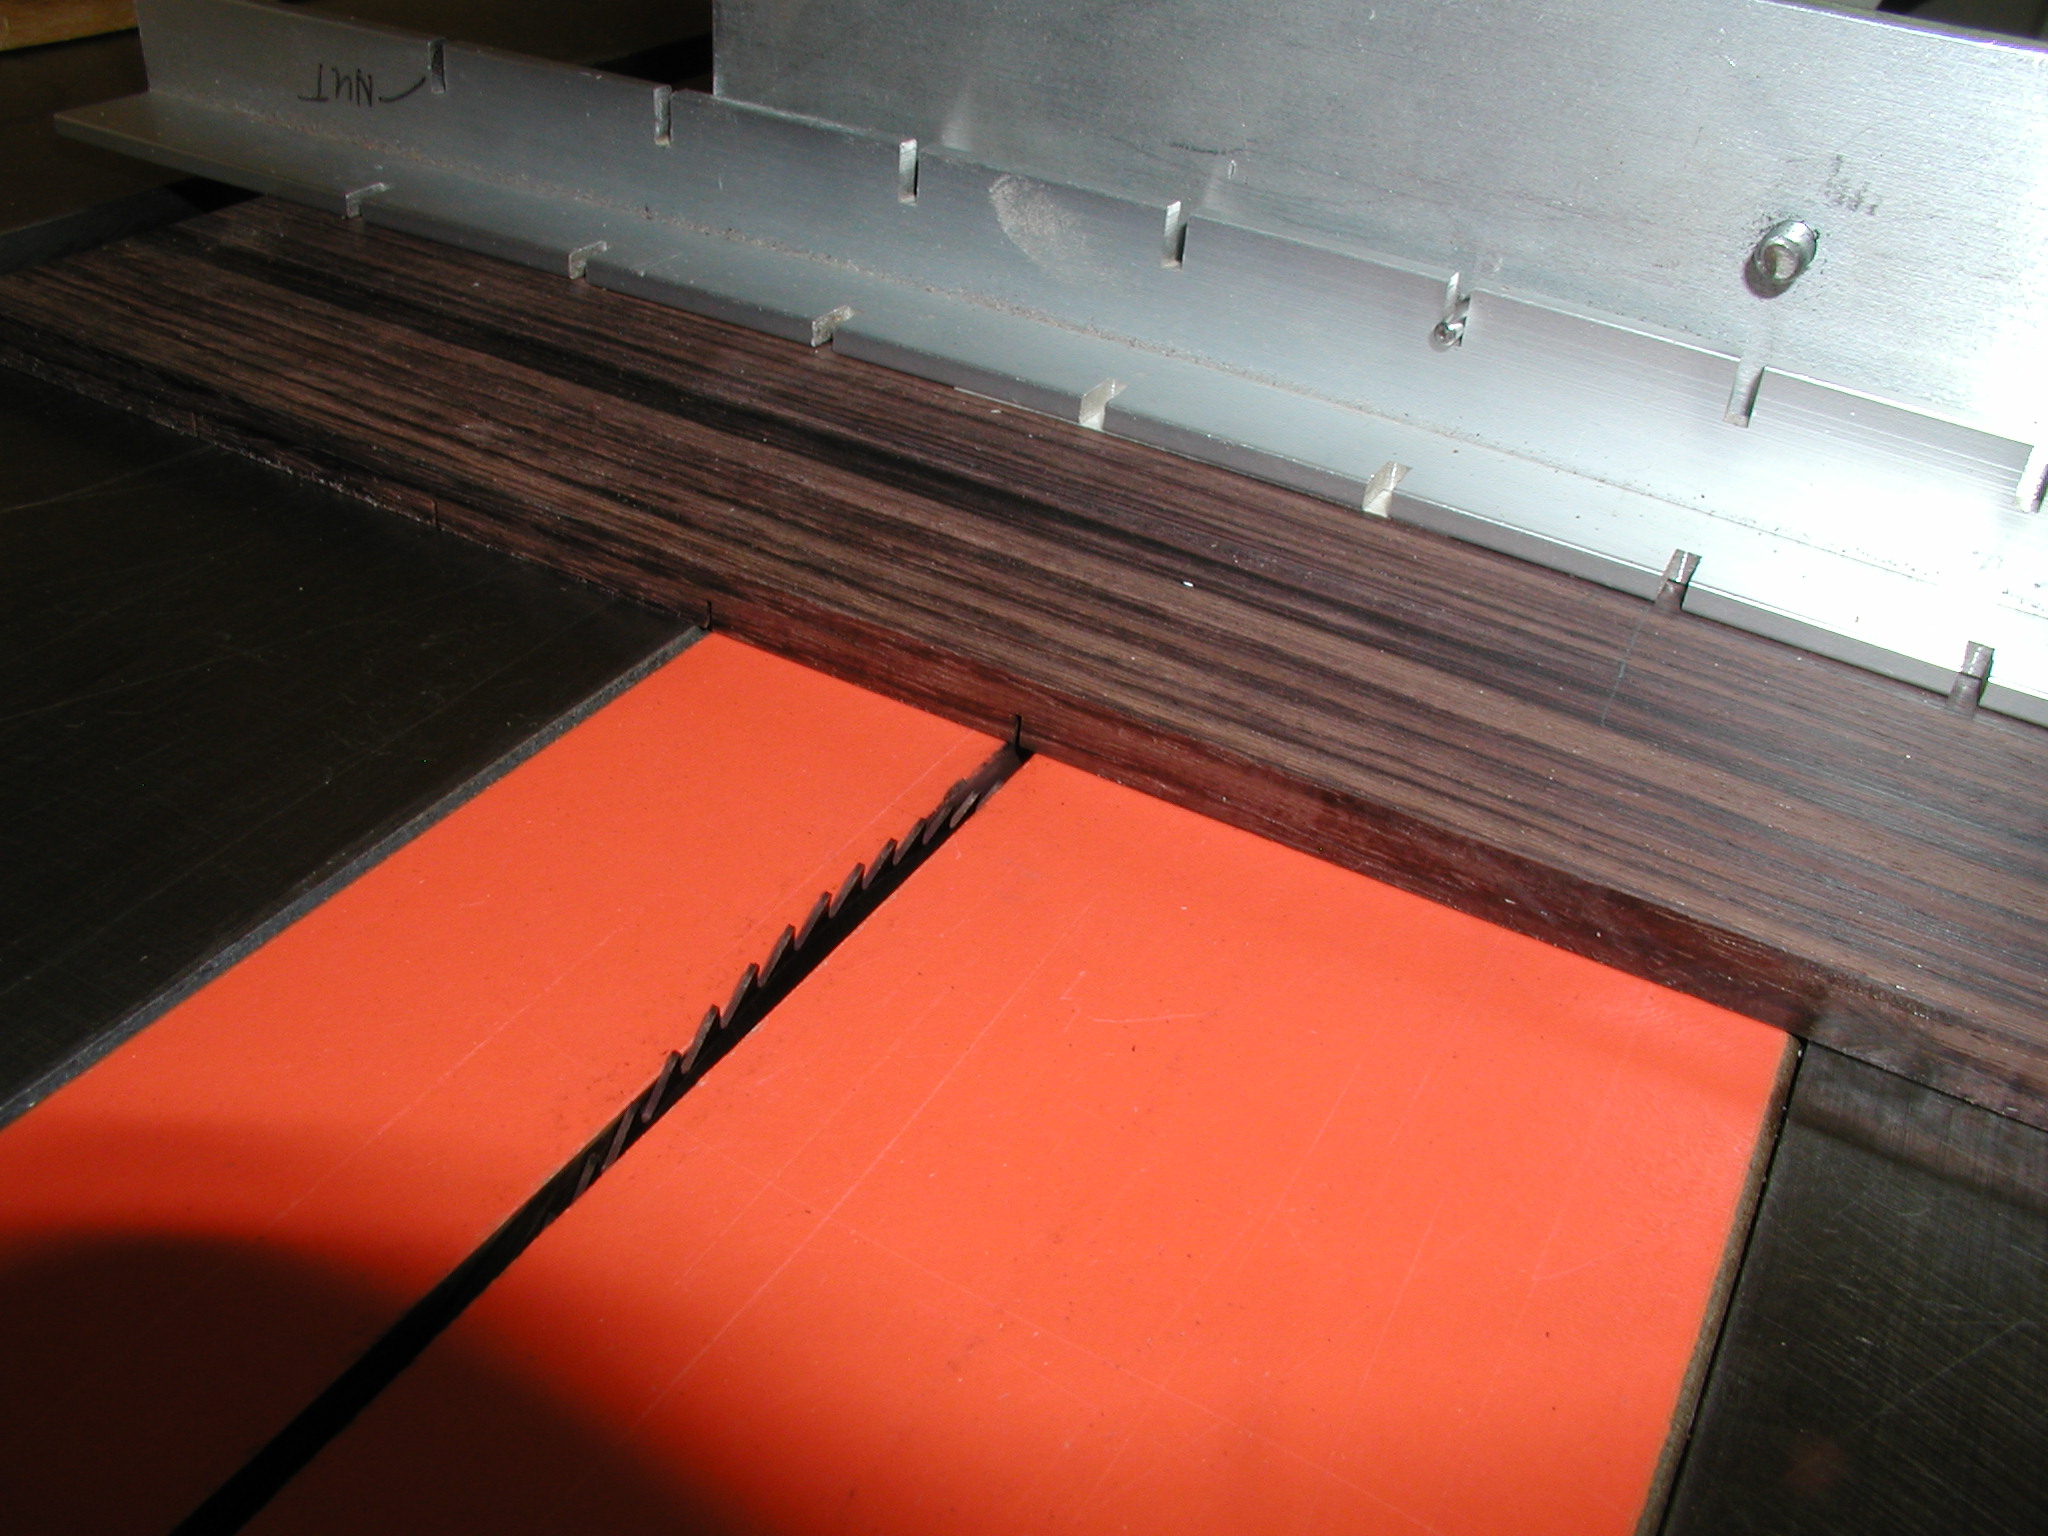
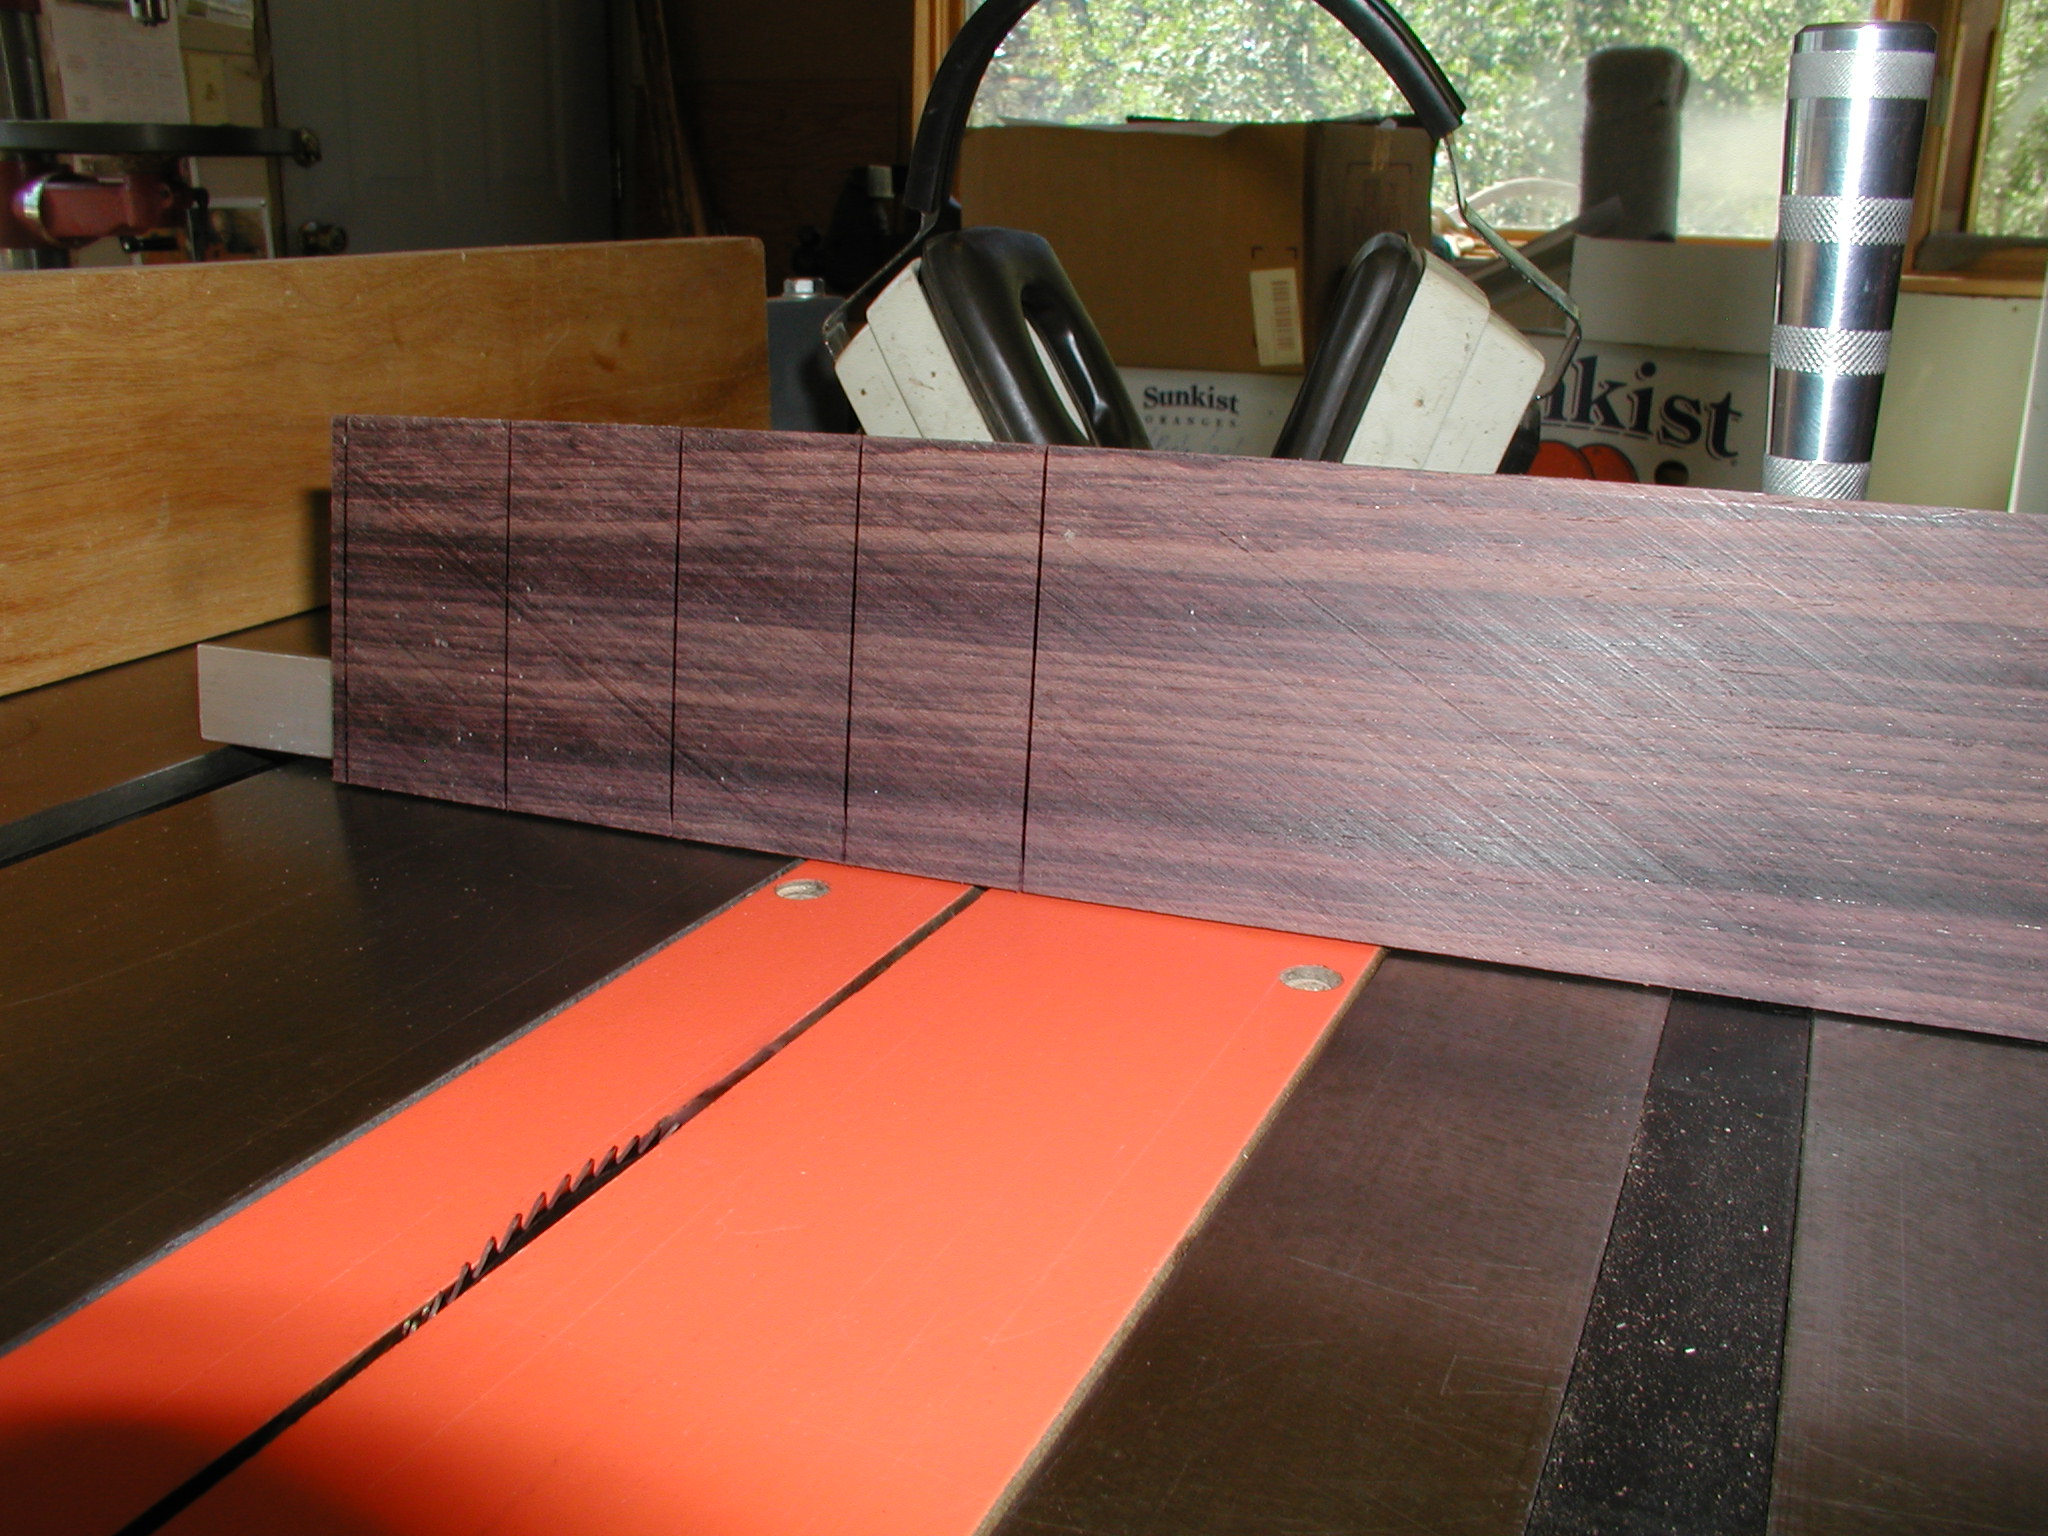
I slot my own fretboards except for my mandolins. I use a table saw jig I made years ago but similar designs are available from luthier suppliers now. The backer on the miter fence has a hardened dowel and the spacing part of the jig notches into that. The spacing jig has slots a the proper scale length positions, I have multiple spacing jigs for various scale lengths. The saw used is either a screw-slitting saw available from machine supply houses or a special one from luthier suppliers. In any case it cuts a 0.020" - 0.023" slot, depending on the blade, for the fret tang. You just adjust the height to be a bit deeper than the tang. I radius my fretboards so the slot needs to be deeper at the center to accommodate the curvature at the edges. I also re-cut them a bit by hand later.
Not show are the steps of cutting the fretboard to shape. I use another aluminum template and scribe the tapering edge lines with the template positioned to the fretboard center line. I rough off the edges on the bandsaw and then true up to the scribed lines with the jointer and a high-angle block plane. The fretboard now becomes the template to which the neck will be carved.
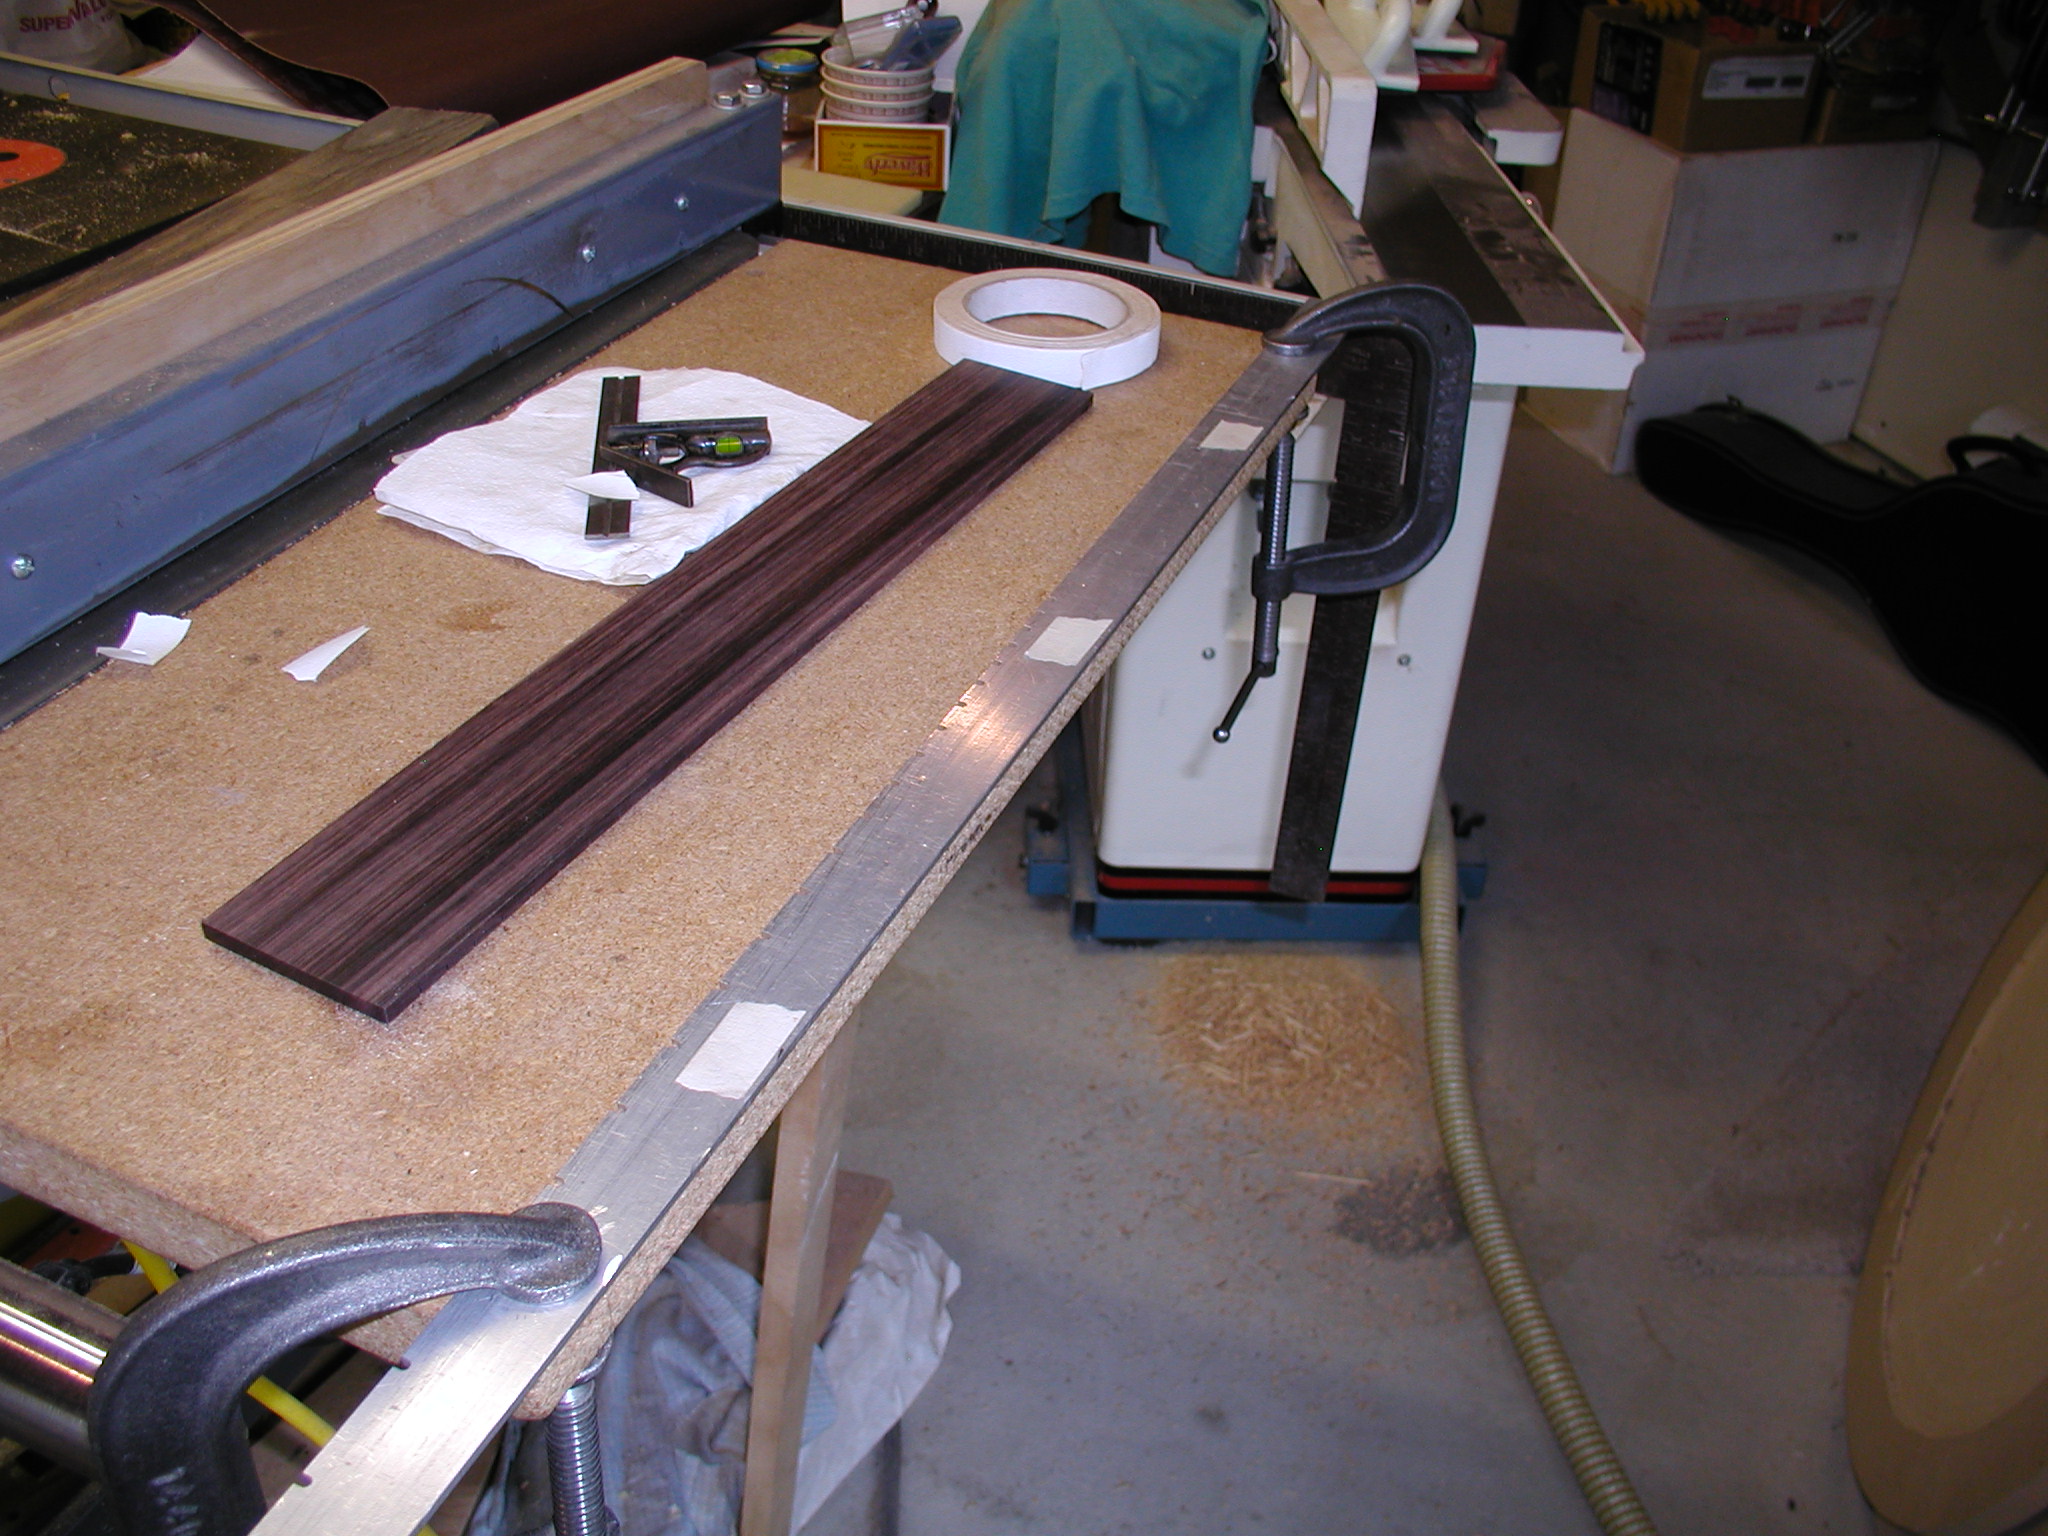
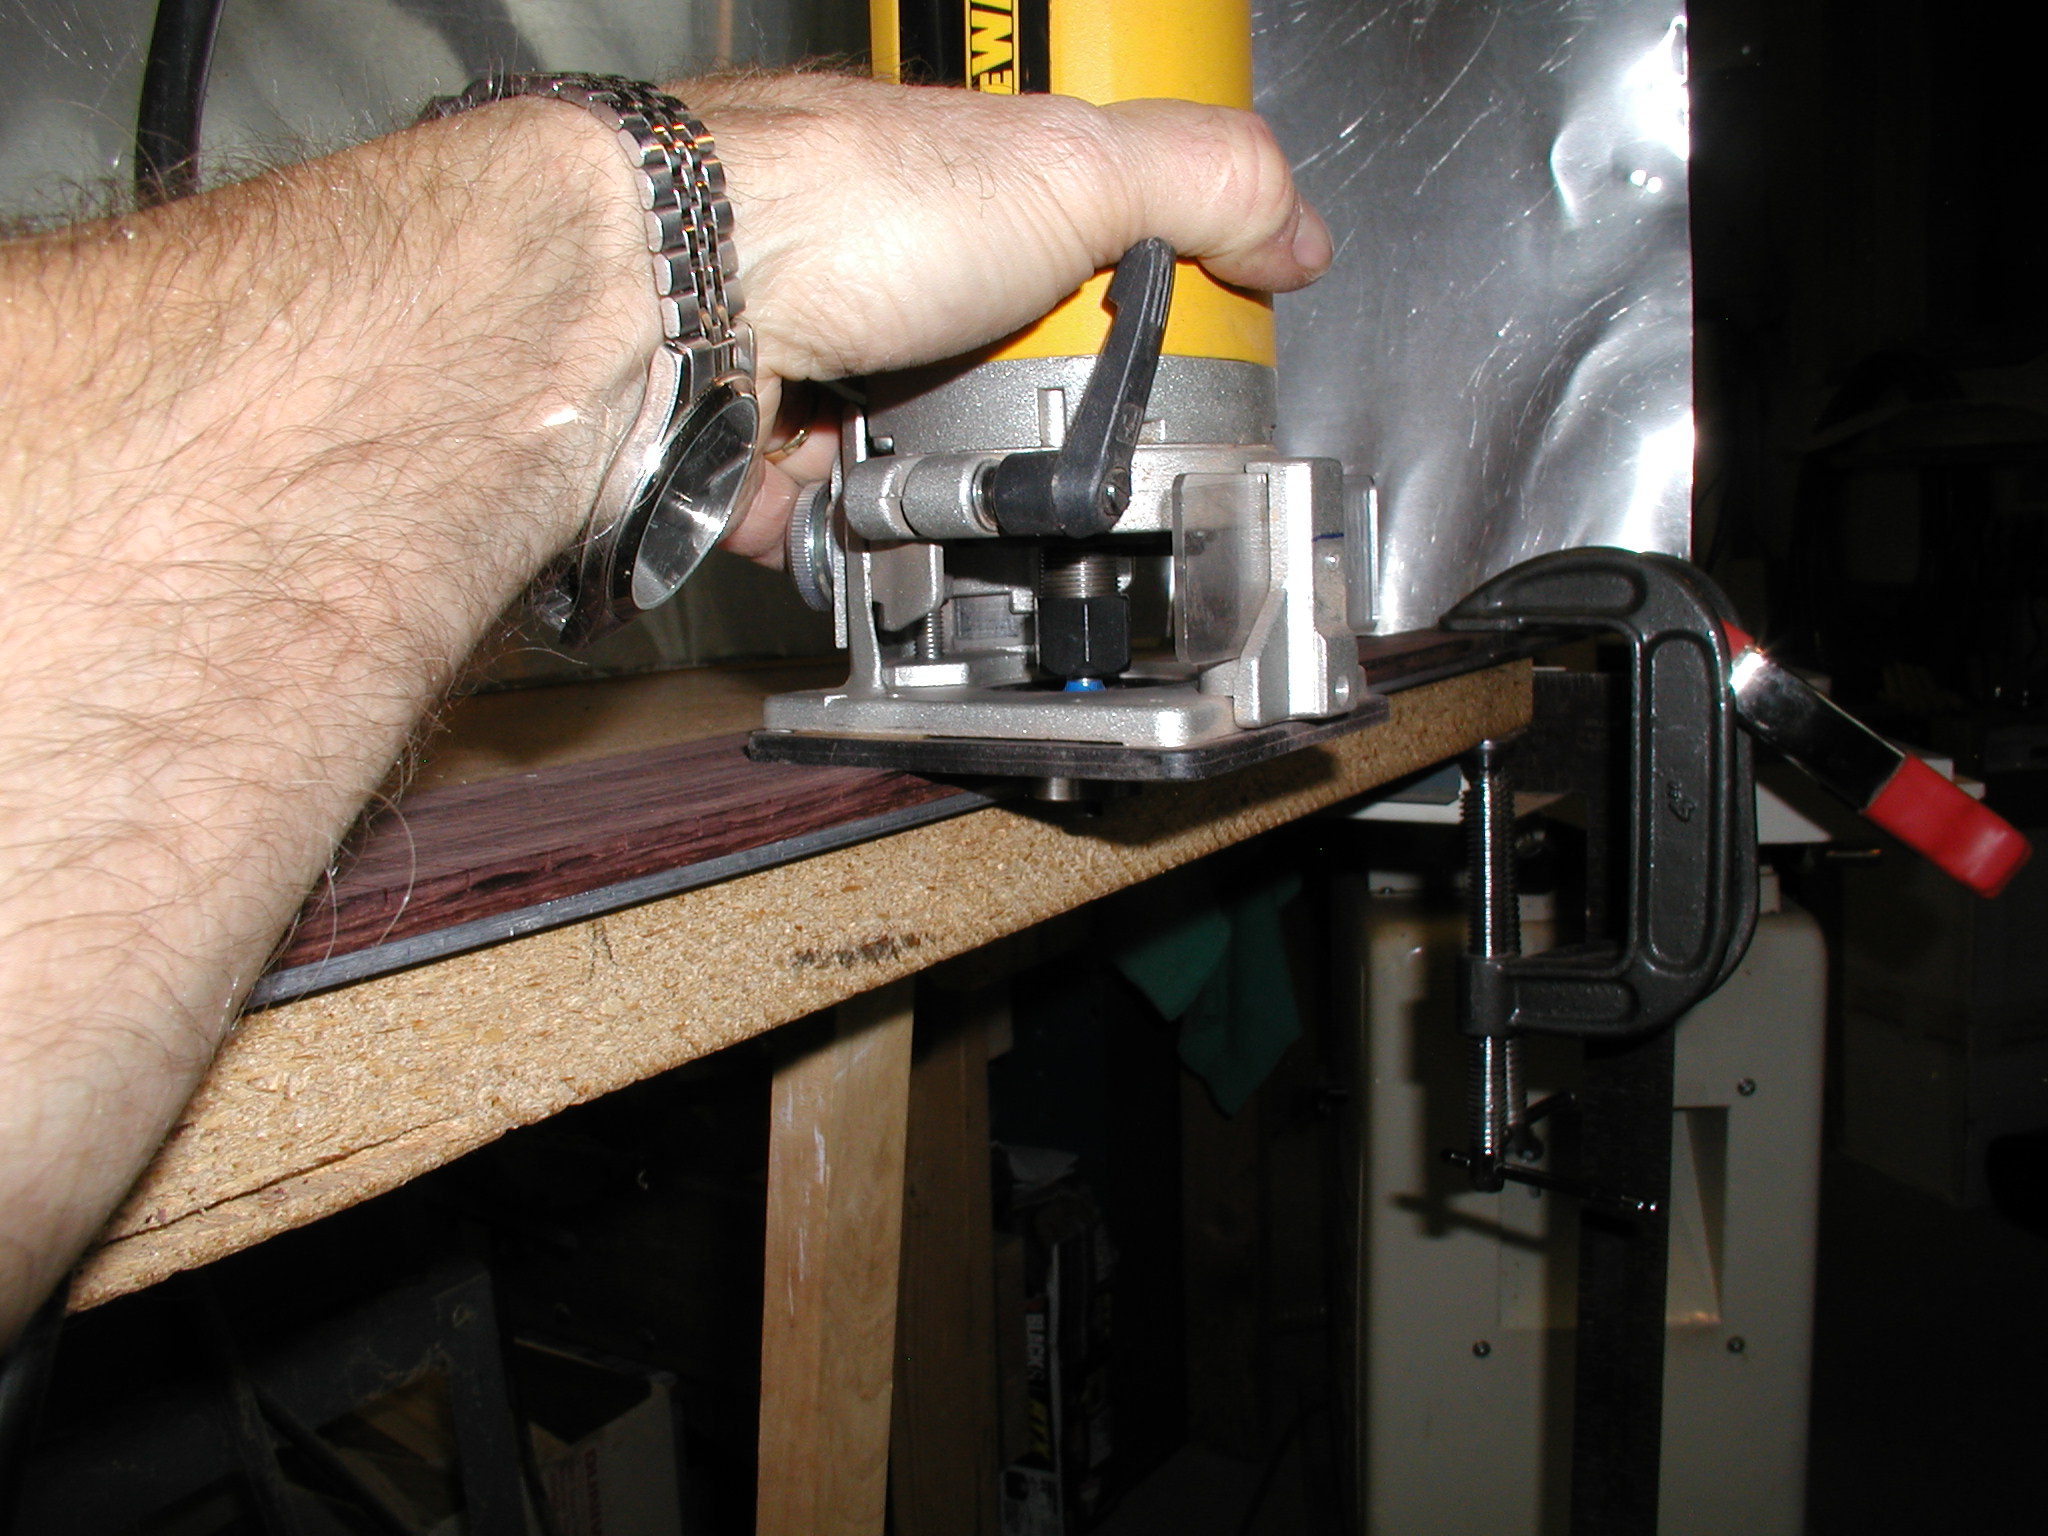
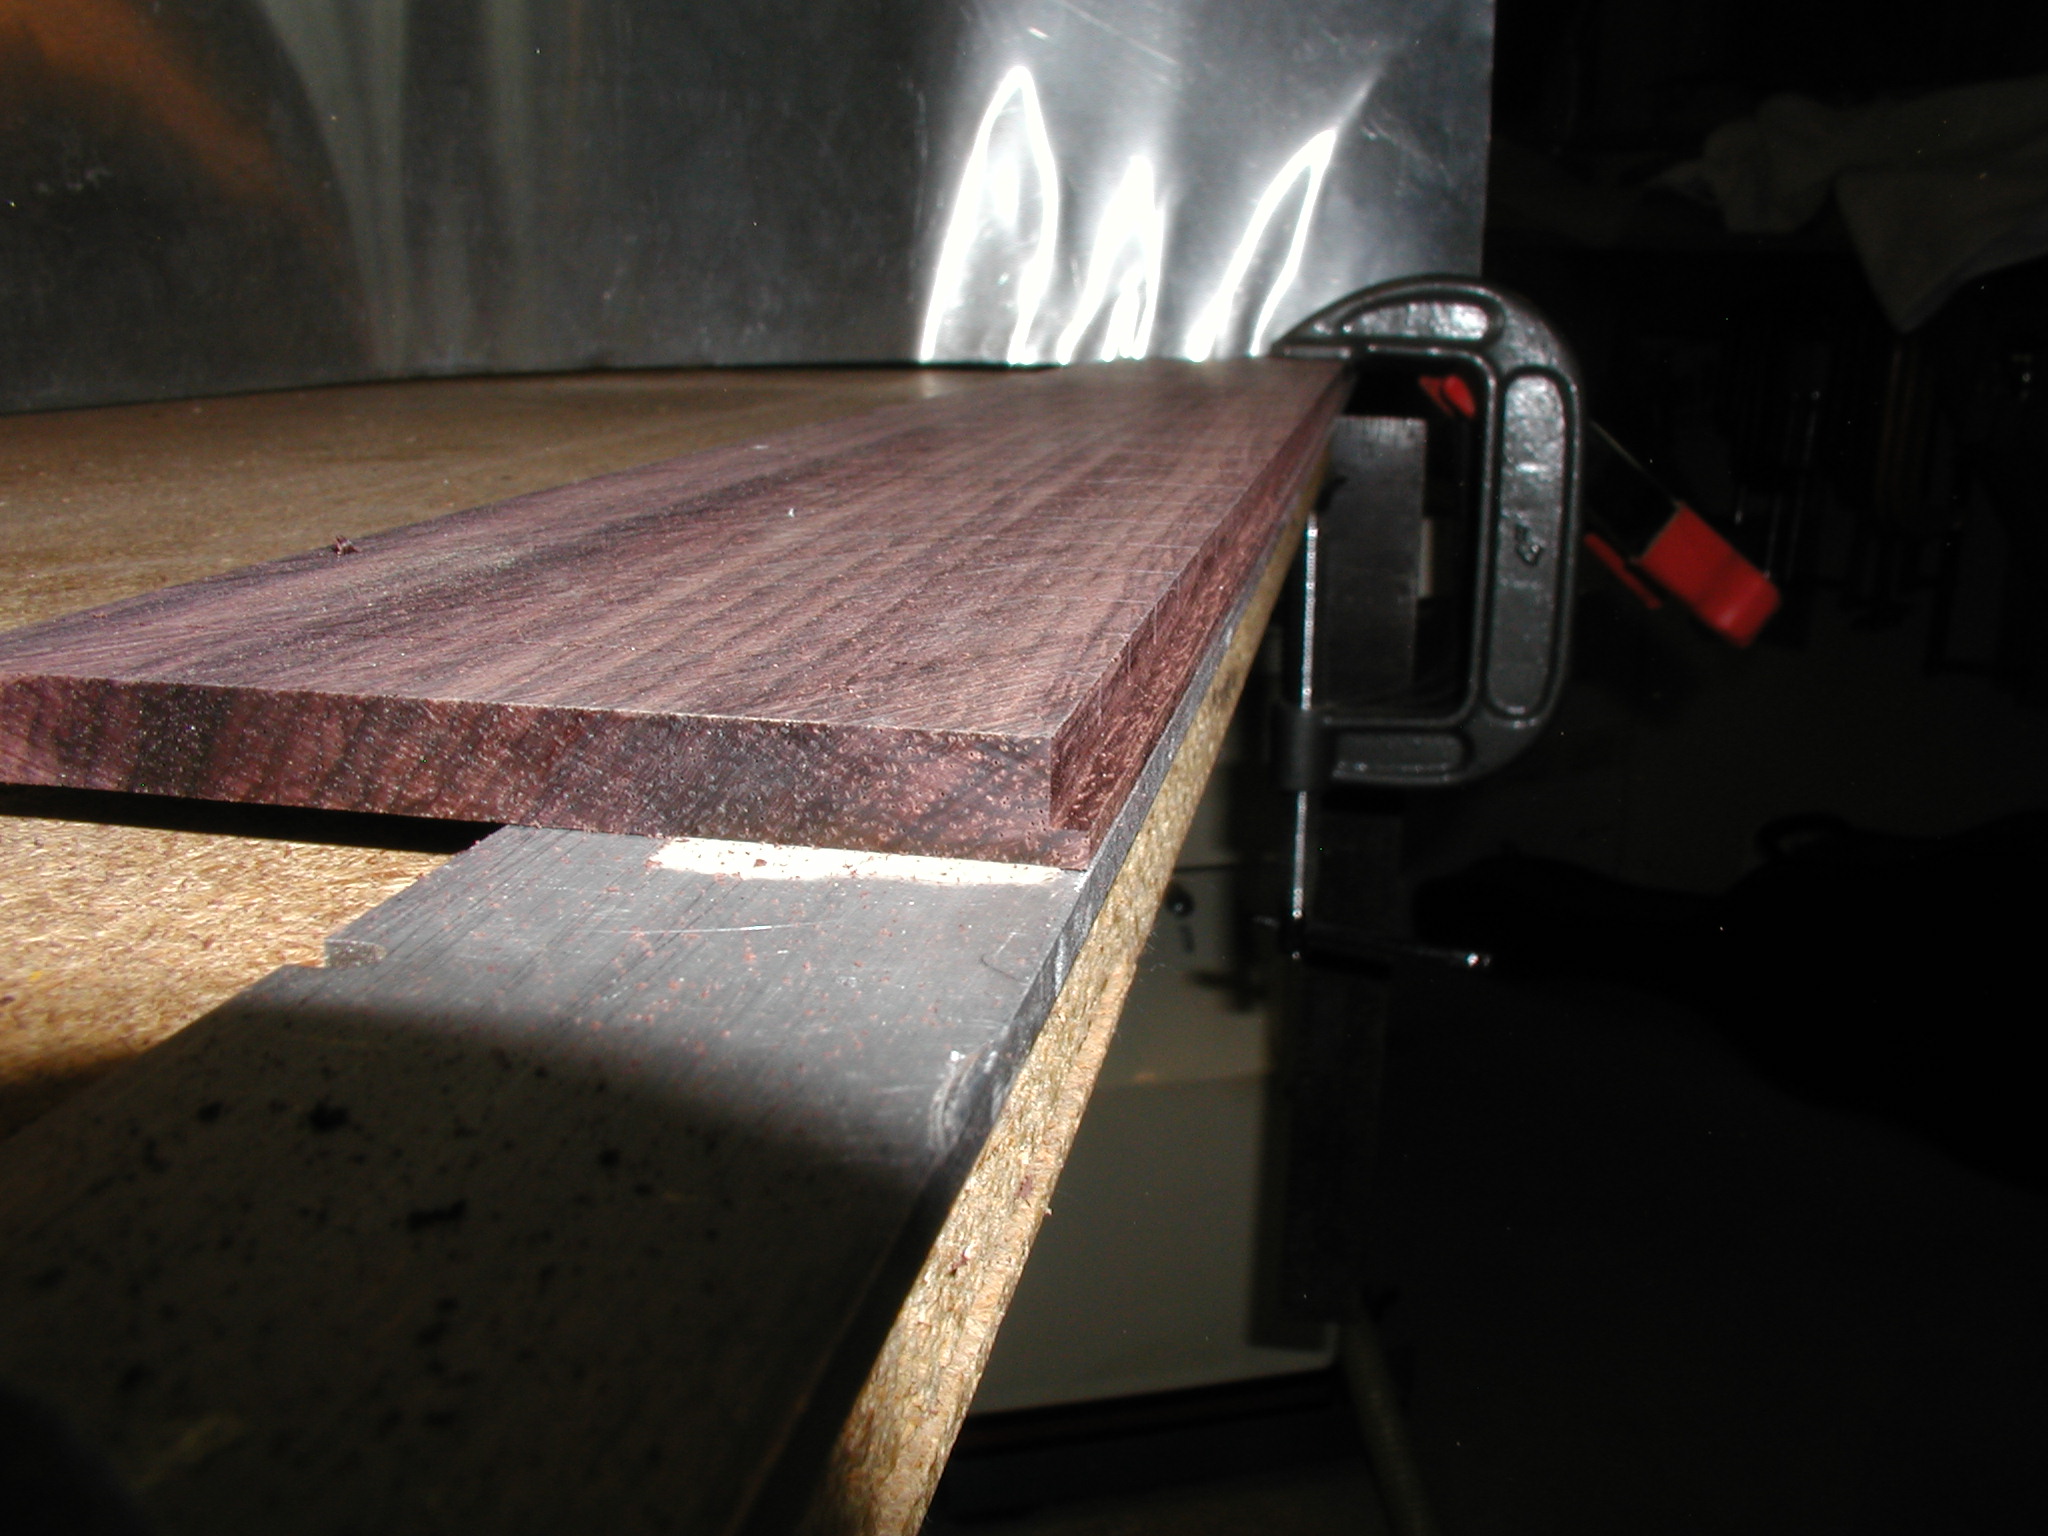
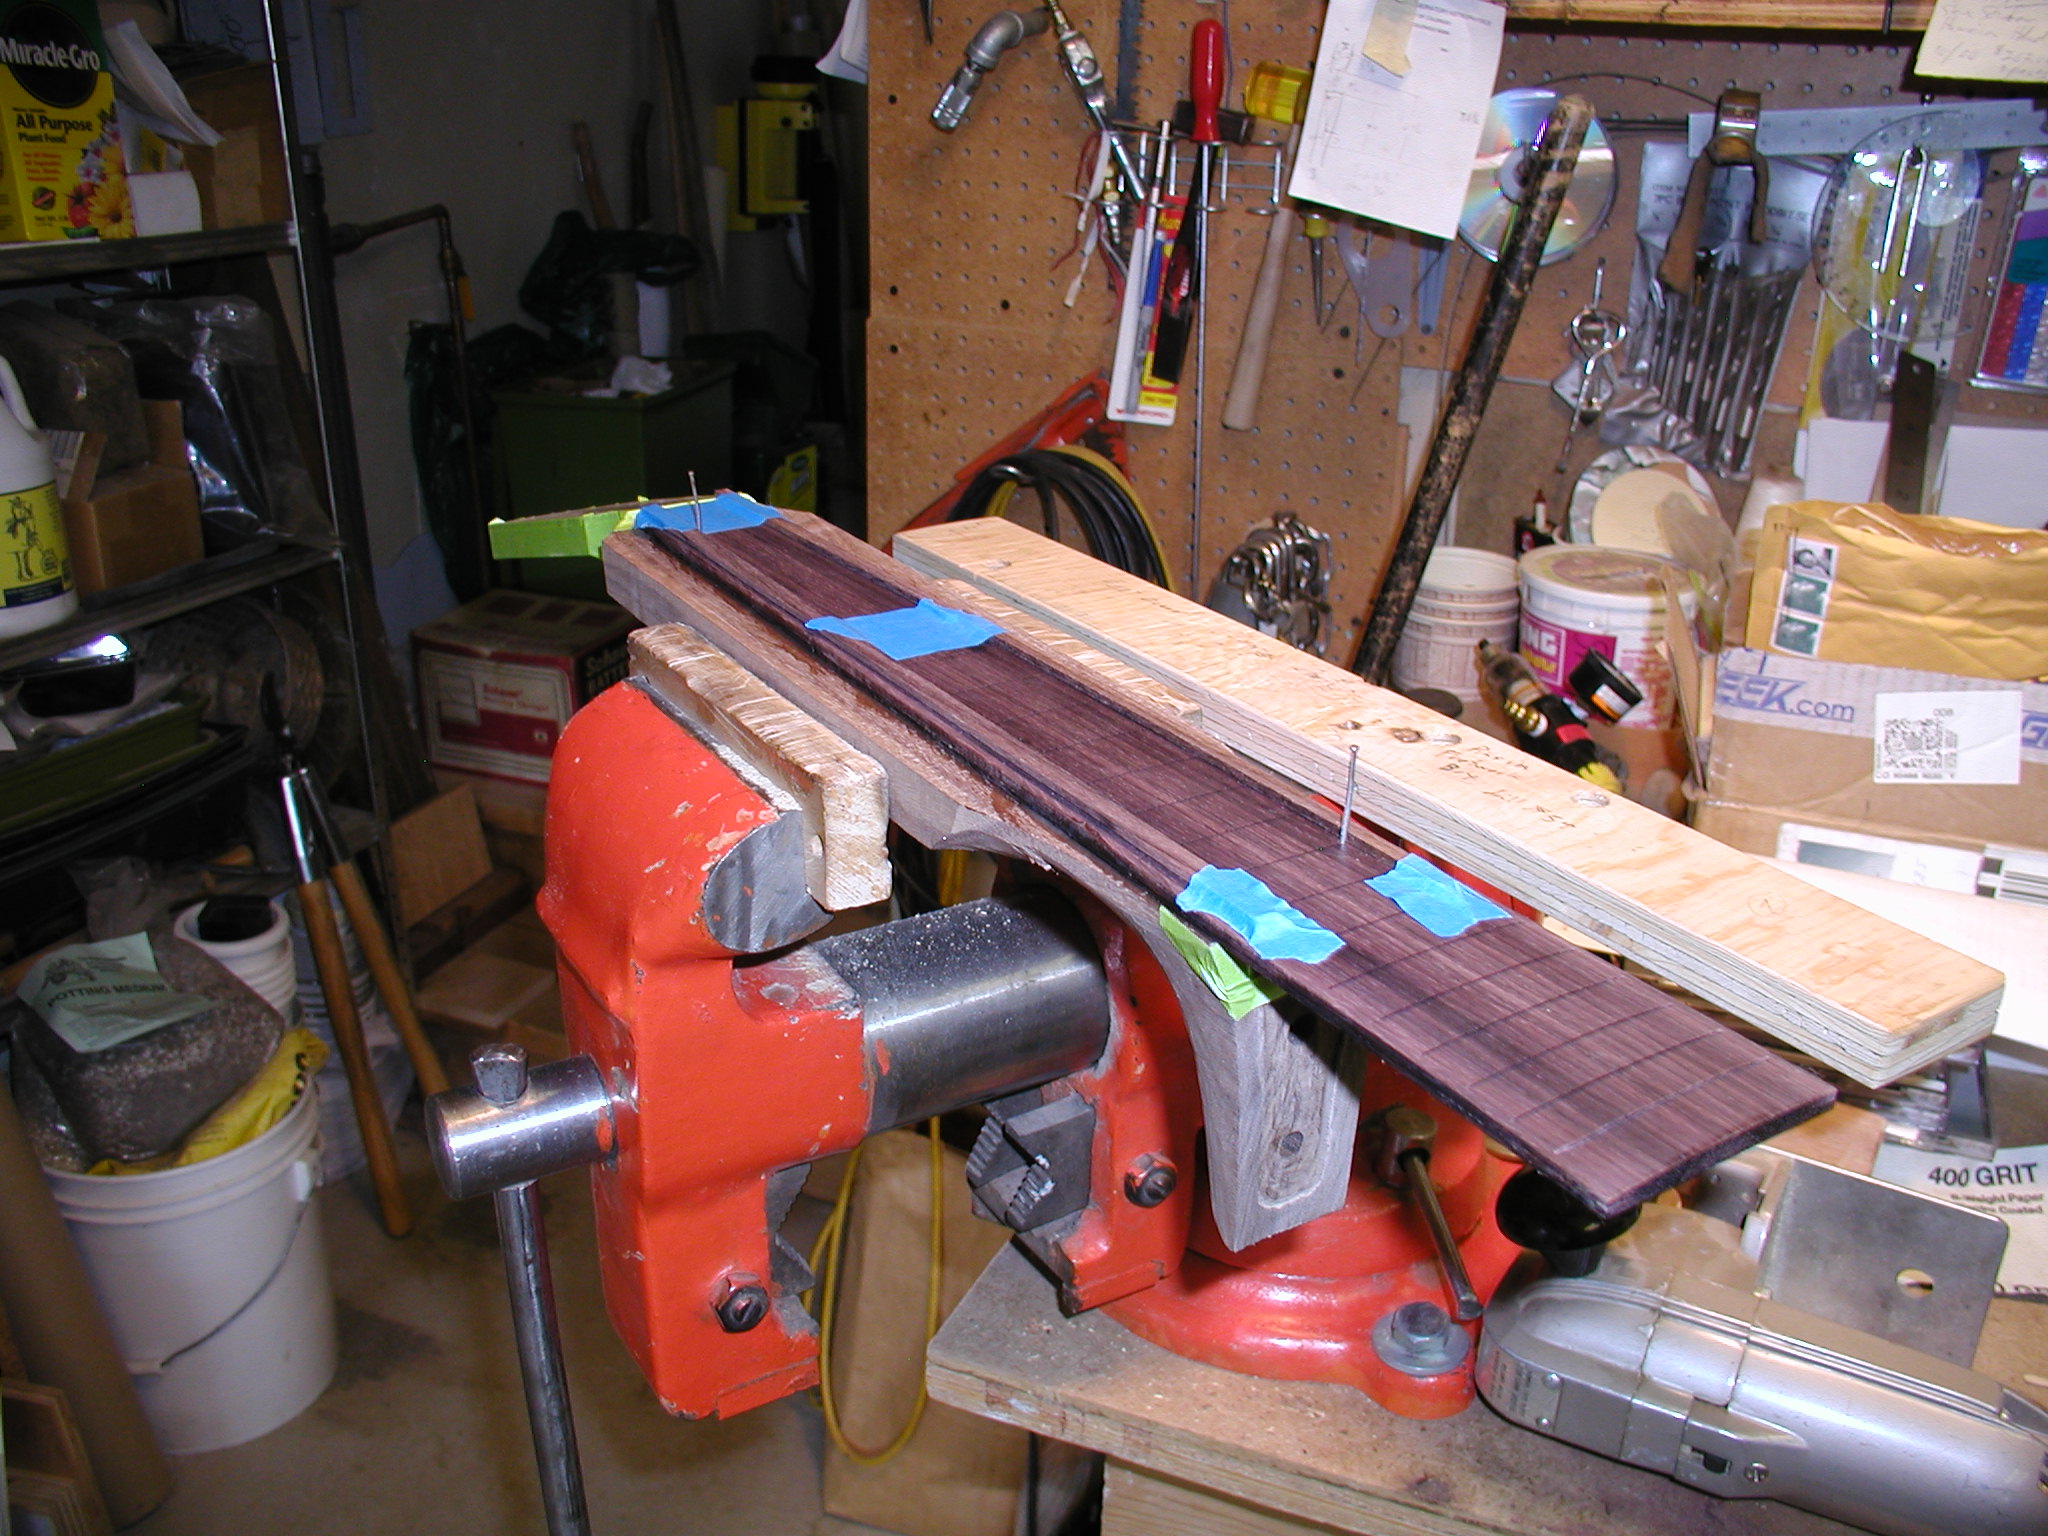
I bind all my fretboards. I do so with the same kind of wood as the fretboard and sometimes put in a 0.020" color strip of purfling on the inside edge that matches the body purfling. In that case I also run it around the inside of the headstock binding as well. Here I clamp my straight edge to overhang the workbench edge. I then double stick tape the fretboard so that it's edge is flush to the straightedge. I route the slot for the binding with a rabbit bit with a bottom bearing similar to the one used for cutting the body binding slots.

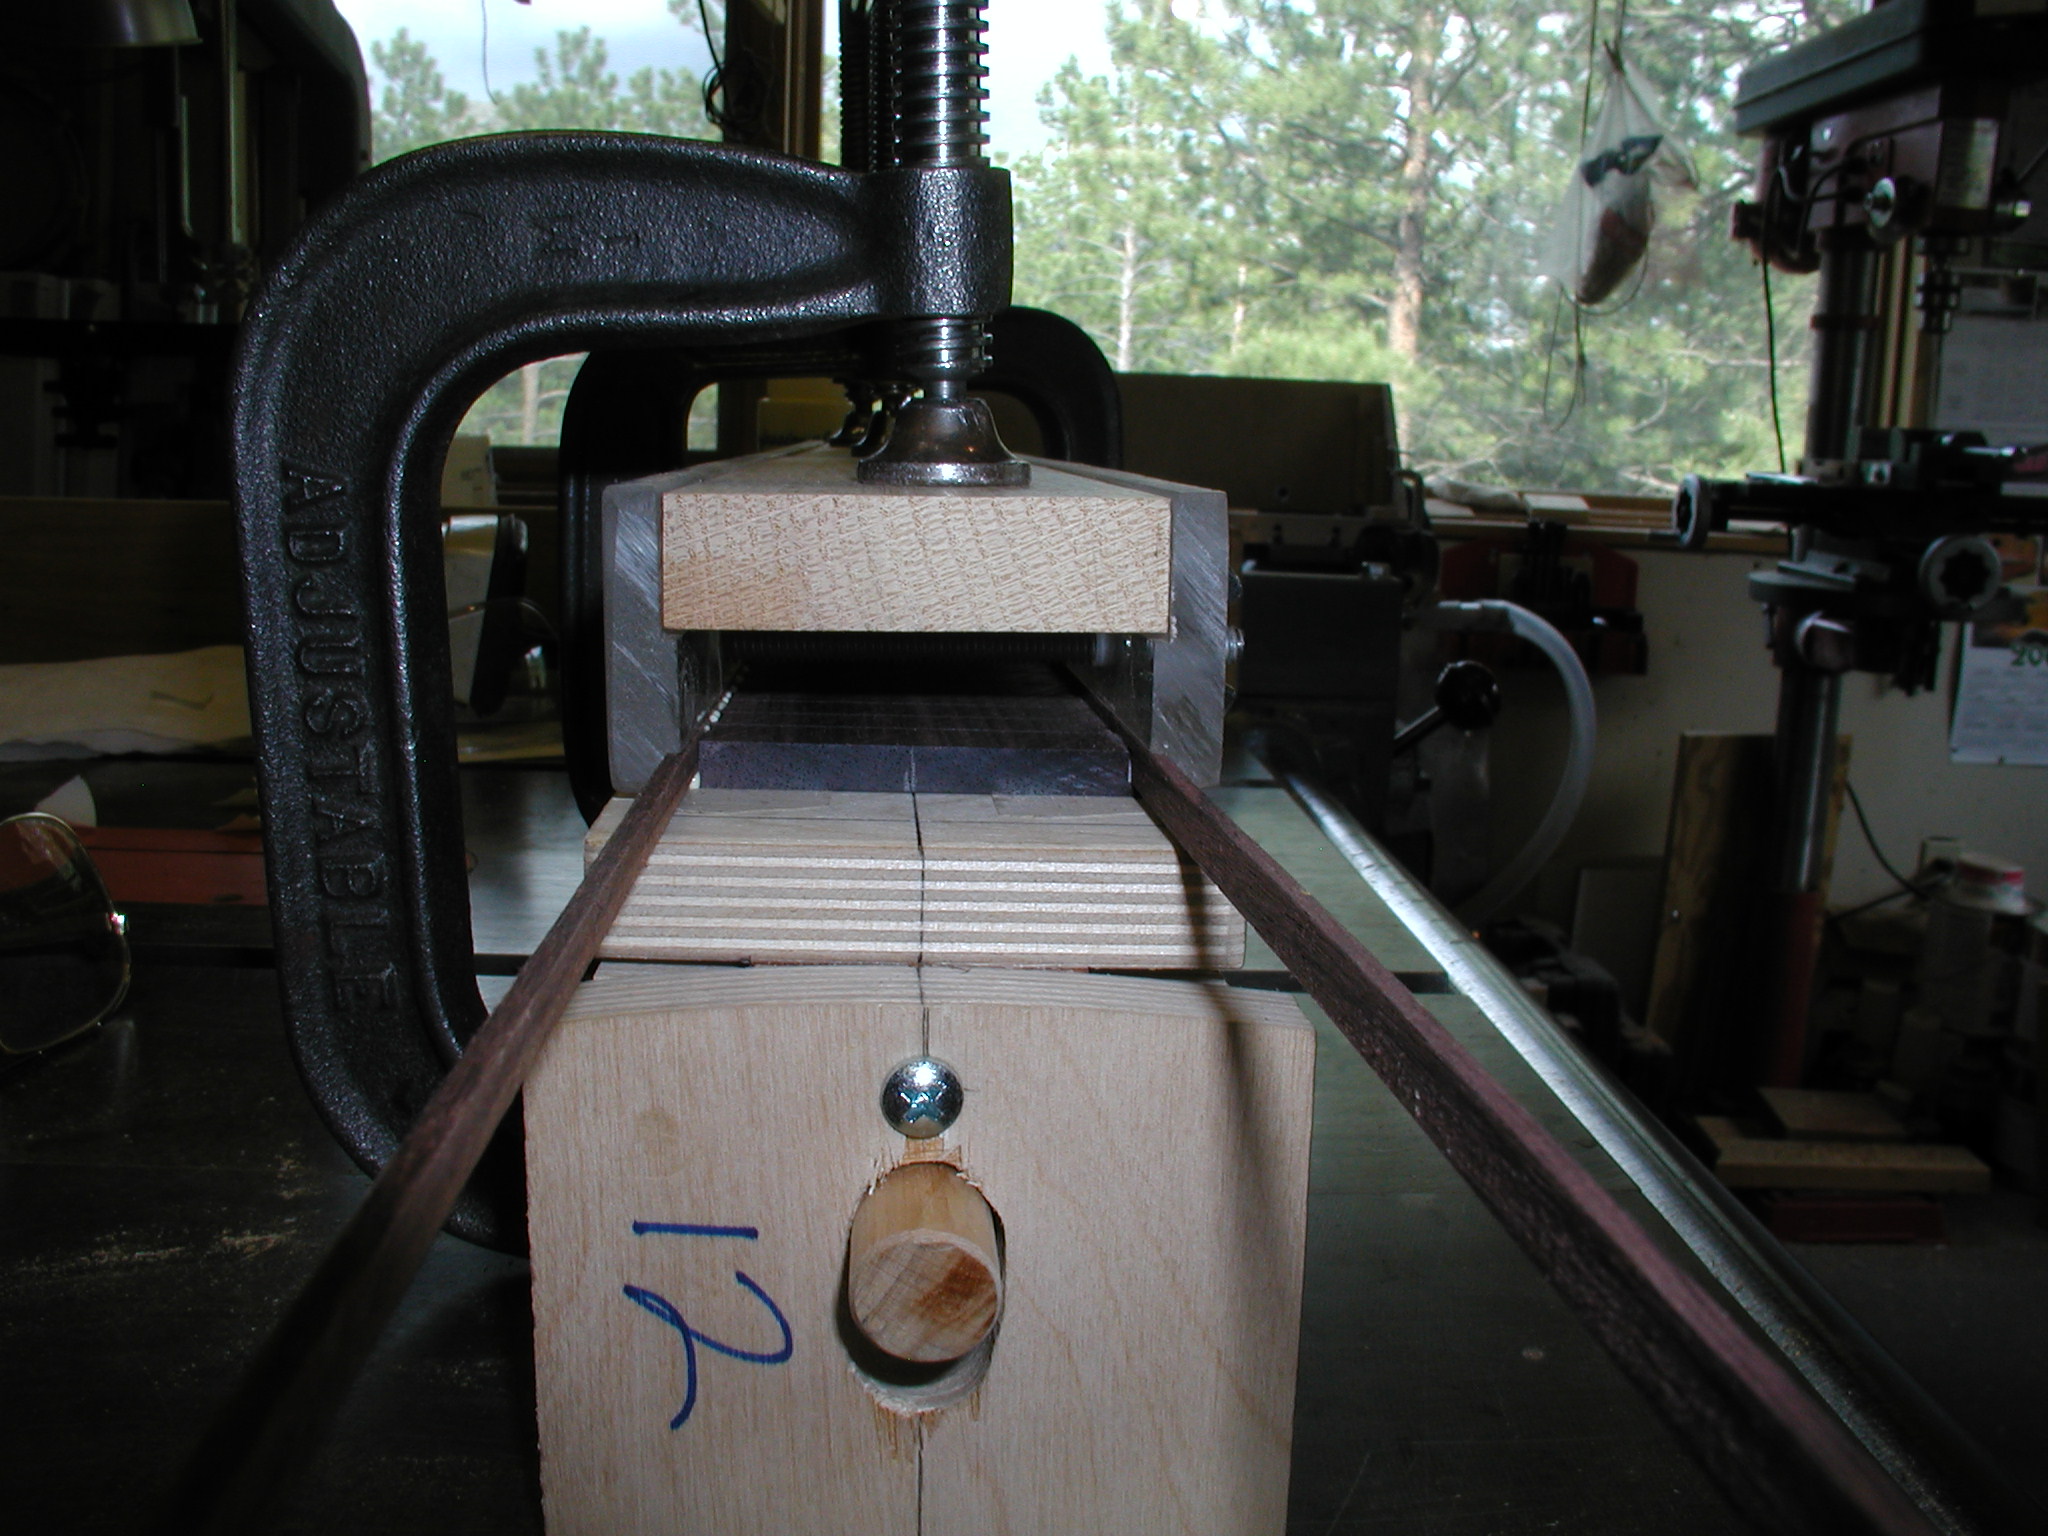
Now the binding gets glued in with a squeeze jig of my own design. It is tapered the same as the fretboard and the Plexiglas sides are routed out at the bottom to engage the binding. One side is screwed on tight and the other is just rattle loose and is snugged in with wing nuts. I put glue in the slot, place the binding in the slots, then slip the jig onto the binding till it wedges a bit. At this point I snug the wing nuts just a bit, then pull it all down with some clamps so the binding bottoms well in the routed out slot, then tighten the wing nuts all the way. Wait 10 minutes and clean up any squeeze out and clean all the fret slots as well. Then re-clamp for an hour or two.

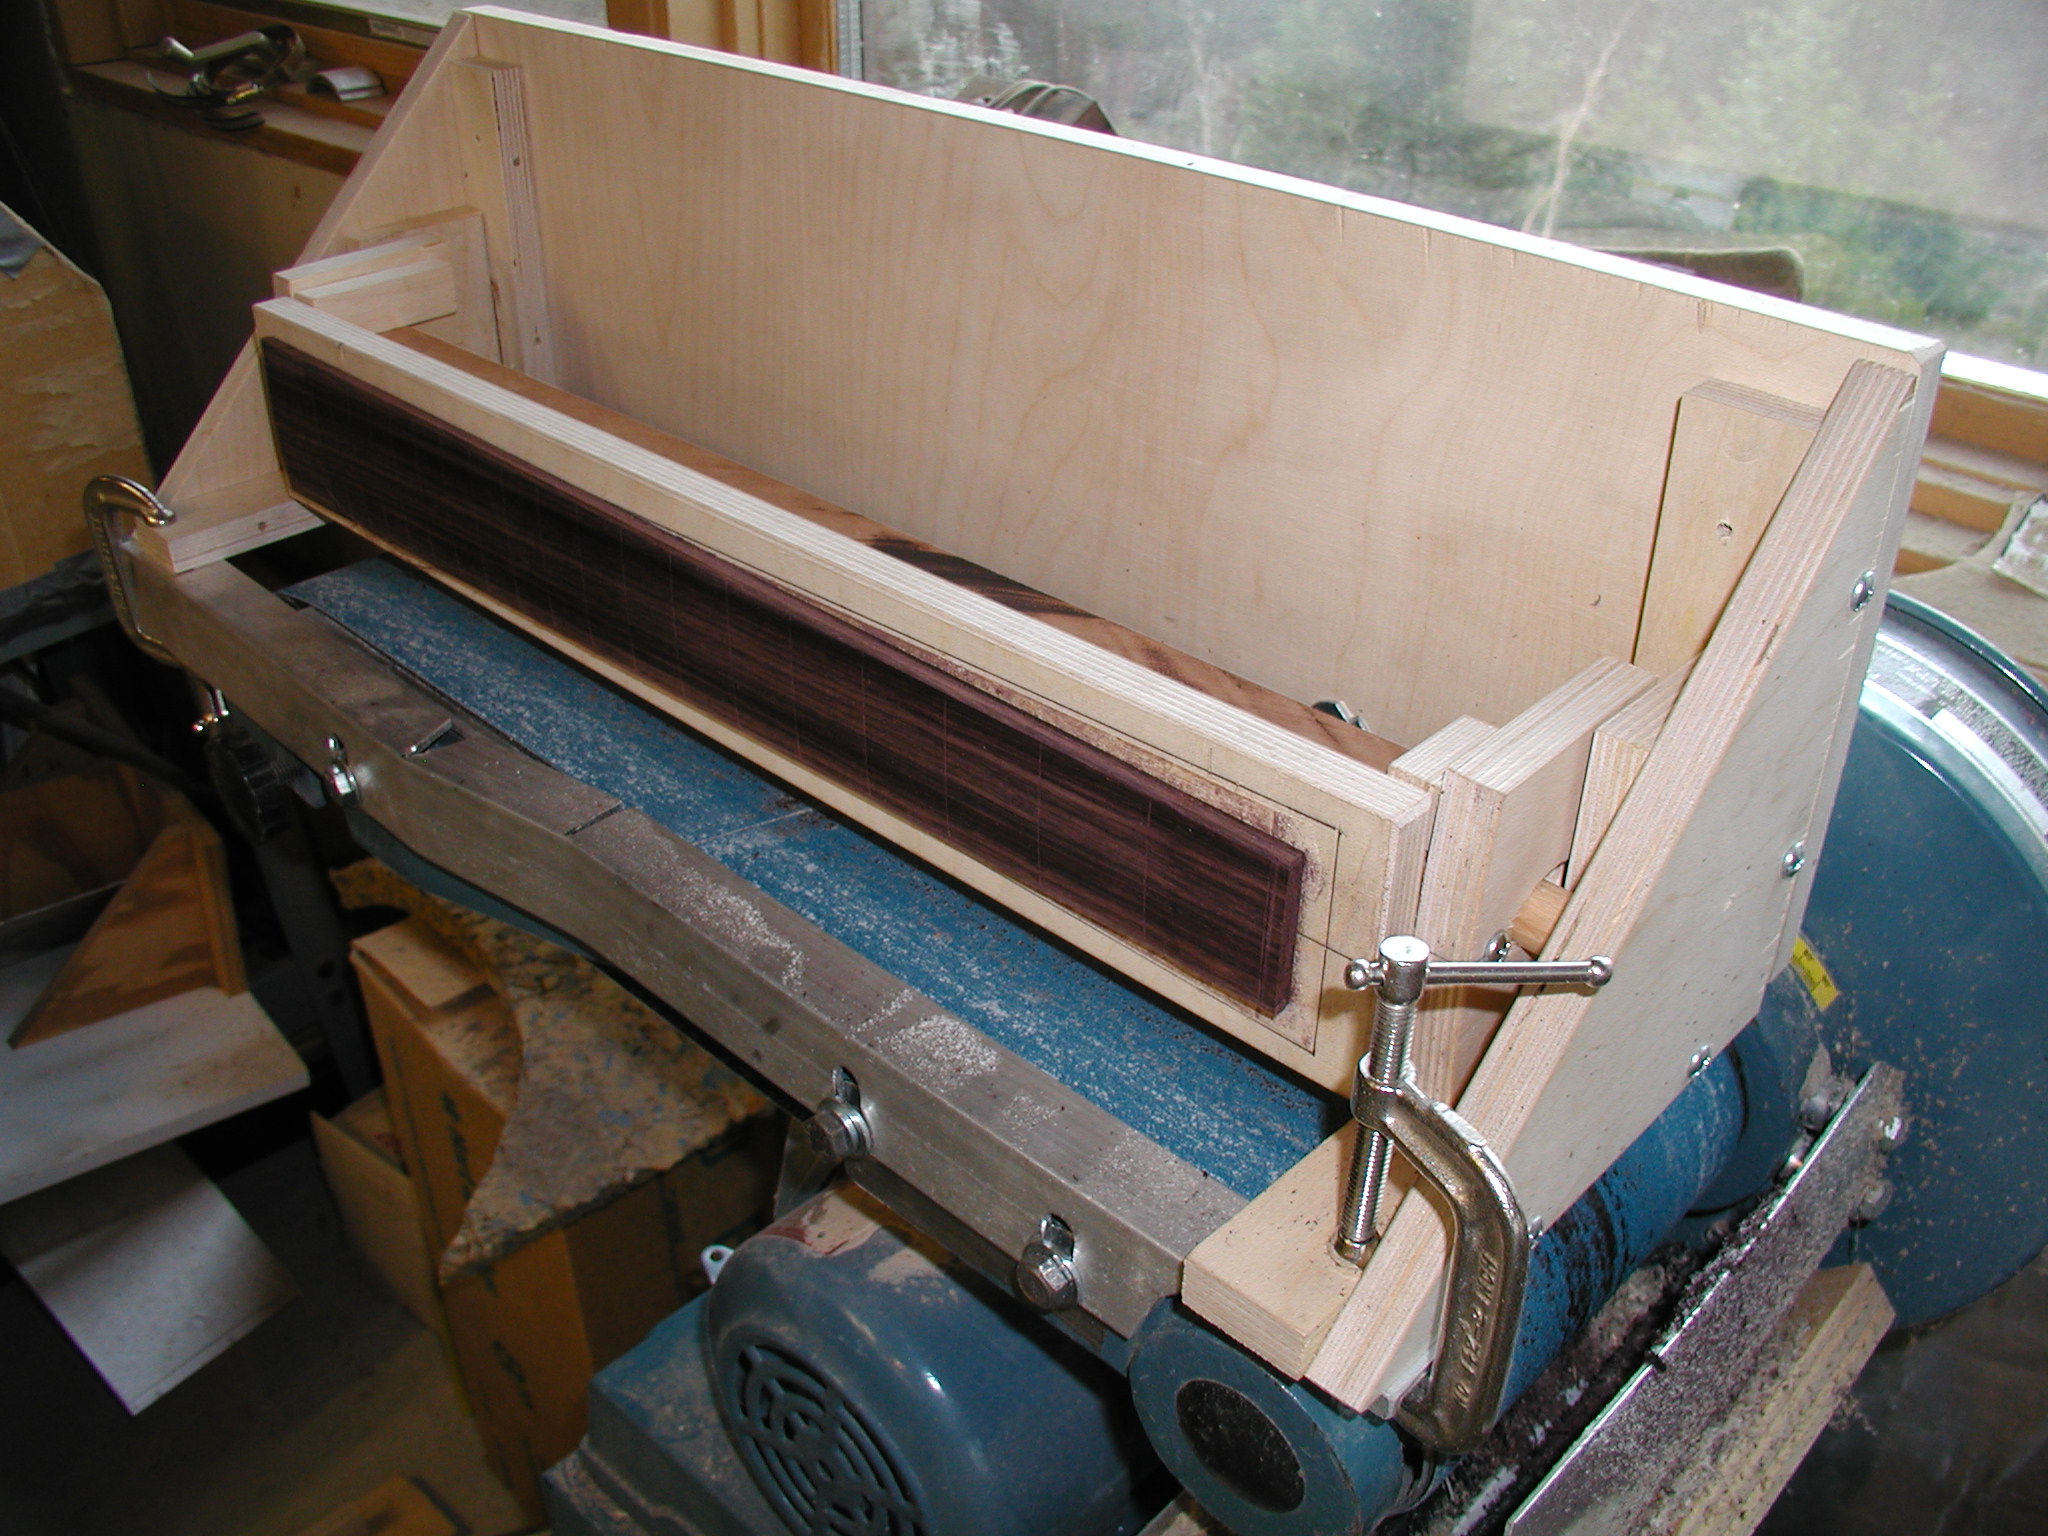
This next jig is a copy of other folks designs used to sand the compound radius onto the fretboard. The body of the jig sits over the belt sander and the long mahogany block has end pieces that are of different radius. In my case 12" and 16" or 18". Although this works, I'm not completely pleased with it yet. It is fiddly to set up and isn't really designed for this type of sander. I need to ponder this one a bit and re-design perhaps.
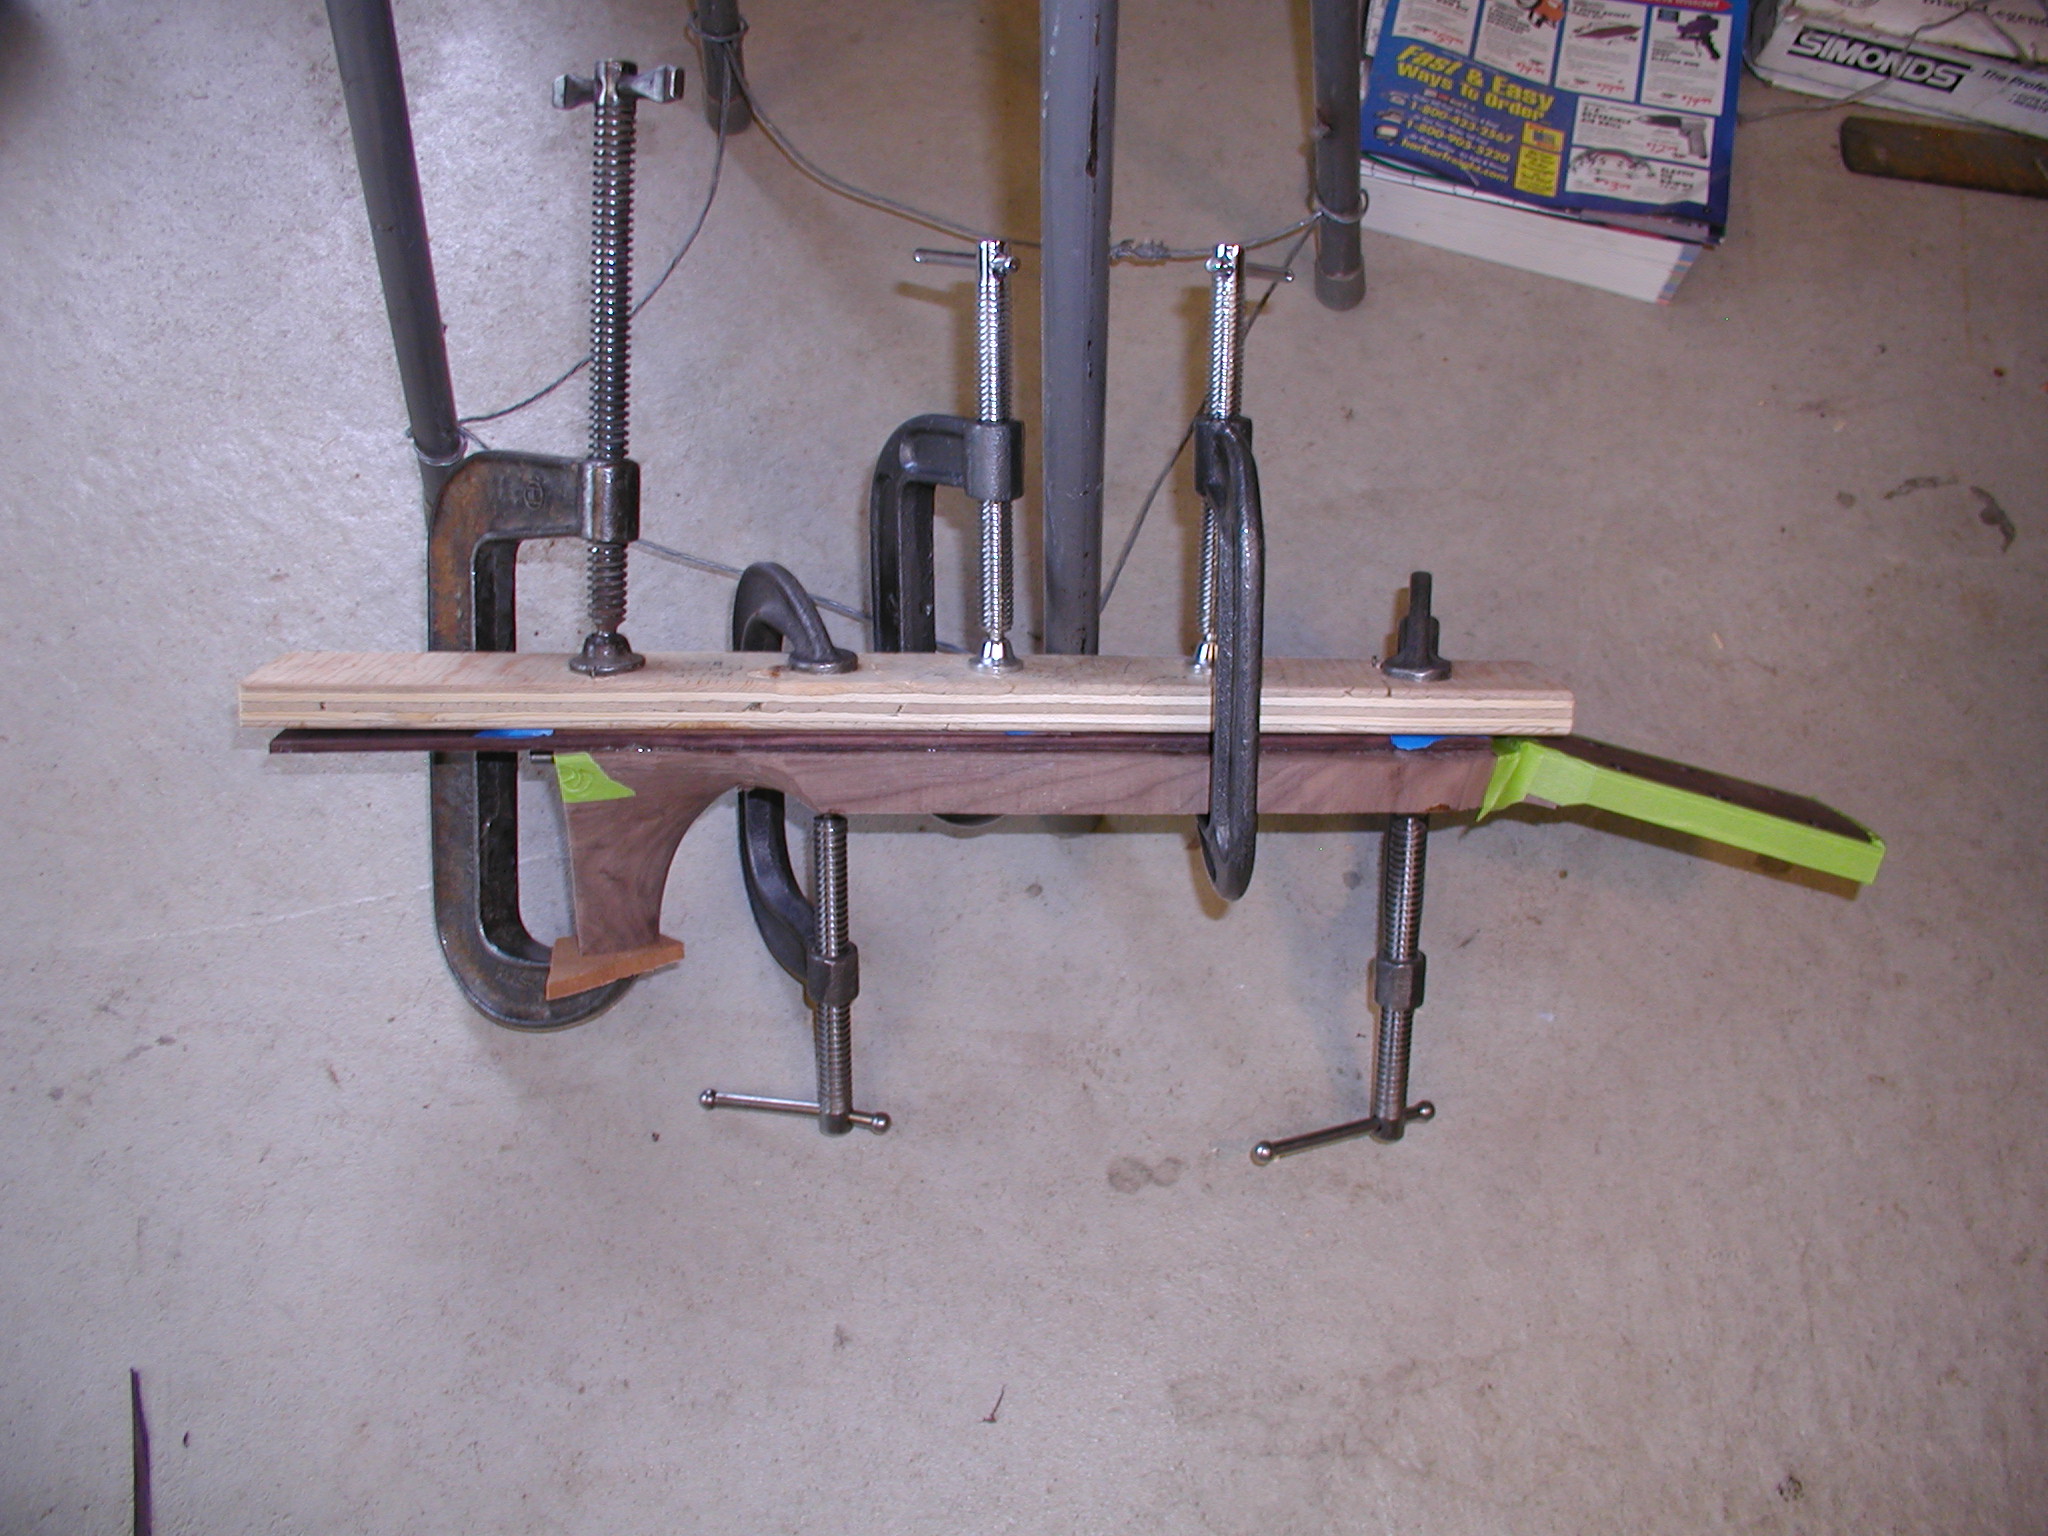
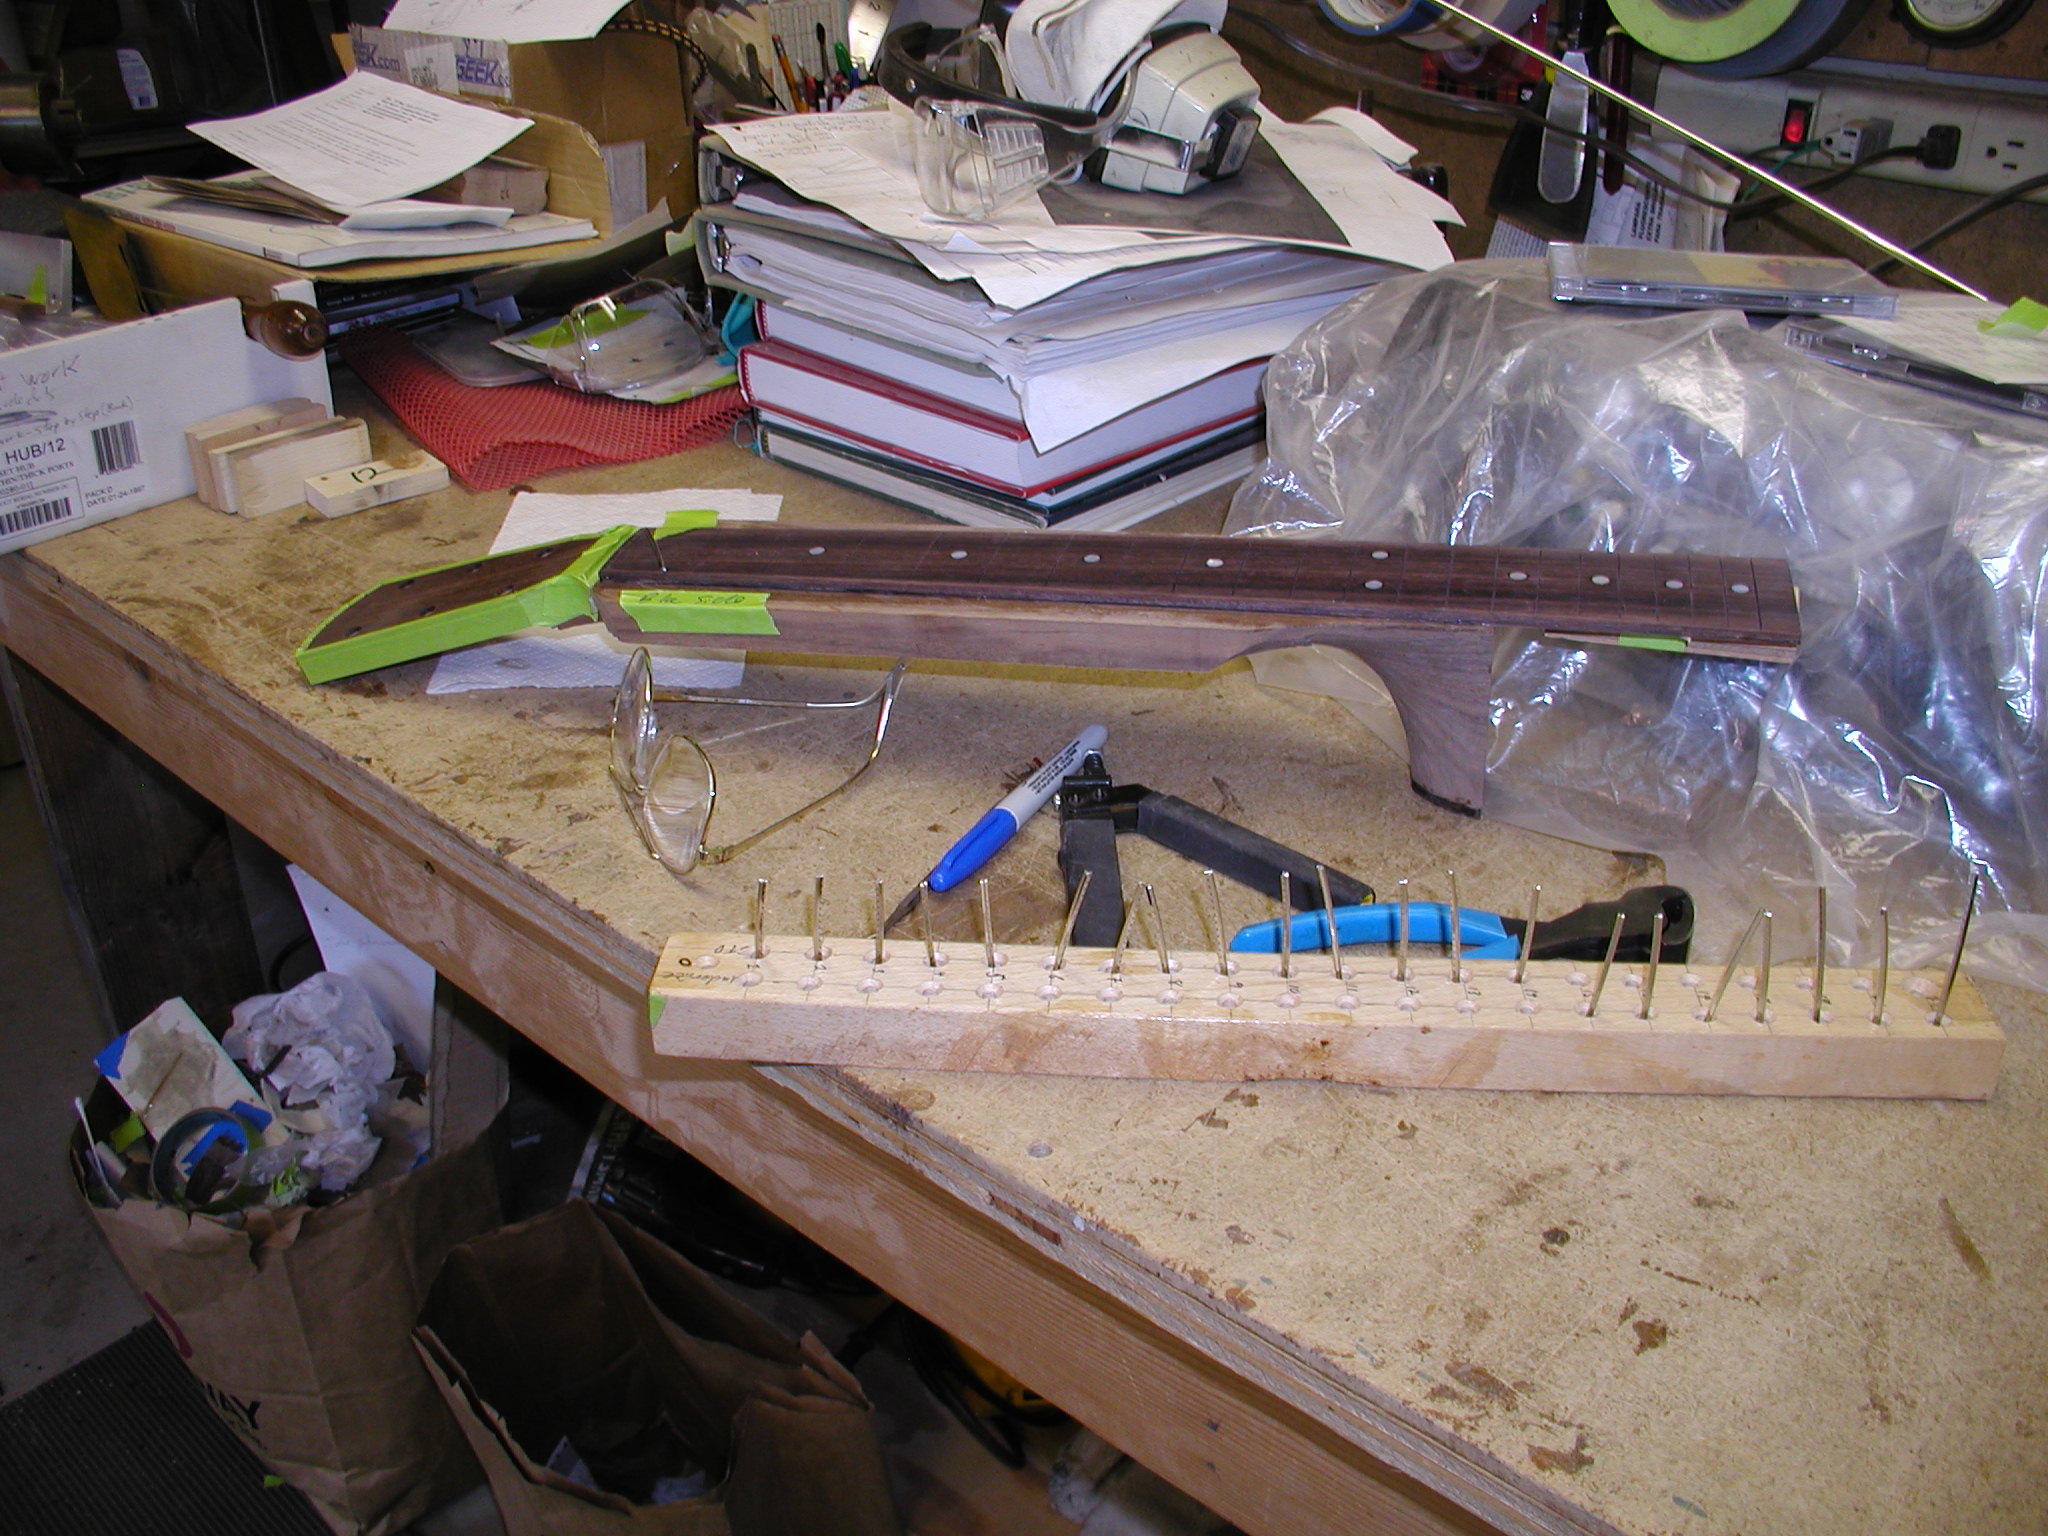
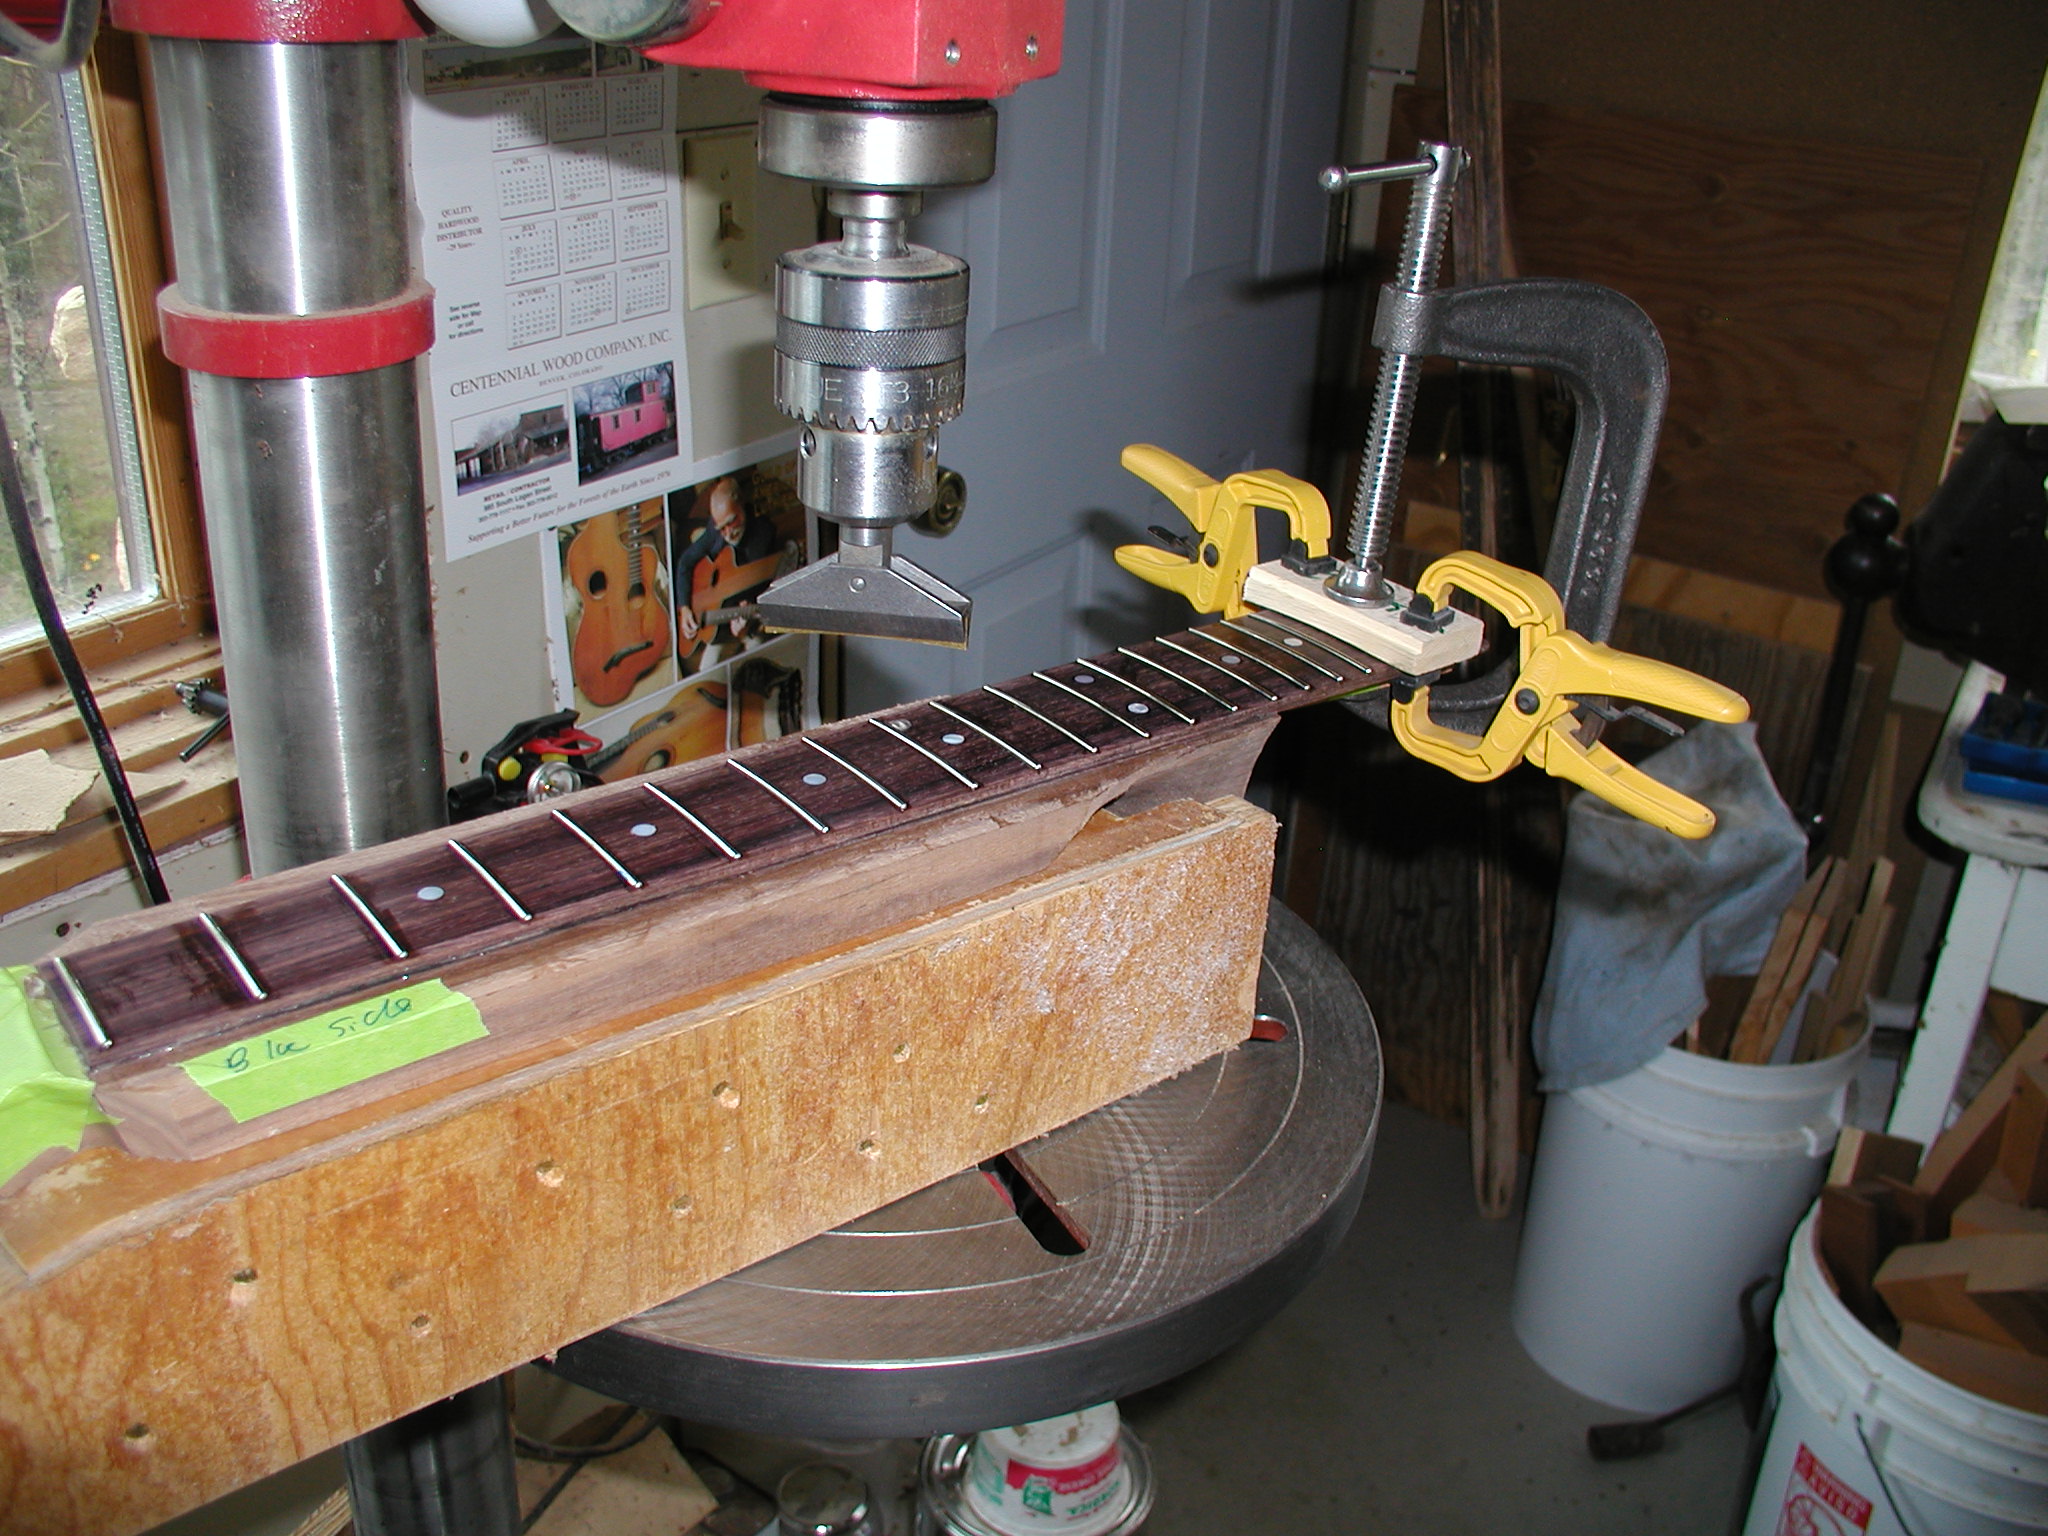
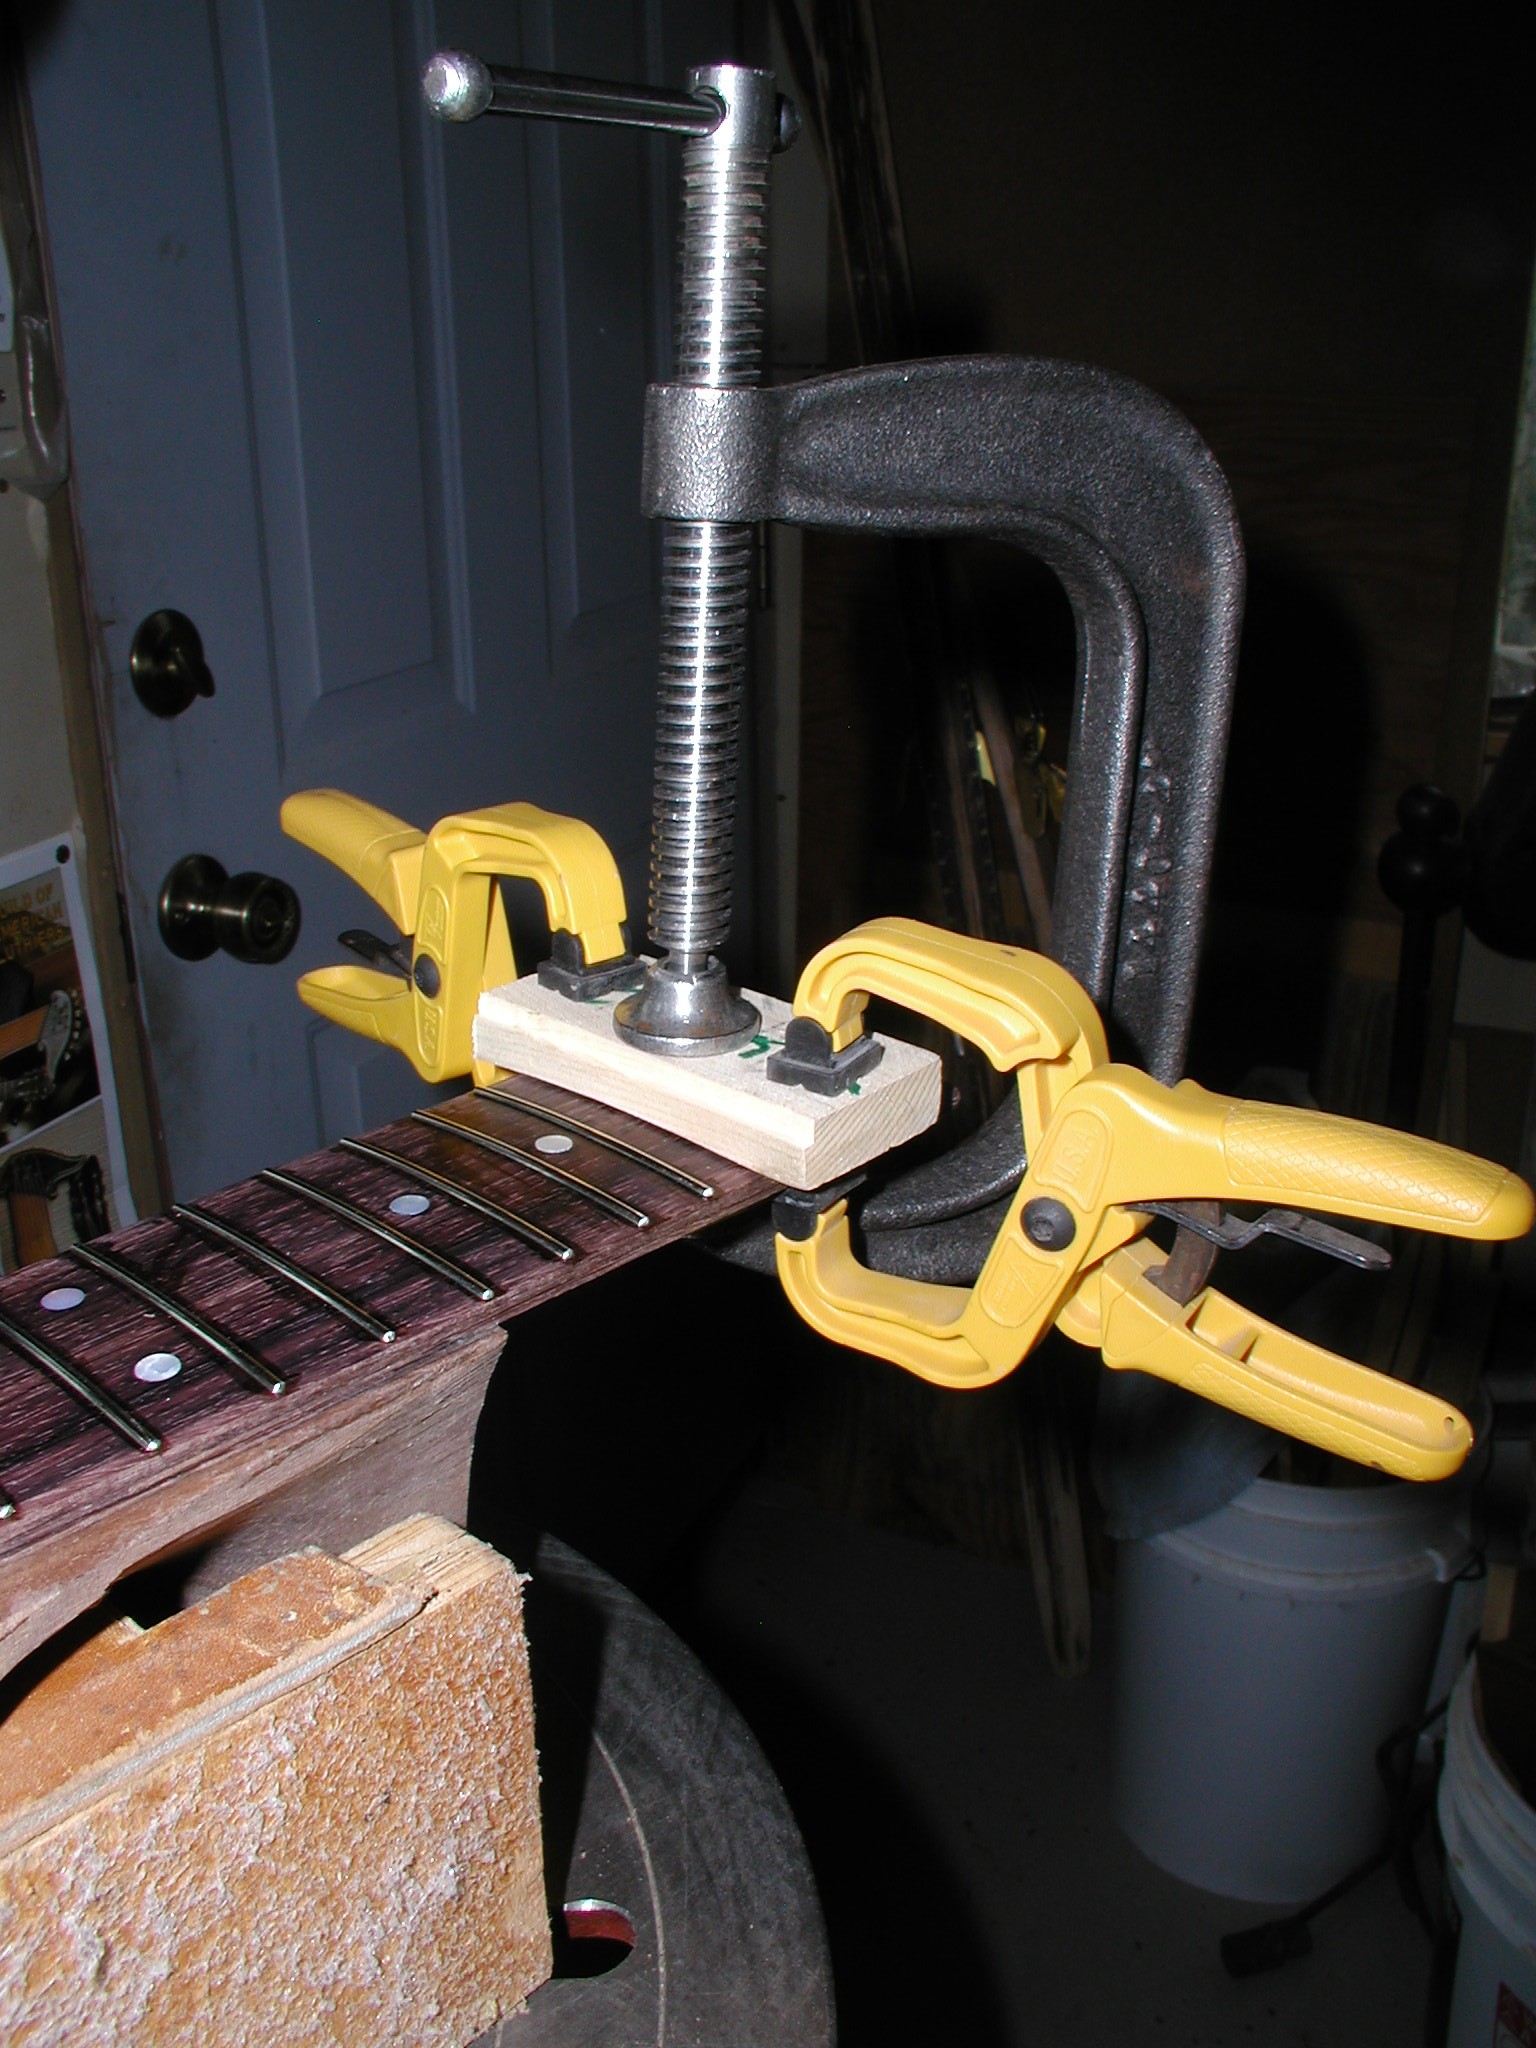
Now glue on the fretboard. Now you see why I didn't already carve the neck shaft, it is LOT easier to hold it in the rough shape. Note the wire nail pins that go through the first and 11th fret slots to align the fretboard and keep it from slipping when clamped. If the fretboard was flat we could just use the clamping caul, but since we already radiused it then thin wood strips need to be used to apply the clamping pressure evenly down the length of the fretboard near the edges. The center will take care of itself. Then a bunch of clamps again and let dry for a couple hours.
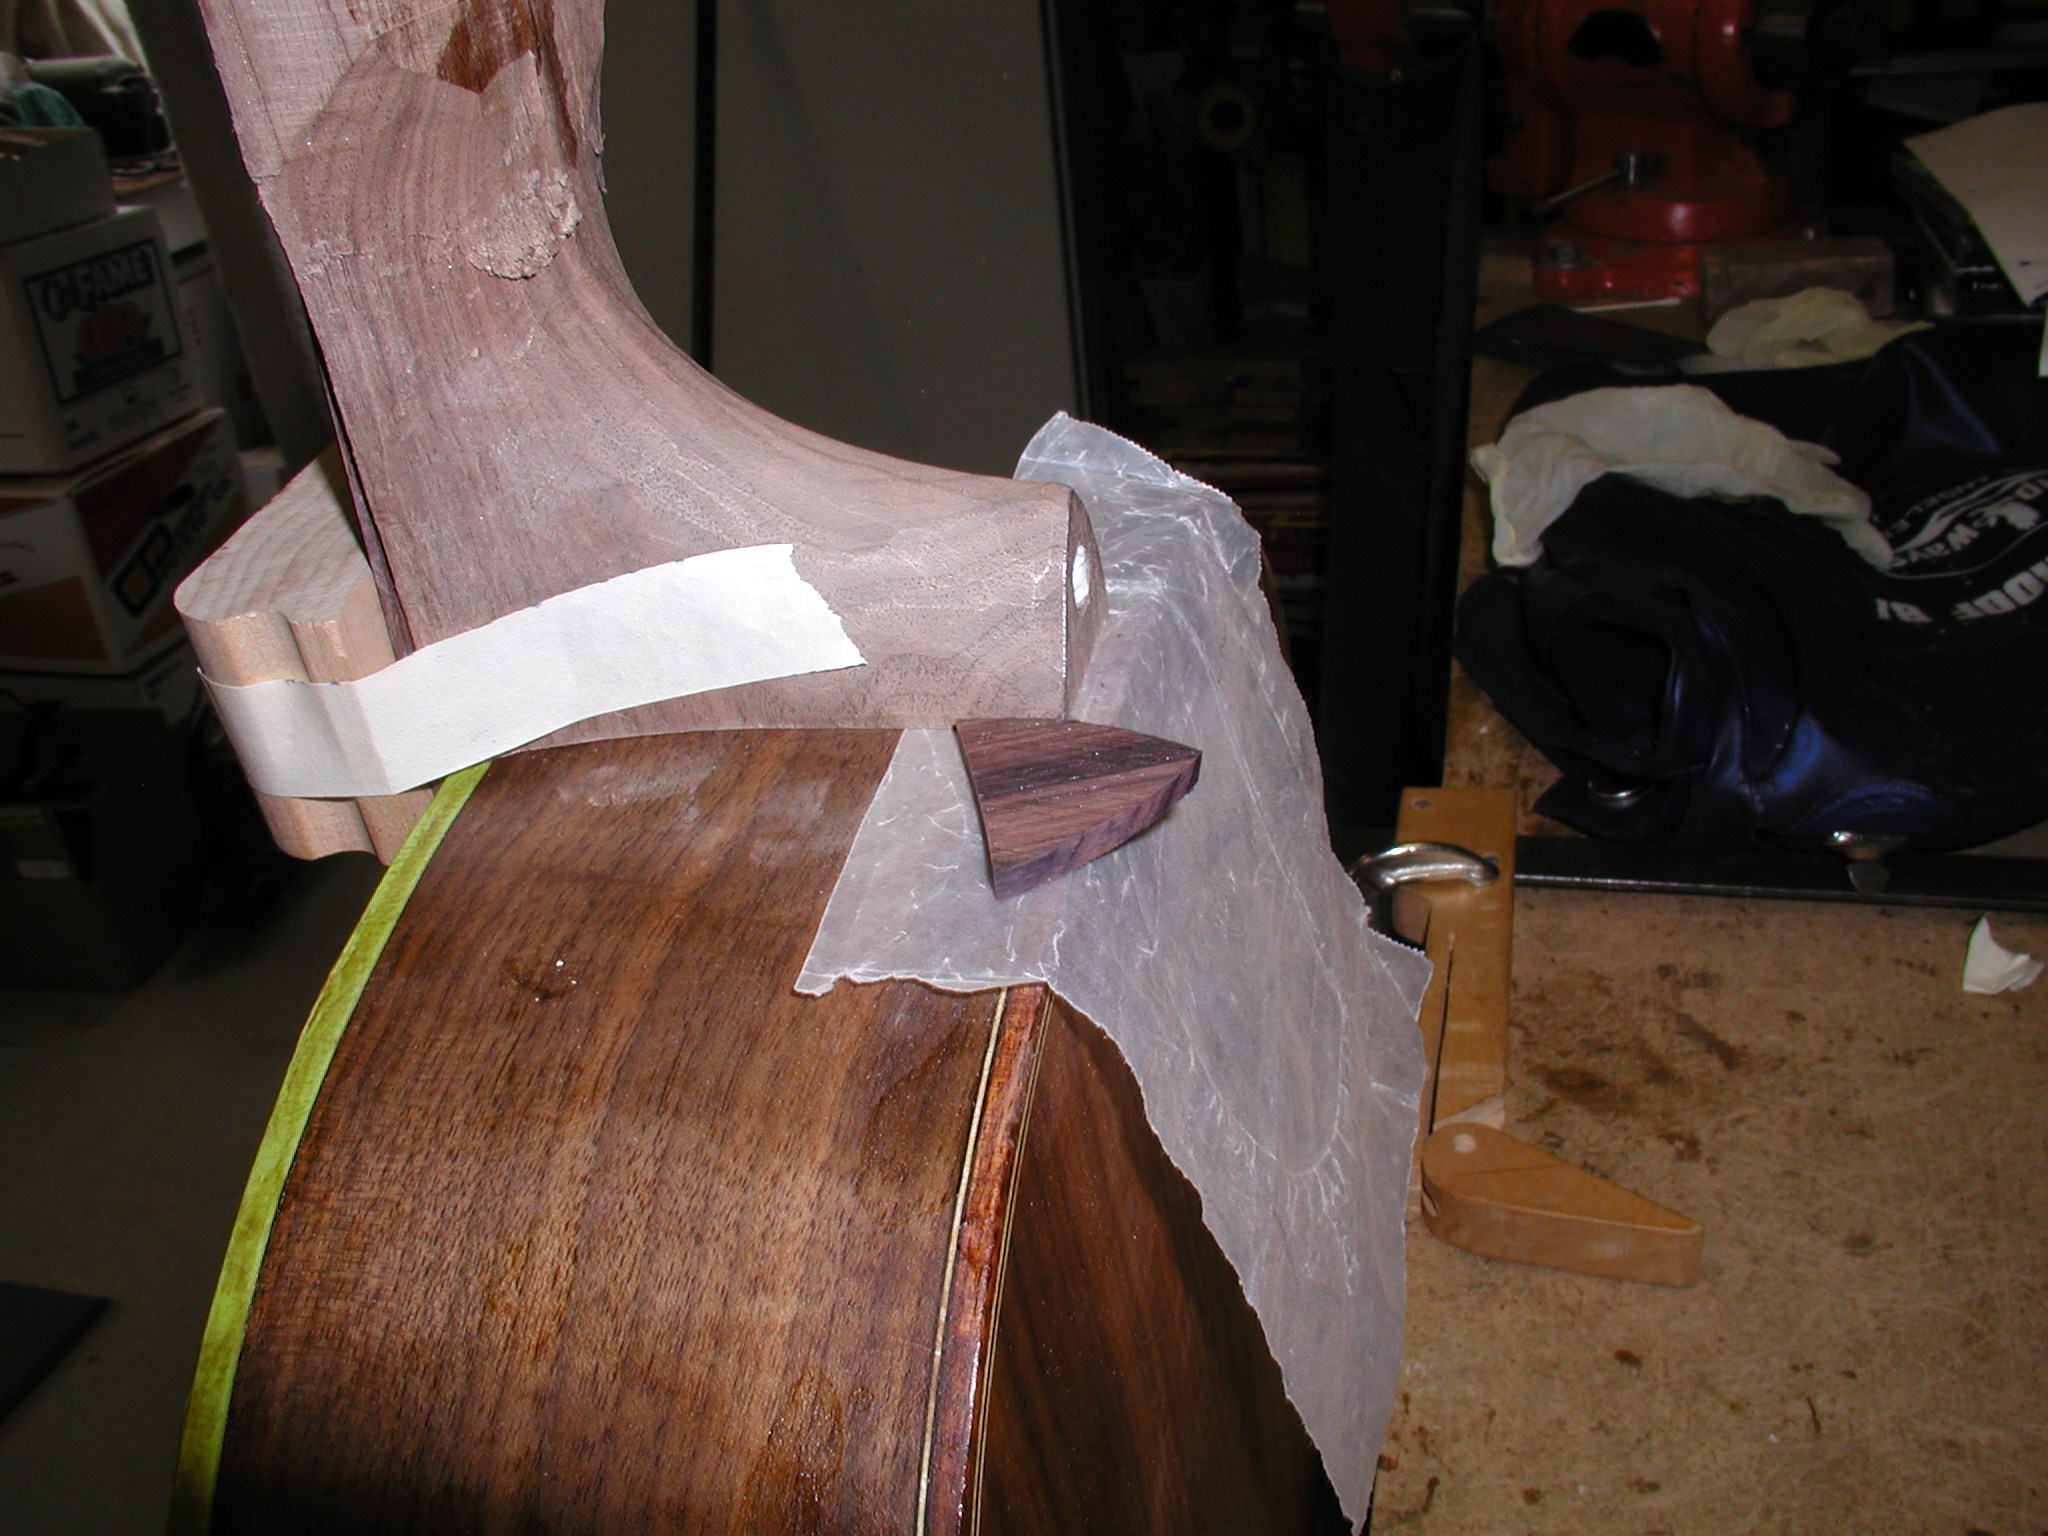
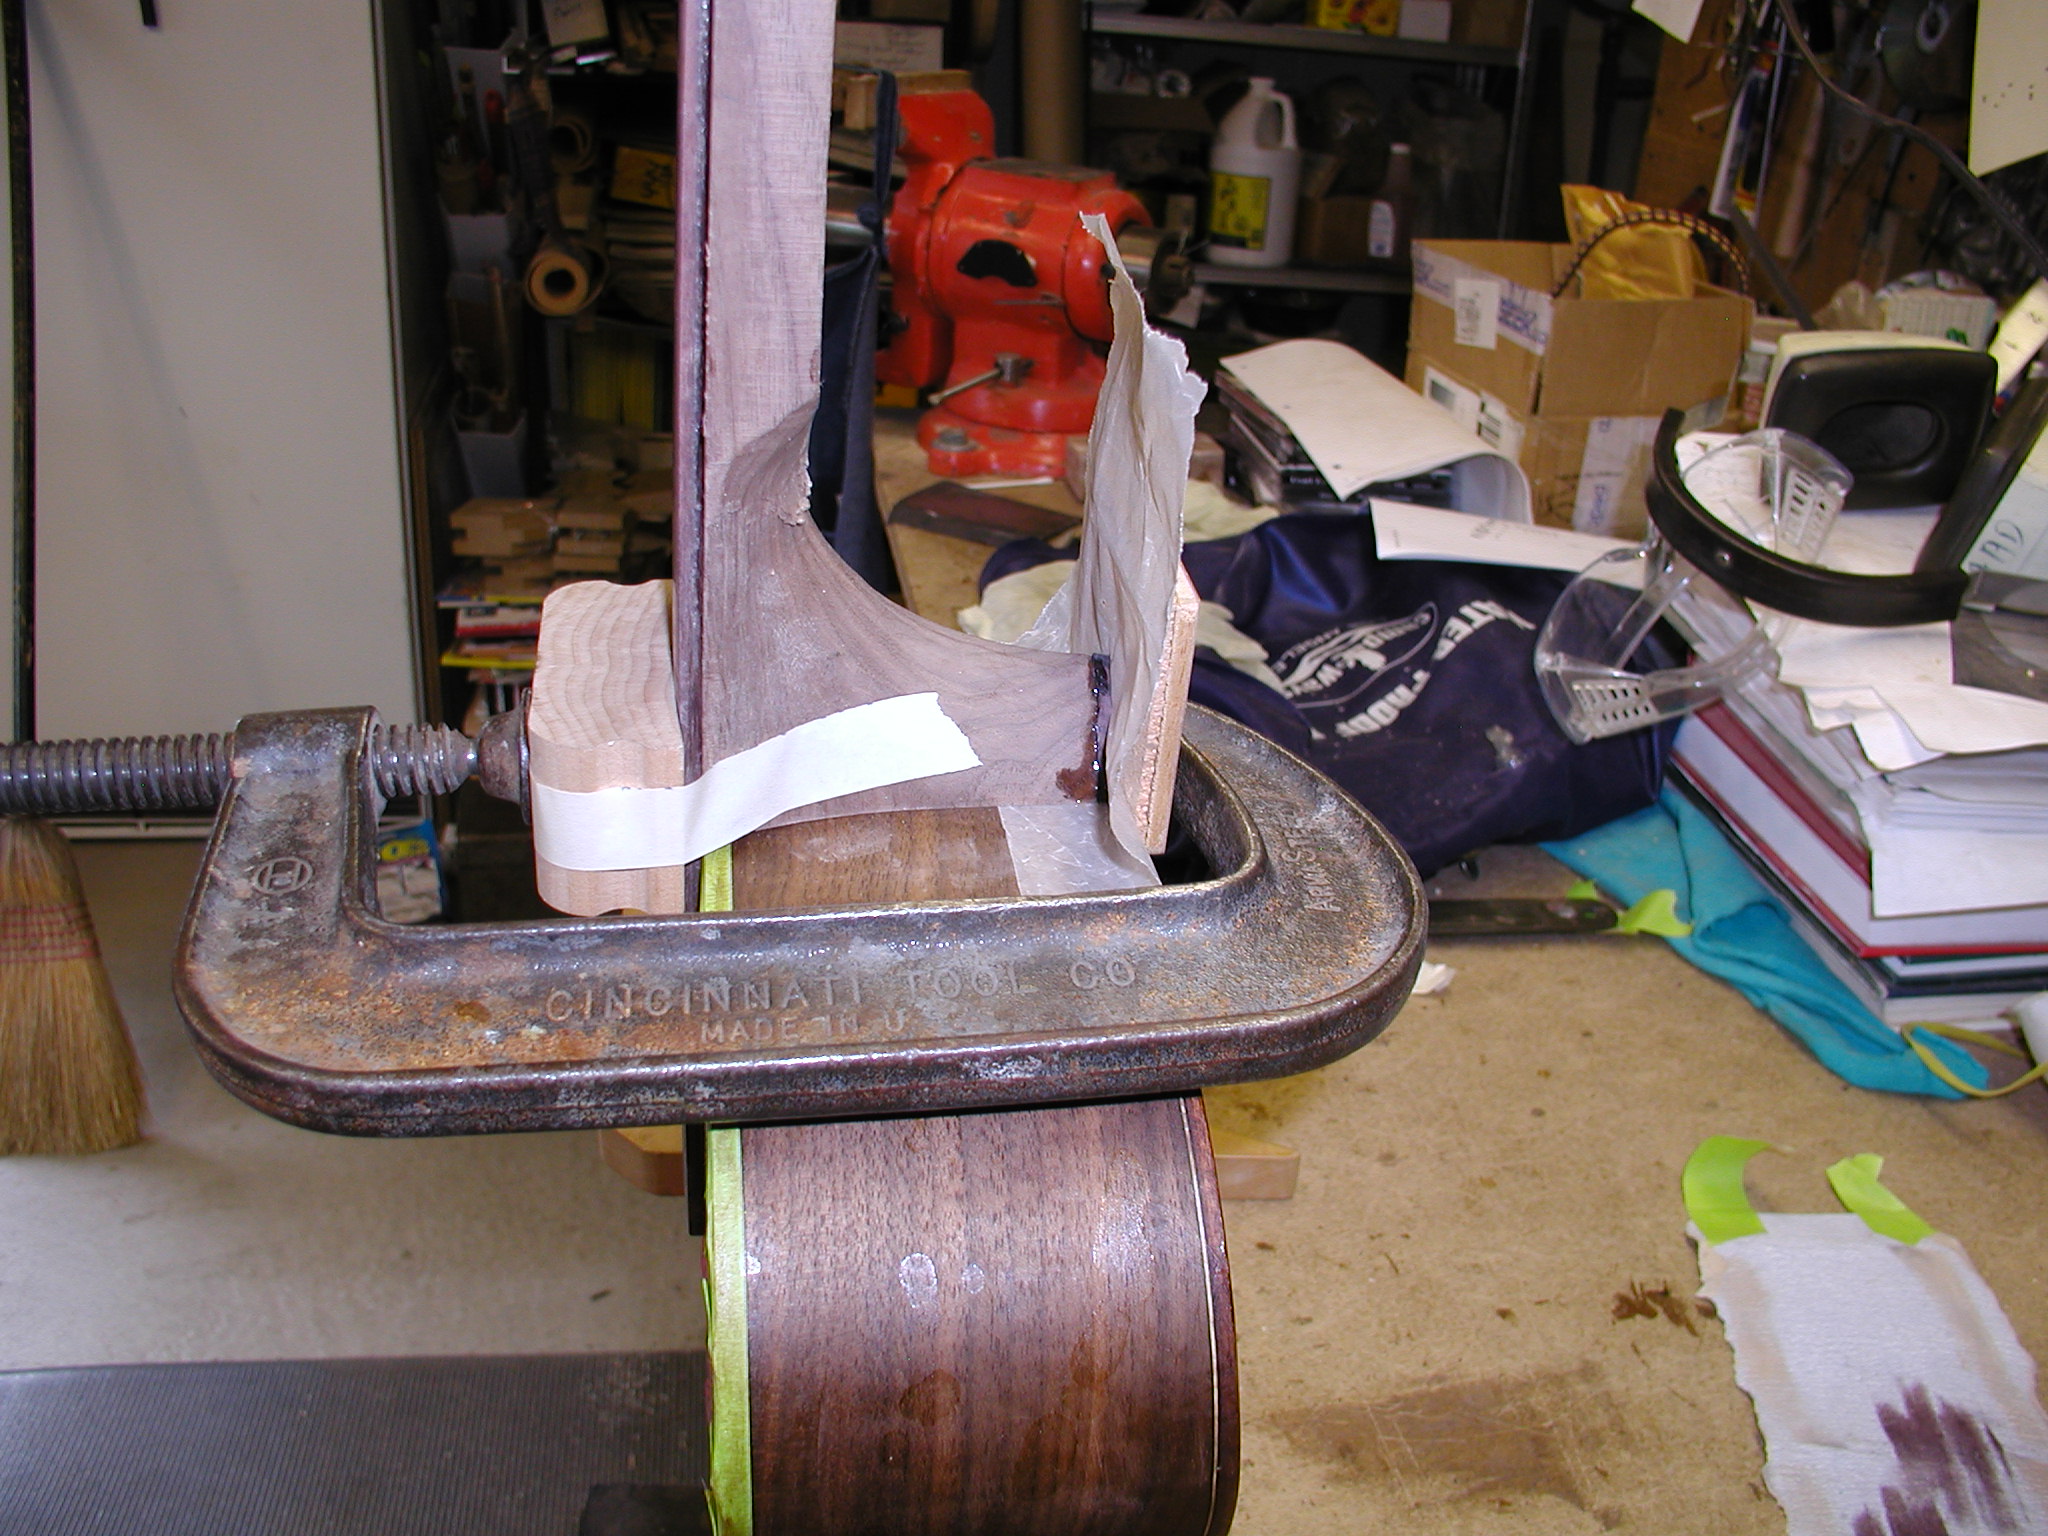
Now back to the body and attach the neck and check the fit. Hey, this is starting to look like a guitar! We are ready for the heel cap now. I carefully mark and angle the heel part of the neck and then just grind it off on my belt sander. You can see just a tad of the pencil line still on the bottom of the heel. Also notice that the hole where the neck anchor was inserted gets a cotton ball to keep any glue from getting in there. I shape the heel cap so that it is smaller than the neck heel and perfectly balanced side o side and angled to mate to the body without any gaps at the back or the side. It will become the template to which the heel will be carved. Waxed paper protects the body and the clamping caul and it all goes on with light clamping pressure. The caul on the top is just a cut-off of an old radius sanding block. This used to also be used for gluing on the neck when I used to do that.
Not shown is the installation of the fret dots. I just drill with a brad point bit and glue them in with Tightbond and level off to the fretboard and then polish the whole board to 1000 grit followed by 0000 steel wool. Also not shown is the installation of two flathead 8/32 screws in the fretboard extension. The two last pearl dots hide these. I drill the dot holes, then drill all the way through and thread the fretboard wood. Hardwood takes machine threads very well. I then screw in the flathead screws and CA glue them in place and top with the pearl dot. These will be used to attach the fretboard extension to the top without gluing.
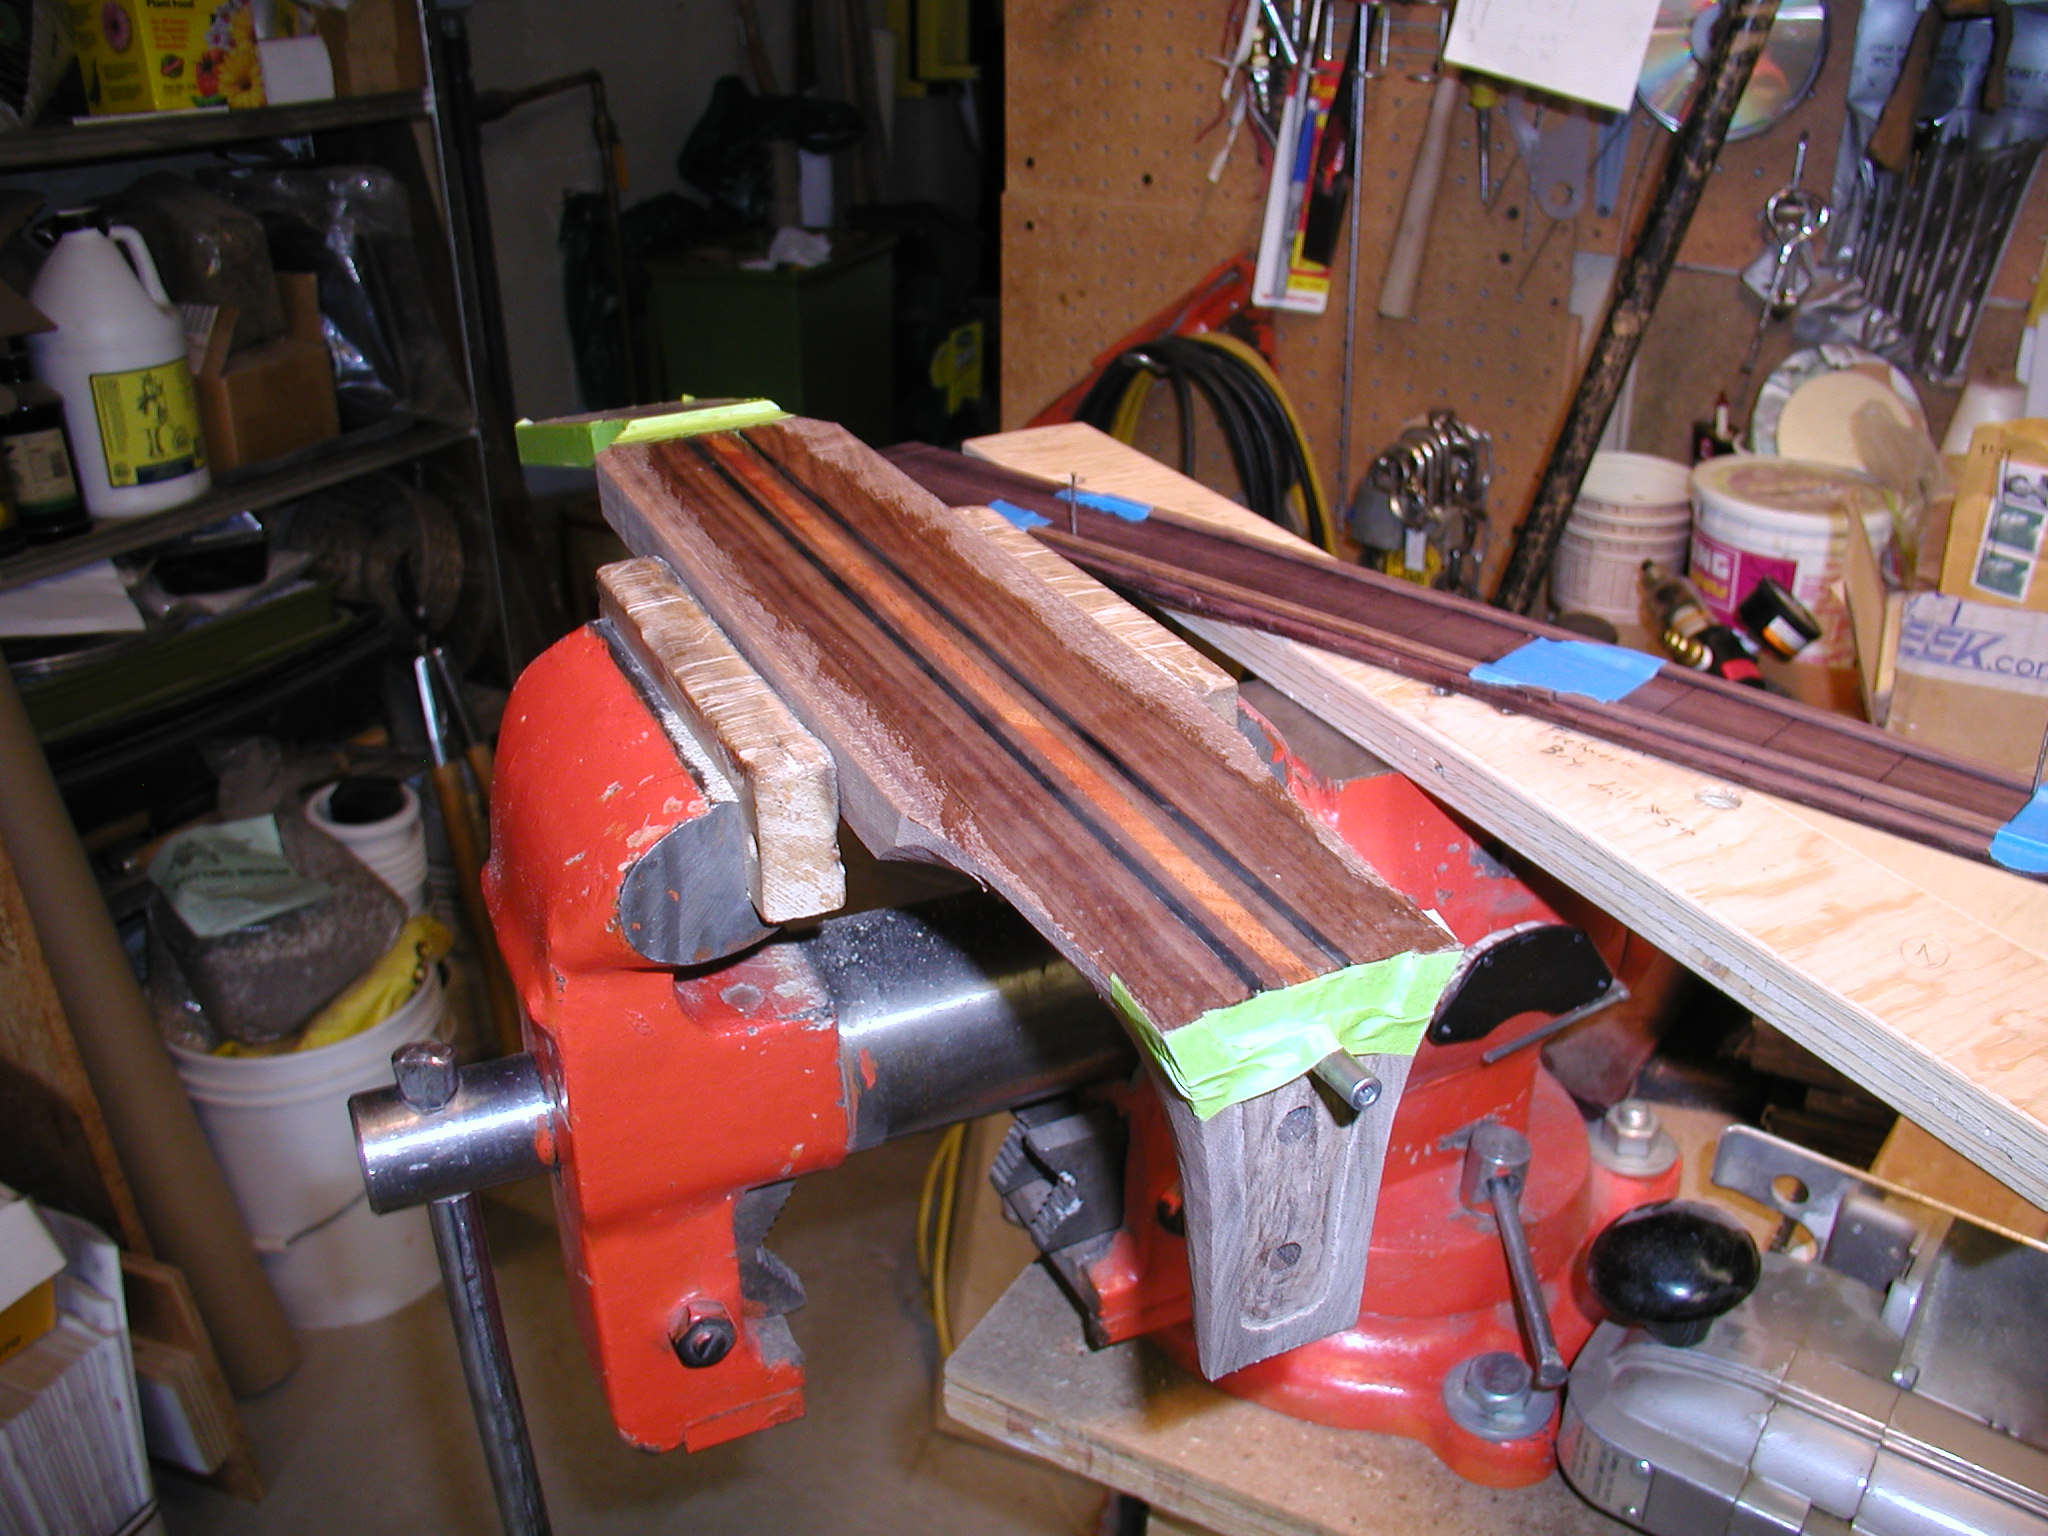
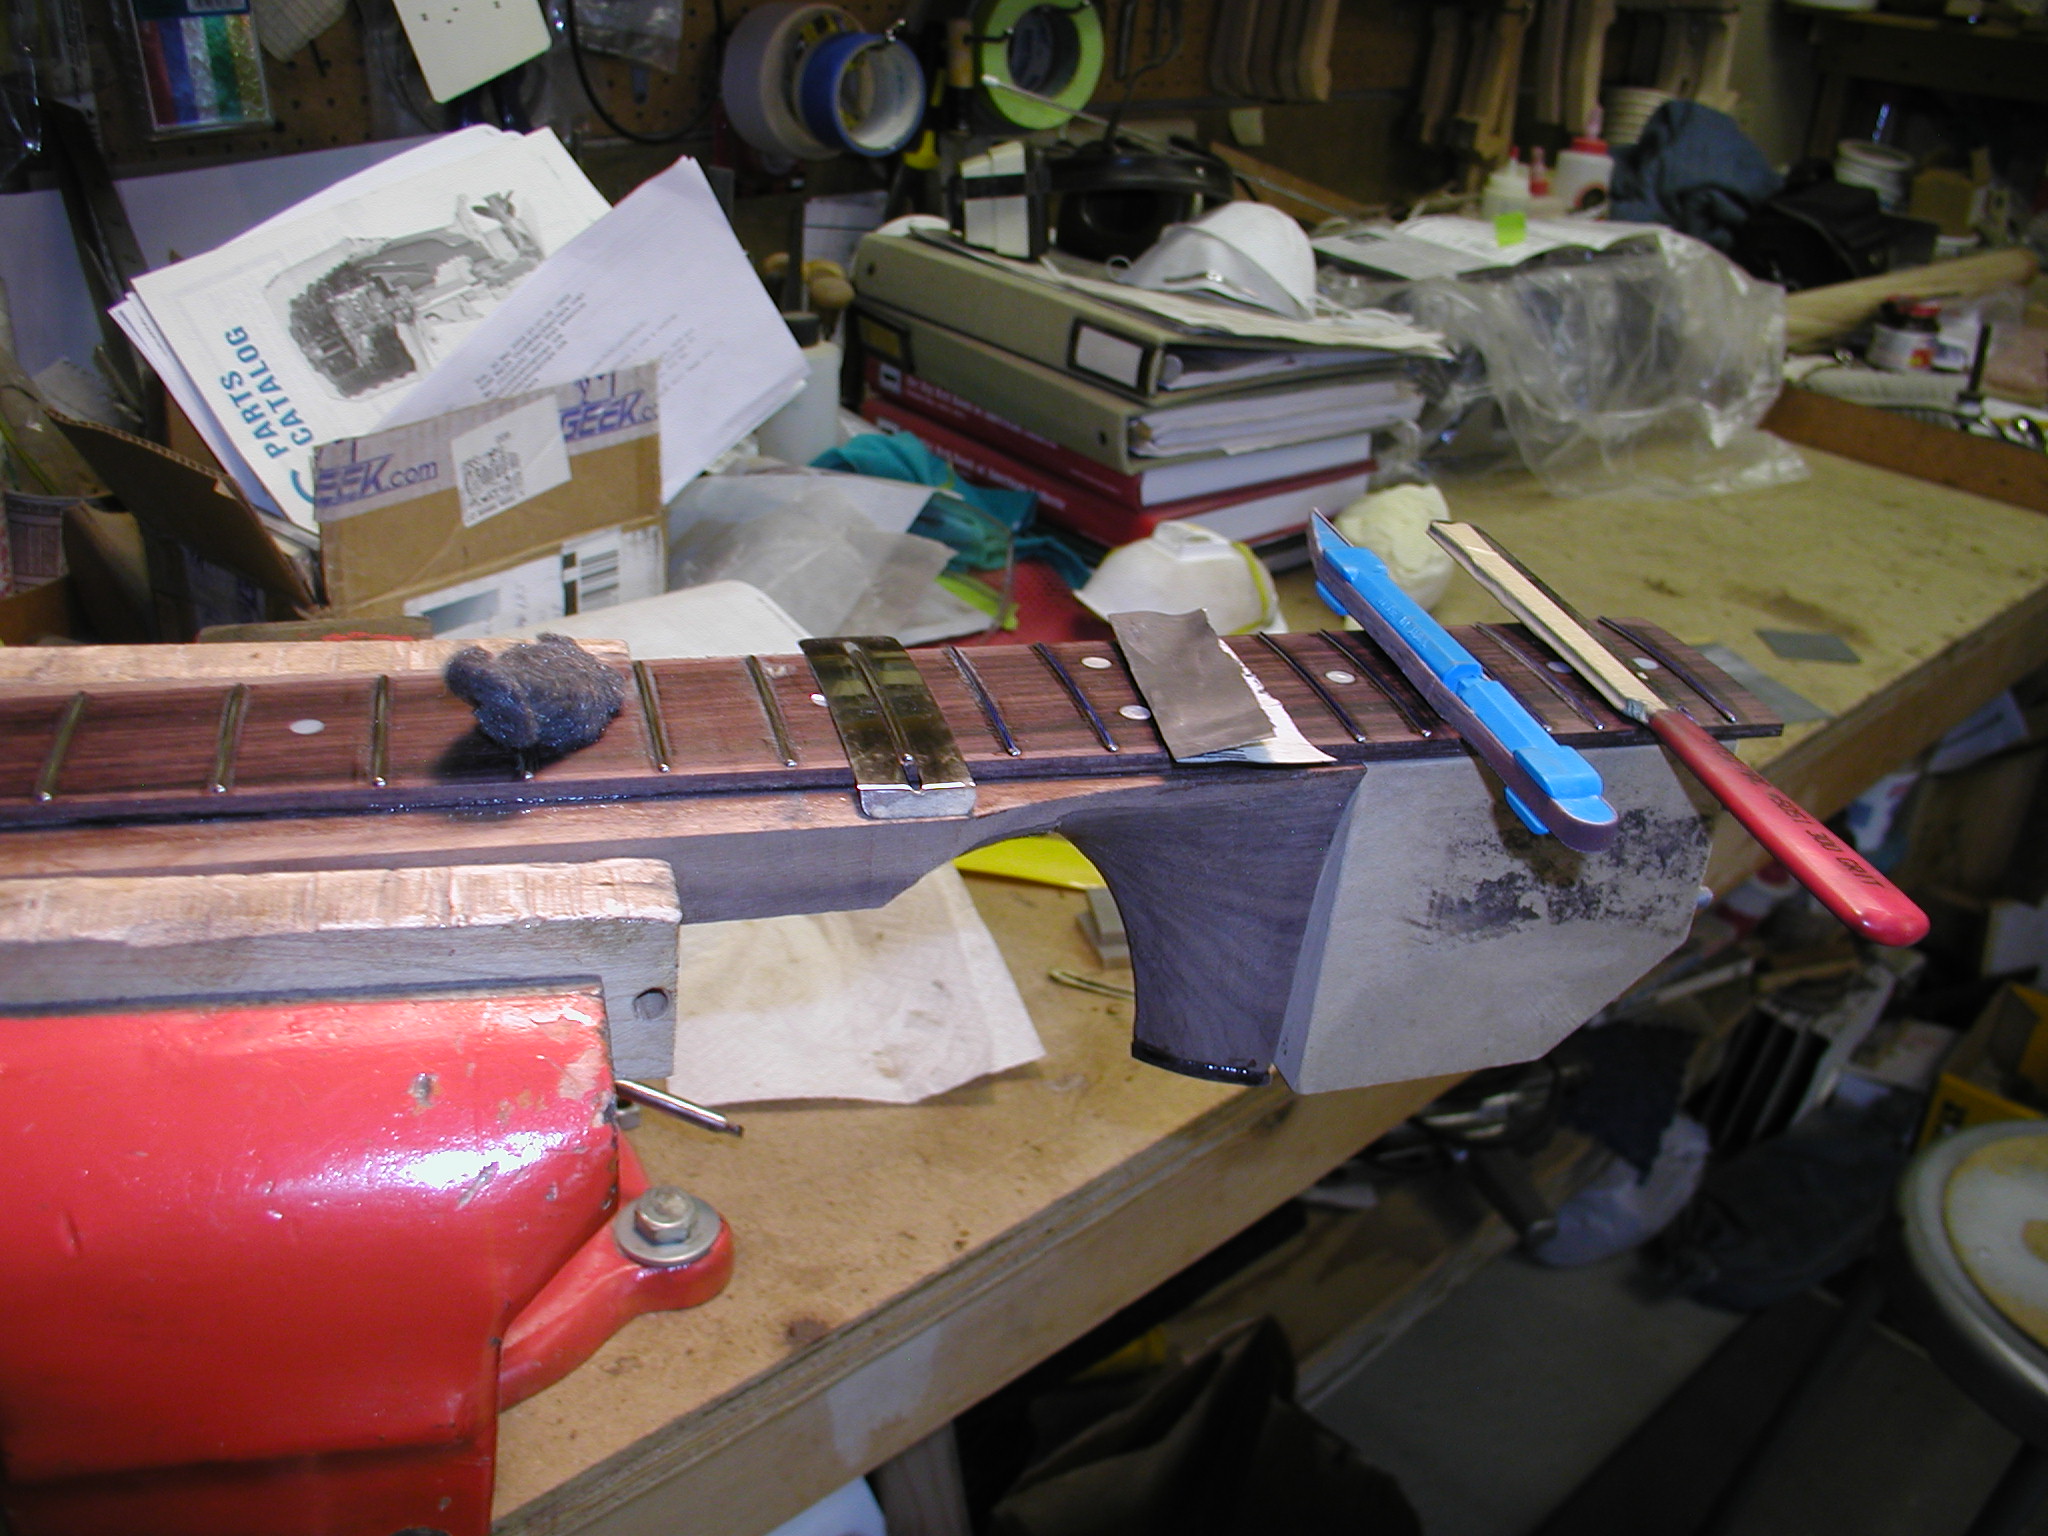
Now I'm fretting. No complaints, just fretting. I always make my frets with semi-hemispherical fret ends and press them in place. There are a lot of steps not shown here but if you are interested, take a look at my detailed discussion on semi-hemispherical frets. The ones out on the fretboard extension have reduced tangs so that they don't compression fret that unsupported part. I wick in CA glue under all the frets once they are all in and down tight. I then level and re-crown and polish them in place. Notice the support block I have bolted on to keep the extension true. Just some carving to go yet.