Let's Build A Guitar (Page 4)
Last Modified - November 6, 2012
In Page 3 we have completed closing up the sound box. Now we are ready to do the binding and purfling steps. Binding is the larger piece of trim that goes around the edge and is there to protect the instrument from any blows or other untoward incidents, mine is always some type of wood unless something else is specified. The purfling is purely decorative and can be just strips of wood or plastic, or may include inlaid shell, metals, wood intarsia, there is literally no limit except for space.
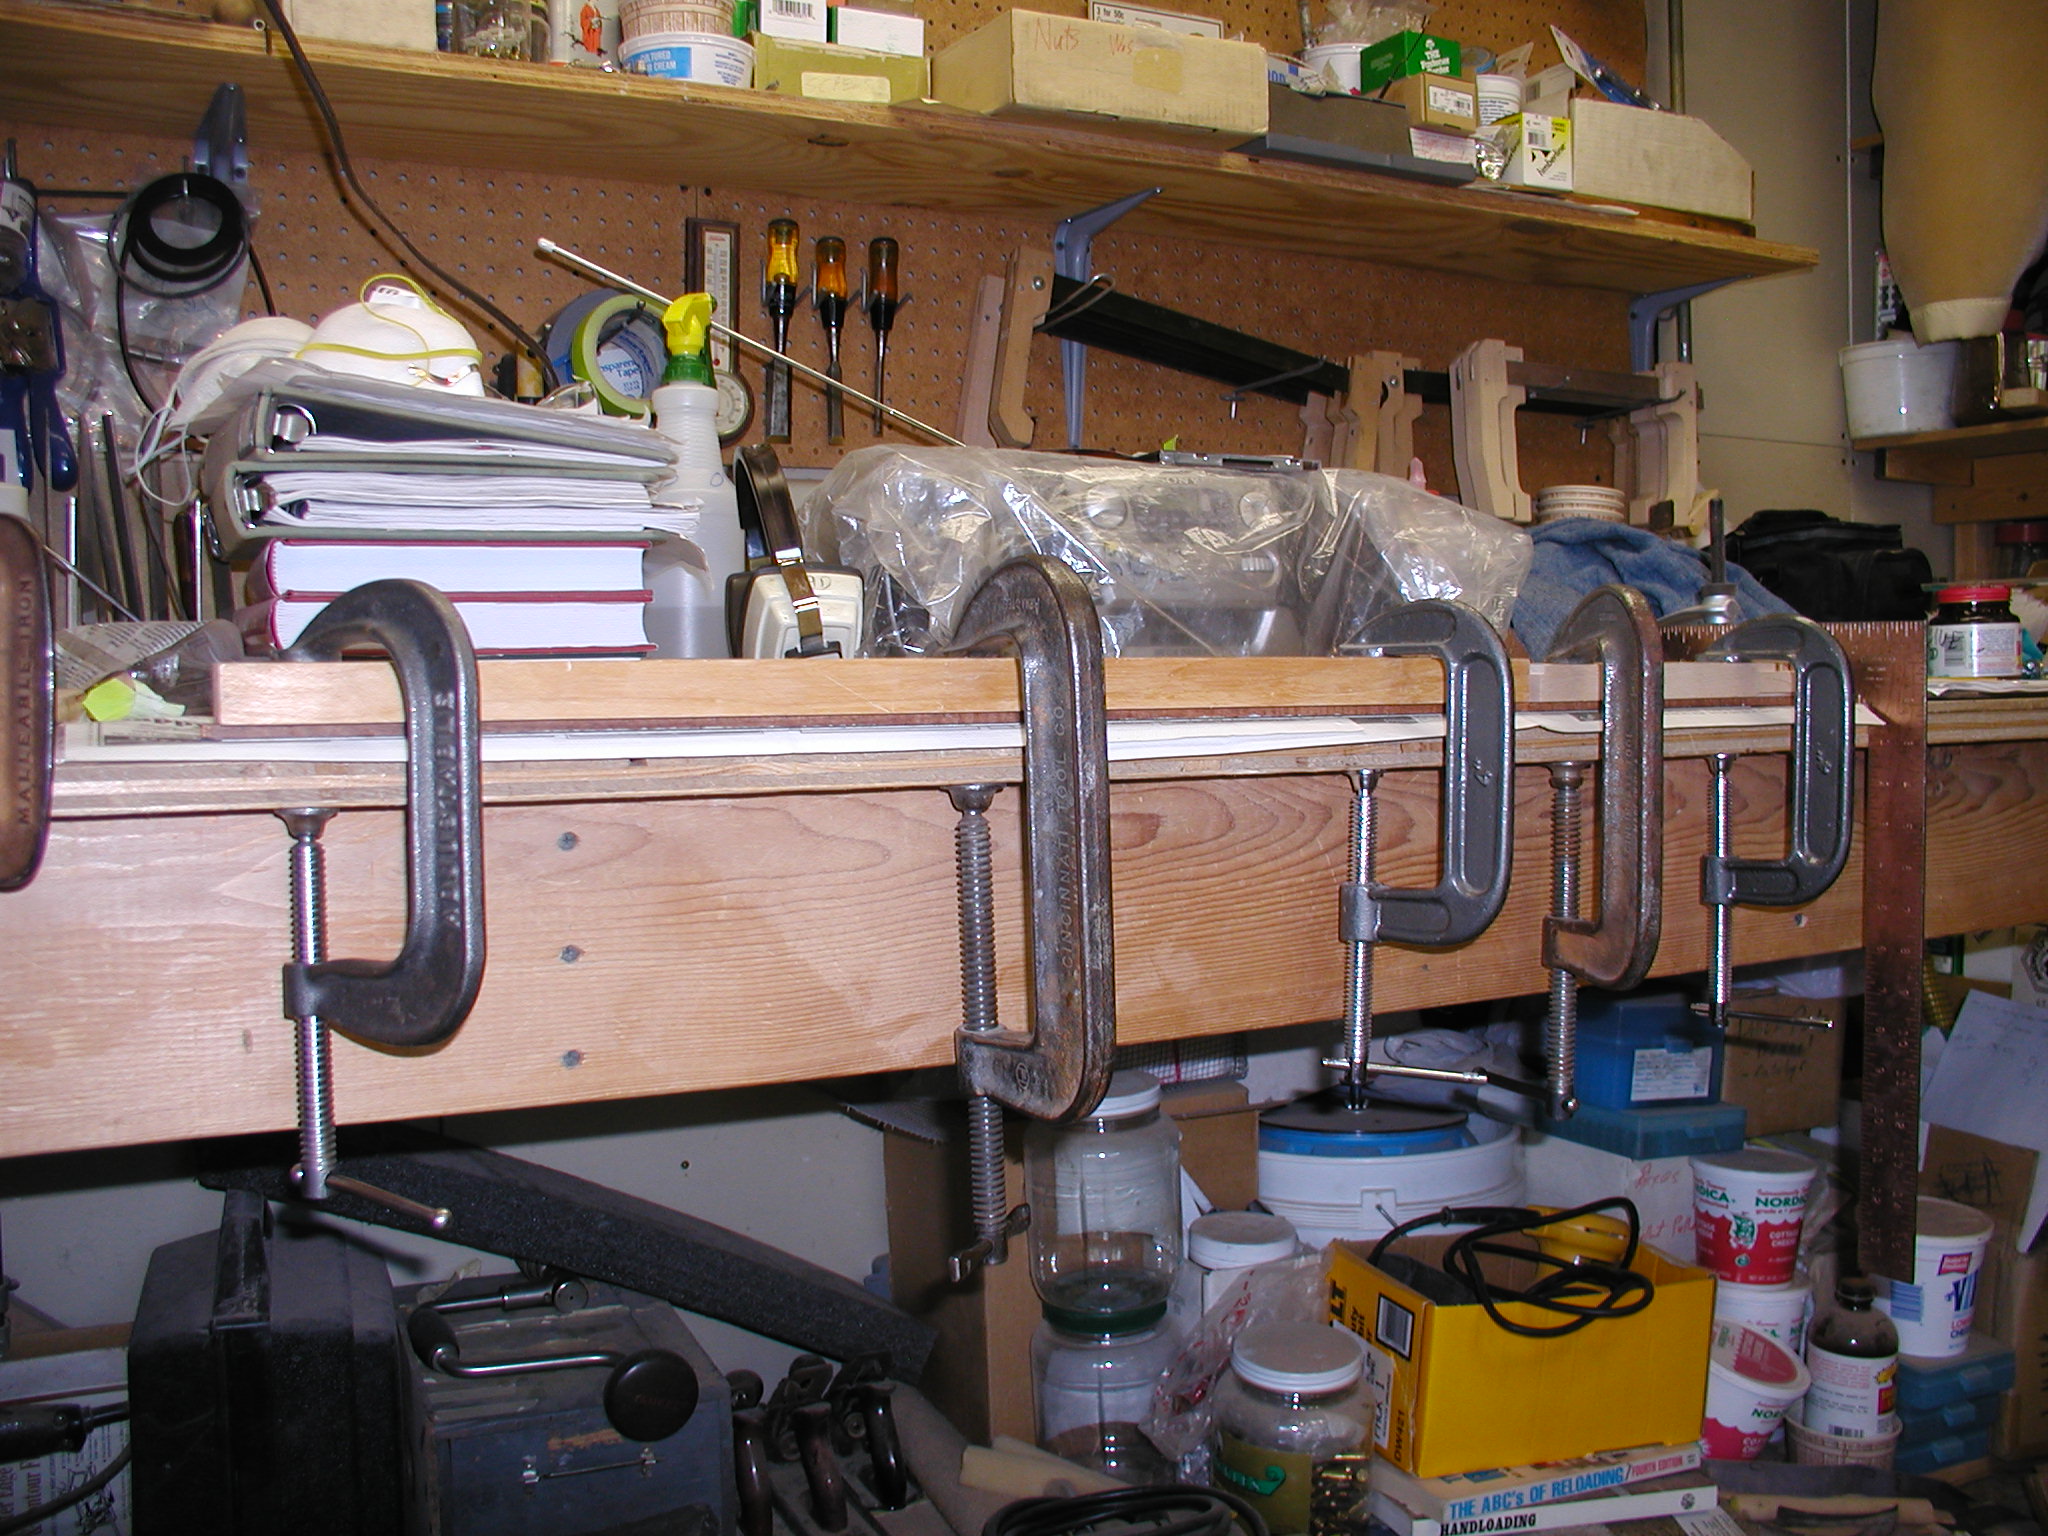
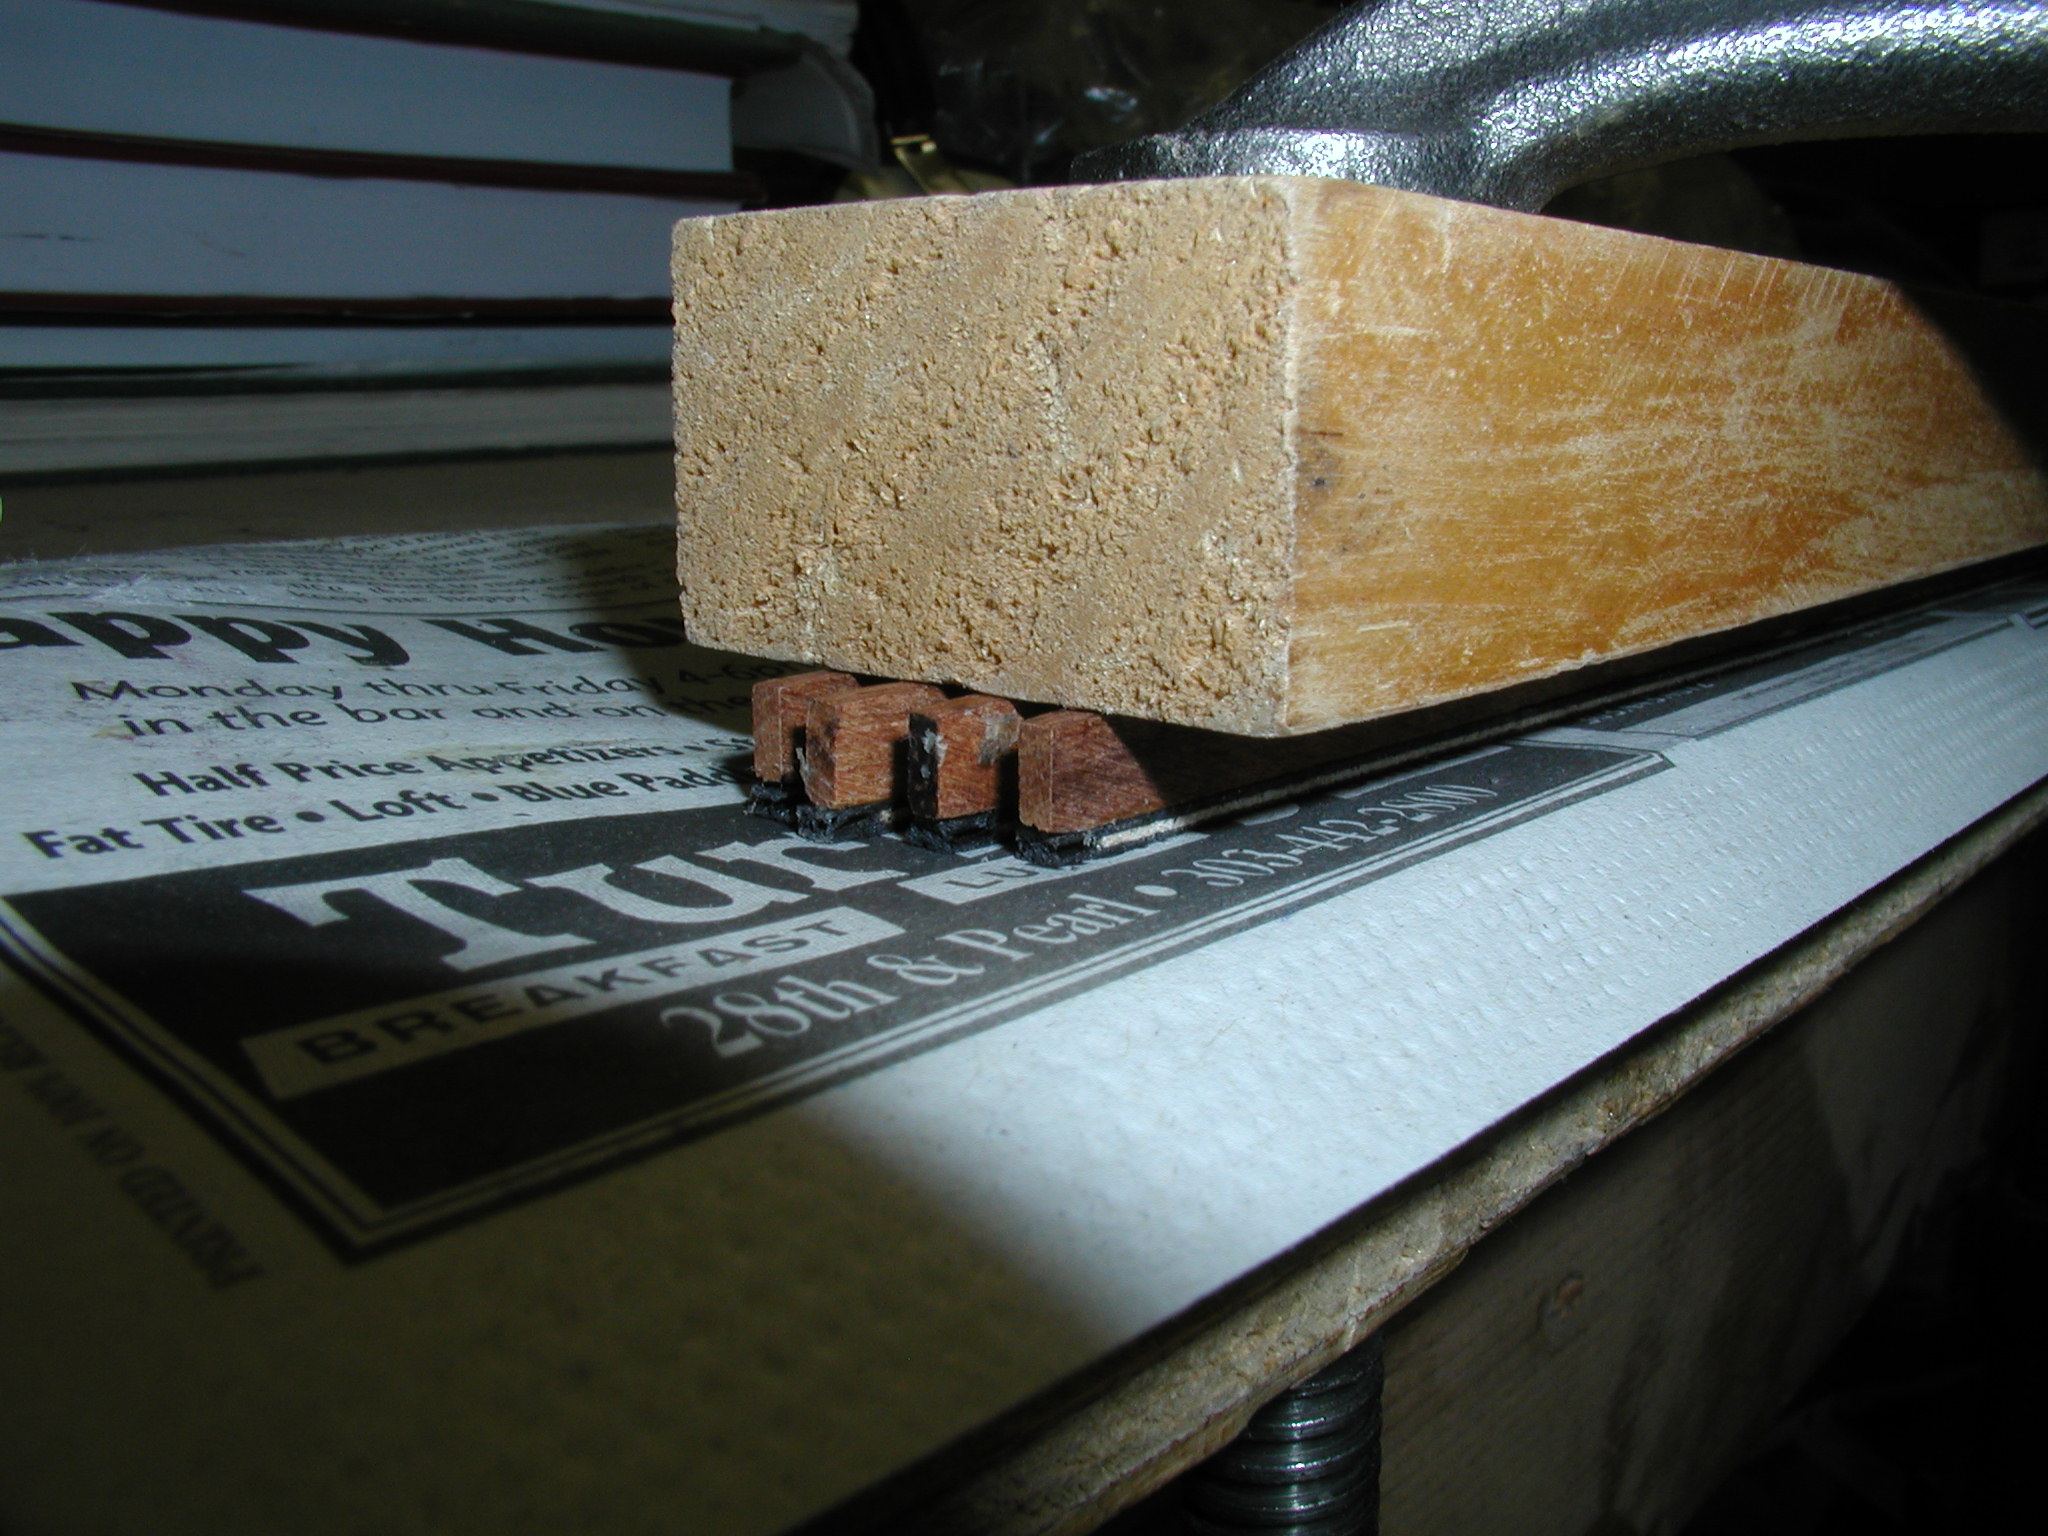
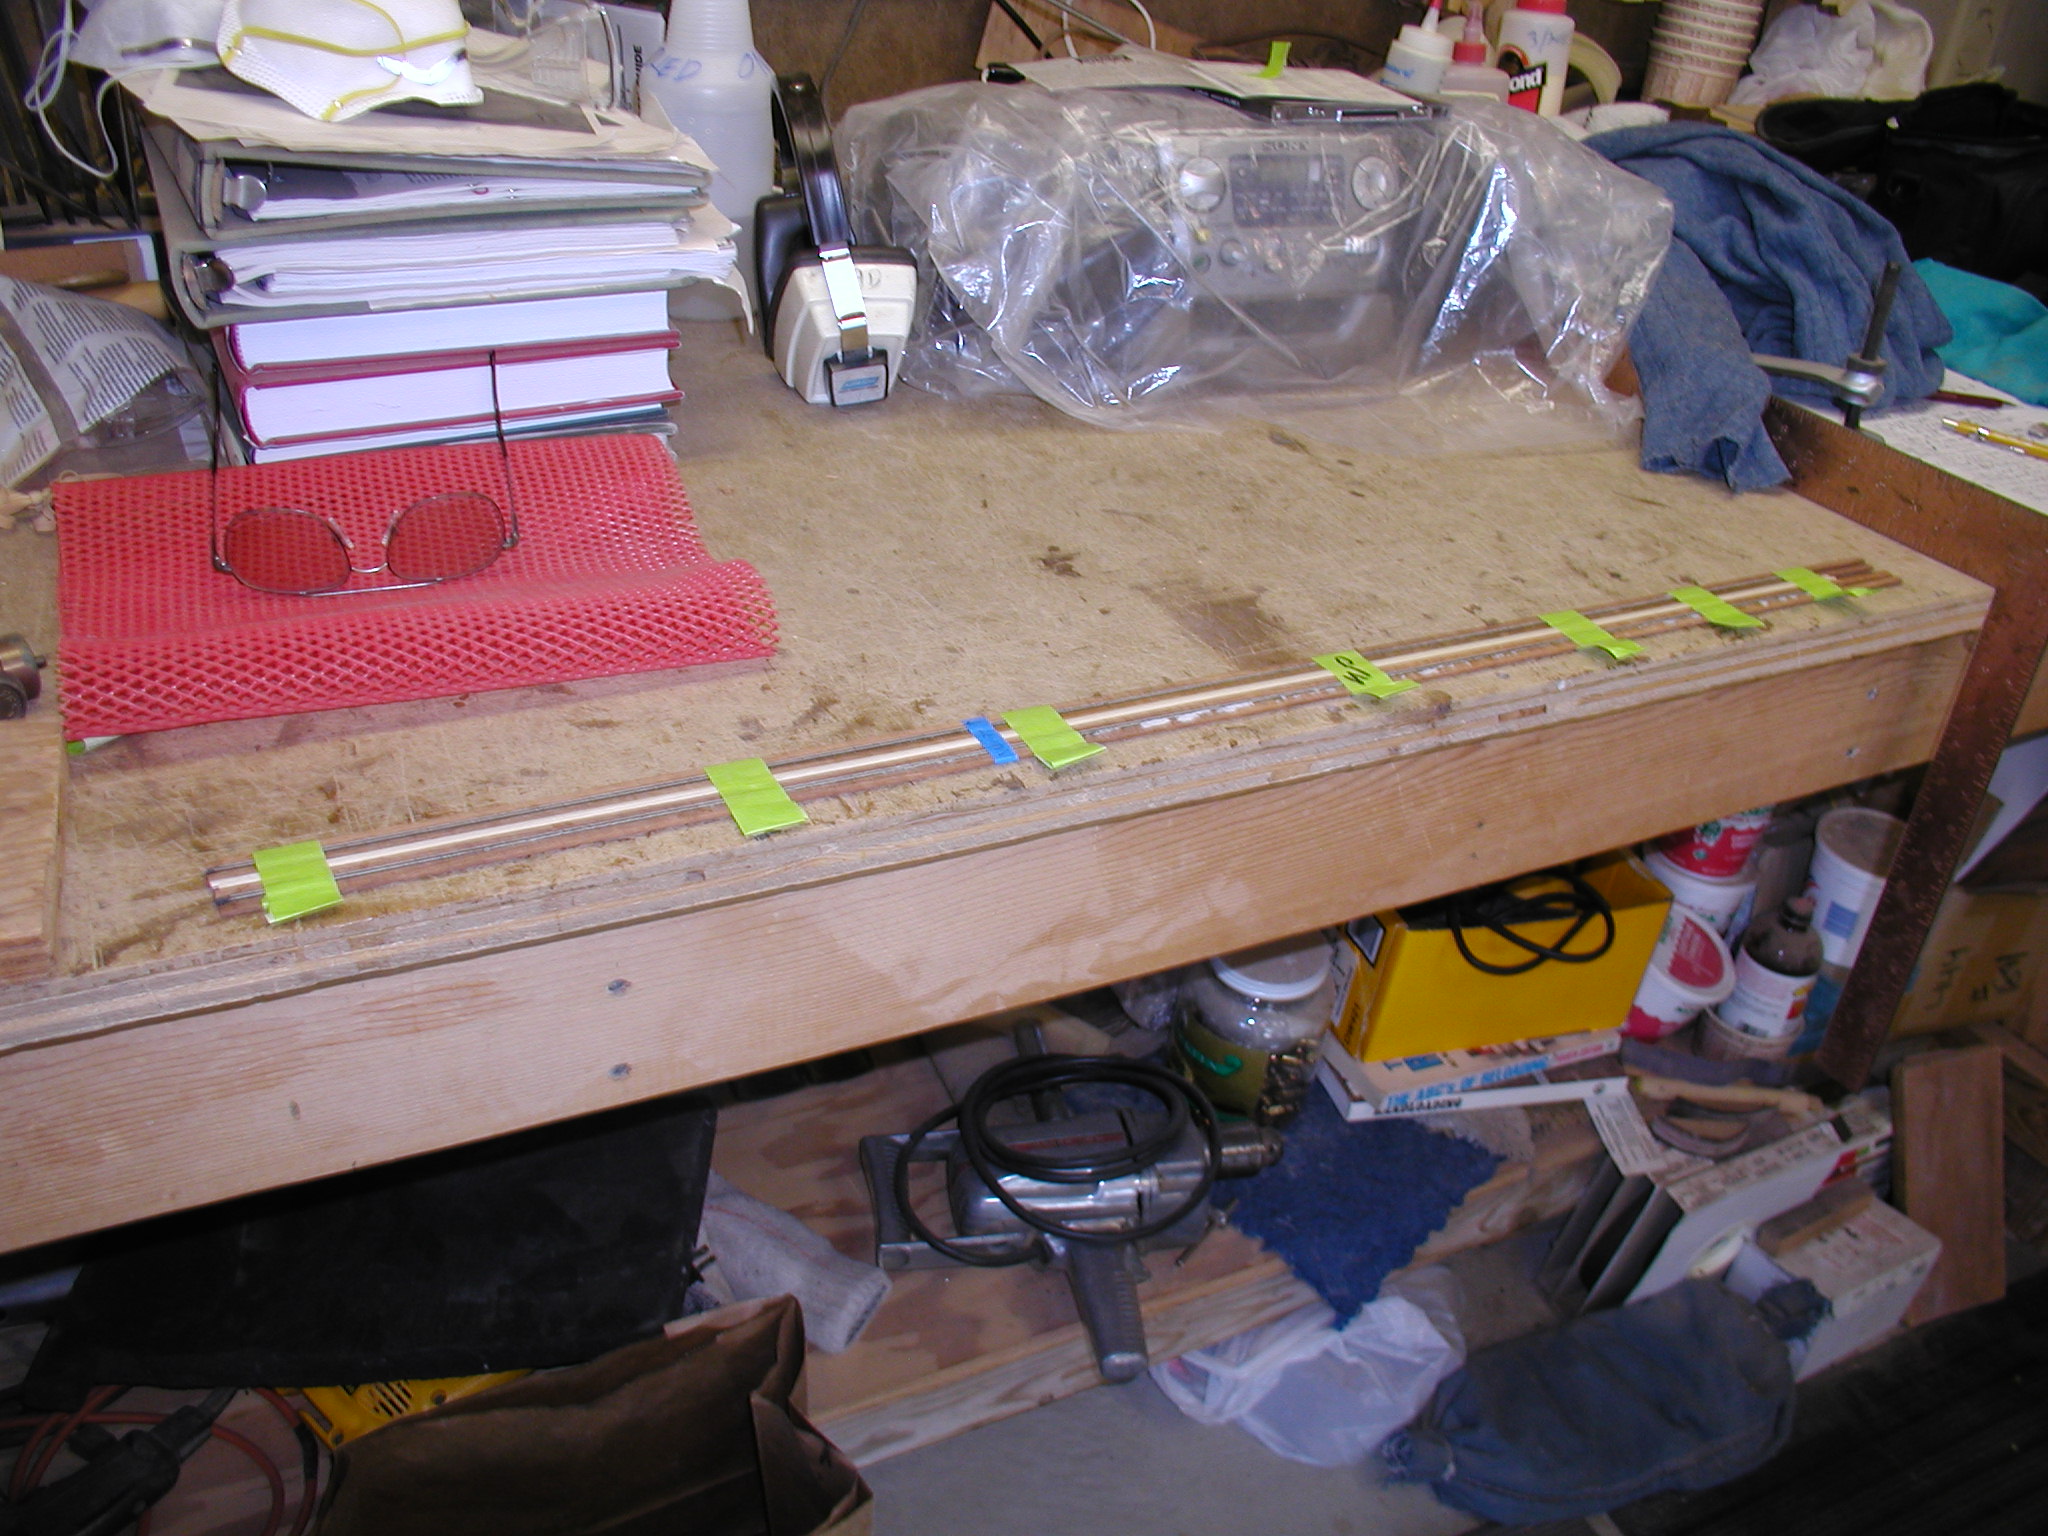
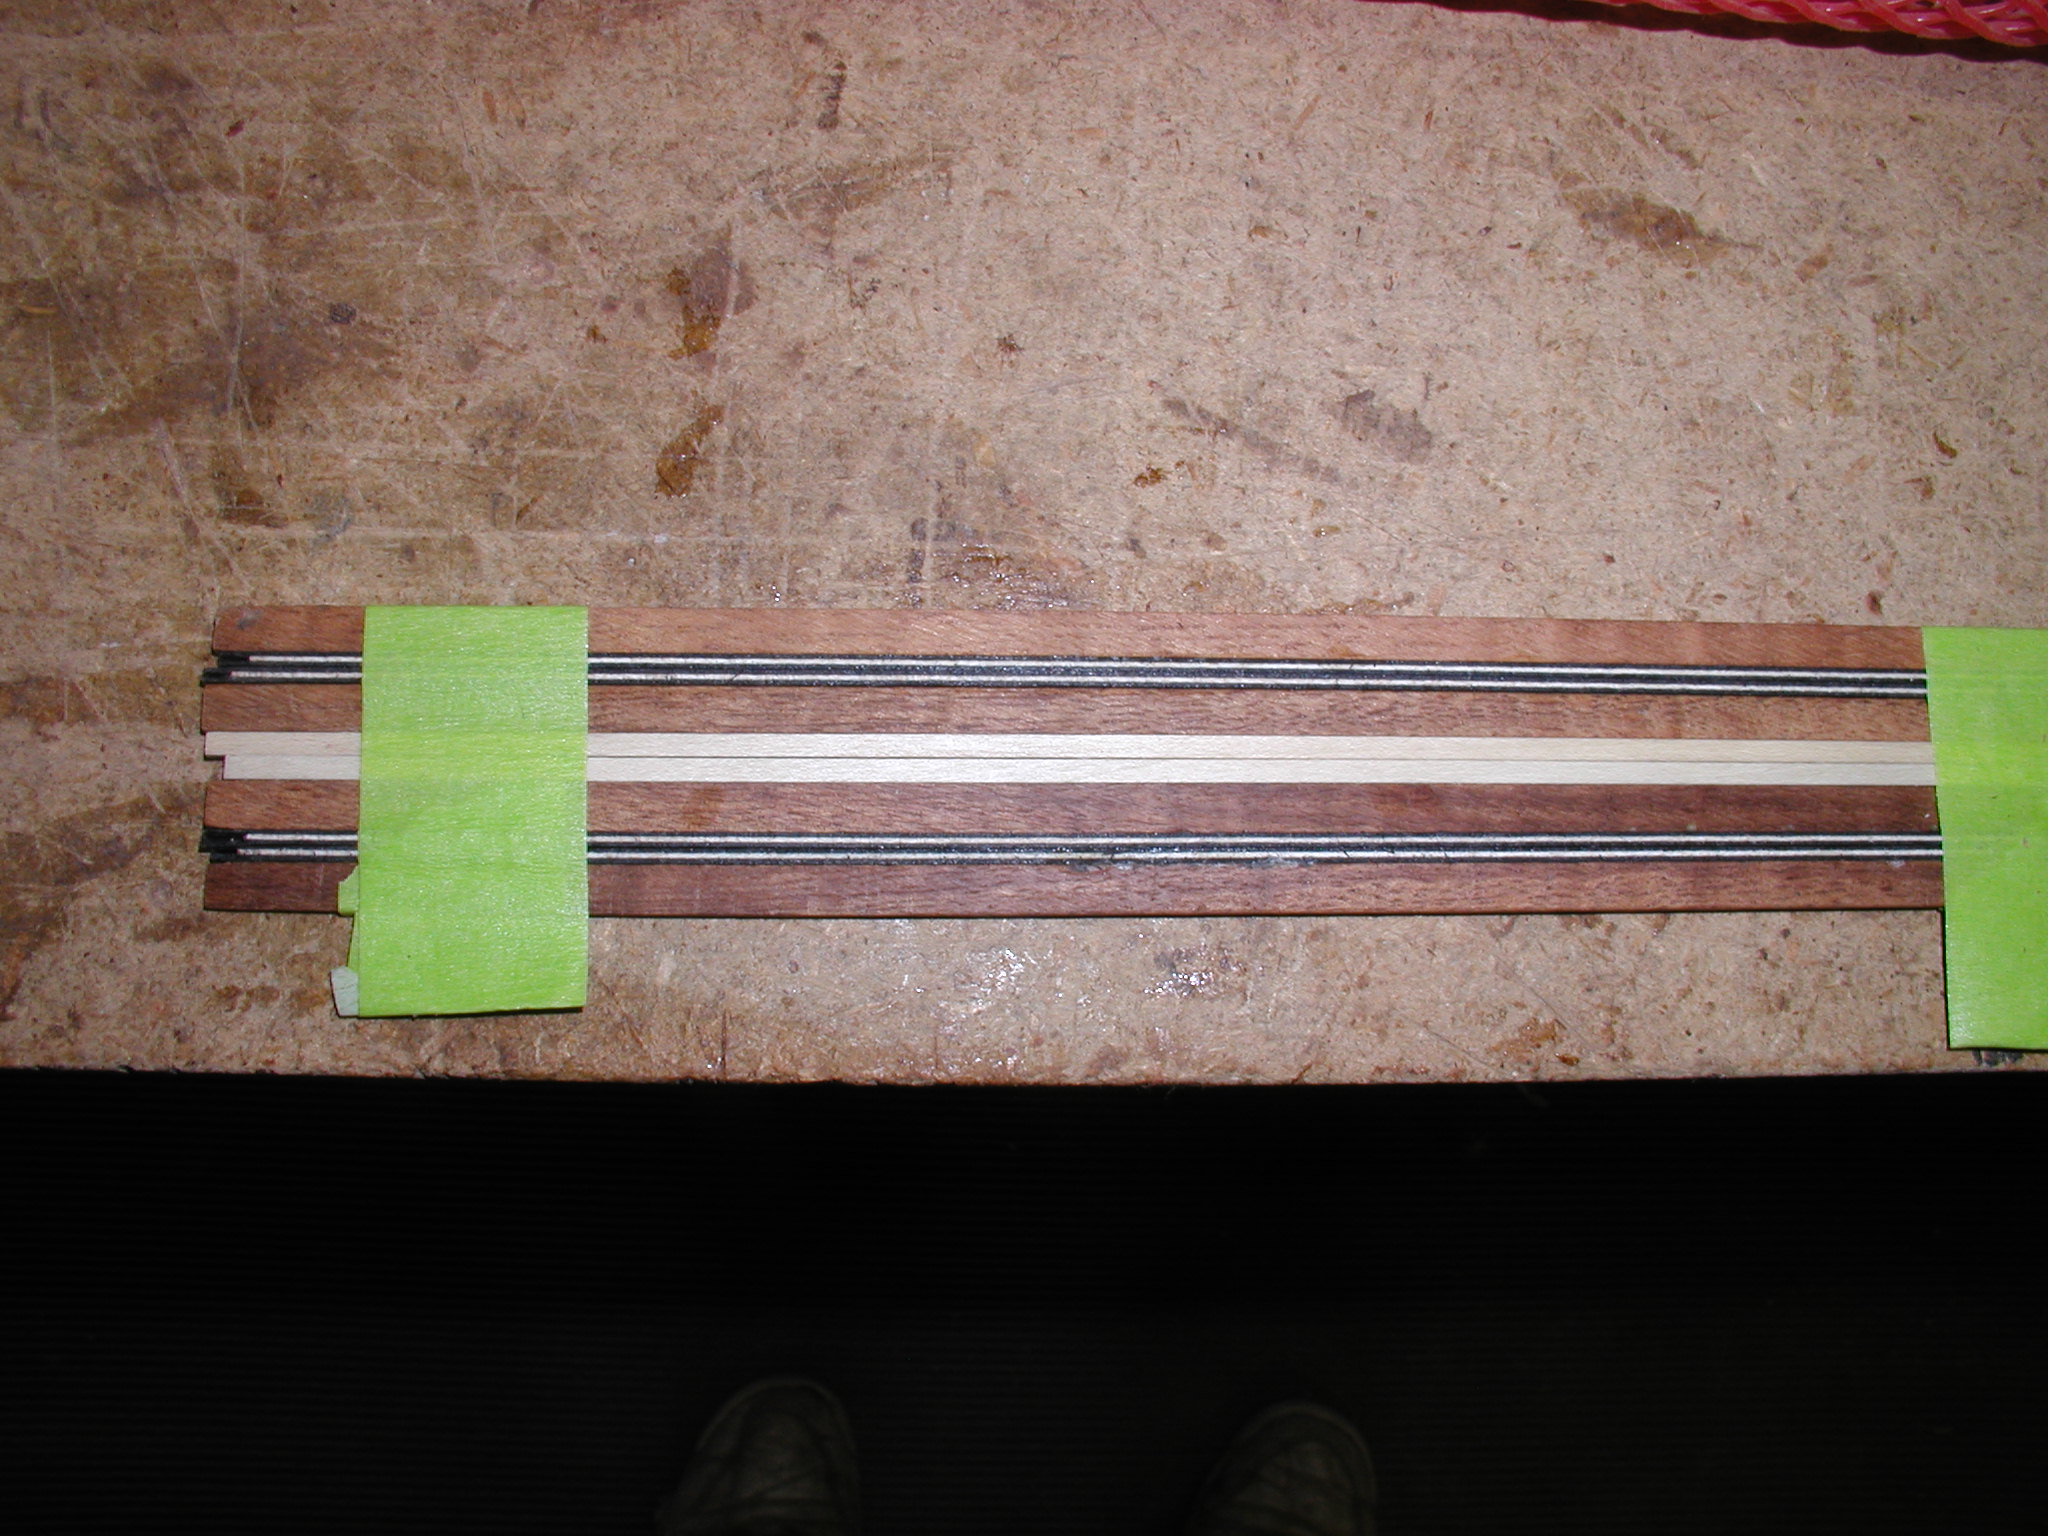
I like to glue up the binding and purfling together before bending if there is to be purfling on the bottom edge of the binding wrapping around the sides. In this case I am using a White/Black/White wood purfling on the bottom of the curly Koa binding. The purfling strip is already glued up and just needs to be attached to the binding. This is done with regular old carpenters glue although other more heat resistant glues can be used. I glue all four strips up by hand, then clamp them for a half hour to really set the glue. In the second picture you can see the layers. I use a cabinet scraper to true them up to the binding if they wander at all. Then I orient them to make left/right pairs of top/bottom binding purfling strips and tape them together tightly. Then into the Fox Bender they go to get pre-bent to the body curvature. The strips of purfling that go around the edge of the top and back are bending so they aren't against the grain, so I just hand bend them on a hot pipe or if they are thin just flex them at inlay time.
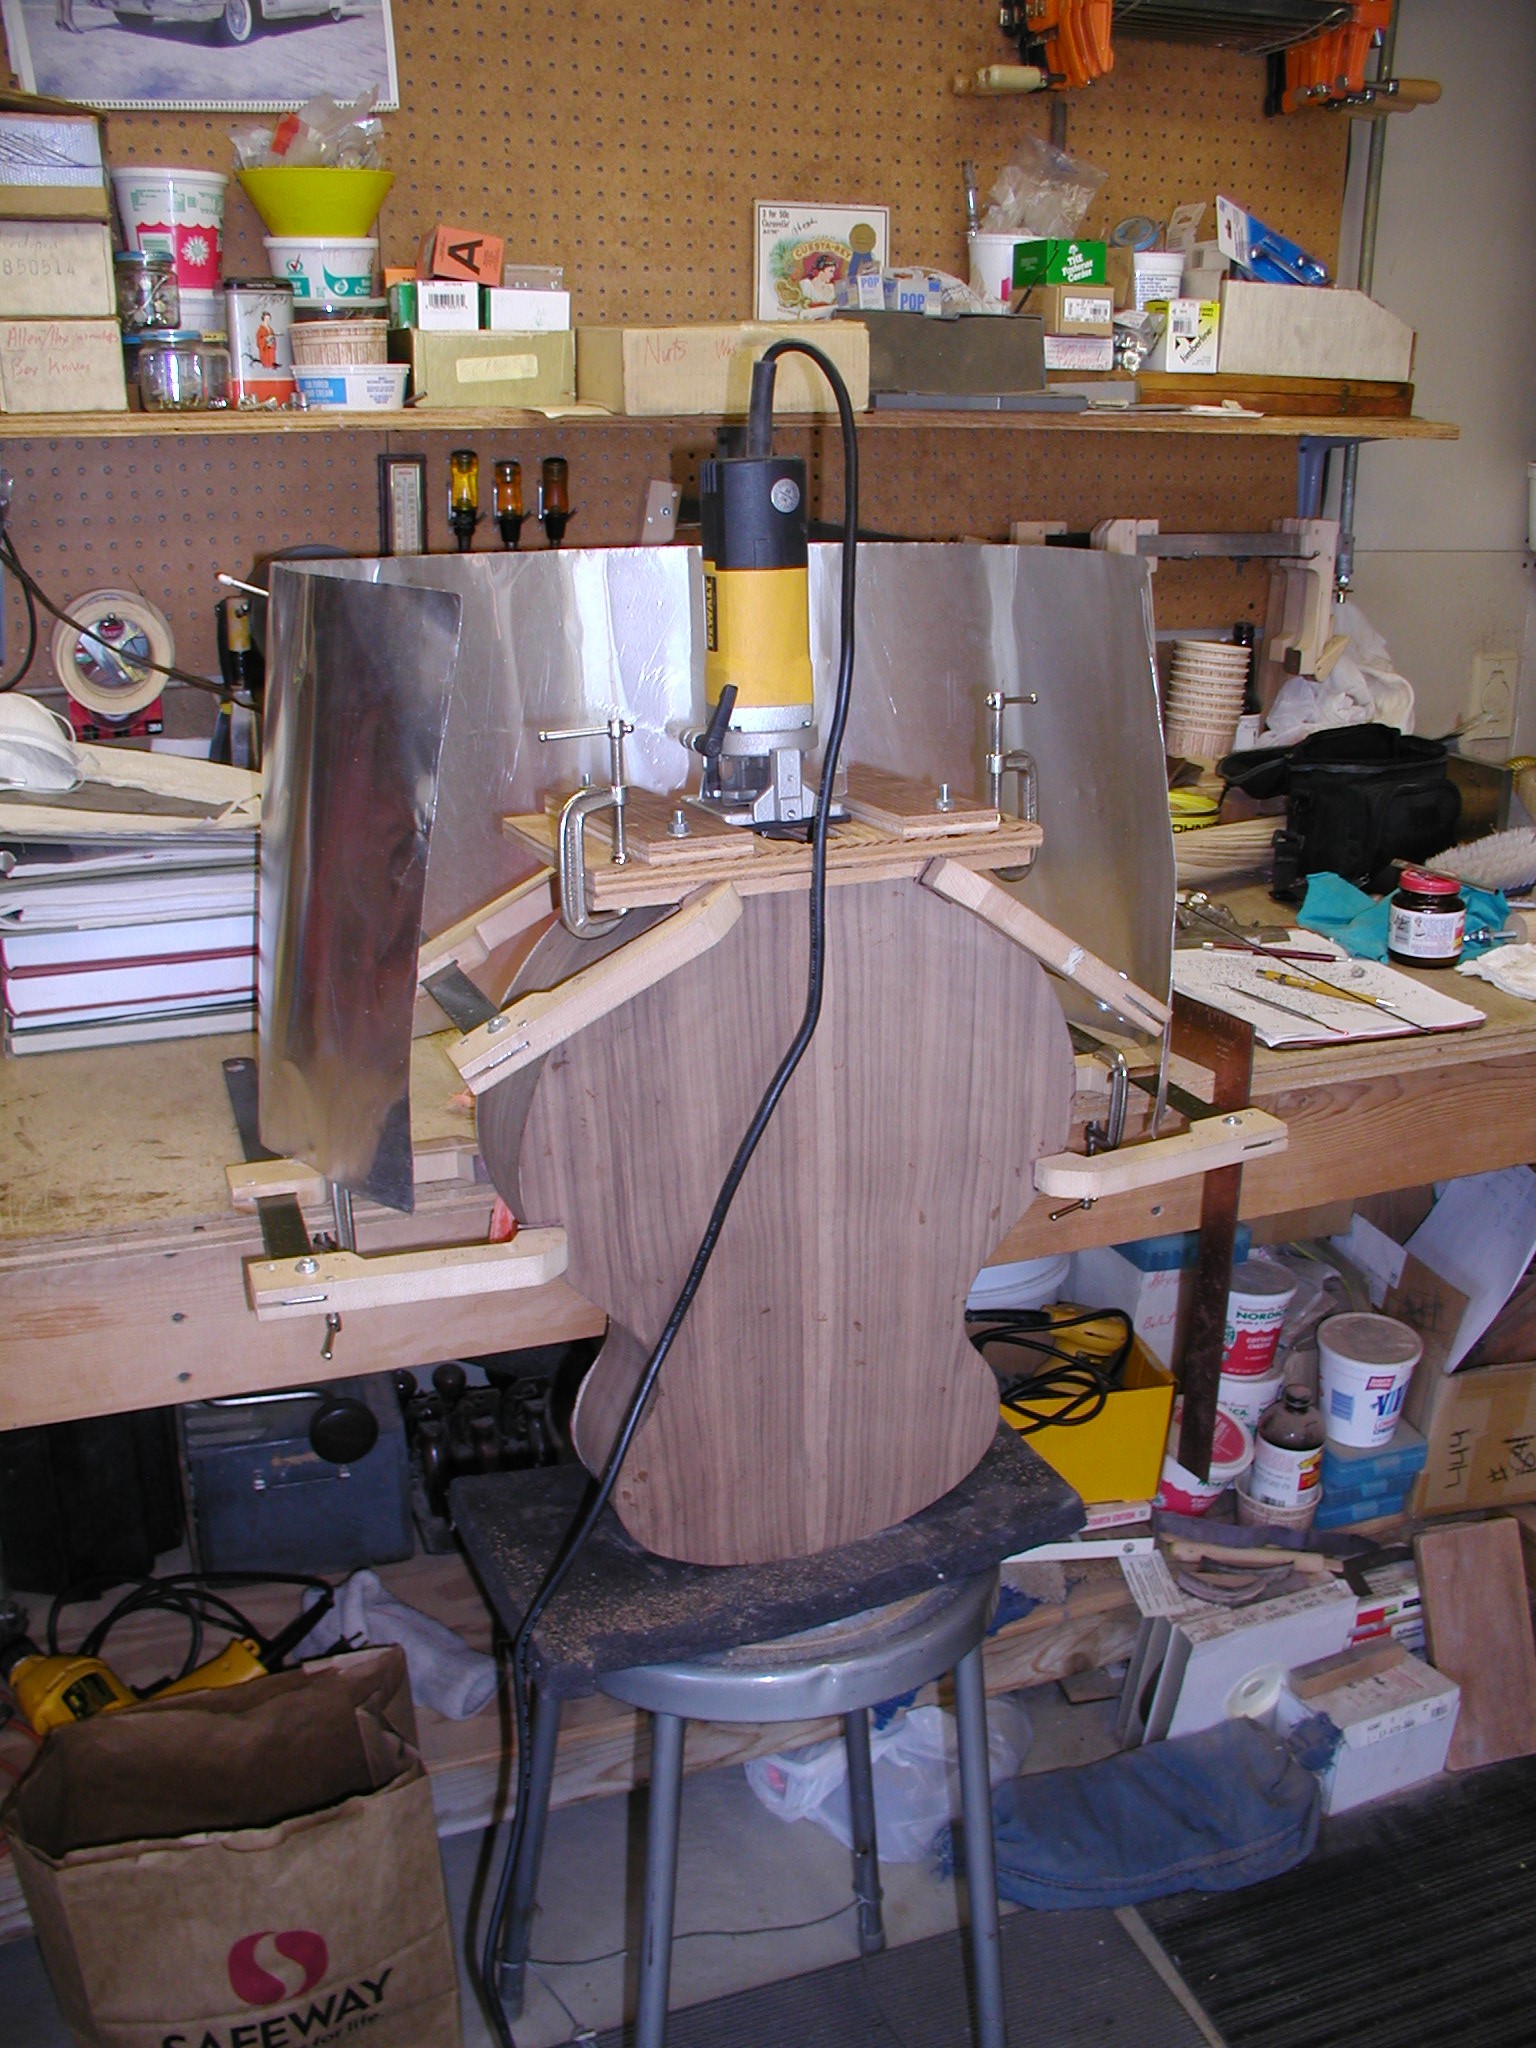
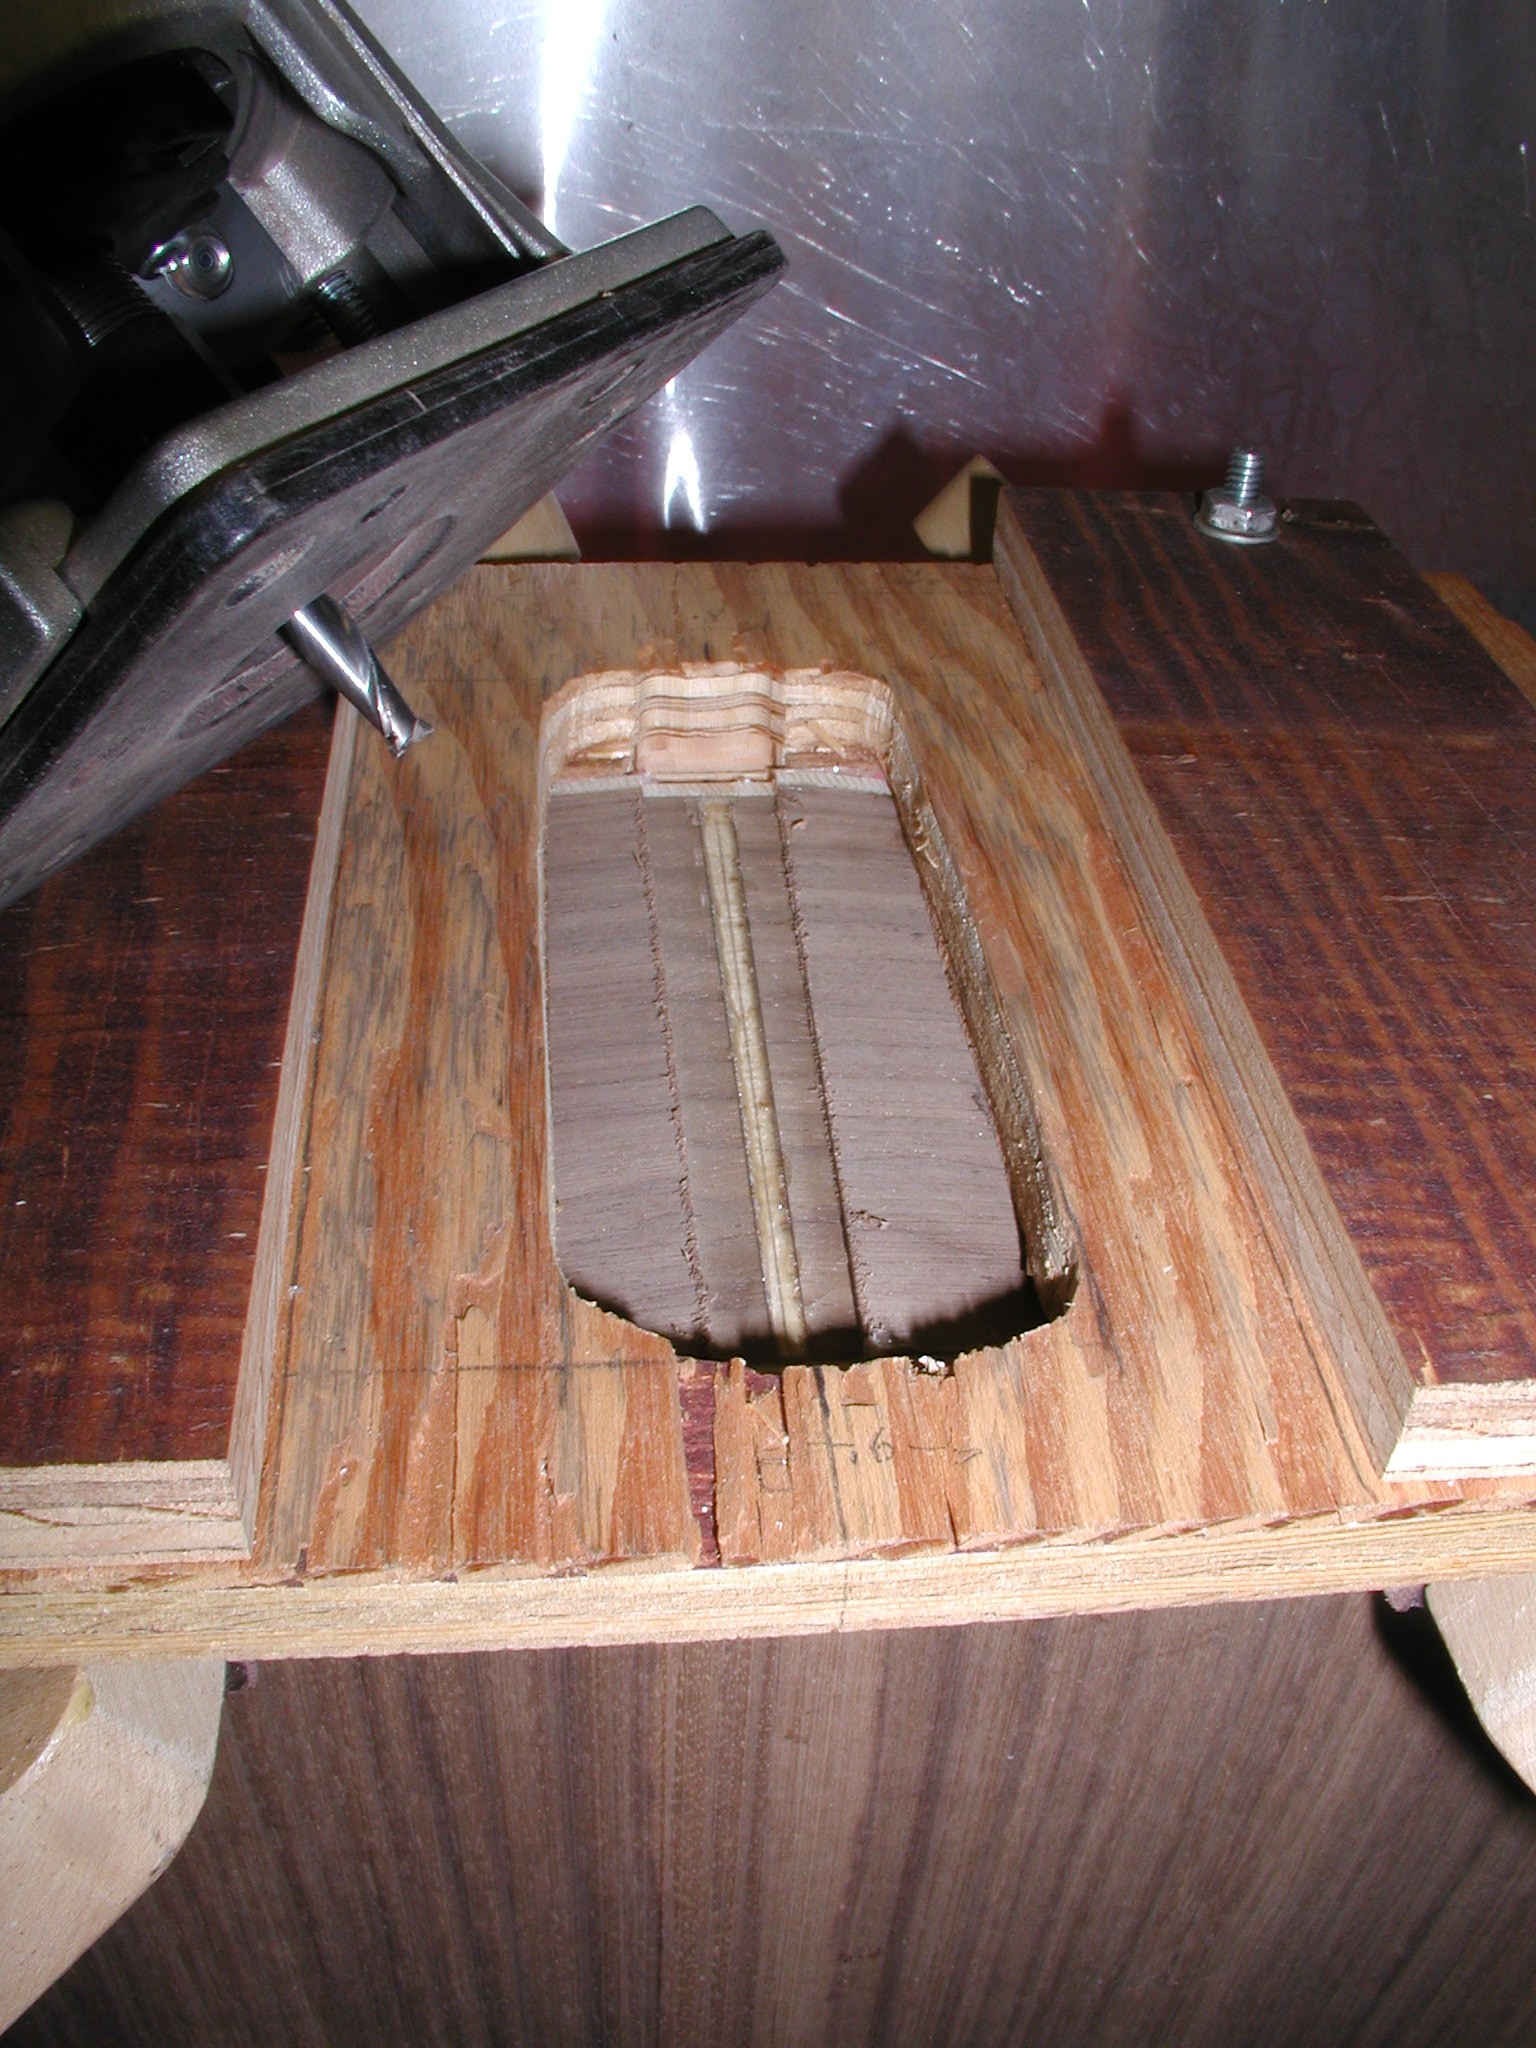
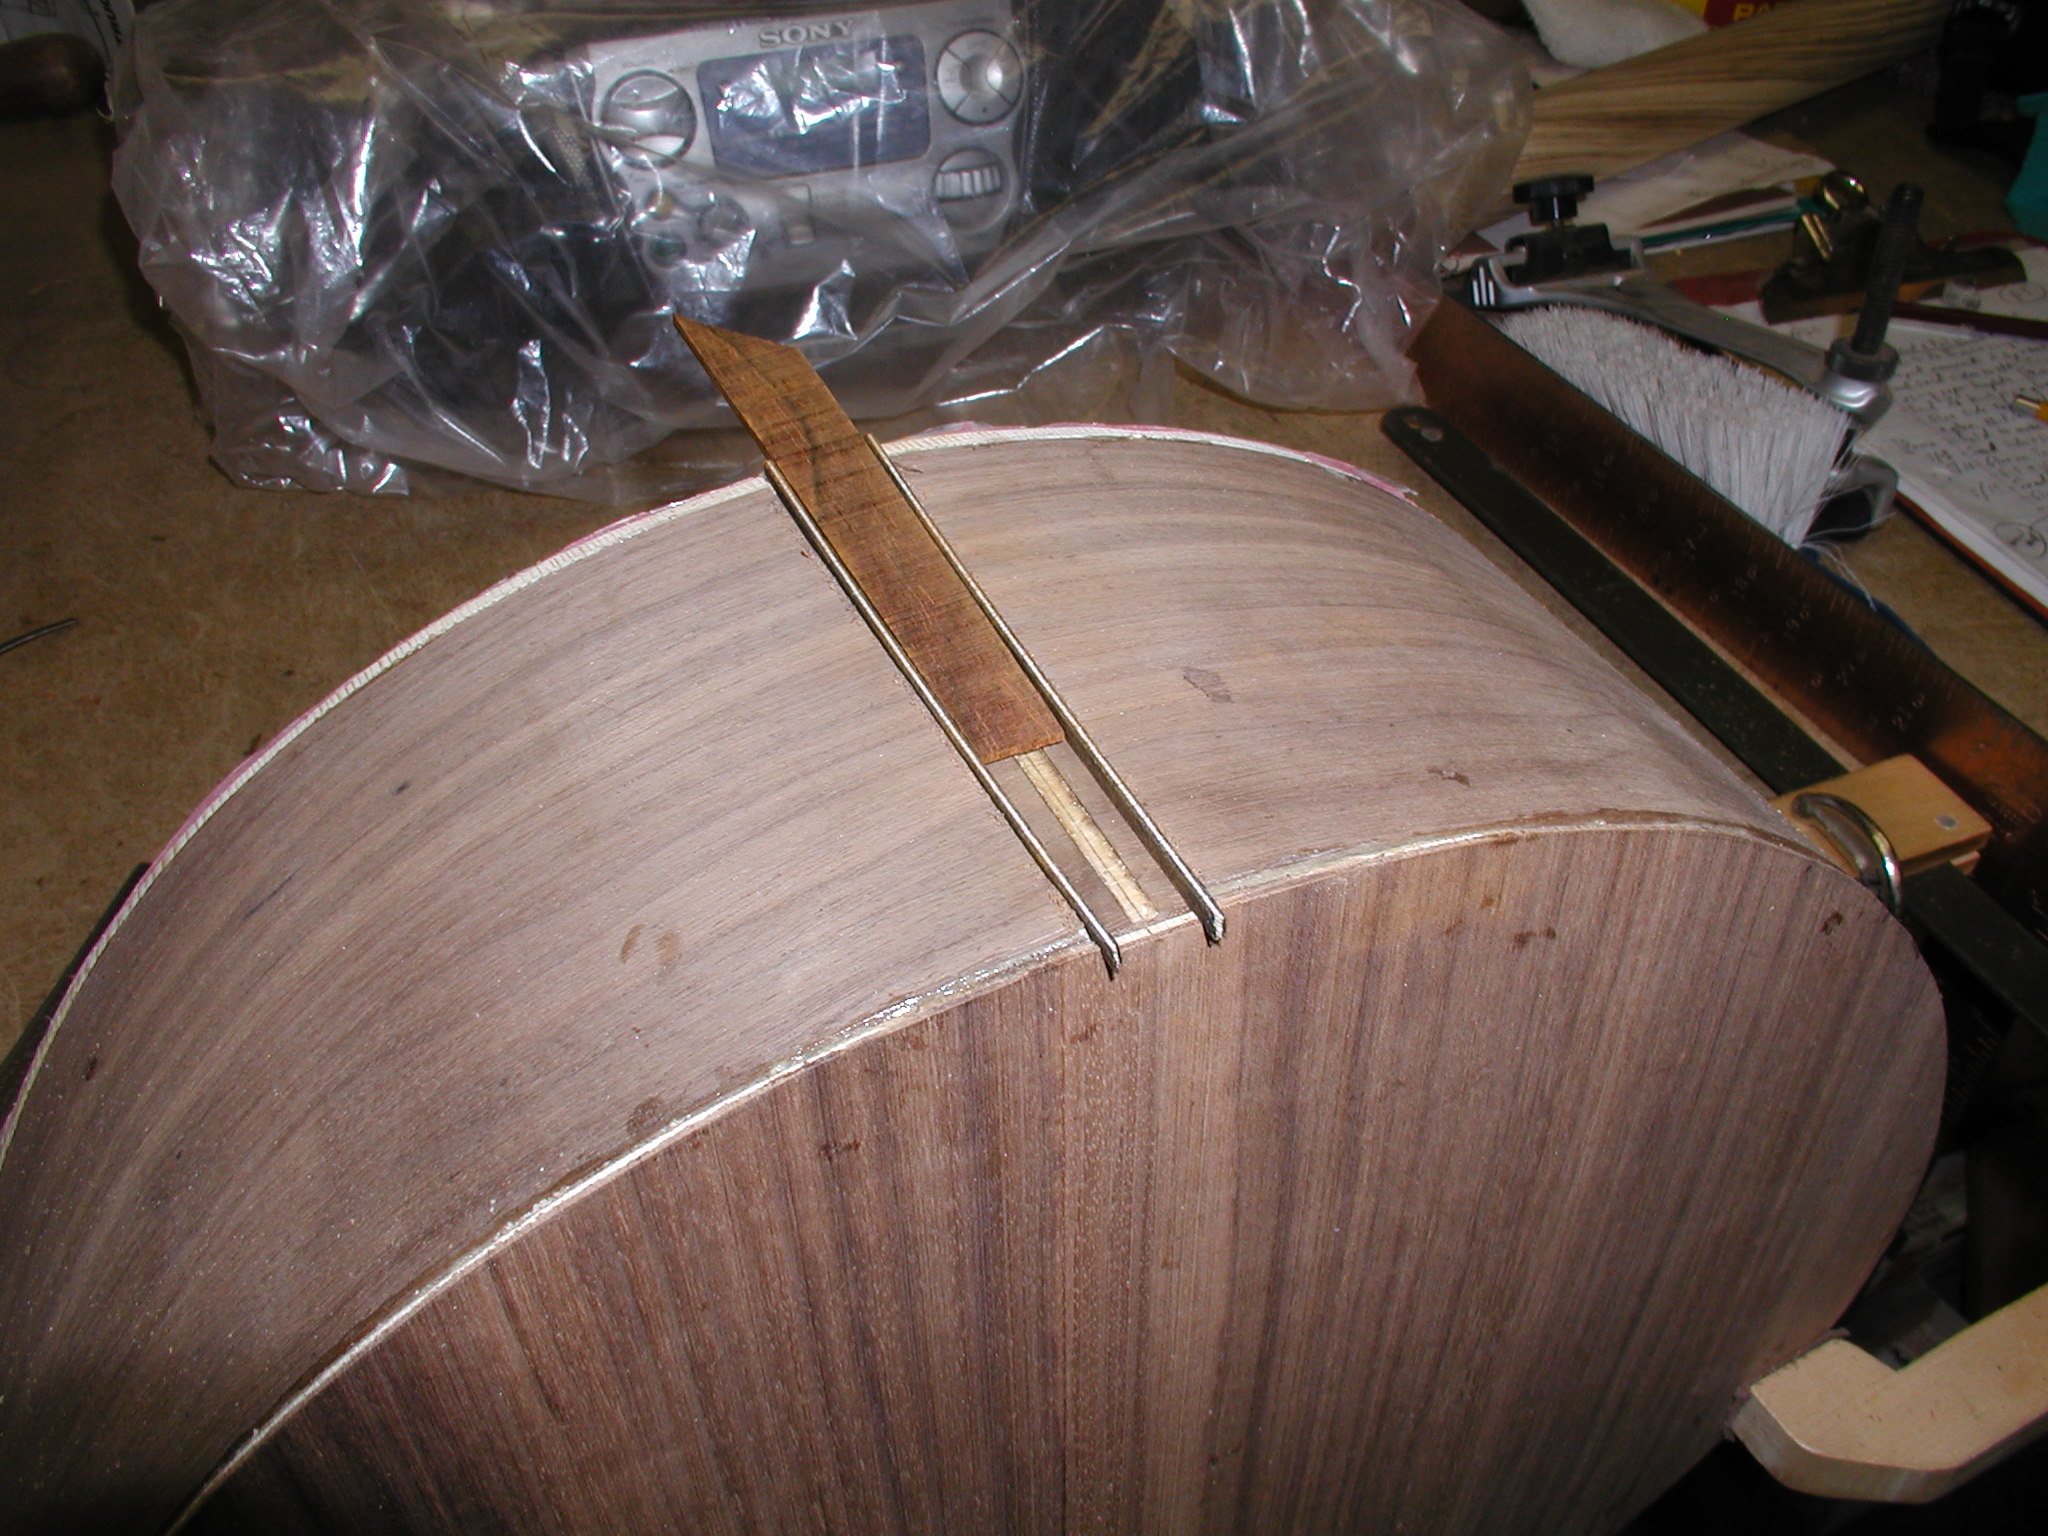
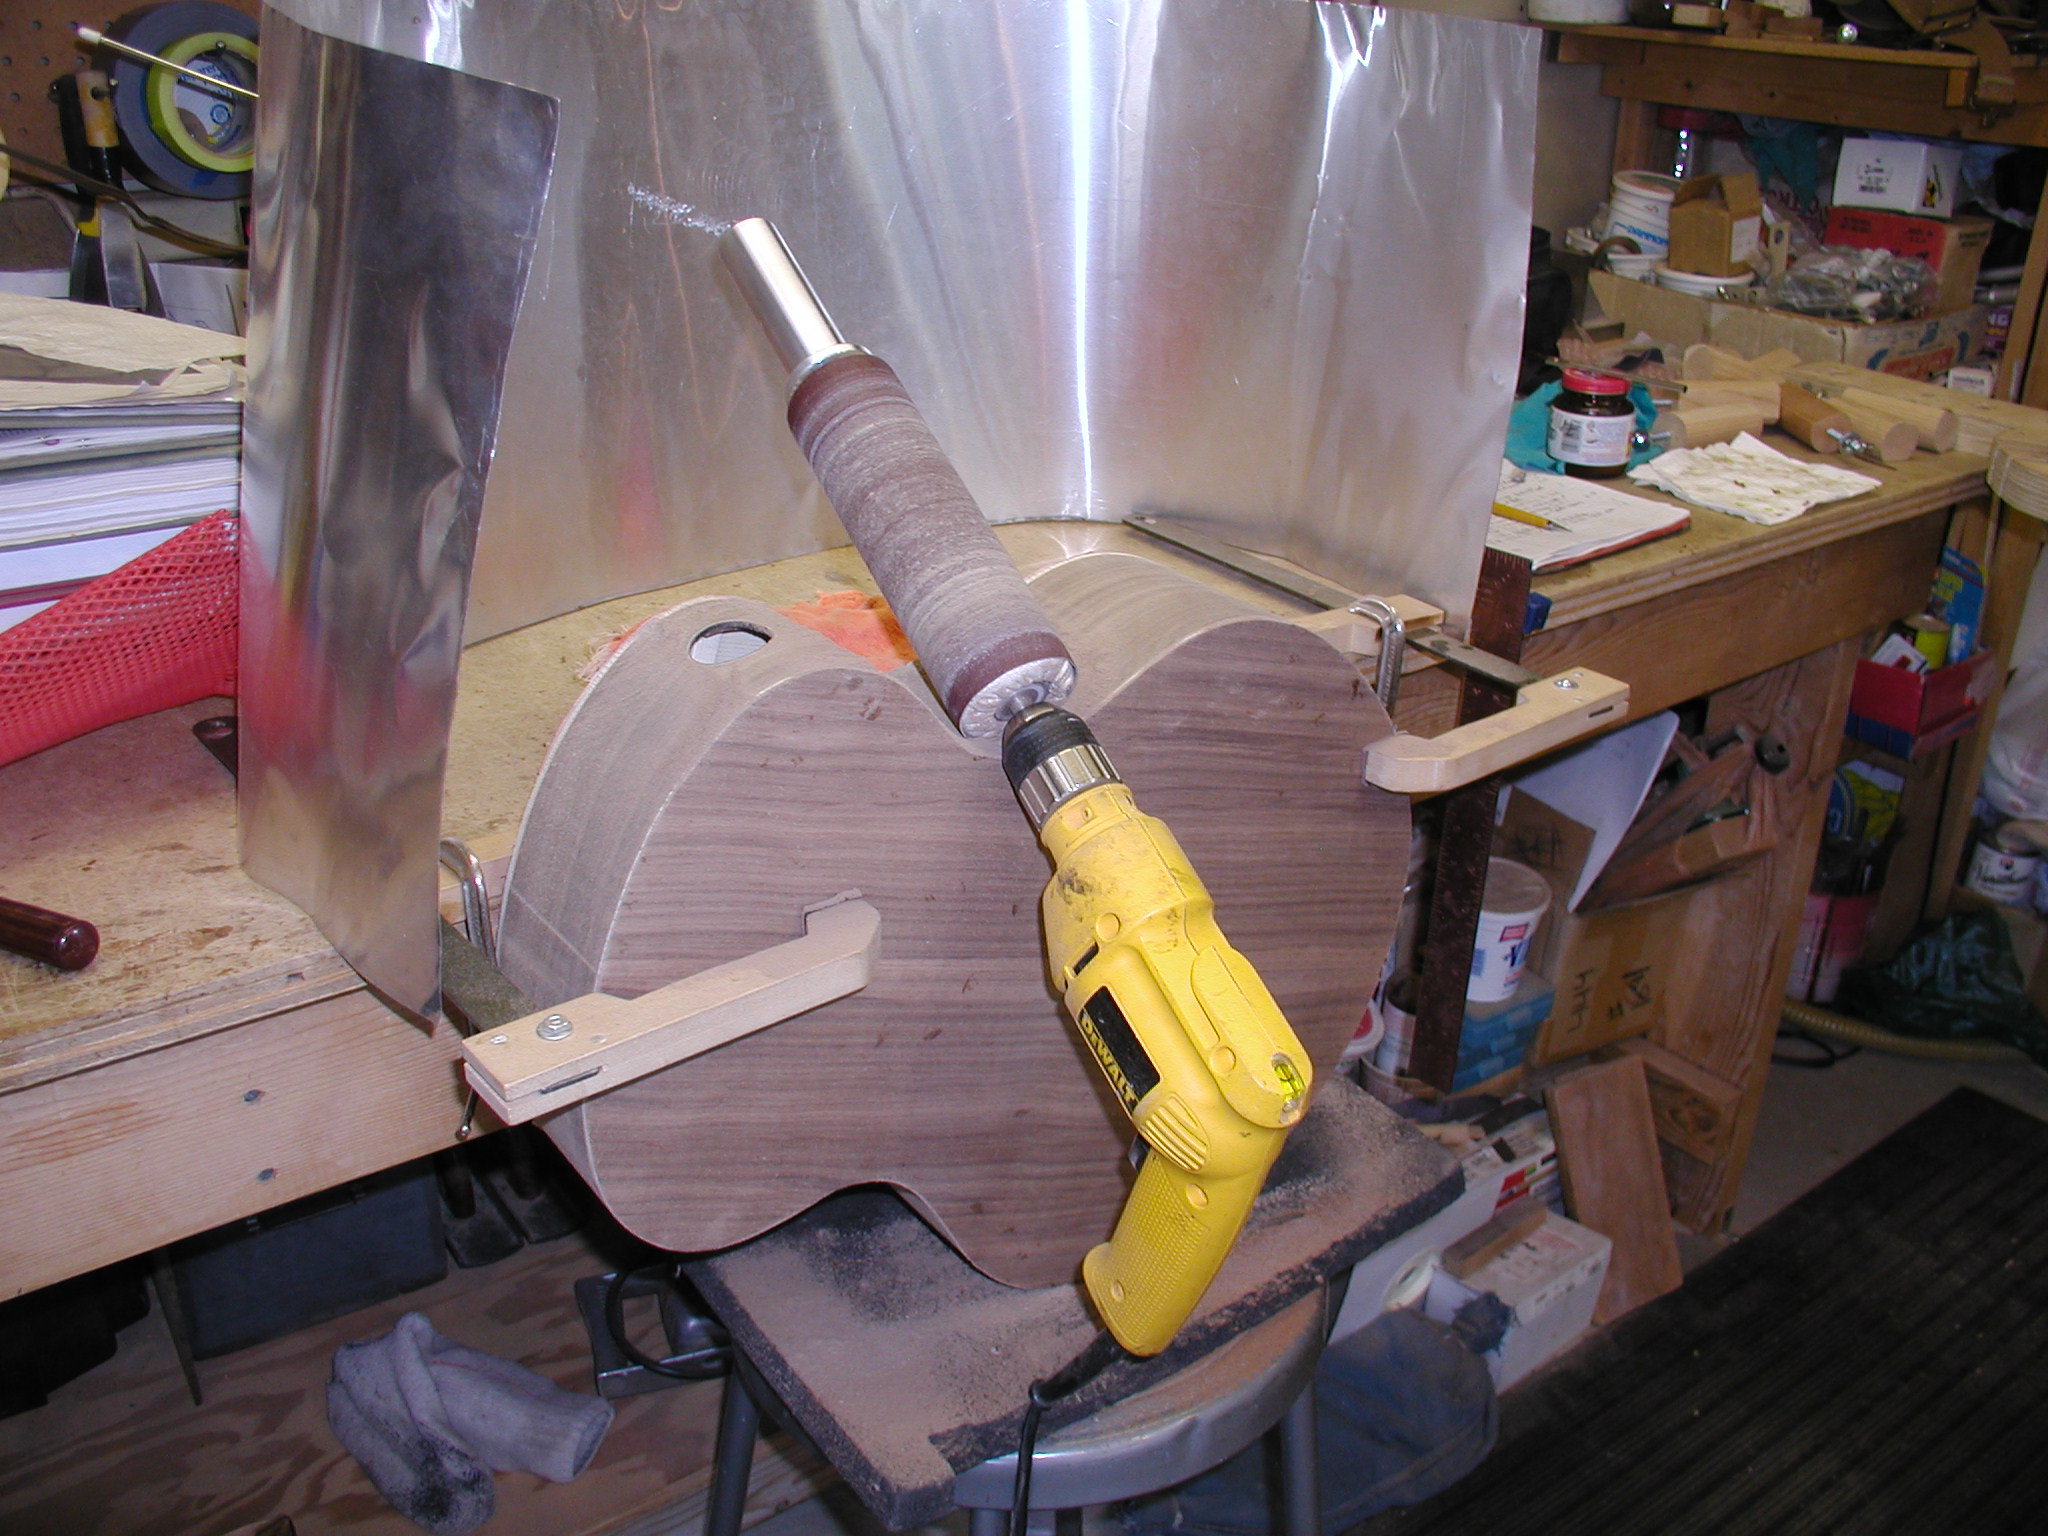
Before the binding/purfling (b/p)can go on the end graft must go in so that the b/p can be mitered into it, otherwise it would look rather strange at that junction. The same b/p is used and normally the end graft would be of the same wood as the binding, but here I had a very nice piece of cocobolo that I inserted instead and it still was a nice match to the binding. The ratty old jig is a warning to all you beginners. Make your jigs mice from the get go. If they work well, as this old beater has, then they tend to hang around and never get turned into the "final version". The jig clamps to the body and has a piece of hollowform on the top side to mate well with the top curvature. The router is guided by adjustable side guides that I have set to a small taper from the top to the bottom. I rout just short of removing all the side wood. Then with the pieces of purfling in place I slowly taper the cocobolo graft with a small block plane till it wedges in place without any wiggle and reaches all the way across. Then just apply the glue and wedge it all in place. After it is trimmed flush with the top and back and scraped true to the sides, then I go all around the body with a "rolling pin" sander to clean all the binding and square the sides. It is necessary to finalize it all with a scraper on all surfaces. You want it very clean and true at this point since the next step tracks these surfaces to cut the b/p channel.
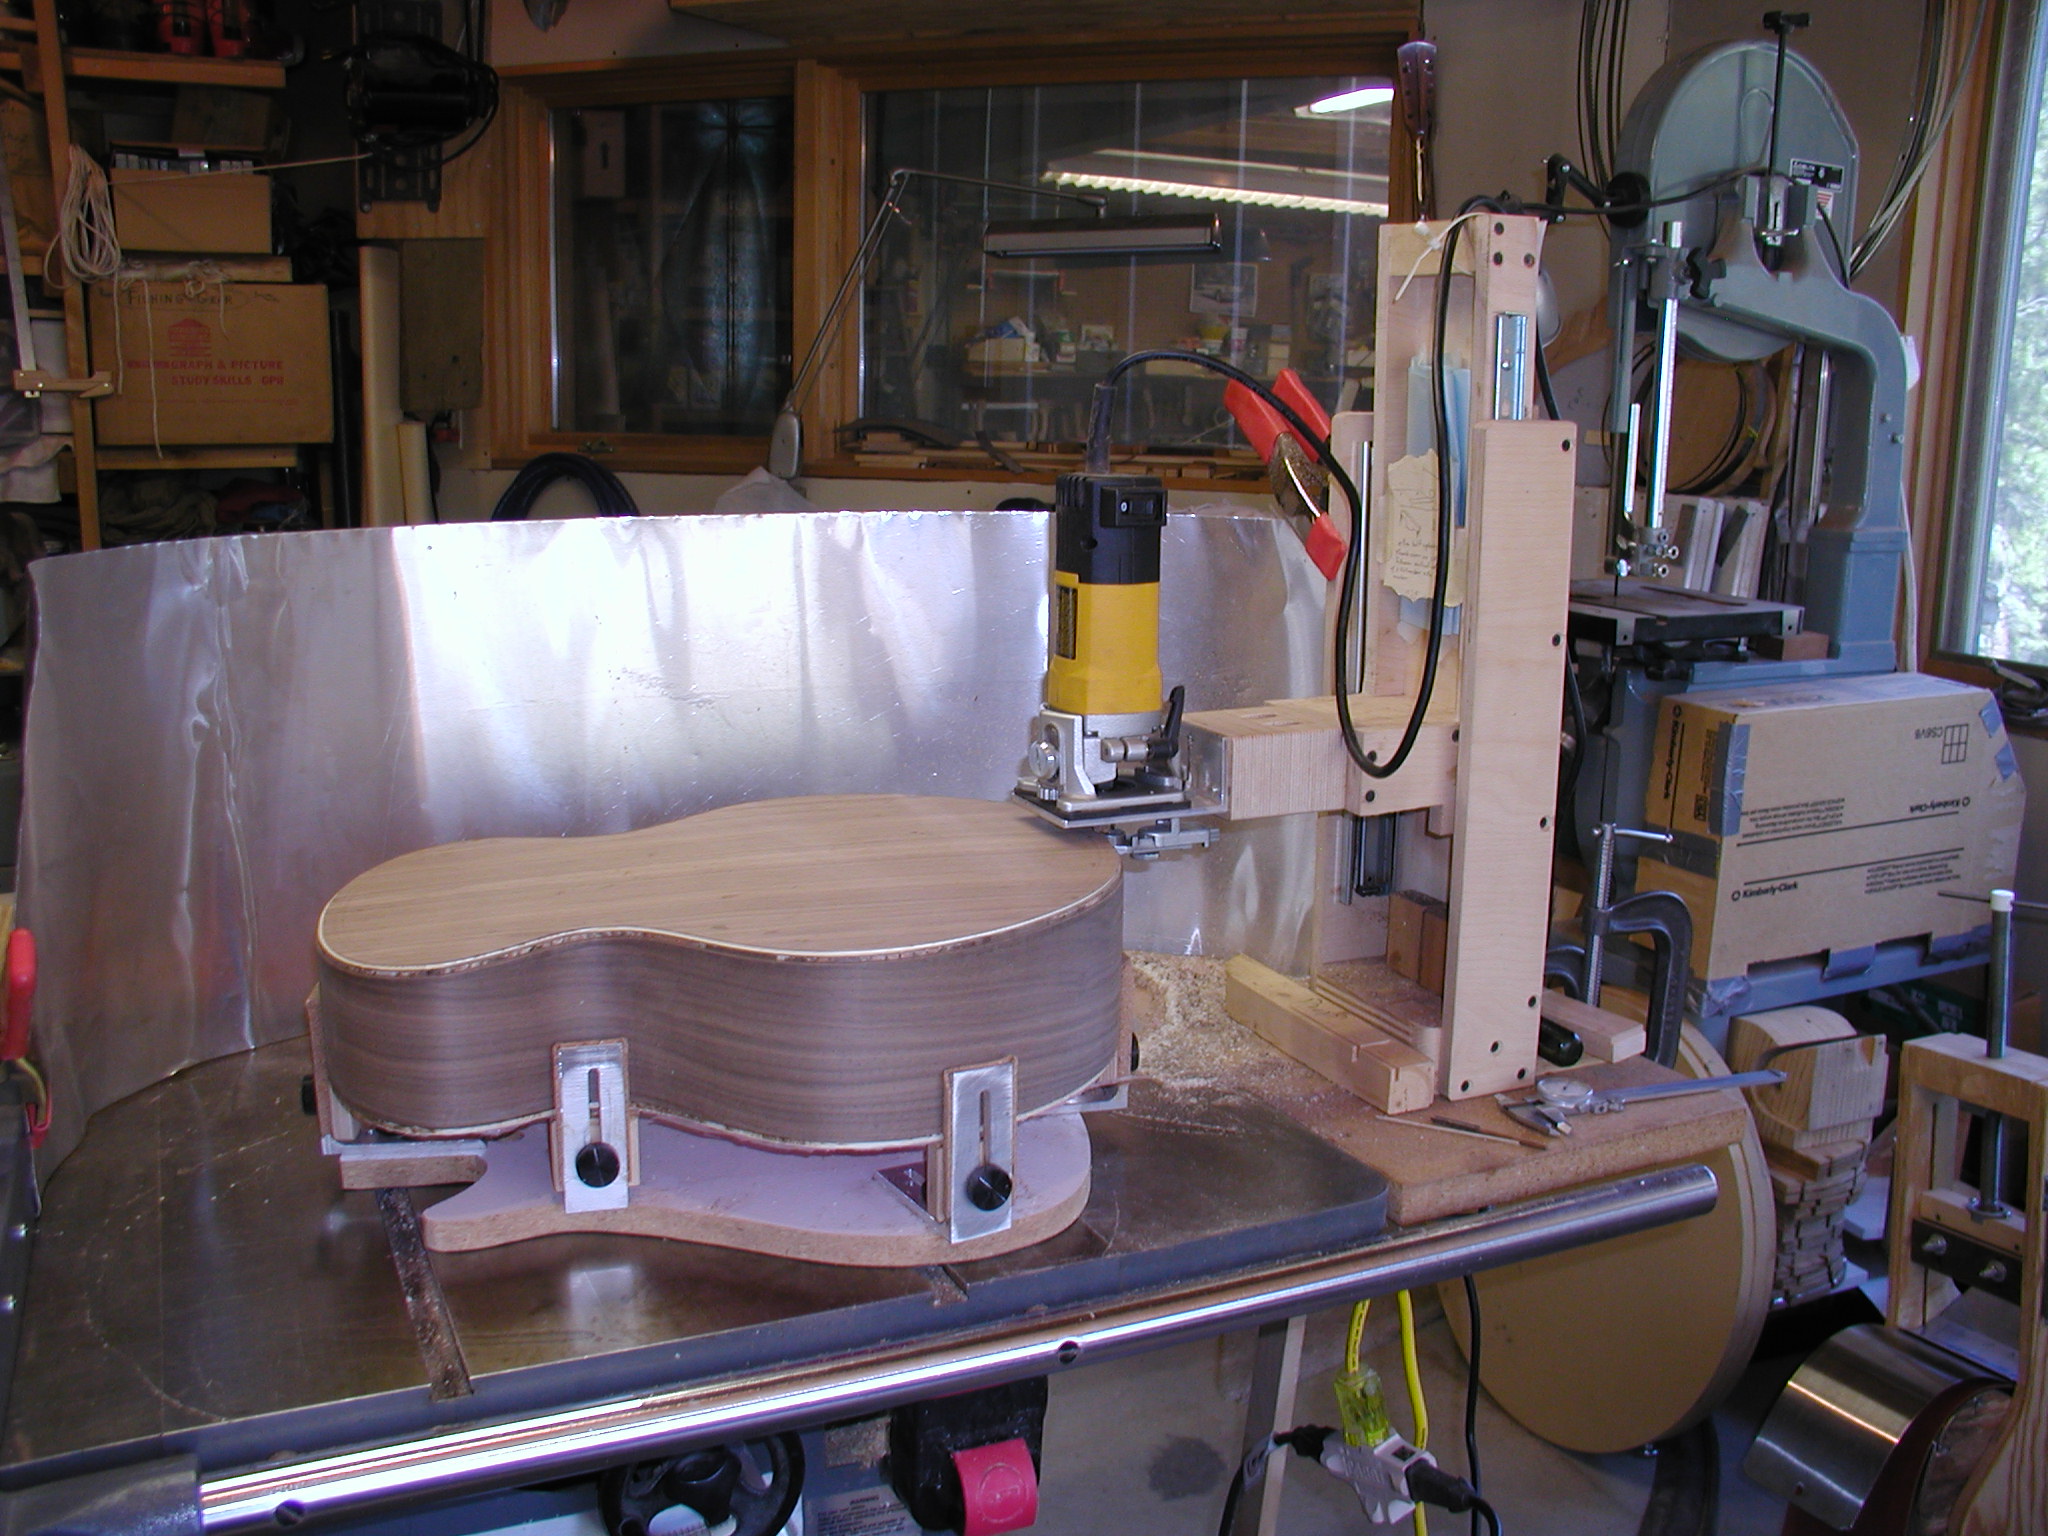
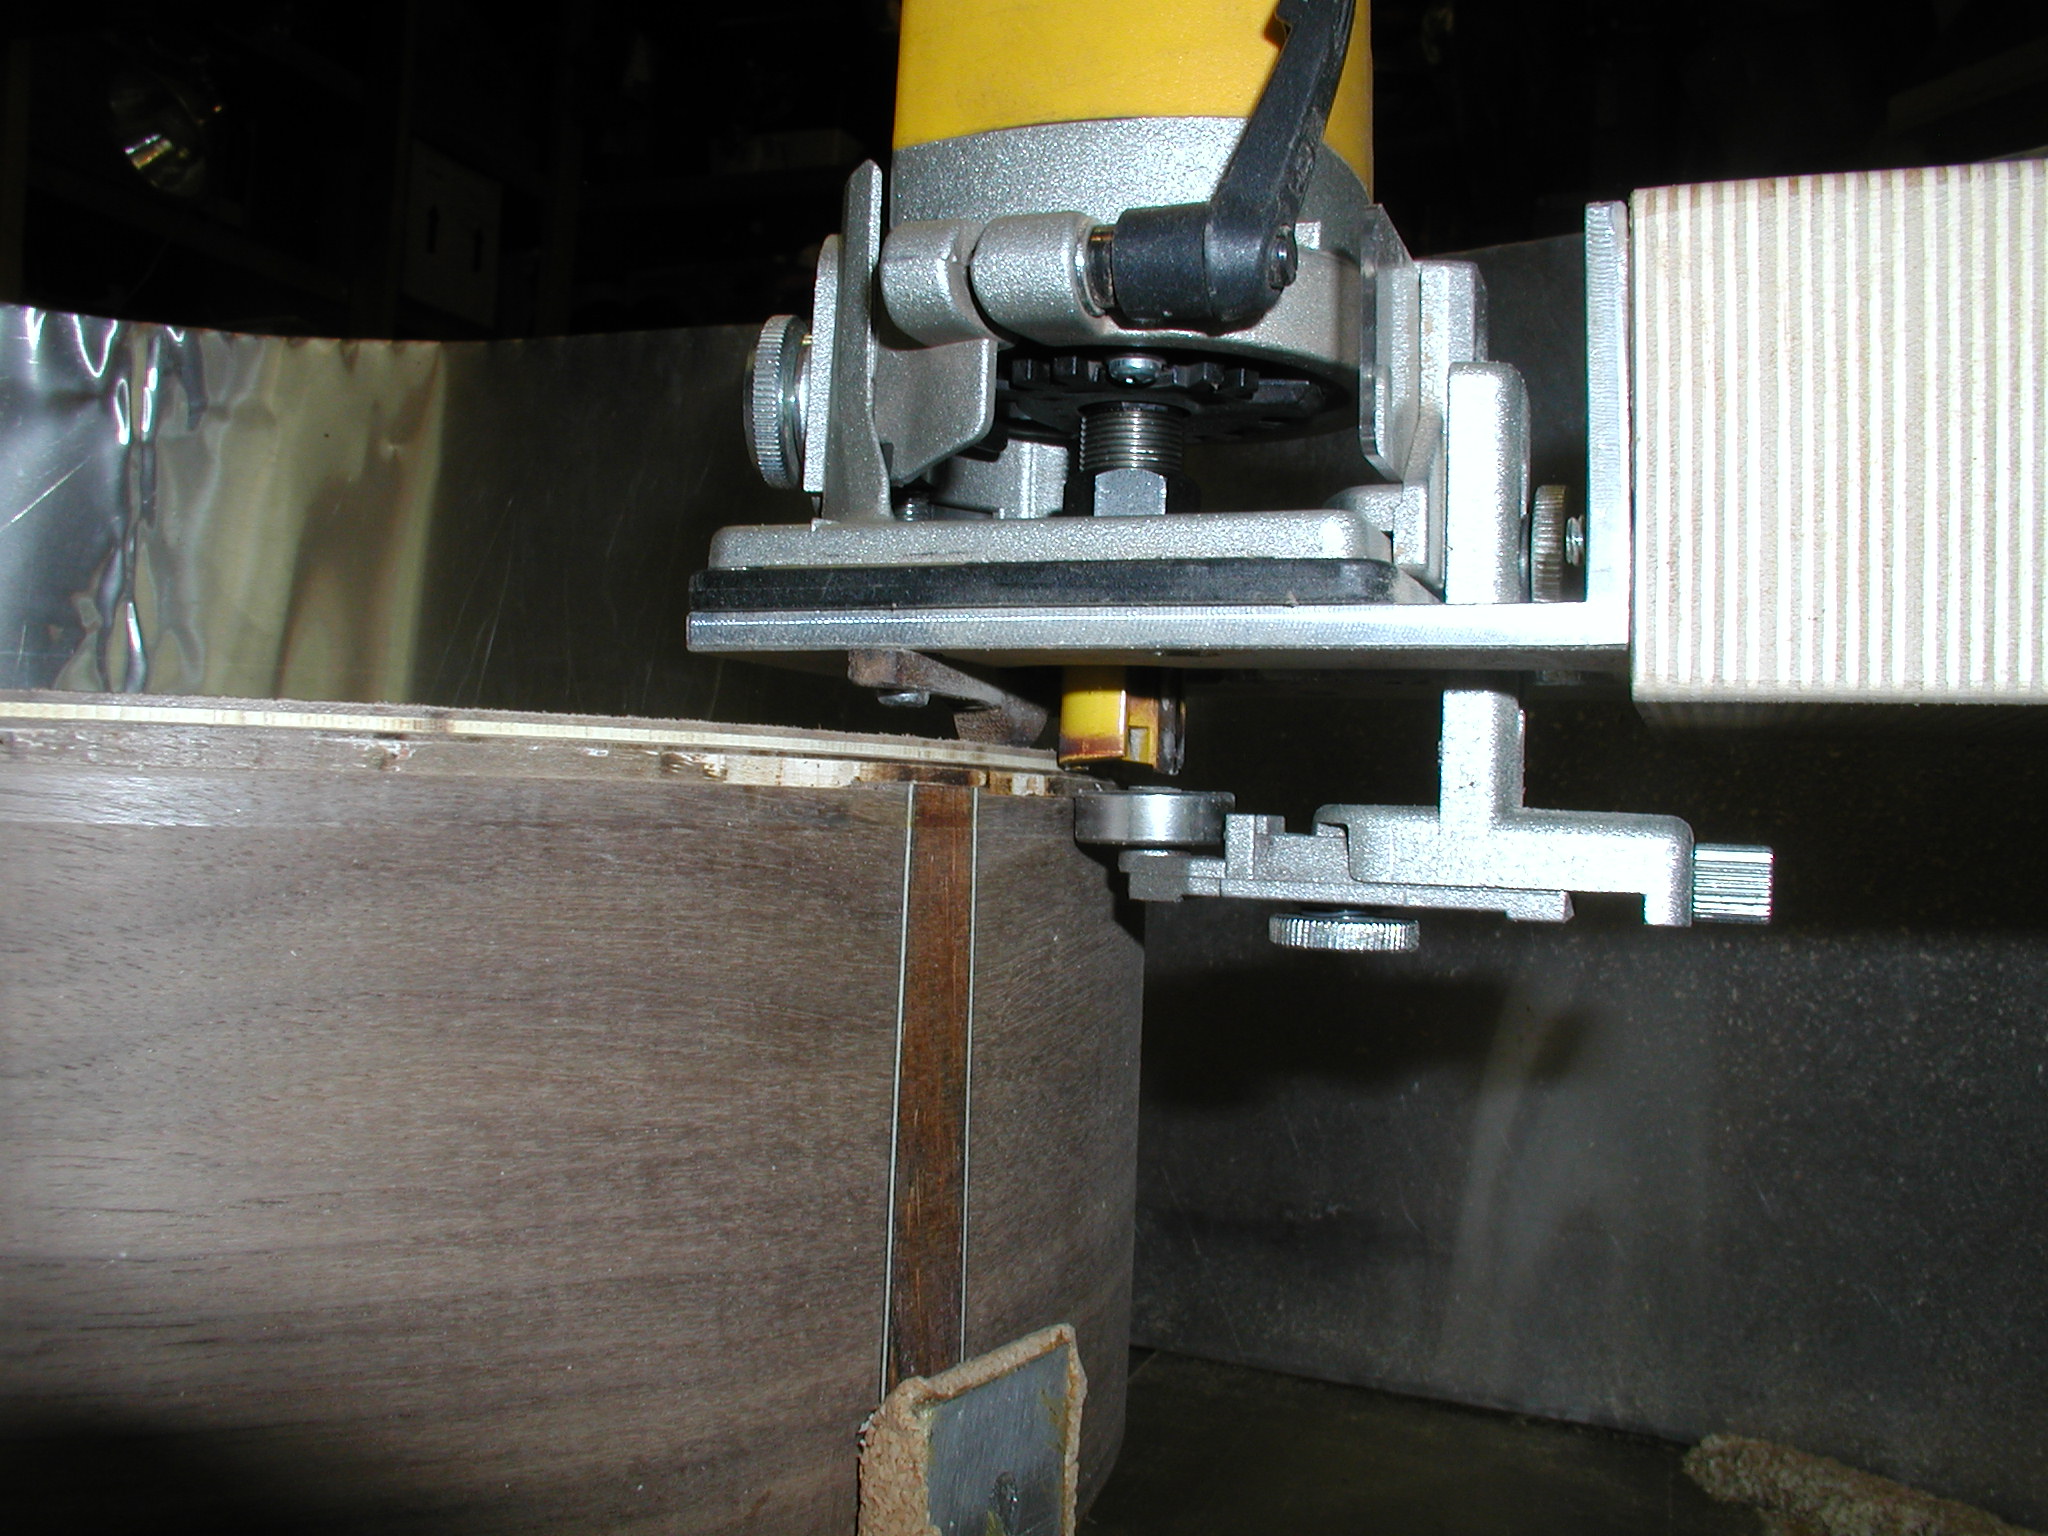
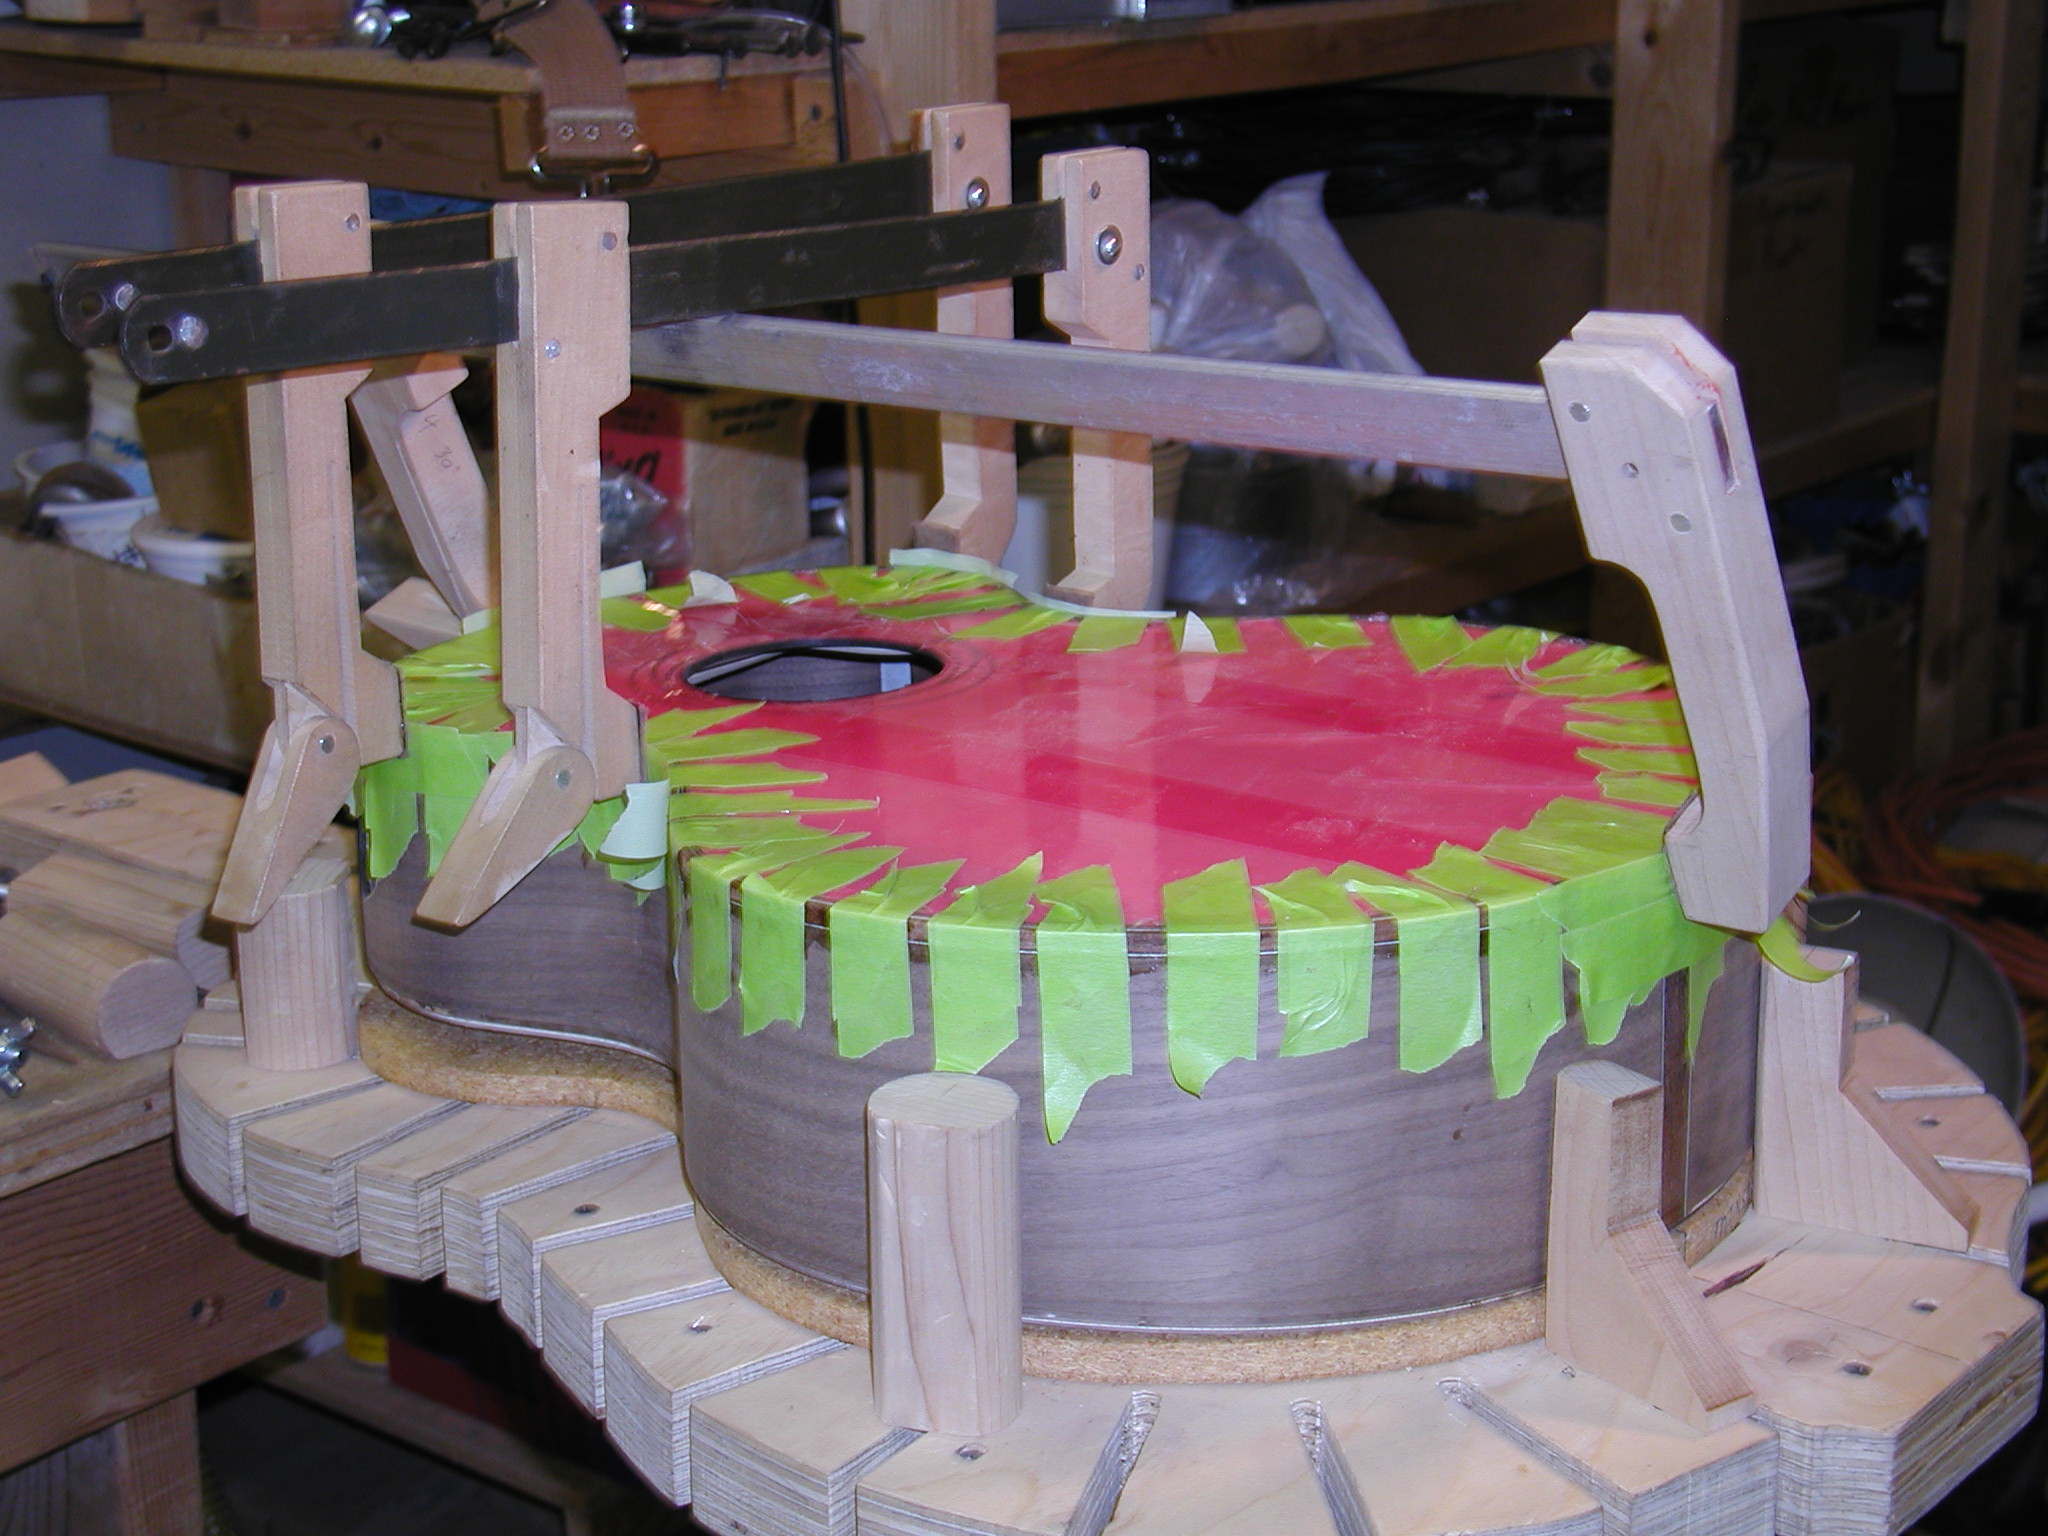

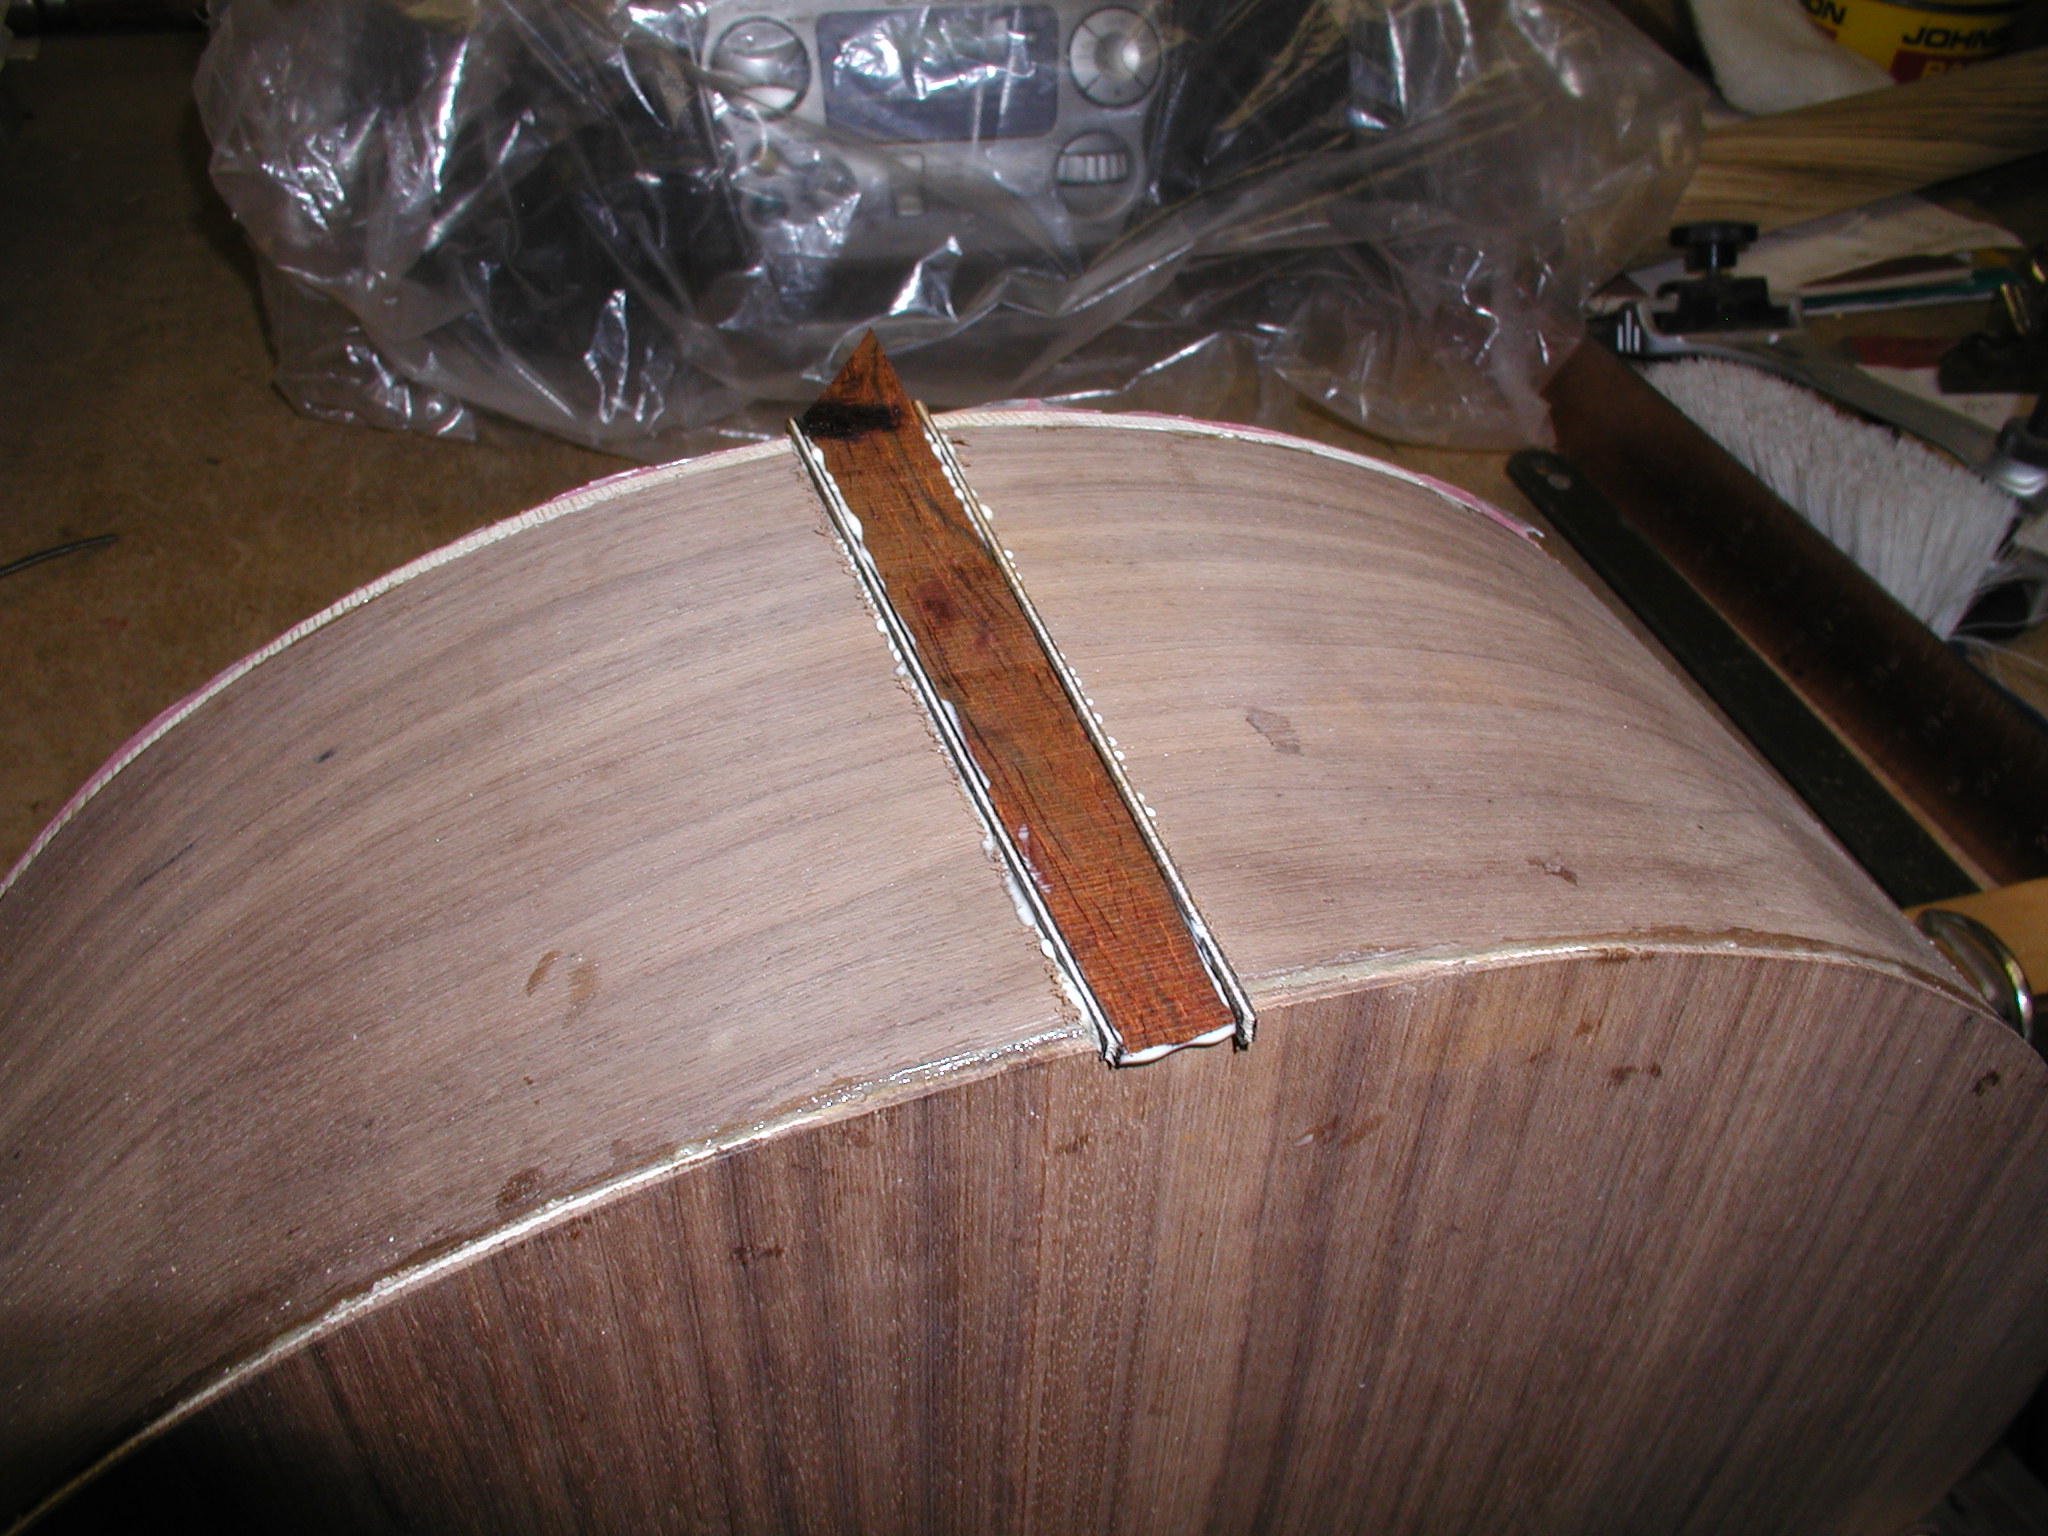
I use a laminate edge trimmer jig that rest on the plate surface and tracks the sides with a bottom mounted bearing. The bearings come in different sizes to adjust the depth. The binding cut goes all the way around right through the end graft. However the cut for the purfling along the side must stop short of the end graft and then be hand fit with chisel cuts. The same at the heel end of the back, the binding and purfling must be slowly trimmed till they just butt up under a little pressure. I glue in with carpenters glue (Tightbond regular) a little at a time using a veterinary syringe and a huge needle that has been blunted. These can be had from feed stores and other large animal supply houses. The b/p is held in place with double strips of tape. Notice here that I have a protective sheeting on the top that was put on way back before we attached the sides. This is from 3-M and is used for protecting things like stainless steel sinks. It has a weak "Post-It-Note" type of adhesive so it doesn't pull up splinters when I finally remove it. It has the added feature that I can tape the b/p on without worry of the same splinter problem. I also use clamps to hold it snug where it butts up at the end graft and head end and to make sure it doesn't spring out in the waist.
After it has dried I use the rolling pin sander to true it and then finalize all surfaces with a sharp cabinet scraper. Leave the binding edges sharp for now, we'll round them when we finit the box before finishing.
At this point I may run some more Chladni modes on the closed up box but more often I wait till I have the finish on to do that.