Let's Build A Guitar (Page 3)
Last Modified - November 6, 2012
In Page 2 we finished up with carving the bracing on the plates and running Chladni modes again. Now we are ready to start shaping up the soundbox.
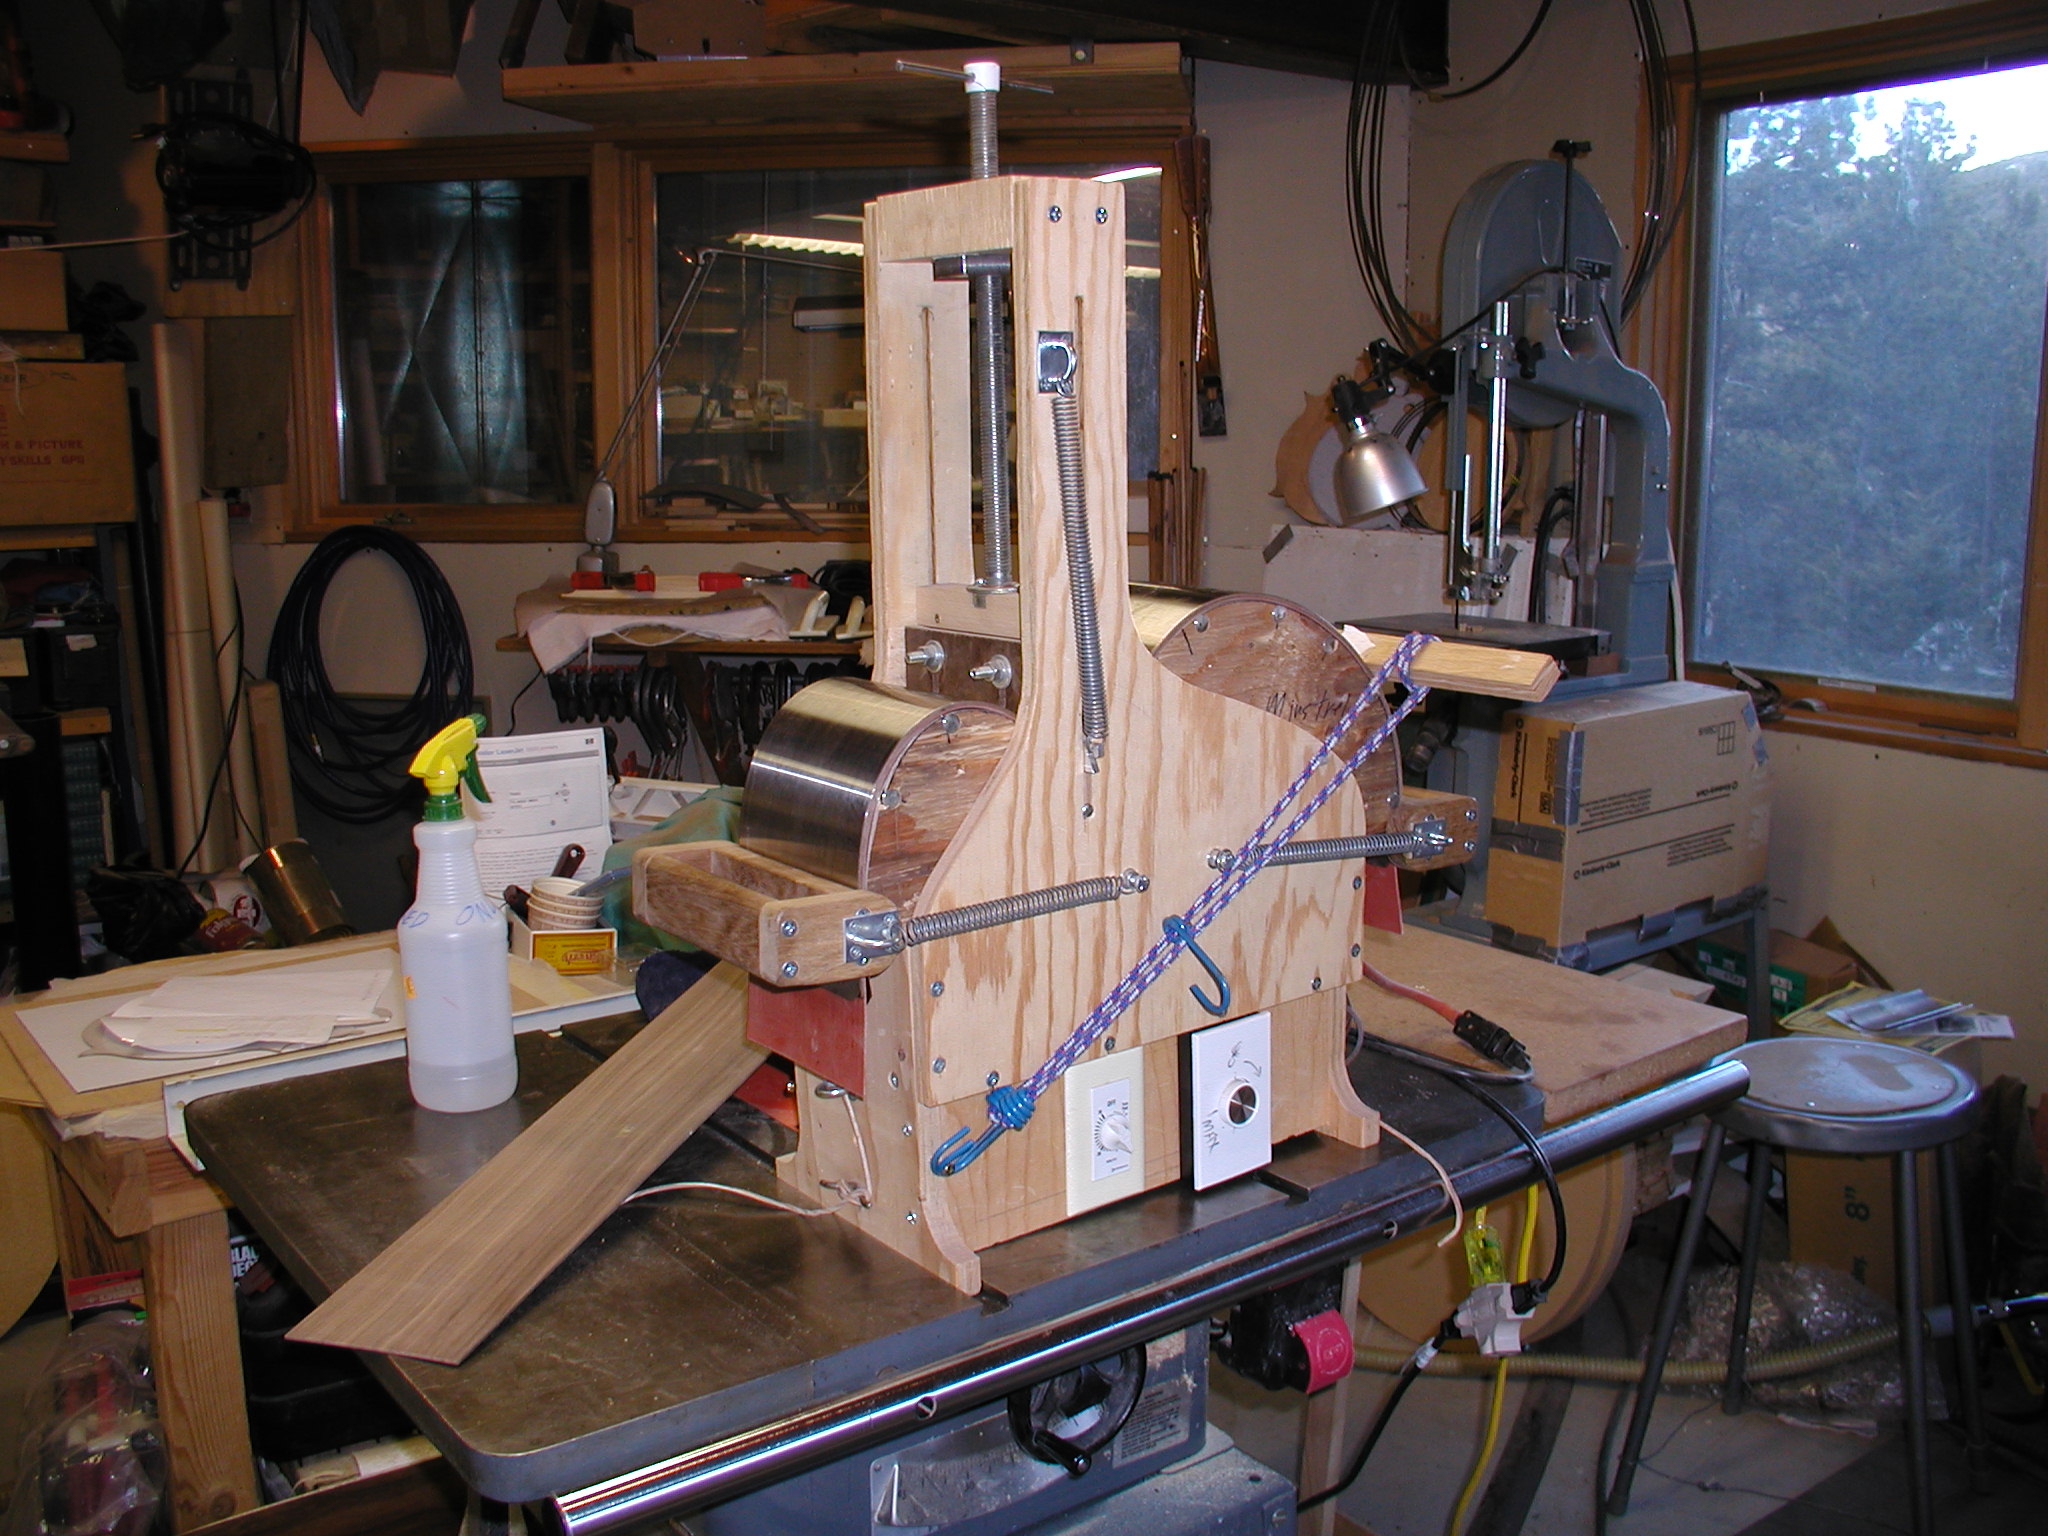
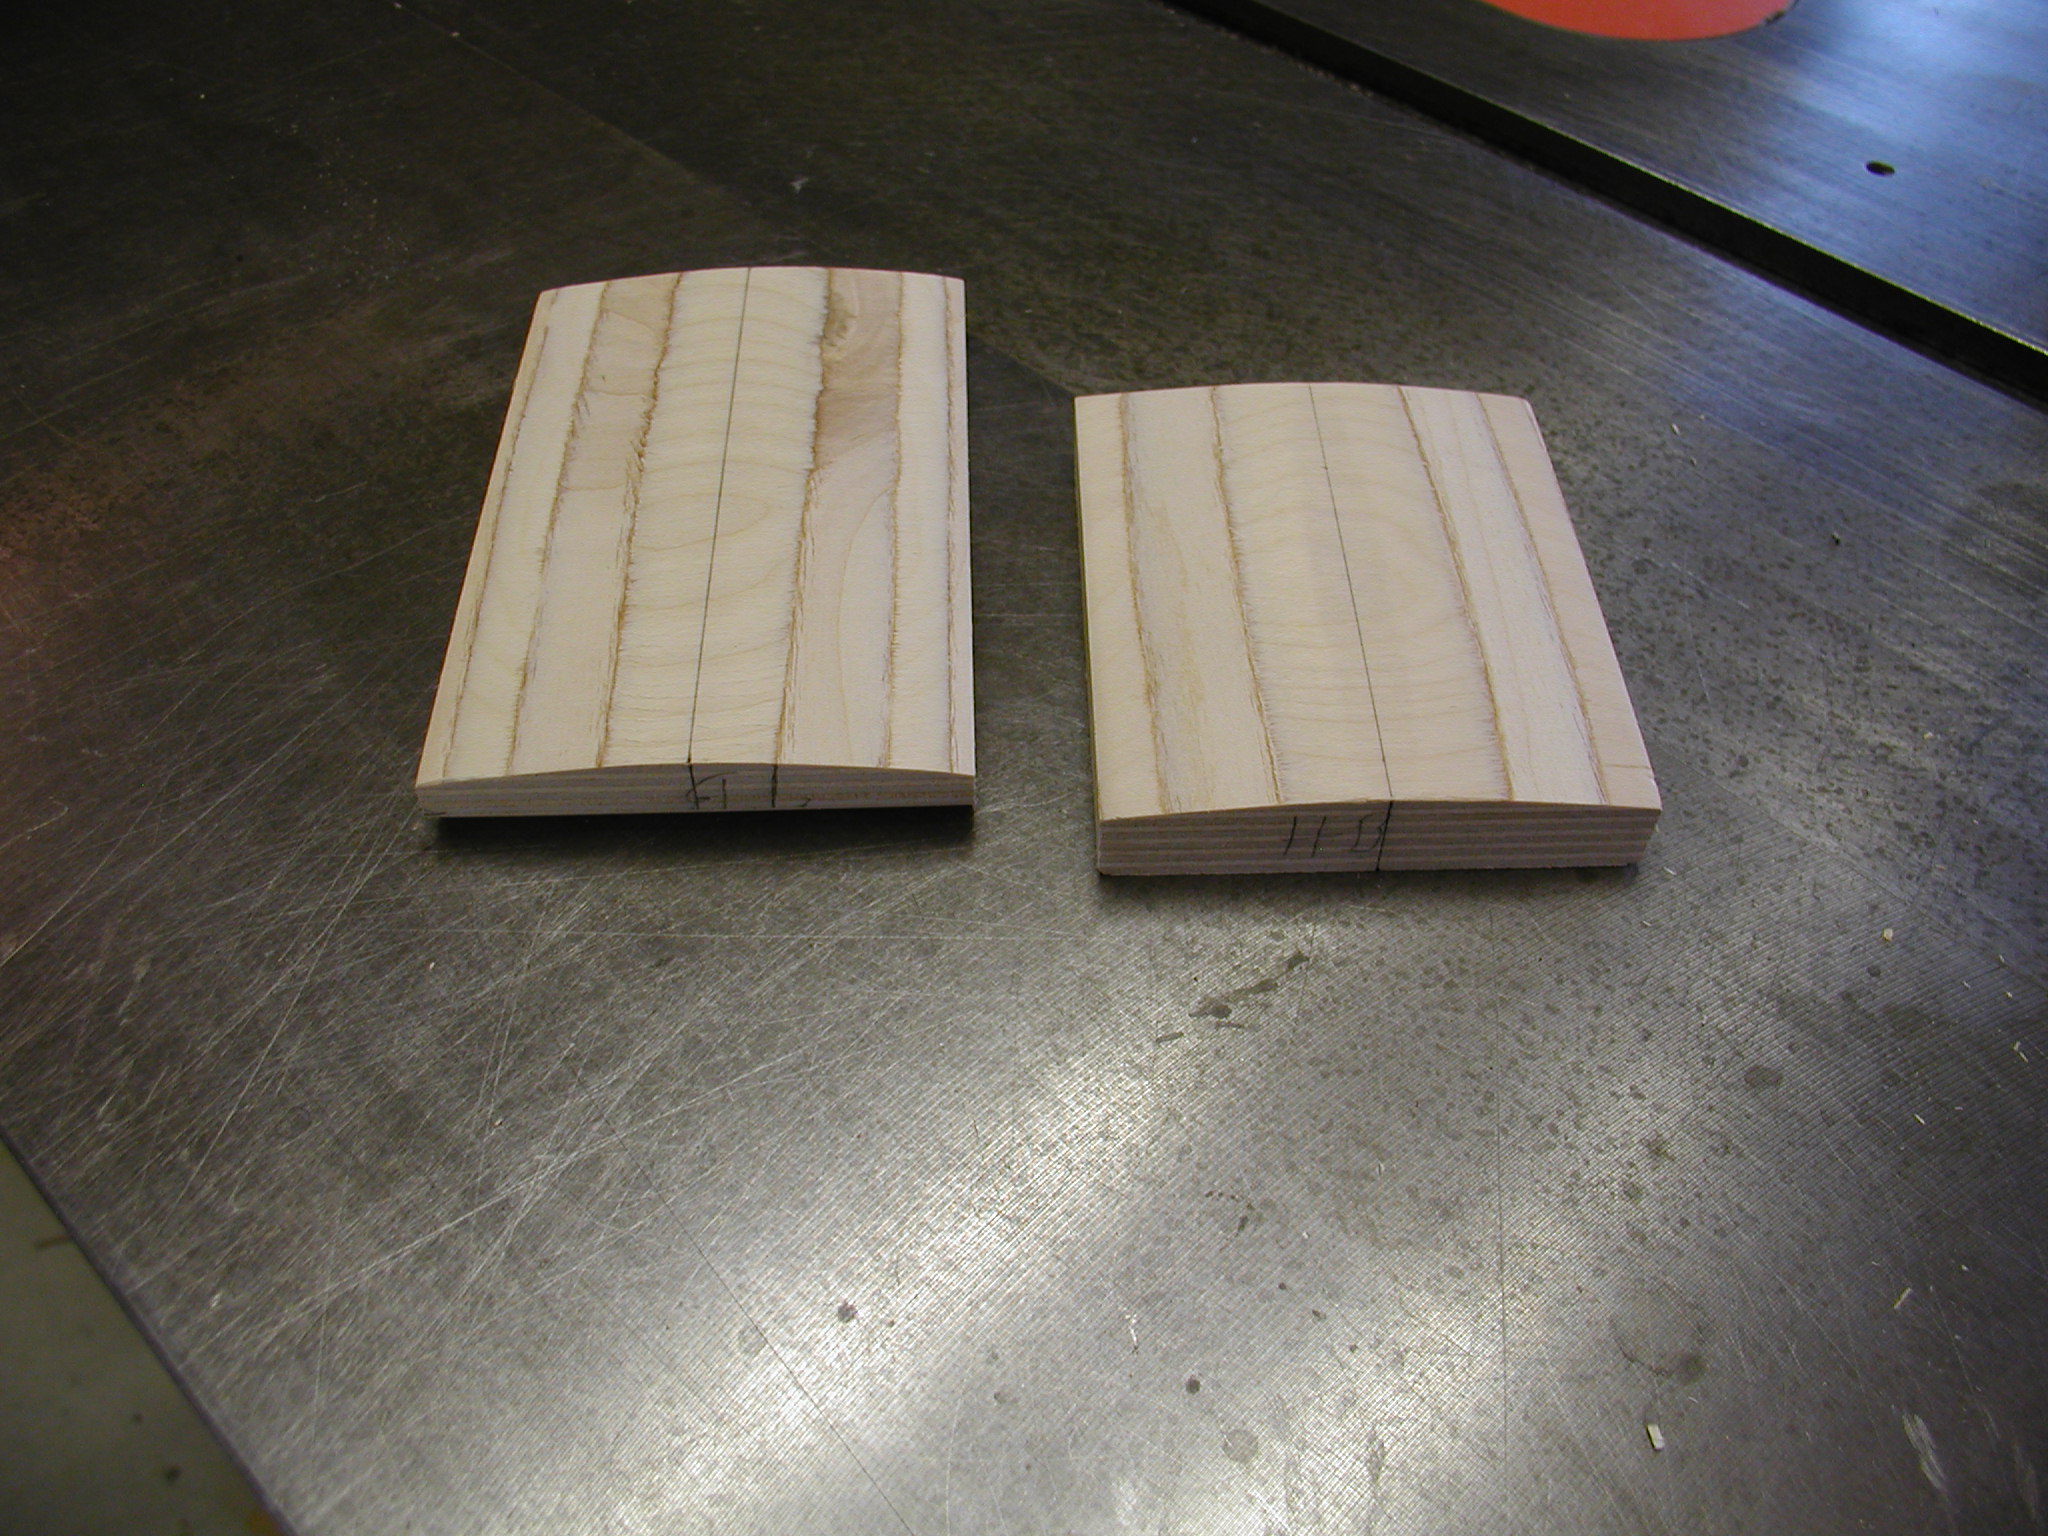
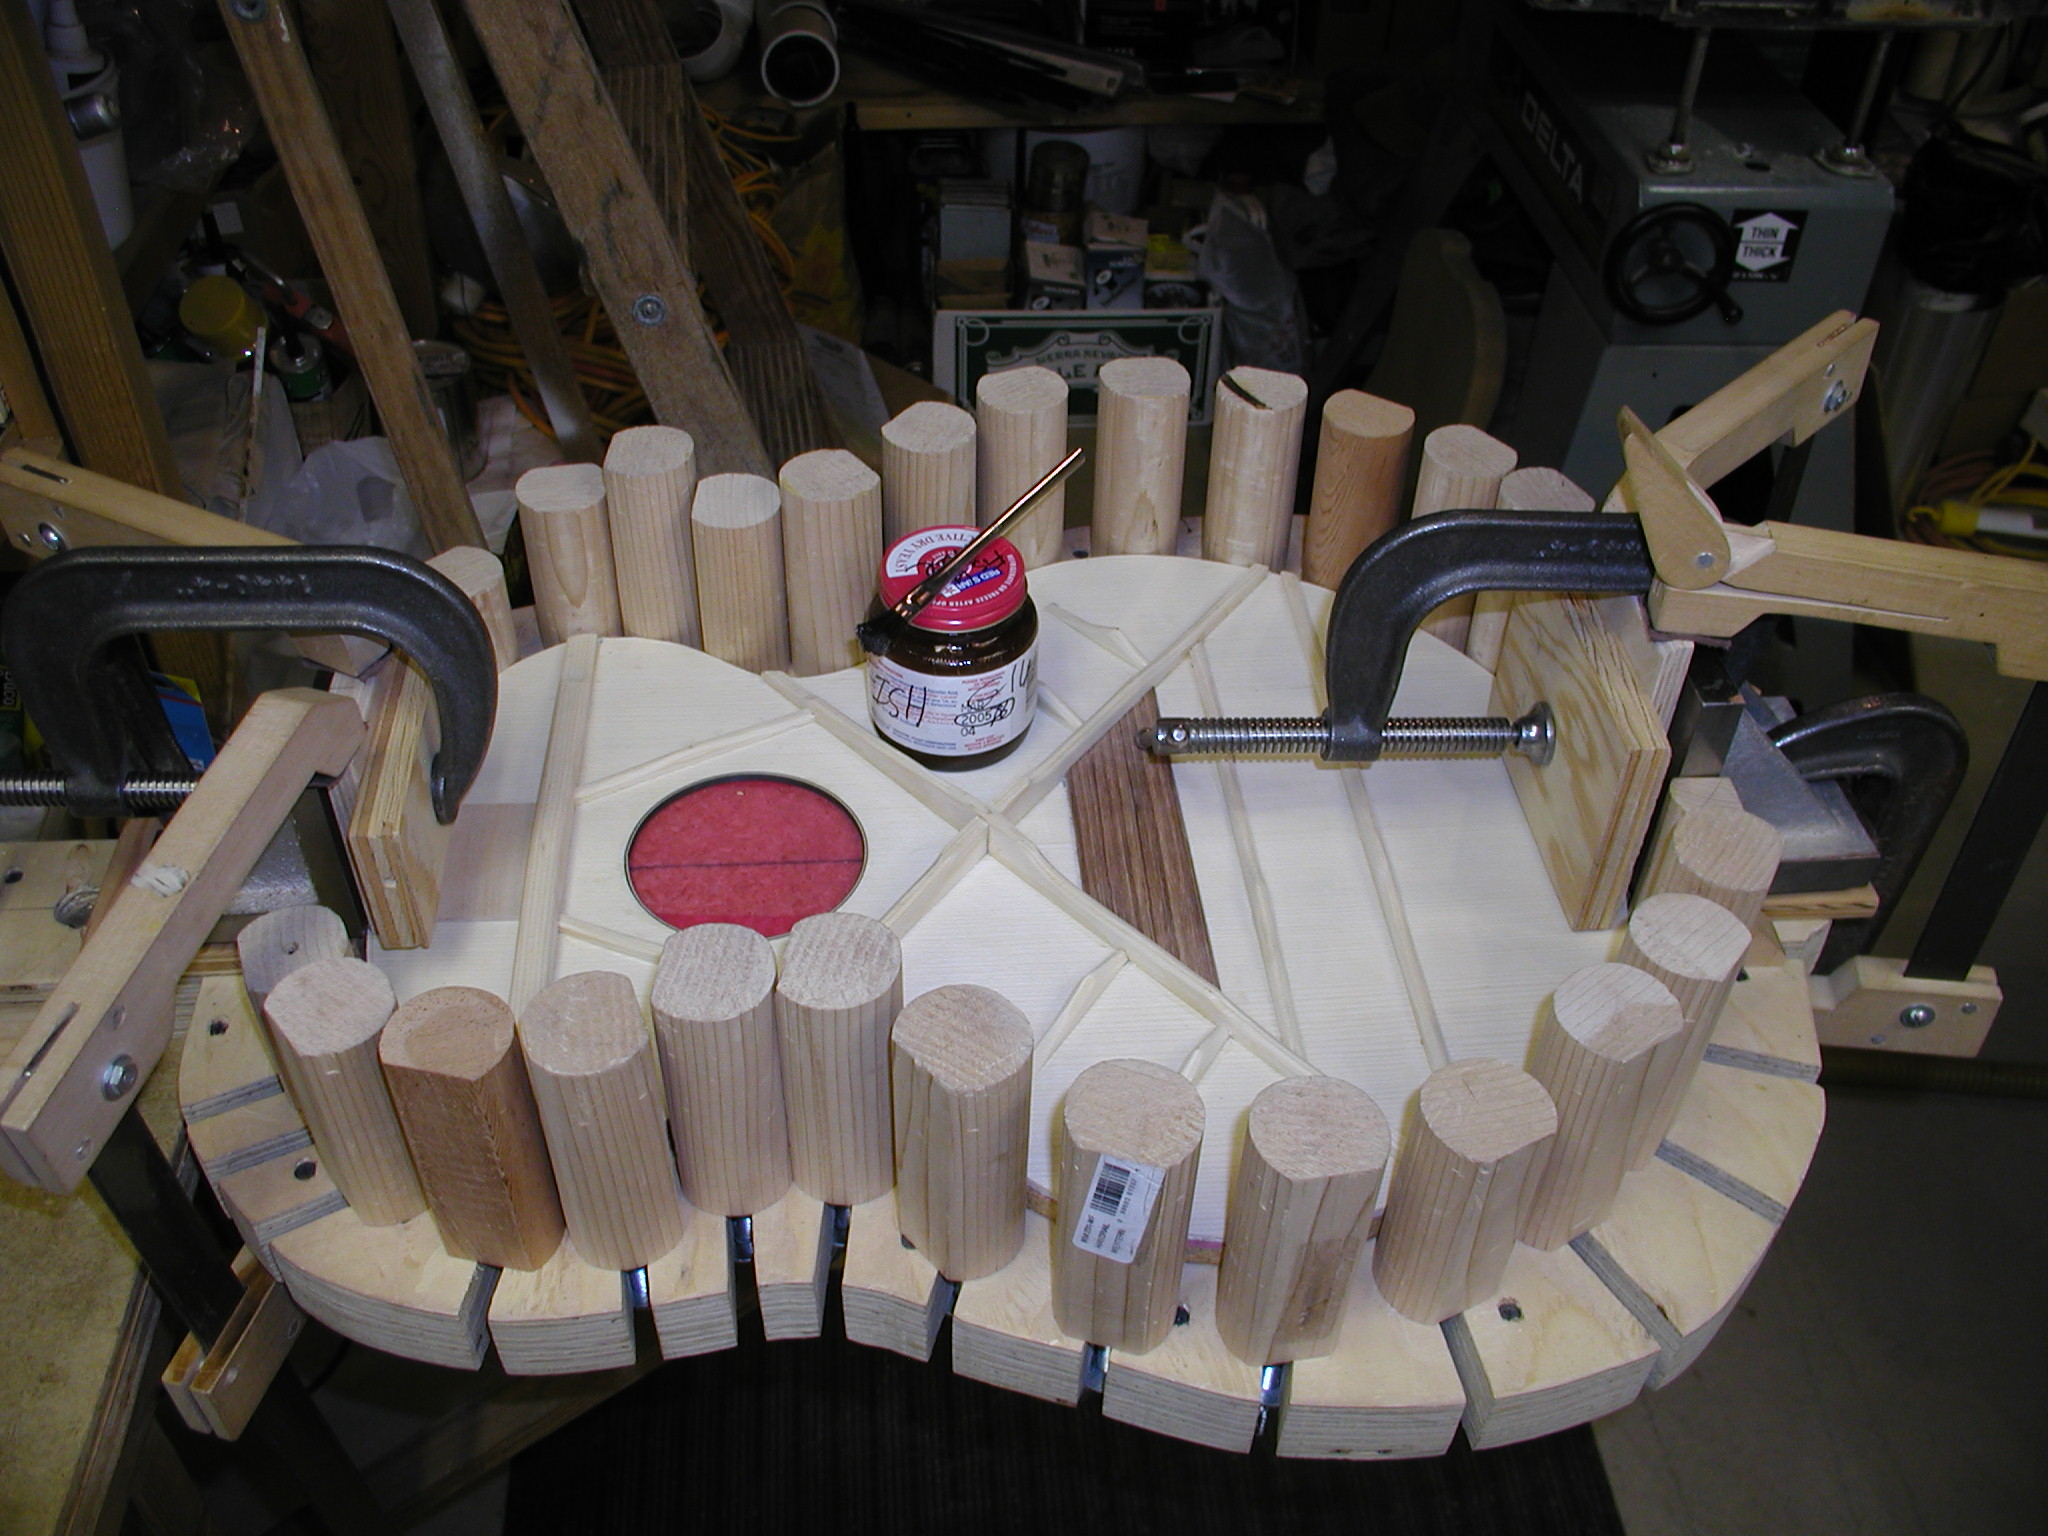
I first get the sides trued on one edge and then bent in the "Fox Bender". While this design wasn't invented by Charles Fox as far as I know, he did refine it and market it in a good design. As thanks we all include Charles in our prayers at night because of this. I use a heat blanket rather than light bulbs and also like to strap it down with bungies which helps reduce any spring-back in the sides when they come out of the bender. While they are bending and cooling I make up the head and tail blocks. I am using birch plywood, also called European Ply here in the US of A, it is strong in all directions and since it lives at acoustically dead locations anyway there is no advantage to using layups of other sound woods. The layers also act as a nice evenness guide as I sand the side curvature into them. I build in an open form that has an insert that is cut like a hollow form to the radius of the top. That way I can lay the top down an build the box up over it. I use the big dowels as clamping aids and alignment guides. Note however that I use machinists cast iron angle blocks for getting the head and tail blocks in true. I have protected the top wood with some plastic sheeting, it looks pink through the sound hole area.
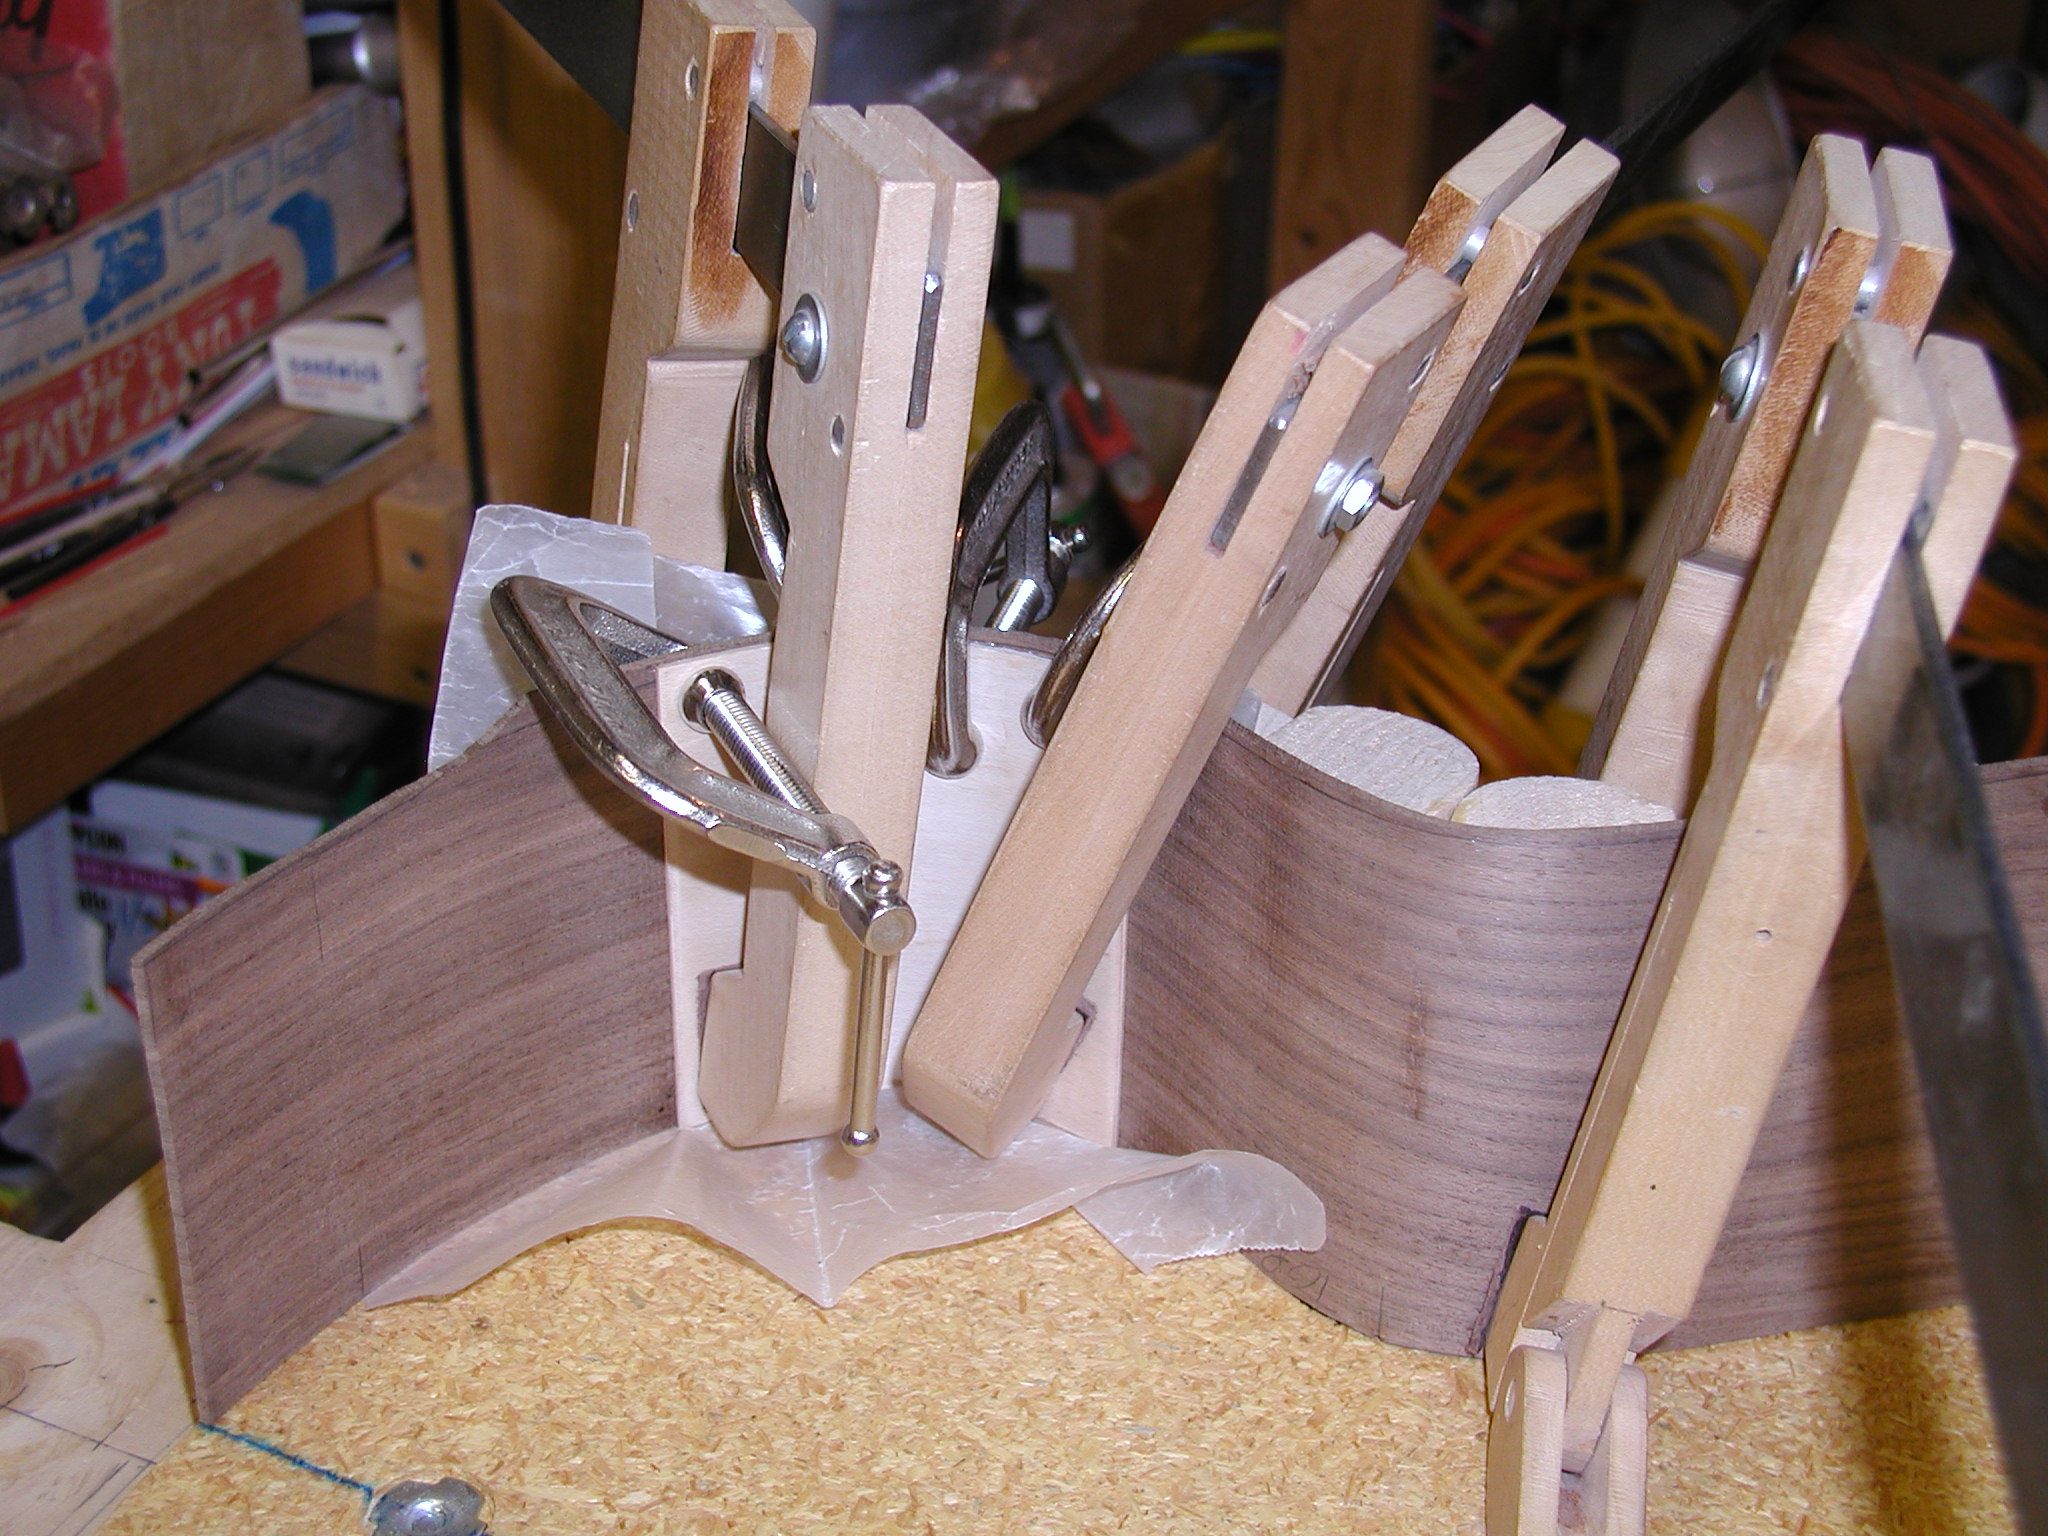

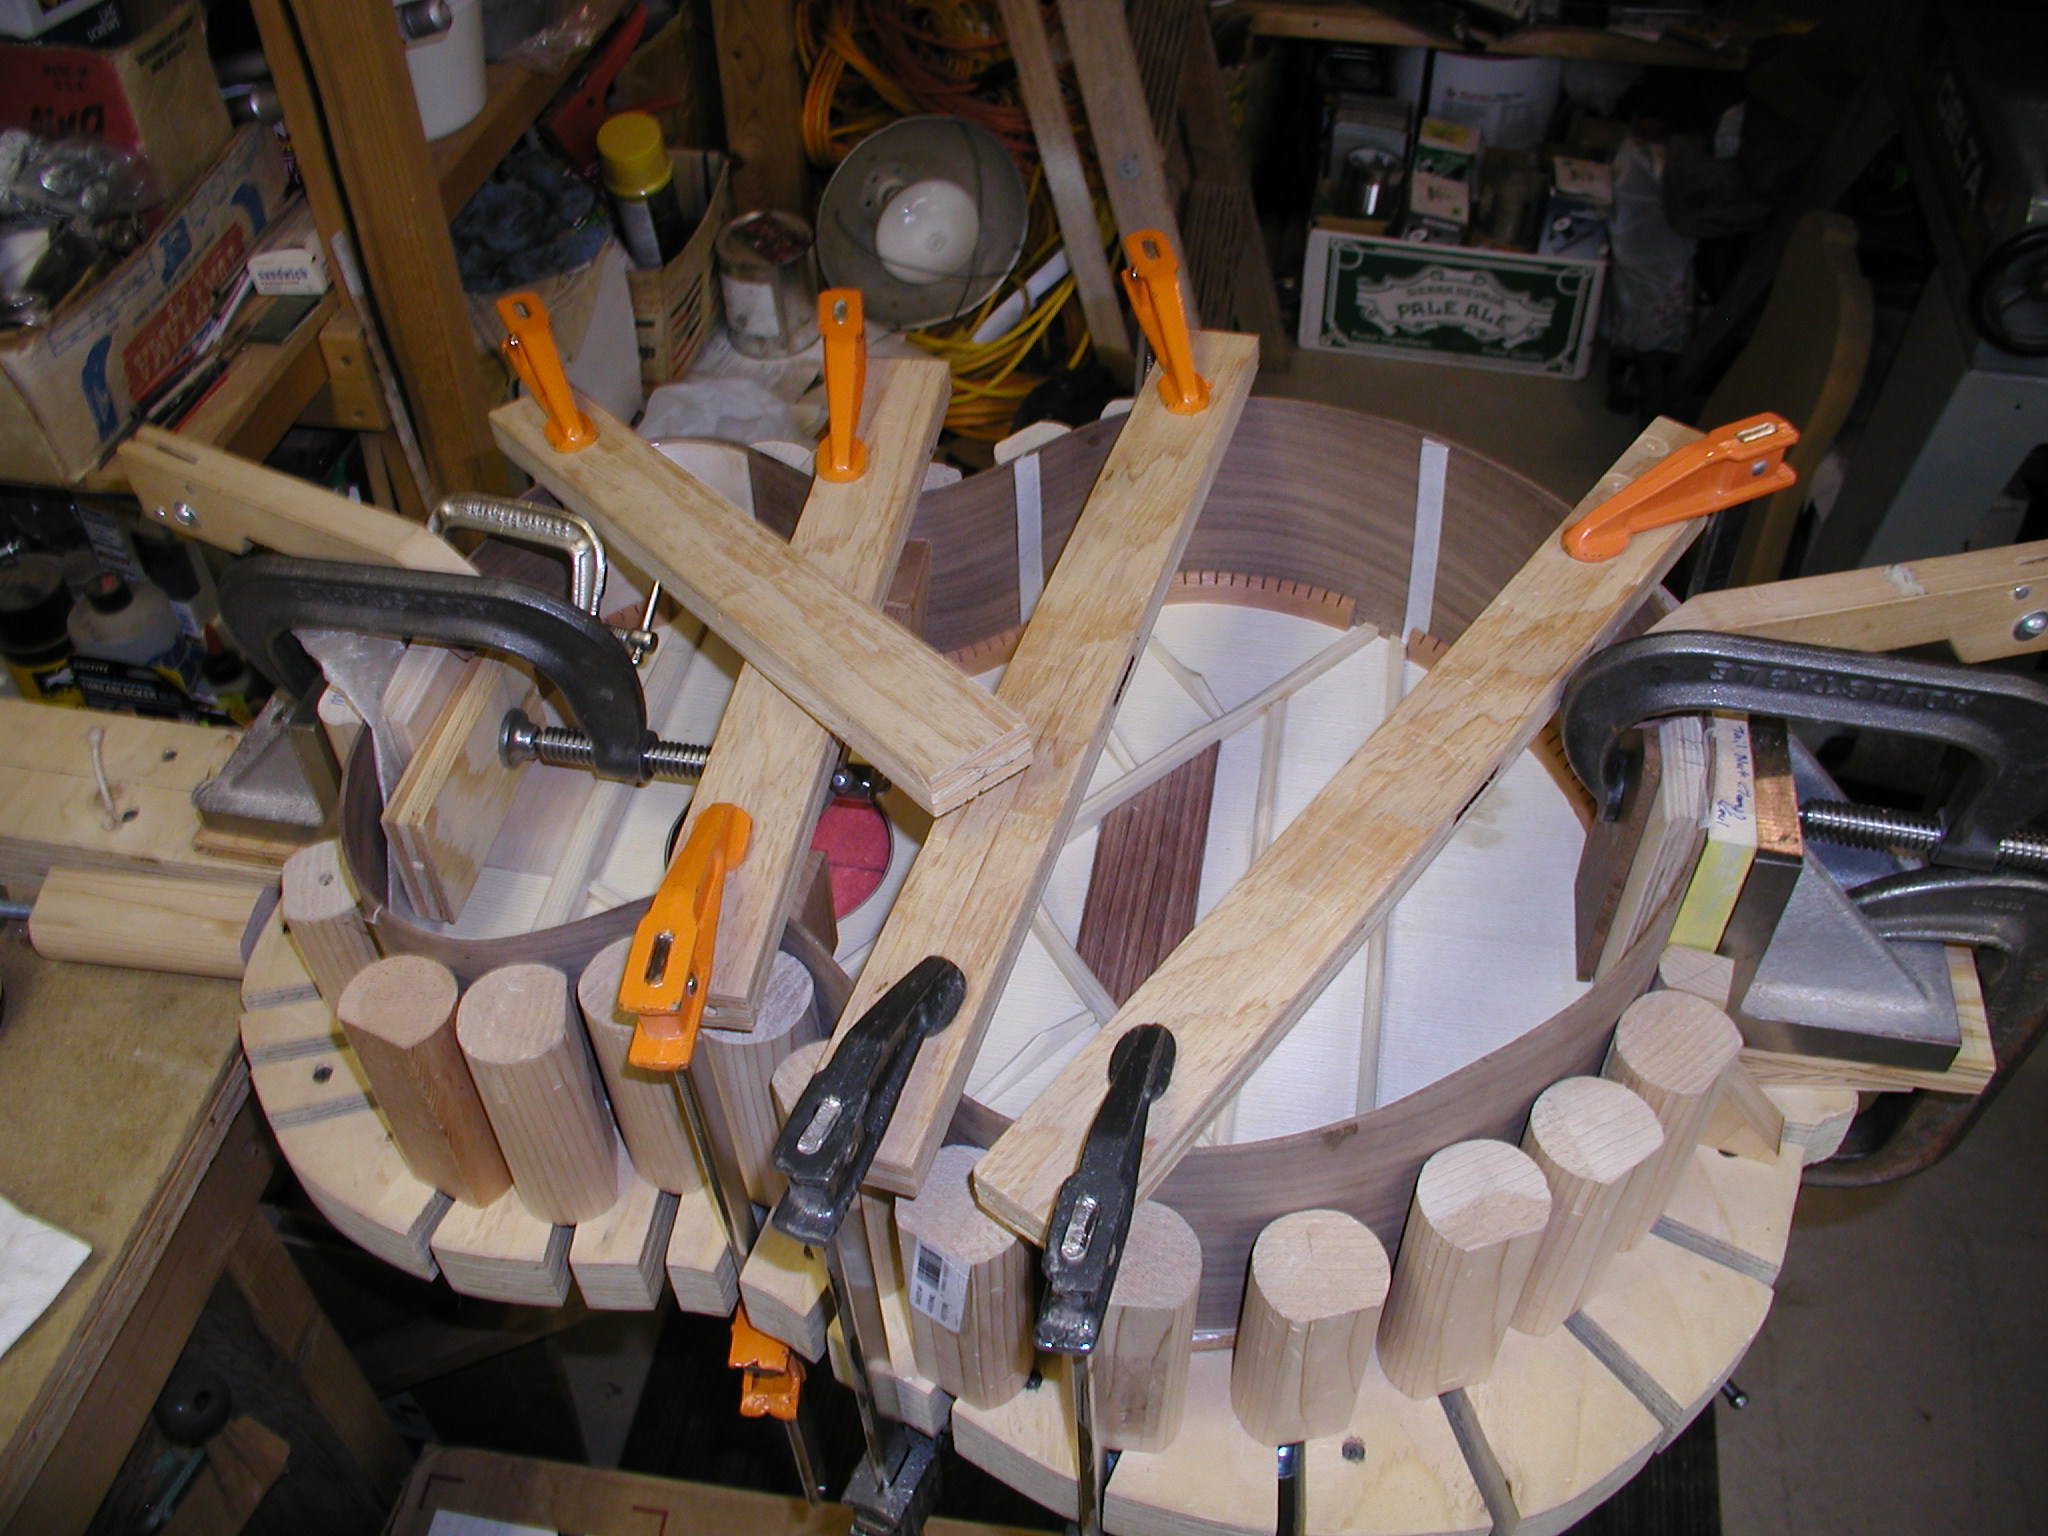
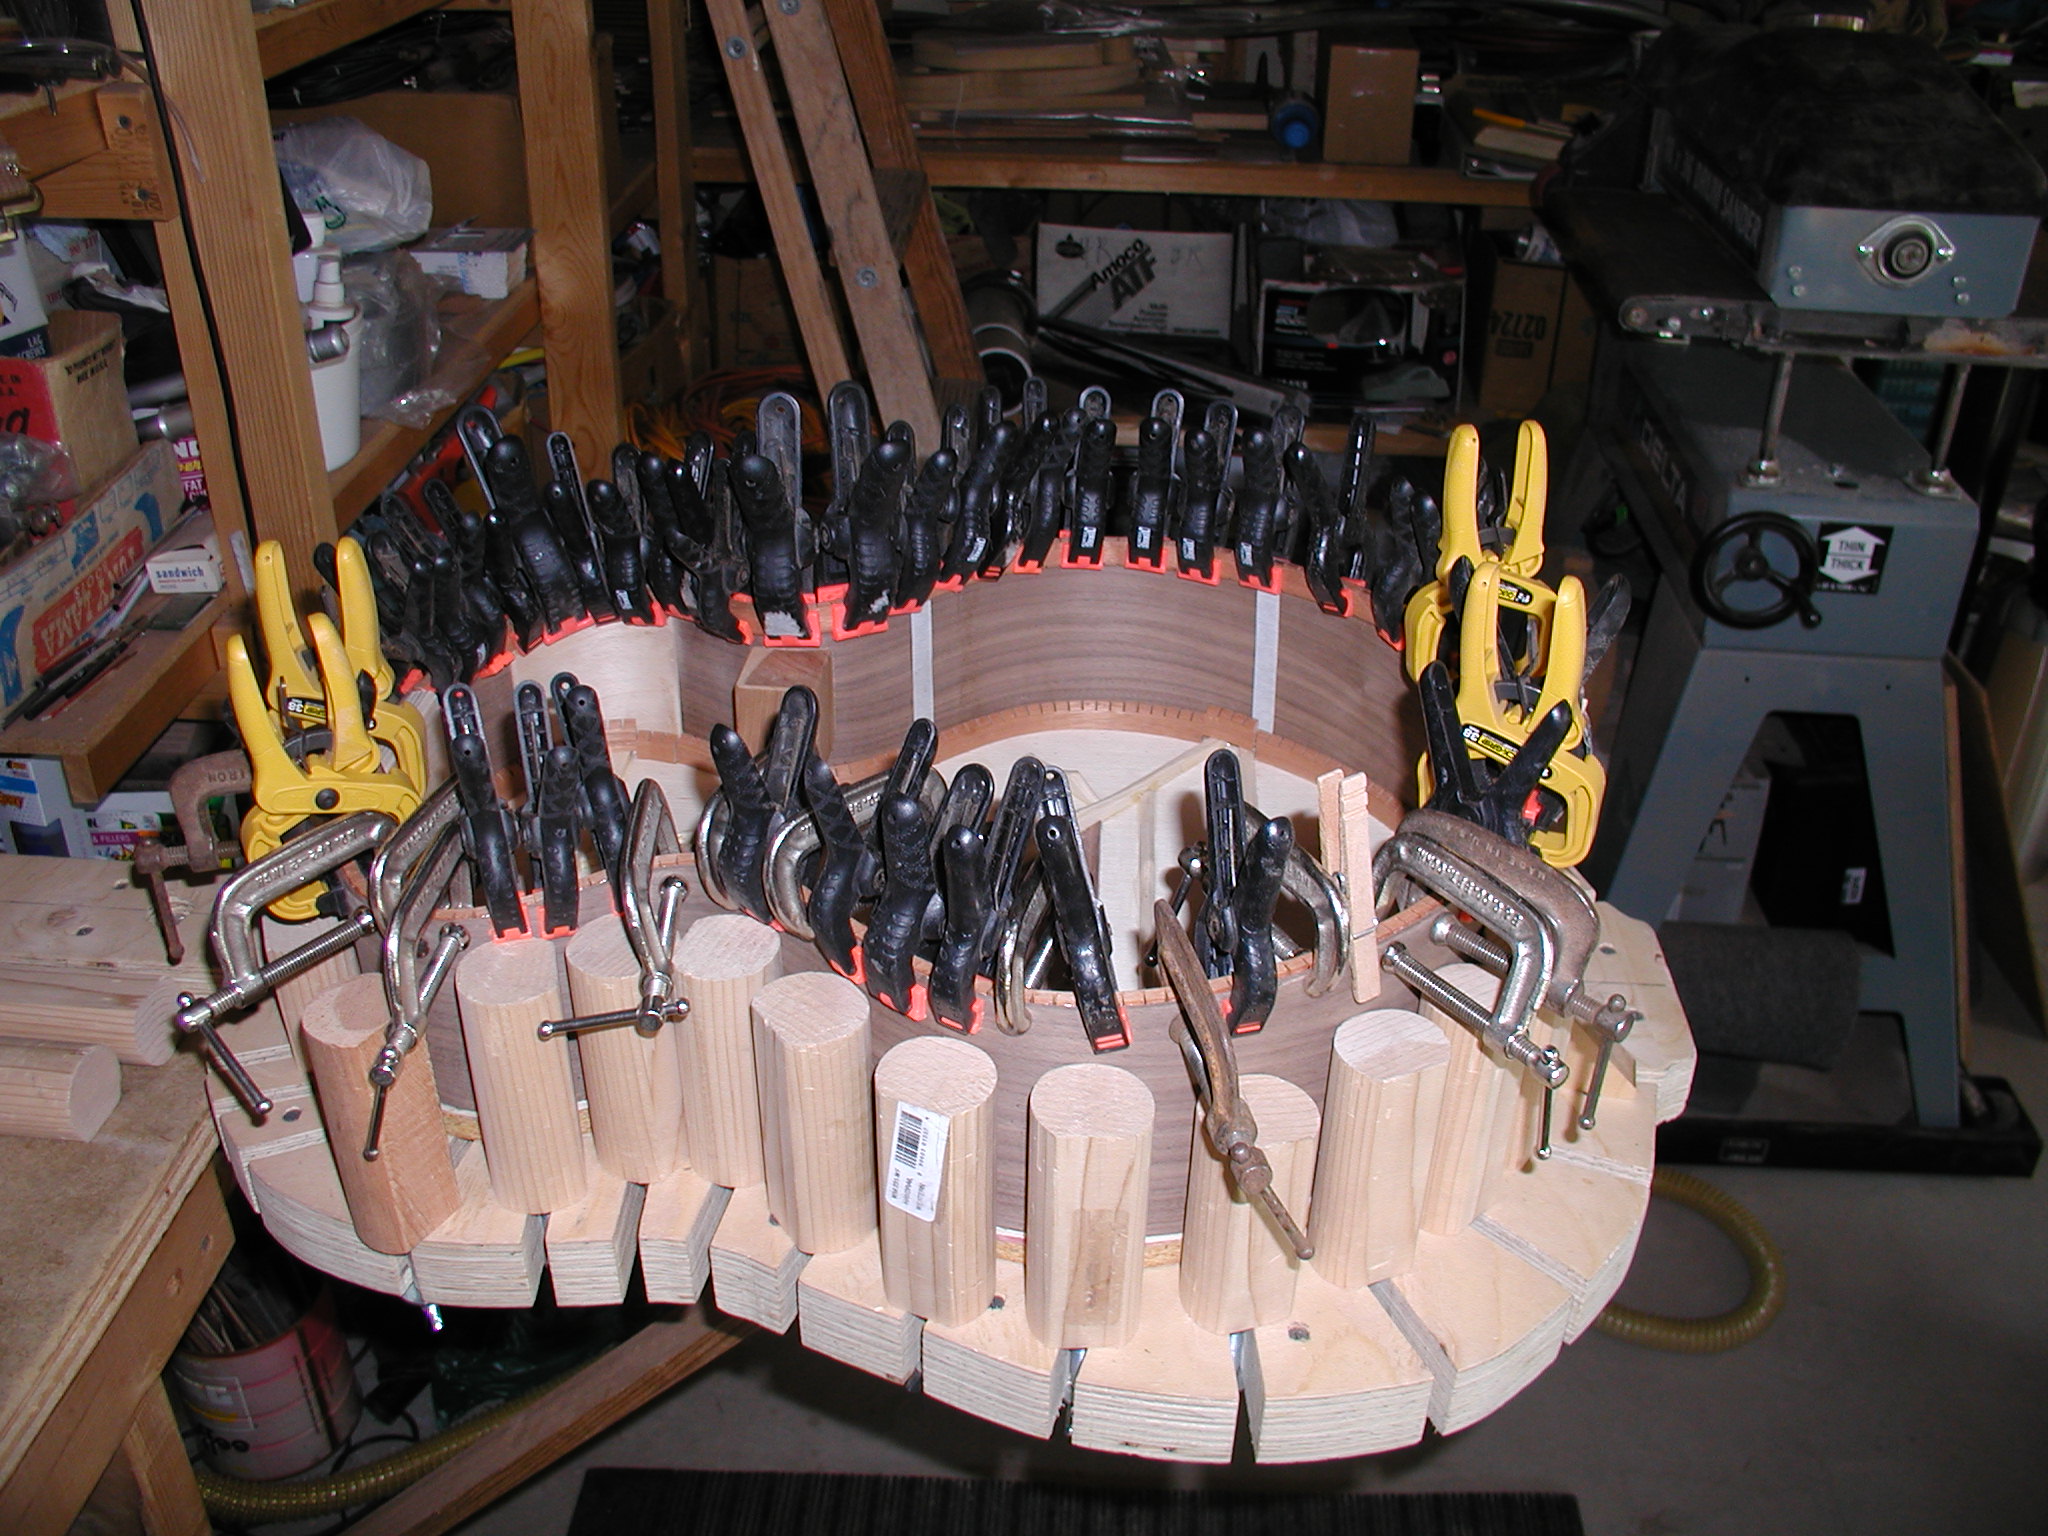
This instrument is going to have a sound port so at this point I glue in a piece of pre-bent 1/16" thick hobby ply. This is very strong 3-ply that is available from hobby stores. I then glue on the linings. [Set Mode = RANT] These are linings, NOT kerfings!! It is true that in steel string instruments they are kerfed, that is they have little slices in them, but they are still linings, by Neddie Dingo! [ReSet Mode = Non-RANT] OK, ok, whew! I just had to get that of my chest. I use reverse kerfed linings so that the slotted part is against the side. When glued up they become very stiff and secure. Once they are in place then they need to be sanded to the same radius curvature as the top. I used to do this by hand but now I use a hollow form with sandpaper mounted in a motorized sander. This is more than just a labour saver, it allows me to get the linings sanded true without flexing the side. This makes a much better glue joint. The sides get glued to the top and blocks one at a time to allow me to get the fit just right. Then the back linings get glued to the sides and the whole box goes to the motorized sander to put the back radius curvature on the back linings. I also then notch the back lining to receive the back braces. At this point I also drilled in the sound port, just a simple hole in his one. If it were to be a sawn design or carved in I would have done it before the side was even glued to the top. This one got a simple Black/White/Black purfling strip glued around it similar to what I did at the sound hole.The sound hole was slightly reduced in diameter and the combined area of the sound hole and the sound port are the same as if it had a single 4" sound hole.

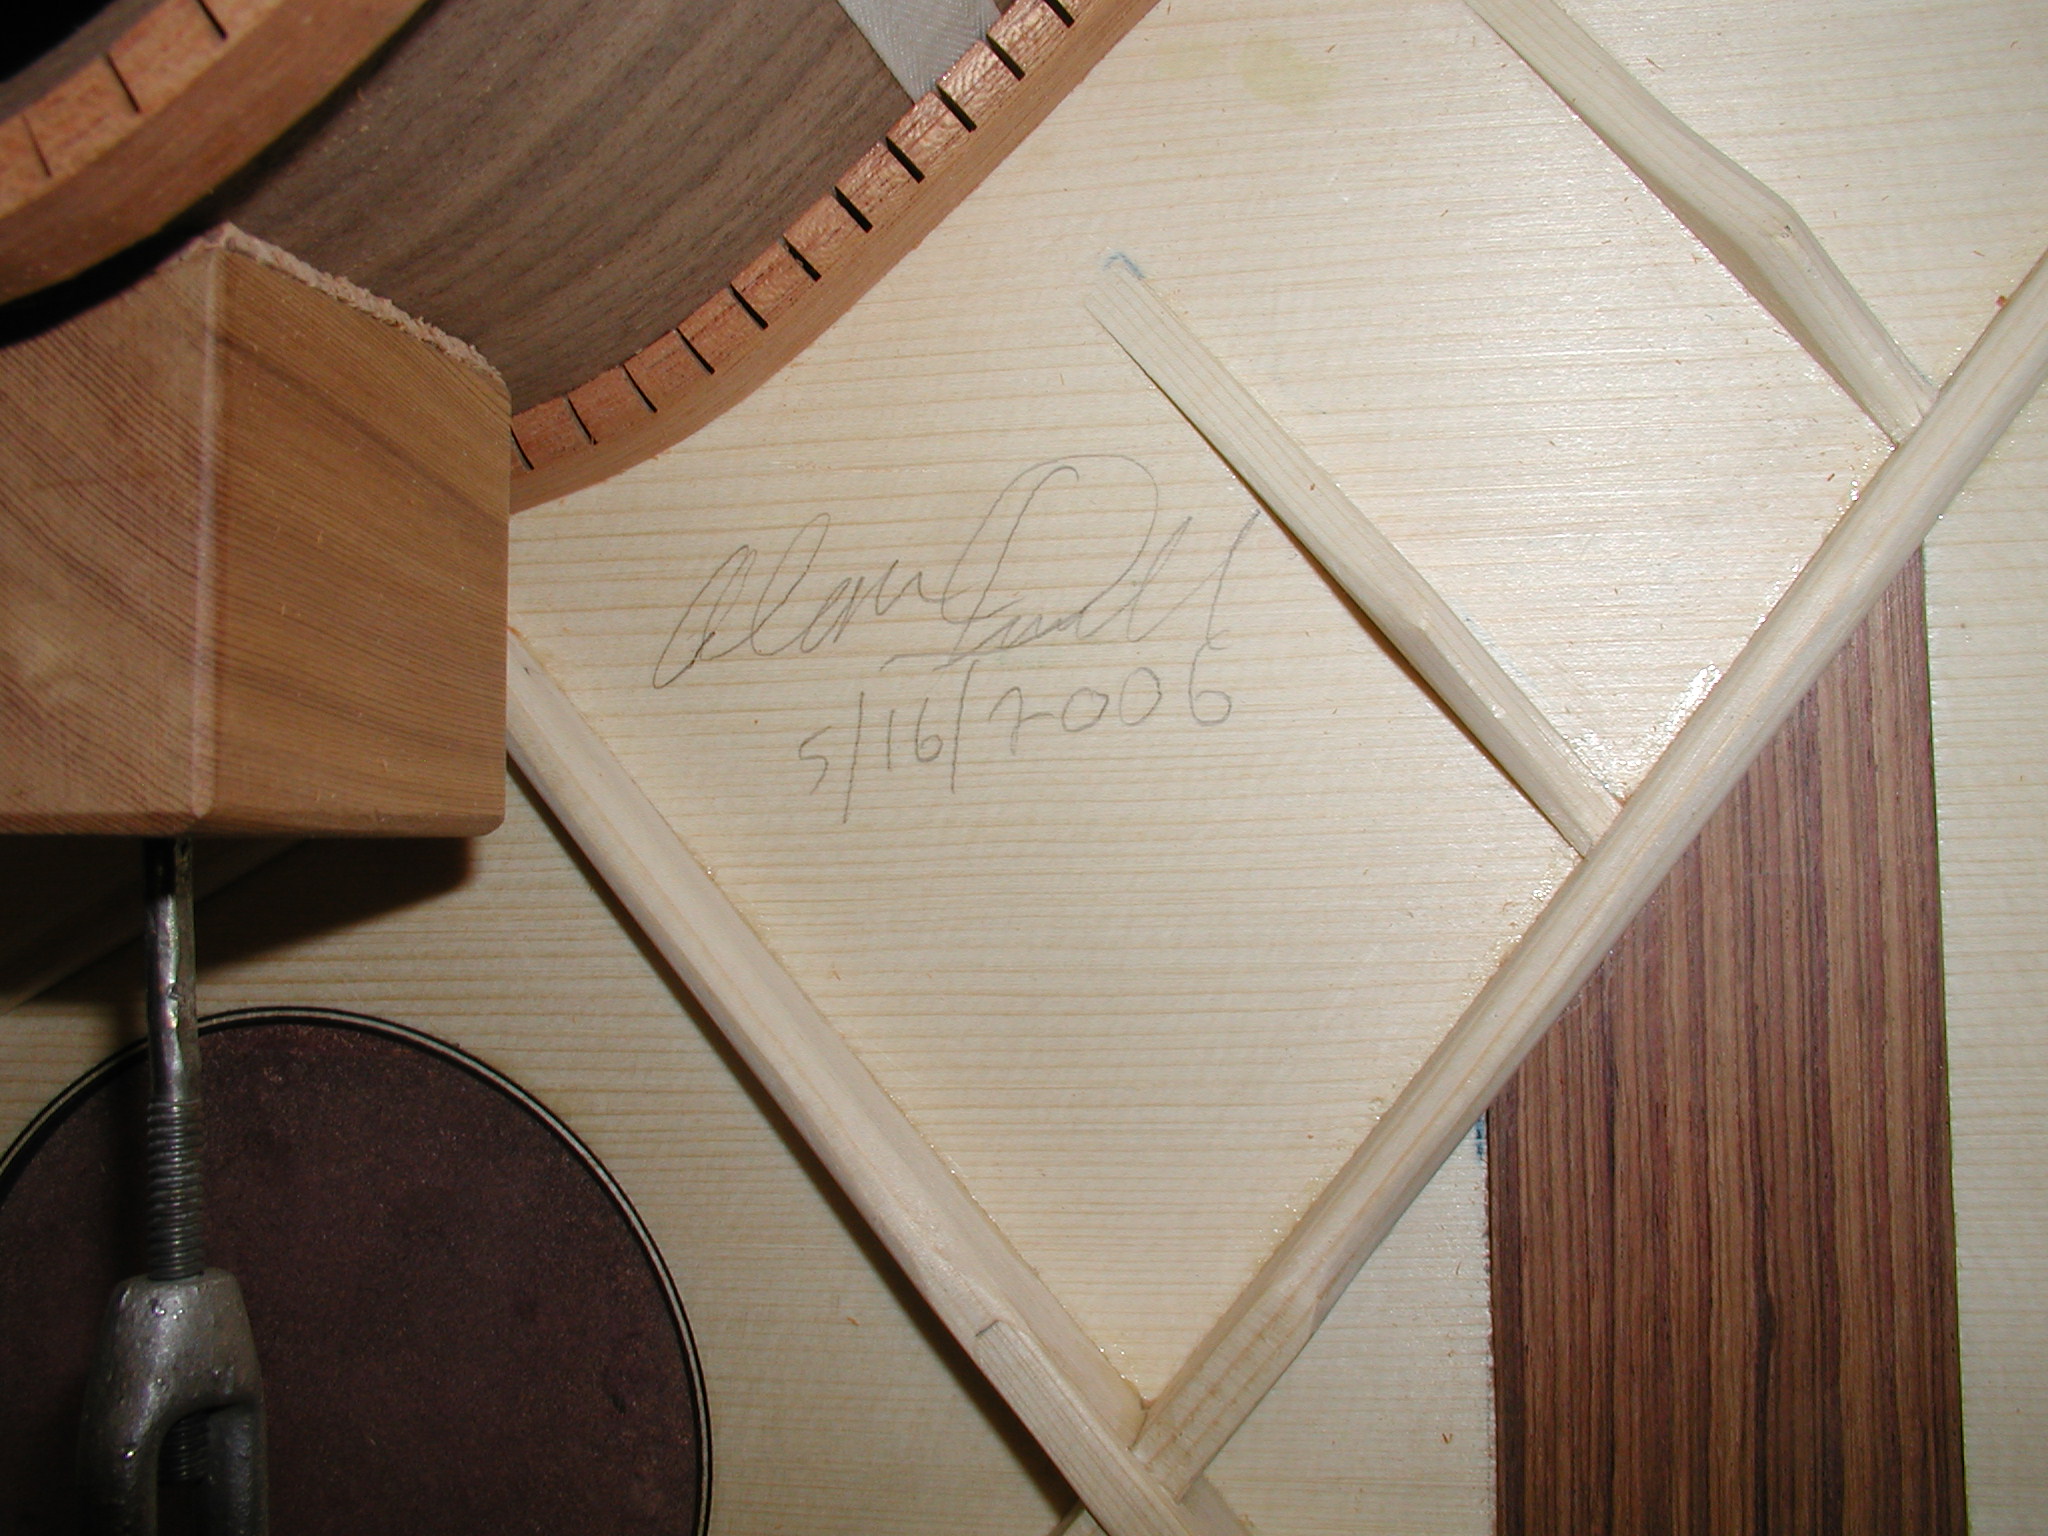
Here is the body before the back goes on. This is the last chance to go through and clean up any glue bits and sand everything to 320 grit. I also sign and date it at this point. I just do it straight since I never learned Da Vinci's mirror writing trick, anyone looking with a mirror will have to translate. You can also see another piece of hobby plywood that is glued to the top between the head block and the transverse graft. This is for the fretboard extension anchor, more later on that.
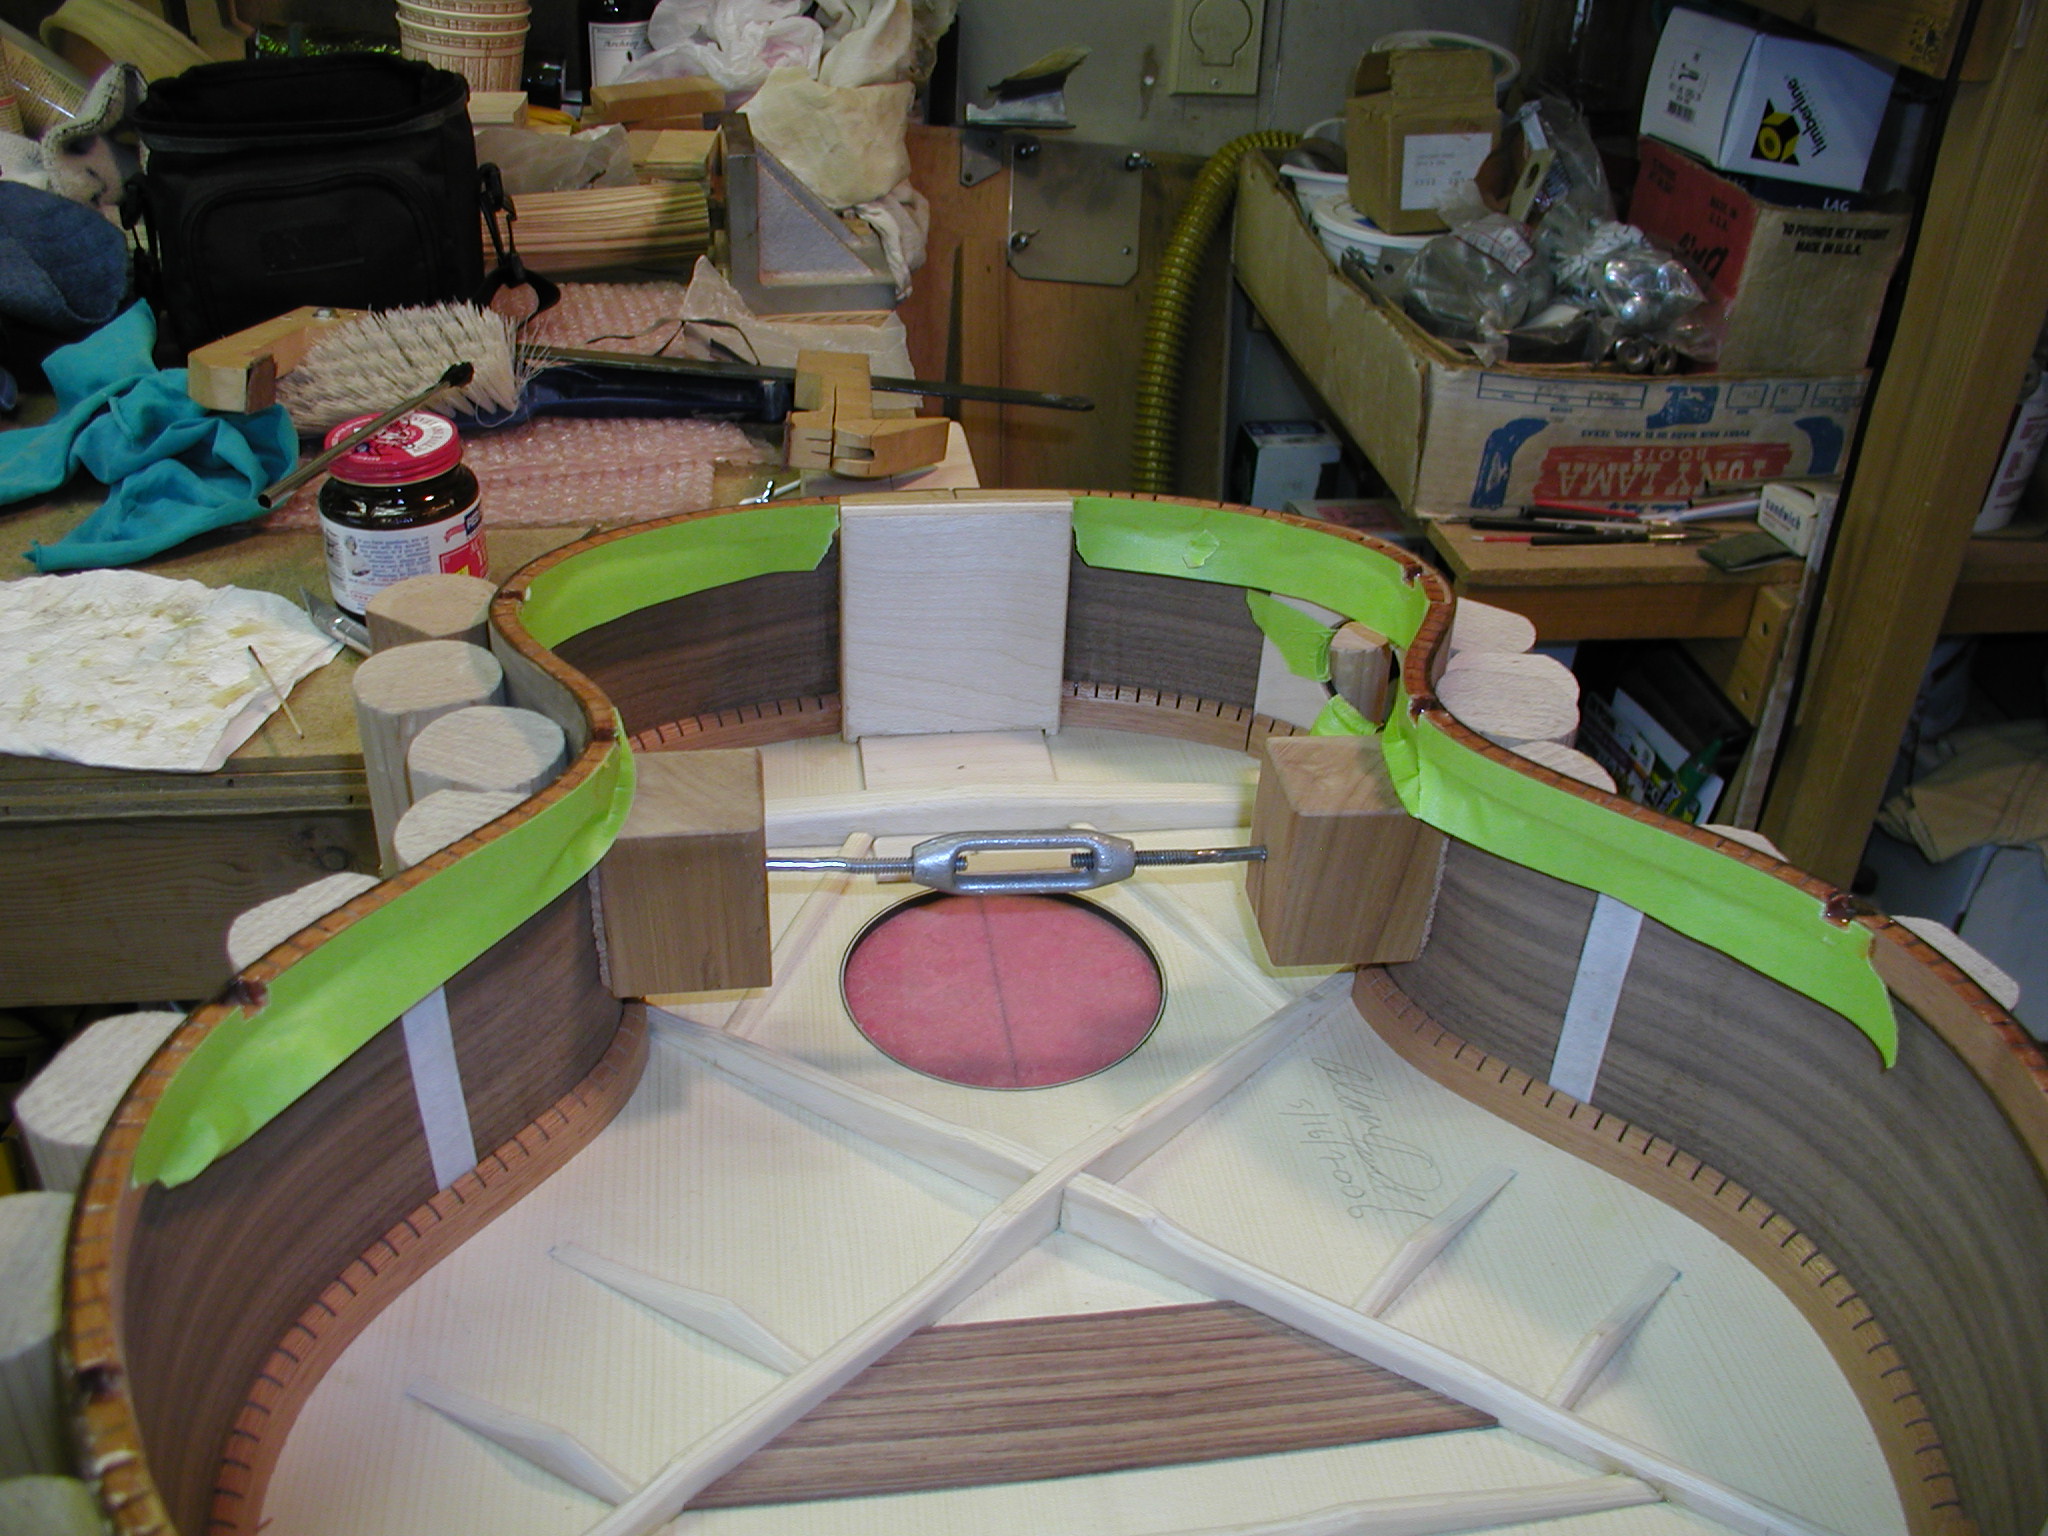
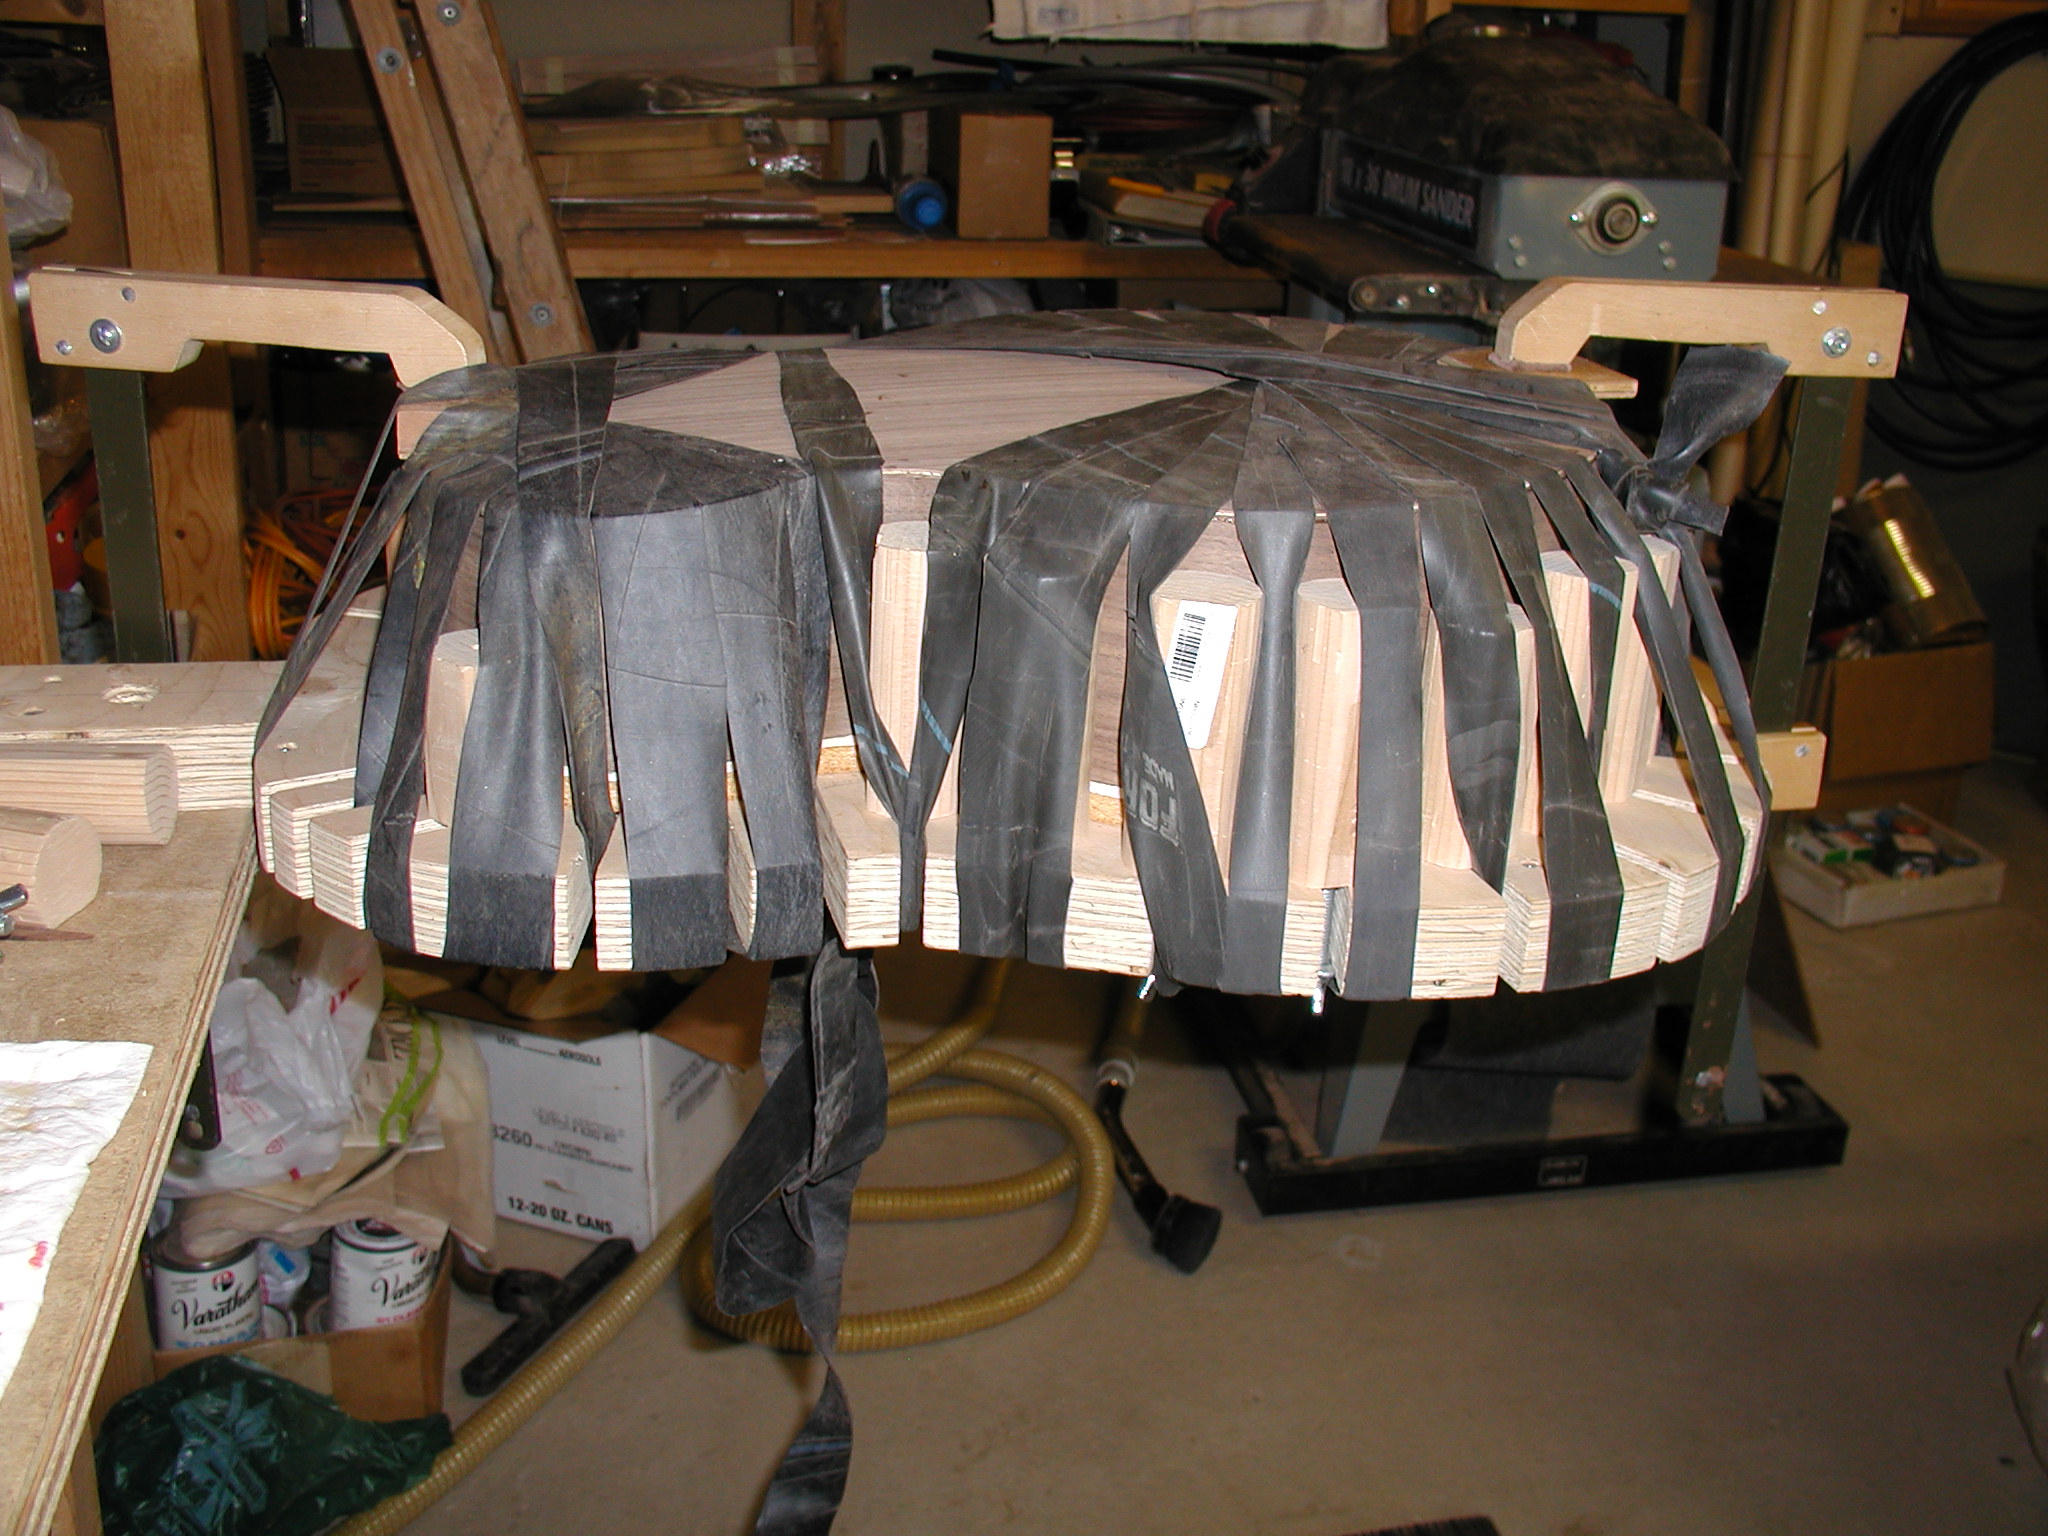
Before I glue on the back I first put some masking tape onto the lining. I then use some Johnson's paste wax and wax the masking tape. There is always glue squeeze out, and it is very hard to clean up working through the sound hole so this allows me to just pop it loose from the back if stuck there and then pull off the tape and glue all together. I apply the glue, clamp it down at the blocks and then just wind on my "big rubber band", a. k. a. and old inner tube. This makes a great clamp and is easy to put on and off. I let it dry for about a half hour, pop it out and clean up glue and clamp it again overnight.