Let's Build A Bouzouki (Page 6)
Last Modified - February 2009 (©Alan Dunwell 2009)
In Page 5 we finished up the neck construction. Not it is time to do the final fiddly bits and get on to the finishing.This is our last big chance to really mess up the whole project!
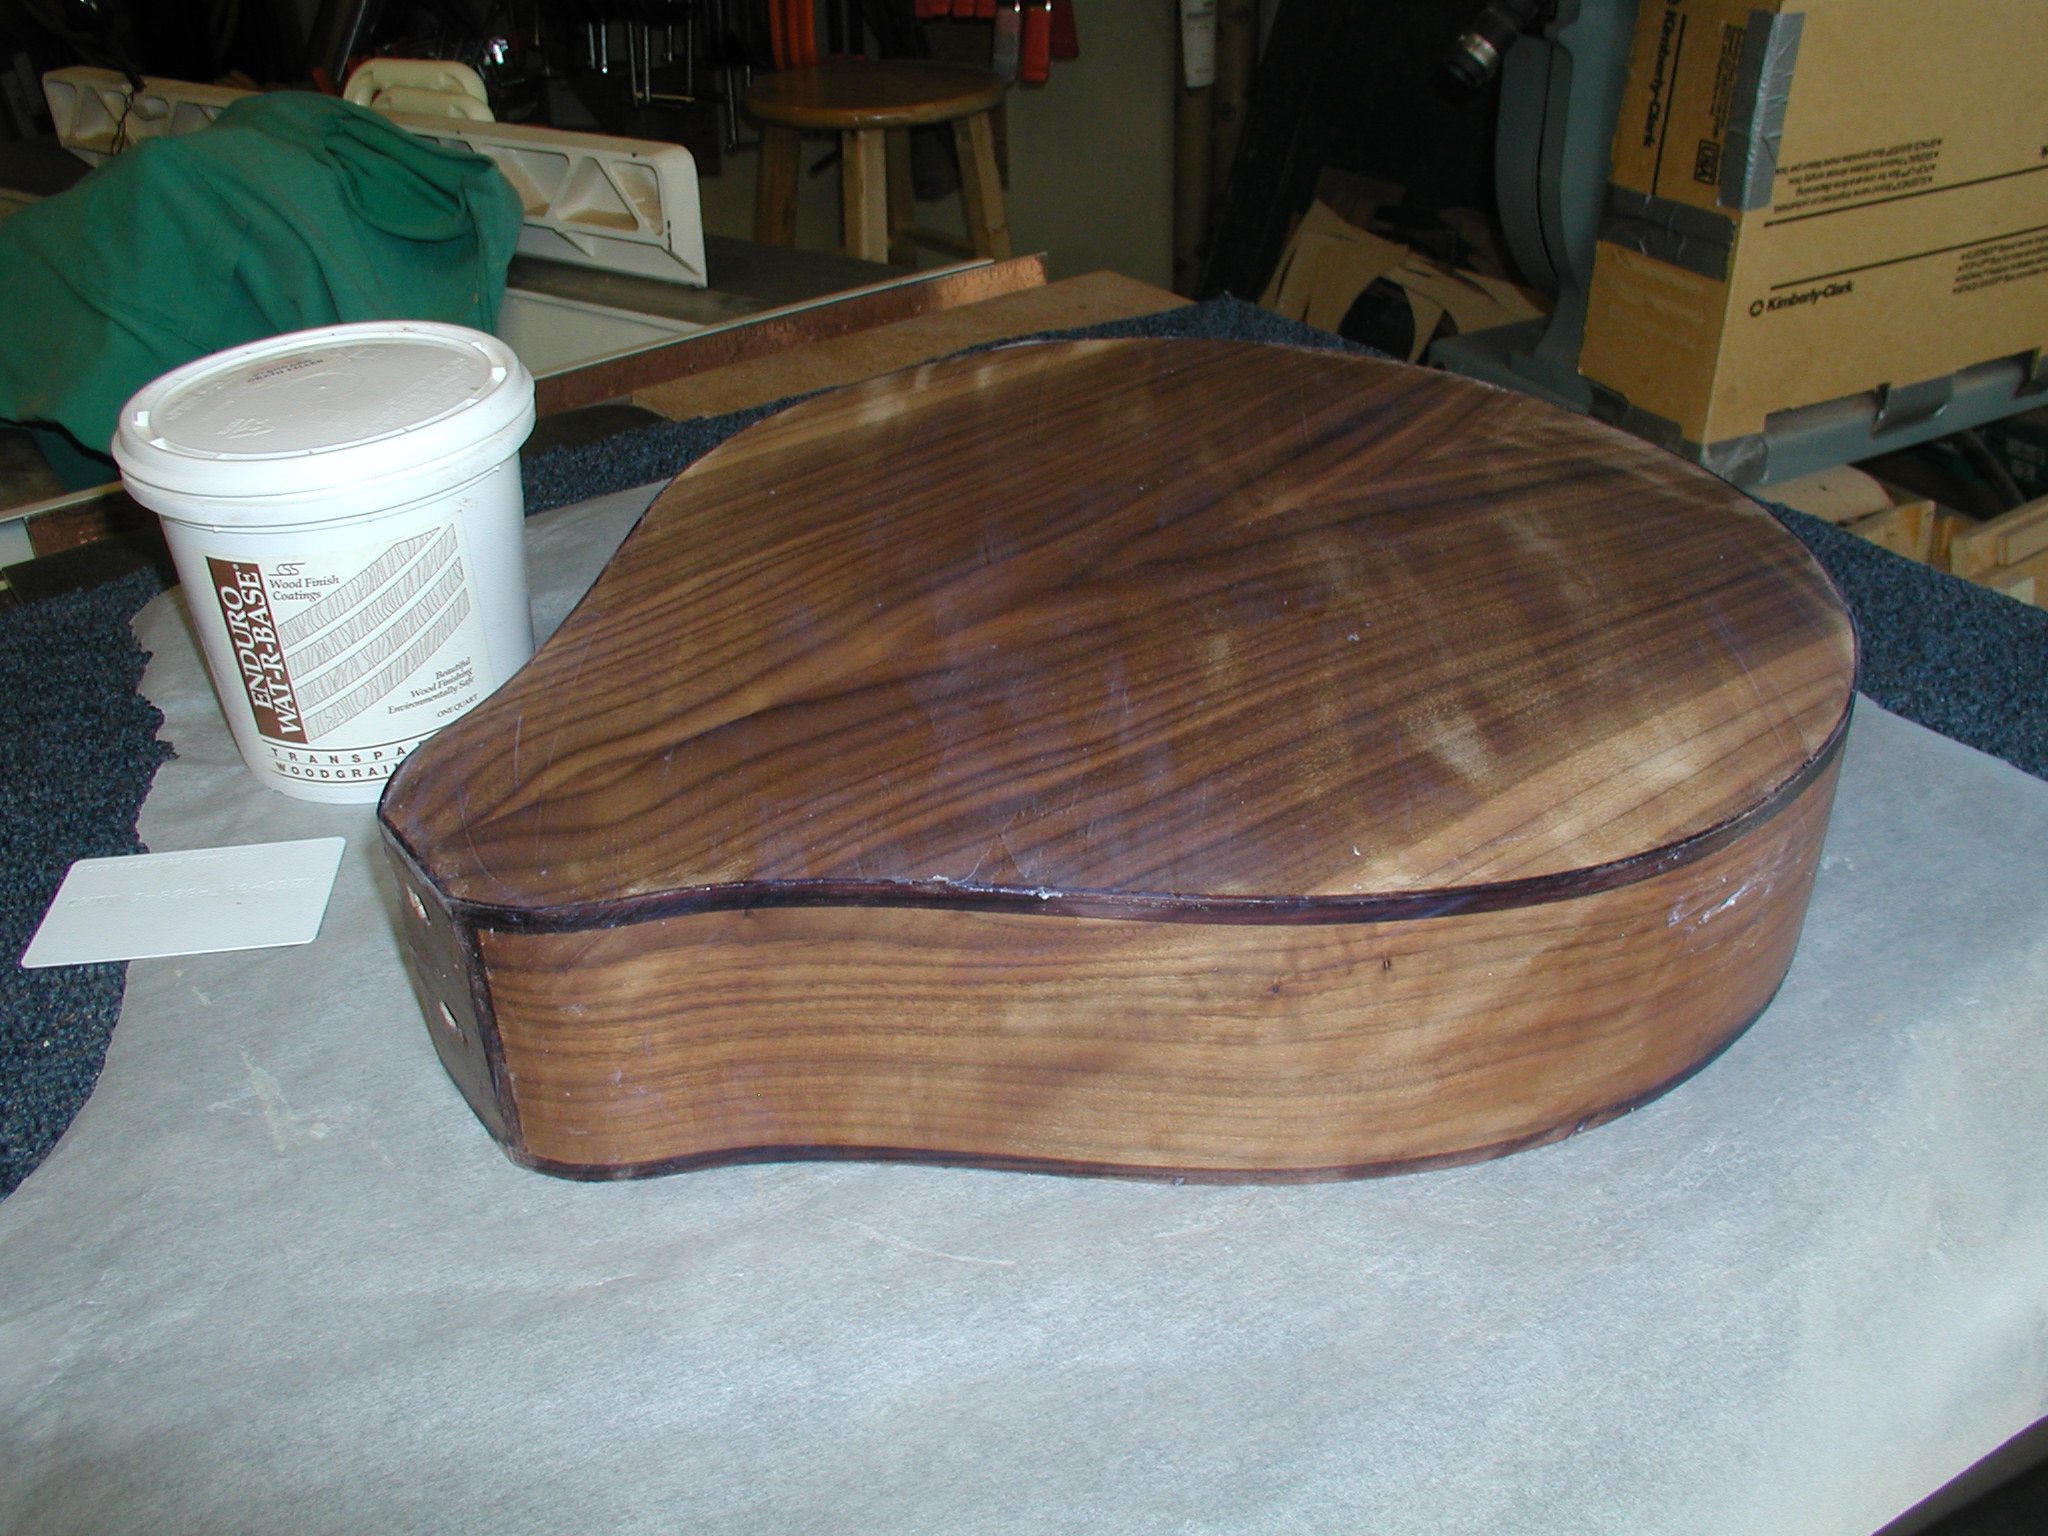
Not shown here is what is sometimes called the "finit" steps. This involves all the final close inspection and repair before finishing. This could include any fills necessary like binding gaps or repairing dings in the top, etc. I also go around the binding at this point and round it over. Then it all gets sanded out to 320grit. Then wiped with a wet rag to raise the grain and sanded again. With some woods I like to raise the grain again and then scrape it to cut off any fibers. Walnut is very well behaved so just the second sand and damp wipe usually gets it all. Same details to the neck.
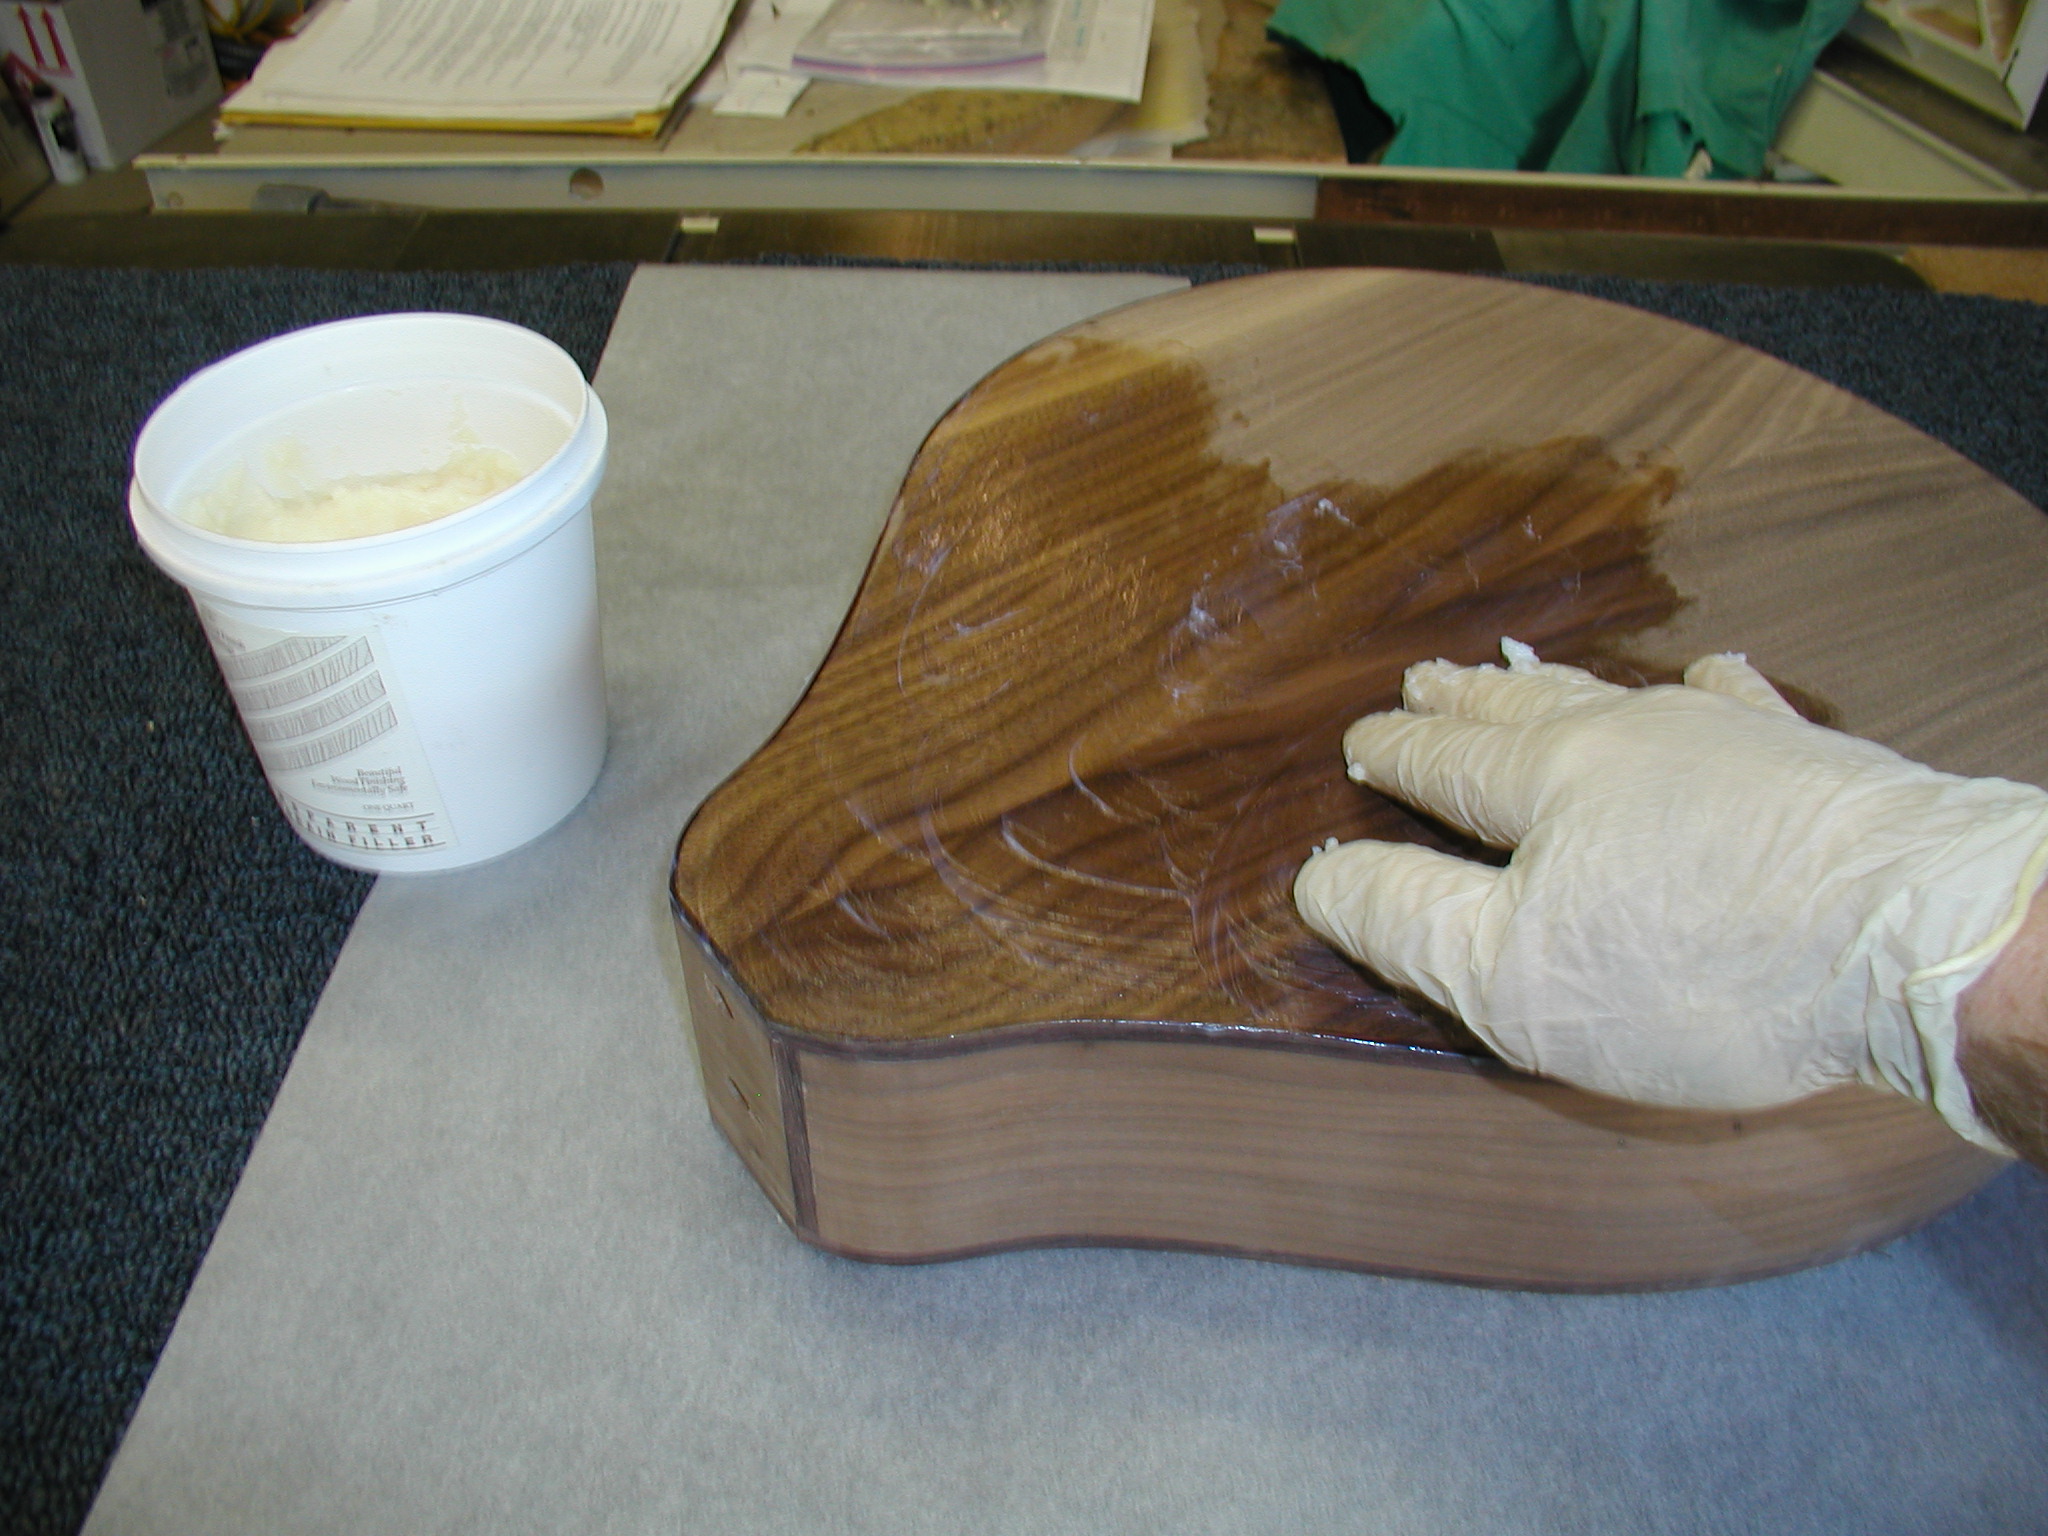
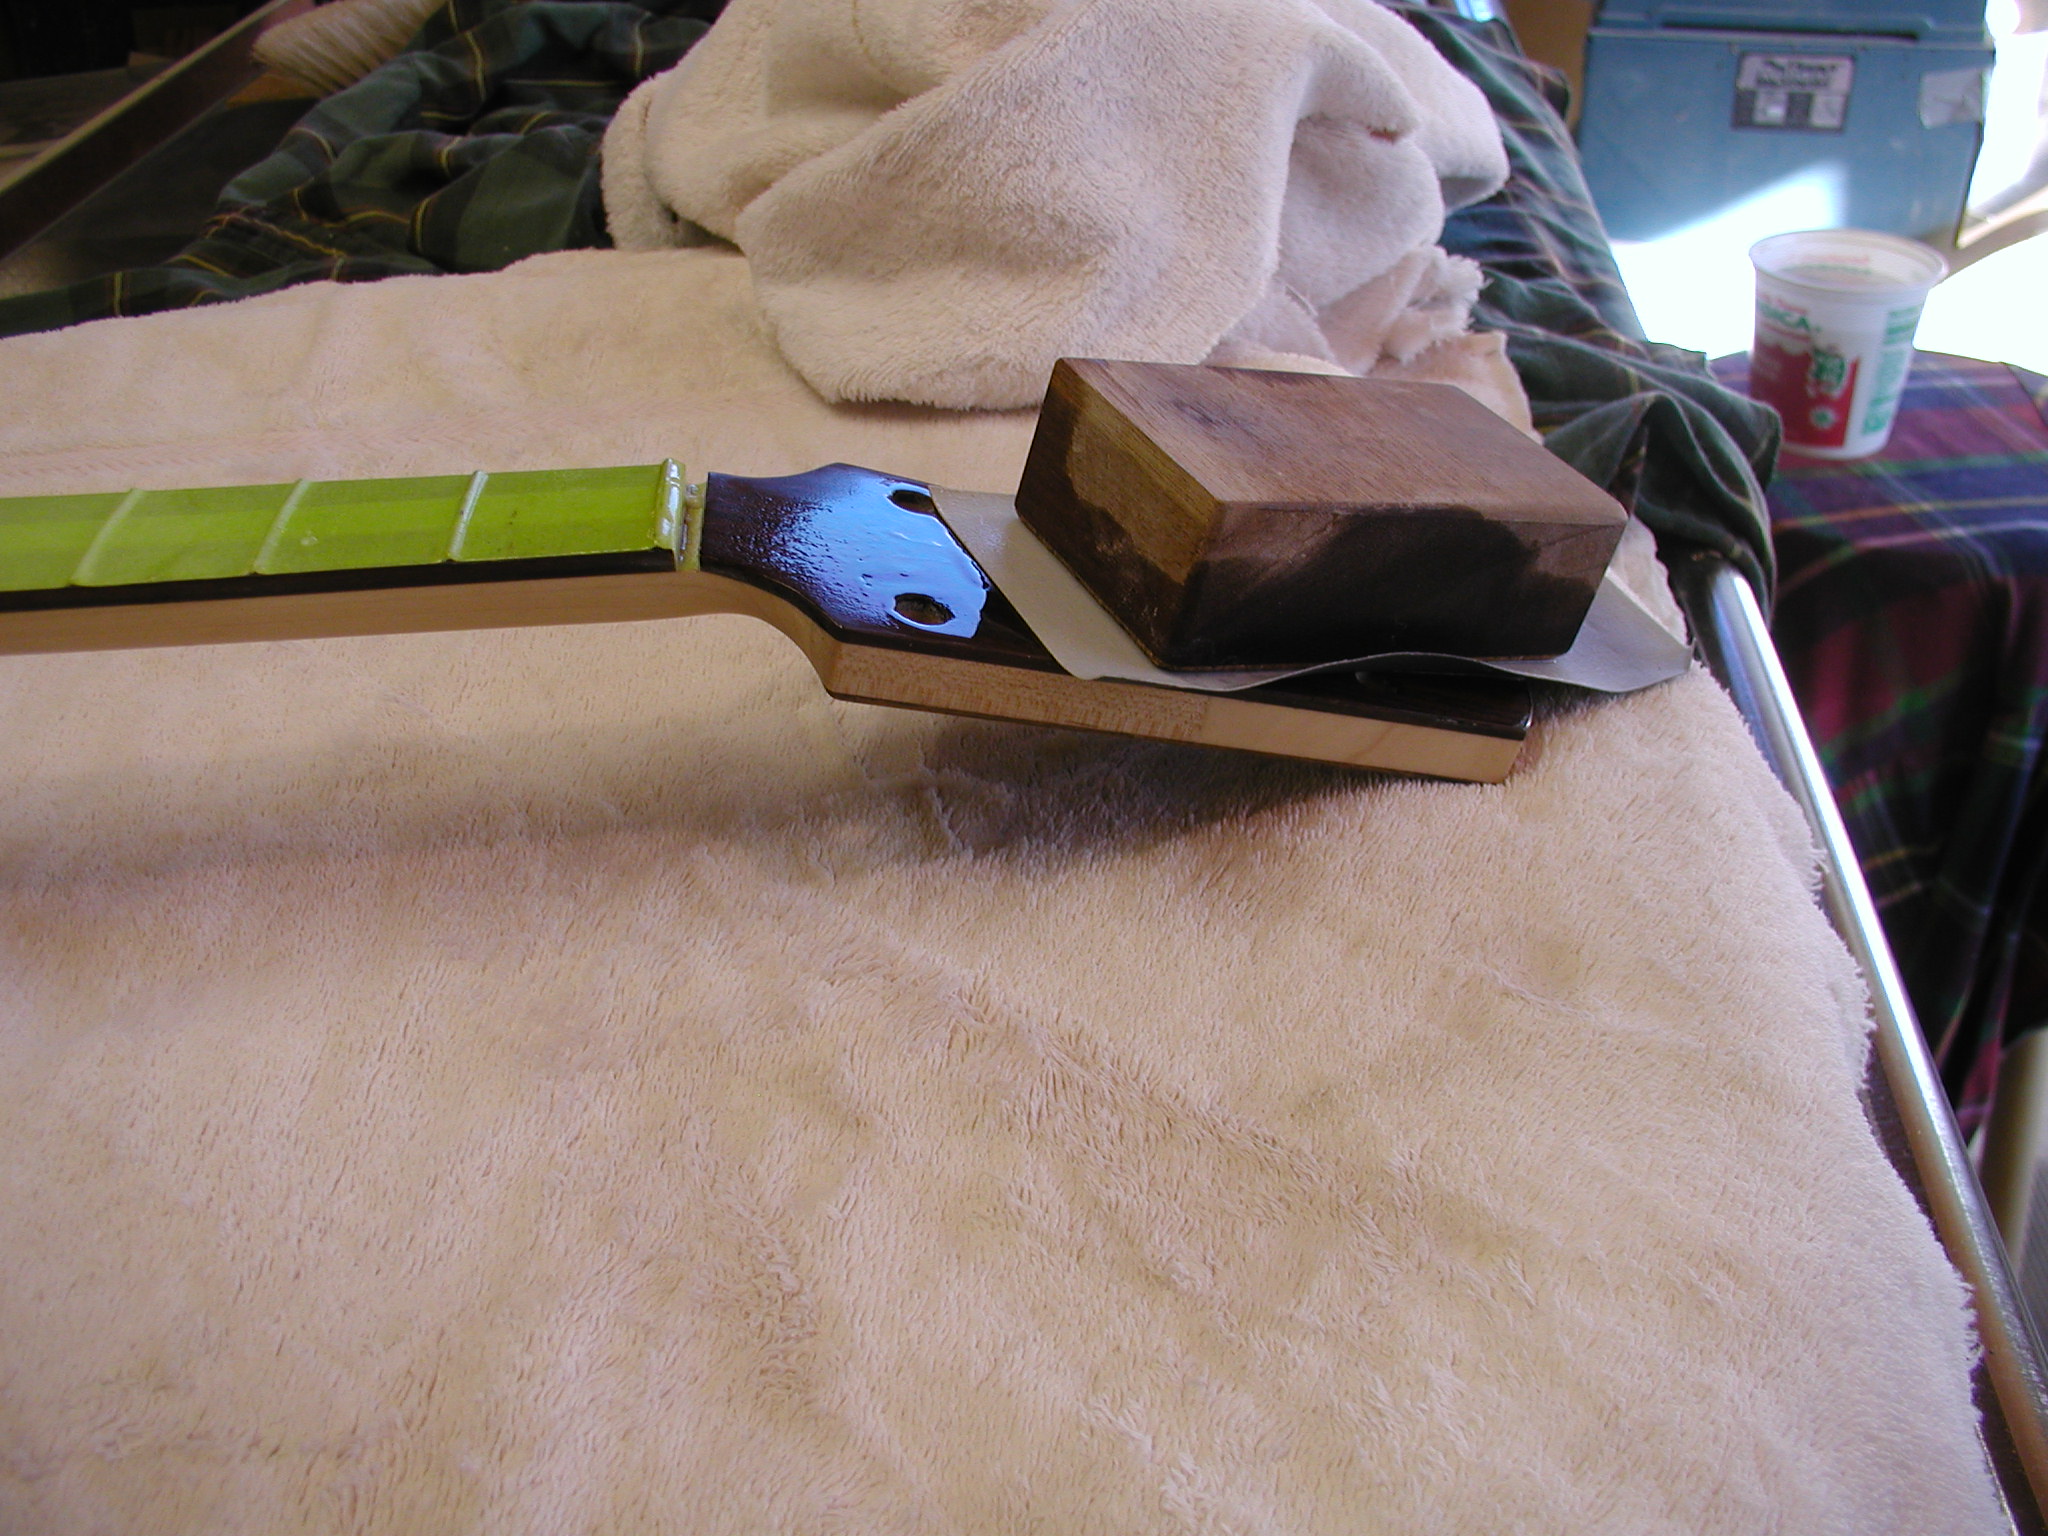
Many body woods, actually almost everything other than maple, needs some sort of wood filler to block the pores. Otherwise the lacquer will continue to sink into the pores and show in the final finish. As with so many parts of woodworking, there are lots of ways to do this. Sometimes you can put on a coat of shellac or vinyl sealer first, then fill or just fill directly to the wood. Here I am using a water-based gel and I rub it in by hand. It dries in about 10 minutes and can be sanded back in an hour which is nice. It takes several coats though because it doesn't fill as well as an oil based filler. It has the advantage that it is clear and adds depth to the look rather than plugging the pores with a non-transparent fill. A clear oil based fill with silica will also do this, but needs to dry overnight and takes a lot of elbow/random-orbital-sander grease to sand it back to wood. I have heard good things about Wonder-Fill available from Rockler or Woodcraft, it may have some cutsie spelling, not sure. I may try that soon. Regardless of your fill choice, you need to get it sanded back all the way to the wood or any bits left on the surface will make the finish look hazy. The neck is maple and doesn't need fill, but I do the two plates on the headstock.
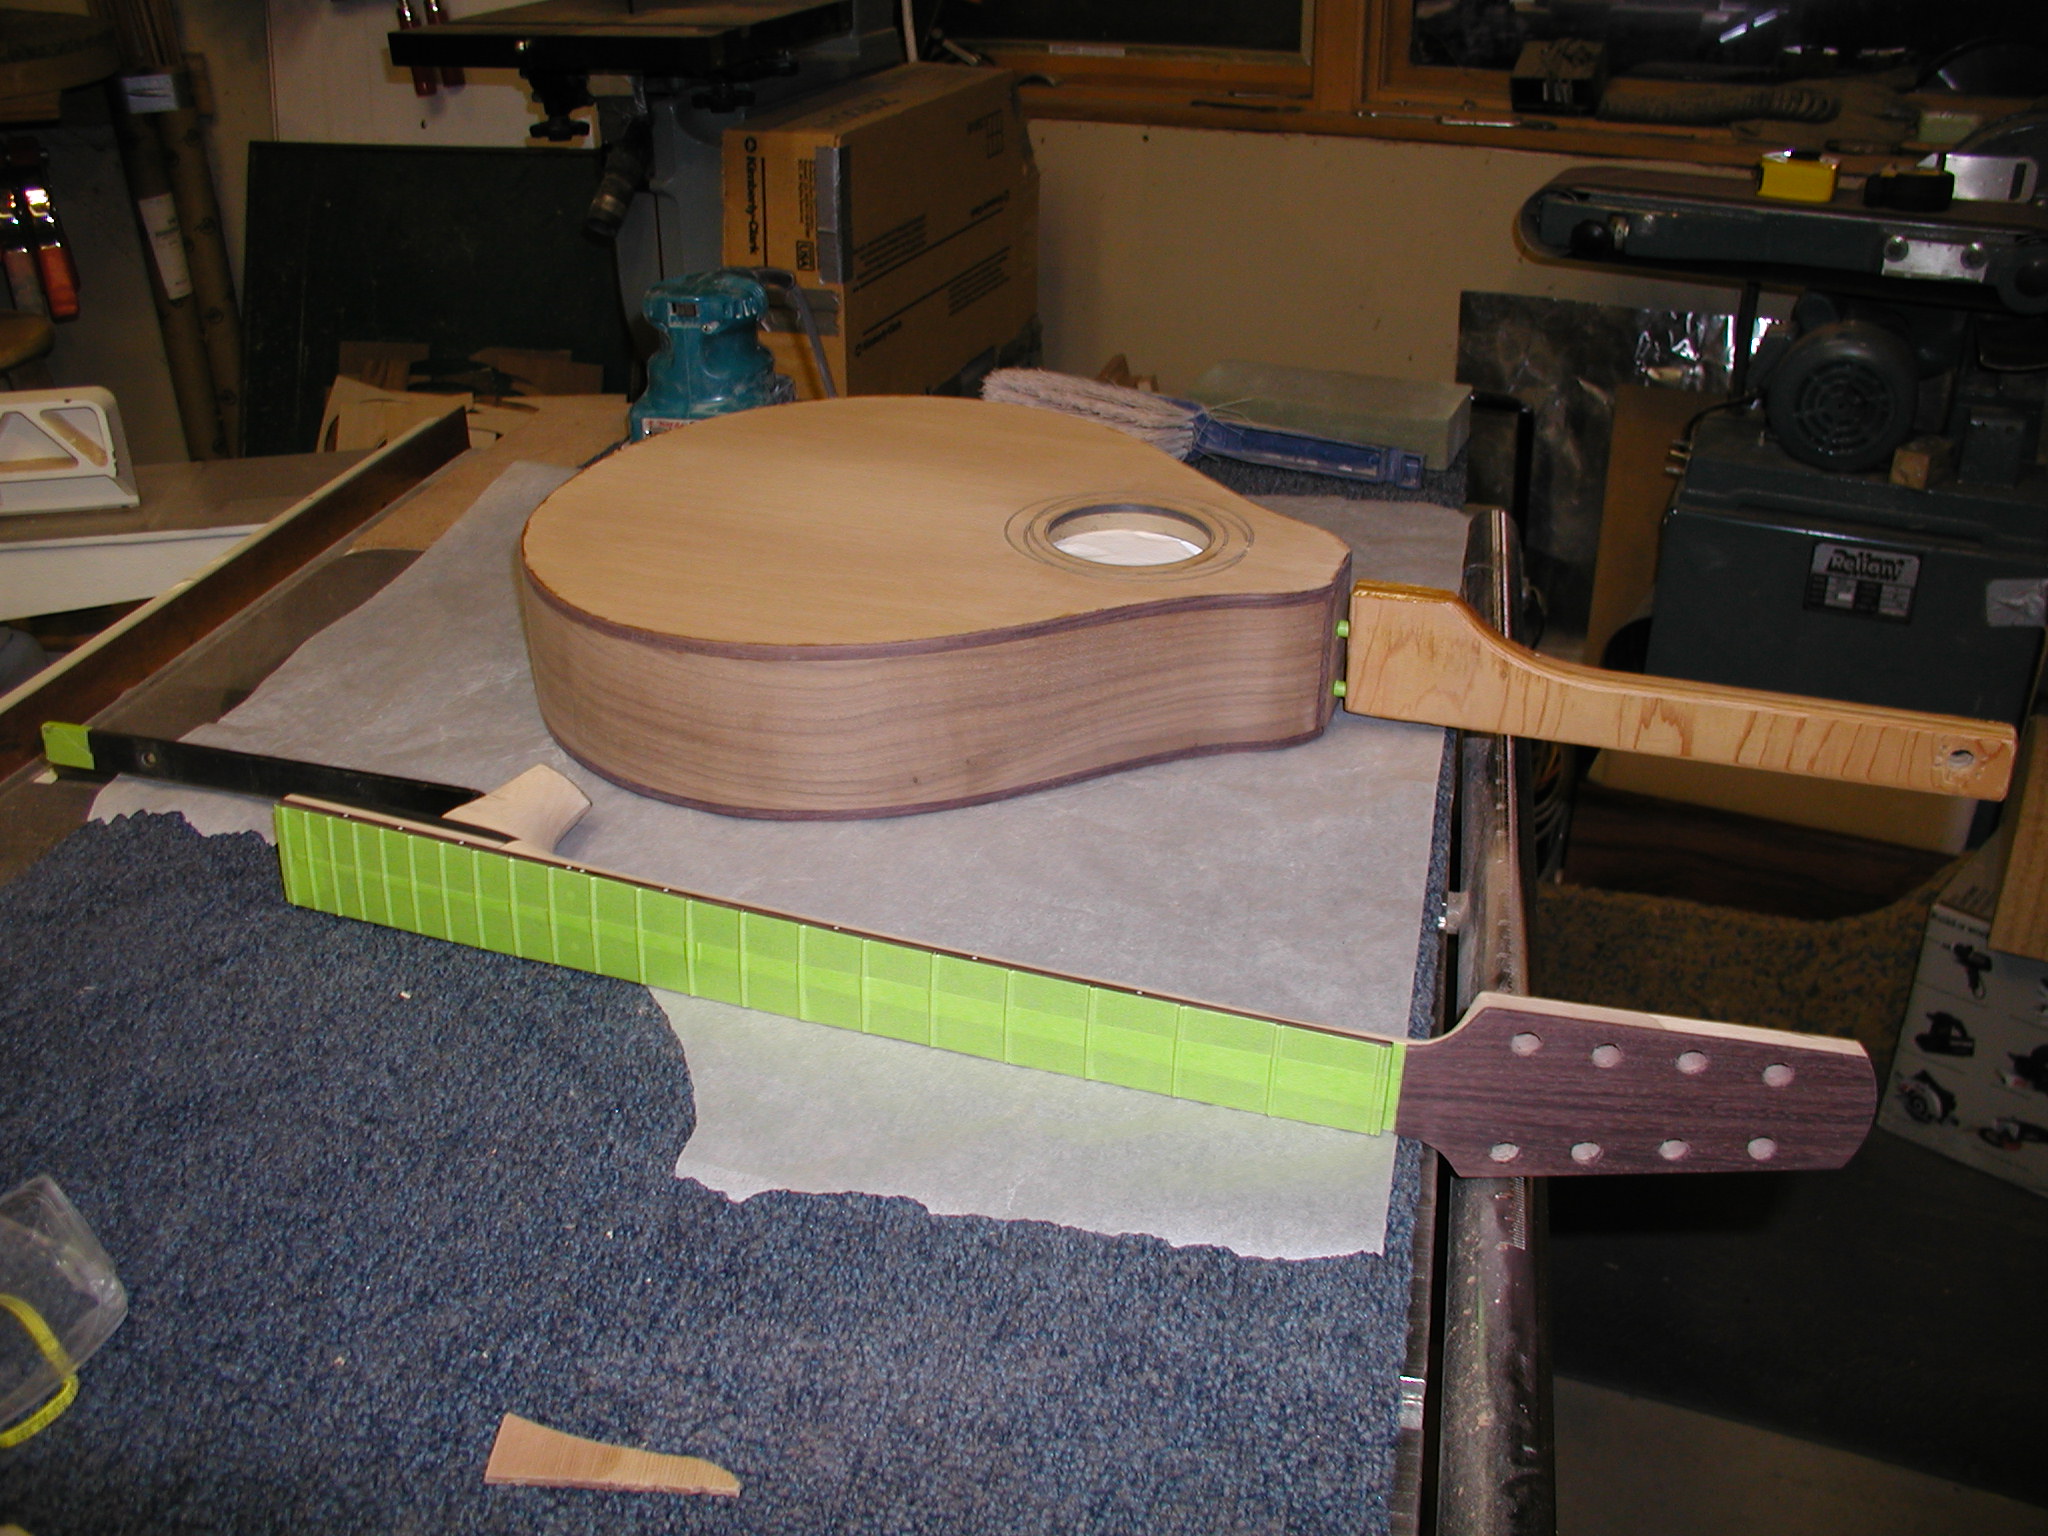

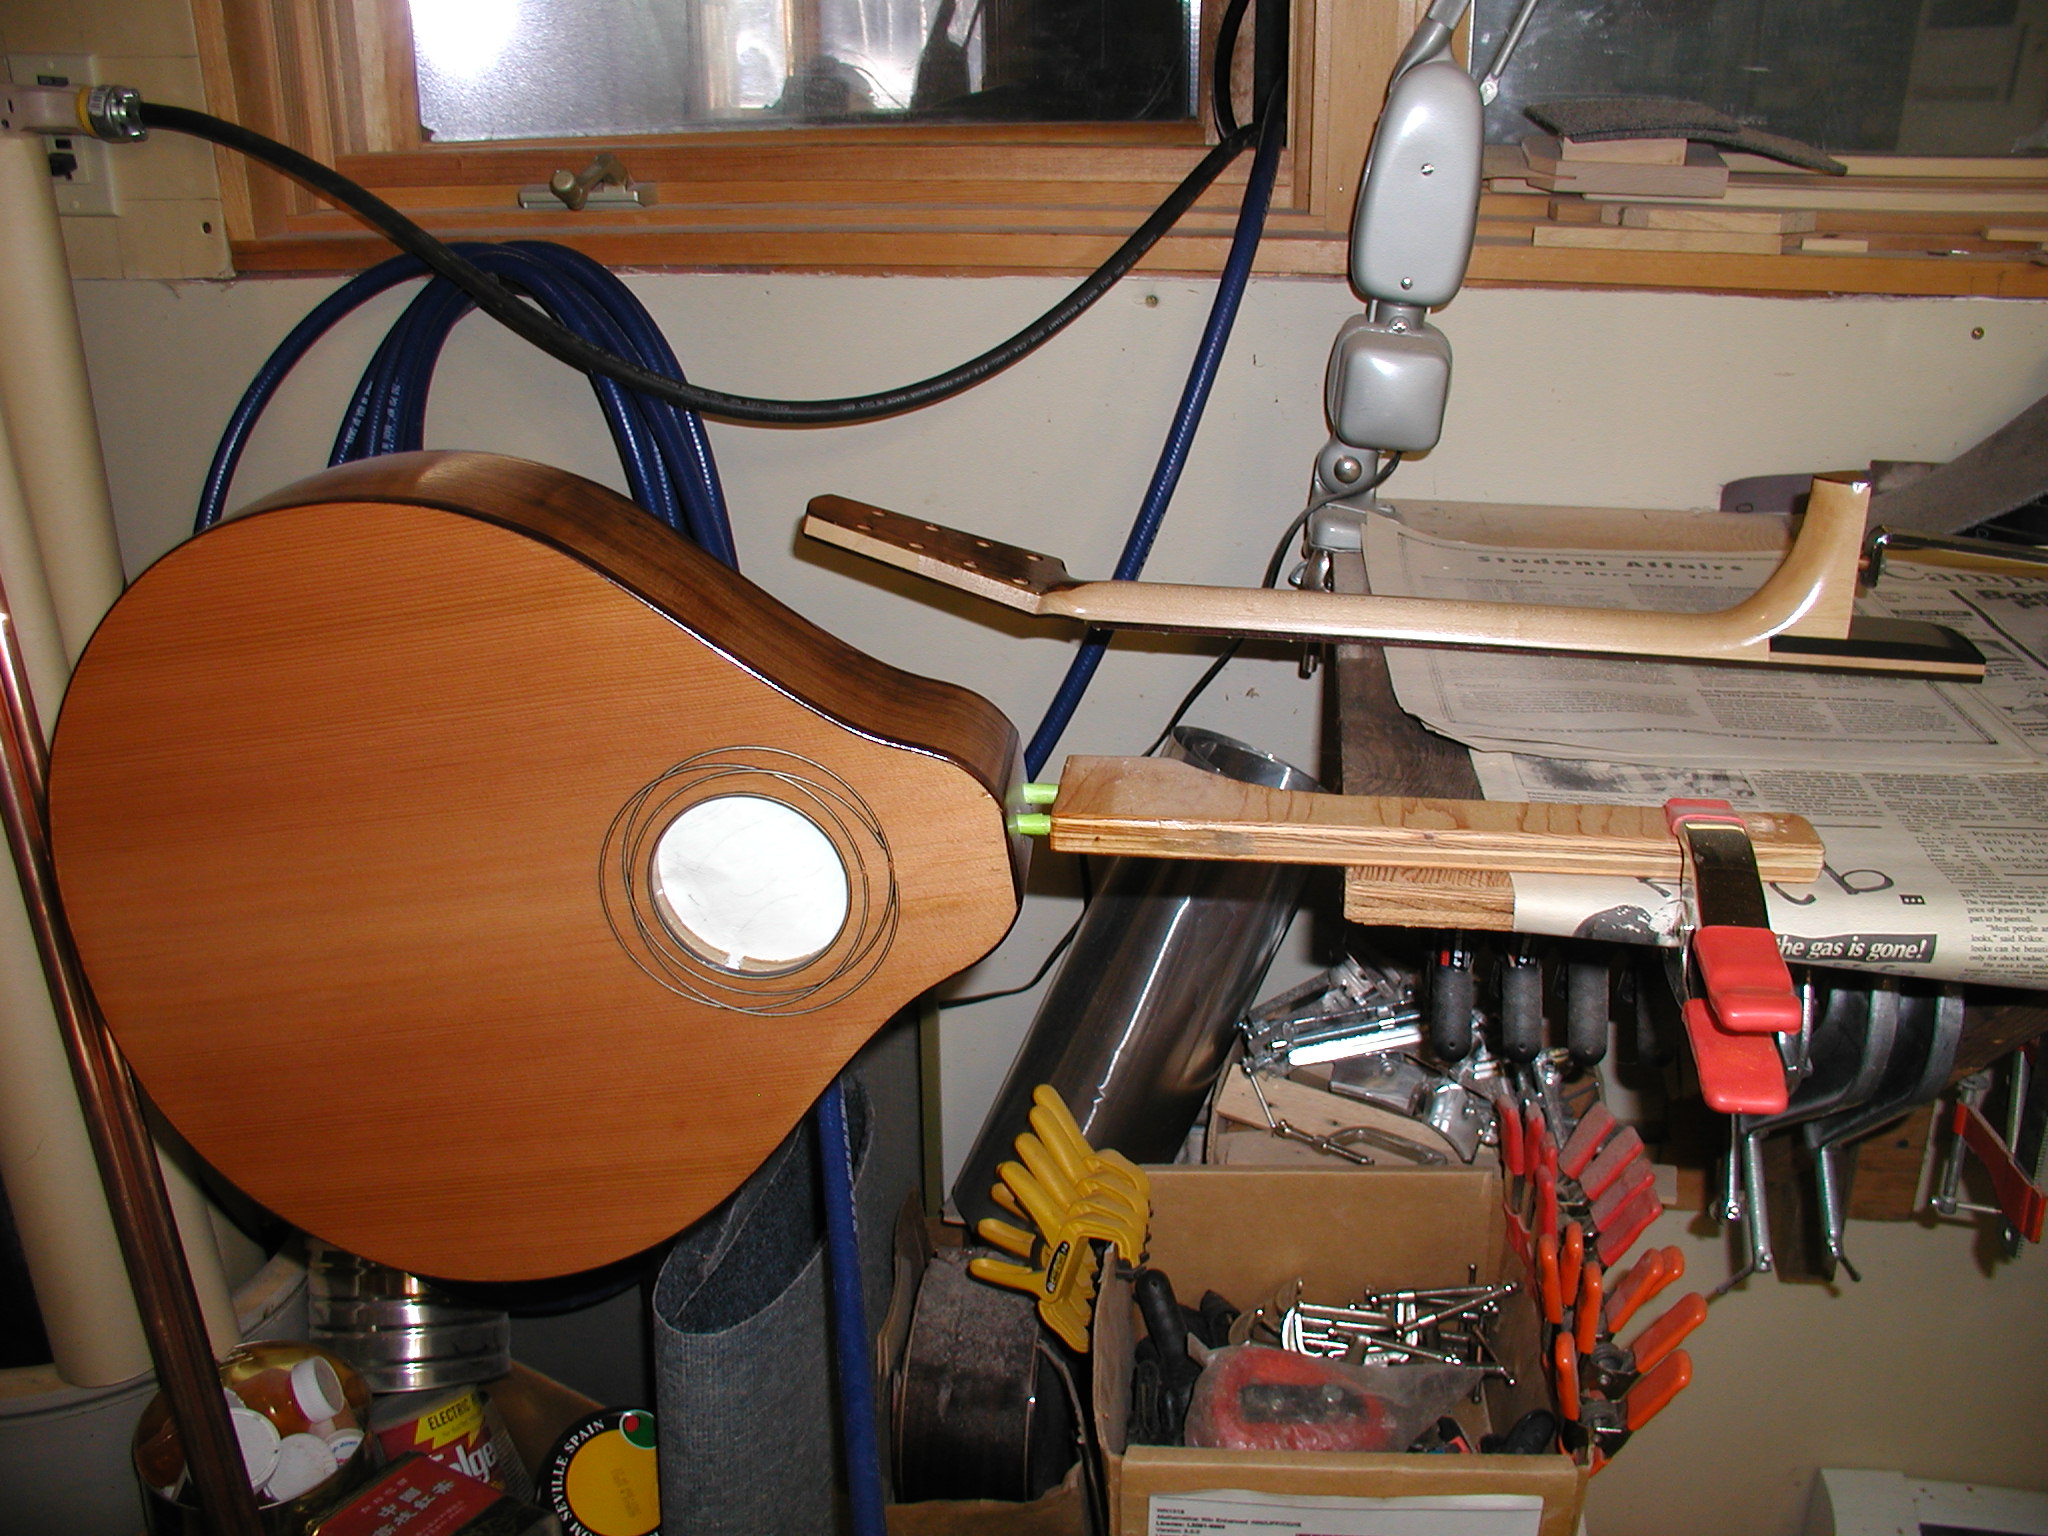
Finish time at last. Not shown is that I mic the top thickness at the soundhole and record it as the base thickness. This gives me a way to measure the finish thickness as I go along. I use various holding stick that I've made. The neck just gets a piece of steel with a right angle bend in it and bolts to the neck anchor. The body gets a stick with two dowels that plug into the bolt holes. I wrap those with tape to make it a jam fit so it stands off from the body. The body gets an internal block in the soundhole that stands off about 1/2" so the spray will get all the soundhole edge but not go into the inside of the body. The fretboard gets masked as does the heel butt end. Then into the spray booth and multiple coats. The neck is sitting on my turntable. The spray procedure is to spray the neck and set it off to the side on a shelf that doesn't show. Then the body goes on the turntable with the top up and I shoot the sides. I can then plug in the dowel stick using the soundhole as a hold point and shoot the two plates. The last photo is where I bring them inside the shop after I'm all done for the day and they are dry to the touch. I was shooting in the winter and my booth is connected to the shop but physically outdoors so it can get pretty cold overnight when the fan is off. I let them cure out overnight in the warm(er) shop. If necessary I'll scuff sand off any bits that need it and shoot the next coats. Usually I'll have all the finish on in two or three days, I try to go for a build of 0.007" - 0.009" at this point. The next day I'll level(ish) sand it all with 400 or 600 grit as needed, I do this dry. Then it hangs for at least three weeks to let the finish cure. The finish will shrink about 0.001"-0.002" in this process.
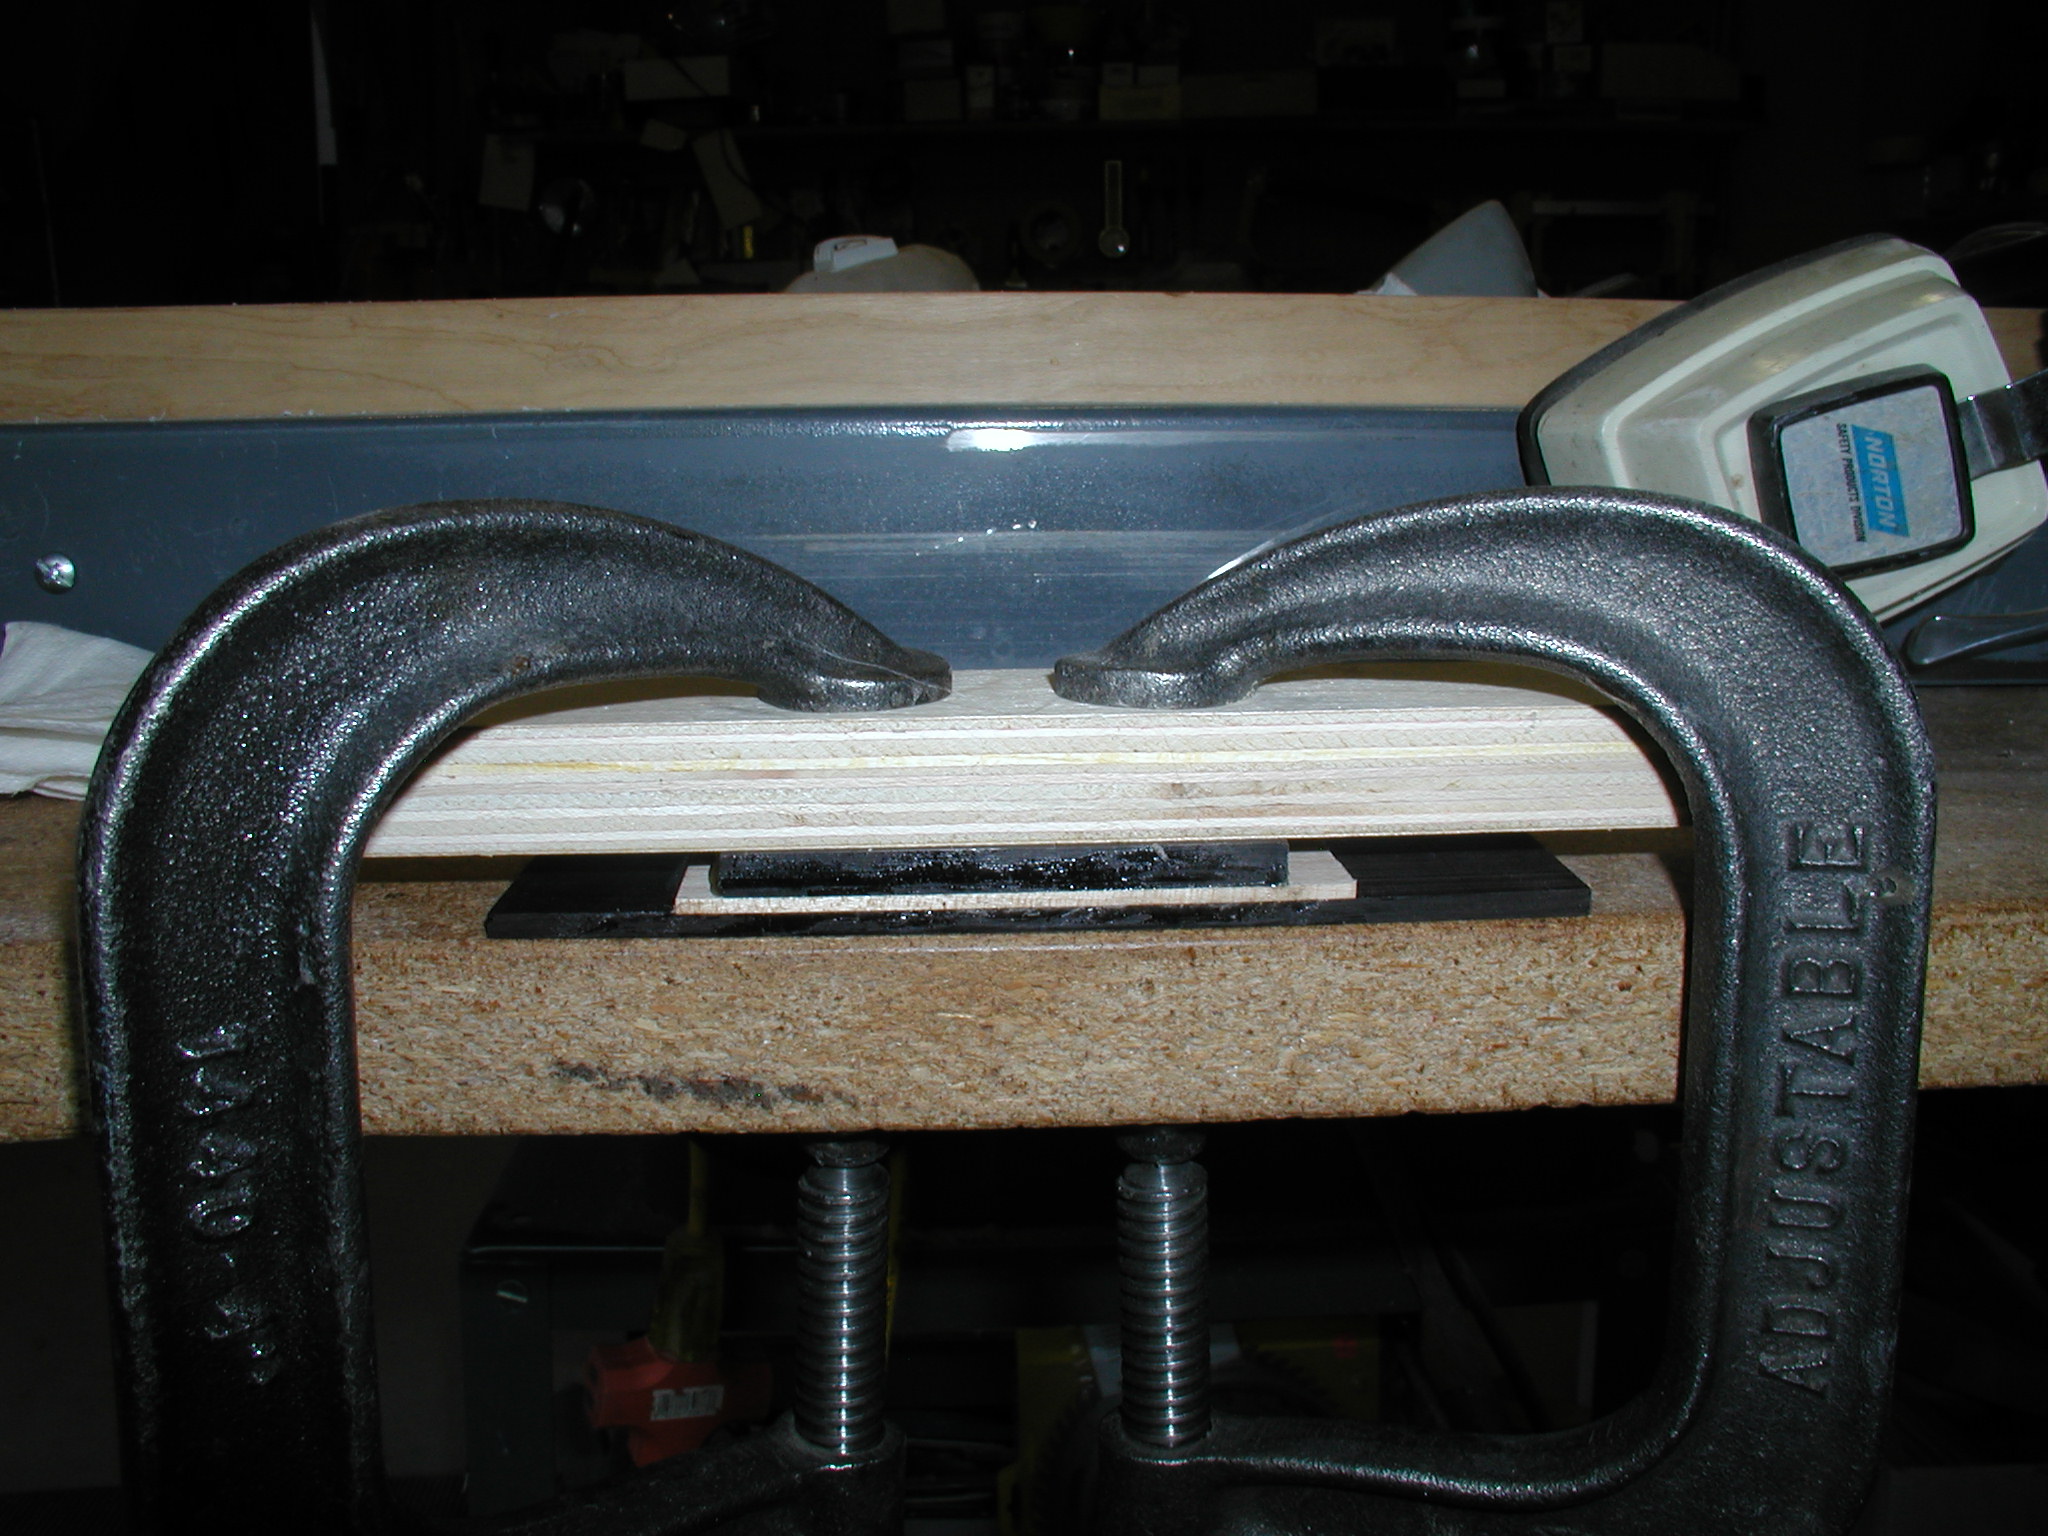
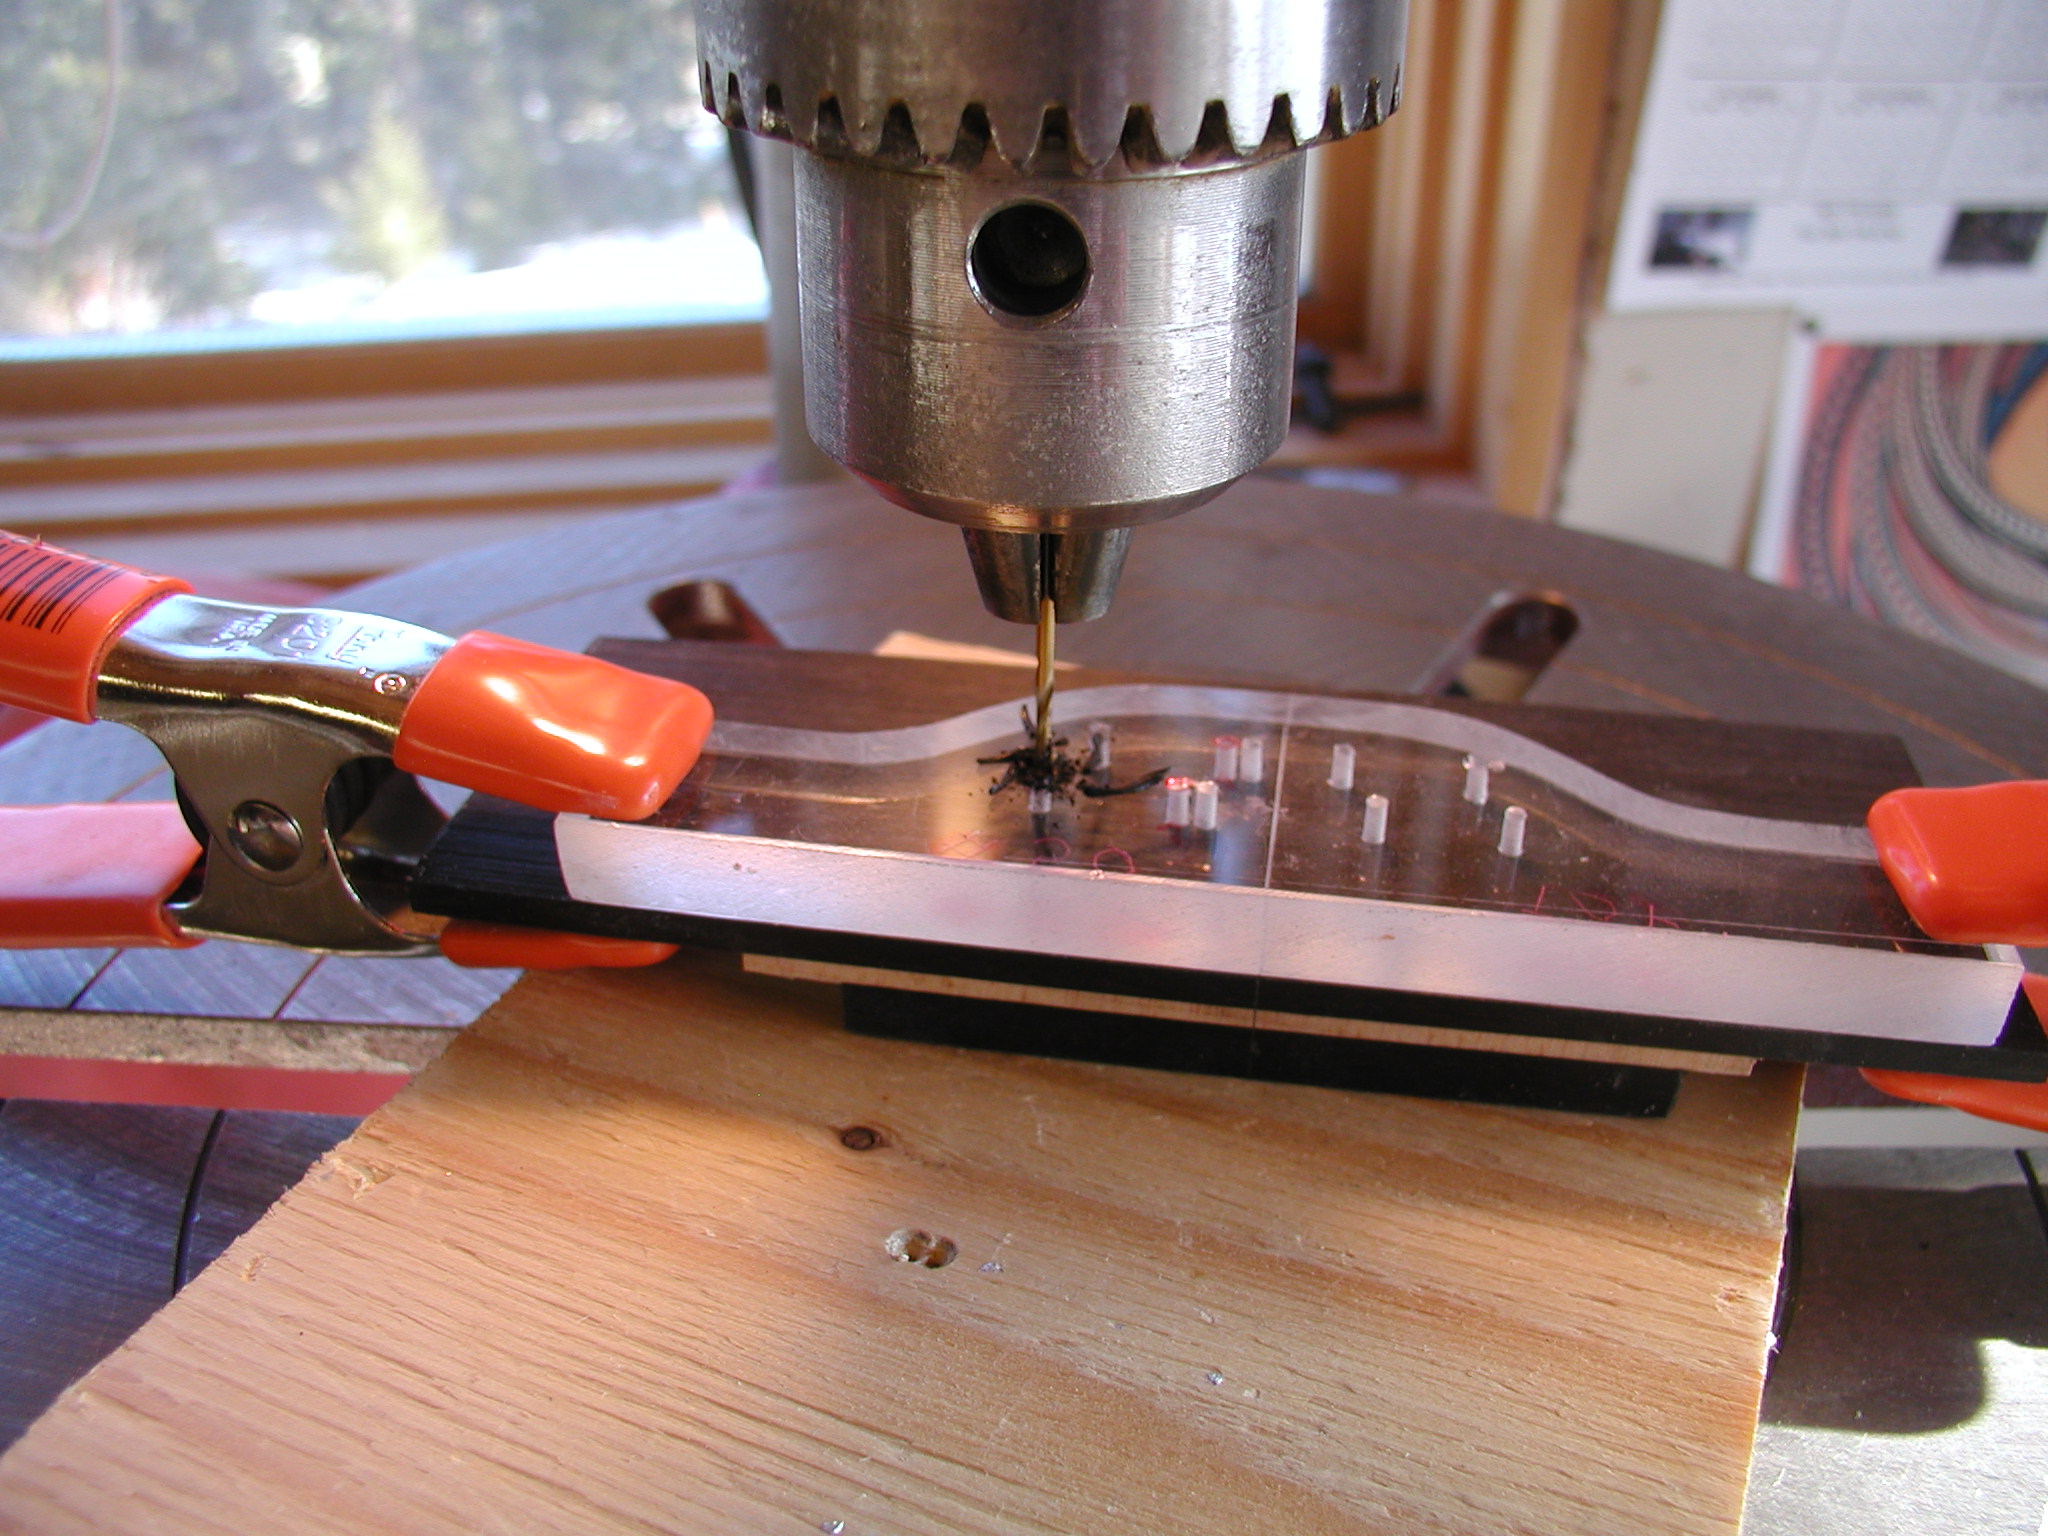
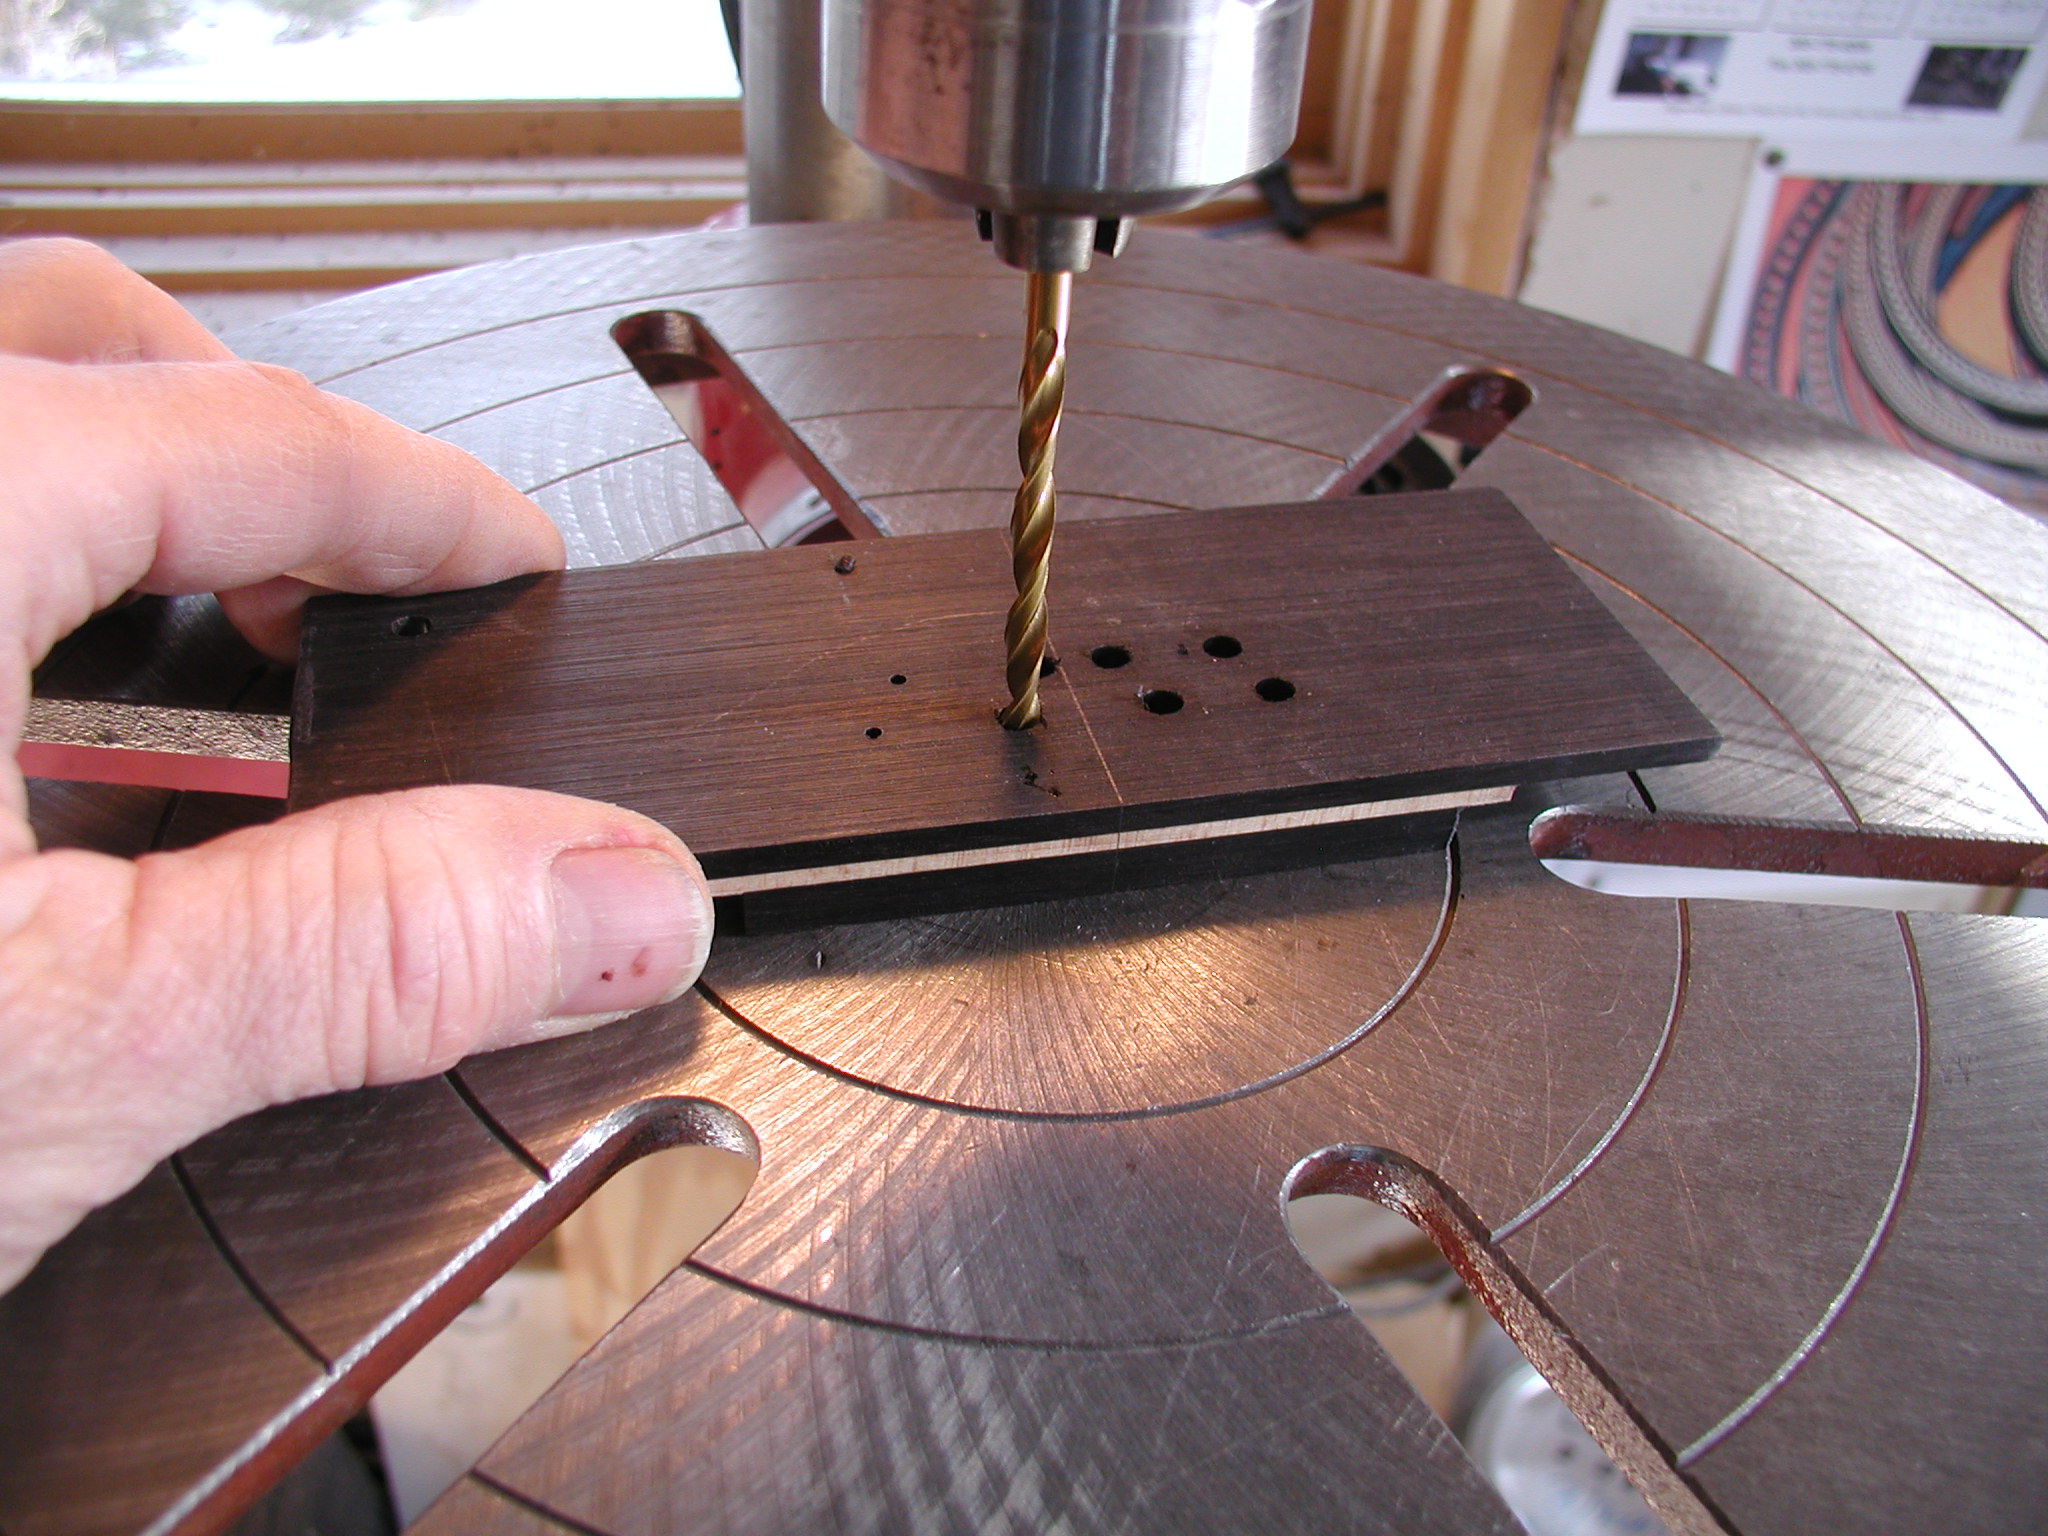

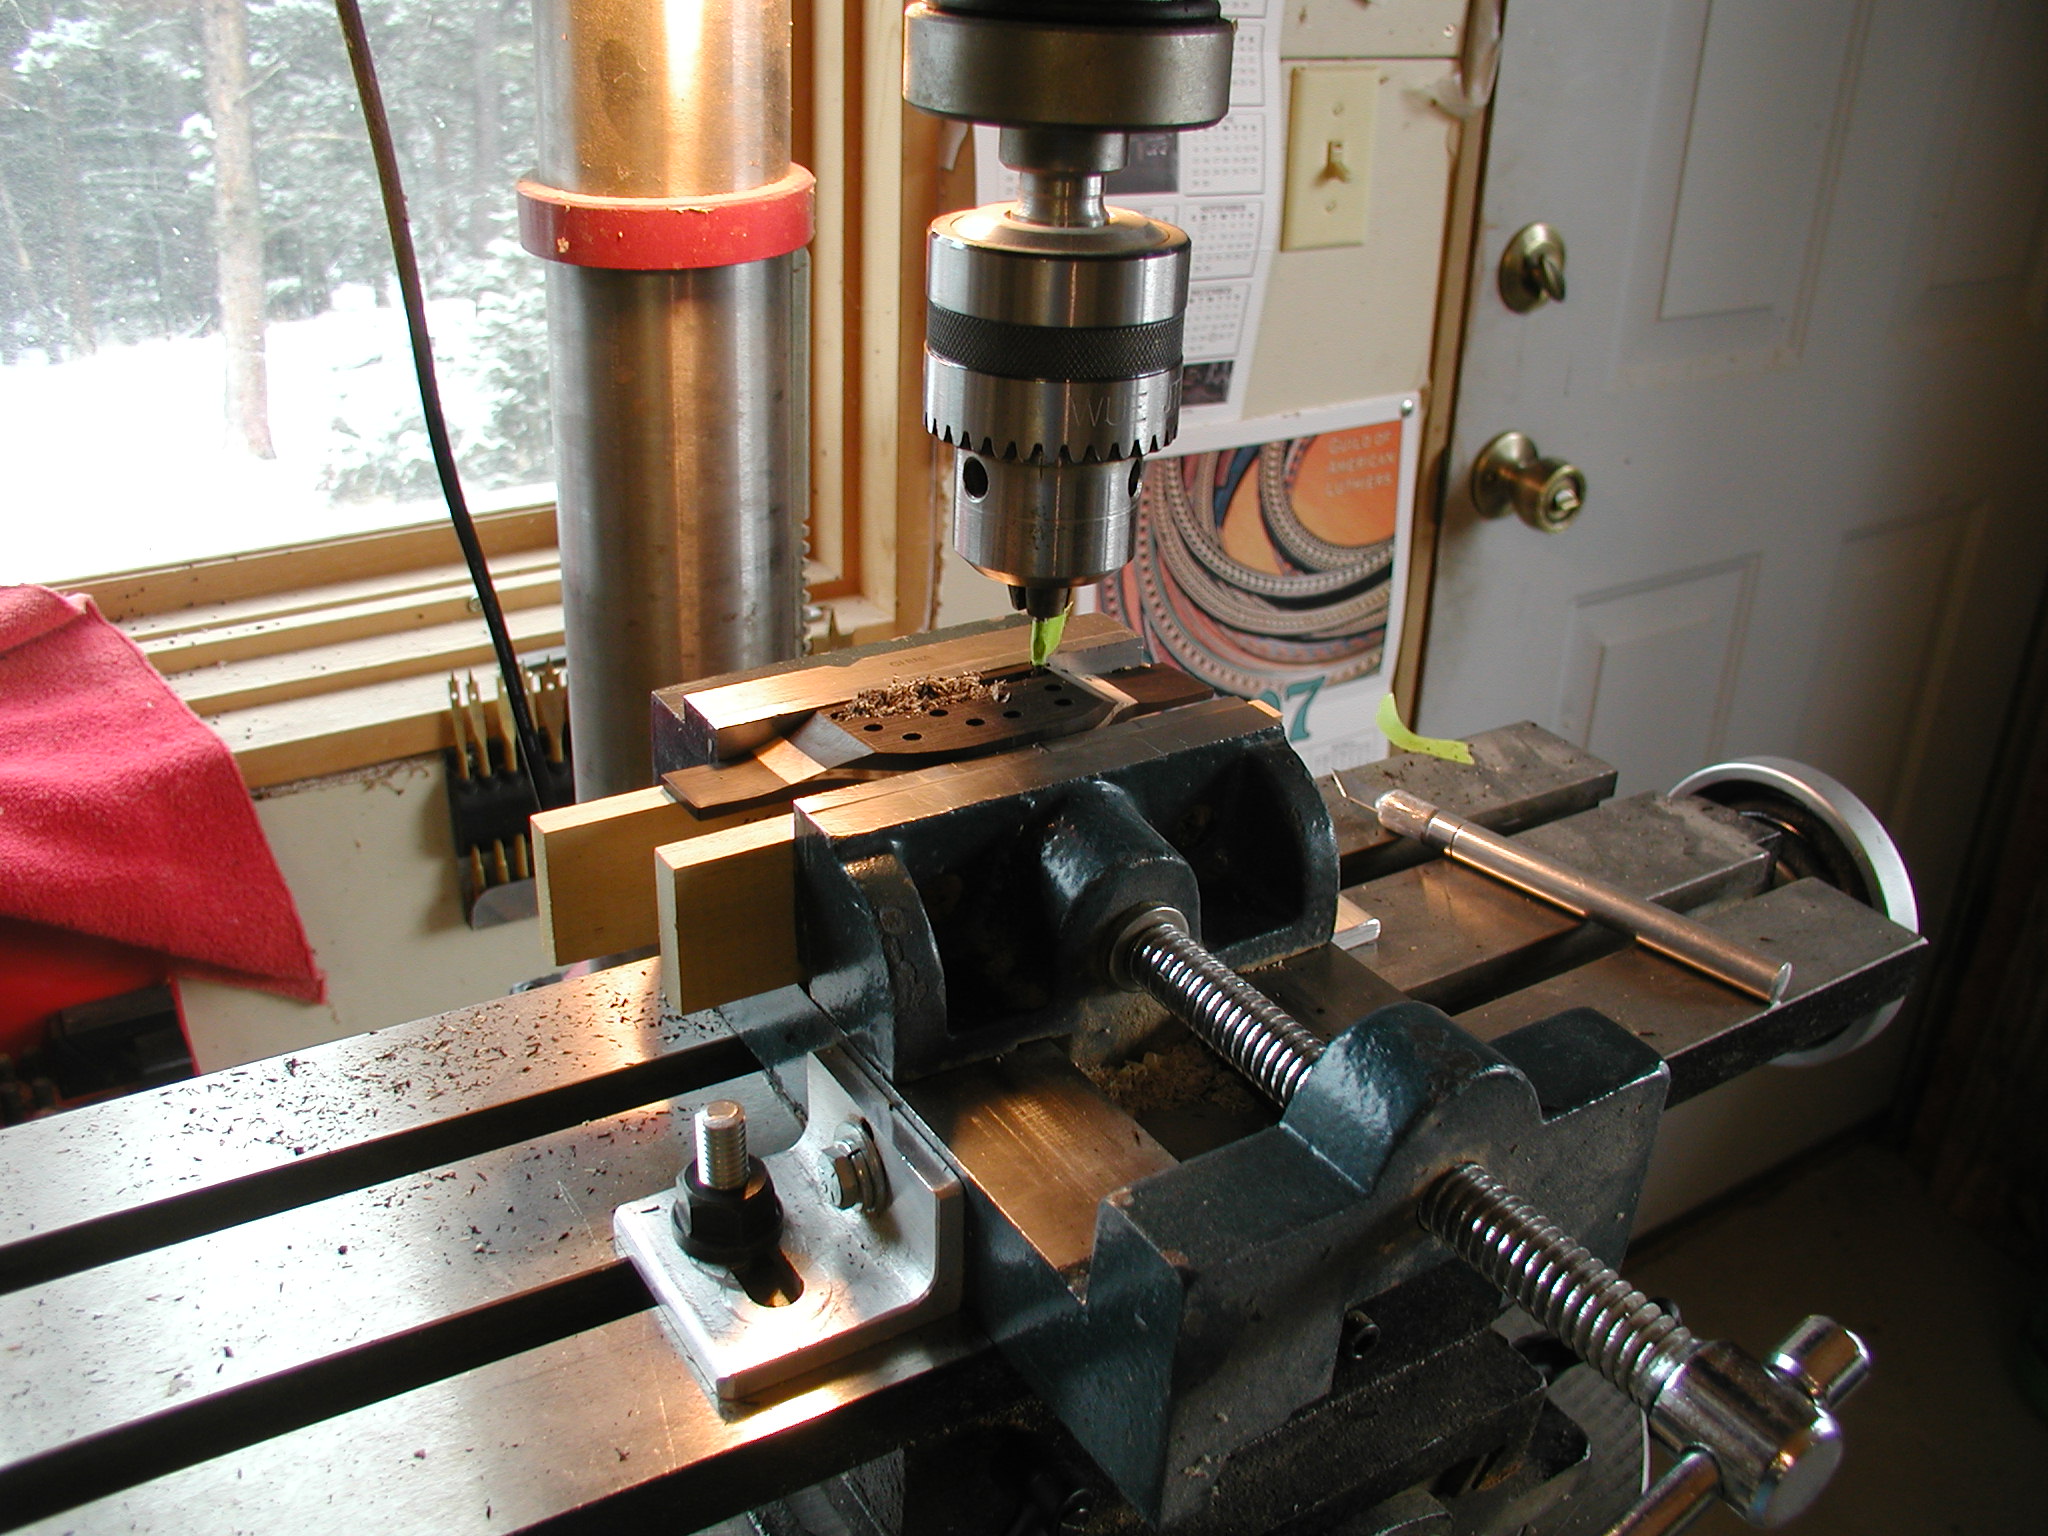
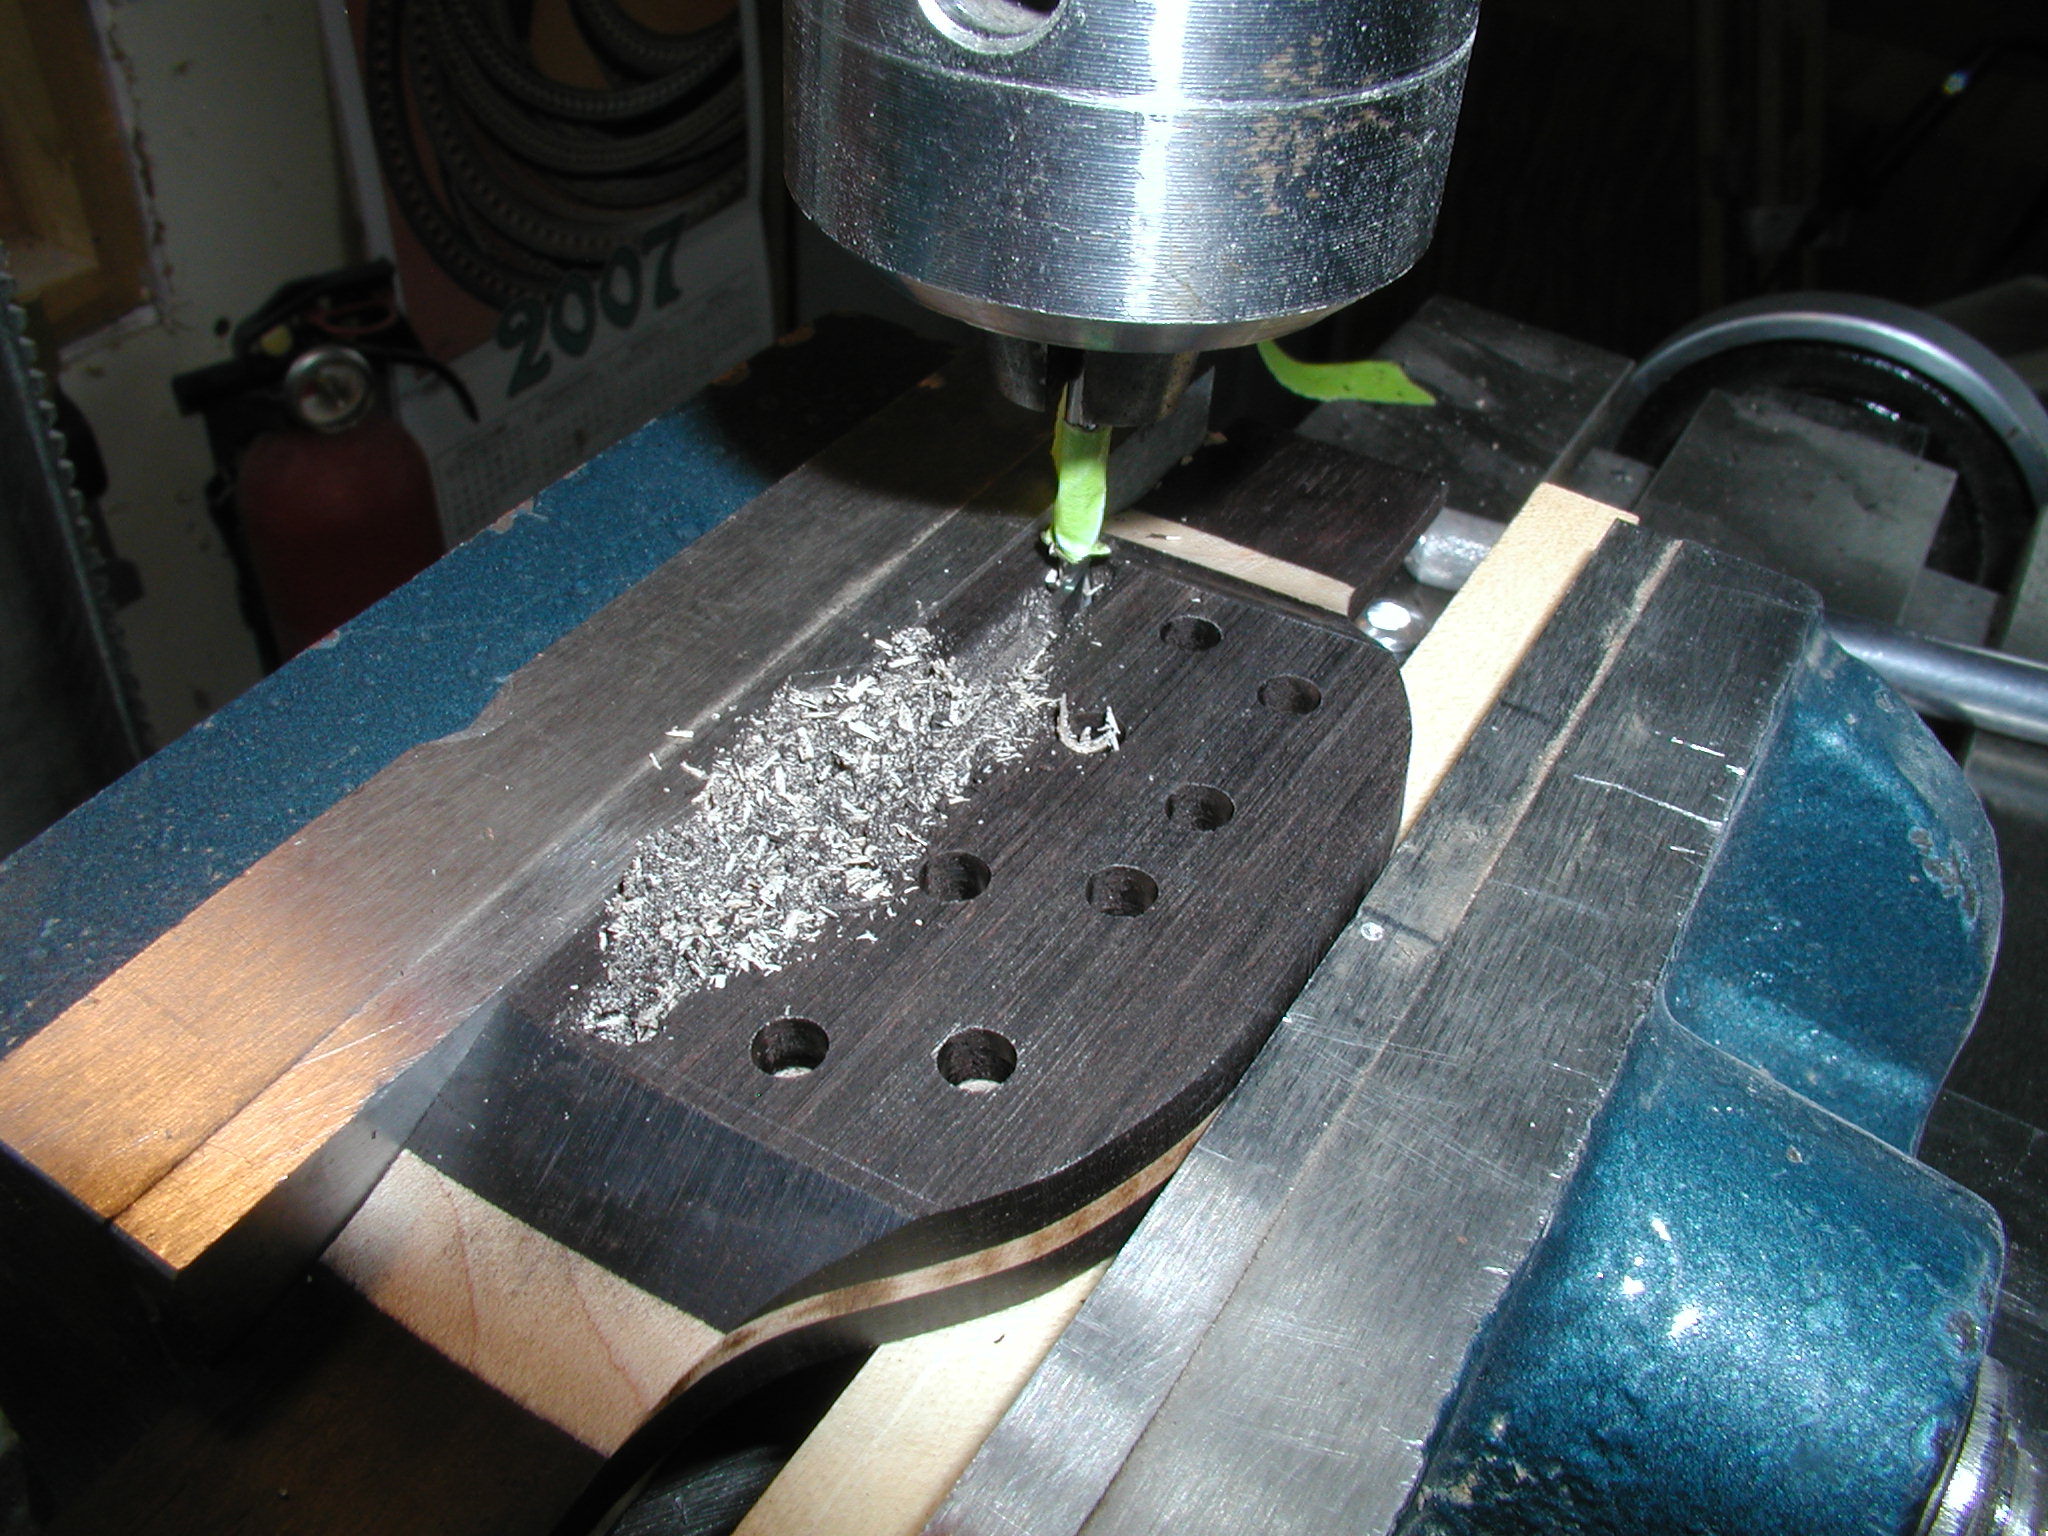
So while it is curing out I don't get to just sit around. We are still missing the bridge so this is a perfect time to make that. Since the neck extension is kind of two-toned, I though I'd make the bridge the same. There turned out to be some cosmetic problems with this idea, more later on. First I glued up the sandwich and then ran it through my drum sander to get it all the right thickness. Then I drilled the small holes for the pin positions using my template. Then I drill the pin holes that are undersized, they will get reamed later. I drill these from both sides like I did the tuner holes to avoid any chip out. Then rough off the excess on the bandsaw.

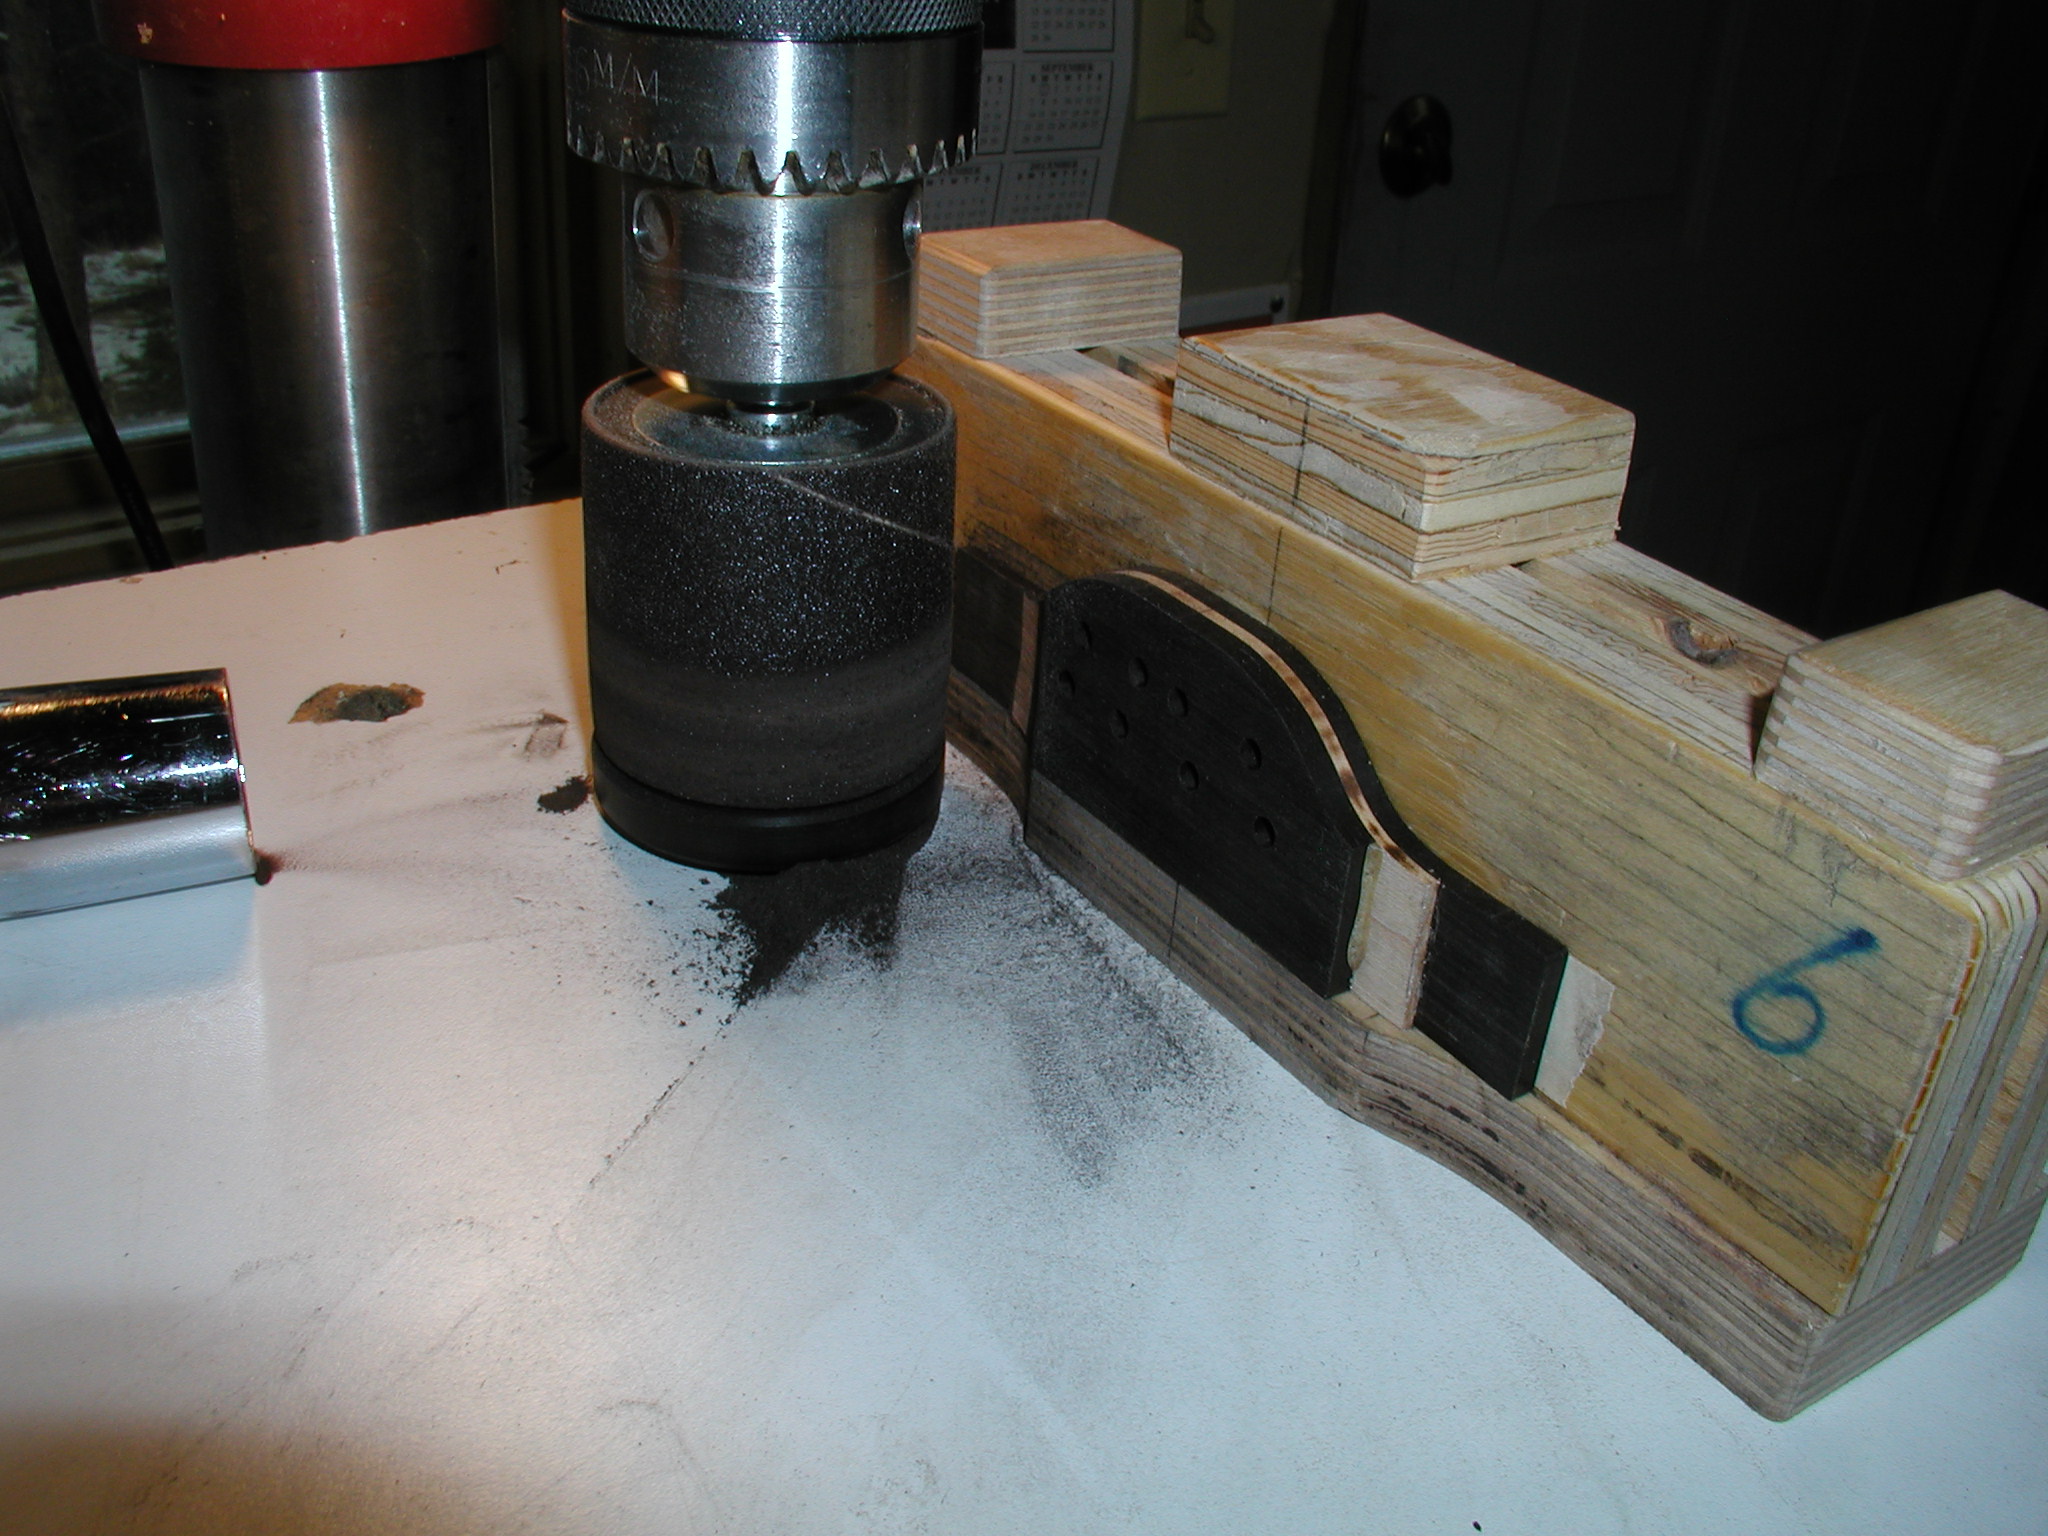
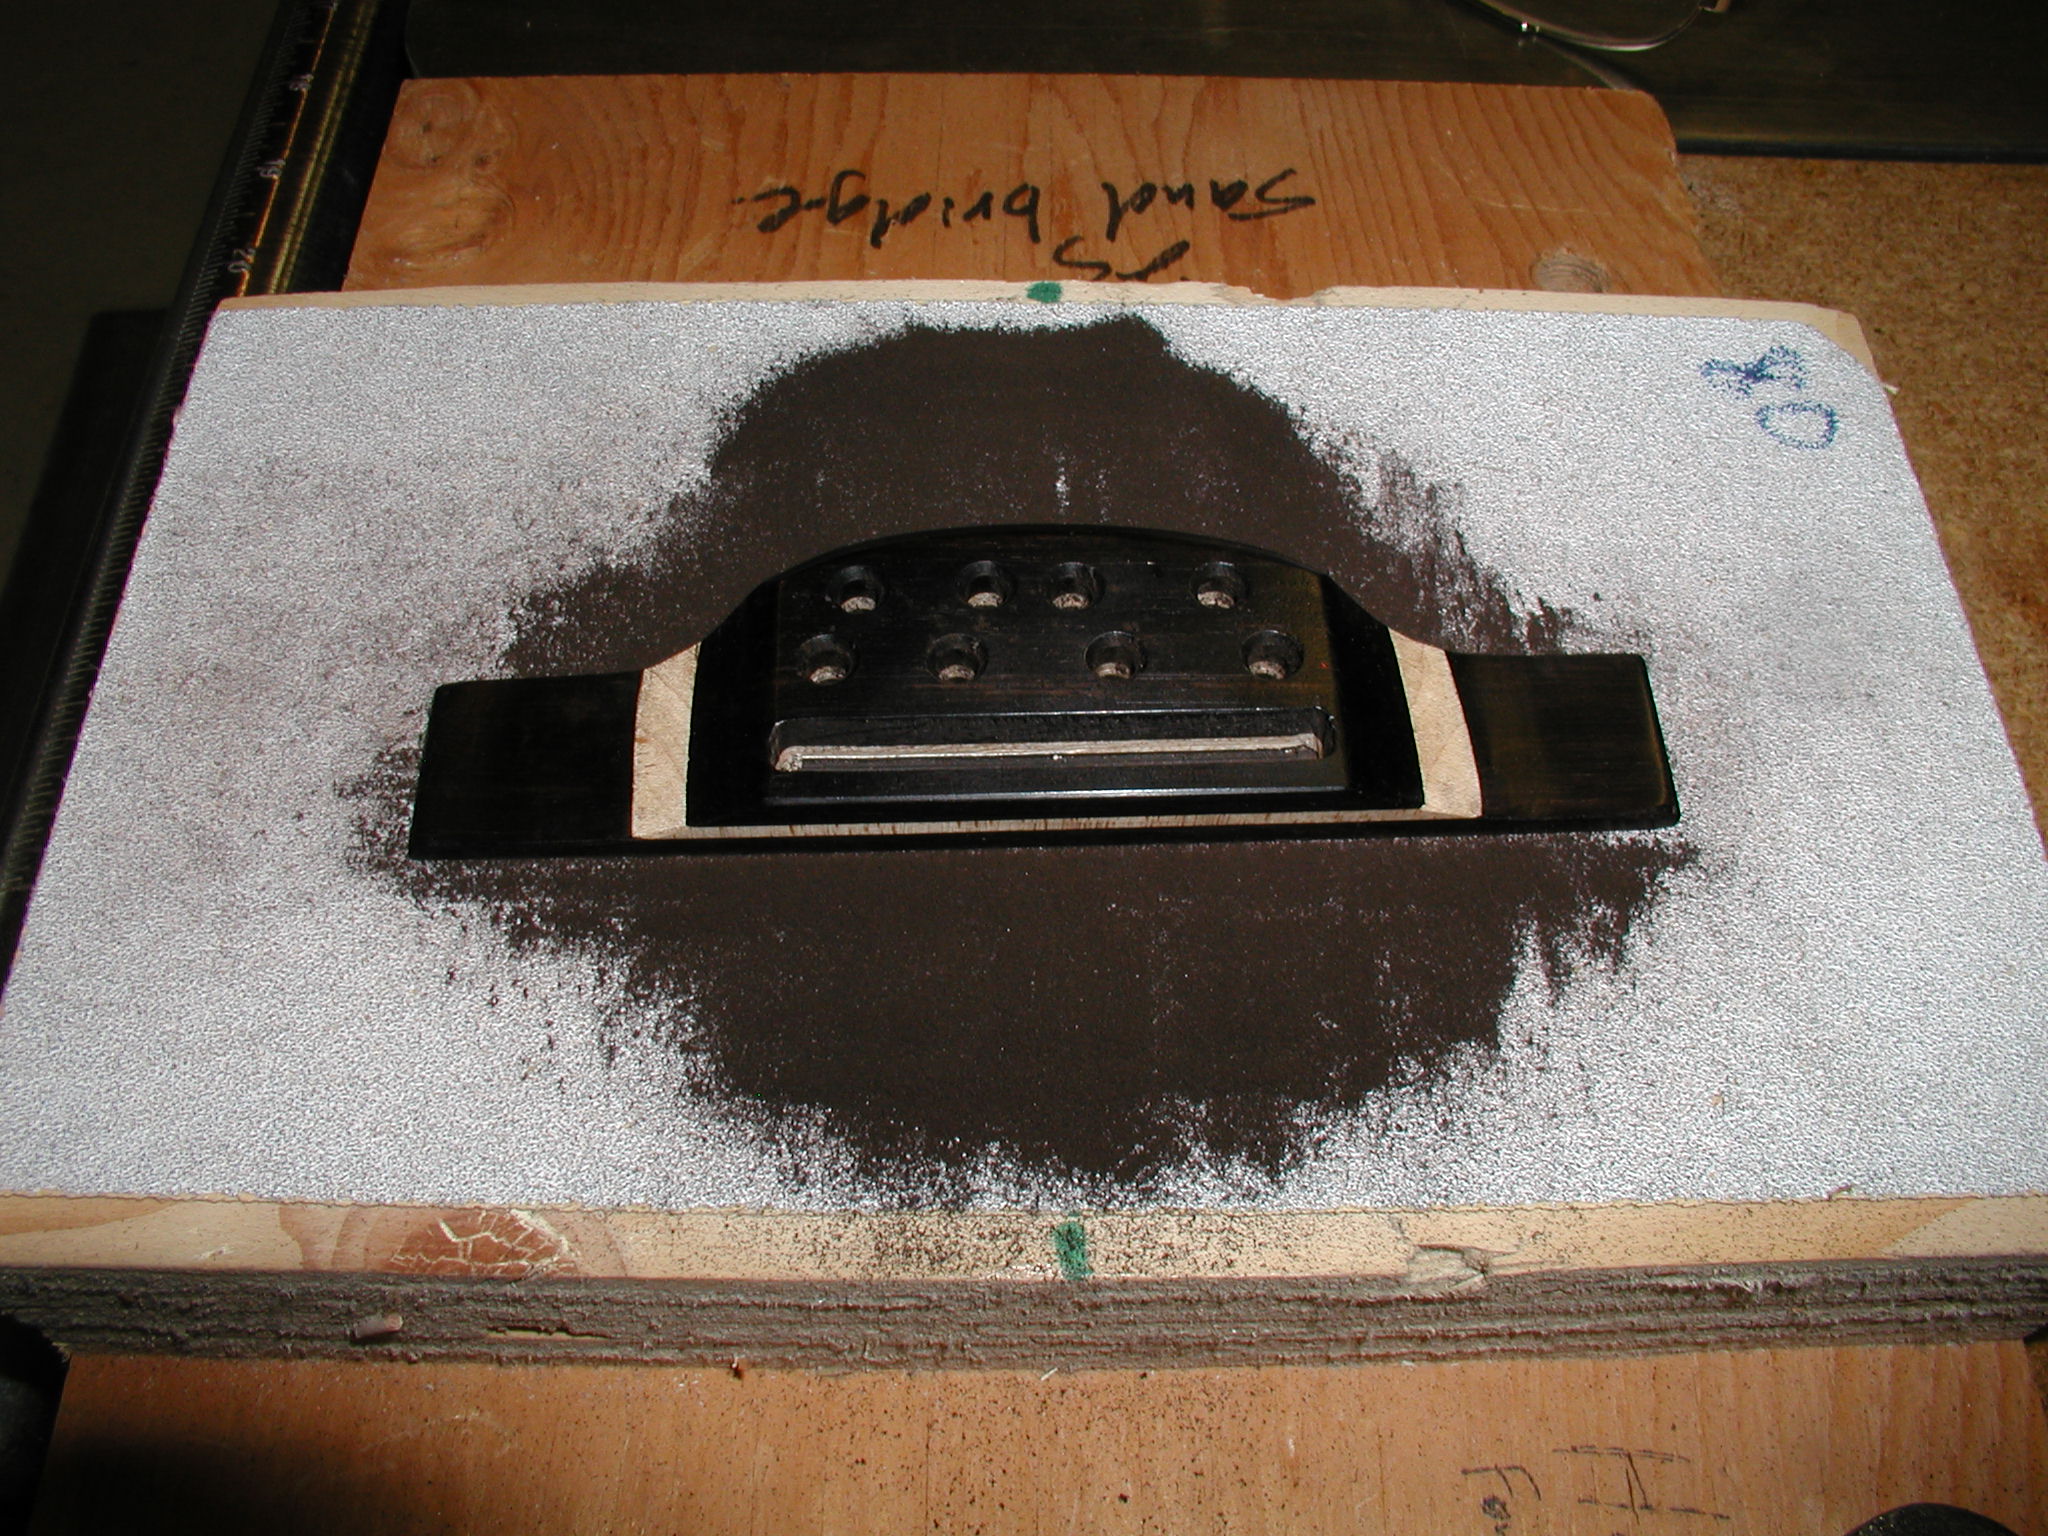
Now it gets profiled using the template. The bridge gets double-stick taped to a small block that goes in the big vise. The template gets stuck on top and the laminate trimmer uses a top-bearing pattern following bit. Cut the ends first, they are cross grain and you want to cut them while there is some waste in case of chip out. Use a climb cut and take a series of small cuts till you are up to the template. The front and back of the bridge are along-grain cuts and I do those just straight away following the pattern with a climb cut. I go all around several time just to make sure it is true. I then sand the top curvature to the bridge in the drill press with a "Robo-Sander", a nice little tool that takes sanding drums and has a pattern follower roller on the bottom. The jig is designed for guitar and when I have finalized my bouzouki bridge design I'll make one for bouzoukis as well. Look at the maple after this process, it has ebony ground into it and looks ugly, this is the little hitch I mentioned earlier. I'll deal with this in the final steps. Now the saddle slot gets cut with the drill press and a down-cut milling bit.The bridge is in a machine vise on my cross-feed table. The blocks that support it are of different height, this sets the bridge at an angle and lets me cut the slot with a back angle to keep the bridge more directly under the string pressure where it breaks over the bridge. Last of all I sand the bottom on a jig that has the same radius as the top of the instrument. This gets it close ahead of time but not exact, we'll fit it directly to the top later.
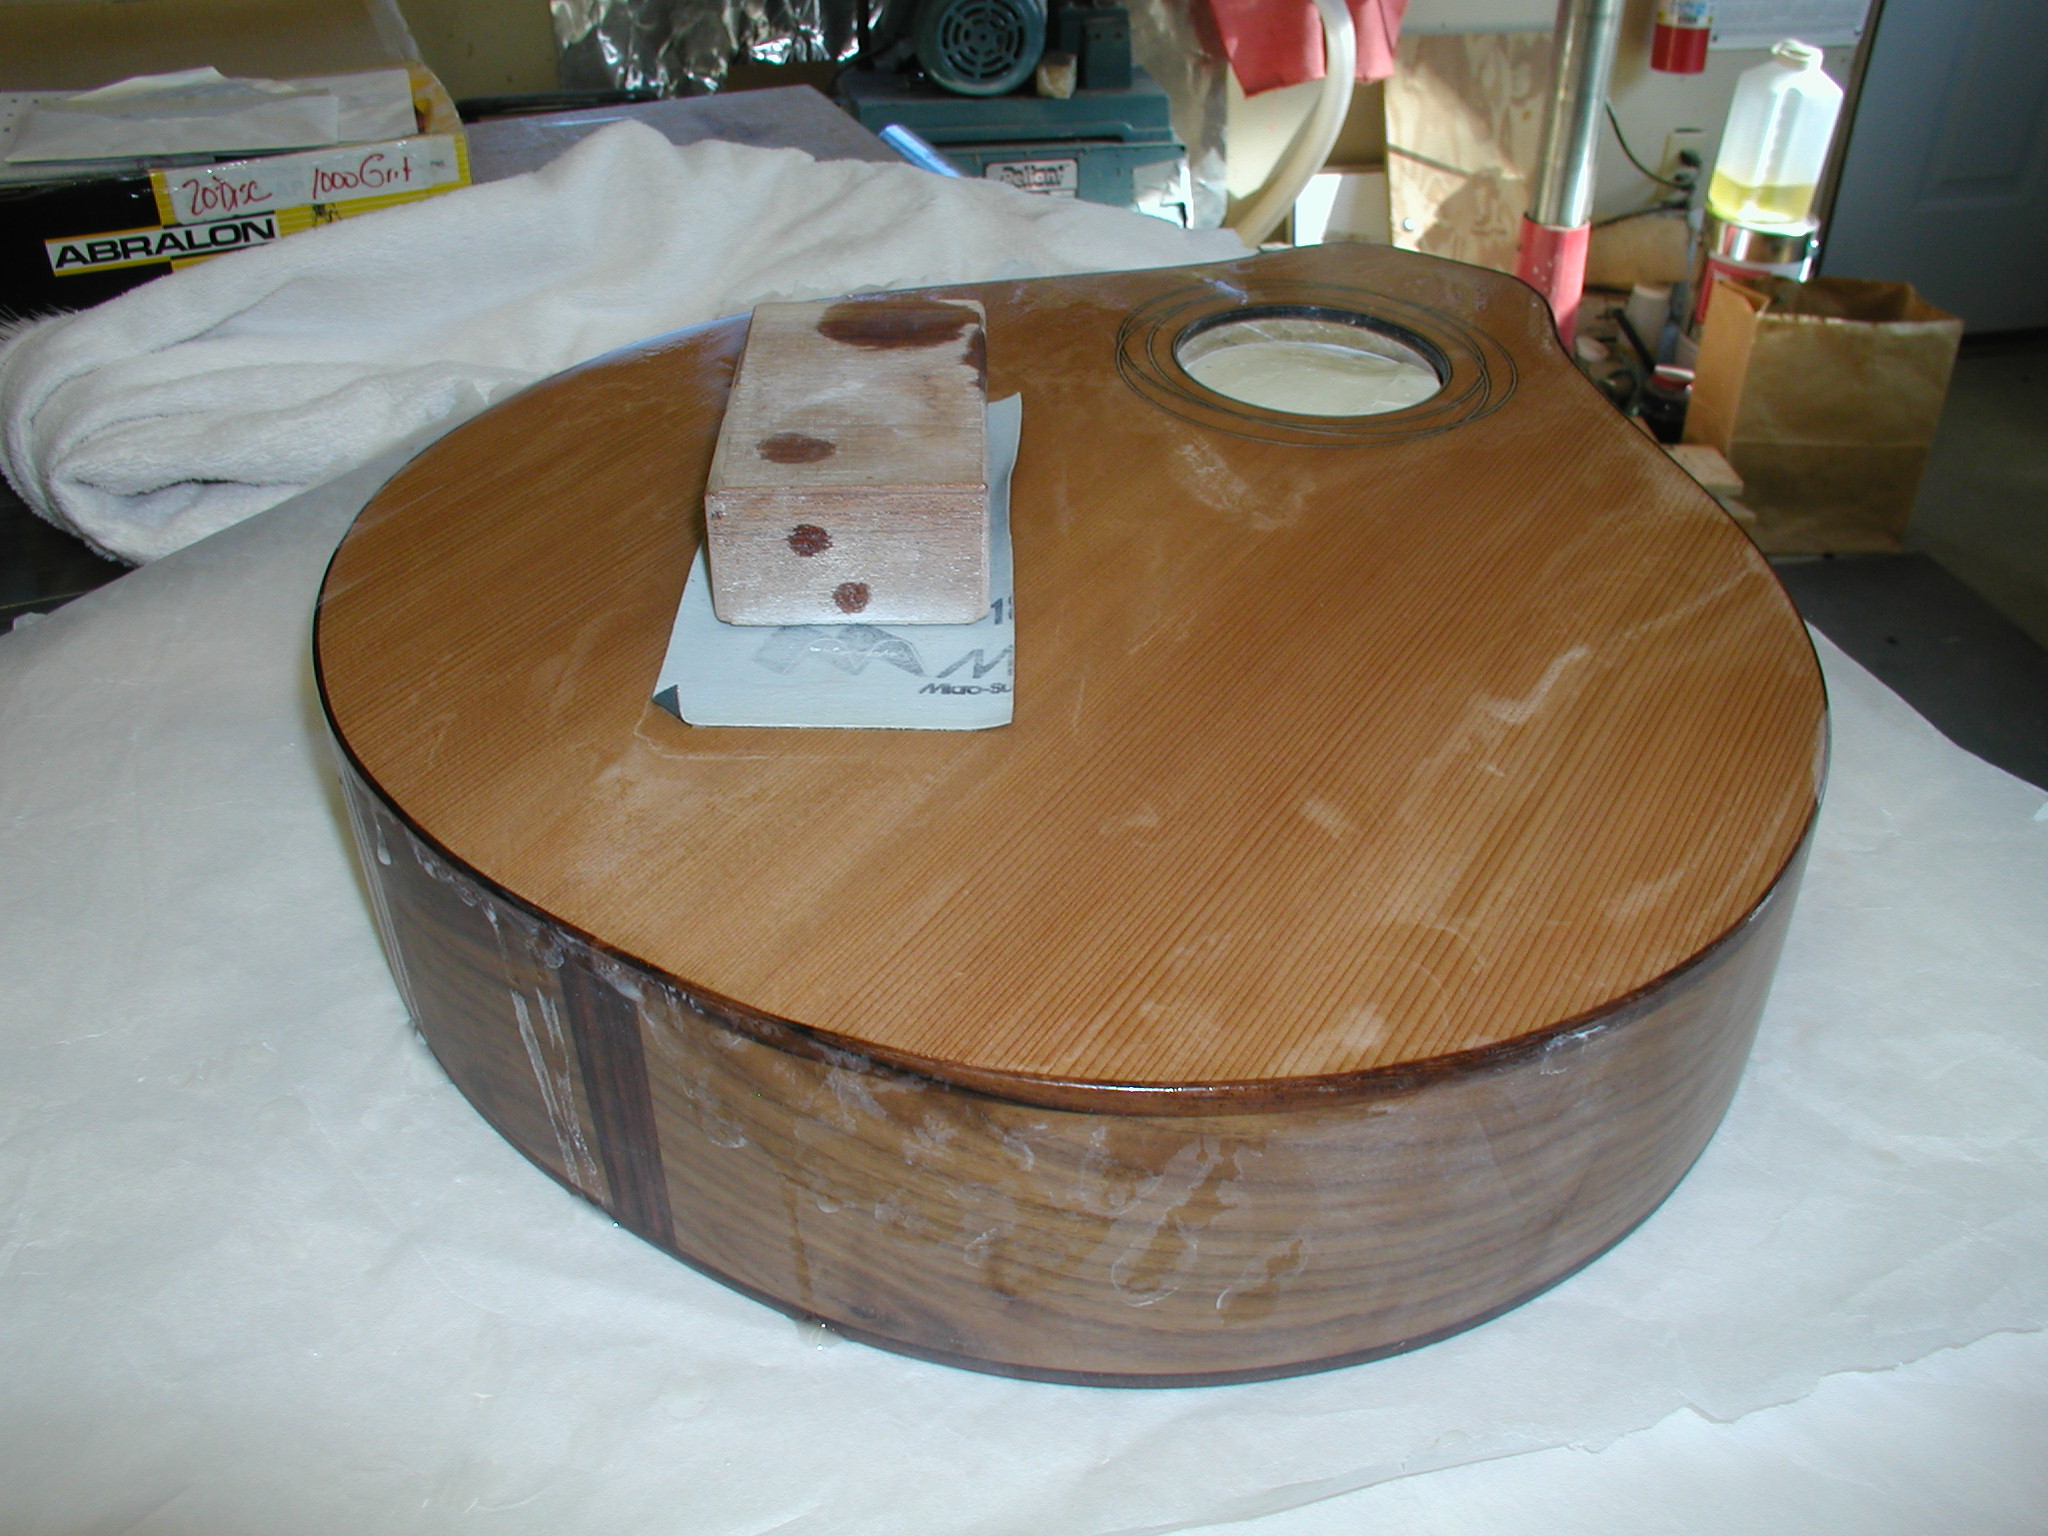
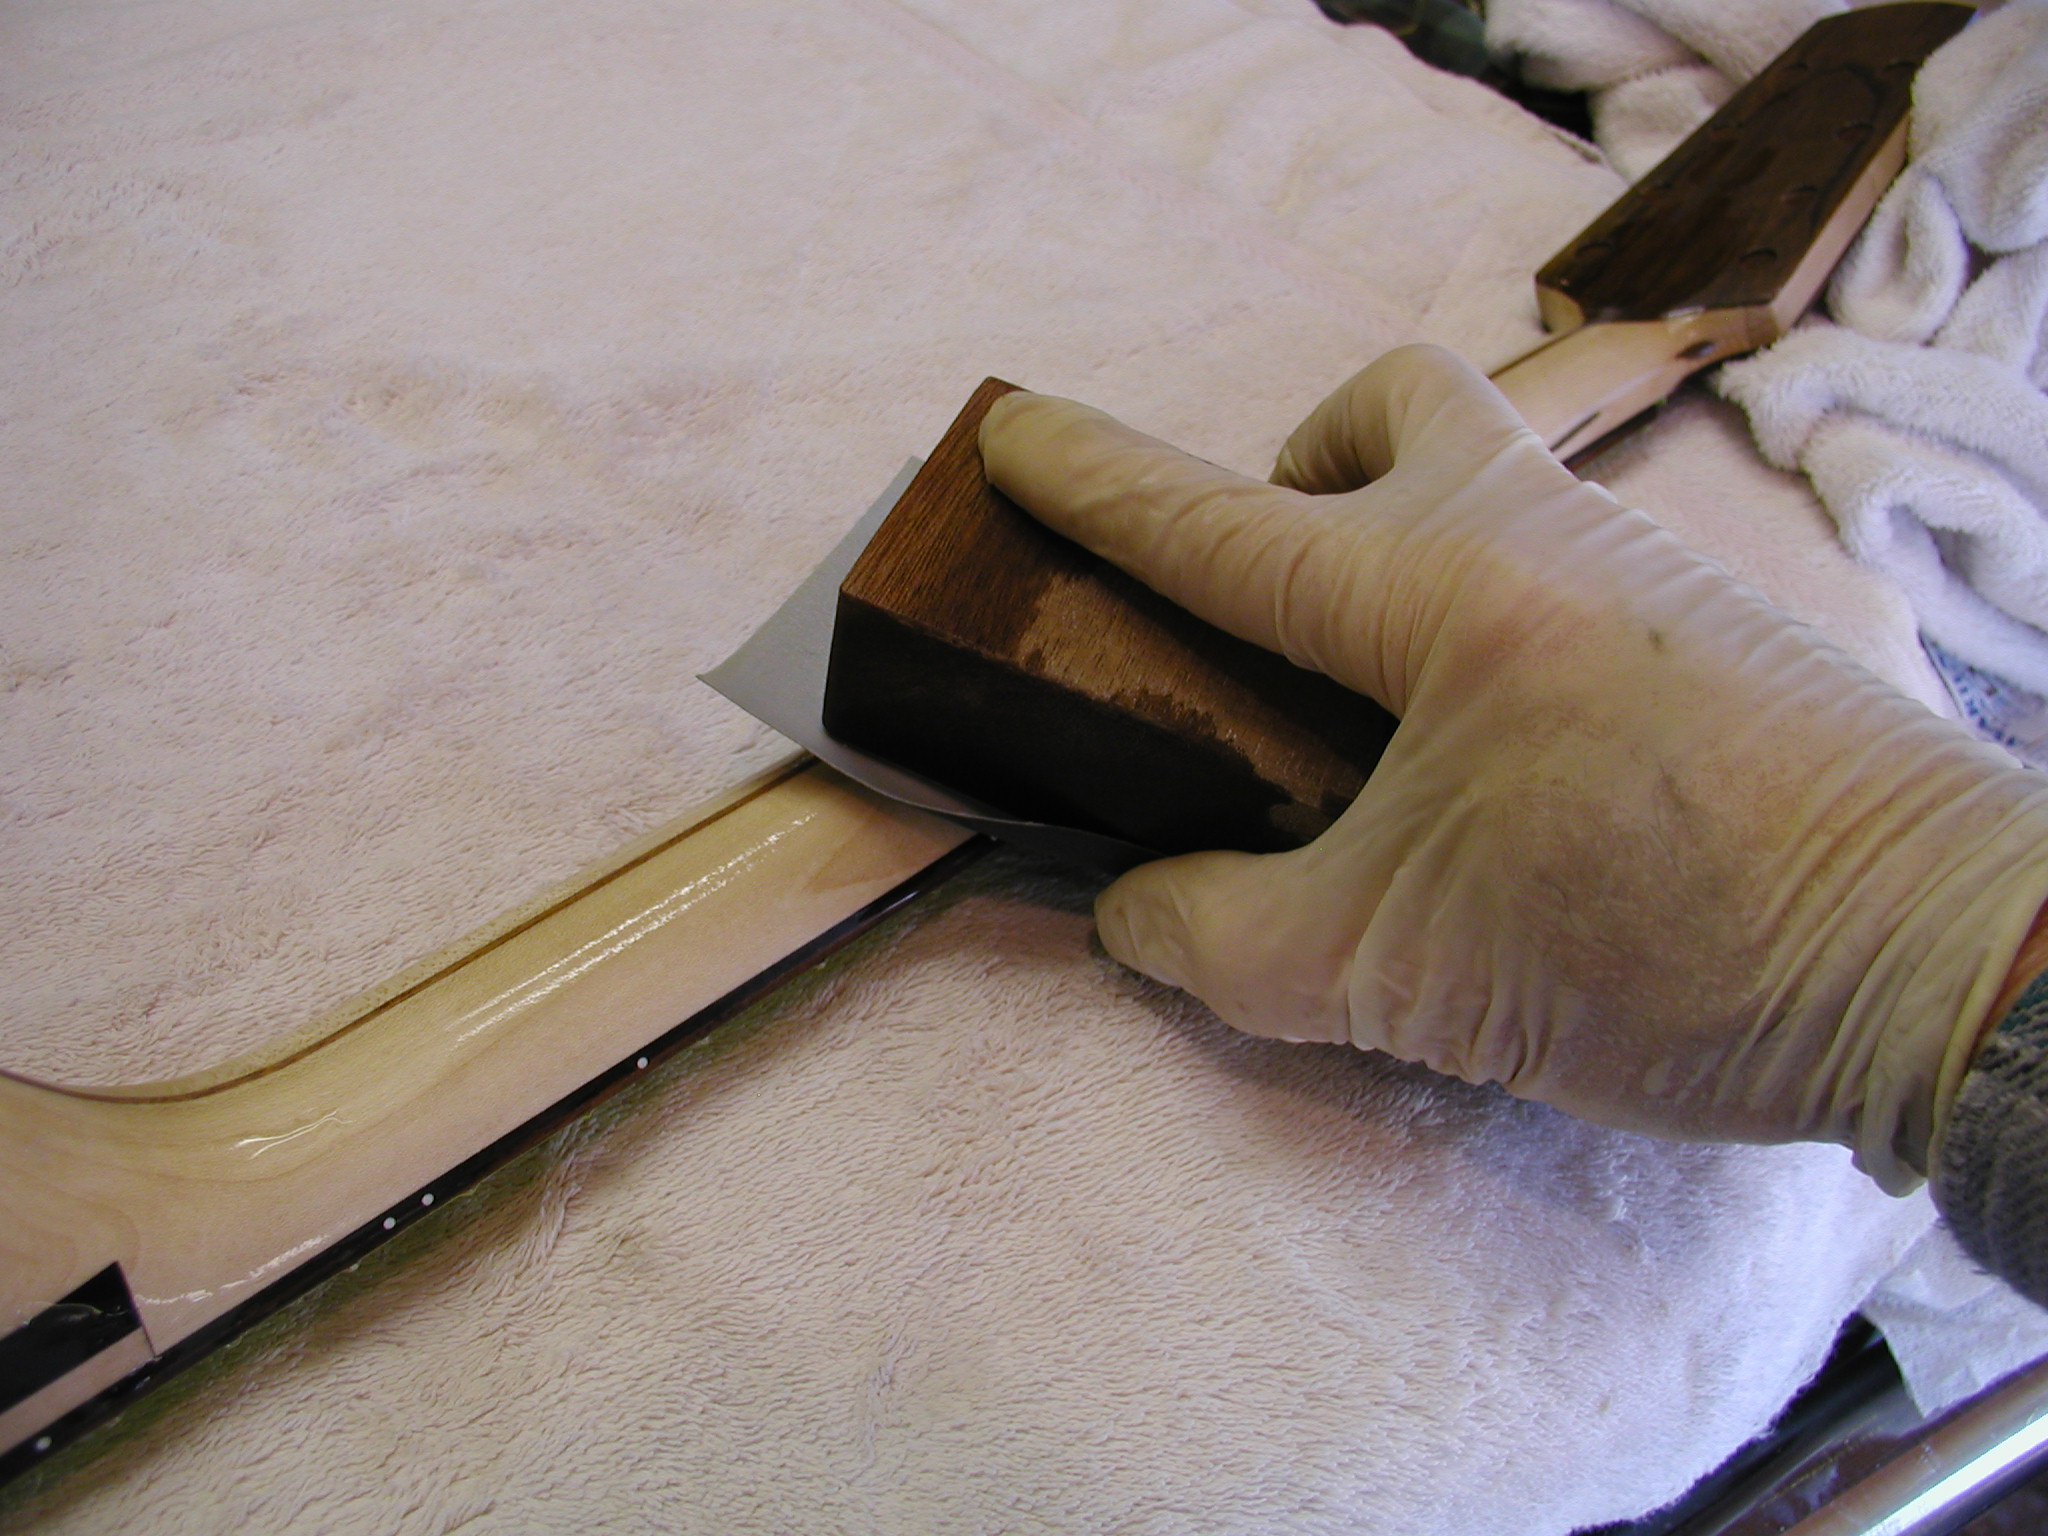
The finish has cured out and I go into the wet sanding process. I just use tap water with a drop of dish detergent for lube. From here on out I only use MicroMesh cloth sanding "papers". They are European grits, so I start with 1600 or higher and go out to about 3200. More than that doesn't seem to help at buff time. Always sand with a block! The finish is thin and you will sand through if you don't use a block. On the top I sand back till I get the finish between 0.005"-0.007" thick. This is enough to protect it without damping the tone. Not shown is the buffing process. I use two 12" buffs, one with a medium (brown) compound and one with the fine (white). There will be some back and forth between the medium buff and re-sanding to get all the scratches out. Final buff with the white and the a hand rub out with a fine polisher such as Novus.
We have all the parts more or less finished up, the bridge still needs some work, but we are pretty close to putting it all together.