Let's Build A Bouzouki (Page 3)
Last Modified - February 2009 (©Alan Dunwell 2009)
In Page 2 we completed the body assembly. Now we need to attend to all the outside details of the body to complete it.
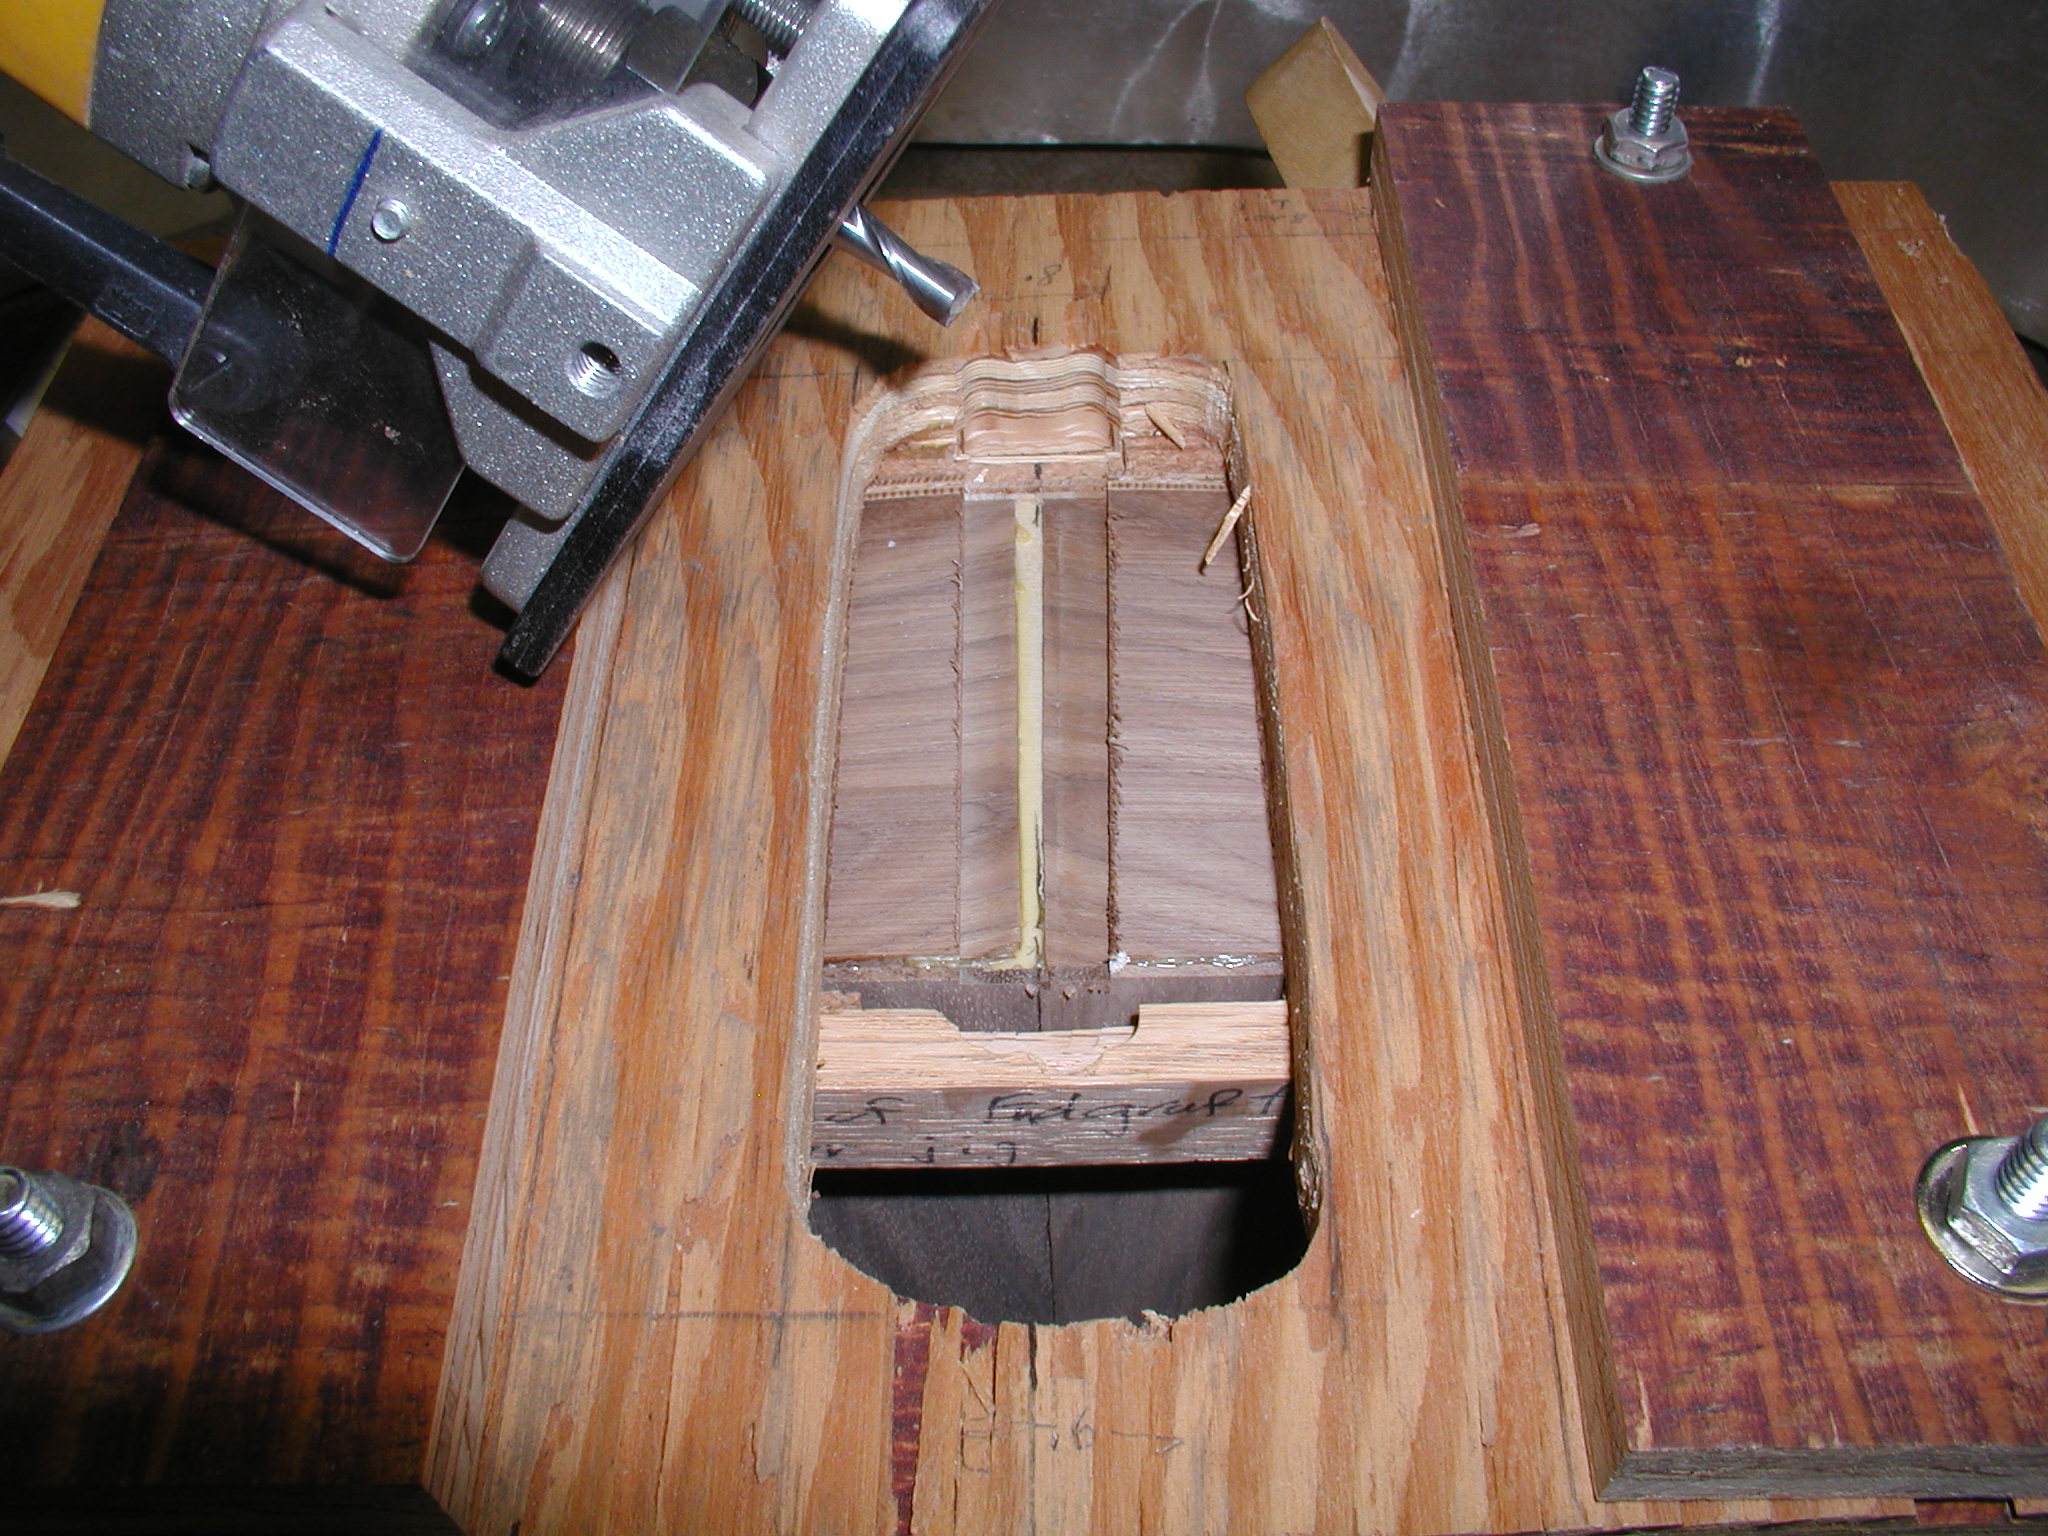
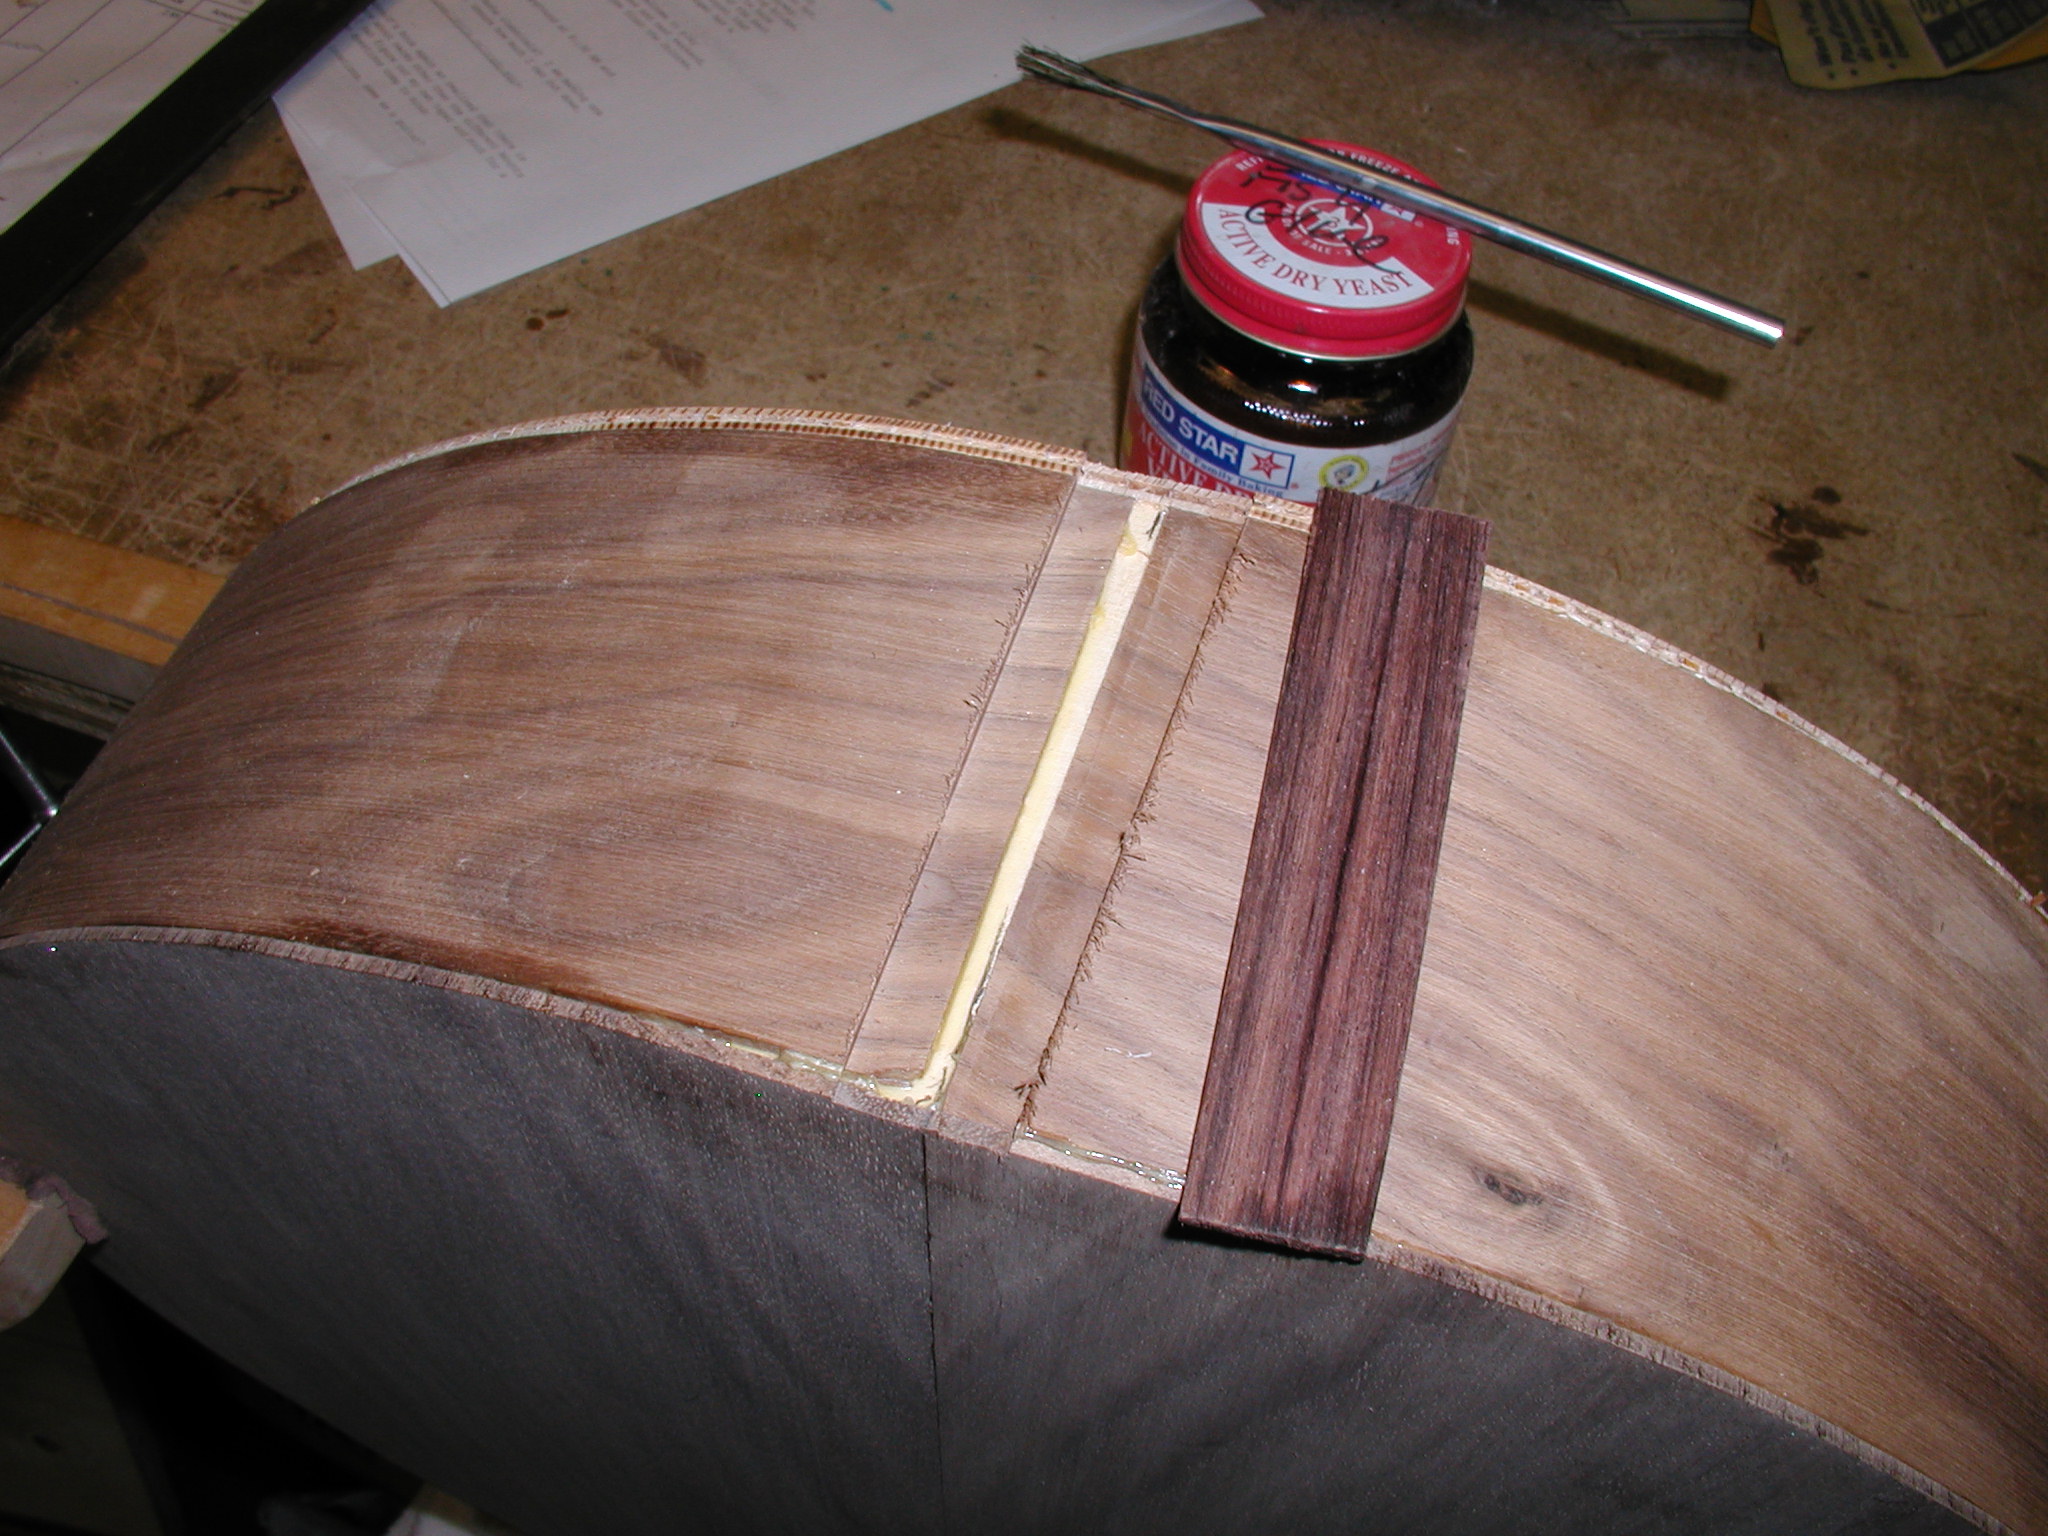
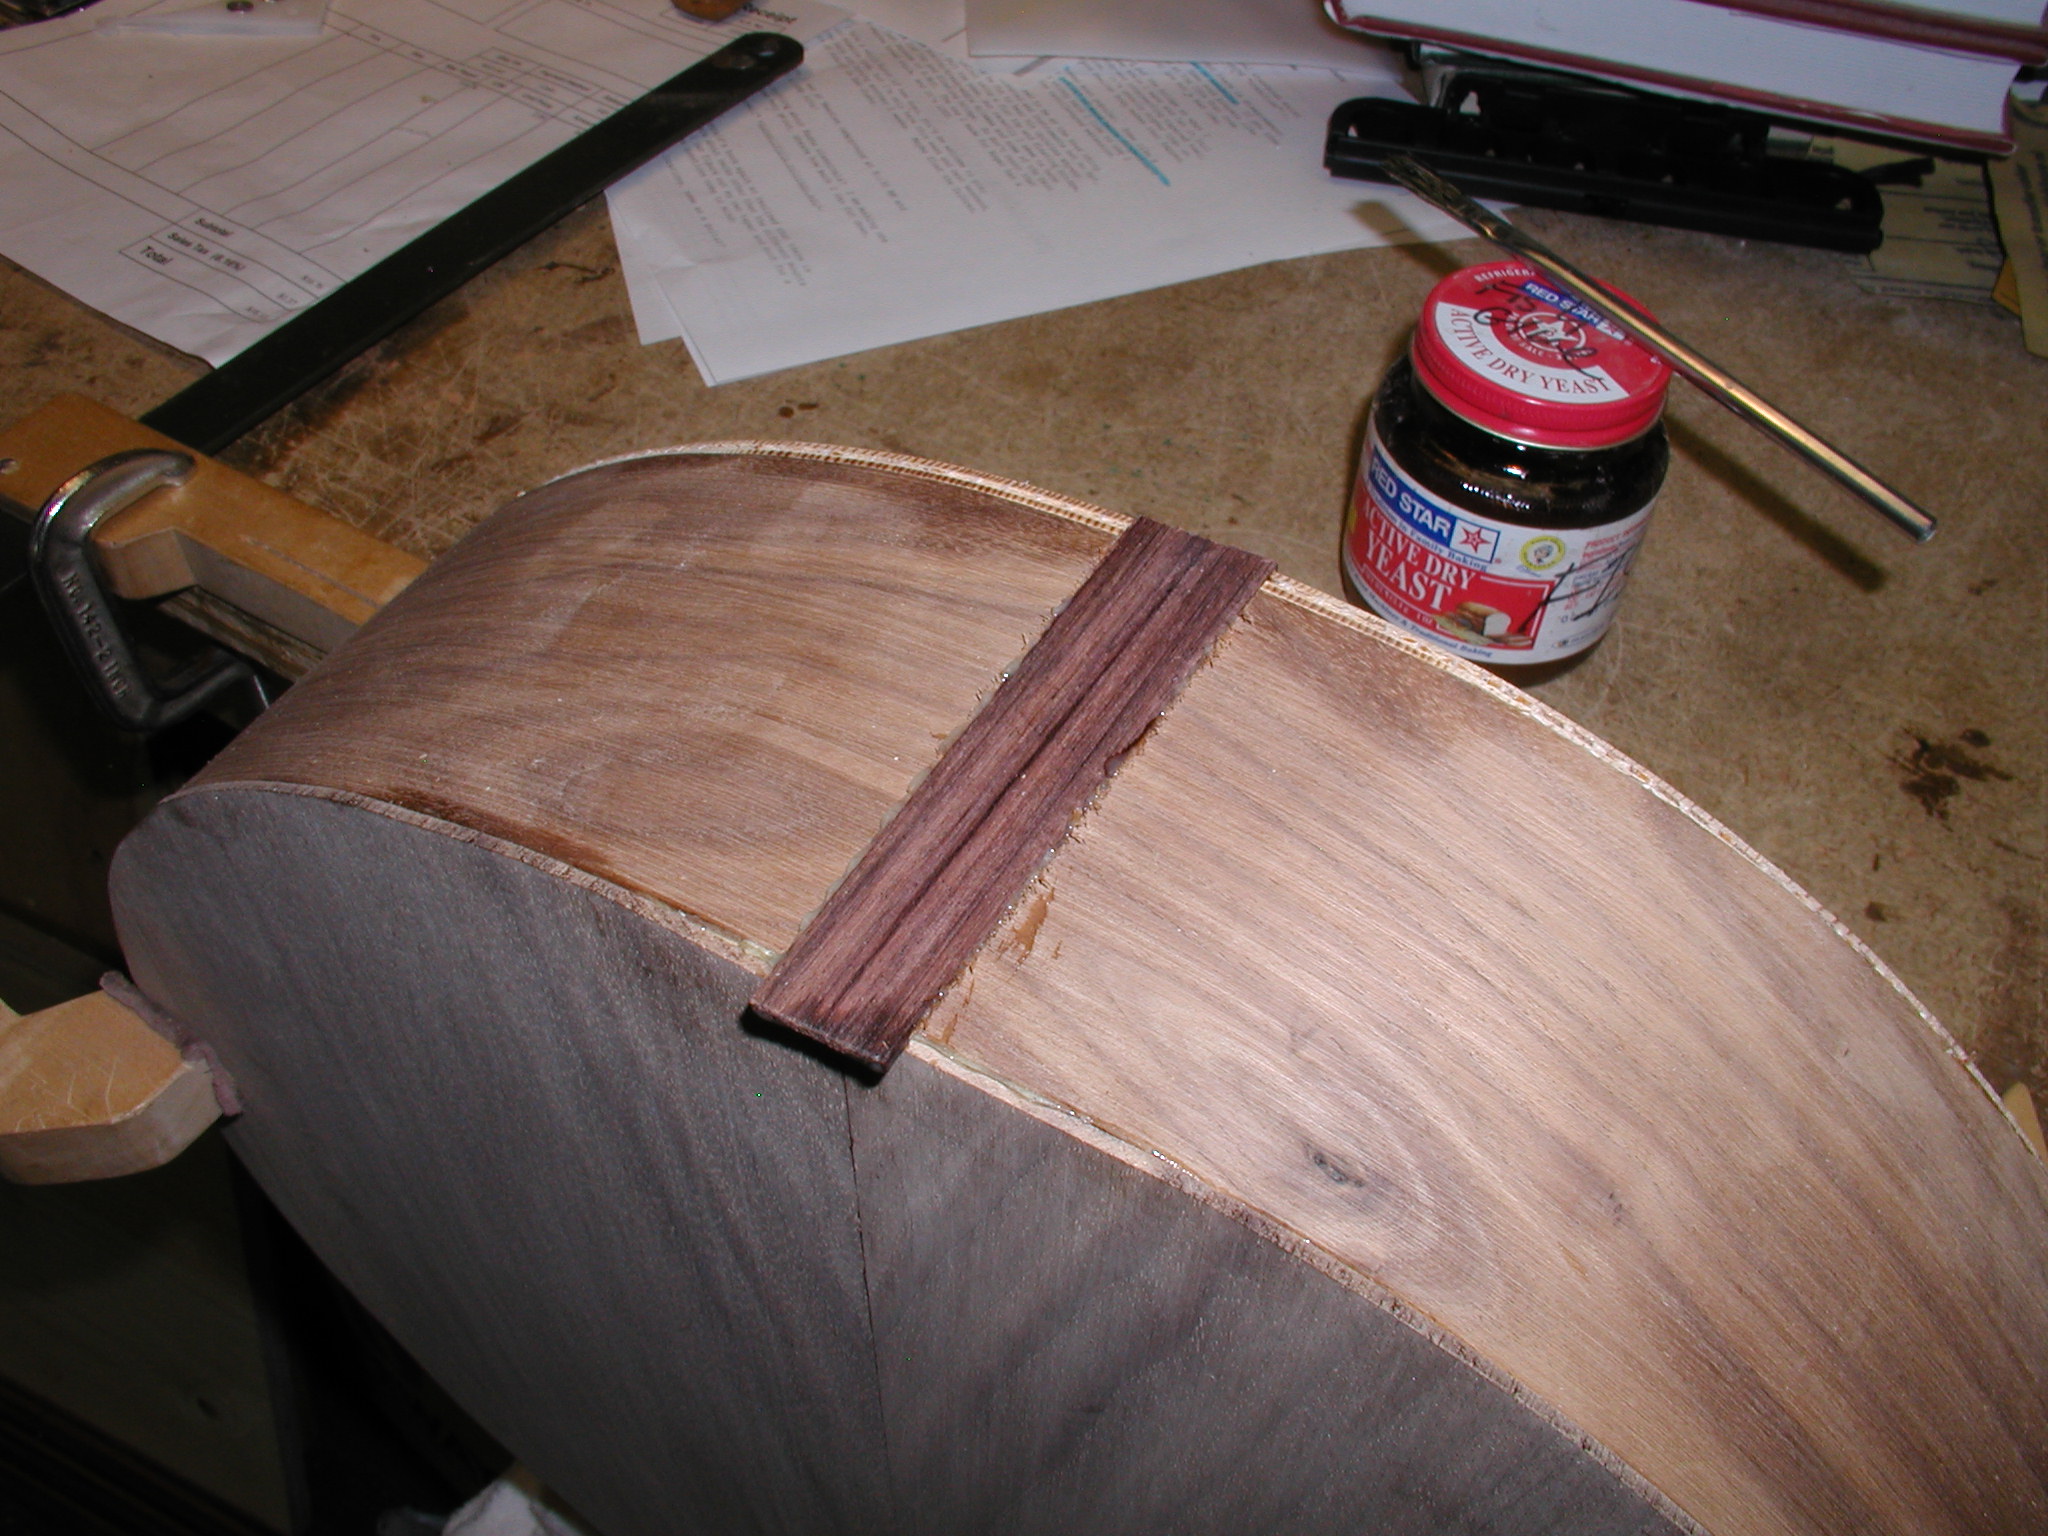
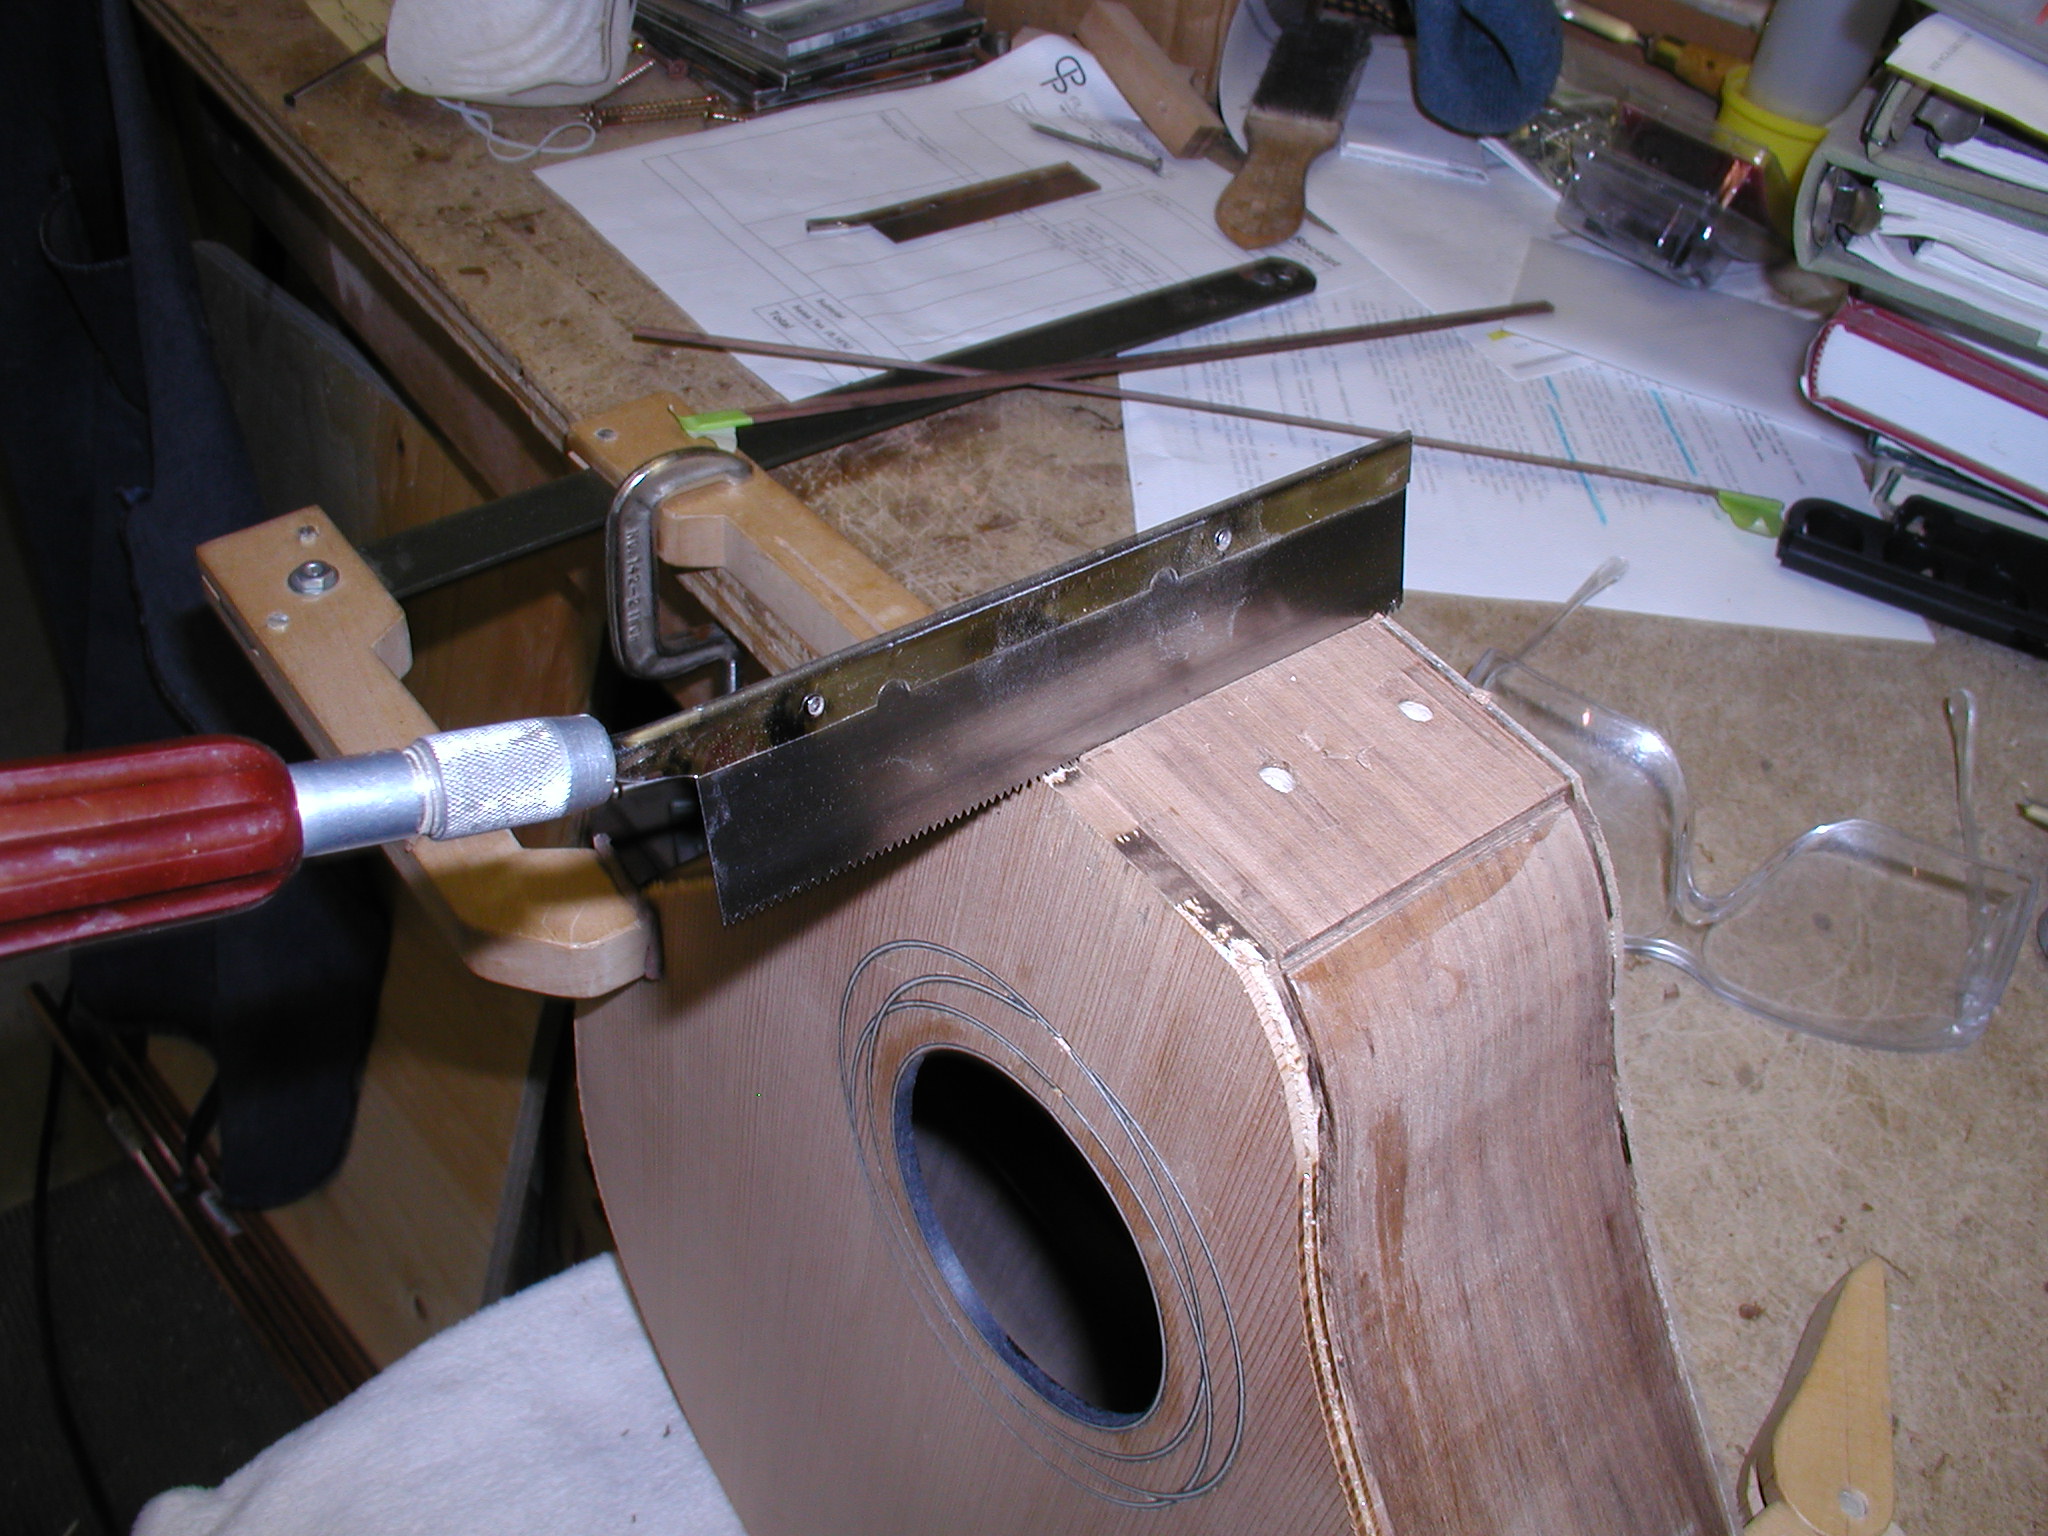
I start with the end graft. Here is a perfect example of why you should make even your experimental jigs out of some good material. I made this jig "yarons and yarons ago" out of some scrap to hand with the idea that once I got it refined I'd make a good one. Well, twenty years on I'm still using the original because it work just fine {insert big sigh}. In any case, I've got a laminate edge trimmer with a down-cut spiral bit for doing the cuts. I then use my low-angle block plane to shave the end graft wedge till it fits snug without any gaps. If you are including purfling you make it fit with small pieces of purfling on each side. Then some glue and wedge it in place. The moisture of the glue and the wedging action means no clamp is required. The ends get trimmed off flush with the top and back using and an X-acto razor saw when the glue is dry.
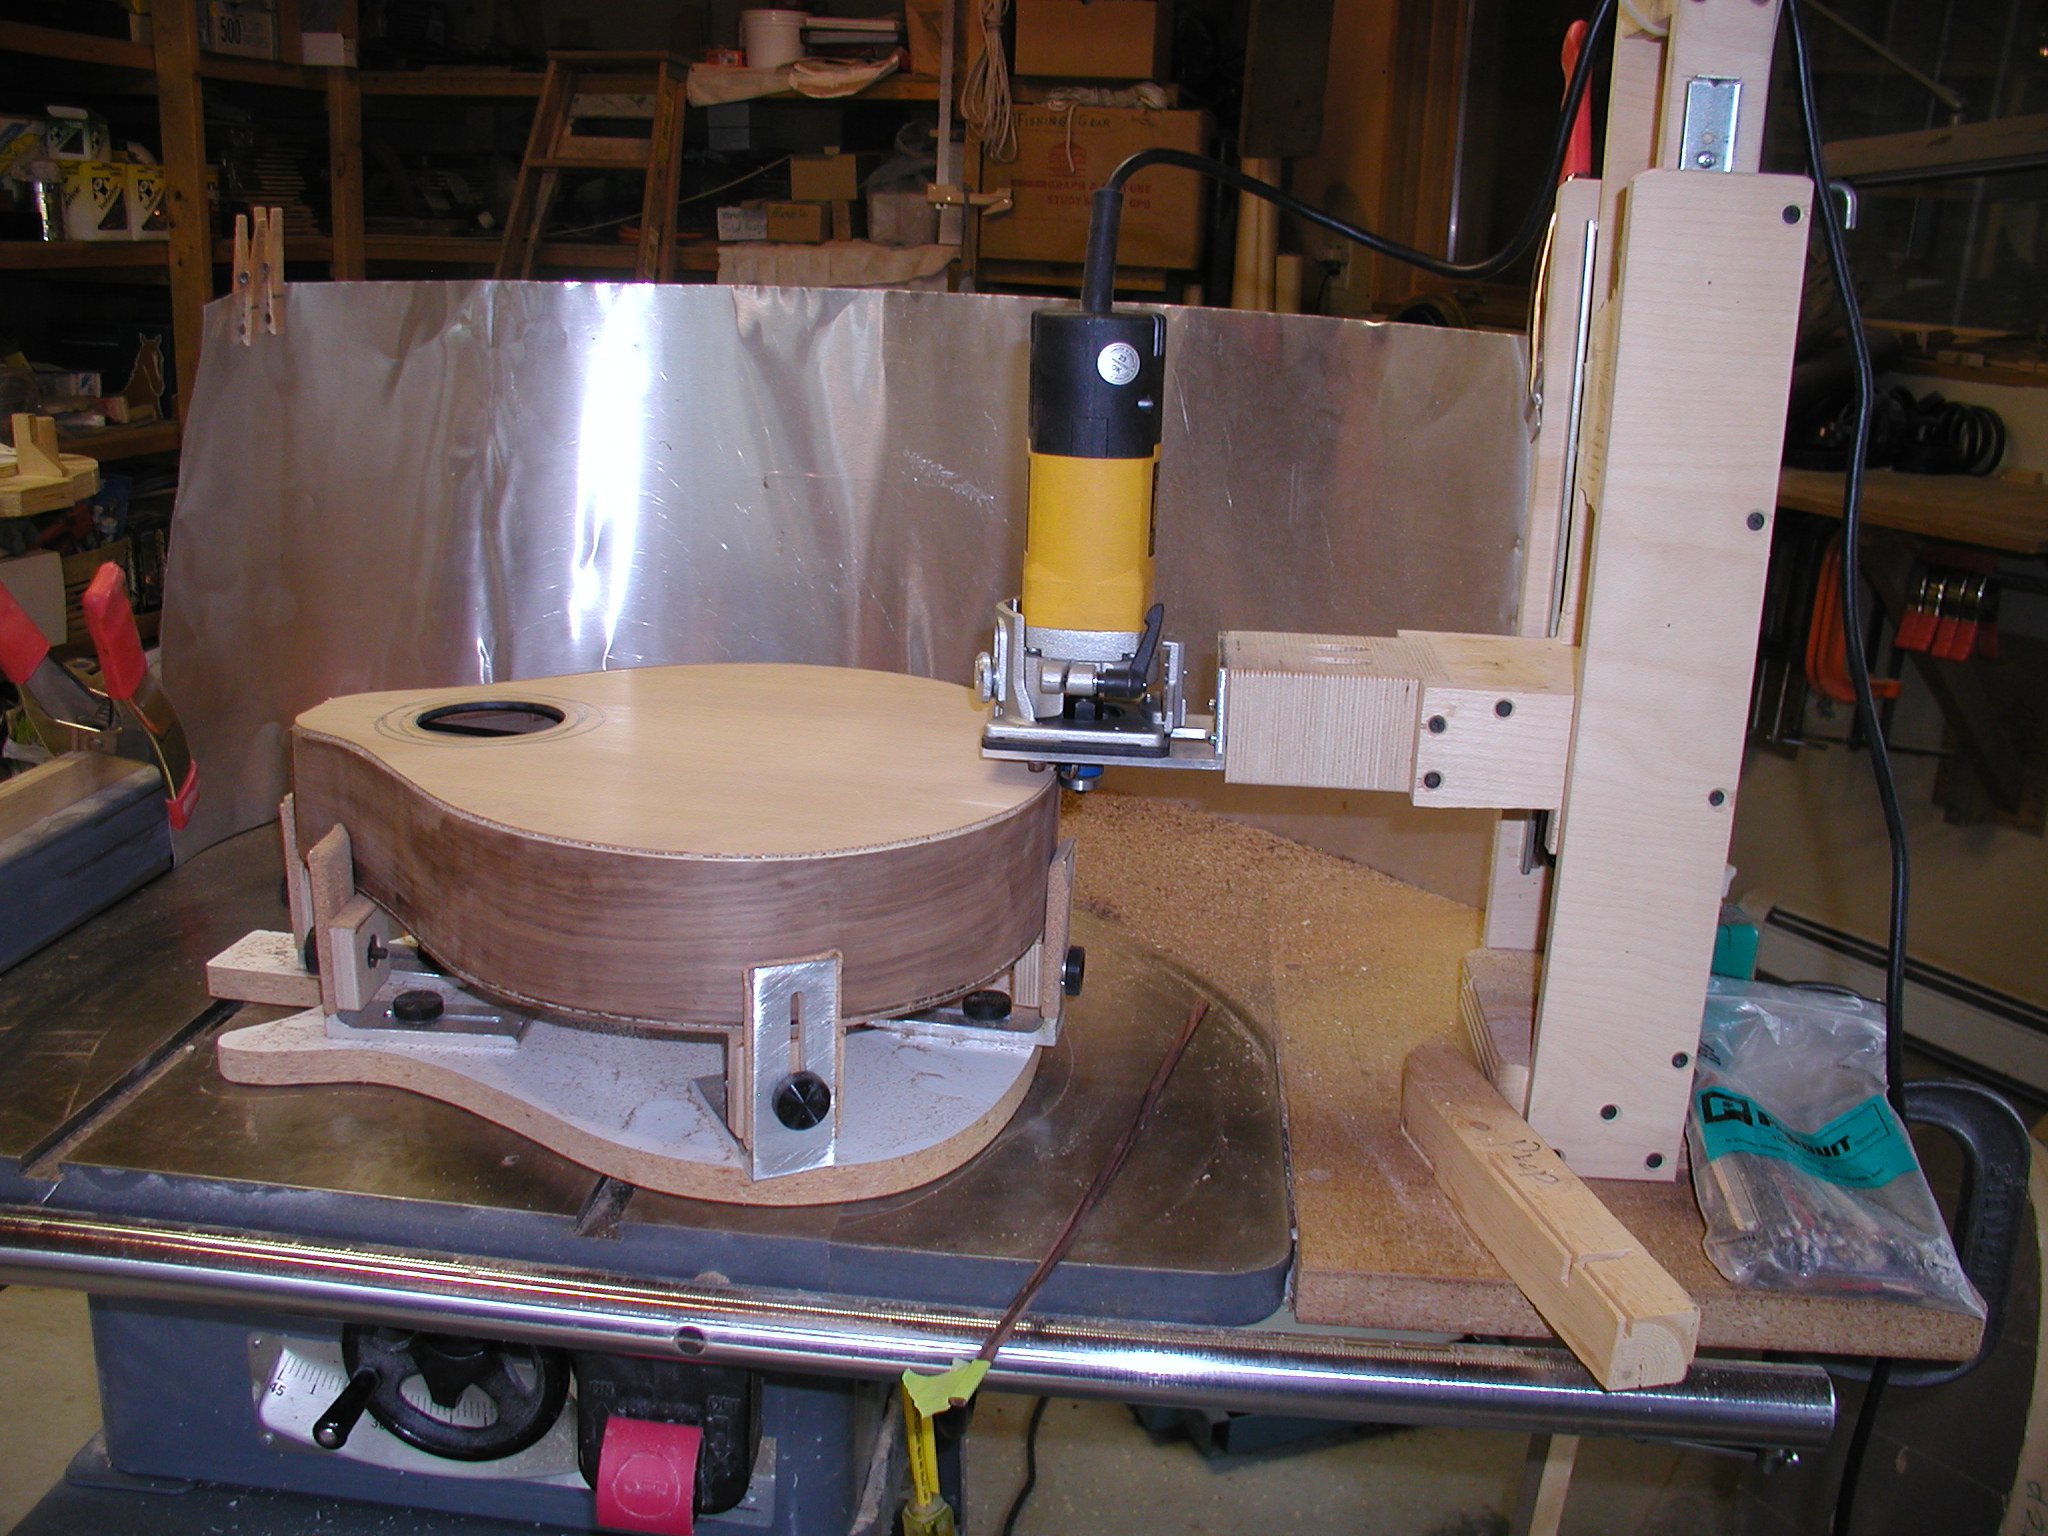
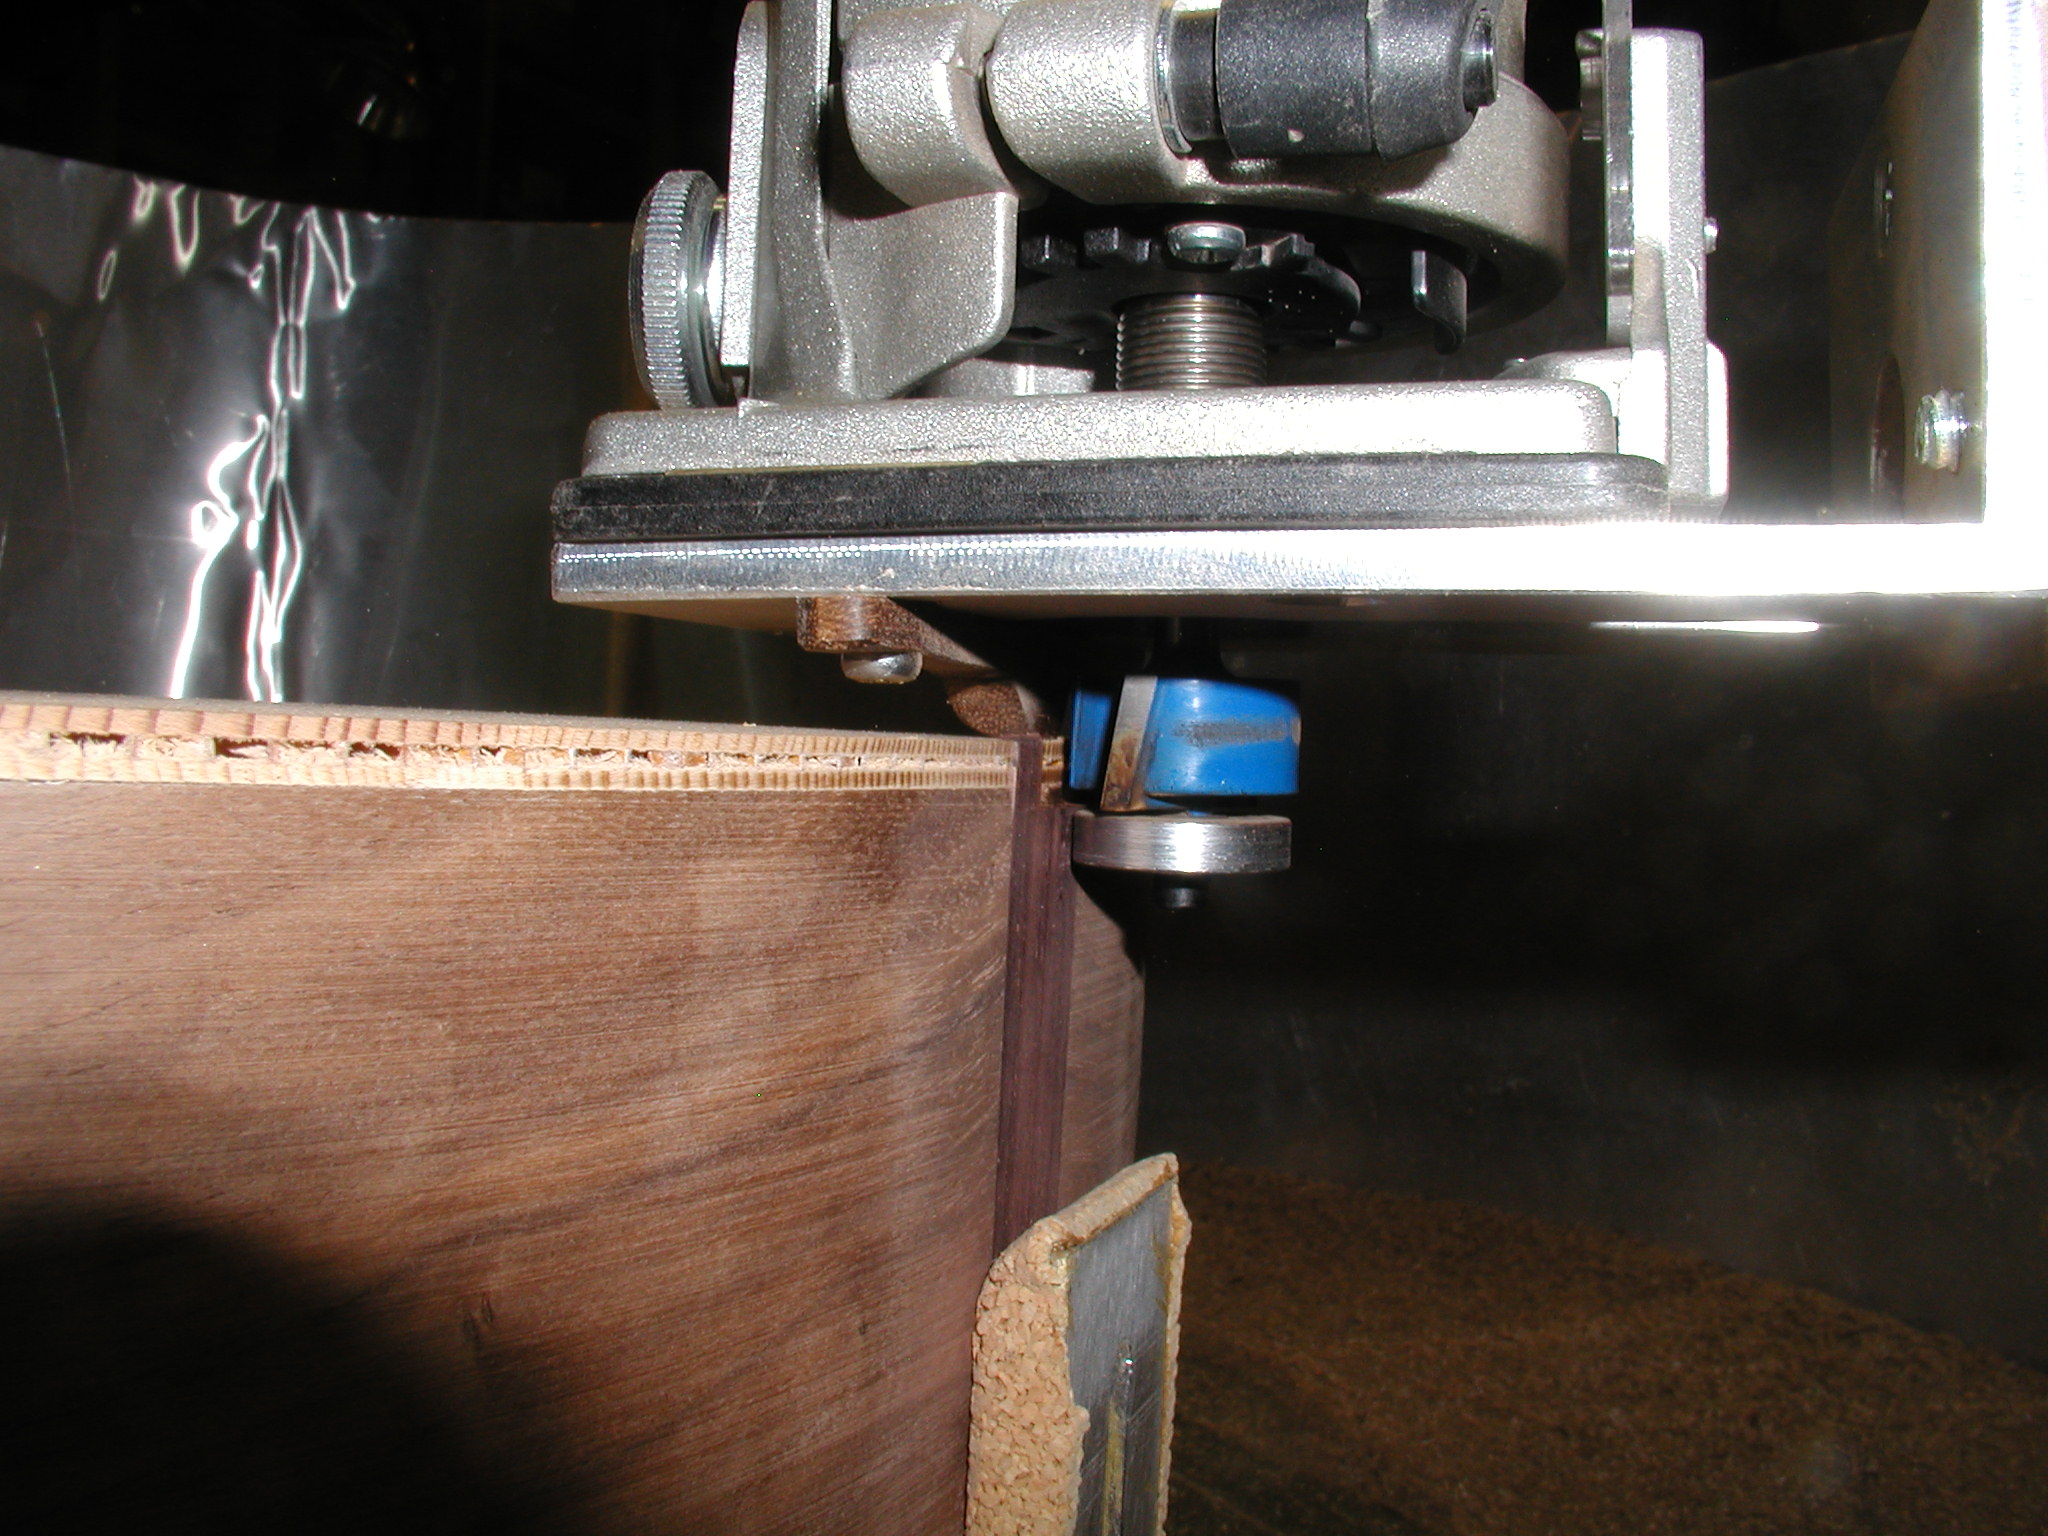
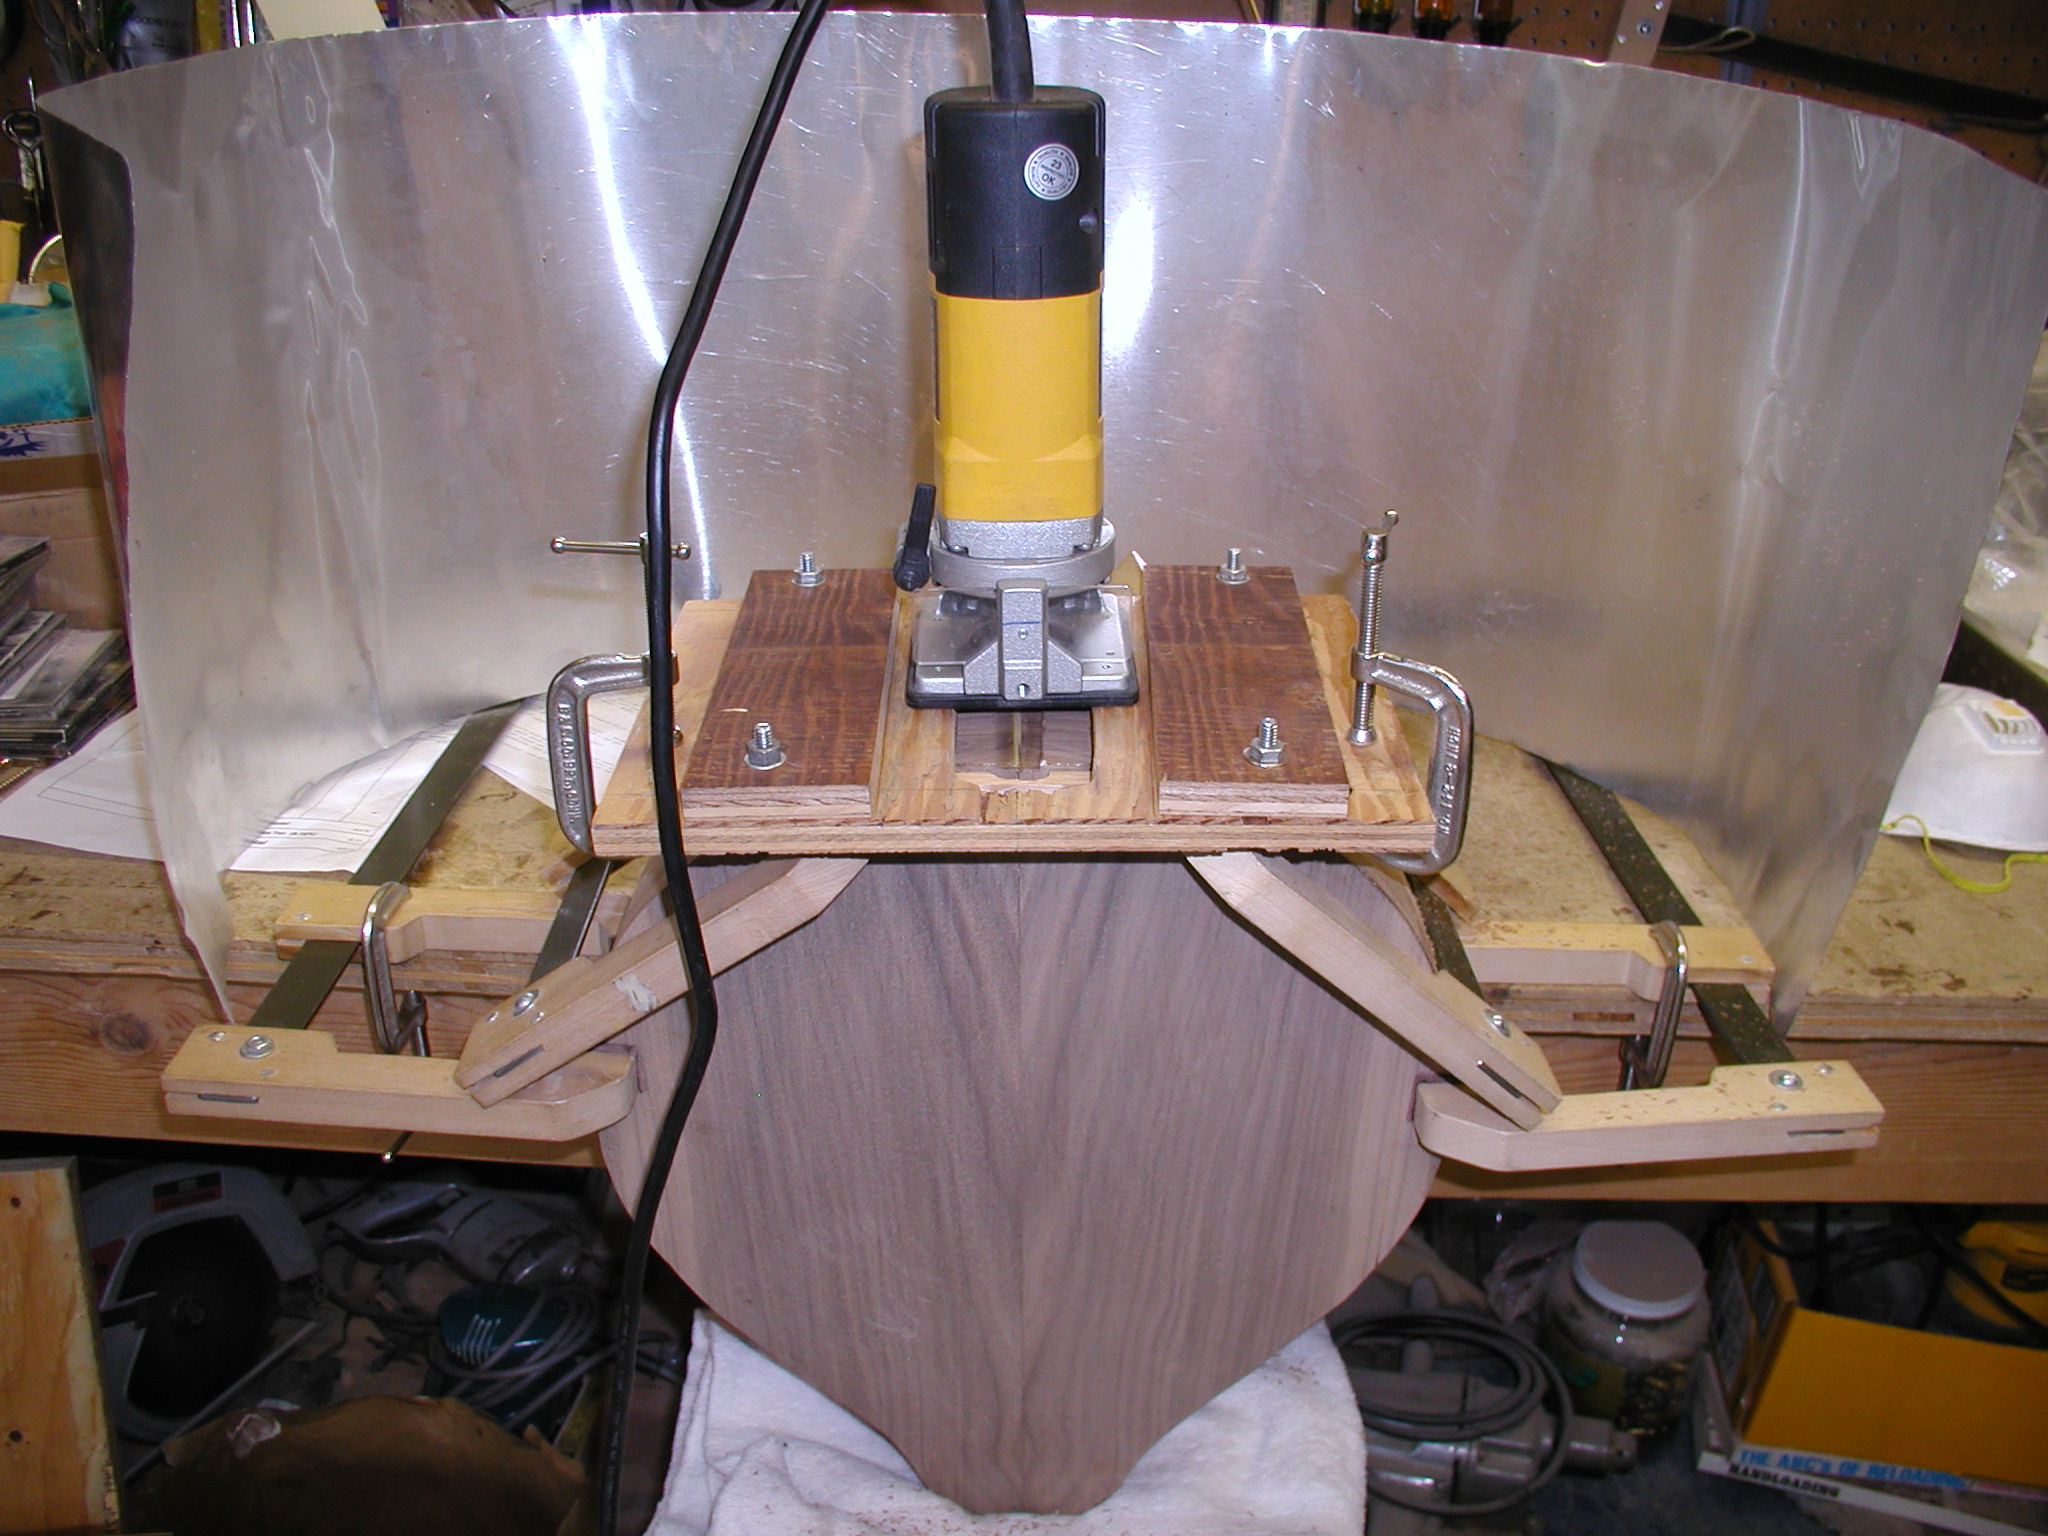
With the endgraft in place it is time to cut the channel for the binding. This is a single cut since I'm not doing any purfling, see the discussion on guitar building for more detail on what to do when purfling is included. The jig used here is not my design, I copied it from somewhere years ago (plans available from LMI?). But you can see I have modified from the standard format with a longer extension to hold the router, this allows access for cutaway instruments. Same with the body holder part. I also made it take a laminate edge trimmer for easier manipulation. The close up shows the fly cutter with bottom bearing. The bearings are replaceable with different diameters to allow settings for different cut depths. The fly cutter is also an angled blade so it makes a very clean cut, albeit an up-angle cut.
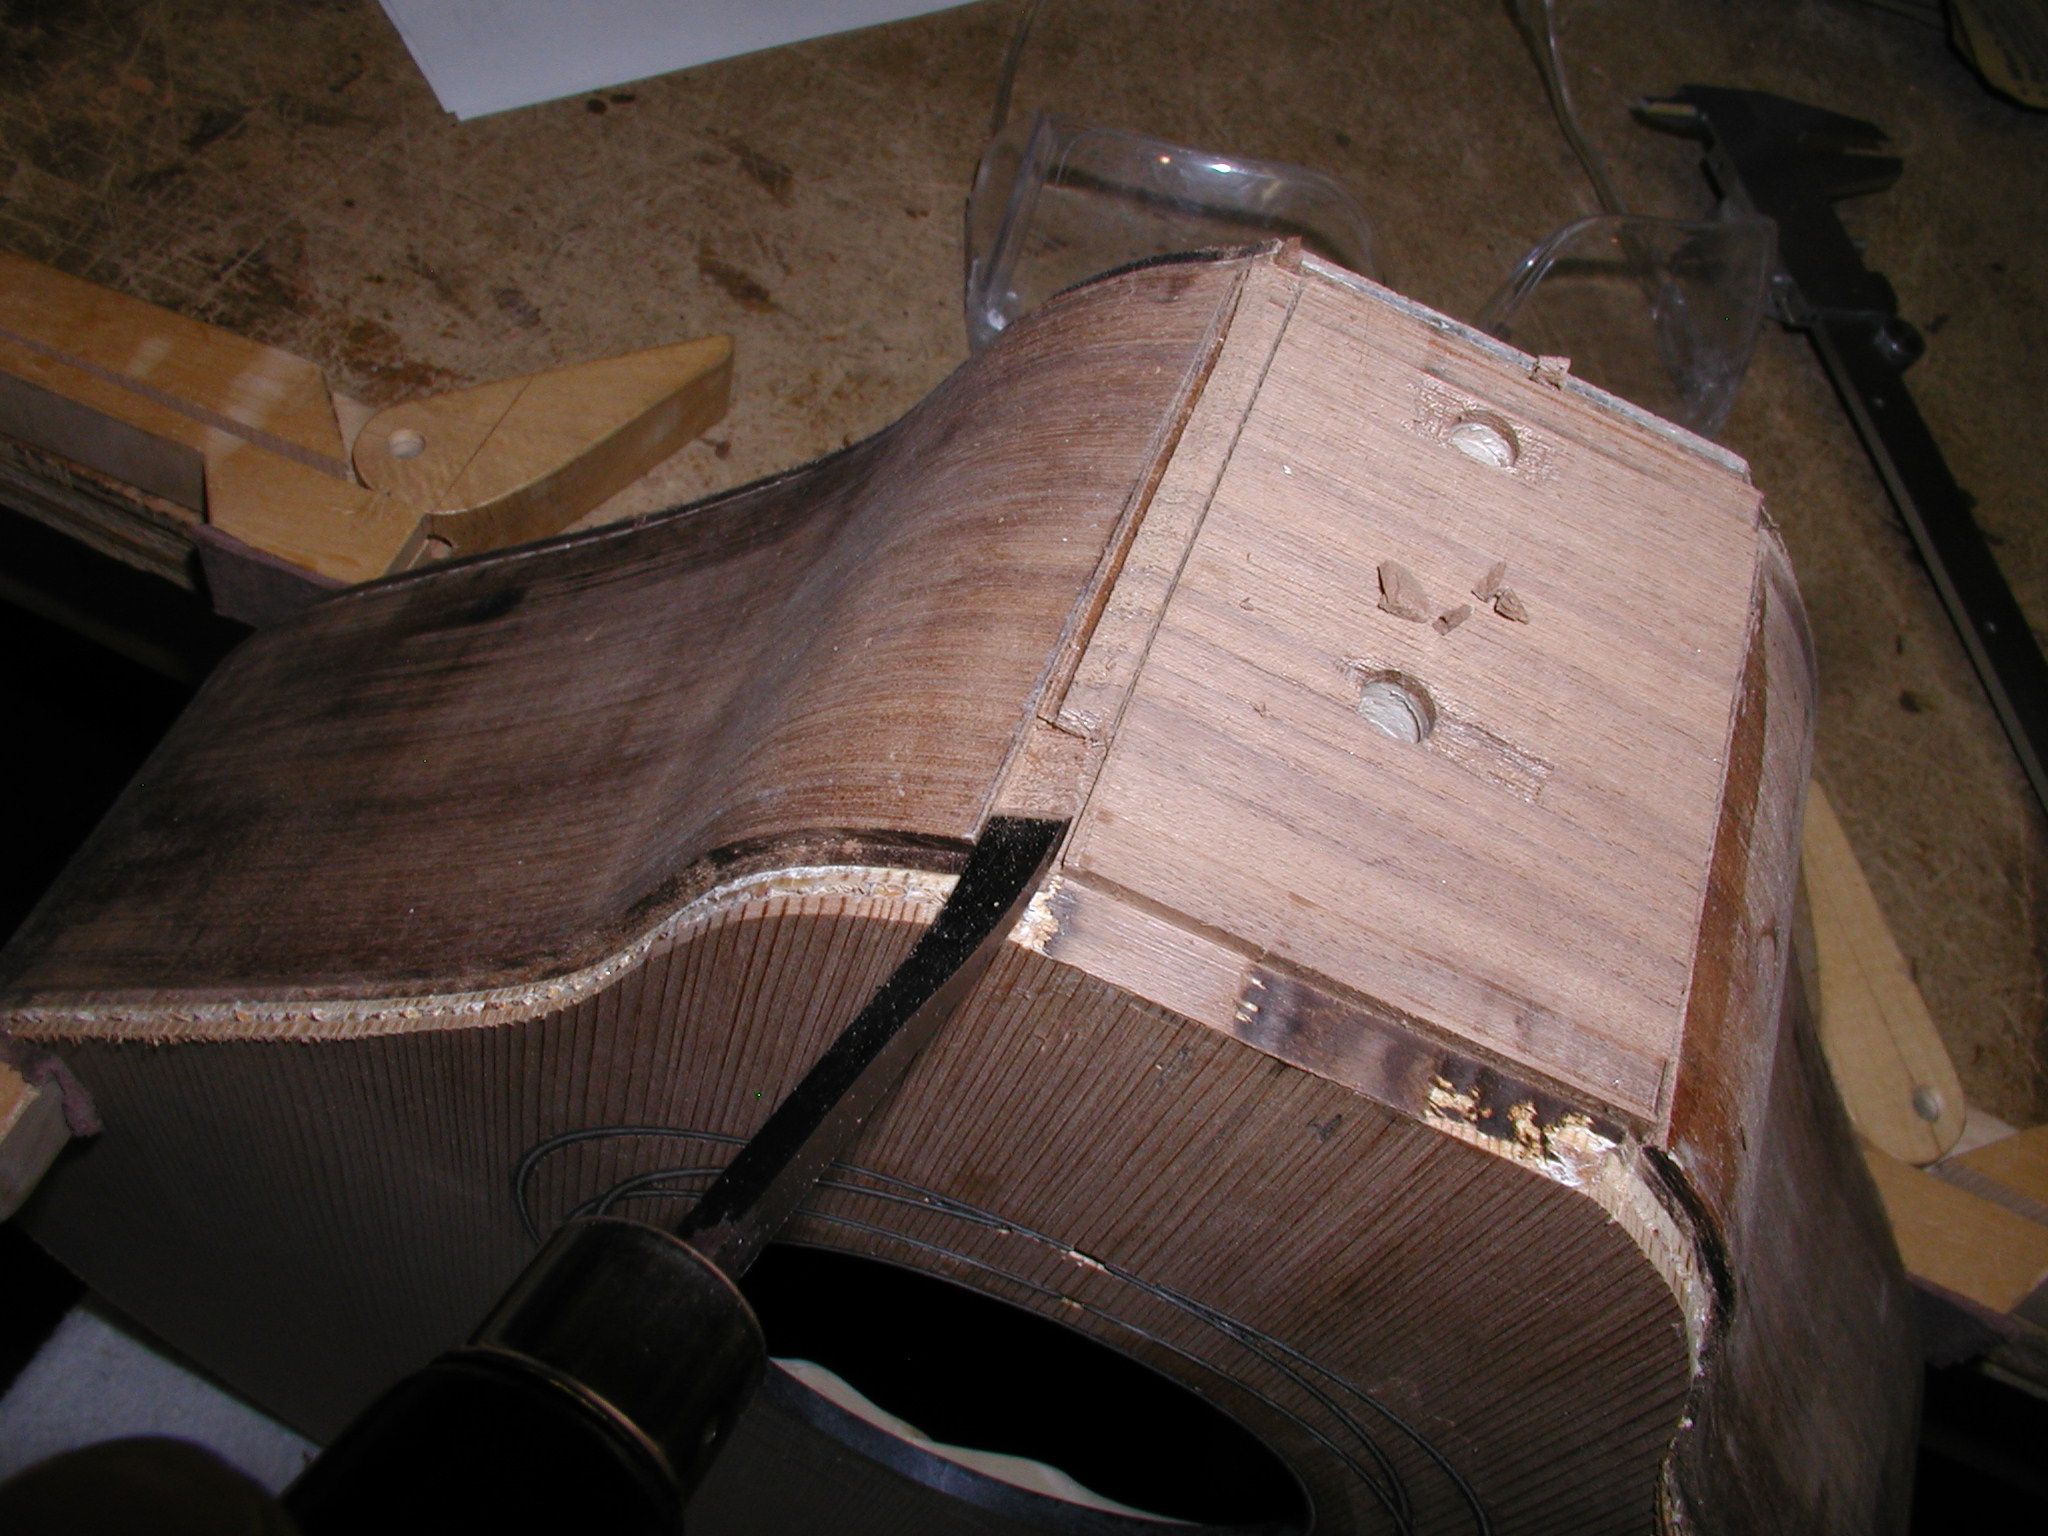
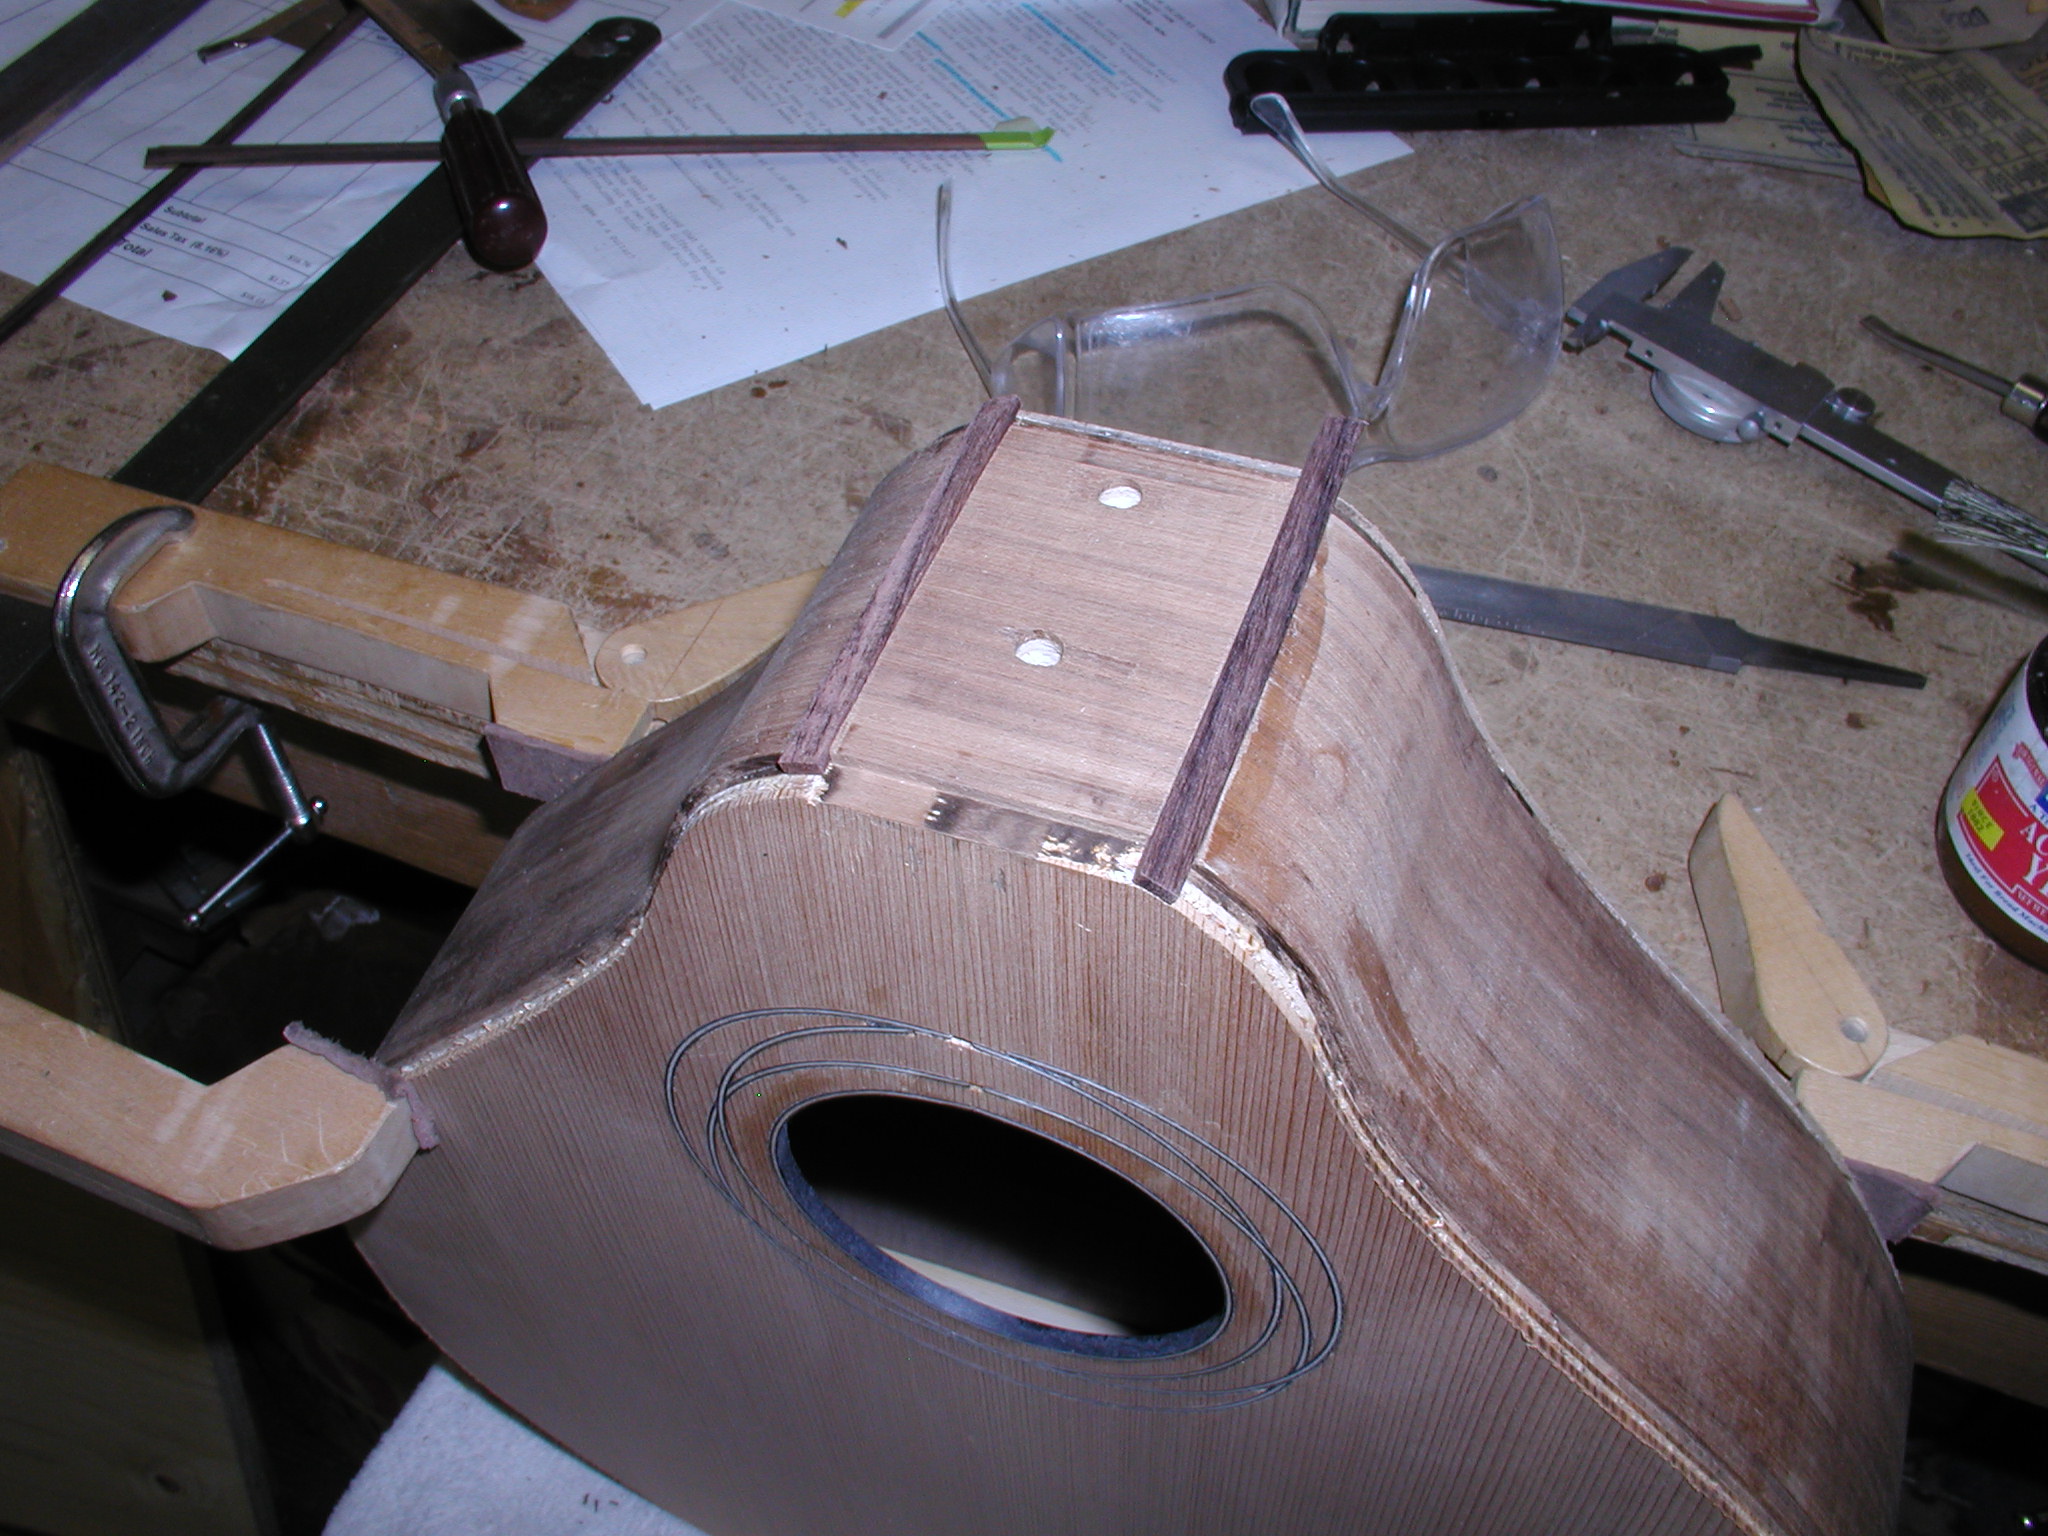
I need to do binding around the edge that is exposed at the headblock end. I could have done this before cutting the binding channel, but these strips are not captured in the same way as the end graft and I worry that the router might rip them out, so I do this by hand and trim to the channel after. This is slow and exacting to get it without any gaps. Notice that there aren't any right angles here. I make the channel a bit small and then shave the binding pieces so they are wedge shaped from the face side to the inside. Then just shave and scrape them till they just wedge in the slot. These need to be taped in place when gluing, but he glue moisture makes them expand a bit and get a nice tight fit.
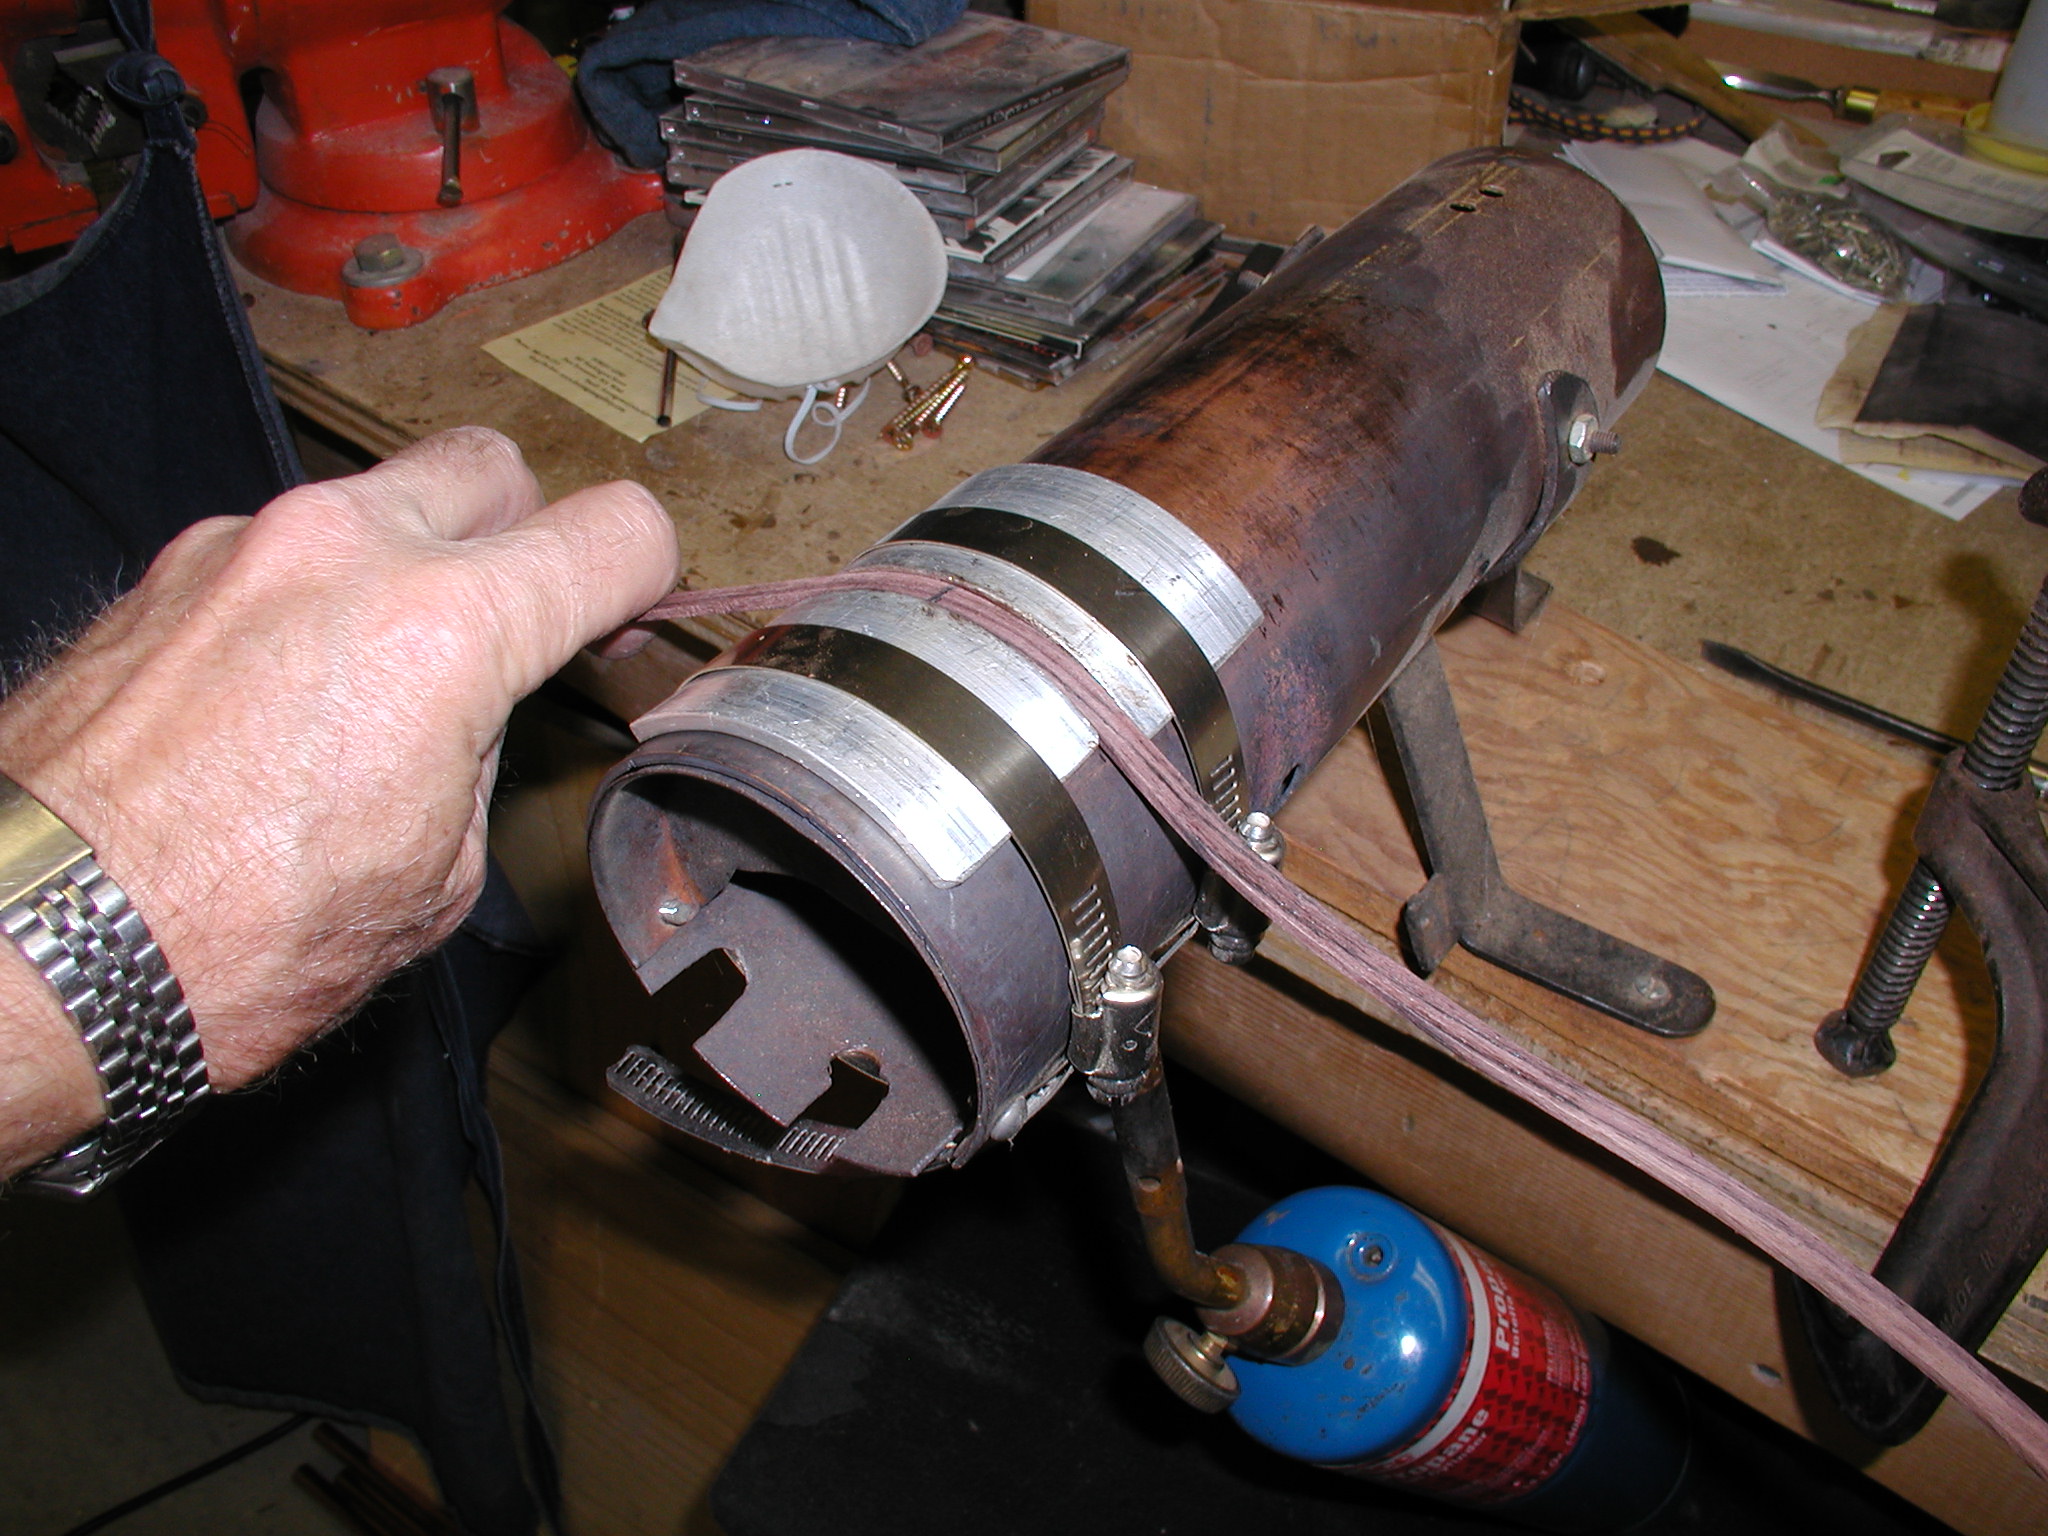

Here I'm bending the binding on the pipe. For guitars I do them all in a batch in the Fox bender, but until I settle on my exact body shape I'm not using the Fox system. The clamped on pieced of aluminum keep the binding straight and help it not split and also provide head into the edges which helps it bend smoothly. Here is another "temporary" jig that I was going to replace later.
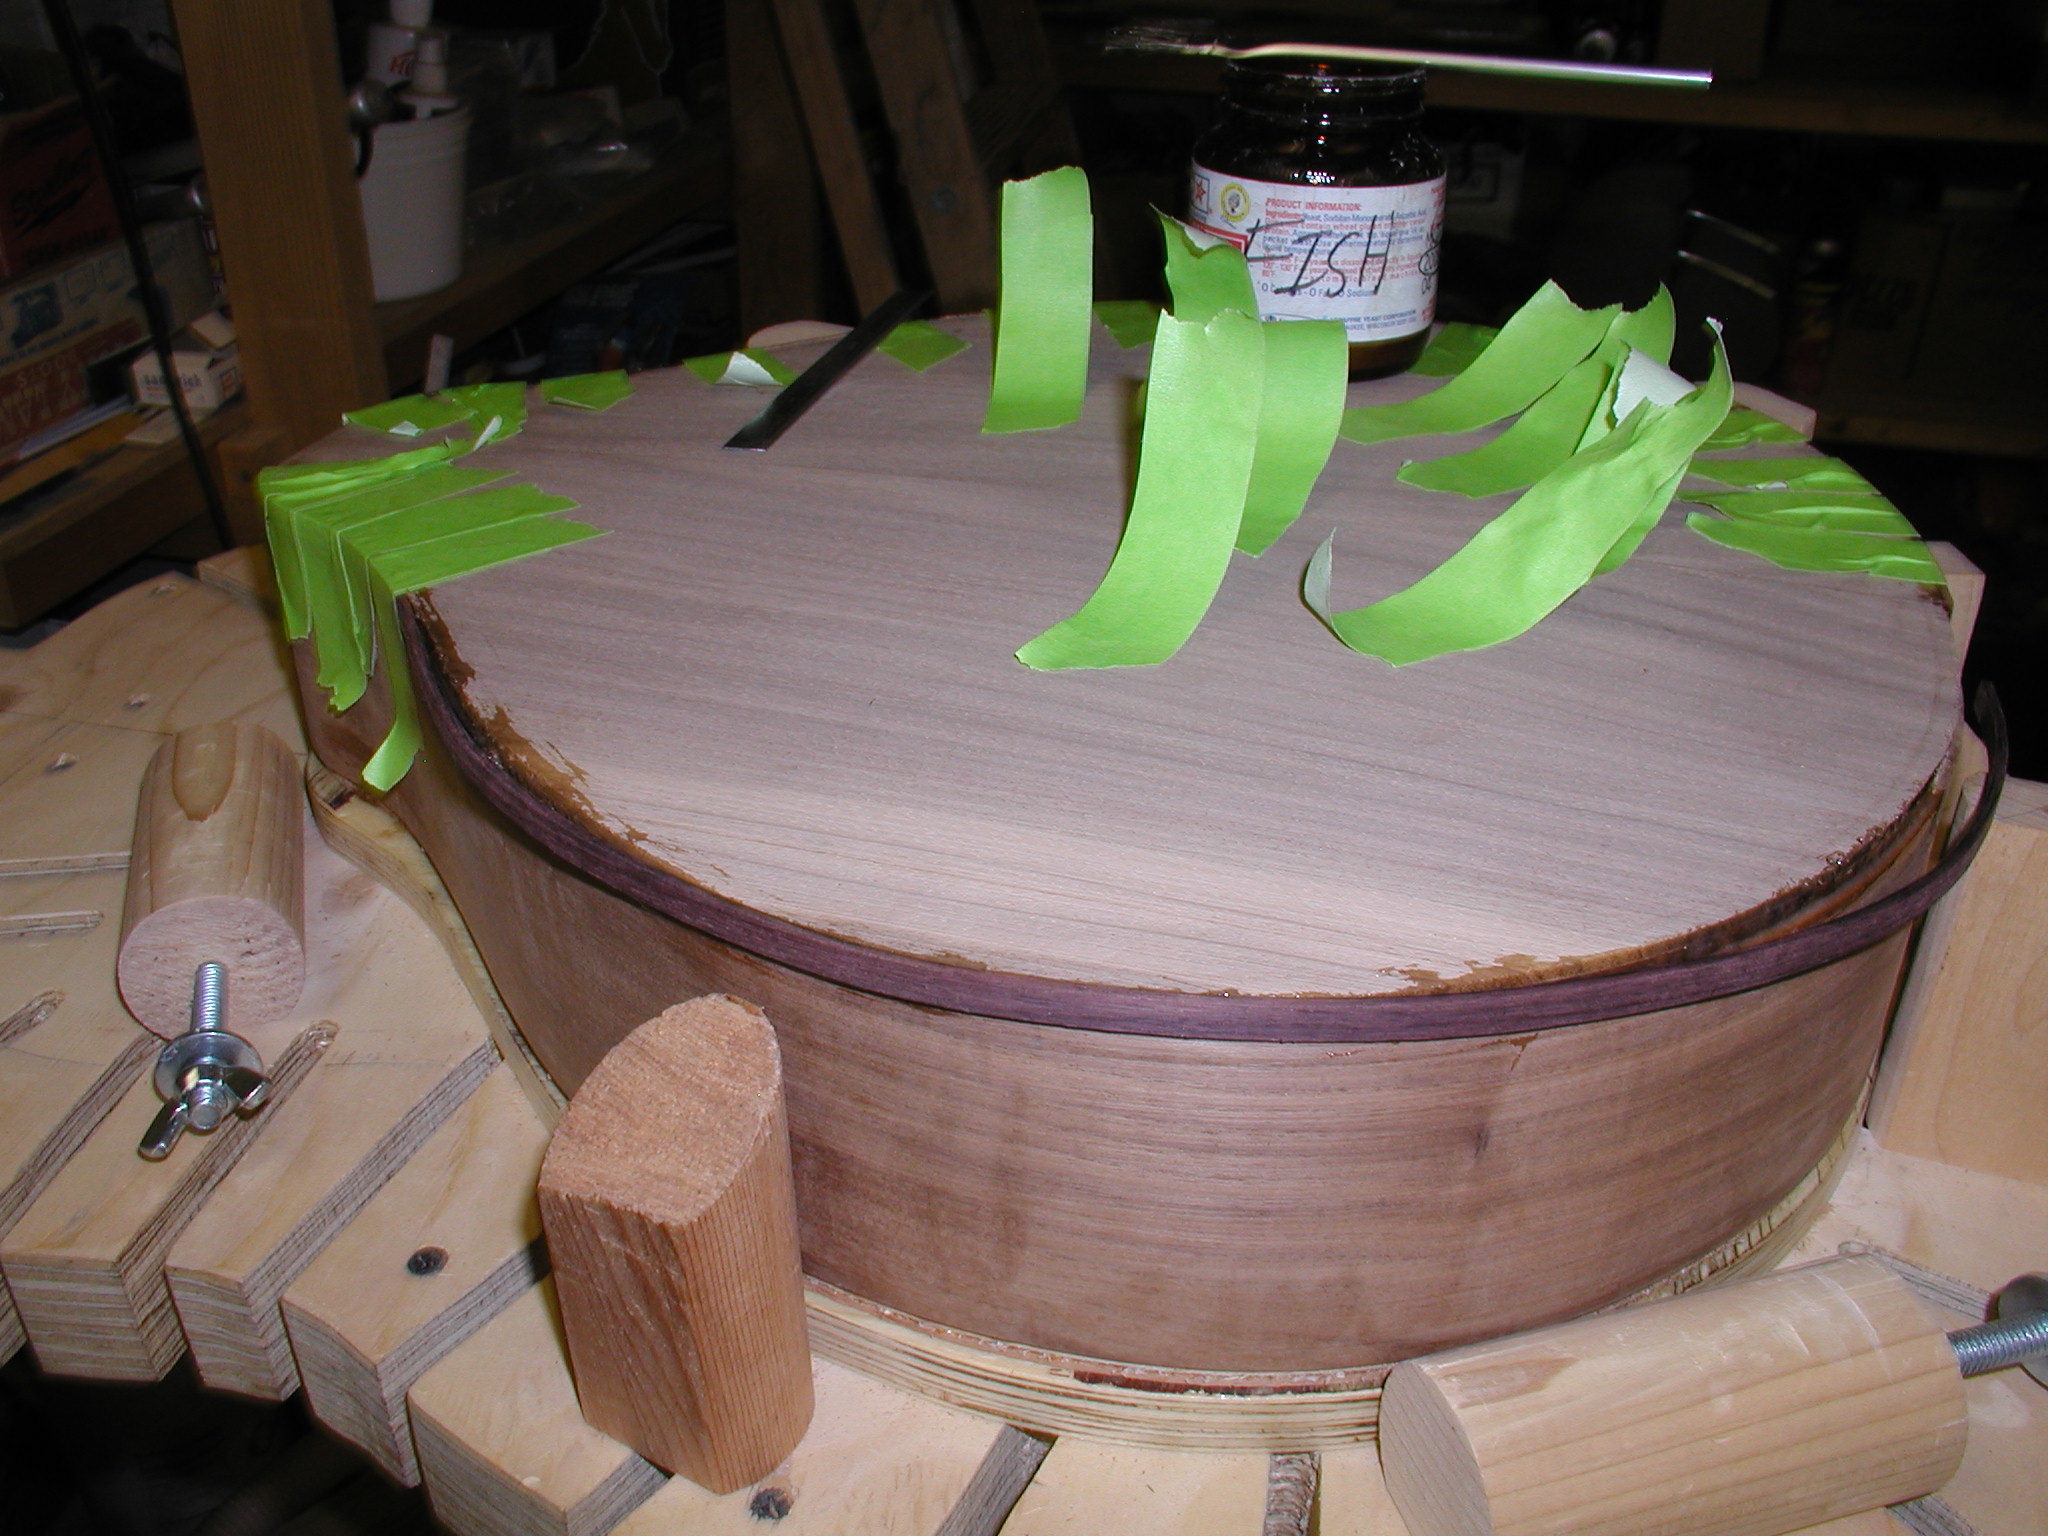
The binding gets checked to the channel to make sure it fits right. The back side shows all the joints and must be perfect. I started with the headblock end to miter that joint dry and then trimmed the butt end close but long. I glued it in around and then trimmed the butt end with a chisel to exactly match the center seam in the back. Same process on the other side but the final butt joint has to match on the top edge, the butt end edge and be cut so the length of the binding is right and not short or long and bulging. Sloooooollllyyyy here is the word. On the top normally the headblock end would be covered, but I'm going to make a neck with a flying fretboard free of the top, so it has to be right too. The pink 3-M protective plastic sheeting shows well here, it has been on from the stage of where were were gluing the ribs to the top to protect the soft wood. Here it has the added advantage that you can use strong tape when gluing the binding and not worry about it pulling up the top fibers later. The face skin on this one is Western Red Cedar. The 3-M stuff has a bit stronger tack than a sticky note so it peels up later easily, but it won't leave gum or goo behind even after being on for a long time. Good stuff, Recommended!
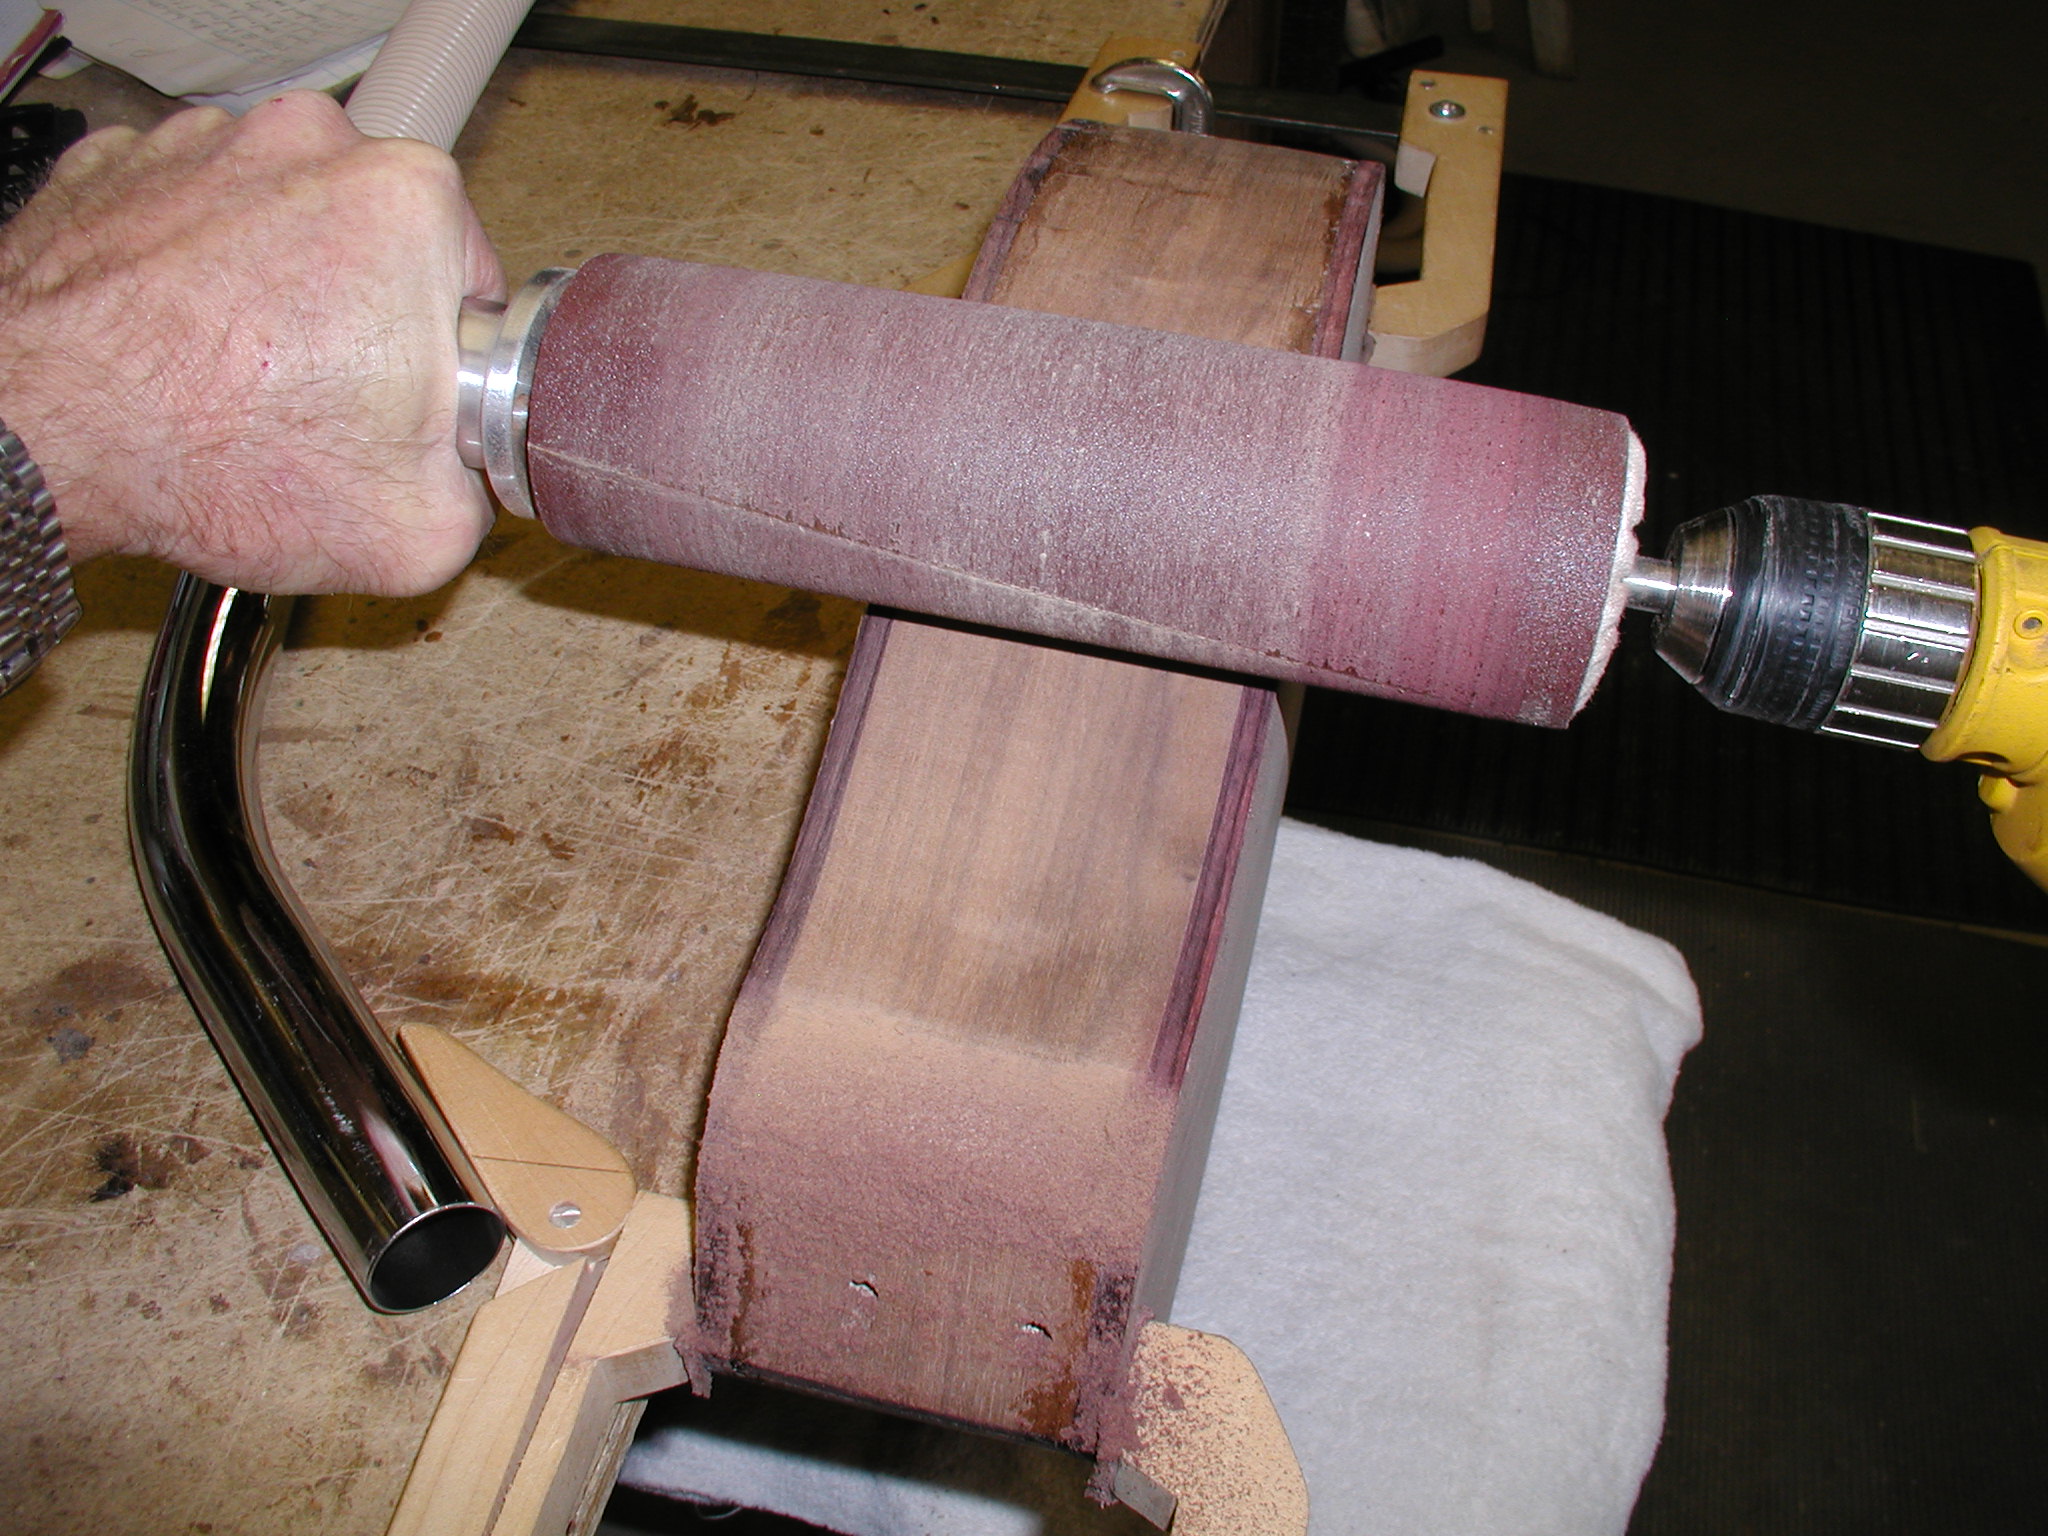
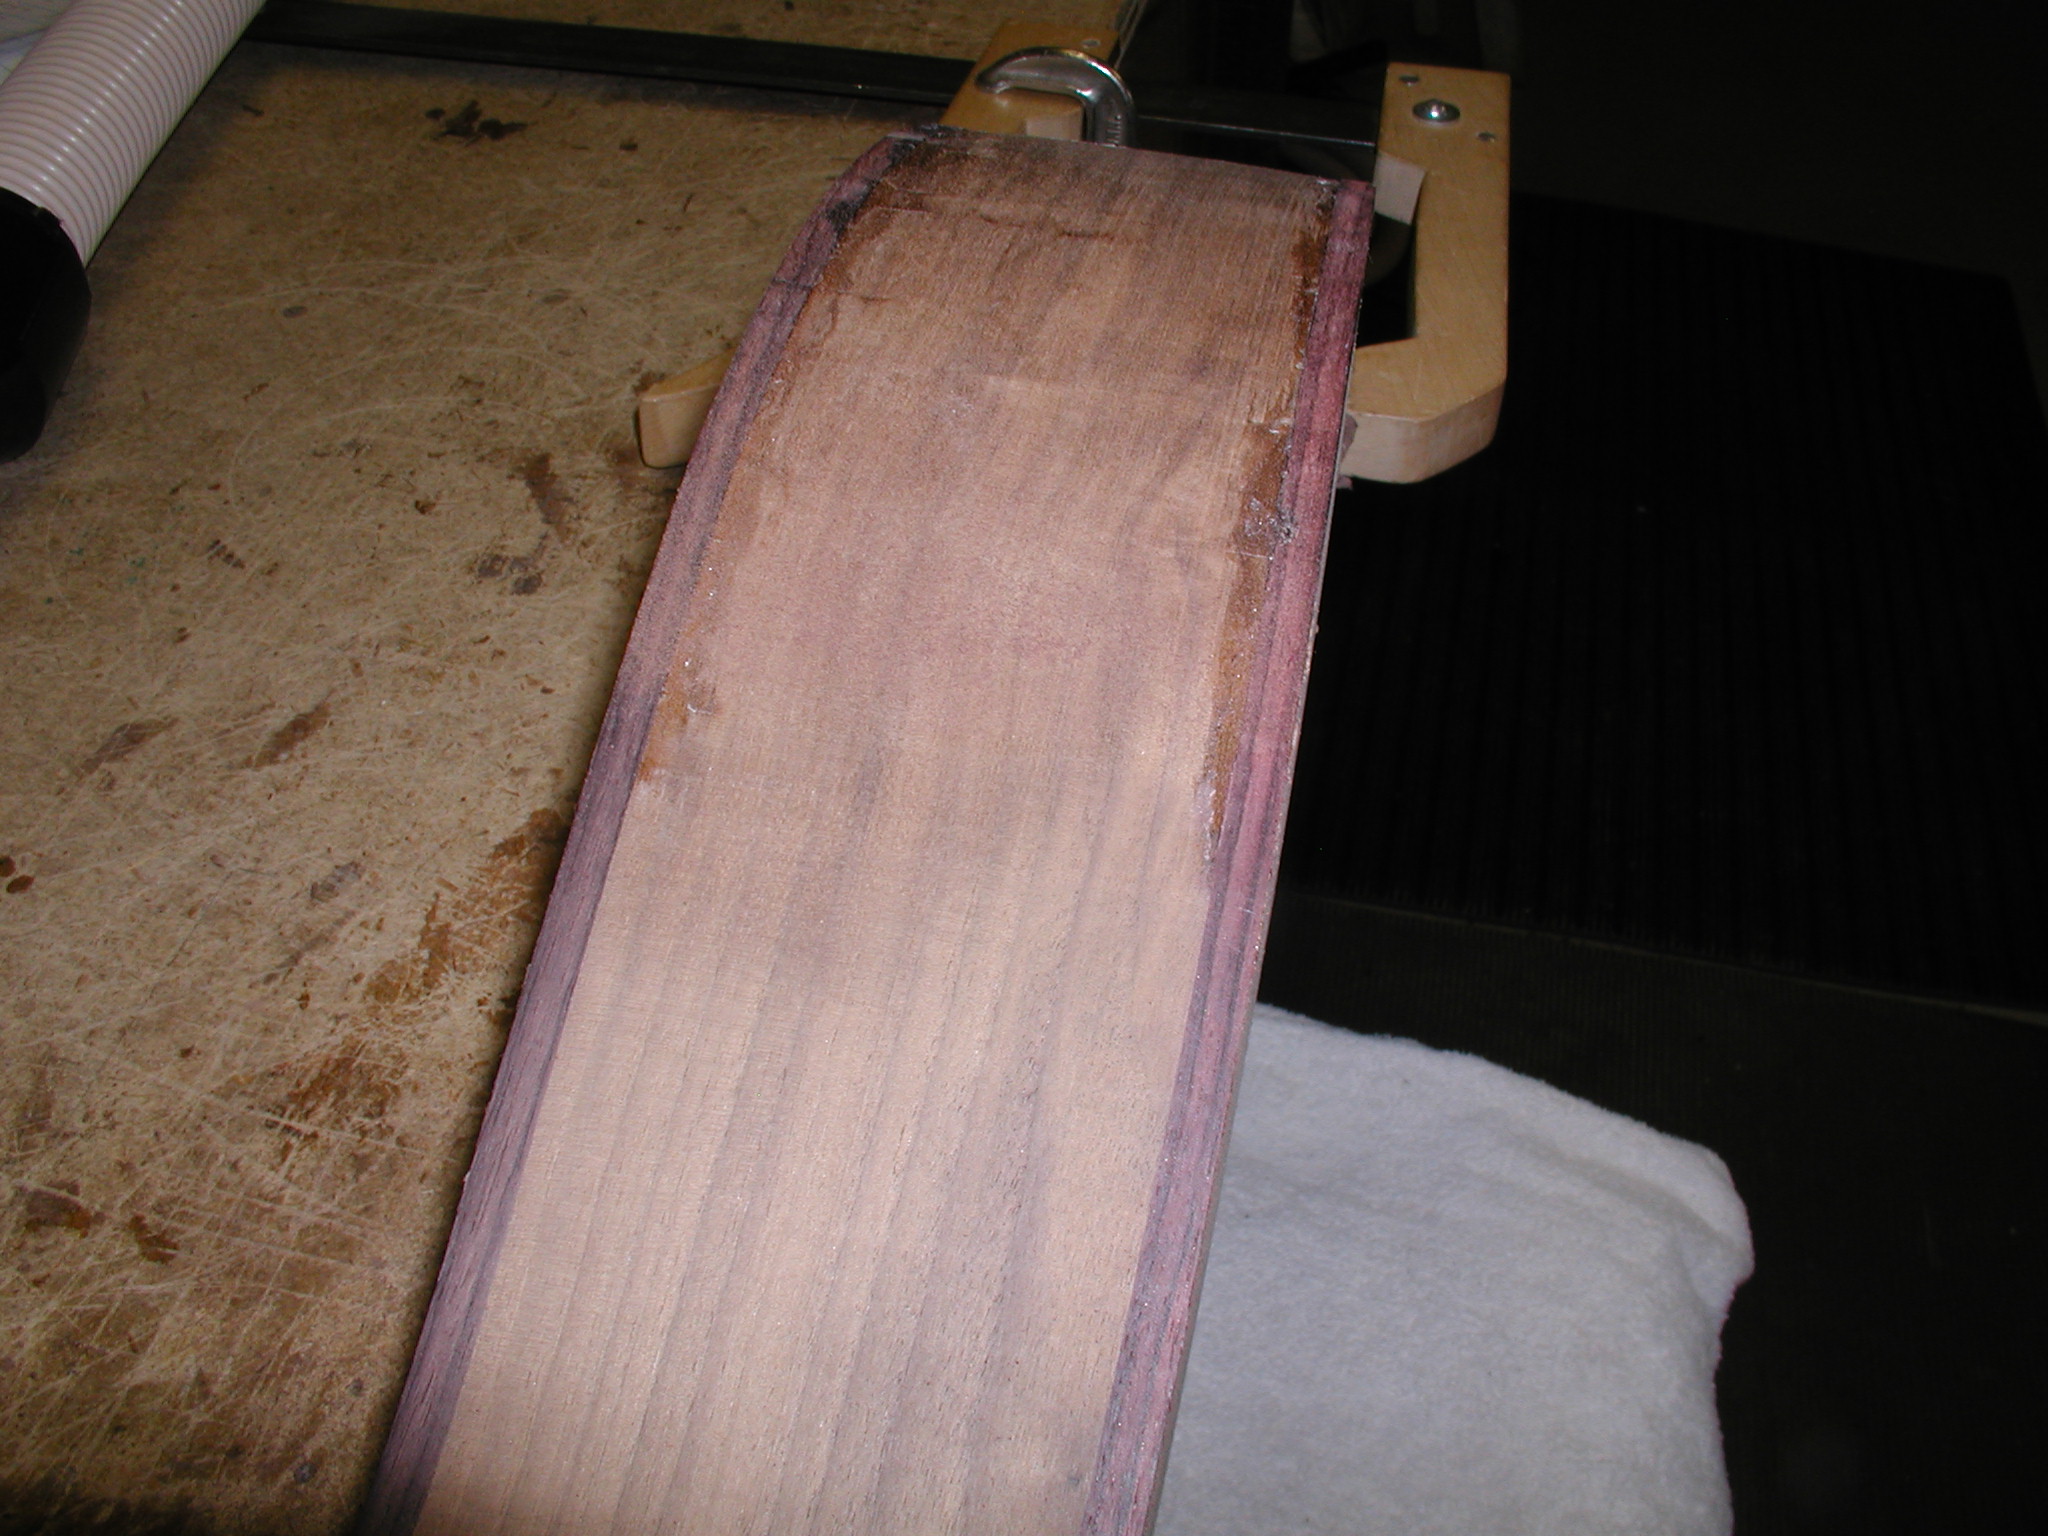
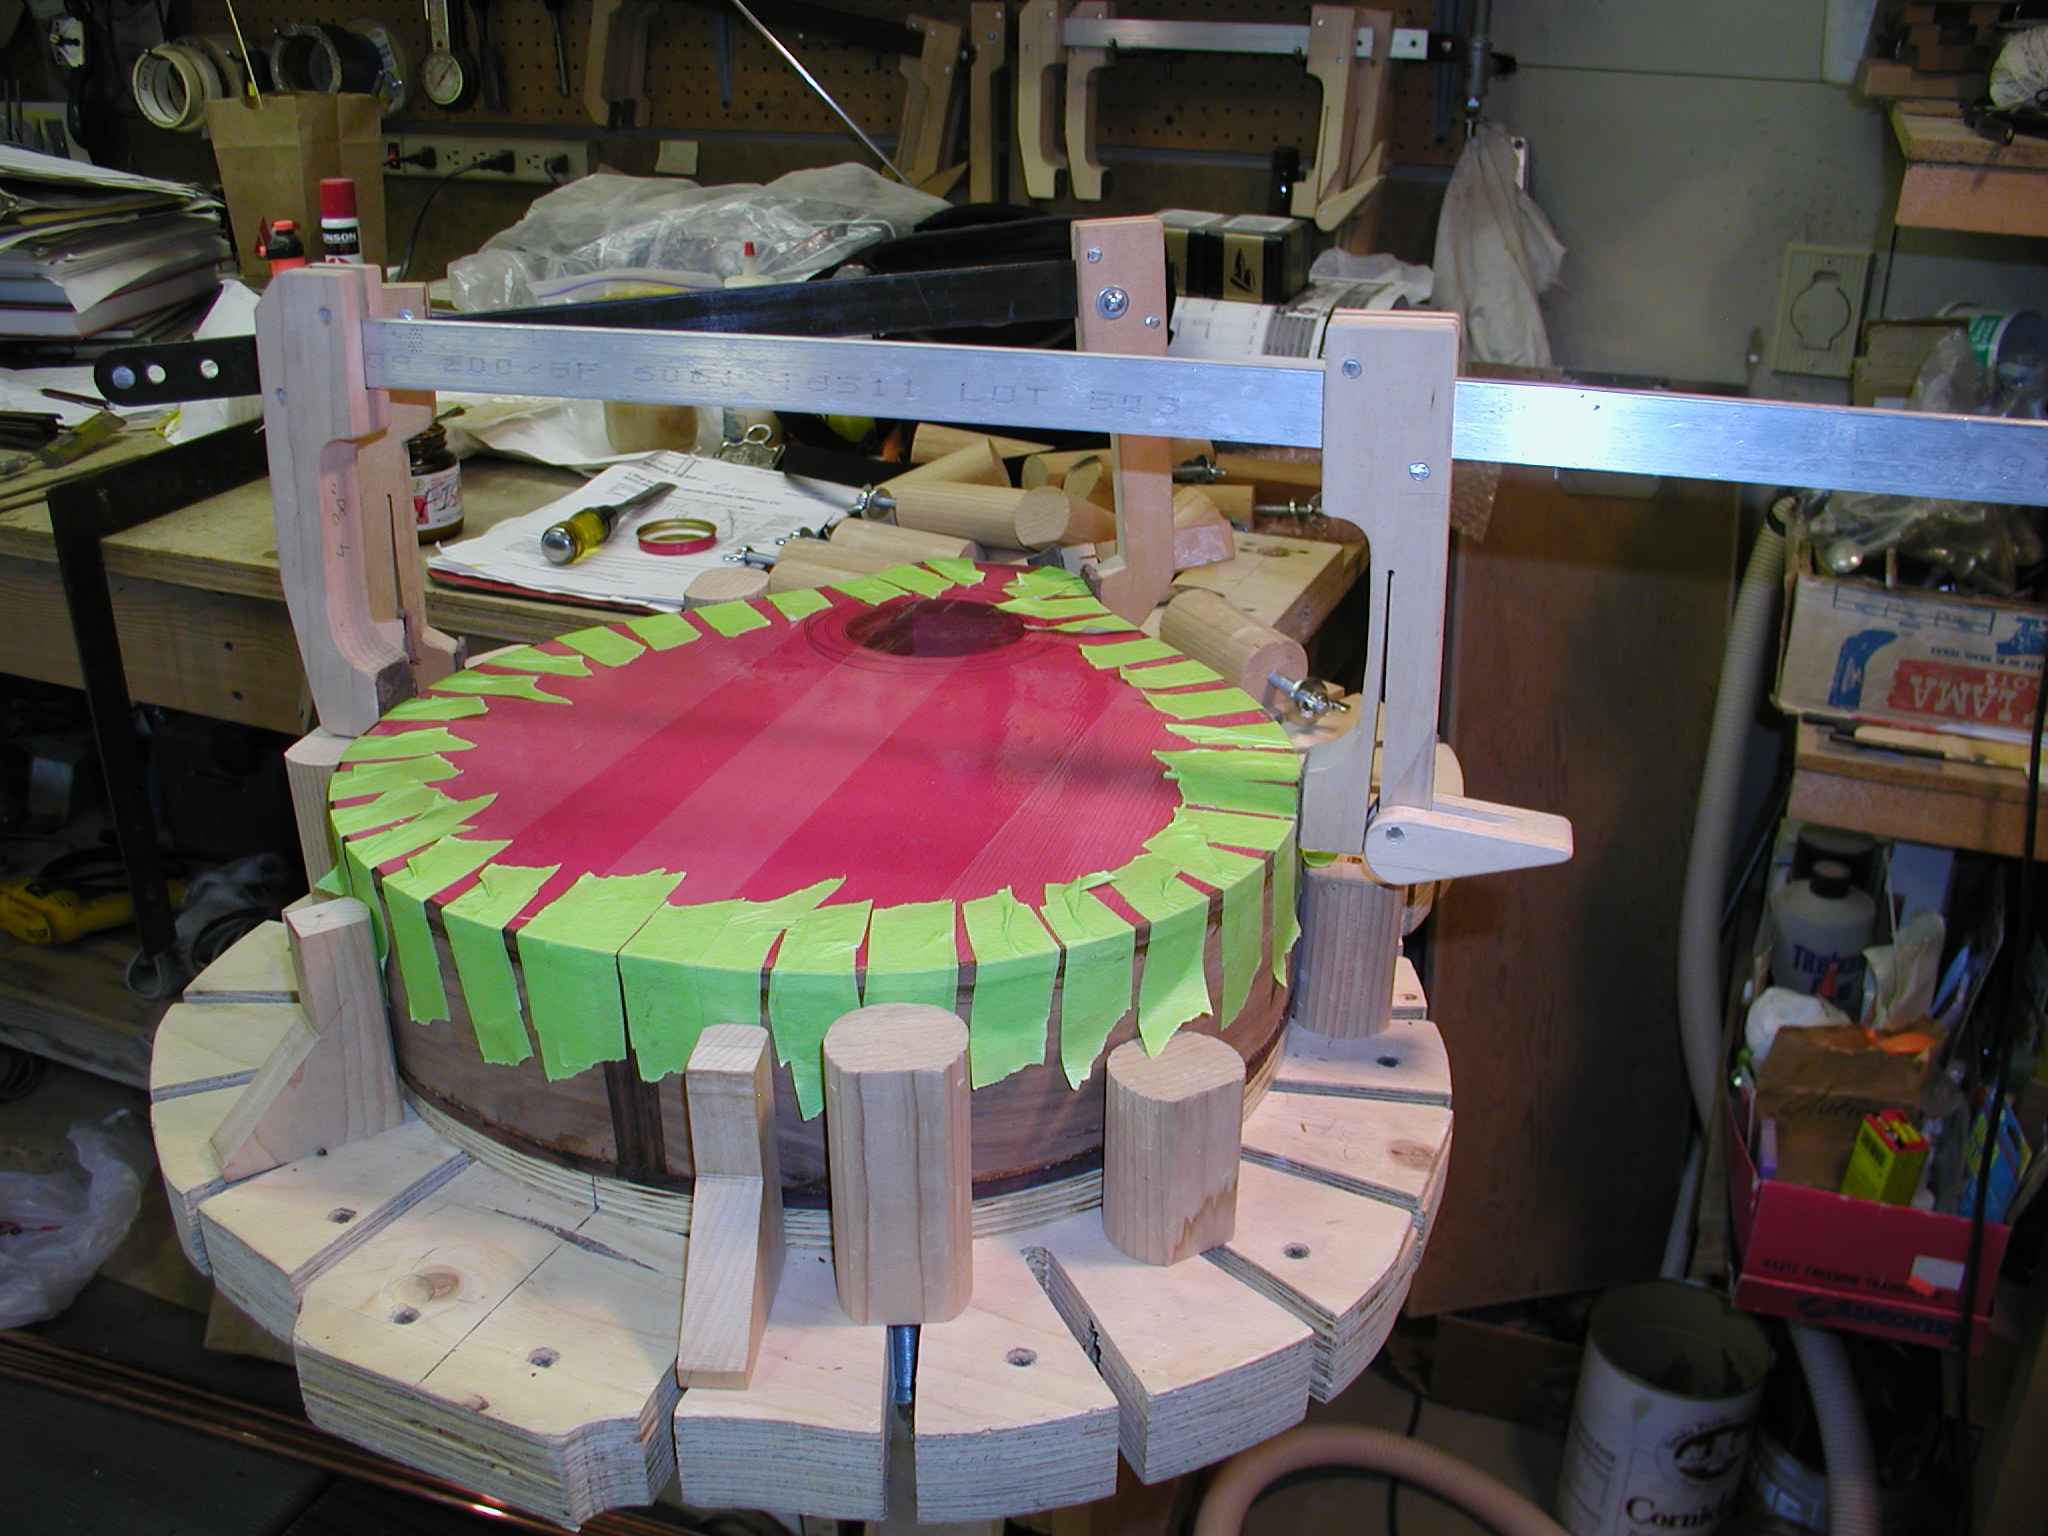
To level it all on the sides I use this nifty "rolling pin" sander I got from Grizzly. Harbour Freight has one but it is pretty cheeze-ball, I'd pass on that one. You can also do this with a nice sharp scraper but it is a lot more work and you have to be careful to not nick or scrape the binding. If you did everything right you had your side a bit thick and you cut the binding channel so it was a bit deep. Then you can sand the sides back till they are just flush with the binding and not get and thin spots in your binding where it was sanded back (hem hem, like someone who will go nameless did here in the waist).
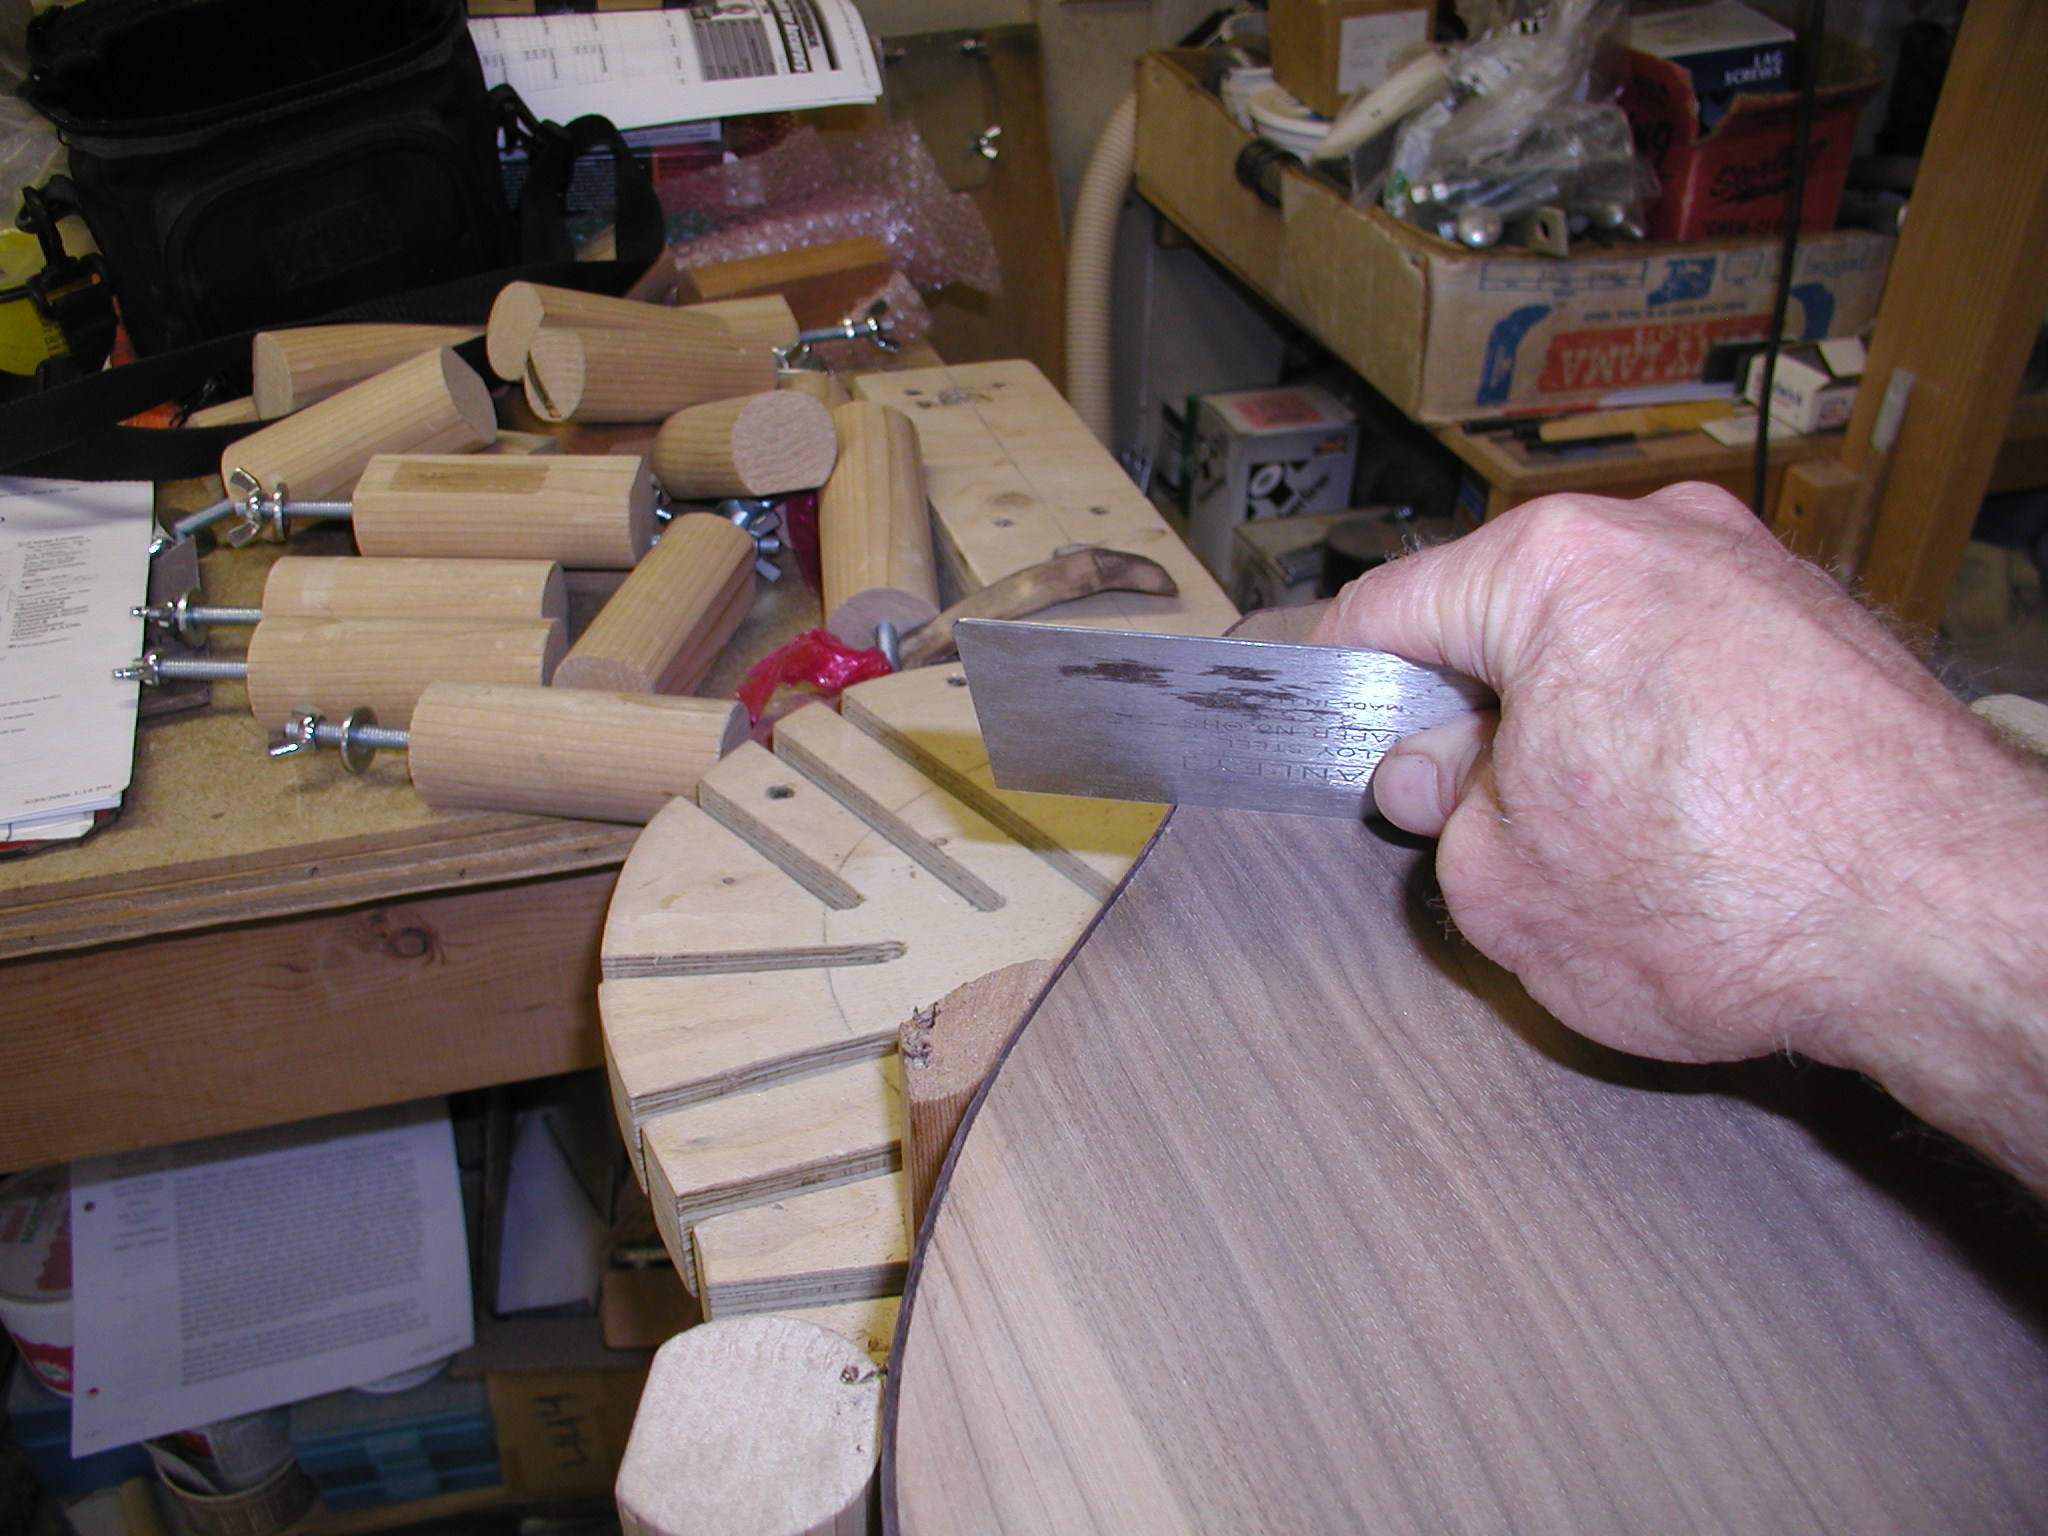
Last of all the binding should have been left proud of the top and back surfaces. I cut this back using a scraper. Always scrape so you are cutting to the body to avoid tearing out or frazzling the binding edges.
That pretty much competes the body until it is finishing time. So on to making the neck.